The "what bike bits have you just bought" thread
Discussion


Markp13 said:
I bought them as overshoes from winstanleys. Along with some merino wool socks. To be fair my toes were warmer than they have been but they were still mighty cold.
What should I be looking at? I did have toe covers on order but they were taking forever so I cancelled them for these.
They're not overshoes, they're oversocks. Overshoes are made of neoprene or similar and keep your little pinkies warm and dry(ish). These are good for the price http://www.chainreactioncycles.com/Models.aspx?Mod...What should I be looking at? I did have toe covers on order but they were taking forever so I cancelled them for these.
Rouleur said:
They're not overshoes, they're oversocks. Overshoes are made of neoprene or similar and keep your little pinkies warm and dry(ish). These are good for the price http://www.chainreactioncycles.com/Models.aspx?Mod...
Ah, now it becomes clear.....Rouleur said:
Markp13 said:
Markp13 said:

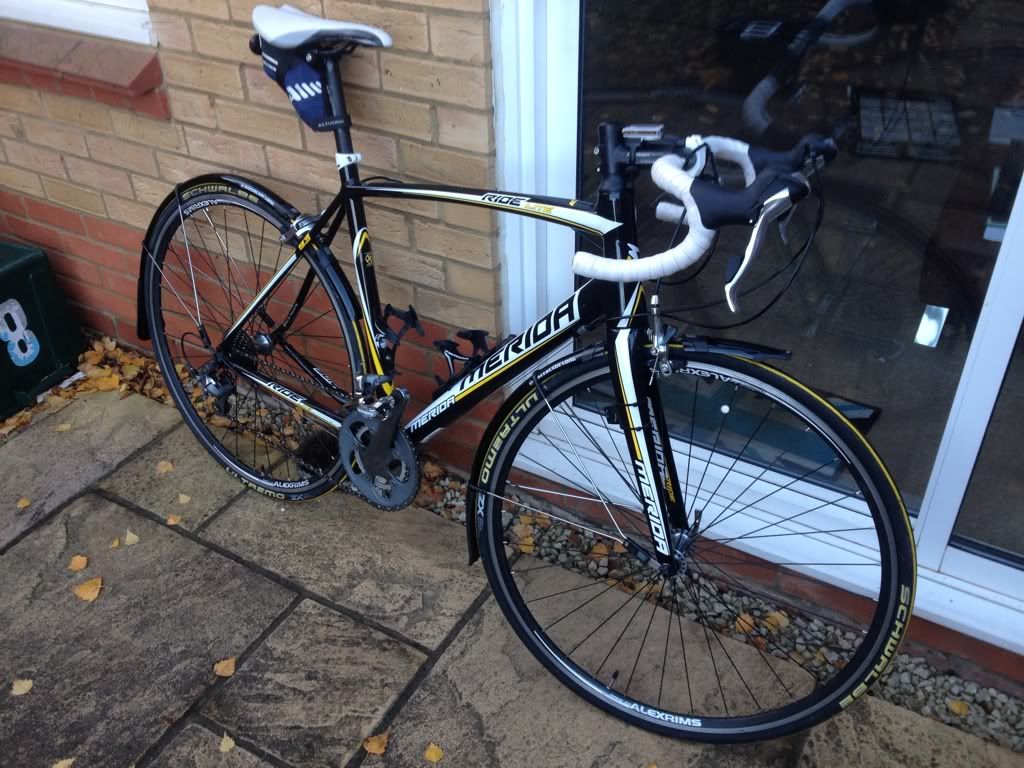
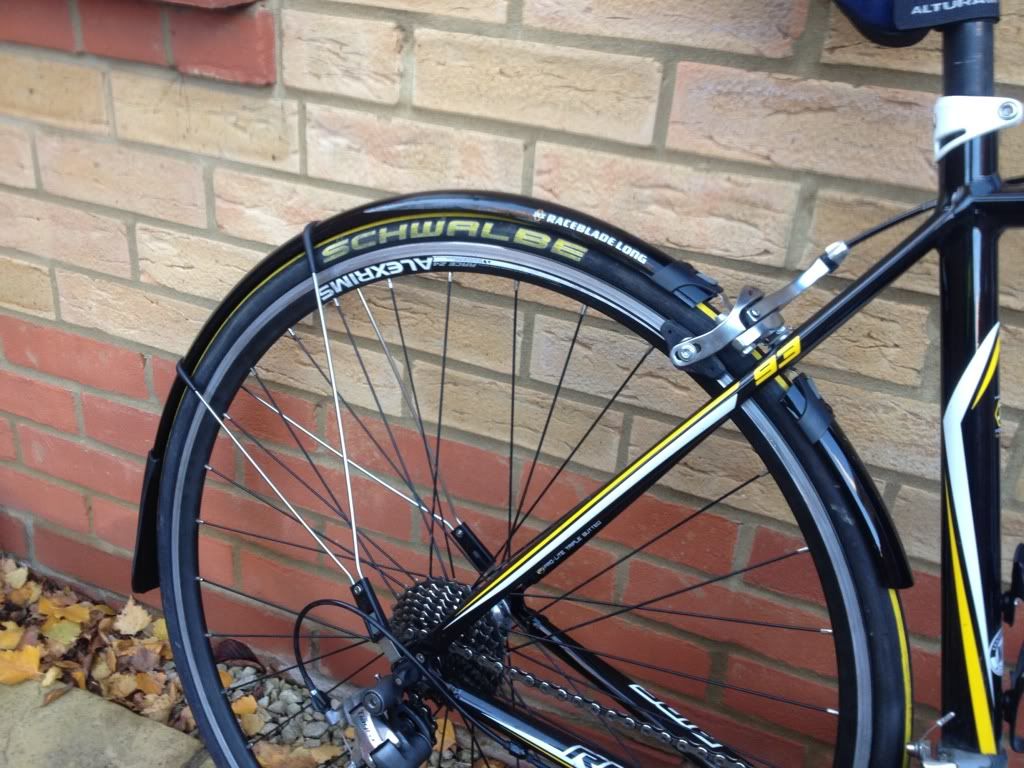
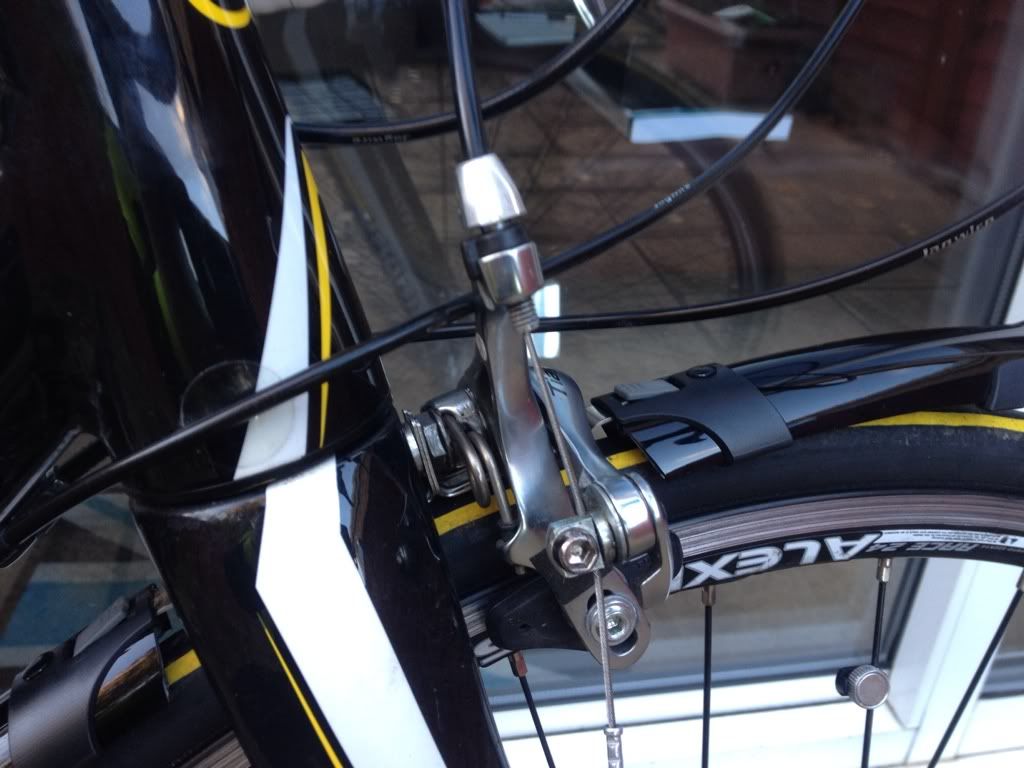
Castelli socks and over shoes. To be tested at 8 tomorrow morning.
:-(
BPC7 said:
I have Gore windstopper light weight overshoes for the dry/cold days and full on neoprene overshoes for the really wet and freezing cold days. Both work very well, never saw the point of woolly socks to go over the shoes to be honest
Neither do I now. Apart from keeping my shoes clean. Which was handy. Easier to wash the socks than the shoes.Markp13 said:
I bought them as overshoes from winstanleys. Along with some merino wool socks. To be fair my toes were warmer than they have been but they were still mighty cold.
What should I be looking at? I did have toe covers on order but they were taking forever so I cancelled them for these.
Oversocks are good for the days when it's not-exactly-warm (for me, 3/4s or knee warmers temperatures) and/or the roads are damp, but not underwater. Then they're great, keeping most of the chill off your toes, and the spray/muck off your shoes. Anything properly cold and/or wet and they're soon useless: overshoes all the way.What should I be looking at? I did have toe covers on order but they were taking forever so I cancelled them for these.
I've both the oversocks you have, some Prenda oversocks (£8, bargain!) and some Gore windstopper soft shell overshoes. All are good. Right now the Gores are utterly amazing


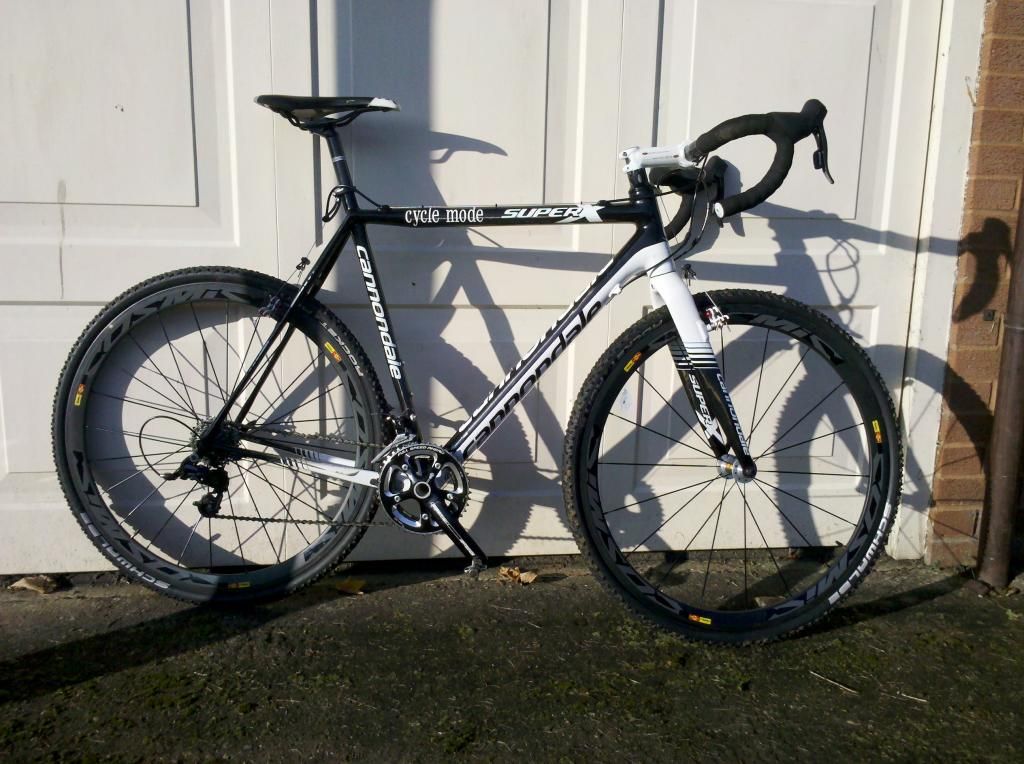
Bit of a mid season spend, a new shiny set of carbon wheels, first race on them today, plenty of tree roots and rough stuff, still true and round, probably the worst course of the season I could have took them to, but all good.
Other item, not quite as exotic, Easton EA90 stem, it's 5mm shorter than the original, but felt so right today. Been looking through a lot of specification lists for the pro's and lots of them seem to use aluminium bar/stem and seatpost for the durability, there isn't really a weight penalty and if it's good enough for Jeremy Powers it's more than good enough for me.
Gratuitous piccy of items fitted to the bike before going and getting it messy today. It's now clean again, thanks to the Clarke pump up washer £12 for 8 litre capacity more than enough to get a cross bike clean, thought that was a bargain last week, much easier than bucket and sponge.
BadgerBenji said:
Bit of a mid season spend, a new shiny set of carbon wheels, first race on them today, plenty of tree roots and rough stuff, still true and round, probably the worst course of the season I could have took them to, but all good.
Other item, not quite as exotic, Easton EA90 stem, it's 5mm shorter than the original, but felt so right today. Been looking through a lot of specification lists for the pro's and lots of them seem to use aluminium bar/stem and seatpost for the durability, there isn't really a weight penalty and if it's good enough for Jeremy Powers it's more than good enough for me.
Gratuitous piccy of items fitted to the bike before going and getting it messy today. It's now clean again, thanks to the Clarke pump up washer £12 for 8 litre capacity more than enough to get a cross bike clean, thought that was a bargain last week, much easier than bucket and sponge.
That looks lovely!Other item, not quite as exotic, Easton EA90 stem, it's 5mm shorter than the original, but felt so right today. Been looking through a lot of specification lists for the pro's and lots of them seem to use aluminium bar/stem and seatpost for the durability, there isn't really a weight penalty and if it's good enough for Jeremy Powers it's more than good enough for me.
Gratuitous piccy of items fitted to the bike before going and getting it messy today. It's now clean again, thanks to the Clarke pump up washer £12 for 8 litre capacity more than enough to get a cross bike clean, thought that was a bargain last week, much easier than bucket and sponge.
Couldn't find a suitable bash / chain suck guard for the c456 i'm building as my winter beater, so a few hrs with some woving and epoxy later:


Hopefully stop help to keep the frame in good order, even when i try to ride over stuff that i don't actually have the skillz to get over............. ;-)
Hopefully stop help to keep the frame in good order, even when i try to ride over stuff that i don't actually have the skillz to get over............. ;-)
CoolC said:
How'd ya make that then? Looks like a very nice piece of kit.
A step-by-step guide is needed
Seconded. I presume you work in composite manufacturing and have an understanding/ not very observant boss! A step-by-step guide is needed
As foy myself, I've got sick and tired of adjusting my cable Tektro Io rear caliper after every 2 or 3 rides, so bought this:
http://www.ebay.co.uk/itm/MAGURA-JULIE-rear-hydrau...
Its actually a Louise not a Julie, as the seller kindly waited until after I'd won it to inform me. I'm not that bothered as I was only after a cheapo rear hydro. Anyone know if it will be a direct swap or will I need a different frame to caliper spacer? I swapped my front Io to an Aguira hydro and it just went straight on but then they were both Tektro calipers.

Been having some rear brake issues on my Whyte, so at the end of last week I bought a universal bleed kit from www.epicbleedsolutions.com (would highly recommend, quick service and a damn quick response to emails).
Having one that and still having issues Ive just been to the LBS and purchased a new set of Aztec pads. Fingers crossed that will be it sorted.
Having one that and still having issues Ive just been to the LBS and purchased a new set of Aztec pads. Fingers crossed that will be it sorted.
mat777 said:
Seconded. I presume you work in composite manufacturing and have an understanding/ not very observant boss!
Not necessarily, you can get carbon fibre kits like this:http://www.carbonmods.co.uk/Products/Carbon-Fibre-...
I used a kit to make a carbon fibre airbox so imagine it could be used to make a mud guard. Might give it a go myself.
CoolC said:
How'd ya make that then? Looks like a very nice piece of kit.
A step-by-step guide is needed
Sorry, i don't work in composites, but i do work in my kitchen.....A step-by-step guide is needed
Make as follows:
You will need:
1) woven carbon cloth - probably about 4 layers of thin stuff (200g/sm etc)
2) epoxy or polyester resin (polyester = cheap but not strong, easy to work with. Epoxy = more expensive but stronger, harder to work with but better finish when you get things right)
3) something to use as a pattern/mould
4) lots of newspapers, some disposable gloves, a small paint brush or two, some plastic cups, some suitable thinners (acetone)
5) an understanding partner or girlfriend with ideally a poor sense of smell.....
Recipe:
1) Cover your pattern in something to ensure you can release the finished part from it, without damaging the pattern or the part. In this case, i used the bike frame as a direct pattern, covered it with electrical insulation tape and then slapped on a couple of coats of release agent to help the moulded part come off it.
2) cut your CF cloth to suit - leaving a nice wide border around the outside (2" or so). if you are doing multiple layers, or complicated load bearing parts, consider varrying the direction of the weave between layers for max strength (really heavily loaded parts need a lot of care/thought in this respect
3) Mix you resin (either by mass or volume depending on the resin system you use) Depending on the type and speed of your hardener(and the ambient temp), your "pot life" will be anywhere between 5mins and 3 hrs. For beginners, long is good as it gives you more time to get it neat! Try not to get too much air mixed in with your resin, ideally leave to stand for a bit to help the air rise to the surface(or really ideally use a vaccum source to de-airate the pot contents!)
4) brush on a thin layer of resin
5) drap the first layer of cloth over the resin, carefully brush on another layer of resin. Carefully working the brush to push the resin into the cloth. As the cloth "wets" you will be able to drape it more easily around complex shapes.
6) repeat with each layer of resin, resisting the temptation to apply too much resin
7) once happy with the layers, i use kitchen clingfilm, carefully draped over the top layer, and i use a small roller tool (and my fingers) to push any excess resin (and air) out of the layers, starting in the middle.
8) for really high strength parts, use a vacuum bagging system to apply pressure to squeeze layers together. Or on a more DIY basis, use another layer of tape to force the layers together or sometime you can use dry sand to help push the cloth (under the cling film!) into the corners of the mould
9) wash up your tools in the thinners, look at your watch
10) retire to pub whilst resin sets (at this time of year, external heat sources (hot air gun/hairdryer (ask GF first before just nicking it!) maybe required to start the setting process (~50degC is ideal)
11) before part sets completely (usually 12-15hrs) remove from mould/pattern (this can sometimes be easier said than done, and might require careful levering with wooden tools (again, ask before borrowing your otherhalfs favourite wooden spoon from the kitchen). Whilst the part is slightly flexible, it is easy to remove without damage
12) post cure part (depends on resin system, can be say 15hrs at 60degC for example)
13) trim part to size
14) depending on how good a job you did, and what environment the part will live in, you may also want to add an extra top coat of laquer or similar to protect it or make it shiney!
15) sit back and congratulate yourself on a nice little job well done (again, i find beer helps at this point!)
simples ;-)
Gassing Station | Pedal Powered | Top of Page | What's New | My Stuff