Moto Guzzi Cali Cafe Racer Build thread
Discussion


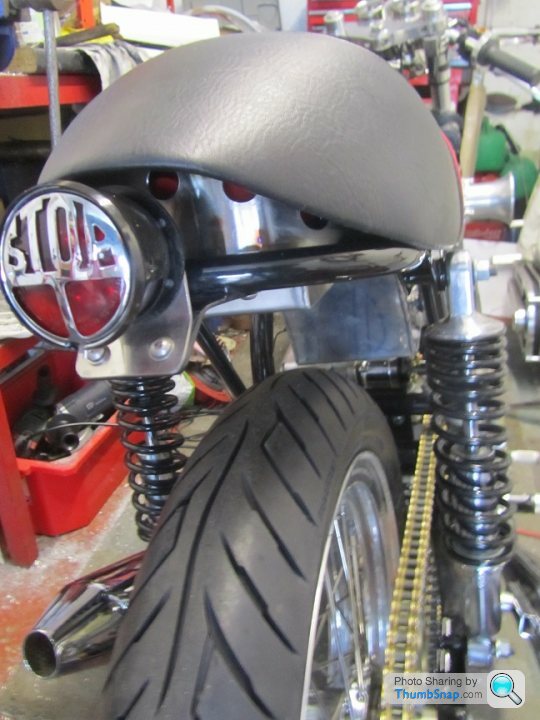
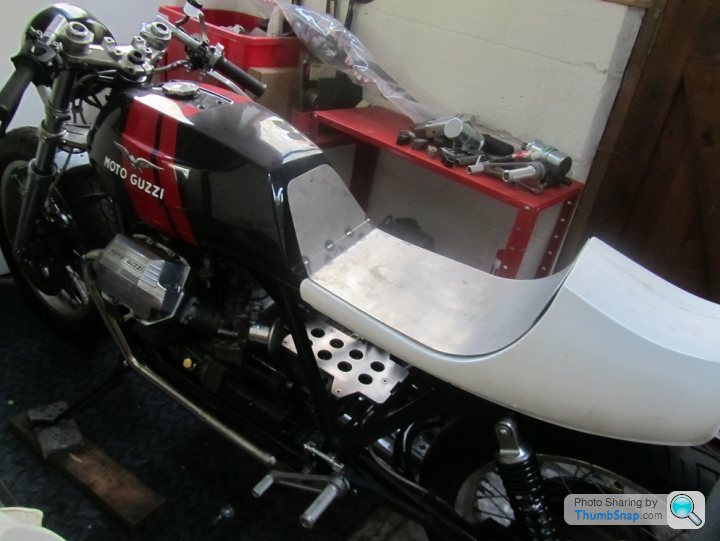
I made a few templates from cardboard until I came up with something that looked right, and with the brackets welded on this morning, it just needs a little finishing and its done.. a 'Tiara' for the bike, to make the bright orange battery a little less obvious, and finish off the under seat area.. 
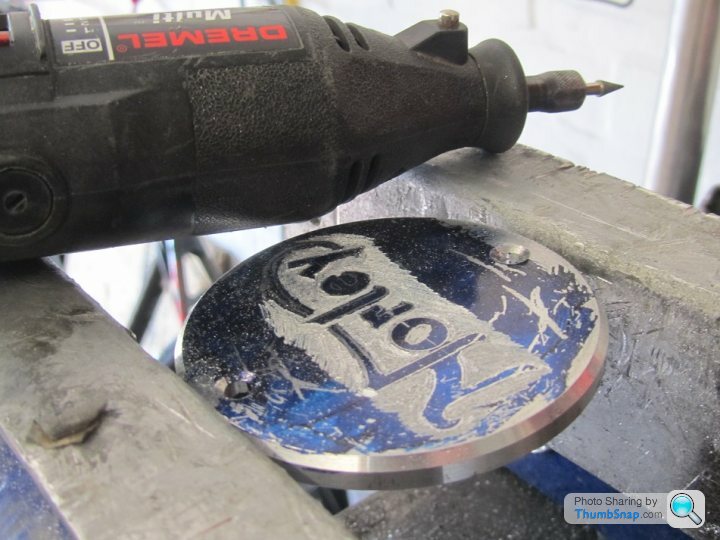
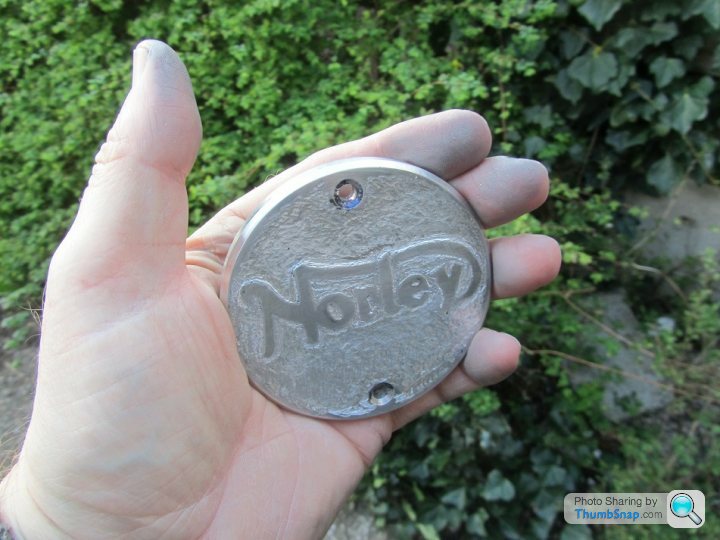
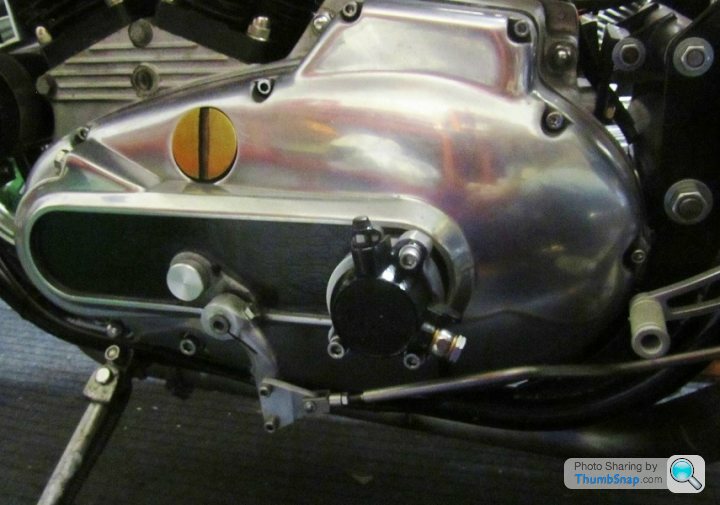
While I wait for a few parts to arrive, time for some arty farty stuff. I wanted to add some sort of logo or image to the points cover. After some thought, I decided on the simple Norley logo, and used a scribe and ink to mark it on to the cover. I did a test on the back of the cover, trying to carve the letters into the alloy using my trusty Dremel. Then trying again this time carving away the spaces around the letters to leave them standing proud. The second option seemed the easiest, so that's what I went for. If it turned out cr*p I could always skim it smooth again, or make a new cover..
Had to finally think about the dreaded electrics. I hate electrics, dunno why, just never bothered with it. Made a start by replacing the points ignition with a single fire electronic 'in cone' ignition. Wasn't too difficult once I'd got my head around the instructions. Spent along time working out the wiring diagram, think I've got something that will work, now waiting on a delivery of wires, connectors, heat shrink and relays..
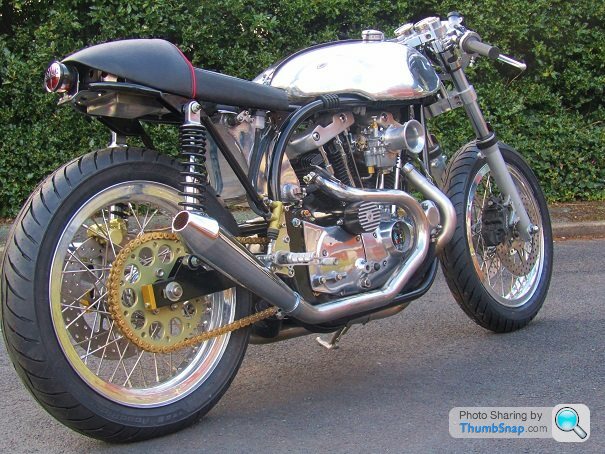
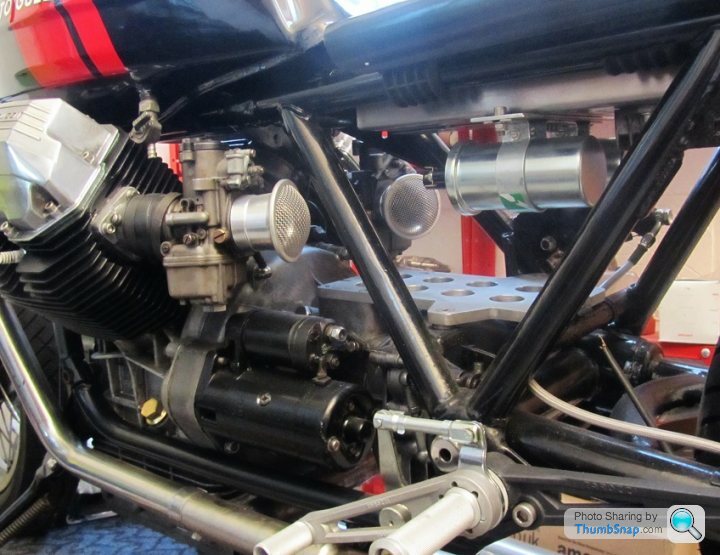
I settled on the type of oil line to use.. braided steel and those lovely blue and red anodised fittings would usually be my default choice, but that was too modern, while simple black nitrile hosing seemed a little too plain and low rent. So I went for over braided nitrile tubing with stainless clamps.
The oil filter mount placed the oil lines too close the chain for comfort, so it was modified to angle the lines down to clear the chain. Its a bodge for now, using a short bracket with the original billet mounting plate, its something I'll revisit another time.
With the oil lines done, that allowed the sprocket cover to be fitted (left it undrilled for now), and the exhaust which needed some last minute work to give more clearance from the frame tubes. The front pipe is still close to the down tubes, but should be ok.
Still being held up waiting for the promised brake lines, but getting them at mates rates so shouldn't really complain.
Here's a short vid I took this evening, in a couple of weeks hope to have it running at last.
http://youtu.be/SE-o0zMiv7E
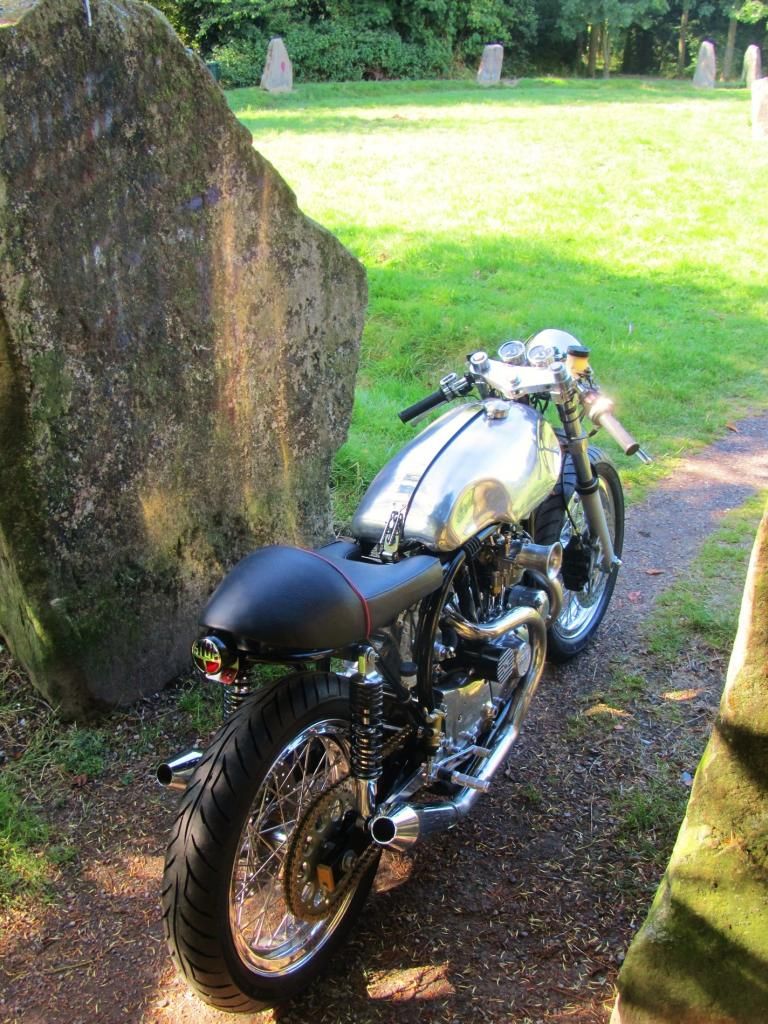
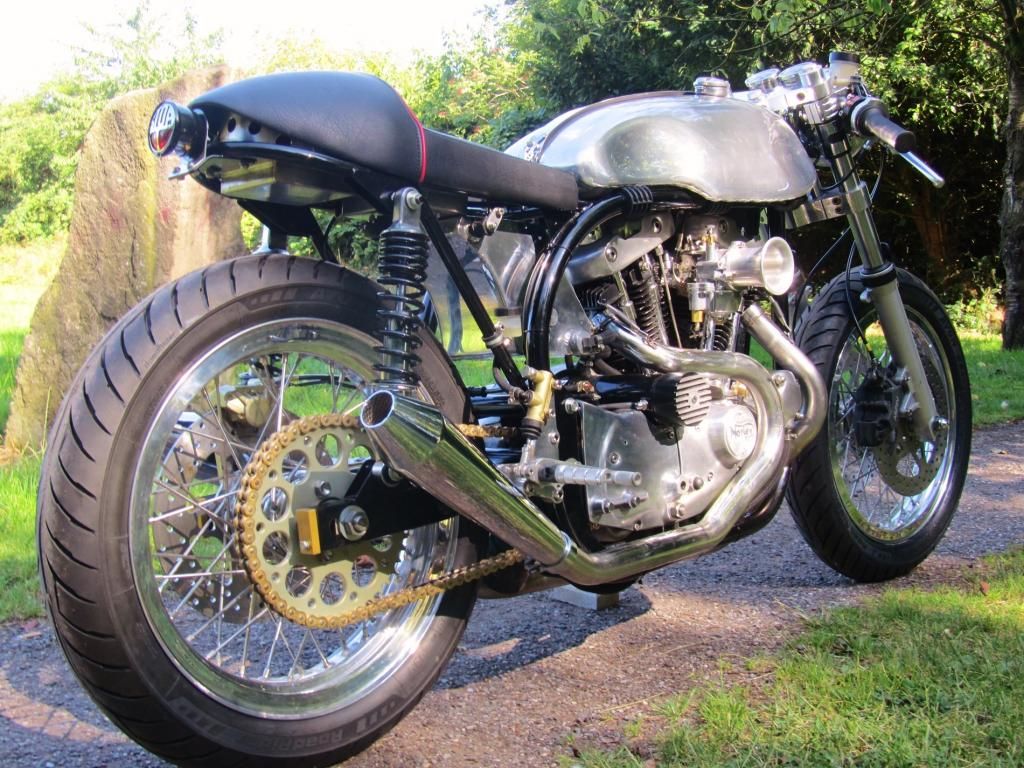
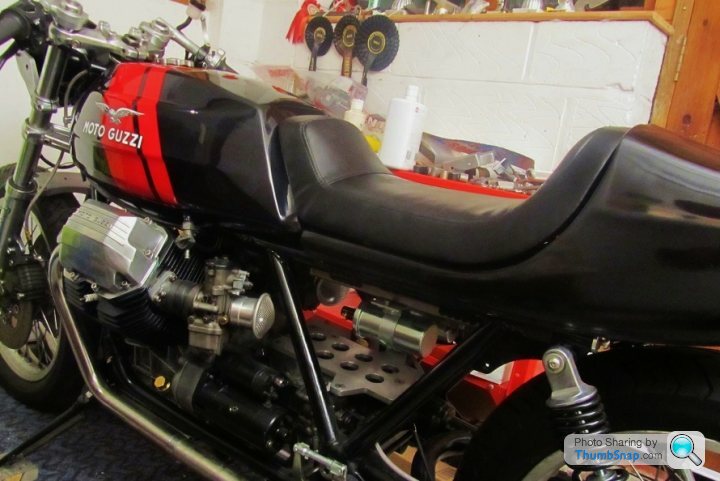
Got the electrics done, had to rebuild the clutch and brake master cylinders, still a few things I want to improve, but its finished for this year at least. I took it to a place near me with a circle of standing stones and took some pics before I got told off. Already started a new project.
So here's an ancient artefact next to some stones..
So here's an ancient artefact next to some stones..


They say custom bikes are never really finished, as there's always something that could be improved or changed in the light of riding the thing. So it is with my Norley. Before I start on my next big project I want to fix a couple of issues, the main one being the heavy clutch. The clutch activation is a one off hydraulic system, using a master cylinder from a Honda VTR1000 and slave cylinder from a Ducati 900 Monster, with a custom billet housing. When we made it, I knew it was an experiment and there was a good chance the ratio of Master to Slave wouldn't be perfect when used on an old Harley engine. Sure enough it turned out to be very heavy, too heavy for me, particularly if I was ever caught in slow moving traffic for more than a short time. Also the bleed nipple was part of the banjo bolt fitting, which made bleeding the system very difficult, unless I could somehow tip the bike on its side, which I couldn't.
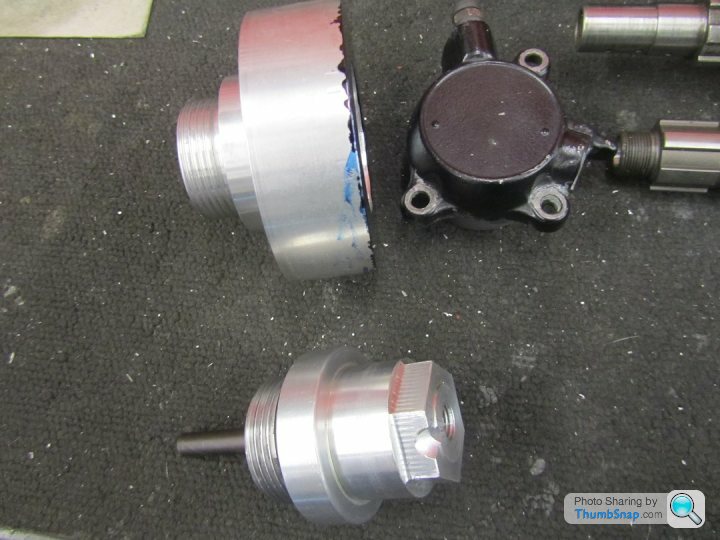
Time to make a Mark 2 version..The Ducati Slave is 26mm in diameter, so to make an lighter clutch, it would need to be replaced with a bigger diameter slave. How much bigger ? No idea ! So I went with a Honda 36mm Slave cylinder to match the Honda master.
For this Mark 2 version I wanted to avoid making a completely unique slave body, because if it failed/wore it would be a lot of work to make a new one. Much better if I could use the standard Honda part and just make some kind of adaptor to fit it to the Harley.
So that's what we did, here's the new version roughly machined with its thread just cut by a proper machine shop (cost me a packet of Mr Kipling mince pies ..) as we couldn't do that bit. Before the holes were drilled to mount the Honda Slave, I took it home and screwed it tight to the engine case and noted where to position the slave so it was orientated correctly.
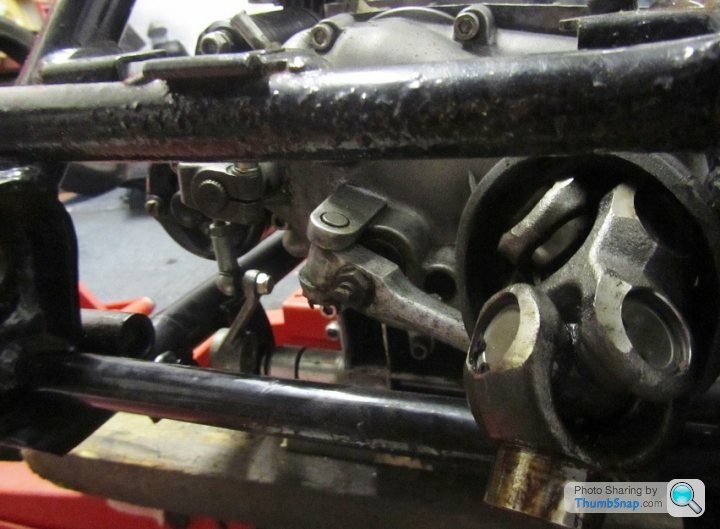
Before I did anymore work on the adaptor I wanted to make sure it all worked, but when I came to bolt up the clutch hose, I found it wouldn't fit the new banjo location, so had to order a new hose from HEL, which arrived in a few days. That gave the time to shape the adaptor to match the profile of the slave cylinder and to take some weight off, and add a bronze bush to guide the now longer pushrod. Just hope it worked after all this effort..
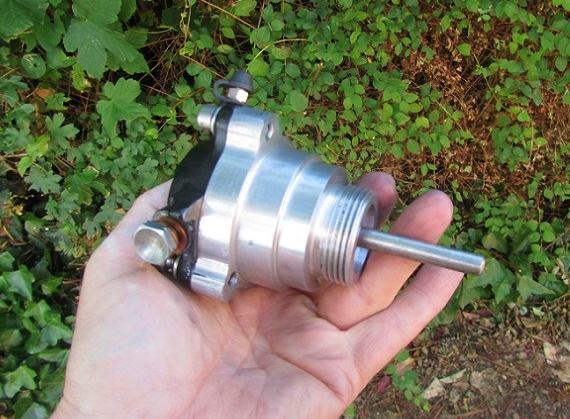
The new clutch line arrived yesterday, so once fitted I spent ages bleeding the system until the lever firmed up and it all seems to work well. The lever effort is now much lighter as expected, while there is enough movement in the slave cylinder to disengage the clutch. It'll be awhile before I can try it out on the road, but I'm happy with the change so far. I may polish the slave cylinder or have it anodised maybe over the winter..
It will be four years next month since I bought the Guzzi Cali 3,and its still not done, about time I got on with it..
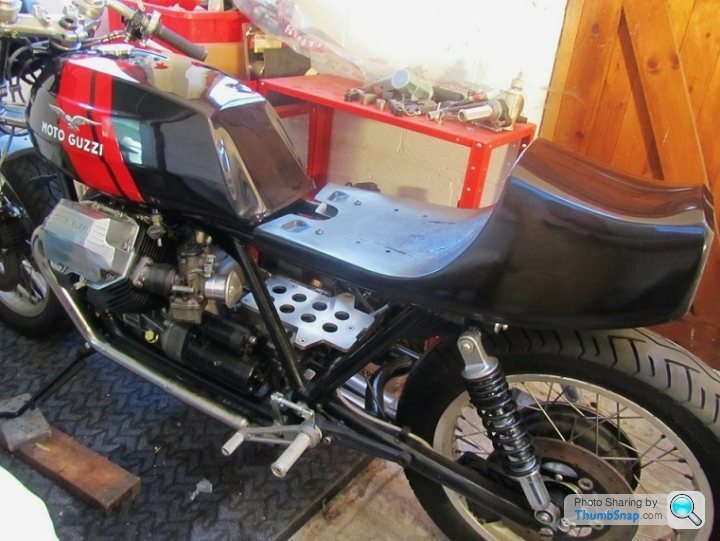
The first job was to do something about the seat unit, how to mount it to the frame and make a seat base to be upholstered.
When I cut off the old frame brackets and tabs I went a bit far and now I wish I'd left the seat mounts in place, as they would've made life much easier. In addition, with the seat unit resting on the frame rails the seat is too low, I now realise why all the Guzzi specials I see online have a slightly awkward looking seat which sits an inch or two above the frame rails.
The best option would be to strip the bike down again, get the frame welded as needed, which would then require it to be powder coated again, then finally put it all back together. All that's a lot of hassle and more importantly more expense, so I had to look at alternatives.
But first the lump moulded into the Rickman seat unit had to go, it didn't take long to cut it out, I'll fibreglass over the resulting hole later. To lift the seat a bit without welding brackets on the frame, I cut up an old foam floor tile and sandwiched and inch or so of the foam between the underside of the seat unit and the stainless plate I'd made ages ago to strengthen the seat. This lifted the seat unit just enough..
I want to use a lithium battery on the Guzzi, hiding inside the seat hump which would need to be mounted to the frame somehow. While the seat unit itself would need supporting too, all without welding any extra brackets to the frame... 
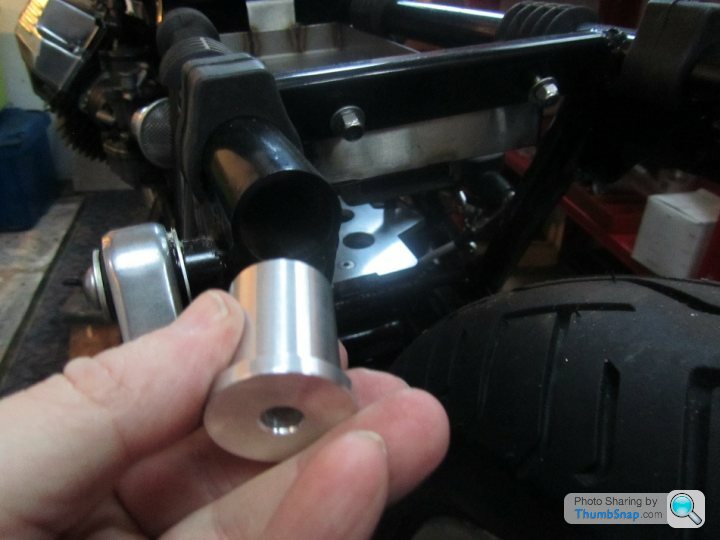
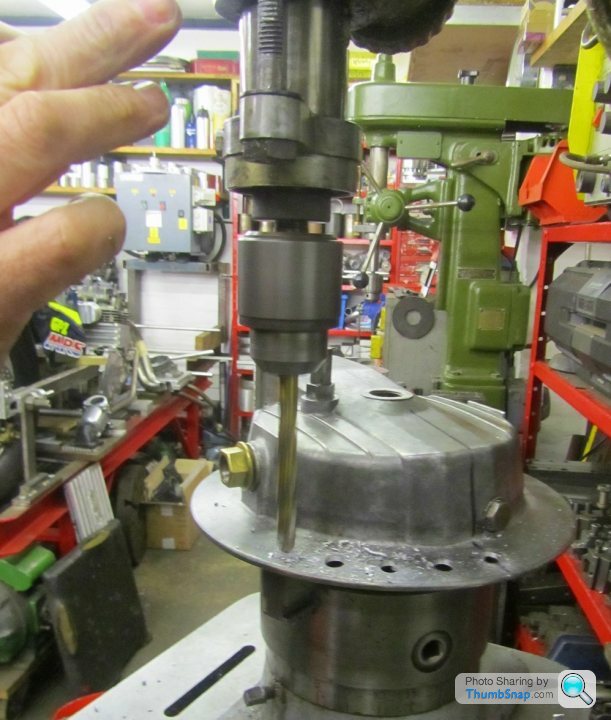
soooo I had an idea ...make two threaded bungs, slightly tapered for a very tight interference fit into the back of the frame rails (which had been cut and shortened when I had hacked up the frame back when I first started this project many years ago..)
They don't quite fit as is as planned, but they're in the freezer overnight and hopefully with a big hammer they'll fit securely into the frame rails tomorrow. If that works then the battery mount can be made to bolt to these two threaded bungs..
soooo I had an idea
...make two threaded bungs, slightly tapered for a very tight interference fit into the back of the frame rails (which had been cut and shortened when I had hacked up the frame back when I first started this project many years ago..)They don't quite fit as is as planned, but they're in the freezer overnight and hopefully with a big hammer they'll fit securely into the frame rails tomorrow. If that works then the battery mount can be made to bolt to these two threaded bungs..
The hole in the seat unit has been fibreglassed over, it looks a bit rough and ready, but I tell myself no one but me will see it, as the seat will hide it from view. Then I rattle can sprayed and lacquered it, looks ok and the metallic black is a good match for the tank, turned out to be a Vauxhaul colour. It still needs more work cutting back and polishing, which I'll do in a few days when the lacquer has hardened.
Next the replacement Lucas coils needed a home - one of the originals was cracked, so Lucas coils were bought as a much cheaper replacement. I mounted them on a simple alloy bracket bolted to the underside of the electrics box.
I cant finish mounting the seat unit until the seat comes back from being upholstered, no idea how long that will be, probably have to wait until early Jan. I still need to find a rear light which will look the part, some kind of square-ish LED lamp would be ideal.
Megaflow said:
Looks good. What have you done with the monster battery Moto Guzzi use
I intend to use a much smaller Lithium battery, probably a Ballistic, as the last Shorai I bought didn't last long. The Ballistic I have on my Ironhead turns it over no problem, which is a similar pushrod 1000cc v twin. As for location, guess there are three options .. 1) Under the gearbox 2) On top of the gearbox or 3) in the seat hump. I'll probably go for no 3, as it will keep the wiring tidy and mostly out of view. The cheap frame powder coating I had done a couple of years ago, was a mistake, should've used Triple S. Despite the bike not seeing the road yet, corrosion is breaking through all over the frame...
There's nothing that can be done, except strip the bike down and have the frame powder coated correctly. Surprisingly I'm not too bothered about this, as it gives me the excuse to revisit areas I wasn't too happy about and to make improvements here and there.
I made a start today stripping the bike down, got most of the work done, just need some help to lift the frame away from the engine. Its not heavy, but the engine / gearbox isn't too stable on the lift, so better safe than sorry.
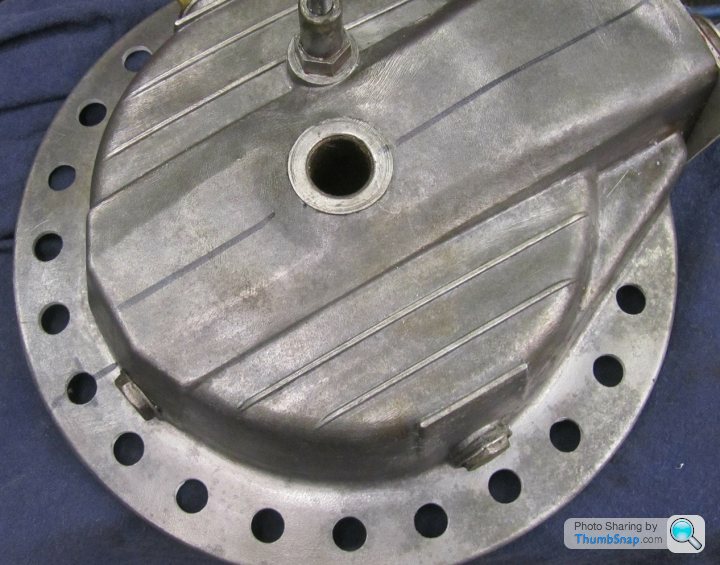
That done, and after a well earned tea break, I made a start on one of the improvements I wanted to make. The first step was to make a simple plate to protect the bevel box when its bead blasted to clean its surface. I'll need to go and buy a nice cake as a bribe/payment when I go to the local machine shop where they'll hopefully let me use their blasting cabinet.
There's nothing that can be done, except strip the bike down and have the frame powder coated correctly. Surprisingly I'm not too bothered about this, as it gives me the excuse to revisit areas I wasn't too happy about and to make improvements here and there.
I made a start today stripping the bike down, got most of the work done, just need some help to lift the frame away from the engine. Its not heavy, but the engine / gearbox isn't too stable on the lift, so better safe than sorry.
That done, and after a well earned tea break, I made a start on one of the improvements I wanted to make. The first step was to make a simple plate to protect the bevel box when its bead blasted to clean its surface. I'll need to go and buy a nice cake as a bribe/payment when I go to the local machine shop where they'll hopefully let me use their blasting cabinet.
Gassing Station | Biker Banter | Top of Page | What's New | My Stuff