Discussion


Some money spent in the last few weeks.
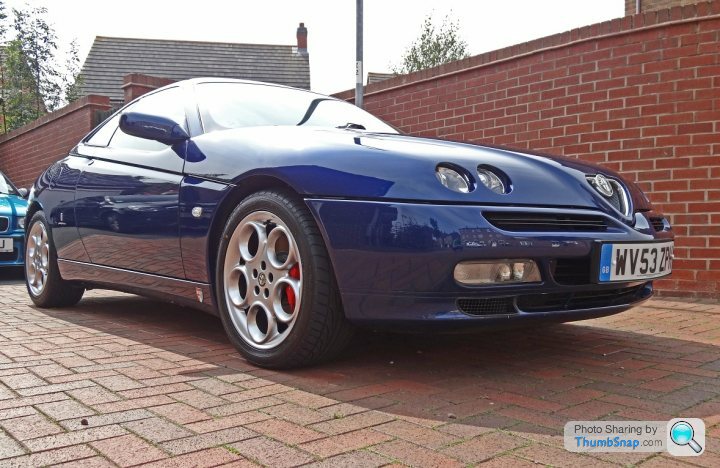
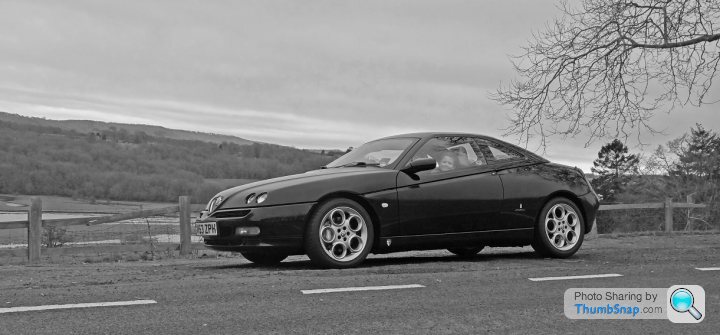
Wasn't happy with the condition of the 17" Teledials but not easy to find sets. After a bit of searching I found a set that were straight but needed a refurb - finished in light shadow chrome so not as per original but really happy with the finish - fitted a new set of FK452's as well - good deal at £600 all in
I'd noticed a faint knock when on right hand lock and suspected an inner CV joint, as this is beyond my capabilities I booked it in to the Simplyalfas in Stourbridge, they confirmed my thinking but I also asked them to give the car a full check and draw up a list of what they felt was needed.
I had already bought a set of slightly lower Eibach springs and rear shocks so wanted new front shocks as well.
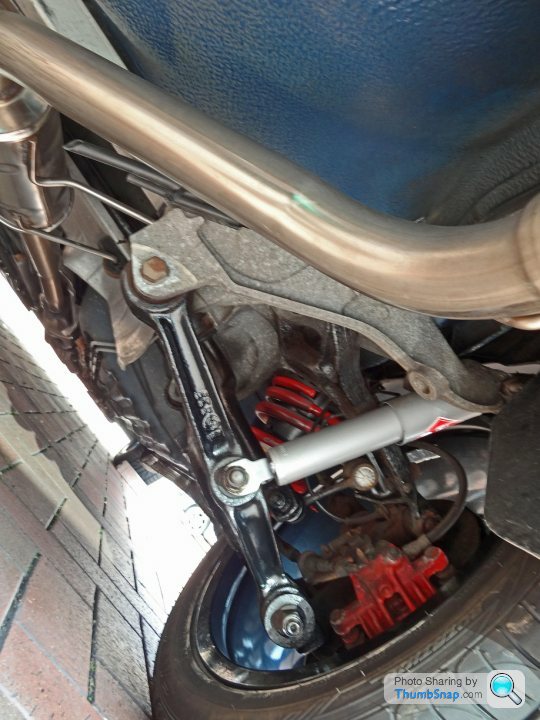
Eventual list ran out to being:
Inner CV joint
Fitting Eibach springs
Fitting rear shocks
Supply and fit of Koni front shocks
Supply and fit Brembo front discs and pads
Supply and fit front anti roll bar drop links
Supply and fit front anti roll bar (bushes aren't available so no choice but whole new bar)
Supply and fit new rear bump stops
Supply and fit new front shock boots
Grand total of £1,409 invested (not cost - somehow makes it easier to justify) but now mechanically 100%, Simplyalfas are a truly great Alfa specialist
Drives fantastically now and nice to know it has been given a thorough look over and sorted


Wasn't happy with the condition of the 17" Teledials but not easy to find sets. After a bit of searching I found a set that were straight but needed a refurb - finished in light shadow chrome so not as per original but really happy with the finish - fitted a new set of FK452's as well - good deal at £600 all in
I'd noticed a faint knock when on right hand lock and suspected an inner CV joint, as this is beyond my capabilities I booked it in to the Simplyalfas in Stourbridge, they confirmed my thinking but I also asked them to give the car a full check and draw up a list of what they felt was needed.
I had already bought a set of slightly lower Eibach springs and rear shocks so wanted new front shocks as well.
Eventual list ran out to being:
Inner CV joint
Fitting Eibach springs
Fitting rear shocks
Supply and fit of Koni front shocks
Supply and fit Brembo front discs and pads
Supply and fit front anti roll bar drop links
Supply and fit front anti roll bar (bushes aren't available so no choice but whole new bar)
Supply and fit new rear bump stops
Supply and fit new front shock boots
Grand total of £1,409 invested (not cost - somehow makes it easier to justify) but now mechanically 100%, Simplyalfas are a truly great Alfa specialist
Drives fantastically now and nice to know it has been given a thorough look over and sorted
New job commenced today.
Car has a black and tan interior and I have never really got on with the grey cloth pillars and headlining so decided to tackle it
Stripped out A, B and C pillars plus the complete headlining and going to re-trim them all in black cloth
Car came with grey sunvisors and grab handles, black sets are quite rare but chanced upon a complete set that cost me £35 delivered.
Stripping everything out was fairly straightforward apart from the C pillars that had 4mm hex bolts that had to be accessed from the boot - absolute swine to get to and totally unnecessary
None of the panels to be trimmed are exactly straightforward but what the heck, if you don't try these kind of things you'll never pick up new skills
Edited by Andy665 on Monday 15th October 20:55
 I used to take mine to SimplyAlfas, great bunch of guys and wouldn't hesitate to recommend them. Still ask them to do bits and pieces on my other cars even now...!
Andy665 said:
None of the panels to be trimmed are exactly straightforward but what the heck, if you don't try these kind of things you'll never pick up new skills
If only more people thought this rather than throwing in the towel assuming they cannot do something. You either sink or swim. But if you manage it there is a great sense of satisfaction on completion and knowing you've saved yourself a lot of money too.
JFReturns said:
This car is gorgeous. Video of exhaust / engine sound please!
This was pre remap by Gus at Alfatune which has totally transformed the carhttp://s973.beta.photobucket.com/user/milano67/med...
Well I now know that a normal material cannot be used to cover a headlining.
Creased quite badly so ended up stripping off the headlining off the fibre board and all of the foam - slow job but needed to get it back to bare board, also stripped off the coverings off the A, B and C pillars in preparation for the foam backed black nylon material being delivered tomorrow
Ordered proper headlining material that is stretchy to allow for recesses etc so hoping it will go on ok
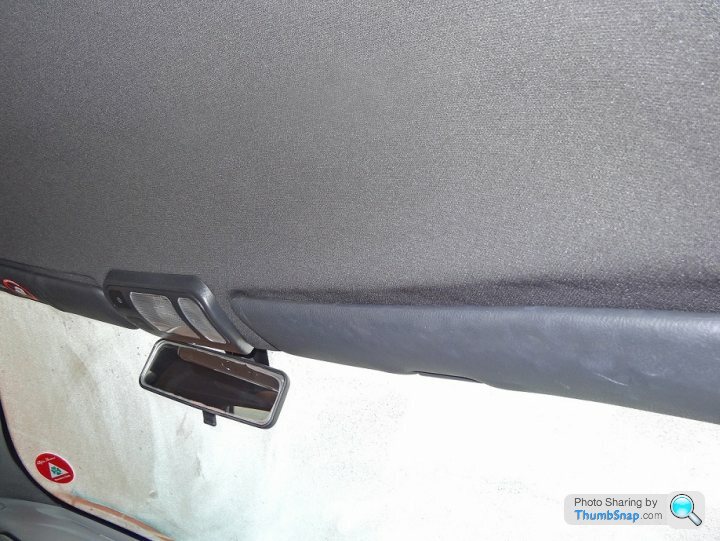
Finished the headlining this morning - bigger job than I first imagined but considering I have never trimmed anything in my life before I am happy with the results.
As standard it cam with a light grey headlining and covering on A, B and C pillars, always thought it looked odd as rest of the interior is tan and black - knew one day it would need to be done - it was in perfect condition but I just did not like it.
I had quotes for it be done but could not justify the £250 - 300 I was quoted so no option but to roll my sleeves up and do it myself.
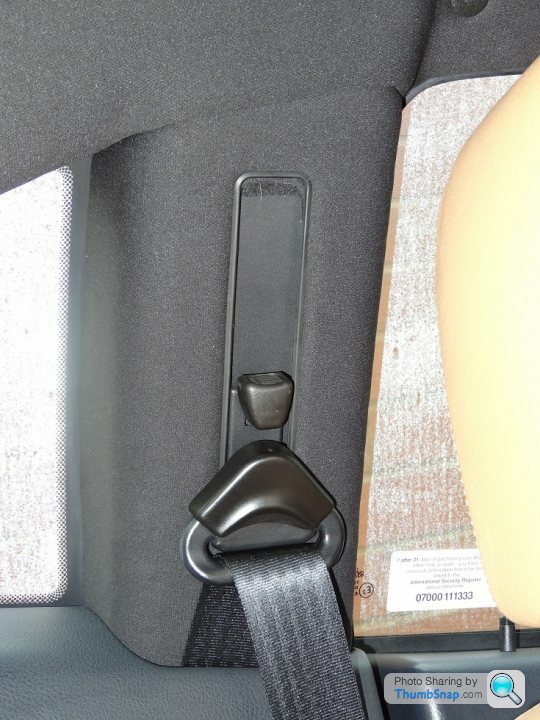
Stripping everything out was relatively easy apart from the C pillars. For some unknown reason Alfa decided to secure them with two 4mm nuts, one behind the rear quarter panel trim and one in the boot that was easily accessible if you have two left hands. each with seven fingers about 14 inches long.
Once removed it was the slow, laborious job of removing the existing trim, everything was still stuck firmly down so it was just a case of pulling off the nylon lining and then scraping away the foam with a wallpaper scraper, being especially careful with the headlining as its only fibreboard so easily damaged.
Once stripped of all foam everything was sanded down to remove any small imperfections - again time consuming but I knew the key to a decent end result was a good level of prep.
Textured nylon with a foam backing together with spray adhesive was ordered from here http://www.as-trim.co.uk/ - not the cheapest but good service and the proper materials to do the job properly.
I started with the A pillars, not having any idea of what techniques there were to get the best results I applied some common sense and logic and took things nice and steadly. I decided the best course of action was to spray the panels rather than the material, leave it for 10-15 secs and then worked from the centre out, firstly making sure that the visible parts were crease free. I knew form a little practice with small samples that once the material was on there was no chance of lifting it up and trying again - if I made a mistake that piece of material was scrap.
Once the visible parts were finished it was a case of trimming the returns and tidying, time consuming but satisfying to get it done properly
The B pillars were relatively straightforward, the C pillars more tricking because of the returns and creases etc but the part I was dreading was the headlining itself, by far and away the biggest panel.
After much pondering I decided to start with the rear section and do it in foot long sections, spraying and applying the material until the full panel was covered and then doing all the edges.
The headling shape on a GVV is quite complex with recesses for grab handles, sunvisors, interior light and a full width crease half way back - thats why I bought proper headlining material as it has a bit of "give" to allow for this kind of thing.
Halfway through this panel I stupidly sprayed some adhesive on one of the sections of material that I had applied, fortunately Auto Finesse Tar and Glue remover was to hand, a quick spray and rub with a nylon brush removed the glue with no ill effects.
Once everything was trimmed it was then simply a case of re-fitting everything. The car originally had grey sunvisors, grabhandles and locating plugs in grey, only a small number of GTVs ever came with them in black but I was incredibly lucky to locate a used but mint complete set of everything bar the locating plugs for £35. The locating plugs were sourced from my local Fiat dealer, same part number as the Alfa items but half the price
Heres the results, not 100% perfect but I'm very happy with it - all done for about 1/3 of the cost of having it done by a trimmer but immensely more satisfying than simply writing a cheque


As standard it cam with a light grey headlining and covering on A, B and C pillars, always thought it looked odd as rest of the interior is tan and black - knew one day it would need to be done - it was in perfect condition but I just did not like it.
I had quotes for it be done but could not justify the £250 - 300 I was quoted so no option but to roll my sleeves up and do it myself.
Stripping everything out was relatively easy apart from the C pillars. For some unknown reason Alfa decided to secure them with two 4mm nuts, one behind the rear quarter panel trim and one in the boot that was easily accessible if you have two left hands. each with seven fingers about 14 inches long.
Once removed it was the slow, laborious job of removing the existing trim, everything was still stuck firmly down so it was just a case of pulling off the nylon lining and then scraping away the foam with a wallpaper scraper, being especially careful with the headlining as its only fibreboard so easily damaged.
Once stripped of all foam everything was sanded down to remove any small imperfections - again time consuming but I knew the key to a decent end result was a good level of prep.
Textured nylon with a foam backing together with spray adhesive was ordered from here http://www.as-trim.co.uk/ - not the cheapest but good service and the proper materials to do the job properly.
I started with the A pillars, not having any idea of what techniques there were to get the best results I applied some common sense and logic and took things nice and steadly. I decided the best course of action was to spray the panels rather than the material, leave it for 10-15 secs and then worked from the centre out, firstly making sure that the visible parts were crease free. I knew form a little practice with small samples that once the material was on there was no chance of lifting it up and trying again - if I made a mistake that piece of material was scrap.
Once the visible parts were finished it was a case of trimming the returns and tidying, time consuming but satisfying to get it done properly
The B pillars were relatively straightforward, the C pillars more tricking because of the returns and creases etc but the part I was dreading was the headlining itself, by far and away the biggest panel.
After much pondering I decided to start with the rear section and do it in foot long sections, spraying and applying the material until the full panel was covered and then doing all the edges.
The headling shape on a GVV is quite complex with recesses for grab handles, sunvisors, interior light and a full width crease half way back - thats why I bought proper headlining material as it has a bit of "give" to allow for this kind of thing.
Halfway through this panel I stupidly sprayed some adhesive on one of the sections of material that I had applied, fortunately Auto Finesse Tar and Glue remover was to hand, a quick spray and rub with a nylon brush removed the glue with no ill effects.
Once everything was trimmed it was then simply a case of re-fitting everything. The car originally had grey sunvisors, grabhandles and locating plugs in grey, only a small number of GTVs ever came with them in black but I was incredibly lucky to locate a used but mint complete set of everything bar the locating plugs for £35. The locating plugs were sourced from my local Fiat dealer, same part number as the Alfa items but half the price
Heres the results, not 100% perfect but I'm very happy with it - all done for about 1/3 of the cost of having it done by a trimmer but immensely more satisfying than simply writing a cheque
That is nice, and for the money you paid fantastic. I have always fancied one of the "cup" ones, but that god-awful bodykit on them always put me off. Seemed a shame to have if professionally removed. I adore the shape, just like I do the Fiat Coupe, but both those cars can be ruined by the horrific bodykits Fiat and Alfa offered! Both those shapes are timeless, best not f*** with them.
Furyblade_Lee said:
That is nice, and for the money you paid fantastic. I have always fancied one of the "cup" ones, but that god-awful bodykit on them always put me off. Seemed a shame to have if professionally removed. I adore the shape, just like I do the Fiat Coupe, but both those cars can be ruined by the horrific bodykits Fiat and Alfa offered! Both those shapes are timeless, best not f*** with them.
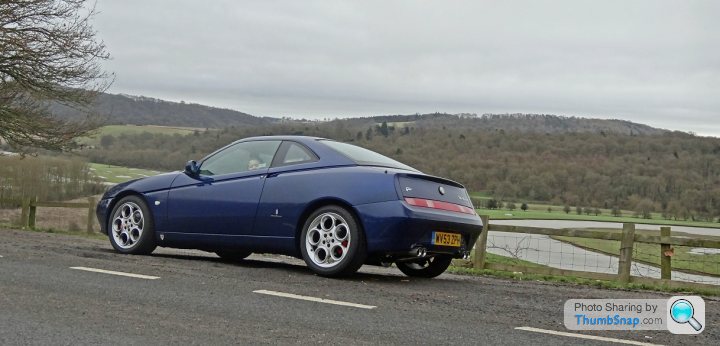
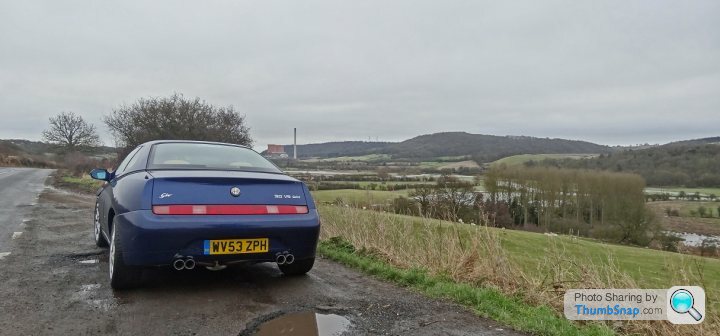
It would be pointless buying a Cup and then removing the bodykit as they are mechanically identical to the V6 GTV was taken off SORN on Friday so nipped out for a quick shakedown drive this morning and managed to grab a few pics

Managed to get a half decent soundclip of the exhaust as well
http://www.youtube.com/watch?v=rHgv0XHUWxg
Managed to get a half decent soundclip of the exhaust as well
http://www.youtube.com/watch?v=rHgv0XHUWxg
Andy665 said:
GTV was taken off SORN on Friday so nipped out for a quick shakedown drive this morning and managed to grab a few pics
Managed to get a half decent soundclip of the exhaust as well
http://www.youtube.com/watch?v=rHgv0XHUWxg
Lovely, lovely GTV.Managed to get a half decent soundclip of the exhaust as well
http://www.youtube.com/watch?v=rHgv0XHUWxg


Gassing Station | Readers' Cars | Top of Page | What's New | My Stuff