Pics of your models, please!
Discussion


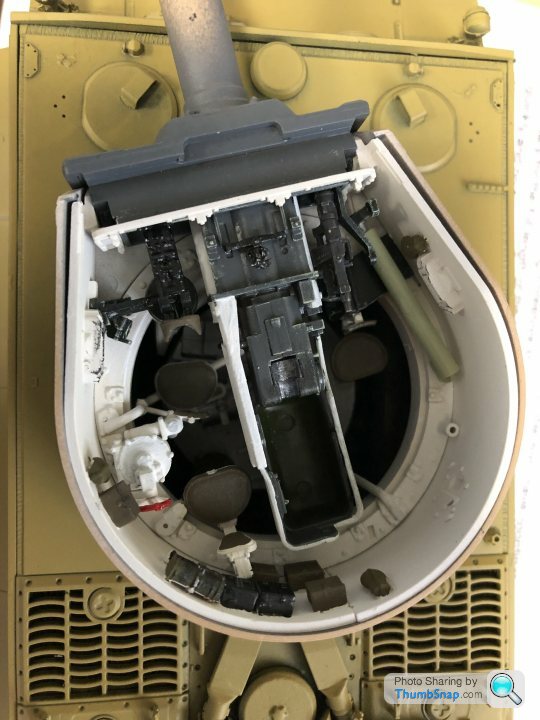
Takom 1/35 Tiger 1 mid production comes with a bit of detail on the inside of the front glasis plate, very little of which will be visible once completed, and nice engine fans which will only be partially visible.
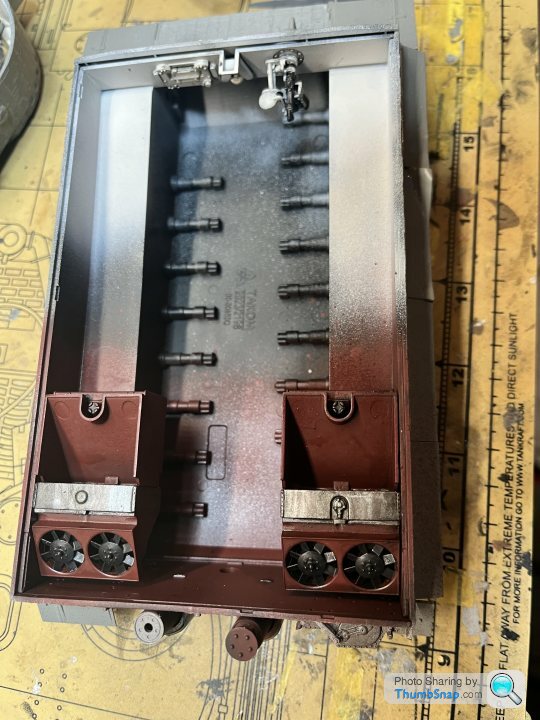
The main gun breach is also nicely detailed, again only visible if the hatches are open and unobstructed.
The only trouble is the fans make the top hull plait a real pain to fit, I suspect Takom have gone for a tight tolerance, whereas even a massive gap would be invisible. I’ve got the three pack of this boxing, I may try to fit the fans to the upper hull plate first rather than the lower hull as shown in the instructions.
gruffgriff said:
robemcdonald said:
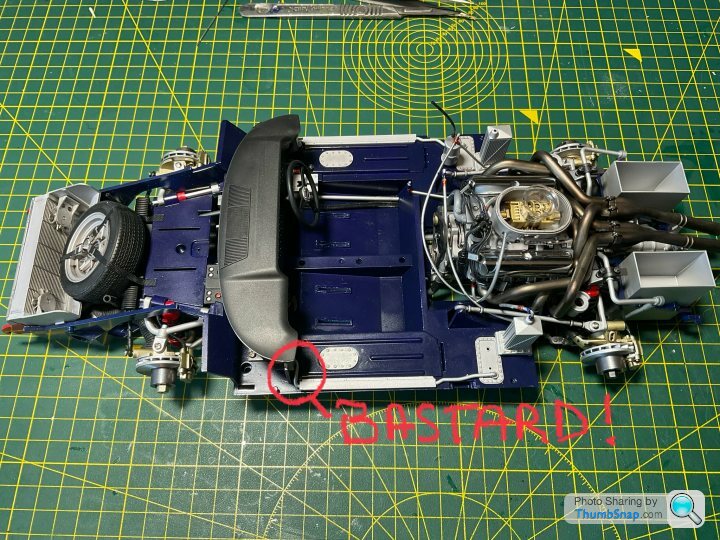
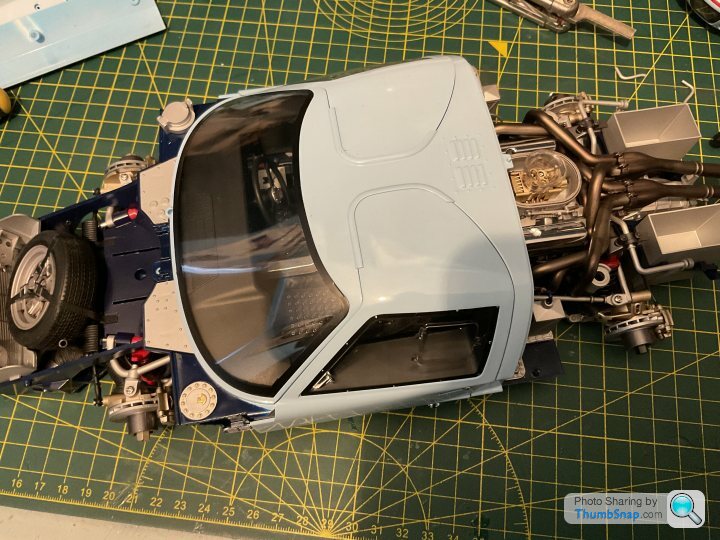
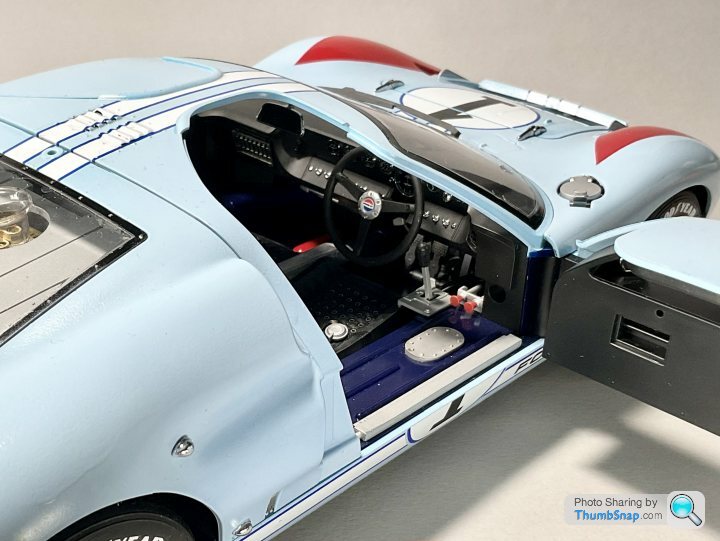
I might end up having to slightly reshape the doors, which means repainting them
STEP AWAY FROM THE THING!!You've got it in front of you but to me the pics show doors that shut in scale like a 60's fibreglass bodied racer.
It looks bloody ace. Feliing lucky, punk?
I’ll start the decals at some point later today.
MBBlat said:
Takom 1/35 Tiger 1 mid production comes with a bit of detail on the inside of the front glasis plate, very little of which will be visible once completed, and nice engine fans which will only be partially visible.
The main gun breach is also nicely detailed, again only visible if the hatches are open and unobstructed.
Is it possible to push fit the turret top?The main gun breach is also nicely detailed, again only visible if the hatches are open and unobstructed.
That’s what I did with my RyeField Tiger 1. I cemented the smoke launchers to the top and left them unglued at the bottom which mean they ‘grip’ the turret sides.
Stick Legs said:
Is it possible to push fit the turret top?
That’s what I did with my RyeField Tiger 1. I cemented the smoke launchers to the top and left them unglued at the bottom which mean they ‘grip’ the turret sides.
It might have been possible, but the tops glued on now.That’s what I did with my RyeField Tiger 1. I cemented the smoke launchers to the top and left them unglued at the bottom which mean they ‘grip’ the turret sides.
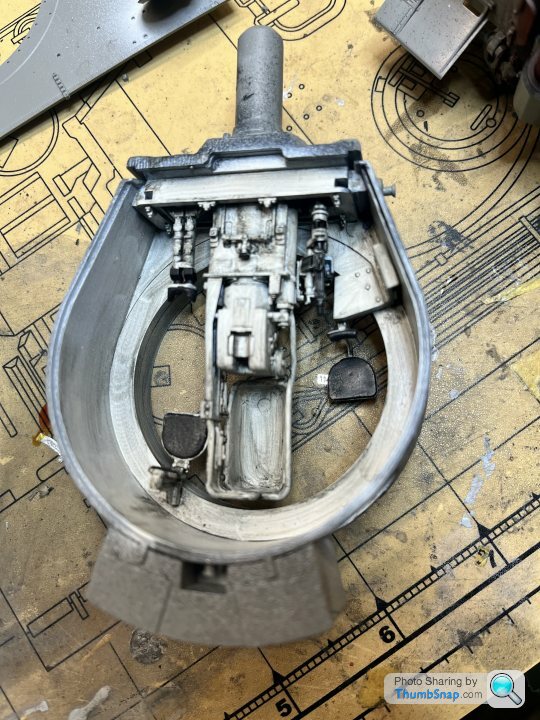
Also the only detail is the breech and seats, none of the other interior detail is included. I suppose it gives the impression that there isn’t just an empty void if the hatches are left open.

More on Takom adding details that will never be visible, these are the insides of the outer road wheel pair, ther is about 1mm gap between the wheels, but none the less full bolt detail has been moulded.
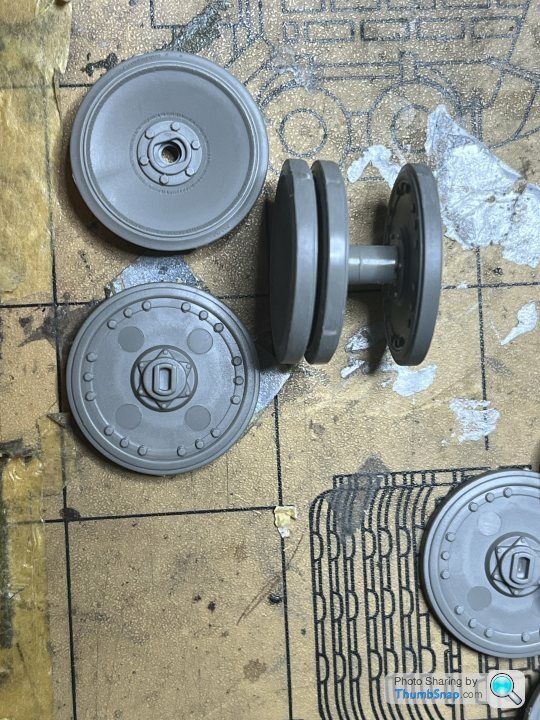
Bear in mind this is a Tiger 1, so overlapping wheels by the dozen plus wide tracks, do you think anyone will notice if I don’t sand Don the ejector pin marks?
Bear in mind this is a Tiger 1, so overlapping wheels by the dozen plus wide tracks, do you think anyone will notice if I don’t sand Don the ejector pin marks?

MBBlat said:
More on Takom adding details that will never be visible, these are the insides of the outer road wheel pair, ther is about 1mm gap between the wheels, but none the less full bolt detail has been moulded.
Bear in mind this is a Tiger 1, so overlapping wheels by the dozen plus wide tracks, do you think anyone will notice if I don’t sand Don the ejector pin marks?
What you need to ask yourself is, what would dr_gn do?Bear in mind this is a Tiger 1, so overlapping wheels by the dozen plus wide tracks, do you think anyone will notice if I don’t sand Don the ejector pin marks?

robemcdonald said:
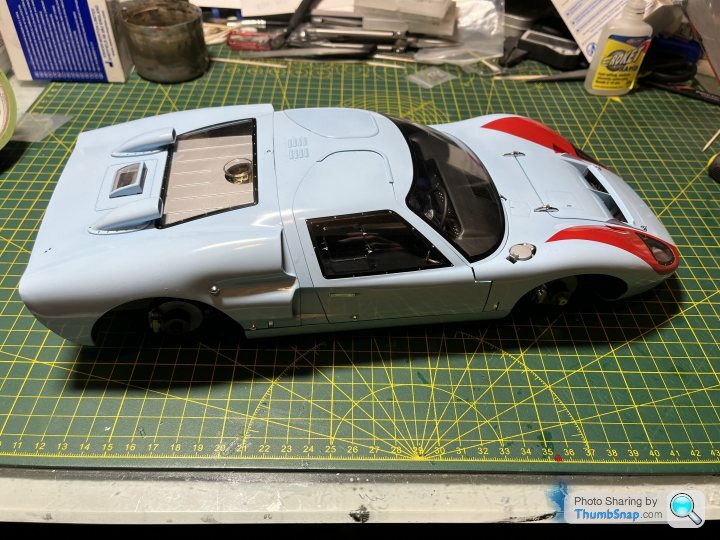
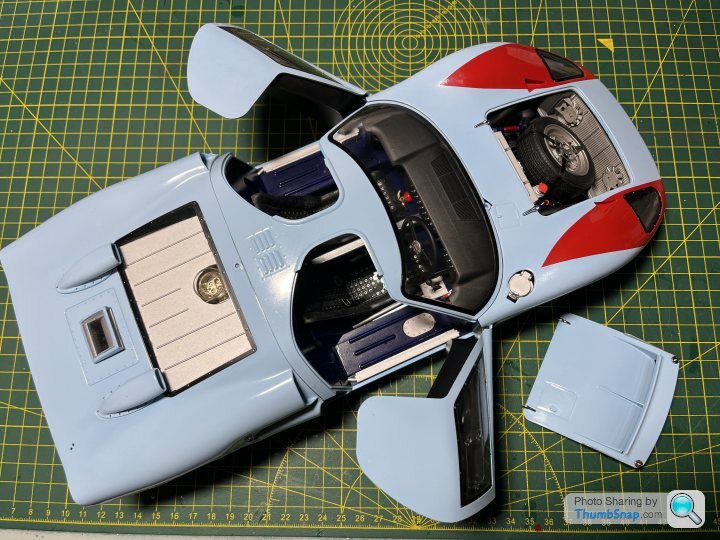
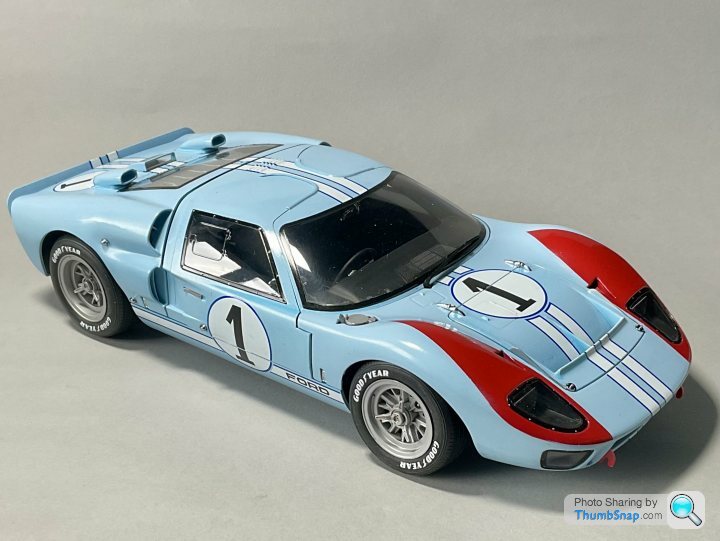
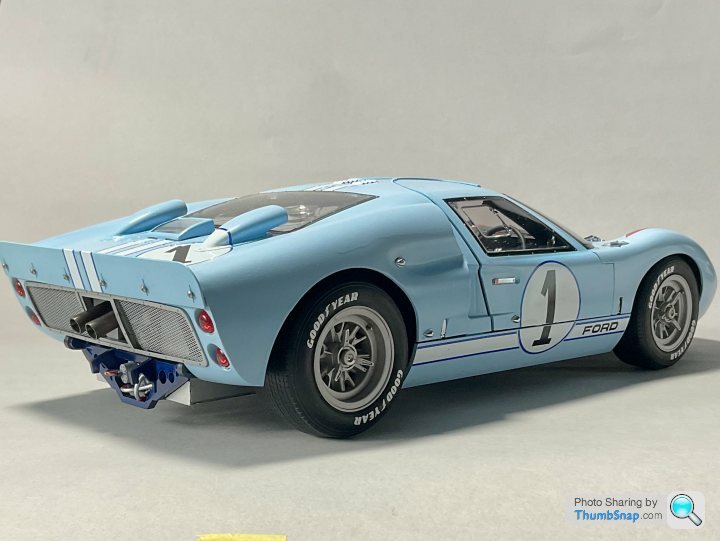
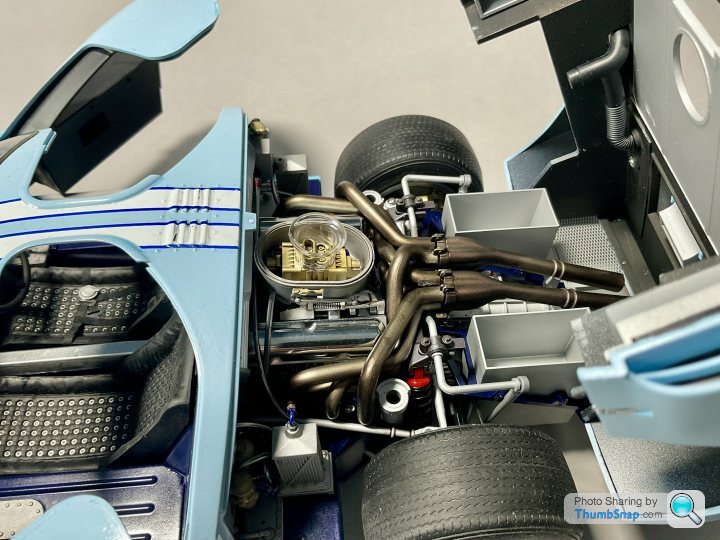
So it’s officially finished. There were some complications when I used Tamiya ts13 to put a clear coat on and it didn’t play nicely with the Ford light blue paint.
This lead to some rework and a sub optimal finish unfortunately. It’s all a learning experience I guess.
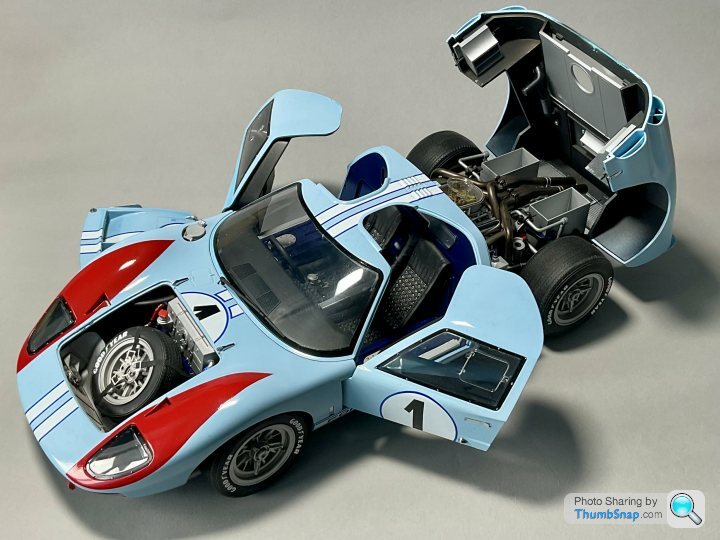

This looks fantastic! Congratulations for your build! AceThis lead to some rework and a sub optimal finish unfortunately. It’s all a learning experience I guess.
sidewinder500 said:
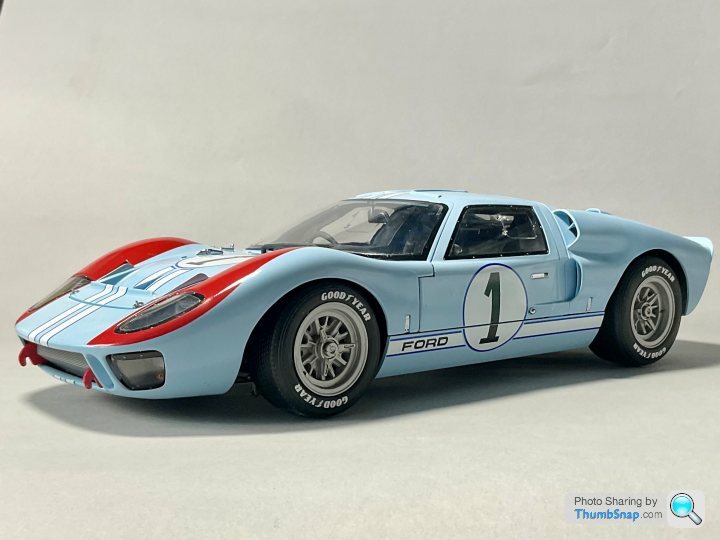
This looks fantastic! Congratulations for your build! Ace
Thanks. That’s very kind. I think it’s a pretty decent kit overall. There are a few bits that left me frustrated, but I think most people could work them out.
I’d be interested to see how the pre coloured version looks.
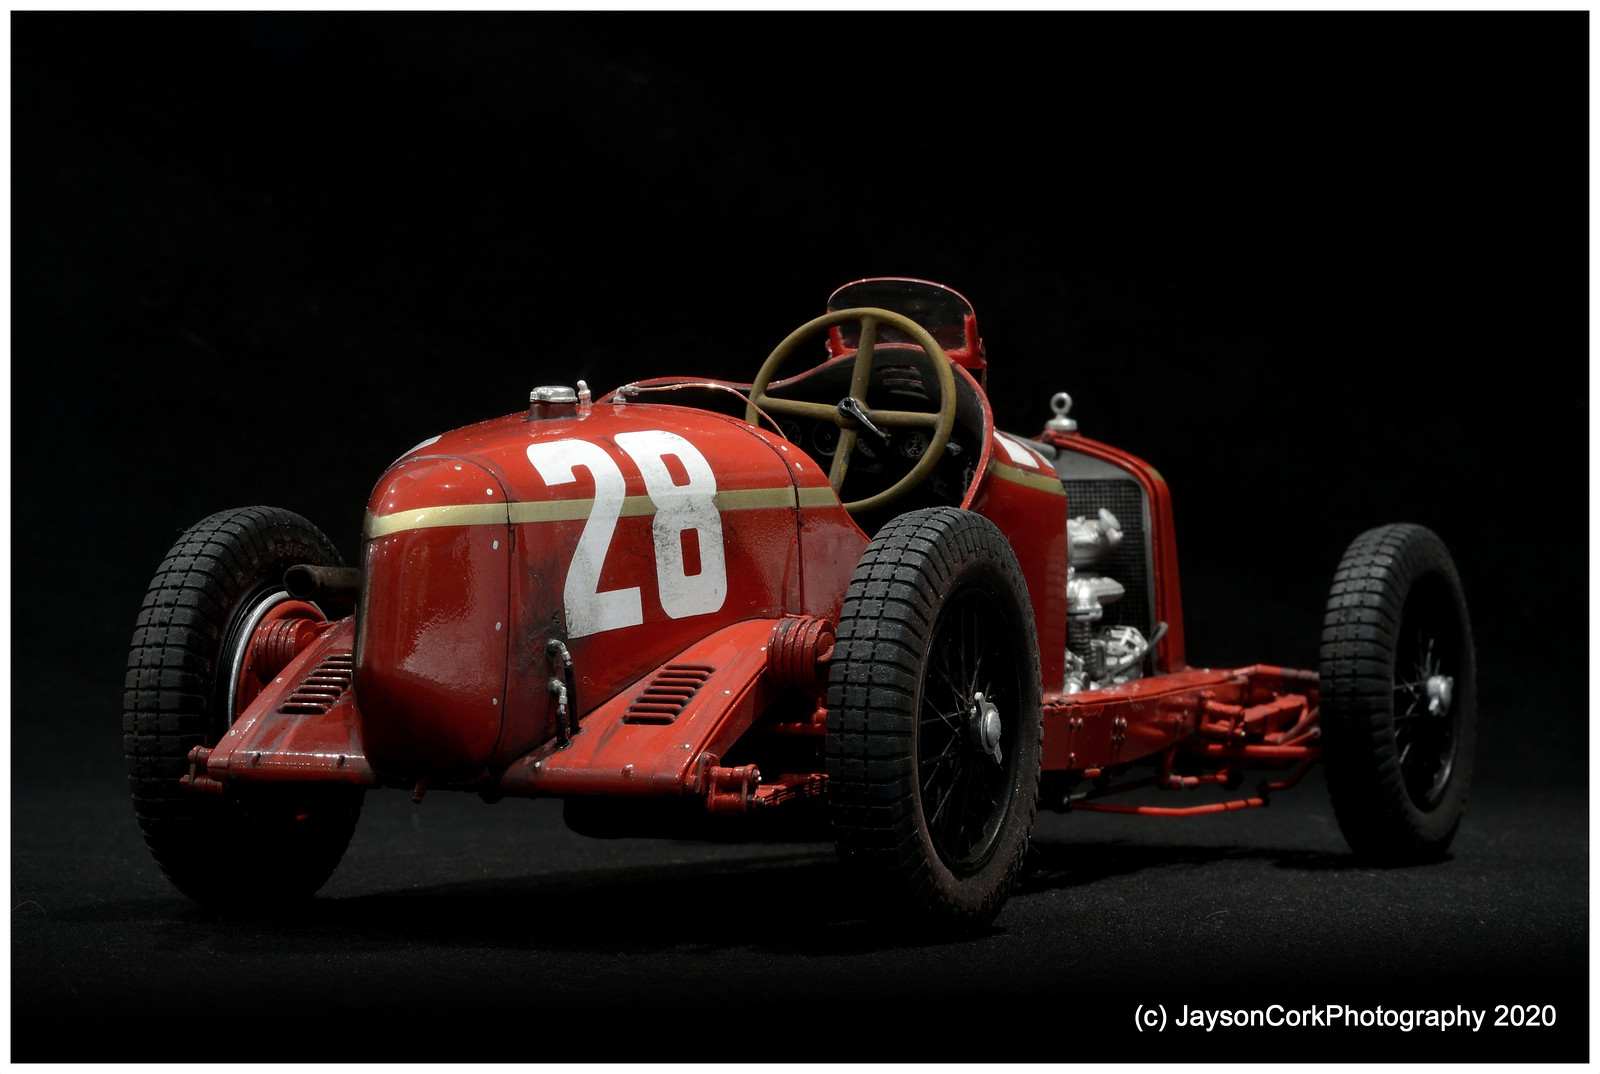
Already posted this in It's own thread but here is the 1/12 offering from Italeri of Nuvolari's Alfa Romeo 8C 2300 Monza.
 Alfa Romeo 8C 2300 Monza by Jayson Cork, on Flickr
 1-DSC_2152.TIF by Jayson Cork, on Flickr
 1-DSC_2055.TIF by Jayson Cork, on Flickr
 1-DSC_2062.TIF by Jayson Cork, on Flickr
 1-DSC_2064.TIF by Jayson Cork, on Flickr
Alfa Romeo 8C 2300 Monza by Jayson Cork, on Flickr1-DSC_2152.TIF by Jayson Cork, on Flickr1-DSC_2055.TIF by Jayson Cork, on Flickr1-DSC_2062.TIF by Jayson Cork, on Flickr1-DSC_2064.TIF by Jayson Cork, on FlickrFinally.
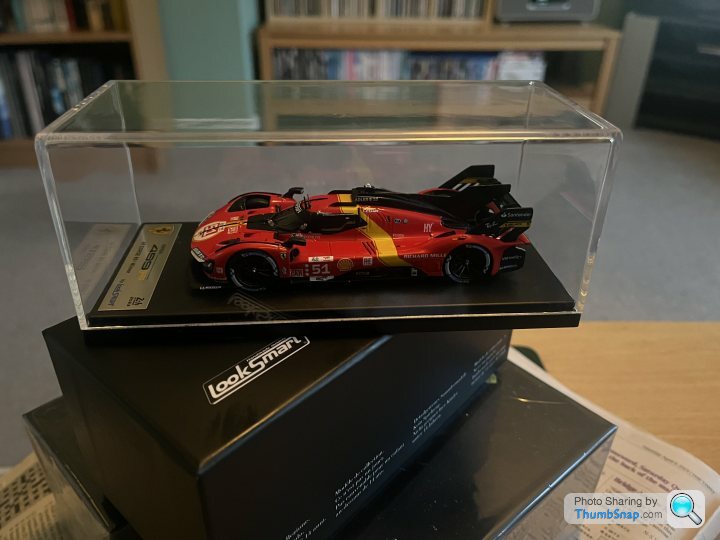
1/43rd LookSmart Ferrari 499 number 51 Le Mans winner.
Also recently
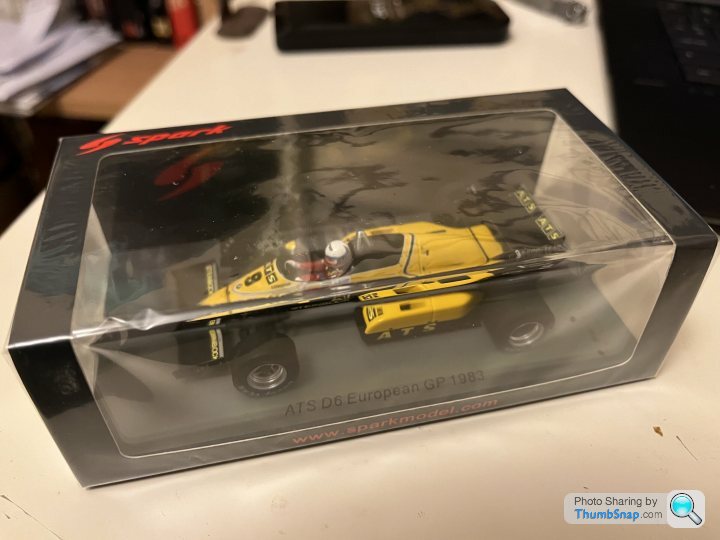
1/43rd Spark ATS-BMW Winkelhock
And
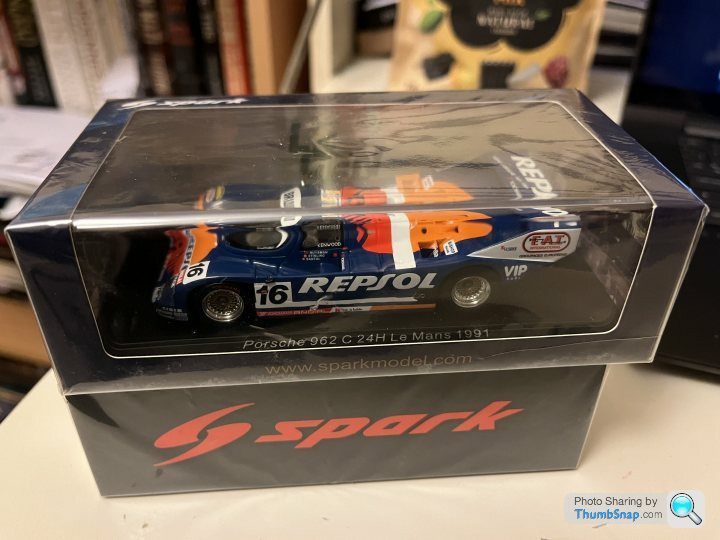
1/43rd Spark Porsche 962 “Repsol” Le Mans 1991.
Car is a little special for me, I did some work for Chris Humberstone (Chief Engineer on this car.) just before he left Brun to start the Allard project. Nice bloke and such a great shame about what happened.
1/43rd LookSmart Ferrari 499 number 51 Le Mans winner.
Also recently
1/43rd Spark ATS-BMW Winkelhock
And
1/43rd Spark Porsche 962 “Repsol” Le Mans 1991.
Car is a little special for me, I did some work for Chris Humberstone (Chief Engineer on this car.) just before he left Brun to start the Allard project. Nice bloke and such a great shame about what happened.
Gassing Station | Scale Models | Top of Page | What's New | My Stuff