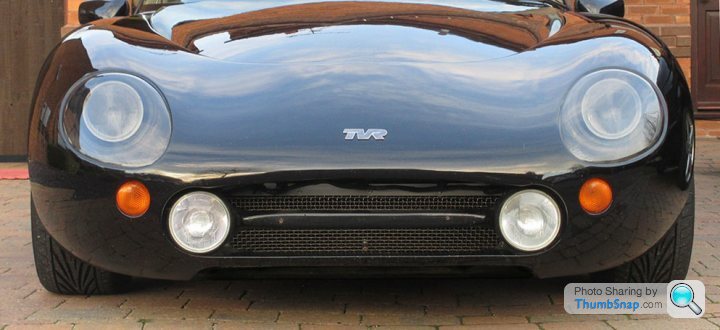
Chicken Wire…. Really?
Discussion


Had (have) got a small suspected coolant leak but couldn’t get to check all the areas around the front of the radiator.
The existing grill, as some of you will know is riveted in and consists of black chicken wire and looks like it obviously went in before the radiator when the car was originally built. So one thing led to another and ended up in the following.
Within reason, I think all areas should be relatively accessible - and not having ready access to the front of the rad seemed a tad unreasonable, if only simply for cleaning, maintenance and the like.
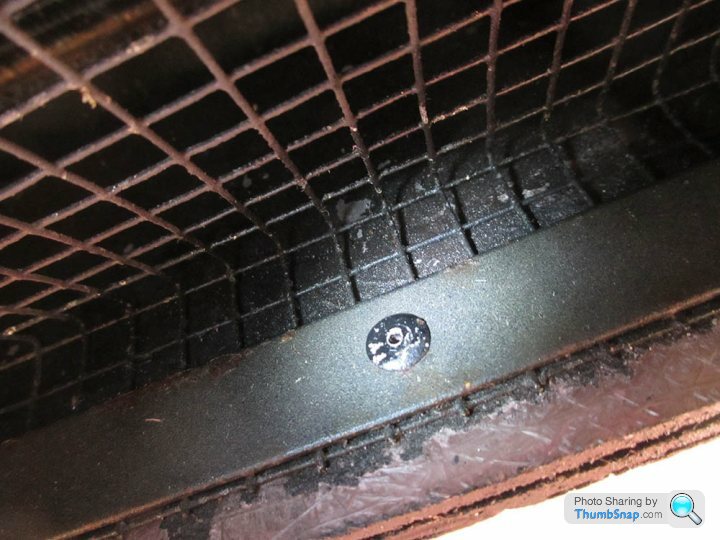
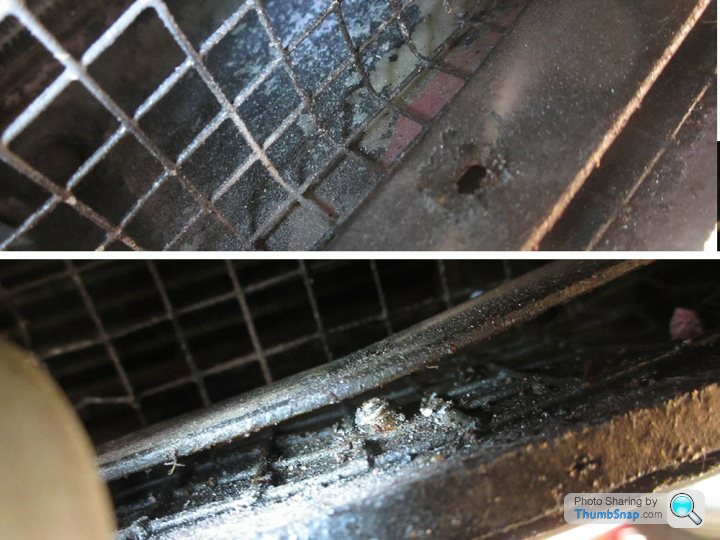
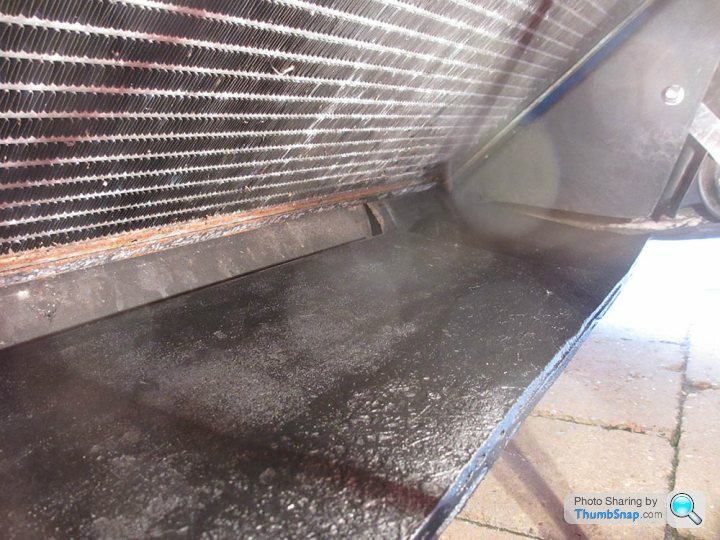
The wire mesh is held in place by a flat narrow plate riveted to the bottom and bottom of the aperture. The rivets themselves seem to be a screwed in type (?) After drilling off the heads to release the plate and mesh, the remaining parts were dremelled flush.
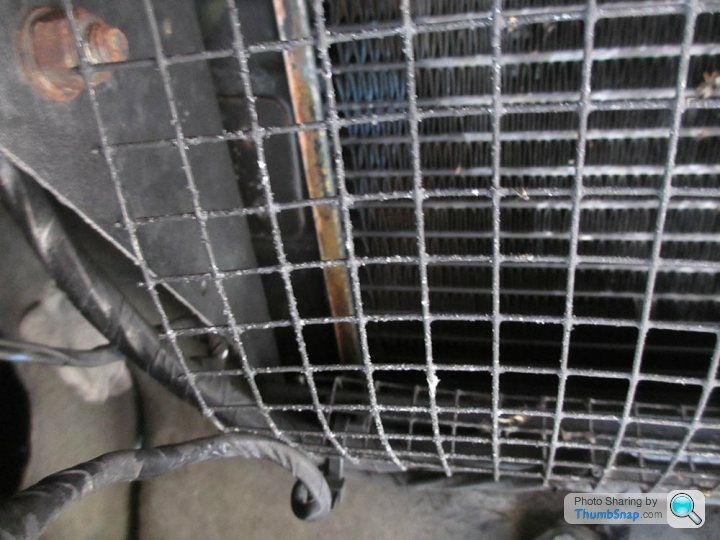
The mesh was fairly deformed (with some gaps) after twenty odd years and the grime behind the mesh pretty dire.
Also, the tiny coolant leak, which seemed to have been accumulating over some considerable time, and noticed only after a penny sized drop was found on the garage floor, had slowly stripped the paint from the fibre glass and stained it pink.
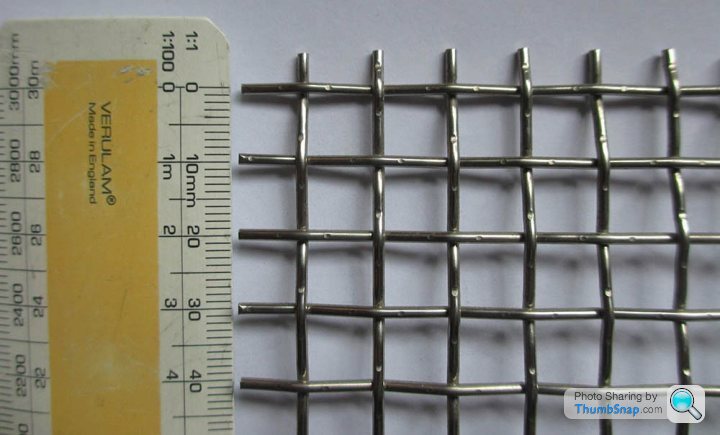
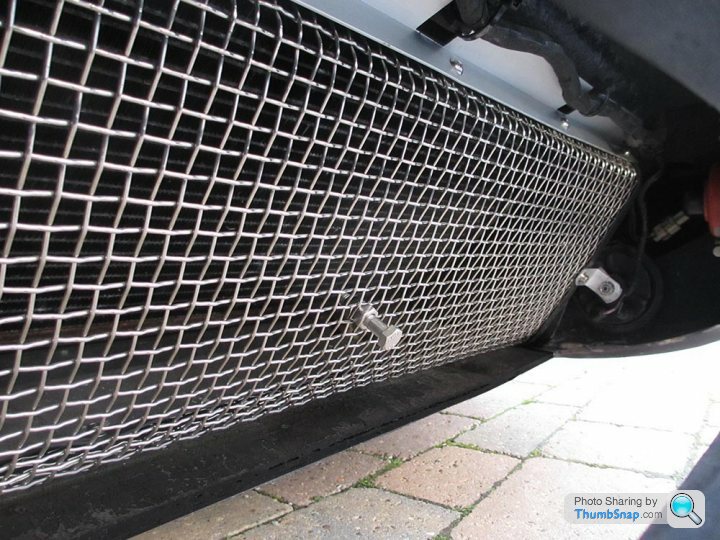
Sourced some good quality stainless woven mesh, and replaced some corroded original steel parts with stainless hardware – including the horn brackets.
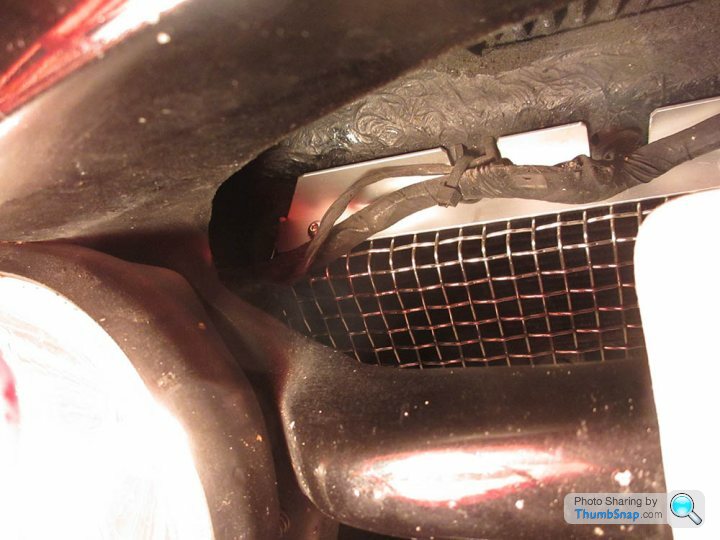
Picked up some anodised aluminium angle, unfortunately not black, for the top part of the new grill. This was notched to slide (and anchor) into the top of the aperture.
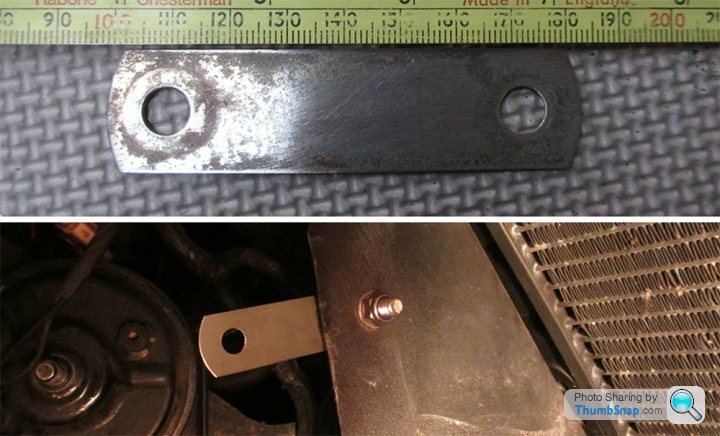
Top – old bracket after some cleaning was still not good enough so cut some new stainless ones.
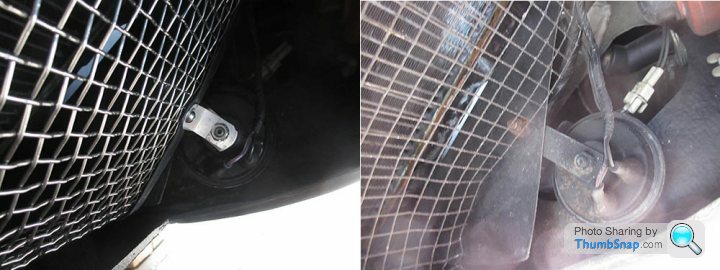
A central s/s bolt serves as a useful handle to aid fitting/ removal.
Happily - I now have an easily removable grill with the release of two nuts and lock washers to the horn brackets.
A little weight gain – though nothing to worry about, old grill appx 280g, new 960g – but result is a more quality item (even if a little OTT for a grill), more befitting the Griff me thinks,
Oh …and probably time for new rad too.
Pics tell the story.
Existing Mesh

Rivet fixing through steel plate holding mesh. Note flaking paint and pink coolant staining to fibre glass.
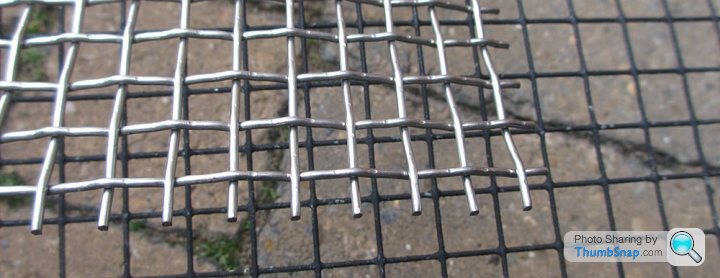
New stanless mesh
Drilled out existing fxings
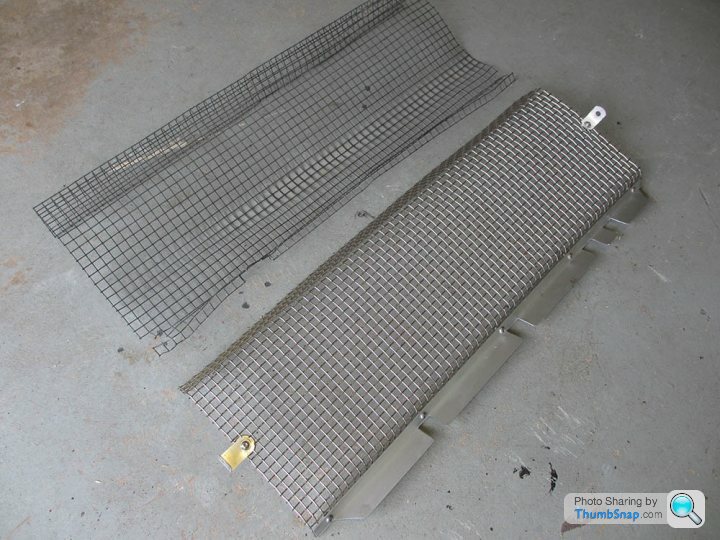
New and old mesh comparison
Mock up of the new mesh, compared with the existing
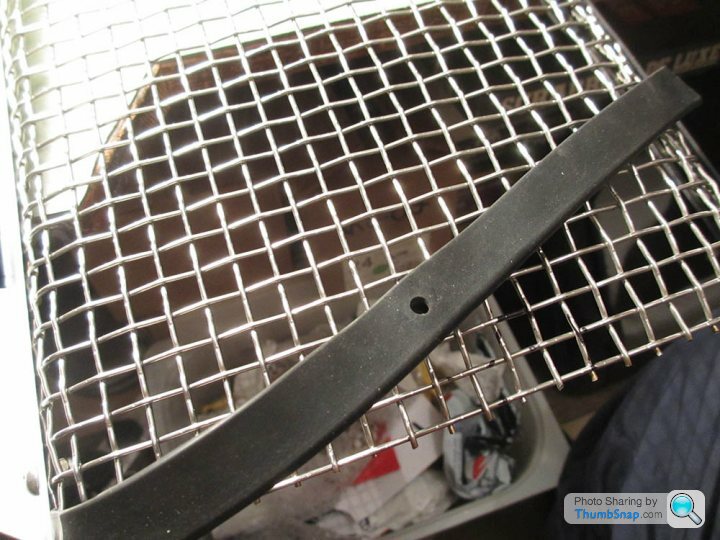
Rubber edging (that mesh is sharp!)
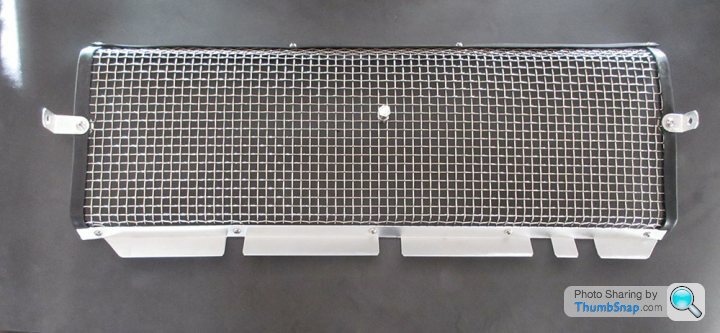
Finished grill
Painted aperture
Installed showing central bolt 'handle'
Anodised angle - fit at top.
Before and after
Black anodised angle (...for the future)
The existing grill, as some of you will know is riveted in and consists of black chicken wire and looks like it obviously went in before the radiator when the car was originally built. So one thing led to another and ended up in the following.
Within reason, I think all areas should be relatively accessible - and not having ready access to the front of the rad seemed a tad unreasonable, if only simply for cleaning, maintenance and the like.
The wire mesh is held in place by a flat narrow plate riveted to the bottom and bottom of the aperture. The rivets themselves seem to be a screwed in type (?) After drilling off the heads to release the plate and mesh, the remaining parts were dremelled flush.
The mesh was fairly deformed (with some gaps) after twenty odd years and the grime behind the mesh pretty dire.
Also, the tiny coolant leak, which seemed to have been accumulating over some considerable time, and noticed only after a penny sized drop was found on the garage floor, had slowly stripped the paint from the fibre glass and stained it pink.
Sourced some good quality stainless woven mesh, and replaced some corroded original steel parts with stainless hardware – including the horn brackets.
Picked up some anodised aluminium angle, unfortunately not black, for the top part of the new grill. This was notched to slide (and anchor) into the top of the aperture.
Top – old bracket after some cleaning was still not good enough so cut some new stainless ones.
A central s/s bolt serves as a useful handle to aid fitting/ removal.
Happily - I now have an easily removable grill with the release of two nuts and lock washers to the horn brackets.
A little weight gain – though nothing to worry about, old grill appx 280g, new 960g – but result is a more quality item (even if a little OTT for a grill), more befitting the Griff me thinks,
Oh …and probably time for new rad too.
Pics tell the story.
Existing Mesh
Rivet fixing through steel plate holding mesh. Note flaking paint and pink coolant staining to fibre glass.
New stanless mesh
Drilled out existing fxings
New and old mesh comparison
Mock up of the new mesh, compared with the existing
Rubber edging (that mesh is sharp!)
Finished grill
Painted aperture
Installed showing central bolt 'handle'
Anodised angle - fit at top.
Before and after
Black anodised angle (...for the future)
Thank you all for the comments folks -
BTW ..One of the lines in my OP seems not to have attached the pic..so the line above which reads.."Top – old bracket after some cleaning was still not good enough so cut some new stainless ones"...should have related to the pic below.
Loubaruch said:
...
Chicken wire, tie wraps and silicon sealant dont you just love TVRs !...
Lol - absolutley!Chicken wire, tie wraps and silicon sealant dont you just love TVRs !...
BTW ..One of the lines in my OP seems not to have attached the pic..so the line above which reads.."Top – old bracket after some cleaning was still not good enough so cut some new stainless ones"...should have related to the pic below.
HKGriff said:
Hi Asaad - looks great. I am buying the mesh long distance, i.e. I cannot measure the Griff. What size mesh (LxB) did you buy? Mines a later 500 ('96 model). Thanks.
Many thanks.As per Pete's reply, 1m x 500mm should be more than enough, though 750 x 300 should suffice. The distance between the two horn brackets is appx 730mm. The vertical distance (actually the angled distance of the aperture) is a bit under 300mm, so subject to your final detail/bends and fixing detail top and bottom, 300 should be good enough.
HTH
Gassing Station | Griffith | Top of Page | What's New | My Stuff