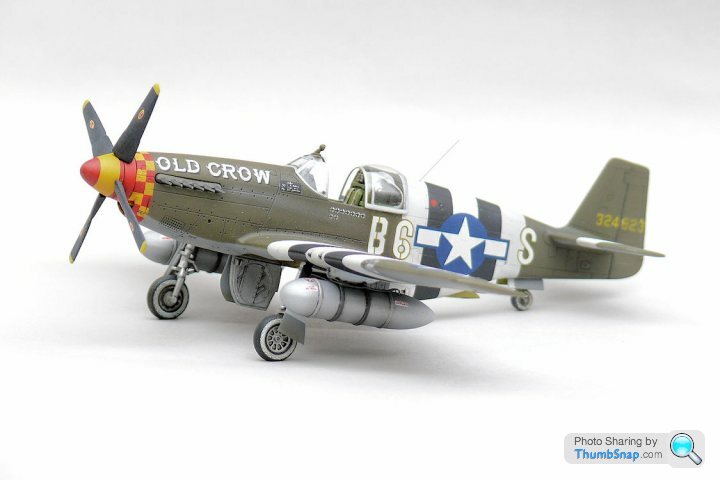
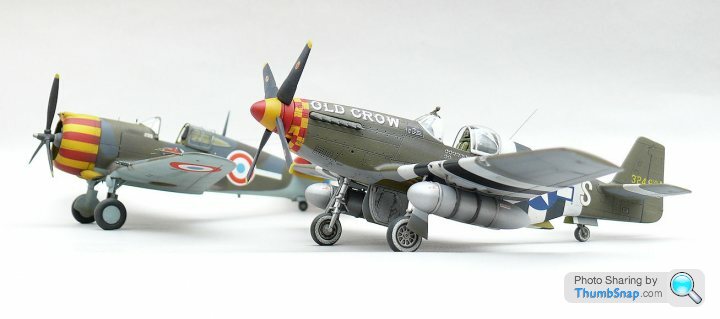
P-51B Mustang "Old Crow" Academy 1:72
Discussion


dr_gn said:
I think if the star was scaled so it just touched the edge of the rear black stripe it would be much too small overall.
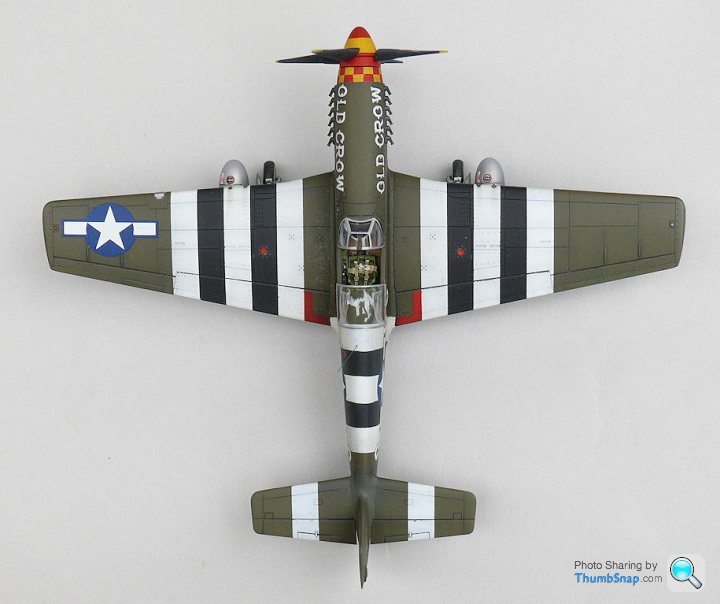
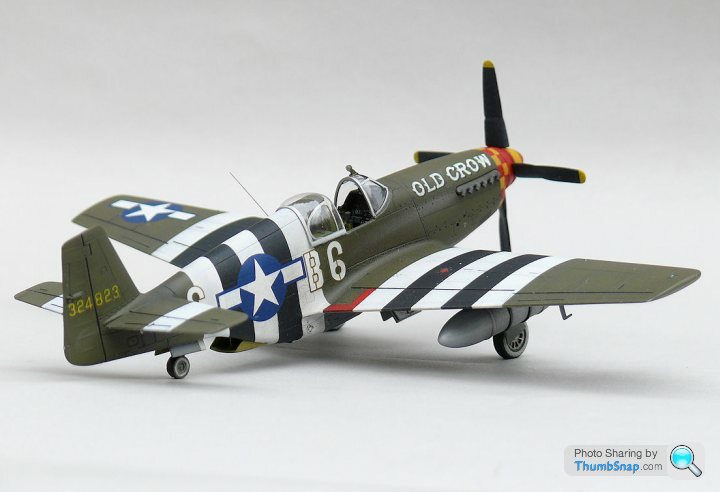
Maybe but on the original aircraft the leading edge of the insignia touched the 6 while trailing edge was on the join between the black and white bands also the star is off-centre relative to the bands. You've centralise the star between the bands presumably because the decal is slightly too large. Does not detract in my opinion.I agree the stars-and-bars insignia is overscale for the model, throws it all off kilter
Do you remember the Sauber I built hereabouts?
The decal sheet turquoise was miles out from the colour on the car and RF sent me a jar of perfection to correct it
I did what I would do here on your P51, I painted over the decal with the proper colour and it worked very well. Why not take your finest brush and gently touch in the white to bring it to the same colour as the stripes and the solid white 6. Tiny touches will do it and even if you miss some of the area the overall "eye" of it will be right.
I bought a couple of Expotools brushes from my local LHS, a pound each. Synthetic bristles, size 0 and the control they allow is awesome. As good as many of my finest Rowney Artists brushes with acrylic paint.
The model is as we've come to expect from one of your builds, shame the decals are not as good as you are.
As you have the stars-and-bars done now if it were me I wouldn't let it get me down
Still does great credit to you and the hero that flew her doc.
Lovely work.


Thanks guys.
Perdu, I'd rather source a spare "B 6" decal, cut it in half and apply over the top of the offending decals. That way it's guaranteed to fit, al it would need was a mist of Tamiya Smoke and then local matt varnish. If I had a couple of spare "s"'s too, I could reposition the stbd. one a bit lower and it would look about as good as it was ever ging to look with those particular decals, and that stripe geometry. I took the stripe width from the decals inclued in the kit - I think they're off a bit too.
As you say, without a photo reference next to it probably nobody would notice the spacing errors. Unfortunately apart from me!
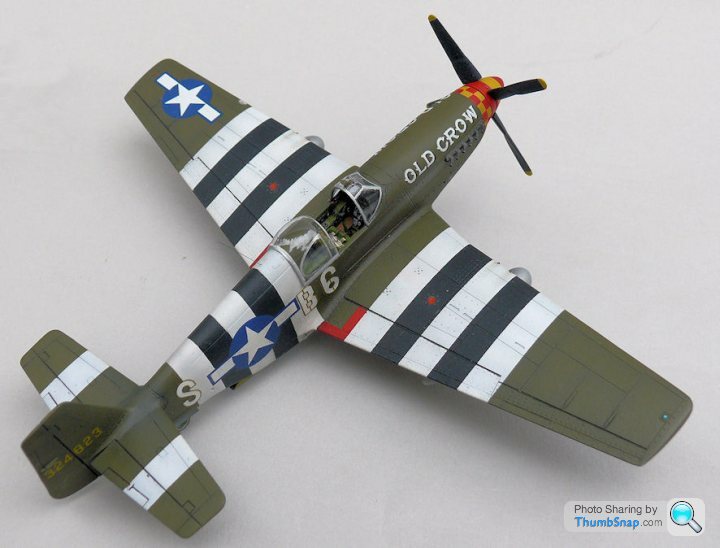
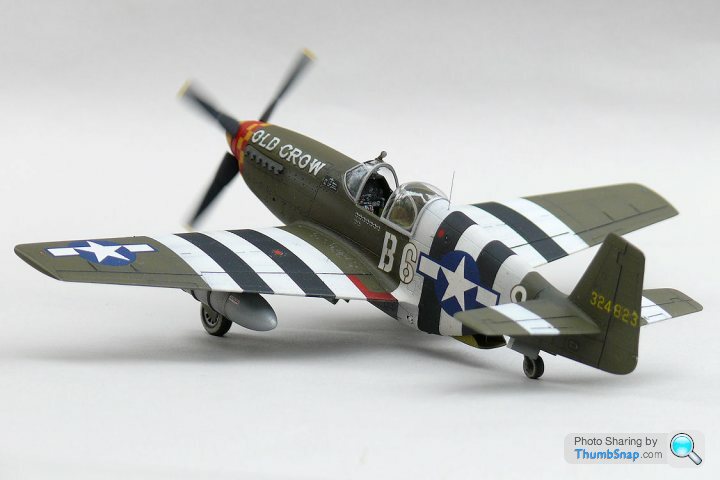
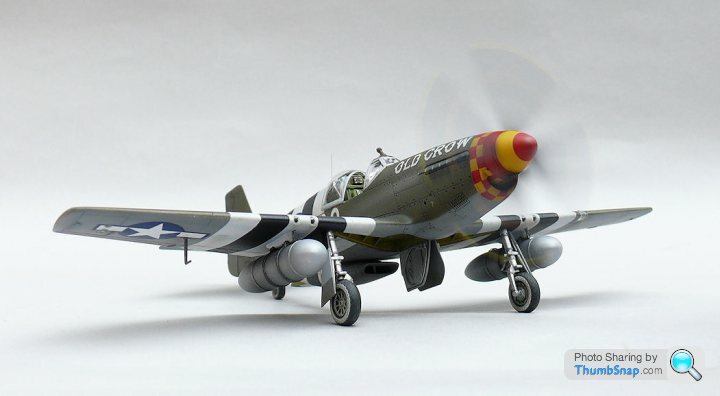
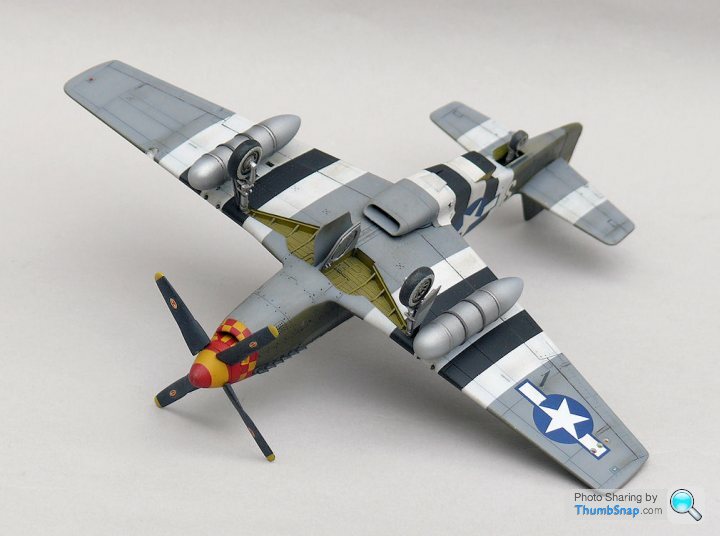
So despite everything, it's finished. Thanks to GinettaG15Girl for a spare set of decals, the fuselage codes of which I overlayed to make them less transparent. I also sanded off the stbd. "S" and replaced it in a more correct position. Obviously the fuselage stars are still wrong, looking back I've got so many decal sets now I probably simply applied the wrong ones! Ah well. The only other thing is the Malcolm hood - it's a fraction too small such that if it were to be pulled closed it wouldn't quite match the windscreen framing in height. Apart from that it'll do. In the end I hand painted the tailwheel whitewalls and applied some mud powder to reduce contrast and cover any imperfections. In summary it's a very nice kit, spoiled by terrible decals and a rather thick original canopy. Oh yes I also added some fuel tank lines from lead wire, a whip antenna from sprue and some Master Model brass gun barrels.
I think my next model won't have stripes. My therapist says they've put my recovery back years.
I think my next model won't have stripes. My therapist says they've put my recovery back years.
Edited by dr_gn on Friday 11th July 17:27
Mutley said:
Doc, that looks amazing. Worth the wait to see the finished article. I know its been a little traumatic but I hope you haven't compromised too much.
Are you taking it to Legends tomorrow?
Thanks guys! Are you taking it to Legends tomorrow?
I'm going to Duxford tomorrow hopefully, so I might take something to sign if I get to meet Col. Anderson. Not sure if it's worth taking the model though. I'm hoping they sell his book at the museum shop.

Gassing Station | Scale Models | Top of Page | What's New | My Stuff