Terry's tale. (S3 resto ++)
Discussion


So, after odd jobbing around the car outside while the weather was good, once it took a turn for the worse, it was time the S returned to the garage. And do an outstanding serious job....
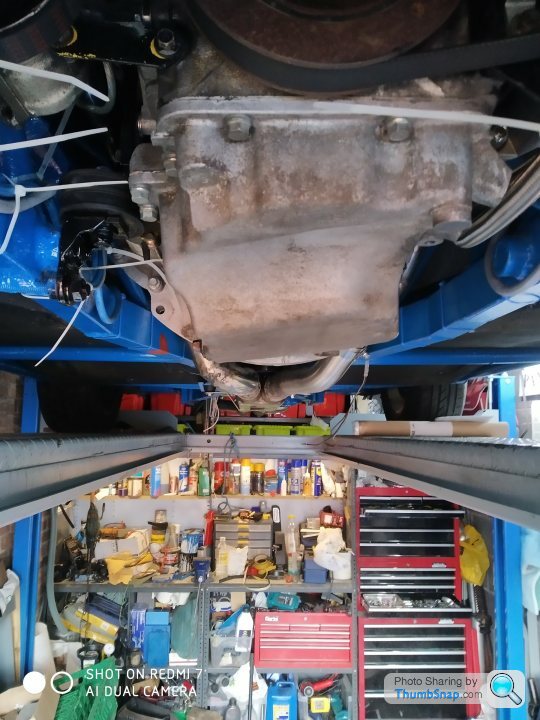
Anyone who knows the Jag AJ30 V6 engine, will know that in rwd format it has a strange growth on the front of the sump, I assume it's just to increase capacity, therefore increasing service intervals. It has a deep section too, not a good thing on the S !
The fwd versions do not have this growth, plus it is slightly shallower too.
So for my AJ engine conversion, I decided to use the fwd Jag X type sump. But.....
One side of the sump hangs lower than the other. And when ground clearance is critical, I wasn't happy.
Edited by Blue 30 on Wednesday 13th May 20:16
Edited by Blue 30 on Wednesday 13th May 20:16
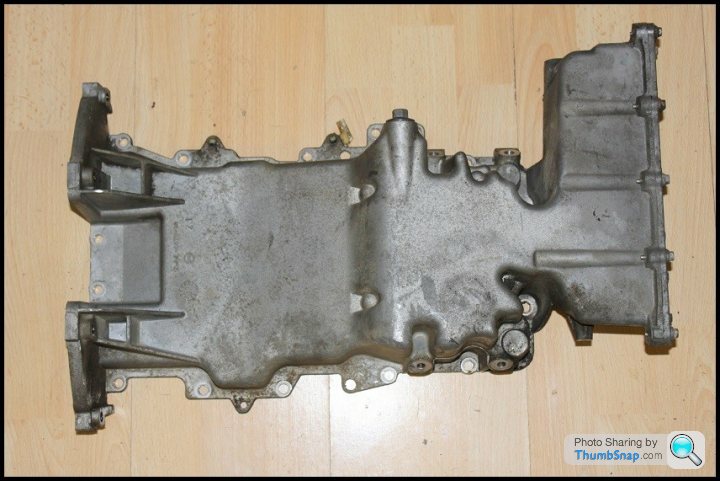
So my plan of action was to cut away 2/3rds across the bottom of the sump (the side that hangs low. Cut some flat alloy, and get it welded on. But being as I had some flat plate spare, why don't I add capacity by changing the design at the front of the sump. Doing the maths, I was loosing less than a pint, but gaining about a litre by the design change. It was one of the jobs where a specialist welder was required. Minus £50 later and it's done.
Old & new.
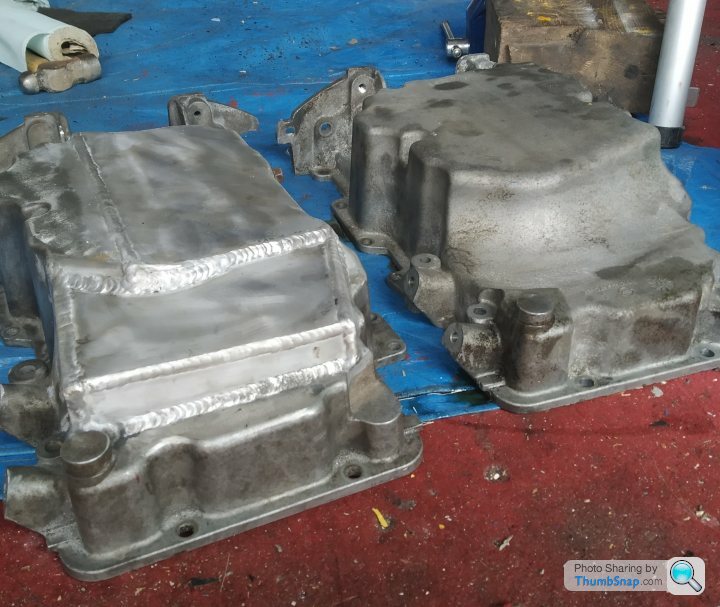
Plus I drilled through to the new section which will help with oil surge.
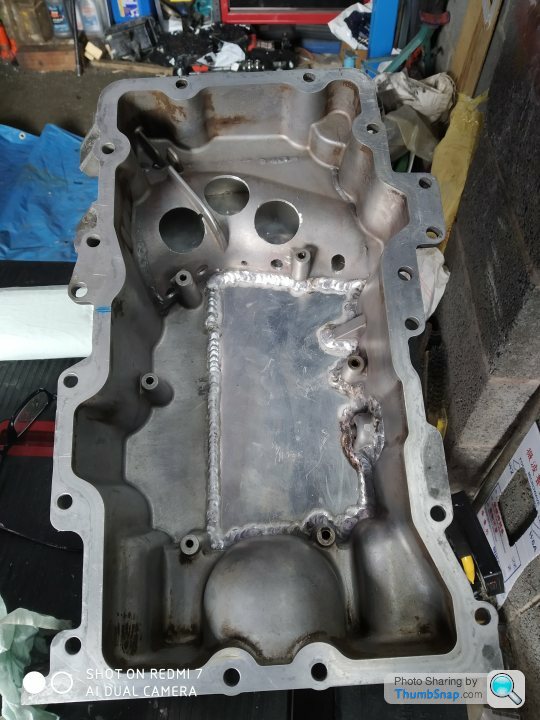
The oil pump pickup pipe just required a little fettling. And then back on the engine the sump goes.
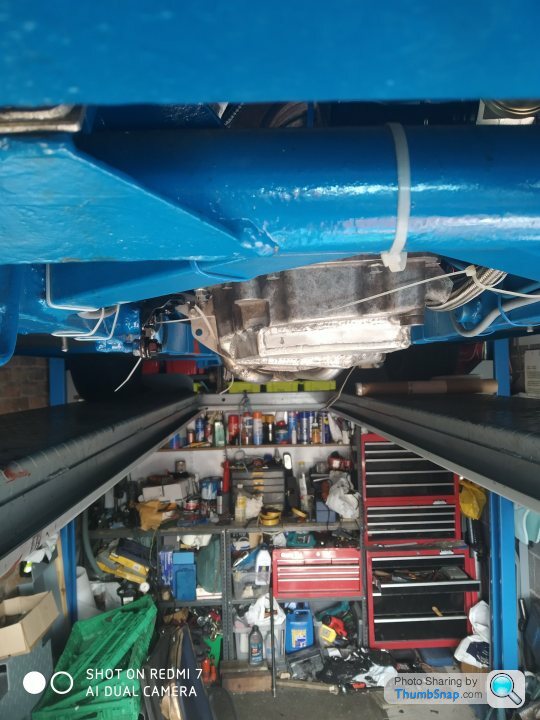
And it's now nice and level. At near enough the same level as the bottom of the main chassis rails. Yet the engine is mounted as low as possible hopefully maintaining a good centre of gravity.
Job done....
T.
Old & new.
Plus I drilled through to the new section which will help with oil surge.
The oil pump pickup pipe just required a little fettling. And then back on the engine the sump goes.
And it's now nice and level. At near enough the same level as the bottom of the main chassis rails. Yet the engine is mounted as low as possible hopefully maintaining a good centre of gravity.
Job done....
T.
Edited by Blue 30 on Wednesday 13th May 20:13
Edited by Blue 30 on Wednesday 13th May 20:19
Around 3yrs ago (maybe 4) I bought a hood plus targa material from BAS International, mainly as I had used their product before (Mx5) which was quality.
At that time it went into the garage rafters to be retrieved at a later date..... Now !
I read what I could on S series DIY hood fitting.
Started with the targa panels. Strip the old covers off in one piece if possible and keep them as they will give you a rough sizing pattern (leave surplus), plus how the folds are done.
Oh, I had previously replaced the locating tangs. The targa material supplied by BAS is just that, a piece of material ! There is plenty to cut both panels from, but it doesn't have the door side sewn rainwater edge. This makes a tricky job even more involved. I glued the fold then clamped it so that a good secure square edge was achieved. After that has set it's just stick, cut & fold it onto the panel. Lol.
Three seperate sessions later I have completed one panel. Hopefully the other will go the same. Then it's the rear hood to do. More reading of "how to" first.
As others have stated, this isn't a job for the faint hearted. Patience being the key word.
T.
Re - roof seals..
Not sure yet. I know that both the TVR early and late designs are available, but being a tight ar#e, I thought I would wait until I've done the rear hood. Then maybe buy something (read cheap) off fleebay, maybe soft foam hollow square section. Or something to suit the gaps I have once the targa's are in place.
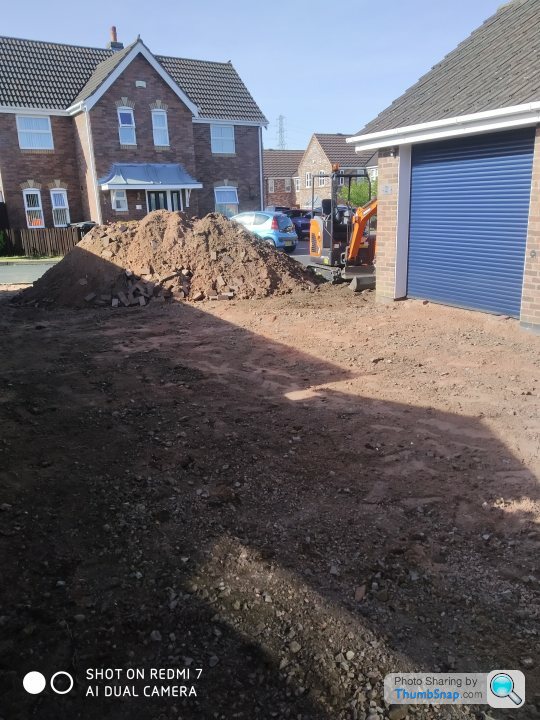
Doing the rear hood could be a while yet due to the drive being done, as I want to do it outside.
I'll let you know.
T.
Not sure yet. I know that both the TVR early and late designs are available, but being a tight ar#e, I thought I would wait until I've done the rear hood. Then maybe buy something (read cheap) off fleebay, maybe soft foam hollow square section. Or something to suit the gaps I have once the targa's are in place.
Doing the rear hood could be a while yet due to the drive being done, as I want to do it outside.
I'll let you know.
T.
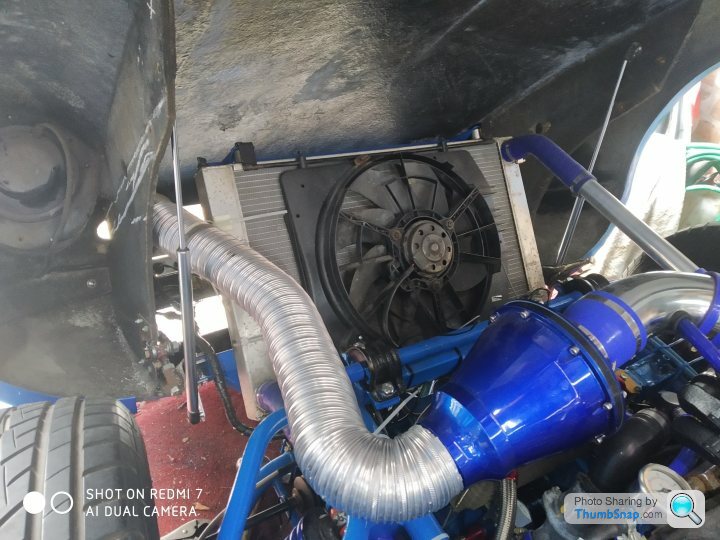
At last the drive and house works are finished. So I can get back into my garage.
Water is now in the cooling system, no leaks !
Engine run up to temp (not driving), all seems okay, no other oil leaks etc. Power steering seems to work (static tests only). Trying to fine tune the bonnet fit & catch engagement. It'll take a while, me thinks !!
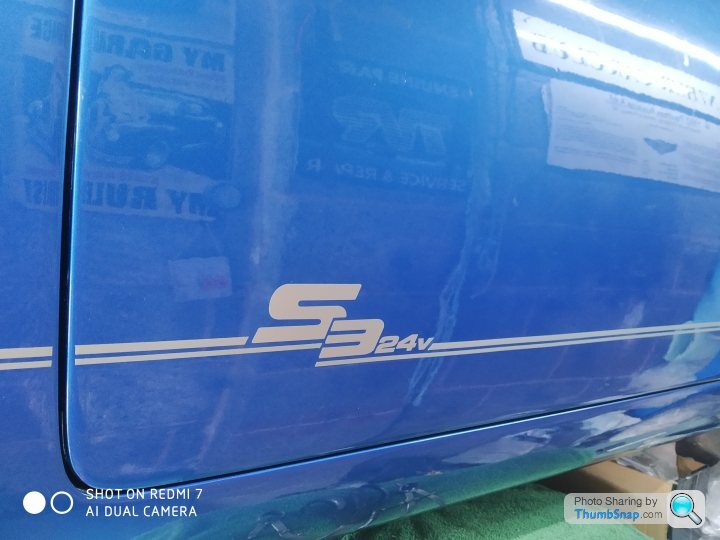
So done a bit more cosmetic work.
Here's my version of the factory body stripes.
T.
Water is now in the cooling system, no leaks !
Engine run up to temp (not driving), all seems okay, no other oil leaks etc. Power steering seems to work (static tests only). Trying to fine tune the bonnet fit & catch engagement. It'll take a while, me thinks !!
So done a bit more cosmetic work.
Here's my version of the factory body stripes.
T.
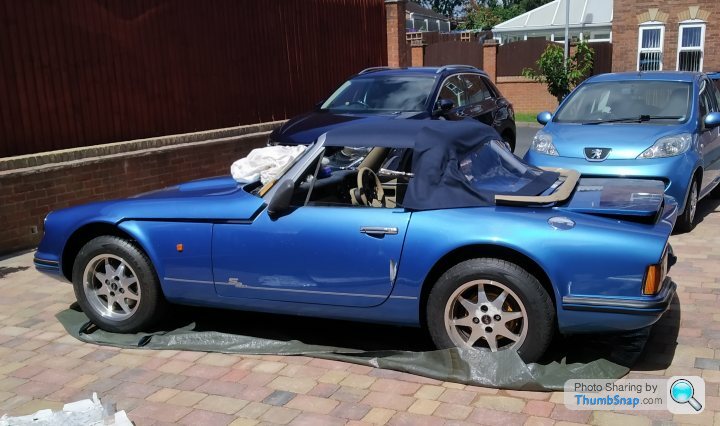
My do it yourself new rear hood fitting continues.
See 'flappy crappy Velcro' post for my mod on top of an already existing mod.
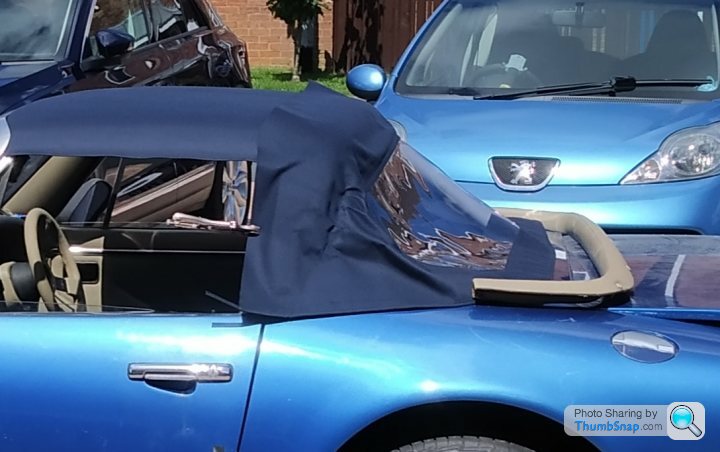
The only other advice I can give (based on info that's already out there), is the measure, and mark with tailors chalk until you're happy that the hood is centred, mainly to the rear padded capping, but also to the hoop. The sewn Velcro on the new hood should give you a reference point. Once the rear of the hood has been glued to the capping, and that has been fixed to the car, pull, stretch, wrestle with the hood to get it tight over the hoop. Mark it with the chalk.
I did a narrow glue line and stuck the hood onto the hoop deliberately misaligning the chalk mark by about 1/4". This give the required stretch.
That only took me x2 attempts !!!
As has been said many times, this ain't an easy job. So don't take it on if you're not prepared for some cussing.... At least.
So far I've been on it for 5 days (on and off), all I have left to do is glue it into the recess, then clip the new weather strip in place.... No, I won't do one for anyone else.
An auto upholsterers tip to me, is to leave the newly finished hood up for at least a month to allow it to stretch, de-stress etc.
T.
See 'flappy crappy Velcro' post for my mod on top of an already existing mod.
The only other advice I can give (based on info that's already out there), is the measure, and mark with tailors chalk until you're happy that the hood is centred, mainly to the rear padded capping, but also to the hoop. The sewn Velcro on the new hood should give you a reference point. Once the rear of the hood has been glued to the capping, and that has been fixed to the car, pull, stretch, wrestle with the hood to get it tight over the hoop. Mark it with the chalk.
I did a narrow glue line and stuck the hood onto the hoop deliberately misaligning the chalk mark by about 1/4". This give the required stretch.
That only took me x2 attempts !!!
As has been said many times, this ain't an easy job. So don't take it on if you're not prepared for some cussing.... At least.
So far I've been on it for 5 days (on and off), all I have left to do is glue it into the recess, then clip the new weather strip in place.... No, I won't do one for anyone else.
An auto upholsterers tip to me, is to leave the newly finished hood up for at least a month to allow it to stretch, de-stress etc.
T.
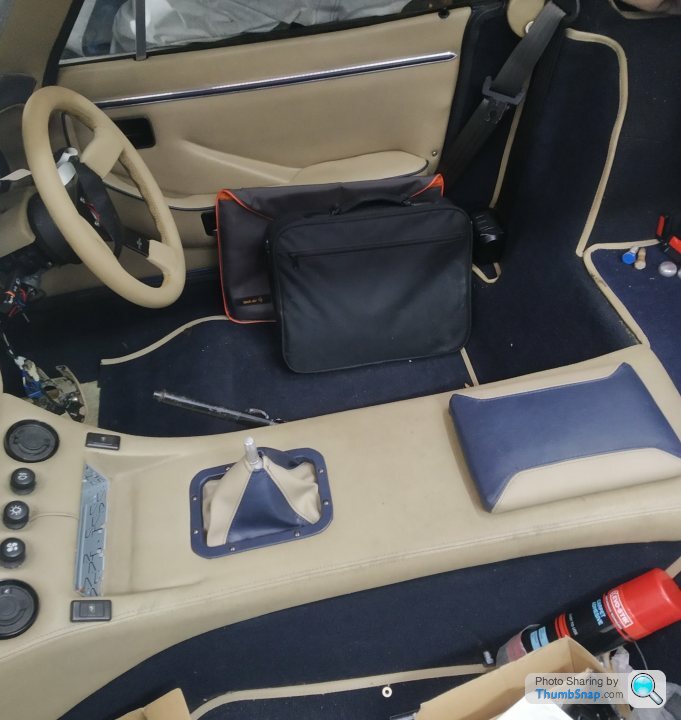
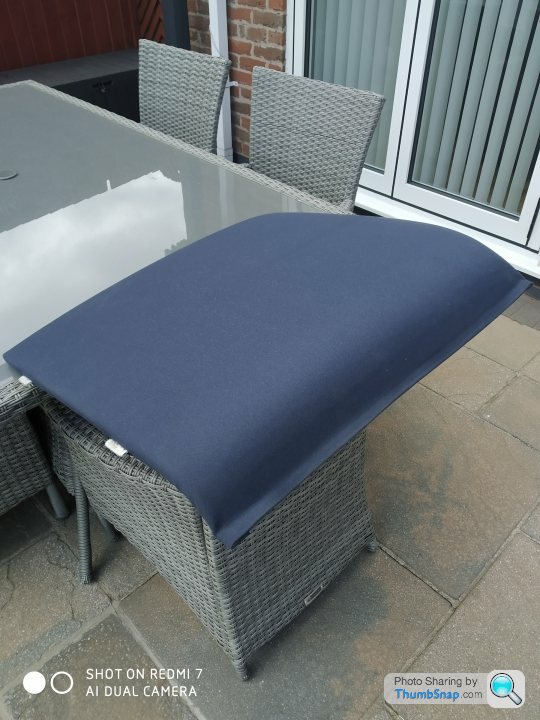
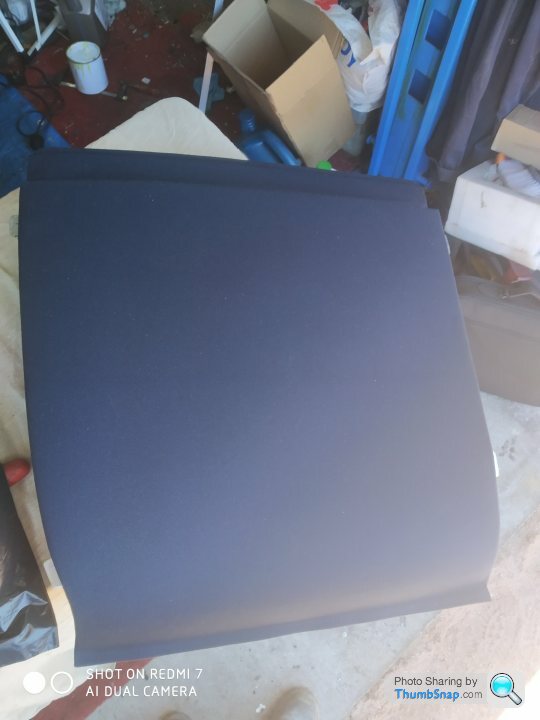
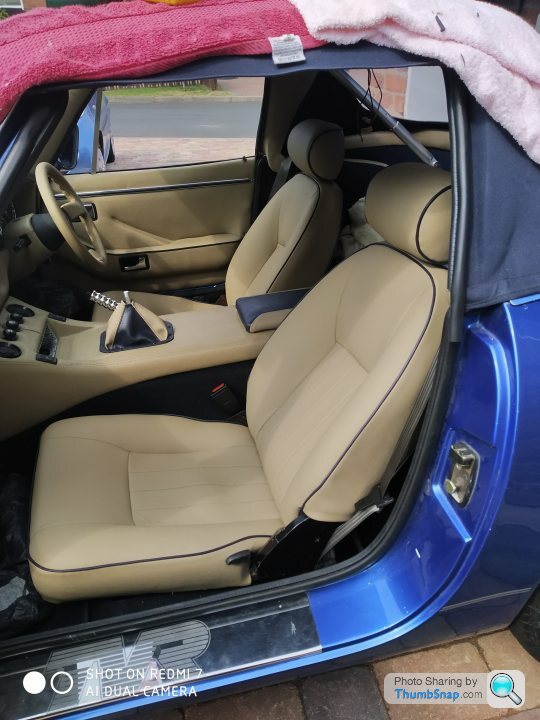
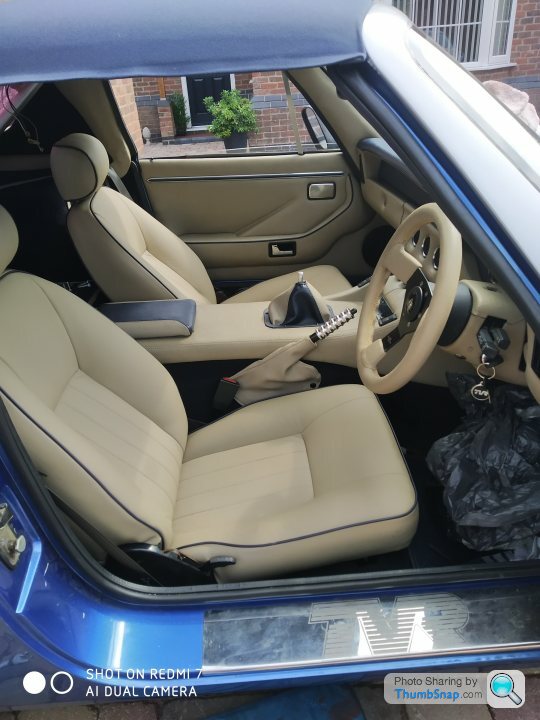
Being as the new hood is now done, and left to stress relieve itself, I thought it was an appropriate time in proceedings to refit the reupholstered seats (as they have only been bagged up and stored for 3yrs!).
Still loads to do, but they definitely give a boost in morale. Of course, I'll be re bagging them very soon, in an attempt to keep them clean.
T.
Still loads to do, but they definitely give a boost in morale. Of course, I'll be re bagging them very soon, in an attempt to keep them clean.
T.

88S1 said:
Very nice indeed. You must be virtually complete now, have you much to do. How did the hood turn out eventually, what I’d seen so far looked good, I have mine to do (eventually).
Many thanks.I'm pleased with my DIY hood fitting. I'll rate it as I'm 95%+ satisfied.
Tip... Don't buy it 3+ years before you fit it. As those fold creases just don't want to come out.
I'll take a photo or 3, when its next out of my garage.
As far as "not much left to do".
Mmmm... it's those little jobs, that take forever, plus on the day, as I think em up, that's occupying my free time now. I've just put a post on FB S group asking if anyone has done a glovebox catch mod, where a key isn't required.
I have decided now not to use it this year, so Iwon't be tax or mot'ing it. That'll also mean I will delay buying new tyres until the spring, so those won't be flat spot'ing over the winter.
The big (and pita) jobs left to do are.
Getting the ECU rolling road tuned.
Getting the steering & suspension geometry set up.
Both need to be done professionally away from home, so it will need trailering to each.
And being a tight a*se, that's something I'll need to do some more heavy thinking about.
The rest will be done at my leisurely pace over the winter months.
T.
Many thanks for finding and posting the link, as I was struggling to find it again.
Yes, it's a great foundation in doing a new hood fitting.
I would emphasize...
Measuring, and marking various points with tailor's chalk. That's well before you attempt to glue anything.
Buy/use 4-6 strong plastic spring clamps.
(Got mine from Wilkinsons). You will find them very useful.
When fixing the hood to the rear rail, DO make sure the hood seam points down, as tension will try to pull it away from the body contact ( mine did).
Also, insert the rear rail fixing bolts before glueing the hood to the rail, as they're a bugger to get back in if you don't. I put a little rubber O-ring around each bolt to stop em dropping back.
Try to remove your old covers in one piece, take note of all folds and cutting. And keep the old covers for reference until you're fully finished.
If you're fitting new alloy over-centre bars, leave em until after you have done the new hood. Otherwise you are trying to do x2 jobs at once.
Lastly... Don't even consider doing a new hood fit, let alone actually buying it, unless you have plenty of patience, and very good hand/eye coordination.
Lastly lastly... Buy best quality high temp aerosol upholstery spray glue, and/or contact adhesive. (Martrim).
T.
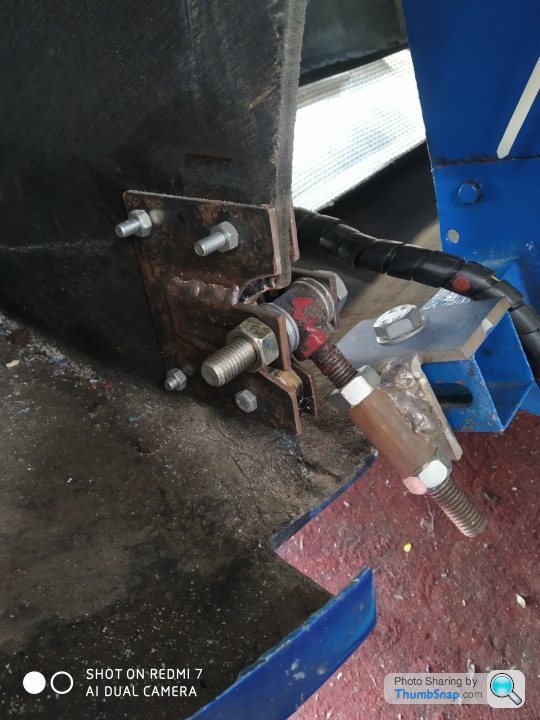
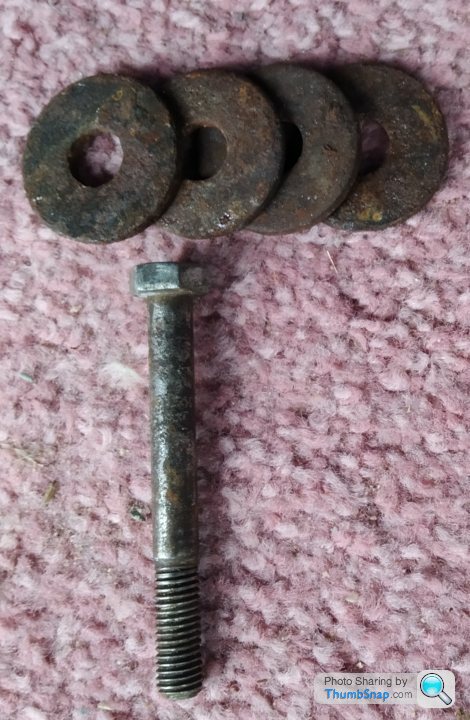
Another point to note if you are going to remove the main hoop from the car to clean it up from old glue etc (which saves the mess going inside the car). Beware the condition of the old hinge bolts and spacers.
These were mine (spacers hiding inside a bit of converluted plastic hose). They were all rust welded together, a real mess. Now replaced with s/steel bolts and alloy spacers.
T.
These were mine (spacers hiding inside a bit of converluted plastic hose). They were all rust welded together, a real mess. Now replaced with s/steel bolts and alloy spacers.
T.

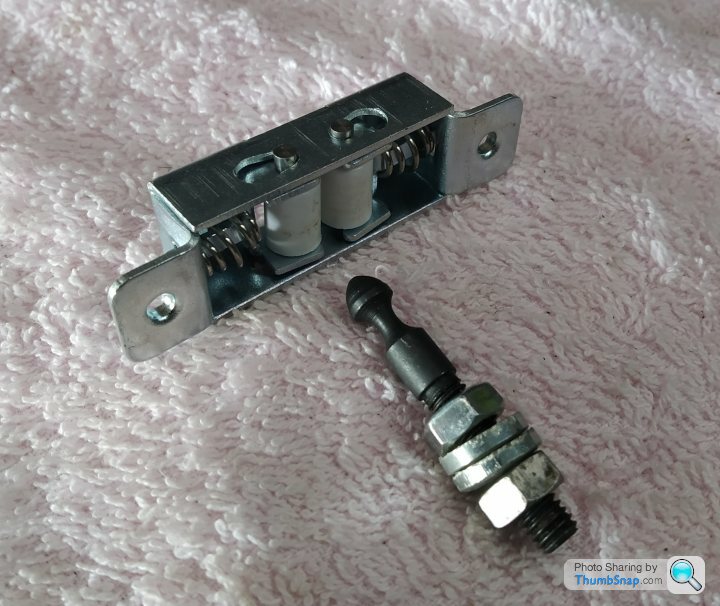
And another job 3/4 finished....
That's the battery relocation (to the boot) including a plastic cover that was surplus from a previous resto. Just a bit of tidying to do.
The yellow wire on the boot lid latch is a temporary addition to prevent any lockouts !
You can also just about see a master switch that I have introduced.
T.

That's the battery relocation (to the boot) including a plastic cover that was surplus from a previous resto. Just a bit of tidying to do.
The yellow wire on the boot lid latch is a temporary addition to prevent any lockouts !
You can also just about see a master switch that I have introduced.
T.
Gassing Station | S Series | Top of Page | What's New | My Stuff