This place is like heaven on earth
Discussion


SPAL Radiator Fans https://www.a1electric.com/spal/faninfo.htm
Edited by Penelope Stopit on Sunday 13th June 10:52
Electric Turbo = Heaven
2 to 4 minutes boost, allow time for power pack recharge and boost again, easy to fit and wire
Proof of it working is in the YT videos
View Torqamp Video Channel https://www.youtube.com/c/TorqAmp/videos

These following videos are good fun, the first video shows the use of two electric turbos
2 to 4 minutes boost, allow time for power pack recharge and boost again, easy to fit and wire
Proof of it working is in the YT videos
View Torqamp Video Channel https://www.youtube.com/c/TorqAmp/videos
These following videos are good fun, the first video shows the use of two electric turbos
Have never crimped battery terminals, always use the screw type, I grab the cable with the screws and then use a blow torch to heat up and solder, fully filled with solder, takes practice though and the insulation does melt a little
These may be of some use to you https://www.12voltplanet.co.uk/battery-terminal-cl...
Cheers

These may be of some use to you https://www.12voltplanet.co.uk/battery-terminal-cl...
Cheers

PH Member DuncanM has found lots of ignition coils including ones for AJP8 Cerbera
NGK link
https://www.diycarserviceparts.co.uk/ngk-u2009-480...
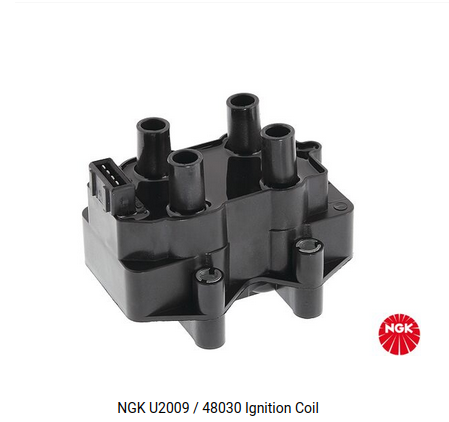
https://www.gsparkplug.com/1x-ngk-ignition-coil-u2...
Lots here
https://www.diycarserviceparts.co.uk/electrical-li...
NGK link
https://www.diycarserviceparts.co.uk/ngk-u2009-480...
https://www.gsparkplug.com/1x-ngk-ignition-coil-u2...
Lots here
https://www.diycarserviceparts.co.uk/electrical-li...
Kitchen Recipes - Only the best one
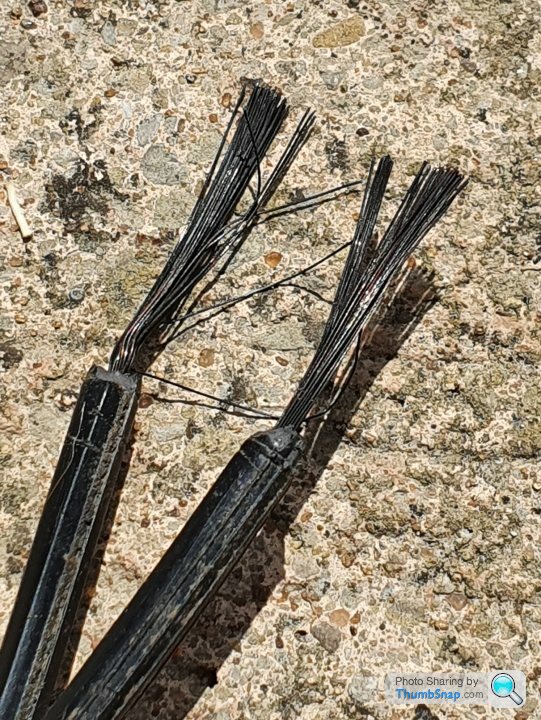
PH Members Bogsye and Byker28i Discuss cable cleaning methods and Byker28i tests one
https://www.pistonheads.com/gassing/topic.asp?h=0&...
Approximately 15 minutes later
PH Members Bogsye and Byker28i Discuss cable cleaning methods and Byker28i tests one
https://www.pistonheads.com/gassing/topic.asp?h=0&...
Bogsye said:
The oxidised wires can be treated - I think I made up a solution of vinegar and salt to steep the bared ends in and then cleaned them with bicarbonate of soda. I guess contact cleaner solution would do the same. That allowed me to tin the clean ends with solder before putting on the new terminals.
Byker28i said:
I looked this up and found these instructions...
This process uses two solutions, one is regular table salt and vinegar. Any kind of vinegar will work, from balsamic, to rice, to white vinegars. Its the acidity and corrosiveness of the salt and vinegar together that you want. The other solution is Sodium Bicarbonate, or baking soda, and water. This is used to neutralize the corrosive properties of the other solution, and to further clean the wires.
Step 1: Strip the wires to be cleaned.
Step 2: Get 2 containers, one for each solution. They can be paper cups, plastic, glass, bowls, whatever you can find. I have vials, because I am a professional electronics installer and I use these solutions out in the field.
Step 3: Get 1 tablespoon of raw salt, and put it in one of the containers. Fill up the rest of the container with vinegar, and stir the both together. As a general rule of thumb, put as much salt in the vinegar as will dissolve.
Step 4: Get 1 tablespoon of Sodium Bicarbonate, (baking soda) and add it to the other container. Fill up the rest with water, and stir well. Add more baking soda to make it cloudy. The amount is not important, as long as it is alkaline to cancel the acid of the vinegar solution.
Step 5: Put the stripped end of the wire in the vinegar solution, and stir the solution with the wire. any wire you want cleaned needs to be under the solution. Movement of the wire in the liquid speeds up the process.
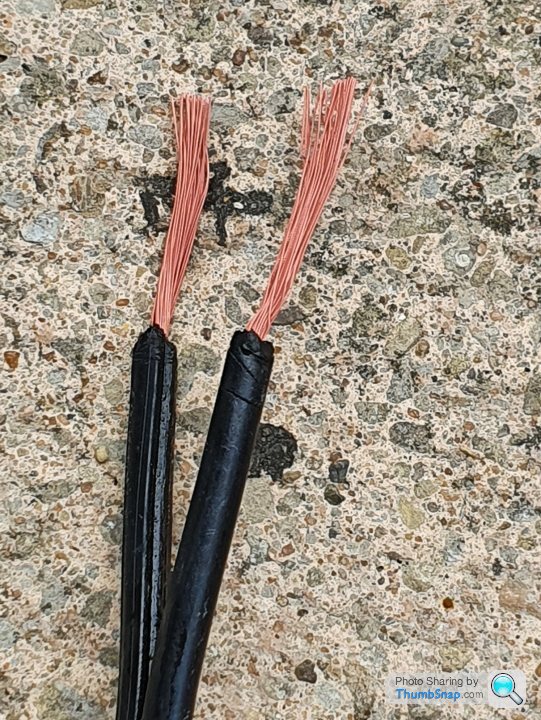
Step 6: After 2 minutes or so, the wire will look very shiny and new in the vinegar solution. The acid and salt in the solution is etching away the oxides, exposing the bare metal. Make sure the metal is uniformly shiny. Leave it in longer if it is not perfectly clean throughout.
Step 7: Once the wire is satisfactorily clean, remove the wire from the vinegar, and plunge it into the baking soda solution to neutralize the acid's corrosive properties. If the wire was exposed to the air, without neutralizing the acid first, it would quickly corrode again. The baking soda keeps it clean and shiny. Swish the wire around in the baking soda water for about 10 seconds, and then you are done!! Shiny new wire ready for soldering, and conducting once again!!
https://www.instructables.com/How-to-perfectly-cle...
This process uses two solutions, one is regular table salt and vinegar. Any kind of vinegar will work, from balsamic, to rice, to white vinegars. Its the acidity and corrosiveness of the salt and vinegar together that you want. The other solution is Sodium Bicarbonate, or baking soda, and water. This is used to neutralize the corrosive properties of the other solution, and to further clean the wires.
Step 1: Strip the wires to be cleaned.
Step 2: Get 2 containers, one for each solution. They can be paper cups, plastic, glass, bowls, whatever you can find. I have vials, because I am a professional electronics installer and I use these solutions out in the field.
Step 3: Get 1 tablespoon of raw salt, and put it in one of the containers. Fill up the rest of the container with vinegar, and stir the both together. As a general rule of thumb, put as much salt in the vinegar as will dissolve.
Step 4: Get 1 tablespoon of Sodium Bicarbonate, (baking soda) and add it to the other container. Fill up the rest with water, and stir well. Add more baking soda to make it cloudy. The amount is not important, as long as it is alkaline to cancel the acid of the vinegar solution.
Step 5: Put the stripped end of the wire in the vinegar solution, and stir the solution with the wire. any wire you want cleaned needs to be under the solution. Movement of the wire in the liquid speeds up the process.
Step 6: After 2 minutes or so, the wire will look very shiny and new in the vinegar solution. The acid and salt in the solution is etching away the oxides, exposing the bare metal. Make sure the metal is uniformly shiny. Leave it in longer if it is not perfectly clean throughout.
Step 7: Once the wire is satisfactorily clean, remove the wire from the vinegar, and plunge it into the baking soda solution to neutralize the acid's corrosive properties. If the wire was exposed to the air, without neutralizing the acid first, it would quickly corrode again. The baking soda keeps it clean and shiny. Swish the wire around in the baking soda water for about 10 seconds, and then you are done!! Shiny new wire ready for soldering, and conducting once again!!
https://www.instructables.com/How-to-perfectly-cle...
Byker28i said:
Well, I'm going to have to try it now... 
Approximately 15 minutes later
Byker28i said:
Big Al. said:
Byker28i said:
This thread needs to be a sticky - like the Cerbera alternative parts one.
Mods - something you can do?
No probs suggest a title and I'll tweak it. Mods - something you can do?

Sharing is caring
Classic Chim said:
Interesting. Would these wires be oxidised far up inside the rubber shroud do you think.
I have a 6v motorcycle some 43 years old which has exactly the same on most of its wiring.
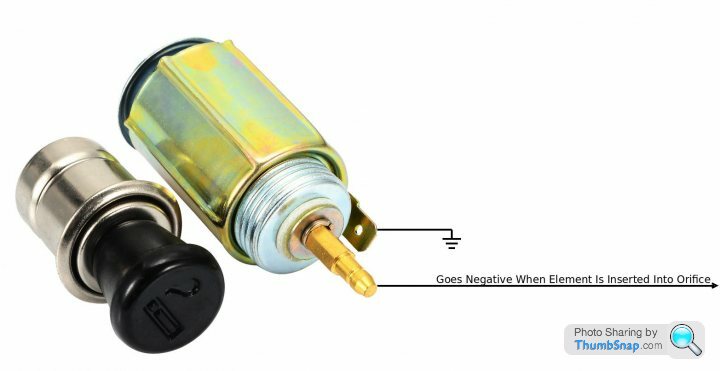
I recently replaced the brake light warning switch for a modern one and found my wire was still black after cutting about 8 inches of it off as it used to fit in back wheel so now too long.
It works very well as does all the wiring.
Does this make that much difference?
As you know, there's a big difference between oxidisation and corrosionI have a 6v motorcycle some 43 years old which has exactly the same on most of its wiring.
I recently replaced the brake light warning switch for a modern one and found my wire was still black after cutting about 8 inches of it off as it used to fit in back wheel so now too long.
It works very well as does all the wiring.
Does this make that much difference?
Many old cable conductors are oxidised through the sleeving for several inches or more yet keep functioning ok as long as each end is clean at the termination points
Hella, lots of

Search
https://web.tecalliance.net/hella/en/home
Catalogue
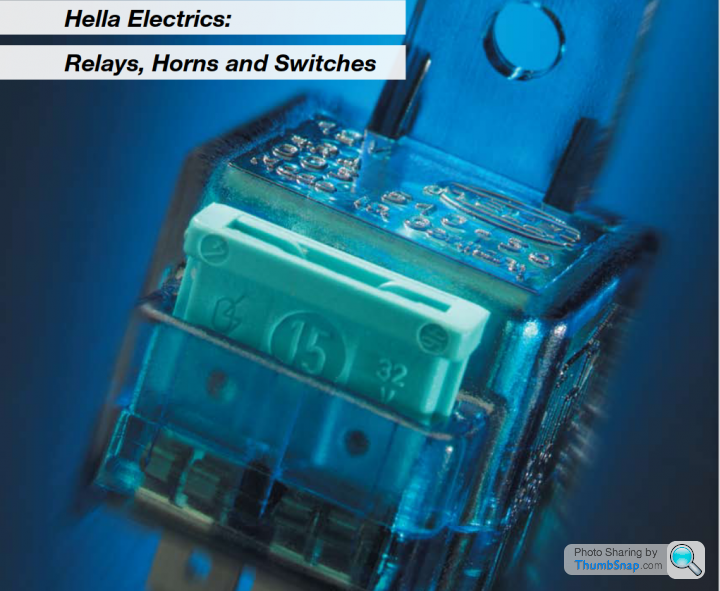
https://www.hella.com/hella-us/assets/media/HINC_E...
Search
https://web.tecalliance.net/hella/en/home
Catalogue
https://www.hella.com/hella-us/assets/media/HINC_E...
Edited by Penelope Stopit on Saturday 24th July 14:36


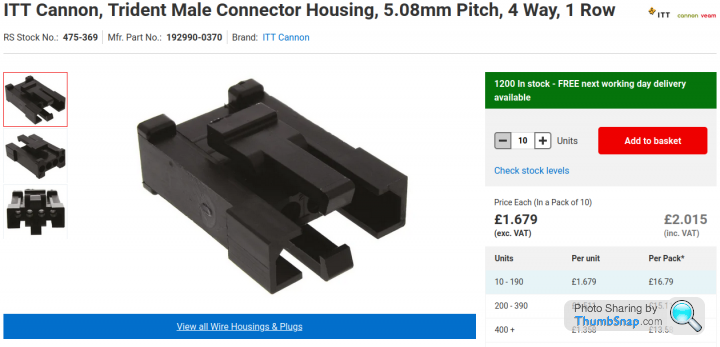
Tuscan speaker plugs and sockets behind dashboard
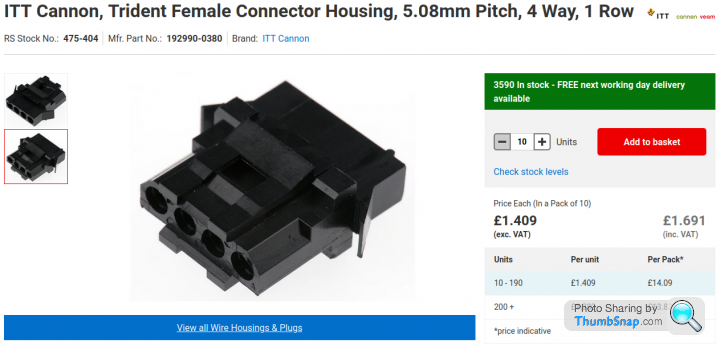
https://uk.rs-online.com/web/p/wire-housings-plugs...
https://uk.rs-online.com/web/p/wire-housings-plugs...
https://uk.rs-online.com/web/p/wire-housings-plugs...
https://uk.rs-online.com/web/p/wire-housings-plugs...
Get some weight off for racing
https://www.demon-tweeks.com/uk/brise-permanent-ma...

https://www.demon-tweeks.com/uk/brise-12v-competit...

https://www.demon-tweeks.com/uk/brise-permanent-ma...
https://www.demon-tweeks.com/uk/brise-12v-competit...
They look like Junior Power Timer Terminals
https://www.te.com/usa-en/product-2-929937-1.html

They are over @ https://www.automotiveconnectors.com/search/for/Ju...

https://www.te.com/usa-en/product-2-929937-1.html
They are over @ https://www.automotiveconnectors.com/search/for/Ju...
Edited by Polly Grigora on Monday 15th August 16:13
Mmmm, fooled me, they looked big in the image
Radio mini ISO Plug terminals?
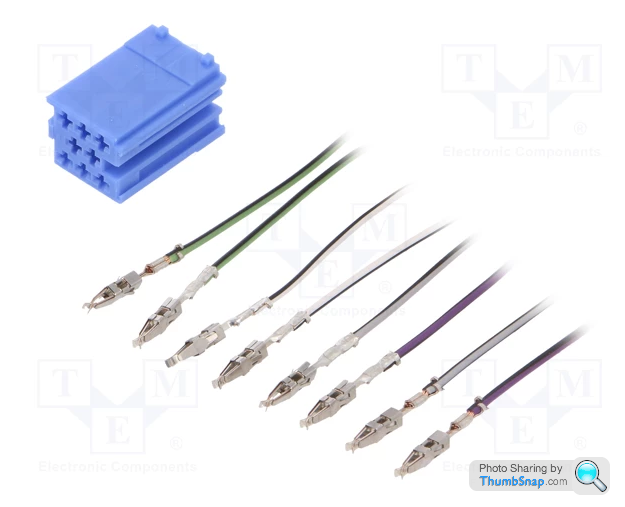
https://www.tme.com/us/en-us/details/zrs-iso-3_n/i...
https://www.conrad.com/p/aiv-blau-mini-iso-connect...
Radio mini ISO Plug terminals?
https://www.tme.com/us/en-us/details/zrs-iso-3_n/i...
https://www.conrad.com/p/aiv-blau-mini-iso-connect...
Edited by Polly Grigora on Monday 15th August 17:53
S6PNJ said:
A question Polly - without the correct (or any) tool, how are those pins removed from the plastic housing (radio amp plug)? What can I 'Heath Robinson' together to get the pins out?
Remove the hard steel from a wiper blade rubber, grind it to a narrow width and grind it thinner, work to a length of approx 4 Cms, cut the ground part off after grinding and knock it into a small wooden handle or whatever takes your fancyThe steel is very strong and great for putting down plug slots for pushing in terminal locking tabs
Gassing Station | General TVR Stuff & Gossip | Top of Page | What's New | My Stuff