26 years and never turned a crank! Porshe 928
Discussion


Comes with timewarp alpine radio cassette inc. equalizer and having finally got into the glovebox last night, a further blaupunkt graphic equalizer tucked away in there with all round "trio" speakers including tweeters in the back!! And quite honestly, I would be delighted to find her tucked behind one of the seats!
http://images.starpulse.com/pictures/2007/10/23/pr...
http://images.starpulse.com/pictures/2007/10/23/pr...
Edited by Mattlan on Tuesday 22 October 13:13
Gents,
re the oil issue, of course I finally realised that the oil in the sump could be assessed via the dipstick! Seems good so just the oil filler pot to clean out! Finally got some pictures that are below 2Mb!
Pick up day, wet and cold, but she managed to drag herself out of her garage with minimum fuss for the long drive home. Me, like a boy in a candy shop, rushing all around checking paintwork, old paperwork etc!
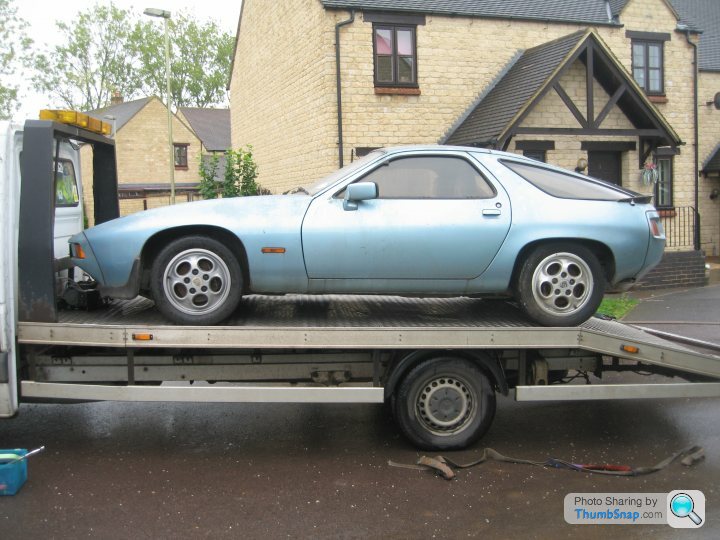
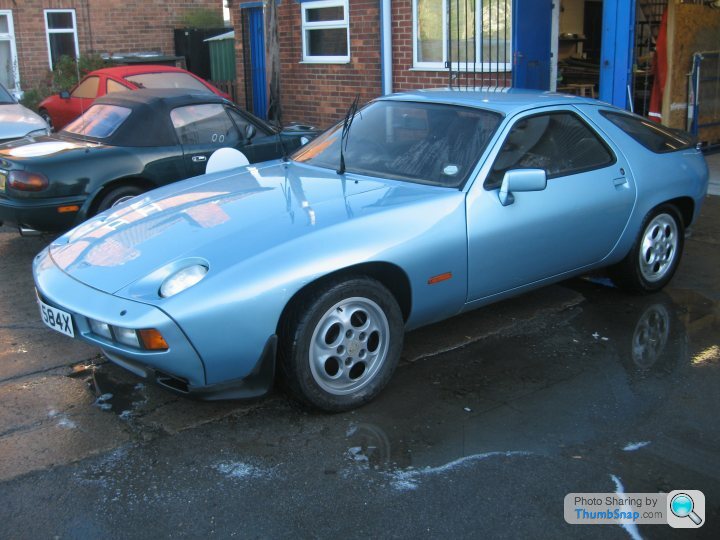
Amazing the level of interest she generated on the way home despite the foul weather! First job, carefully remove the 26 years of assorted crud off her to reveal a lovely metallic blue that whilst in reasonable condition will benefit from a professional mop at some point in the future.
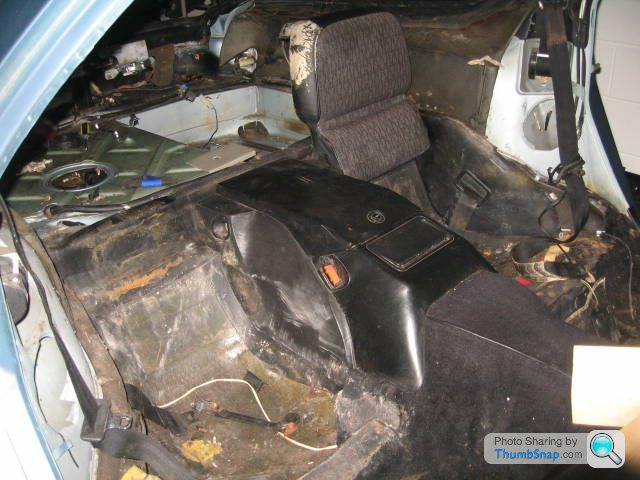
Then onto the interior, cough, cough! Mask used to prevent ingestion of 26 years work of mildew, dead spiders etc etc
Cash found to date £1.20 + 2 old 10p coins, bit disappointing for a Porsche from the 80's! Would have expected to find a couple of bags of white powder and a rolled up £20 quid note!!
Undertank pump/filter cover missing and both items fubared. Have been soaking the filter to hard line connections for a week now and still cannot break the connection. Note that all the hard lines are distinctly fragile and will need to be replaced as well as the rubber lines and other items such as the fuel accumulator all the way up to the engine bay.
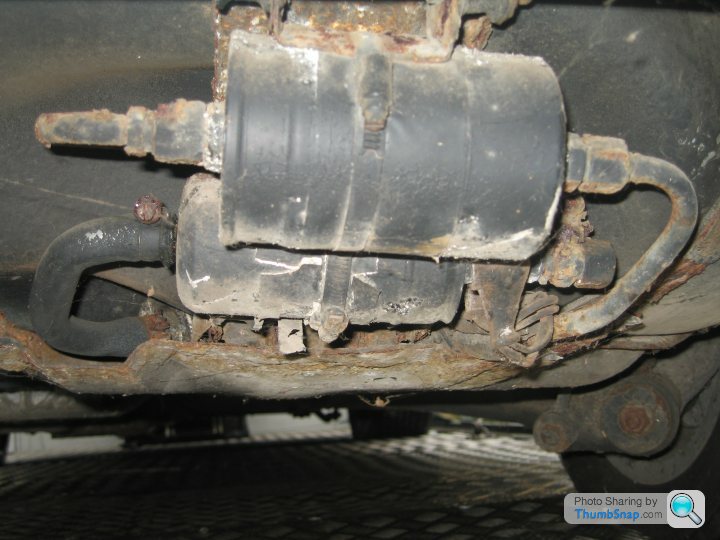
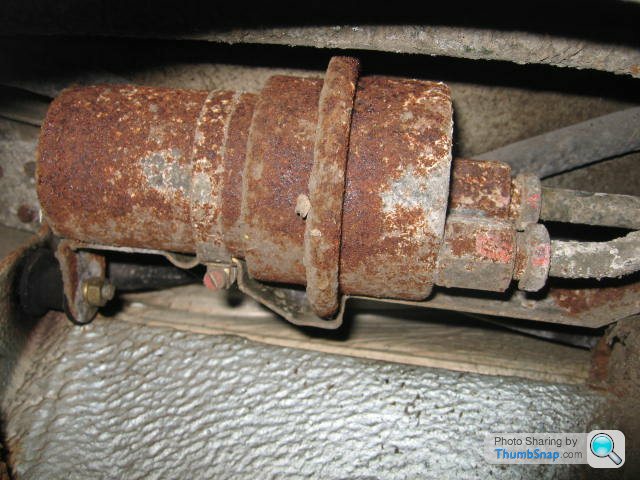
This return line had just decayed away and fell off in my hands

re the oil issue, of course I finally realised that the oil in the sump could be assessed via the dipstick! Seems good so just the oil filler pot to clean out! Finally got some pictures that are below 2Mb!
Pick up day, wet and cold, but she managed to drag herself out of her garage with minimum fuss for the long drive home. Me, like a boy in a candy shop, rushing all around checking paintwork, old paperwork etc!
Amazing the level of interest she generated on the way home despite the foul weather! First job, carefully remove the 26 years of assorted crud off her to reveal a lovely metallic blue that whilst in reasonable condition will benefit from a professional mop at some point in the future.
Then onto the interior, cough, cough! Mask used to prevent ingestion of 26 years work of mildew, dead spiders etc etc
Cash found to date £1.20 + 2 old 10p coins, bit disappointing for a Porsche from the 80's! Would have expected to find a couple of bags of white powder and a rolled up £20 quid note!!
Undertank pump/filter cover missing and both items fubared. Have been soaking the filter to hard line connections for a week now and still cannot break the connection. Note that all the hard lines are distinctly fragile and will need to be replaced as well as the rubber lines and other items such as the fuel accumulator all the way up to the engine bay.
This return line had just decayed away and fell off in my hands
Edited by Mattlan on Wednesday 23 October 09:07
Seems to be a cap on photo's in each post so Cont'd:
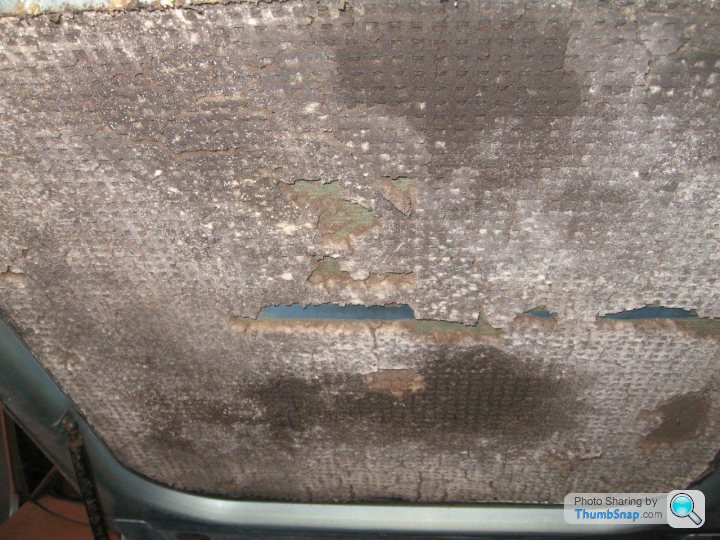
Quick dip under the bonnet to remove the old headlining, this stuff deteriorates to the point that if it's touched it collapses and gets everywhere, but it clogs up the hoover so removal by dust pan is the order of the day!
Mechanically, first job was to review the fuel system as these cars are very sniffy about accurate delivery of fuel.
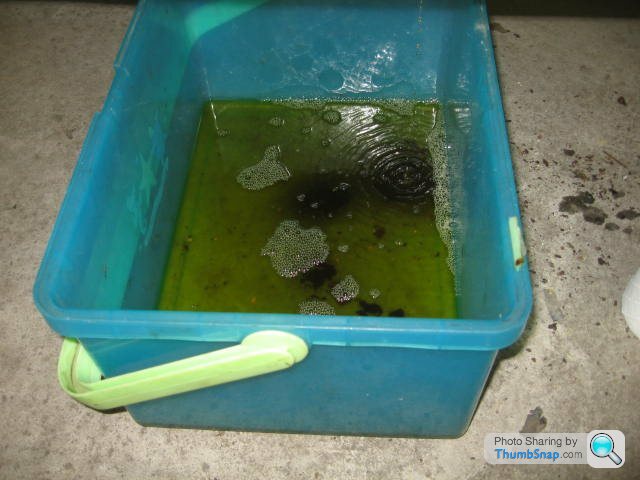
First up drop the old fuel, I love the smell of rotten 4 star in the morning!! See the black stuff, that's fuel tar!
Hoping for some ramp time in the garage next door over the weekend so will be dropping the fuel tank and associated lines then to make an assessment of condition. Fuel sender pin looks okay here doesn't it!

Bugger, two of the three pins rusted solid and bakelite casing rotten = broken casing! Must learn to slow down a little!
Speaking of the fuel sender, even twisting the securing ring off was a pain, and it refuses to lift out of the fuel tank without trying to bring up the bottom pan, I guess the fuel has become like glue in there over the years, never mind a job once the tank is out I guess!
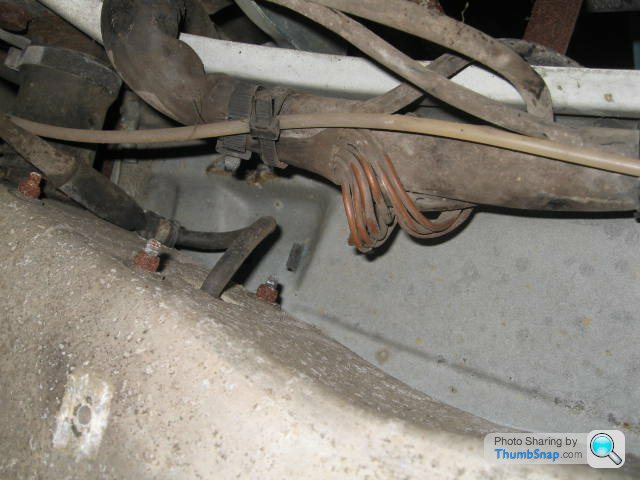
On my 1982 car, this set of grounds is mounted to the reverse of the front crossmember, accessable if a little fiddly to get to. On the blue car, I have had to remove the front grill just to get physical access to the wires and then drop the loom down to see where they are bolted to the chassis, whilst upside down of course!
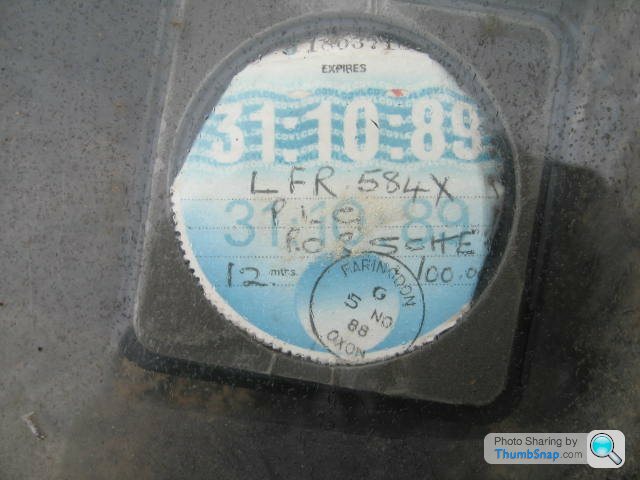
Lastly, check out the tax disc, yes that's £100 road tax for the year!
Quick dip under the bonnet to remove the old headlining, this stuff deteriorates to the point that if it's touched it collapses and gets everywhere, but it clogs up the hoover so removal by dust pan is the order of the day!
Mechanically, first job was to review the fuel system as these cars are very sniffy about accurate delivery of fuel.
First up drop the old fuel, I love the smell of rotten 4 star in the morning!! See the black stuff, that's fuel tar!
Hoping for some ramp time in the garage next door over the weekend so will be dropping the fuel tank and associated lines then to make an assessment of condition. Fuel sender pin looks okay here doesn't it!
Bugger, two of the three pins rusted solid and bakelite casing rotten = broken casing! Must learn to slow down a little!
Speaking of the fuel sender, even twisting the securing ring off was a pain, and it refuses to lift out of the fuel tank without trying to bring up the bottom pan, I guess the fuel has become like glue in there over the years, never mind a job once the tank is out I guess!
On my 1982 car, this set of grounds is mounted to the reverse of the front crossmember, accessable if a little fiddly to get to. On the blue car, I have had to remove the front grill just to get physical access to the wires and then drop the loom down to see where they are bolted to the chassis, whilst upside down of course!
Lastly, check out the tax disc, yes that's £100 road tax for the year!
Tip on the fuel sender, use brake cleaner to clean the wires and float shaft and do not reuse the seal on the top otherwise it will leak if you fill the tank.
I spent the last 3 years restoring my 928 S4, very satisfying if an expensive hobby.
Here is a list of some of the jobs I have done so far.
1) Timing Belt
2) New Porsche Water Pump
3) Rebuilt Steering rack
4) Rebuilt Steering Pump
5) Intake refresh including replacement idle valve, knock sensors etc
6) Renew Fuel Hoses with S/S braided and Roger's U bend.
7) Flex Plate Check and Release
8) Fuel Pressure Gauge, Dampers etc
9) Complete Fluid Change
10) Clean C/E panel and replace all fuses / some relays.
11) New Filters
12) Fixed A/C Relay
13) New A/C hoses and pressure switch
14) New Vacuum Hoses
15) Restored leather and steering wheel
16) Respray Hood and Roof
17) Hood / Hatch Struts
18) Restore rear Luggage Cover
19) Fix rotten rear light fixing
20) Fixed various interior trim pieces
21) New Head Unit
22) Clean ground points
23) Renew Motor Mounts
24) Replace Battery
25) Install PKlamp
26) Fit New Tyres
27) Fix transmission shunt
28) Fix A/C Blower
29) Fix Rear Hatch Latch
30) Replace coils, rotors, wires and plugs
31) Replace Torque Tube!
32) Replace Fuel tank Sender
33) Replace Radiator
34) Replace Door Mirrors with GTS ones
35) Replace Speakers
36) Install switches upgrade
37) Replace door and window seals
38) Install clear indicators
39) Fix interior lights
40) Respray front wings
41) Make new engine wiring harness's
42) Install dynamat
43) New Front A Arms
44) Replace Wheel Bearings
45) CV Boots
46) Replace Heat Shields
47) Sharktune
I bought an engine years ago for spare parts which hadn't run in years. When taking it apart, the cam lobe surface was heavily pitted, I was told this is where used and contaminated oil sits there when unused and causes the corrosion and pitting. Not sure how true all that is , but it came from an engine builder who said had it been stored with fresh unused oil, it would probably have been perfect and the cams still usable. The rest of the engine was good and the crank was fine too and there was nothing obvious that wouldn't stop you from firing it up.

 I'm in!
 Good morning gents, once again thank you for all your kind comments!
Slowly working through the interior removing everything as the mildew has sneaked underneath carpets etc and without removing and proper cleaning I'm concerned about reappearance and the smell lingering.
Opened up the passenger footwell to review the main fuseboard. As you can see whilst there is surface rust on the base of the frame, the floorpan seems to be ok.
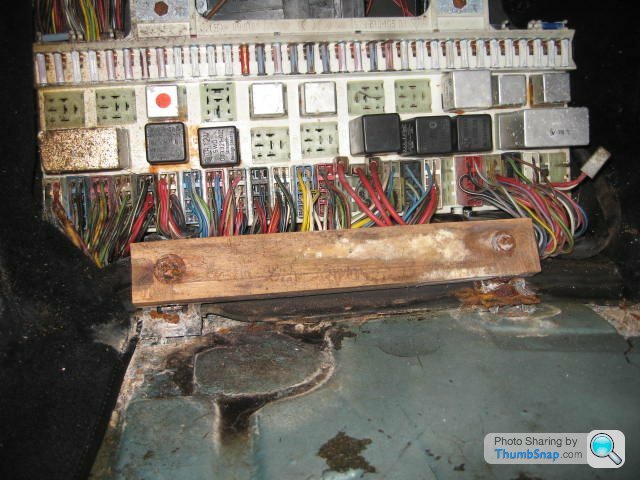
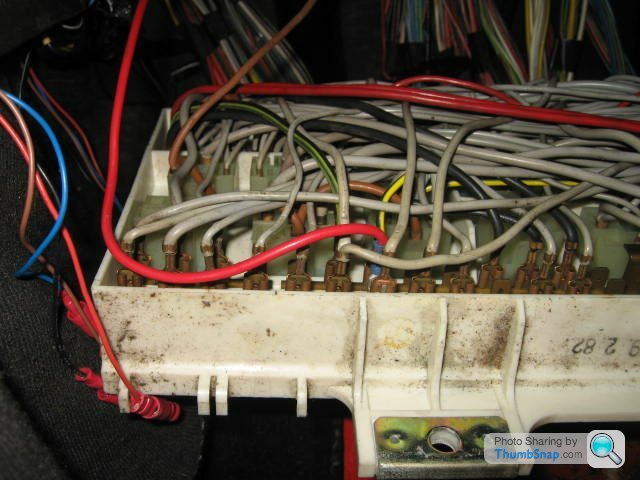
Will be reviewing and replacing all relevant relays and fuses where necessary. Incidentally the rear of these boards is magnificent in its complexity, especially if you do not want to remove it from the footwell and end up working upside down in the footwell! ( I'm 6.3 and well built, it's a bit of a squeeze!!)
Also, as you can see here the rear seats in particular have suffered badly from mildew, with the material held together by rusty staples only.
I'm debating whether to remove the material carefully, buy new fabric and recover, or simply handwash the existing in relevant fluids as I am concerned about colour matching with sun bleaching of the original material
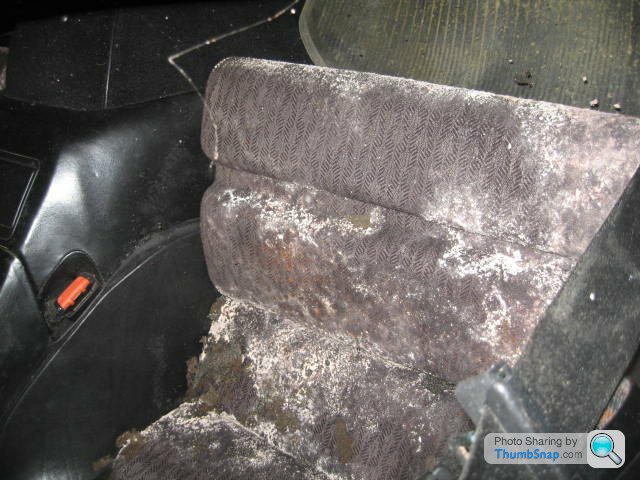
Main issue is that the foam has a covering of mildew; any top tips for cleaning these parts of the seat without getting them soaking wet or destroying their integrity?
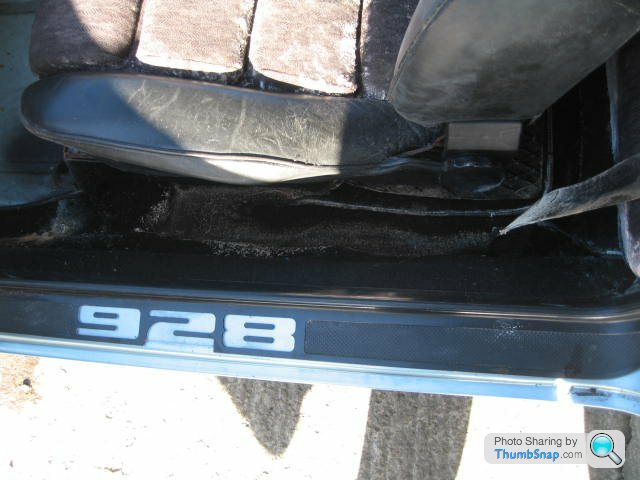
Lastly, what one always wishes to see when getting into one's car!!!
Slowly working through the interior removing everything as the mildew has sneaked underneath carpets etc and without removing and proper cleaning I'm concerned about reappearance and the smell lingering.
Opened up the passenger footwell to review the main fuseboard. As you can see whilst there is surface rust on the base of the frame, the floorpan seems to be ok.
Will be reviewing and replacing all relevant relays and fuses where necessary. Incidentally the rear of these boards is magnificent in its complexity, especially if you do not want to remove it from the footwell and end up working upside down in the footwell! ( I'm 6.3 and well built, it's a bit of a squeeze!!)
Also, as you can see here the rear seats in particular have suffered badly from mildew, with the material held together by rusty staples only.
I'm debating whether to remove the material carefully, buy new fabric and recover, or simply handwash the existing in relevant fluids as I am concerned about colour matching with sun bleaching of the original material
Main issue is that the foam has a covering of mildew; any top tips for cleaning these parts of the seat without getting them soaking wet or destroying their integrity?
Lastly, what one always wishes to see when getting into one's car!!!
Gassing Station | Classic Cars and Yesterday's Heroes | Top of Page | What's New | My Stuff