Refurbishment of my Maserati Mexico
Discussion


FWDRacer said:
On a recent Italian holiday (what else) I saw an absolute rotter Mexico on a flatbed trailer being towed. Clearly a heart first restoration job, but at least the car appeared complete.
This is lovely car OP.
Cheers, the bodywork on these cars seems to be the week point so if that one's a rotter somebody's going to be handy with a welder and sheet metal This is lovely car OP.
 , thankfully mine was very solid behind the panels due to it's past life in the south of Italy but there's always hope:-
http://www.concorso.com/broadcasts/NOV09-2.html
Paul
The Surveyor said:
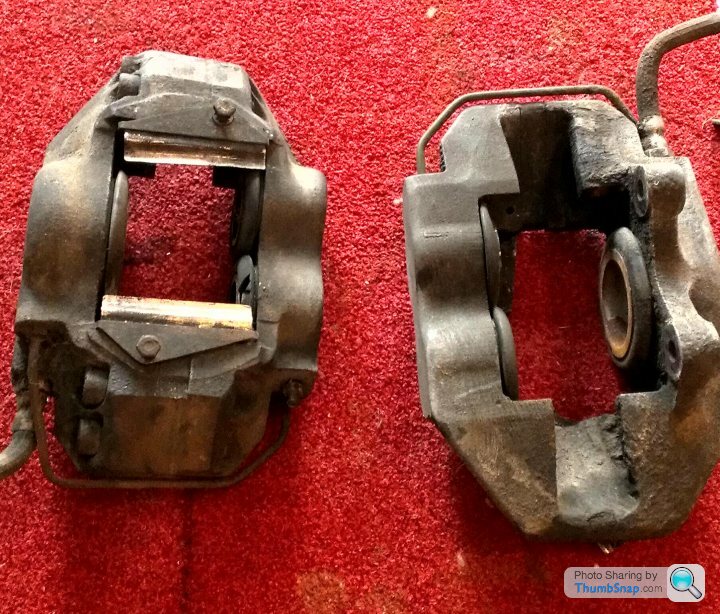
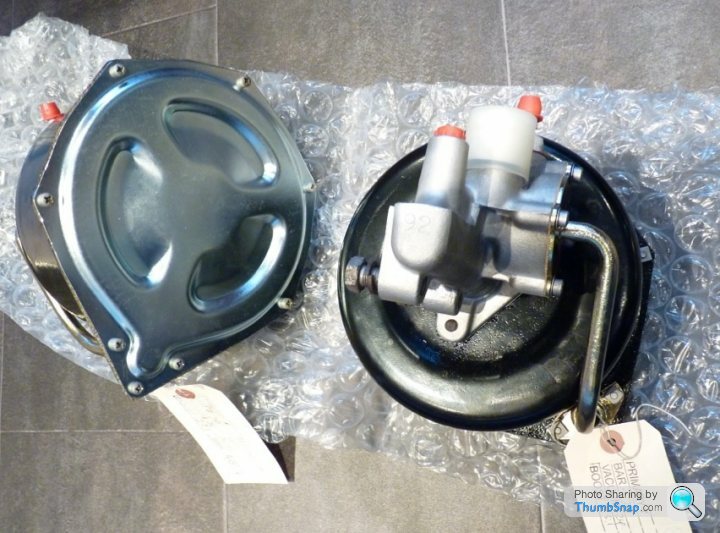
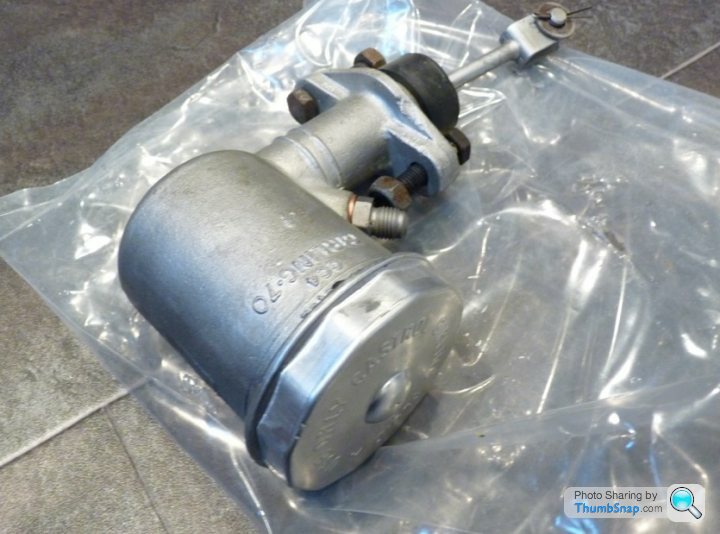
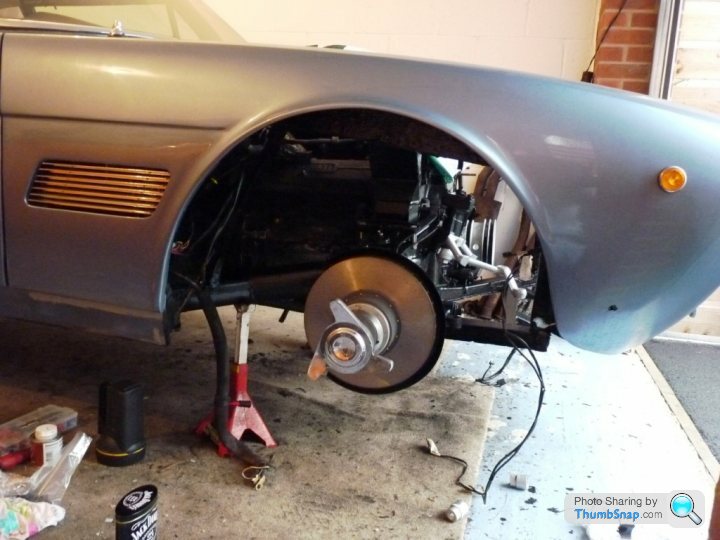
Managed to steal a few hours in the garage this morning and got the rest of the brake system dismantled. 2 large servos removed from the inner wing then shifted the front brake callipers. They are as bad as the rears with knackered seals but are ripe for refurbishment. Yes, they are as huge as they look in the picture...

Great job and highly recommended

Paul


Stole another couple of hours in the garage tonight. Handbrake cable removed and boxed up to send off as a pattern for replacement and exhaust manifolds removed.
Nice to see a full compliment of brass nuts and the manifolds look solid despite surface rust.
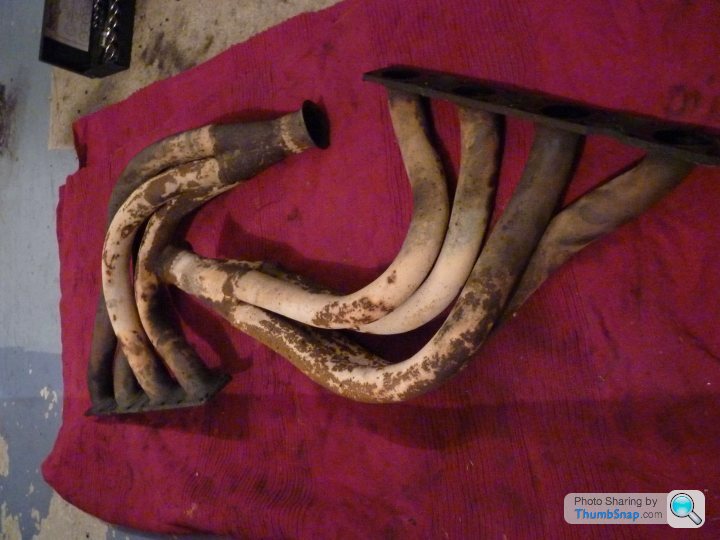
Any suggestions on how to clean these up? Light bead blast then paint with a VHT paint or any other suggestion?
Paul
Nice to see a full compliment of brass nuts and the manifolds look solid despite surface rust.
Any suggestions on how to clean these up? Light bead blast then paint with a VHT paint or any other suggestion?
Paul
I wasn't looking to ceramic coat the manifolds, they weren't originally and I've seen mixed results on good manifolds. Plus, the cost of good ceramic coating is halfway to covering the cost of new stainless manifolds to match the rest of the exhaust system.
These are pitted and rough and I'm really just looking to avoid the rusty-look in the future.
I'll get them dipped to de-rust them and see how they look.
Cheers
Paul
These are pitted and rough and I'm really just looking to avoid the rusty-look in the future.
I'll get them dipped to de-rust them and see how they look.
Cheers
Paul
peteA said:
...my Tamora manifolds are coated to reduce temps and this time round still look good but cost about £400 + VAT...(think they went to Camcoat from HHC) the Mexico's look much bigger so logically would cost more? maybe £600 or £700 at a guess?
That's what's putting me off going ceramic, being a tight Yorkshire git, I'd prefer to spend the money on replacement Stainless Steel manifolds once these old ones eventually fail. AAS quoted around £600 each for new custom stainless ones...I took them to the plater who has done all my other stuff this lunchtime and they wouldn't dip them due to the carbon inside, something to do with this ruining the acid! Dropped them off with the guys who are blasting and powder coating the front springs and brackets and they'll blast clean them ready for me to paint.
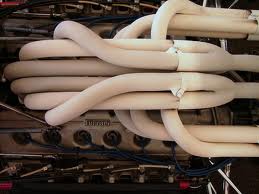
I'd quite like them matt white like that exhaust at the start of the BBC F1 coverage.... Time to start some research on the interweb me thinks!
Paul
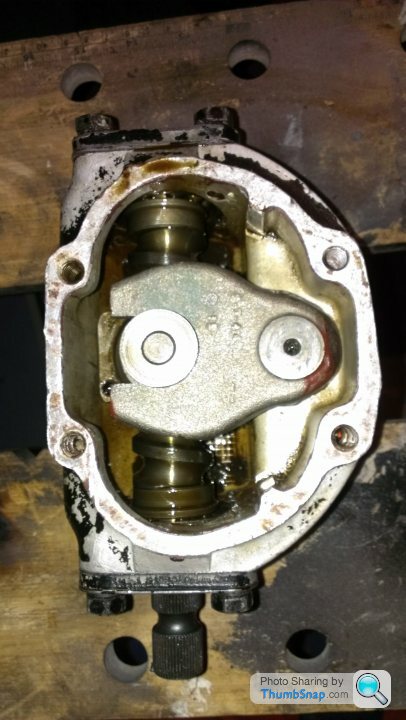
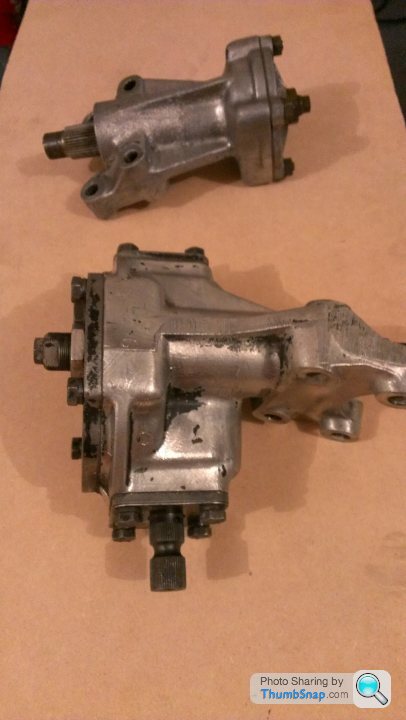
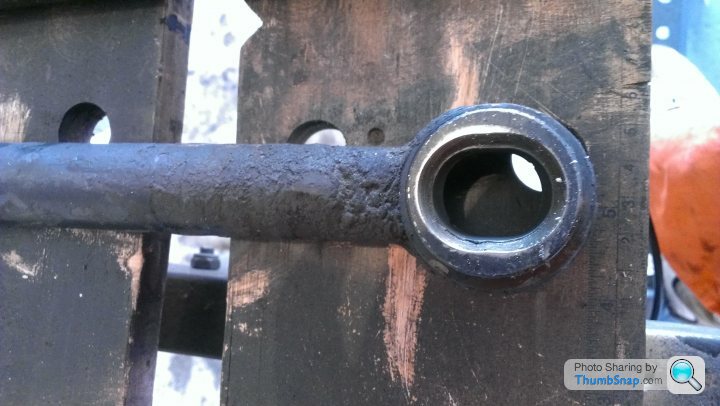
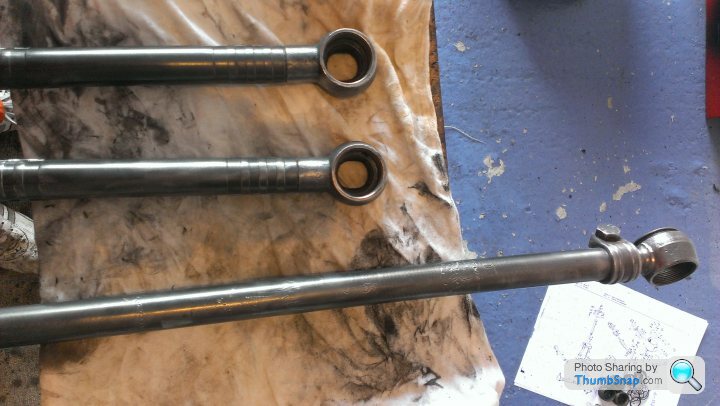
Little bit more progress today on the Mexico. Called in the big guns with the oxy heat which was needed to split shift the arms off the steering box and idler box. Allowed them to be dismantled so I can put the new seals in the steering box to stop the oil leak.
Further heavy dismantling removed the full steering linkages and track rod ends, all nicely snug and free from any play but alas some of the rubbers were split, I'll clean them up and see how bad they are and look into replacements.
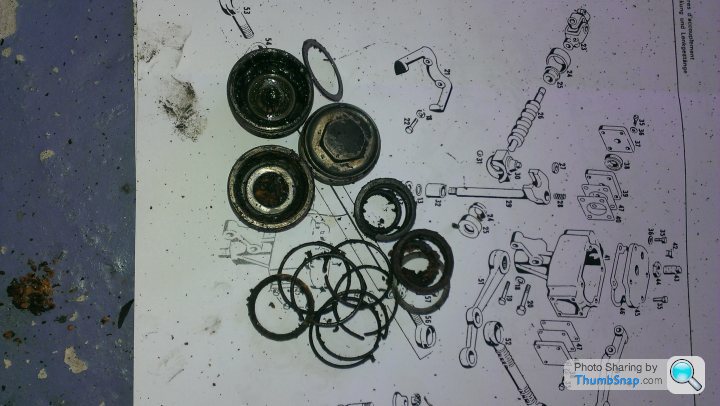
Further bad news came with excessive play in the bottom ball joints.
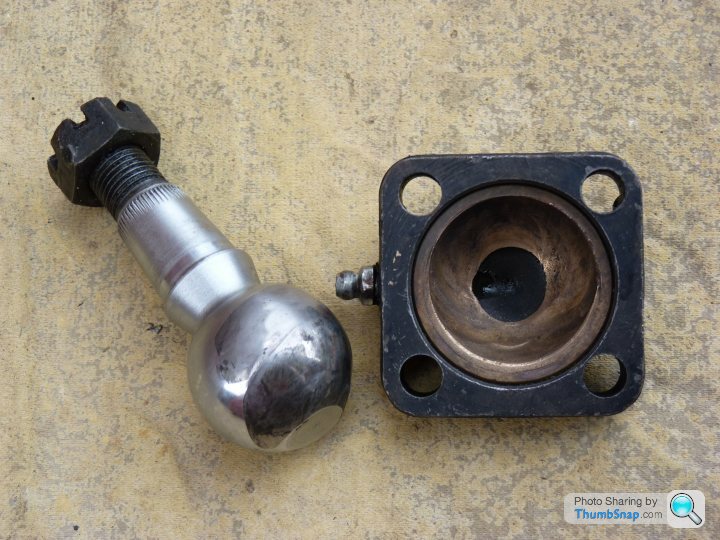
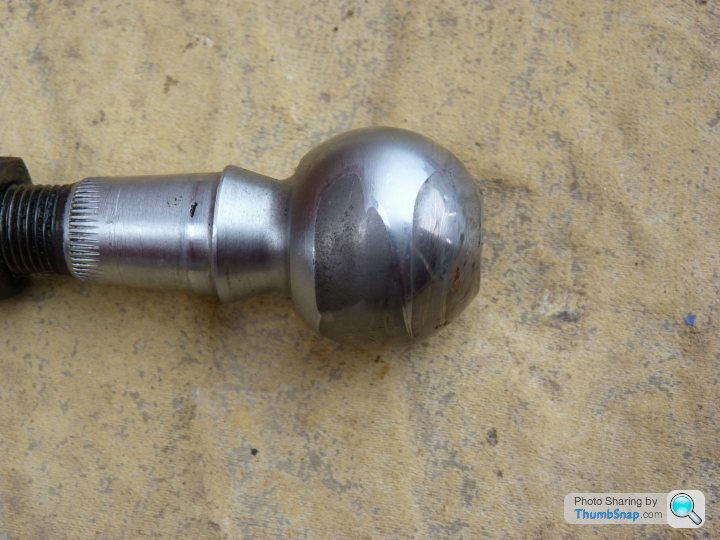
There are proper knackered and will both need refurb kits. Oh balls....
Further heavy dismantling removed the full steering linkages and track rod ends, all nicely snug and free from any play but alas some of the rubbers were split, I'll clean them up and see how bad they are and look into replacements.
Further bad news came with excessive play in the bottom ball joints.
There are proper knackered and will both need refurb kits. Oh balls....

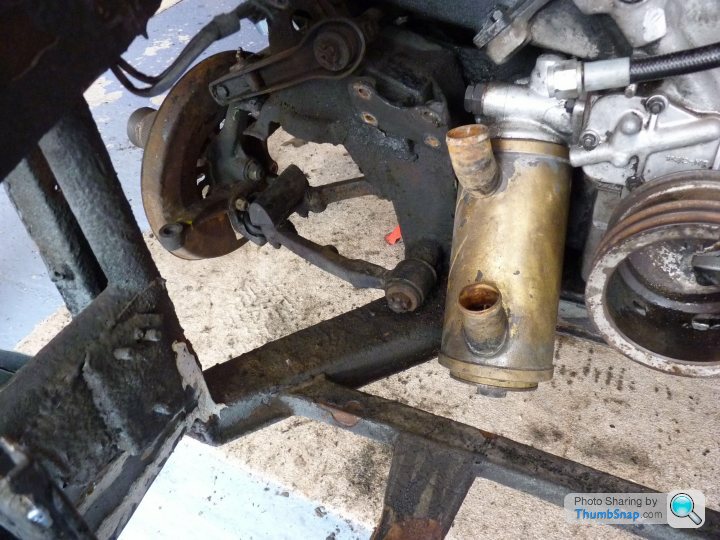
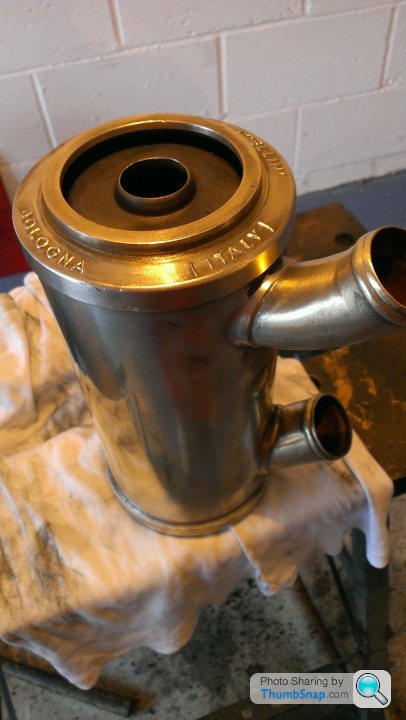
Little update, removed the heavy brass oil filter holder today, great lump of a thing which includes a water-jacket to warm up the oil in winter, and cool it in the summer... Or at least that's what I think it does.
Cleaned it ready for painting in a nice gloss black, but should I leave it shiny brass, or would that look too Jules Verne?
Brass or Black?

Paul
Cleaned it ready for painting in a nice gloss black, but should I leave it shiny brass, or would that look too Jules Verne?
Brass or Black?
Paul

In addition to the front-end work, I've removed the propshaft to enable me to replace the leather diff oil seal which is leaking quite badly.
The propshaft UJ's were stiff and notchy, especially at the gearbox end so the shaft was dropped off at CPS Drivelink Ltd on Team Valley in Gateshead who have replaced the UJ's at both ends with the correct units, spring-clipped in place with grease nipples for future lubrication, finished off with a re-balance. Excellent service and a reasonable price.
The propshaft has now been cleaned up and repainted ready to go back in once the diff oil seal has been done.
Paul
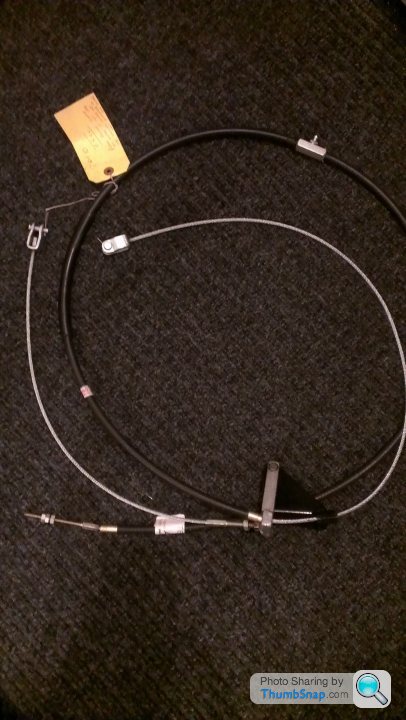
One joy of a project like this, especially for a novice like me is when new parts arrive in the post. Today my new handbrake cable arrived.... 
Potentially mundane but this is a custom replacement, beautifully remade by Speedograph Richfield for a very reasonable cost. For longevity, I asked them to add a grease nipple and overall I'm delighted pleased with it. Highly recommended

Paul
Potentially mundane but this is a custom replacement, beautifully remade by Speedograph Richfield for a very reasonable cost. For longevity, I asked them to add a grease nipple and overall I'm delighted pleased with it. Highly recommended
Paul
stang65 said:
Why do the bodywork and then the mechanicals? I'd be scared of scratching the paint when climbing all over/under it to do the jobs you've been doing since the paint was put on.
It just worked out that way Paul, and yes, I'm being very careful around the bodywork... I always set out to do a refurbishment job on this car not a full concours restoration a) because structurally it was sound b) I wanted to do as much of the work myself and c) I've set a reasonable budget for the works. The first part of that was to make the body presentable and then refurbish the mechanicals. Its just me who can't put dirty parts back on so as they come off, they get replaced or refurbished before going back on....As a contrast see the amazing work Roger has done on his Ghibli, in that thread you'll see the quality of the work he's done at home, he's stripped the body to a bare shell which would scare the crap out of me. I'm also excited to see how DTR tackle sprintspecial's 3500 GTI, now given the previous work on that Alfa, that will be the one to watch, just to see how the professionals do it
Oh and I did see John Jackson's Mexico at the NEC last year, beautiful wasn't it. Chatted to him for quite a while and he's a jolly very nice guy too.
Oh & thanks for the tip on the BBQ paint, I'll look into that
Edited by The Surveyor on Saturday 26th October 10:18
I thought it was time I updated this thread, especially given the other restoration threads which are putting my DIY efforts to shame. The Interceptor and E Type threads are great but for obvious reasons, I'm especially interested in the 3500 GT project. A beautiful job.
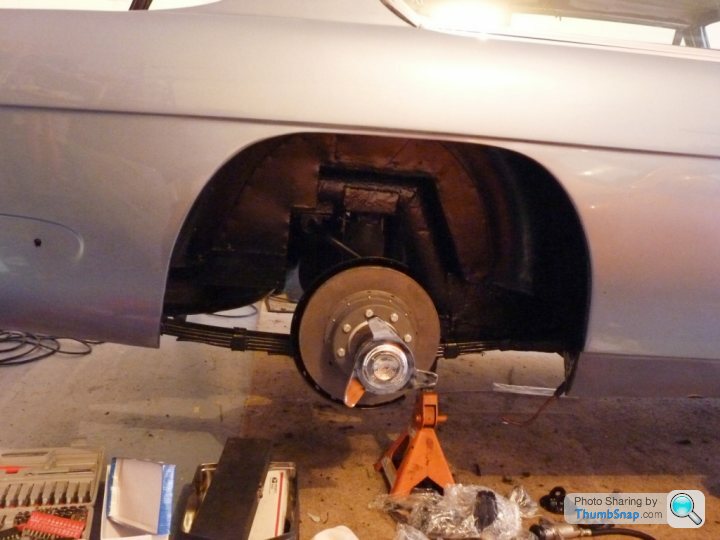
I'm pleased to report that re-assembly work has started now that all the underseal has been removed off the underside and arches and the metal primed and coated (twice) with black satin Smoothrite. Front suspension is reassembled with new lower balljoints and front and rear brake disks are on.
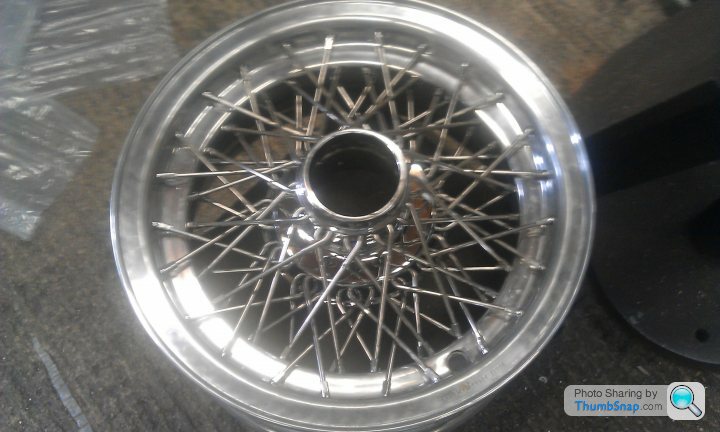
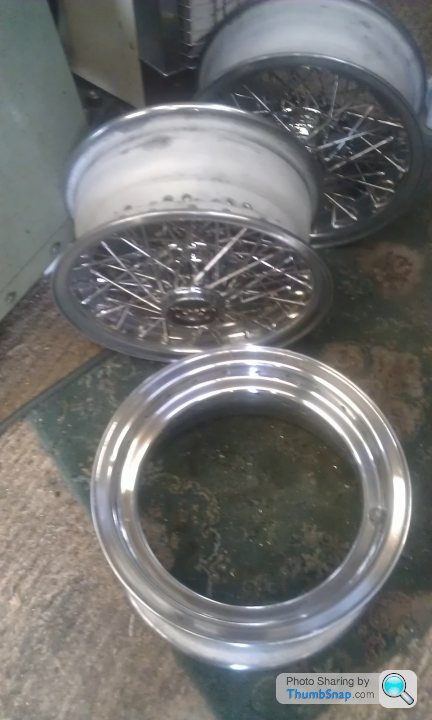
Front side-lights and vent grilles were good visual progress and I've bought some new 3 eared spinners to compliment the refurbished Borrani's

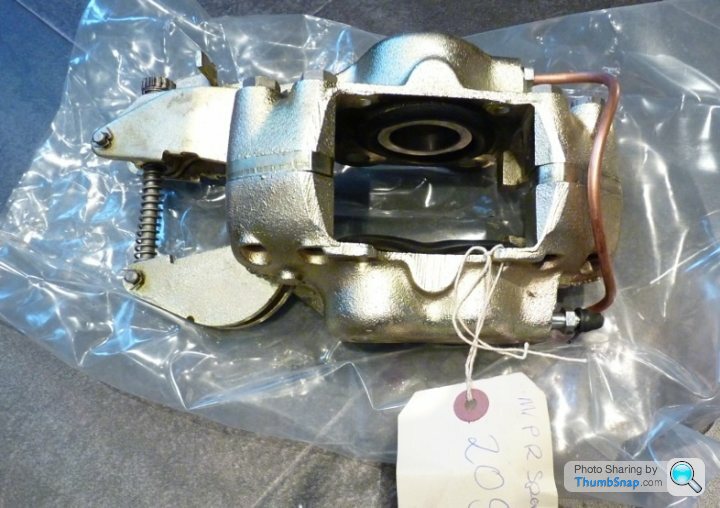
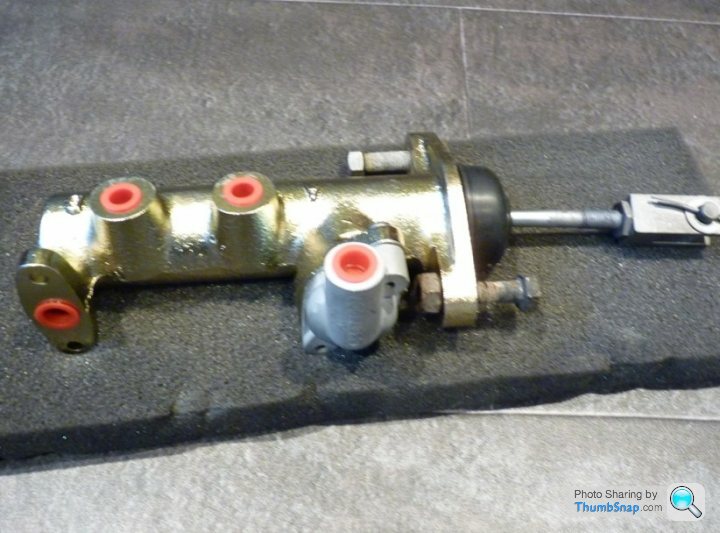
Next job is fitting the brakes. The refurbished callipers, servos, master cylinders, all with new pads, flexi-hoses, and new copper brake pipes.
I'm pleased to report that re-assembly work has started now that all the underseal has been removed off the underside and arches and the metal primed and coated (twice) with black satin Smoothrite. Front suspension is reassembled with new lower balljoints and front and rear brake disks are on.
Front side-lights and vent grilles were good visual progress and I've bought some new 3 eared spinners to compliment the refurbished Borrani's
Next job is fitting the brakes. The refurbished callipers, servos, master cylinders, all with new pads, flexi-hoses, and new copper brake pipes.
Gassing Station | Classic Cars and Yesterday's Heroes | Top of Page | What's New | My Stuff