1:72 Tornado GR4, Dambusters70th Anniversary
Discussion


Eric Mc said:
I often think your striving for perfection causes you more problems than it is worth.
Everybody has their own take on how much extra work they feel they need to put into their model builds. I sometimes think that your approach, whilst producing top rate models, does not always satisfy you.
Or am I wrong in thinking you seem to never really be pleased with what you have done?
Sometimes the trouble is worth it, sometimes it isn't. Unless I'd tried the resin nose, I wouldn't have known, so there we go. I'll sort it and hopefully the painting will go OK. At the end of the day, when I complete a model I usually know that I couldn't have done it much better, and that's where the satisfaction comes for me. IMO this Revell Tornado isn't a particularly good kit even considering it's age, and it's taking more work to get it close to what I want. Everybody has their own take on how much extra work they feel they need to put into their model builds. I sometimes think that your approach, whilst producing top rate models, does not always satisfy you.
Or am I wrong in thinking you seem to never really be pleased with what you have done?
My intention is to concentrate on a few decent kits that don't need any extra work, hence the Tamiya Zero and Eduard Hellcat in the stash.
jamieduff1981 said:
It looks good to me Doc. Something I can't help but notice when around aeroplanes is that hardly anything fits properly, and nothing is quite the shape it is supposed to be. I think you're too hard on yourself for what it's worth. 
P.S. I like your son's unfinished model holder
Ta- I think the nose is OK, in fact I think I was trying to make it what my interpretation of how it should look, rather than how it actually looks (which is slightly odd depending on angle).P.S. I like your son's unfinished model holder
I agree about the fit of panels etc., on a lot of older aircraft, although obviously at 1:72 a 0.5mm error equates to a 36mm error on the real thing. I think the smaller the scale the more critical things become - to a degree.
HoHoHo said:
O
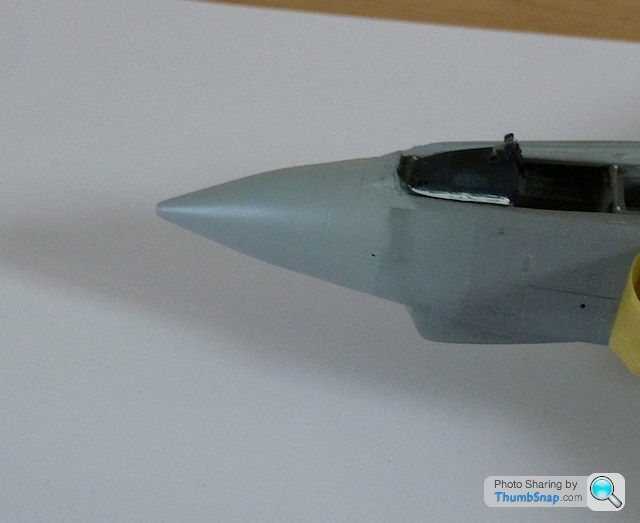
Windscreen is on top of the nose - I masked some of the inside of it too dr_gn said:
Windscreen masking done:

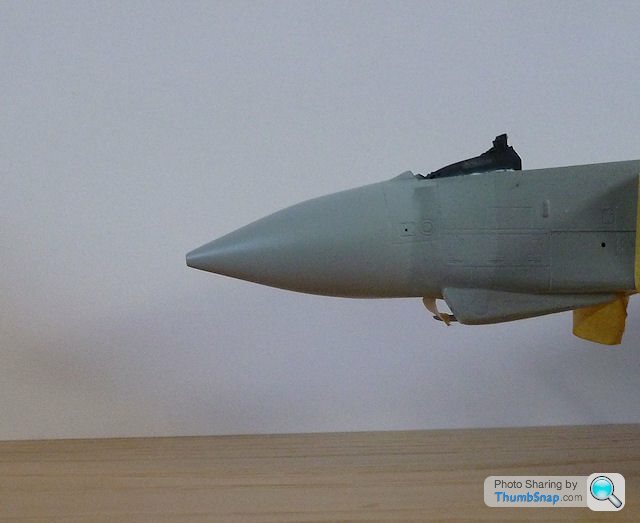
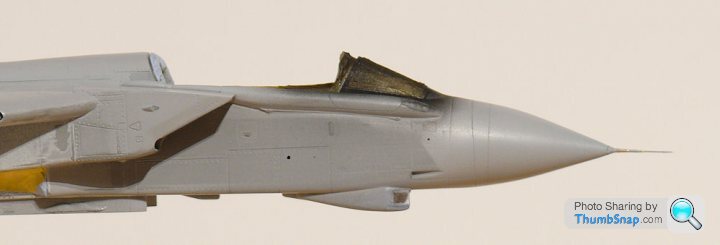
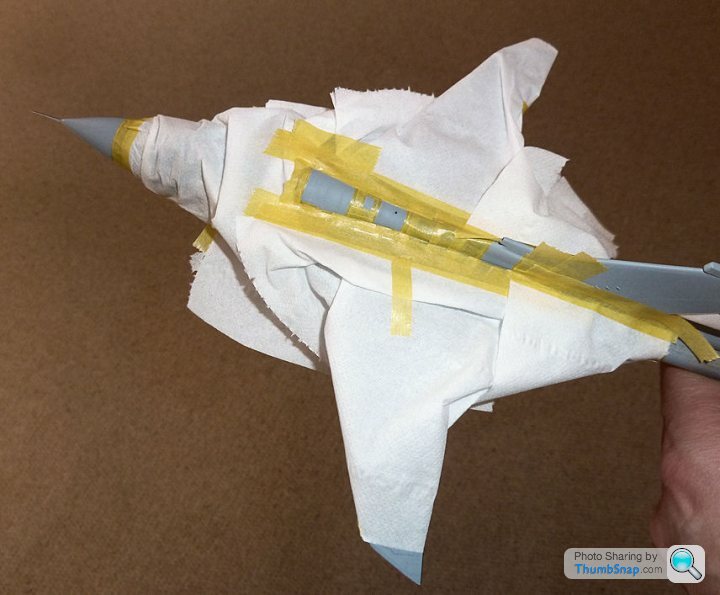
Nose photo Most of the cockpit is masked now, plus I added a handle out of some dowels; there is going to be a lot of messing about during painting, and I don't want to cover the thing in grease by handling it directly:
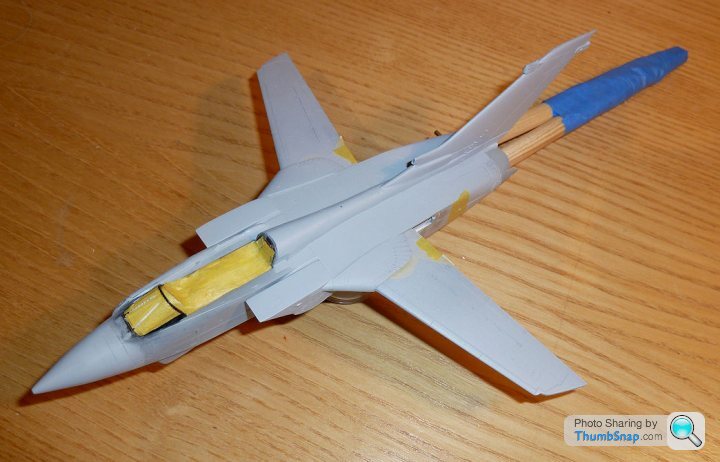
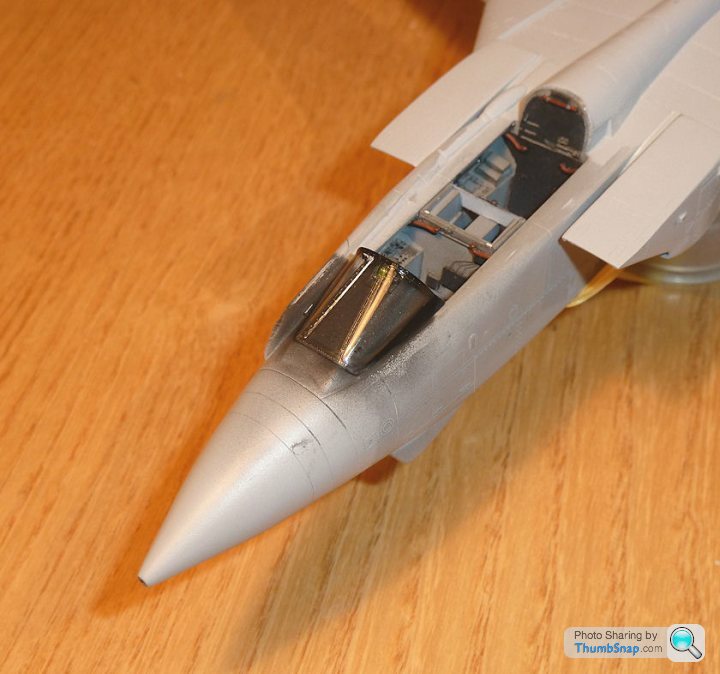
I decided to put the LRMTS lens (a "little lens") in place now, then I'll add the angled glazing and mask it. One less thing to do for final assembly:
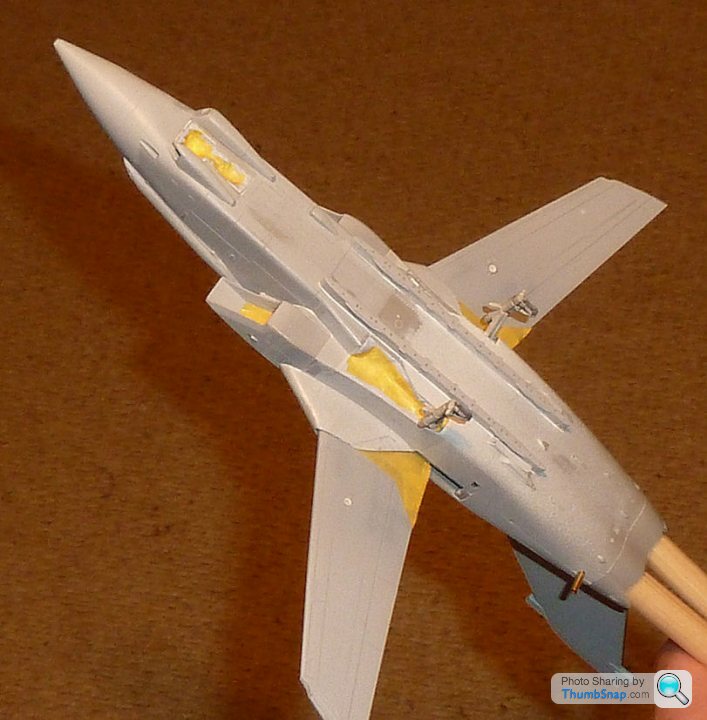
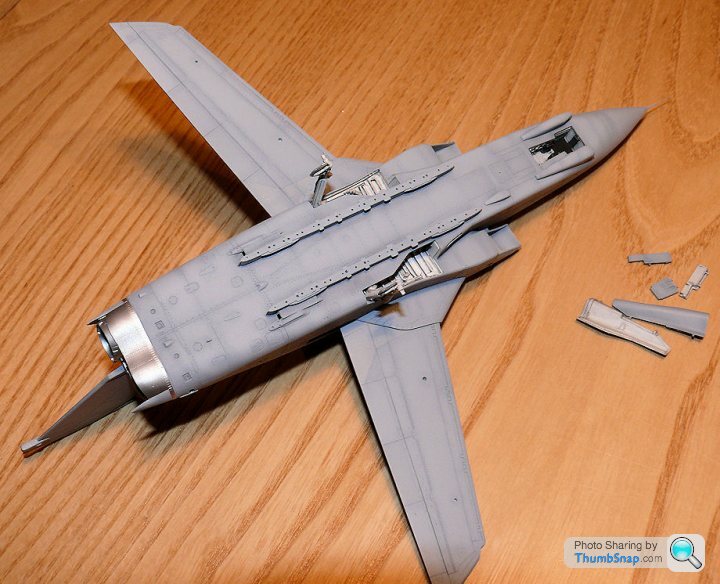
All u/c bays are now masked. Just the above work on the LRMTS pod, and some final bits of Blu-Tac for the cockpit, then it's painting:
All u/c bays are now masked. Just the above work on the LRMTS pod, and some final bits of Blu-Tac for the cockpit, then it's painting:
Painted the jet exhaust / bucket area tonight:
And the internal colour of the windscreen frames:
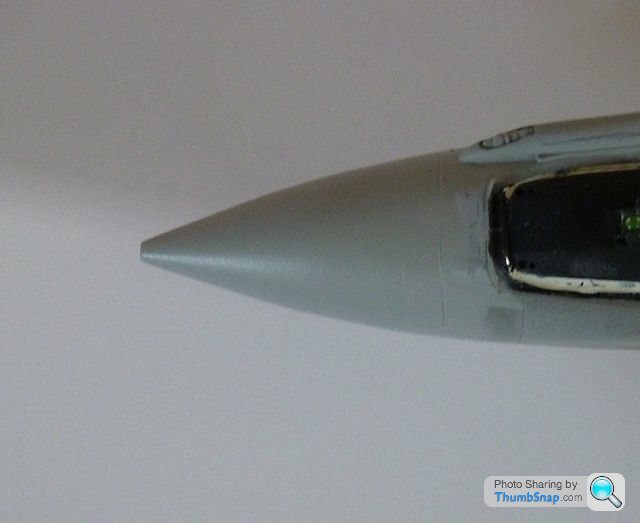
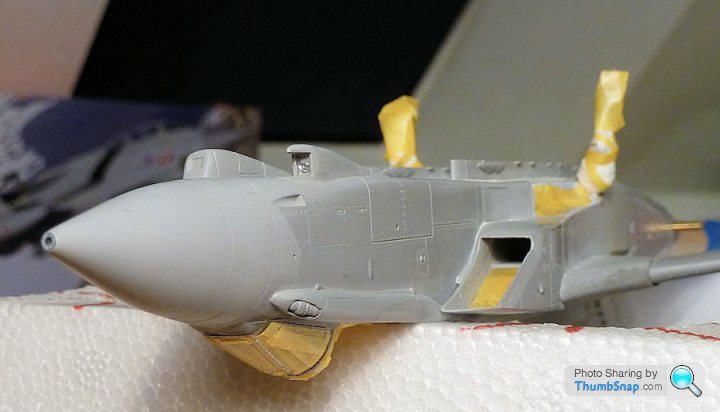
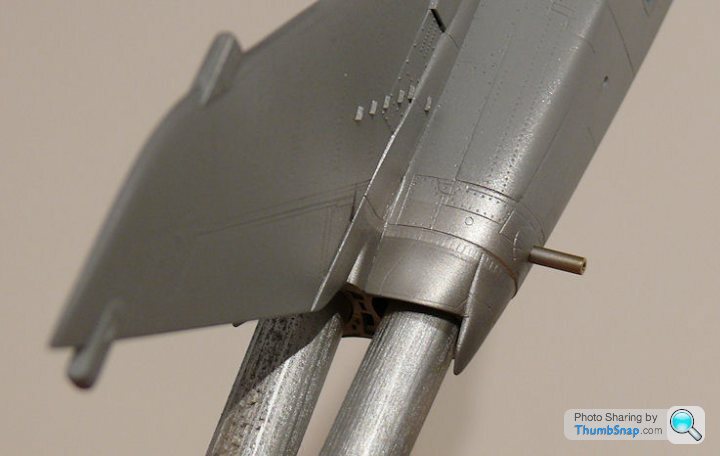
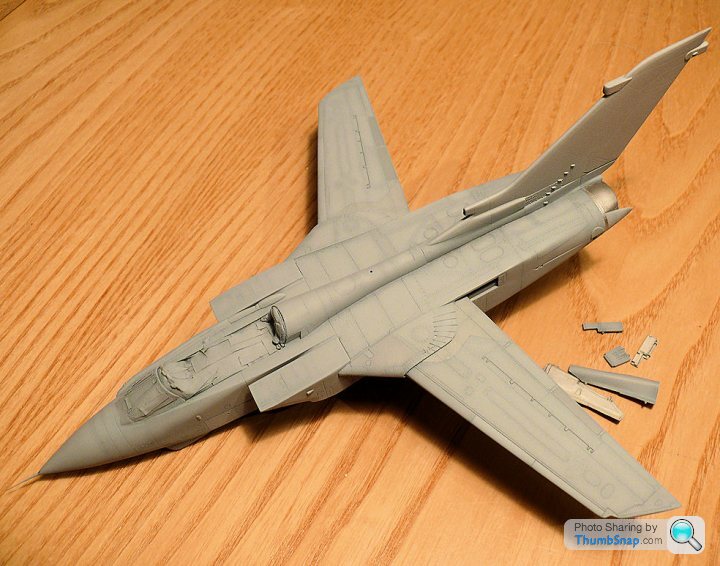
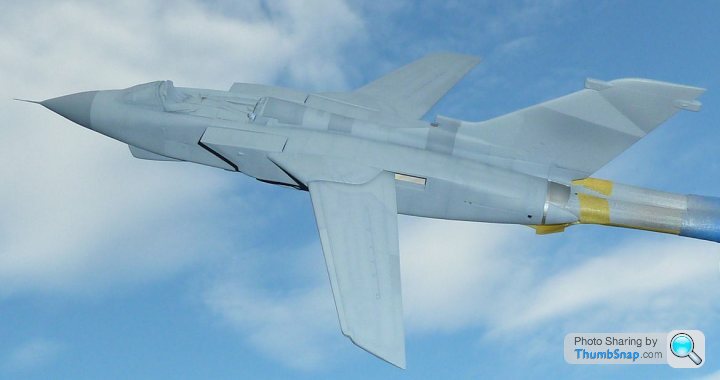
Put the brass pitot tube on as well. Strange how I stopped noticing the nose geometry as other things distracted me. FWIW I think it looks quite a reasonable shape now. I'm still not sure whether to add the LRMTS window after completion, or mask it as it is. I'm currently erring towards removing it and adding it at the end. That view highlights how wrong the fit of the pod is...maybe I can worry about that for a while before moving on to somethign else
And the internal colour of the windscreen frames:
Put the brass pitot tube on as well. Strange how I stopped noticing the nose geometry as other things distracted me. FWIW I think it looks quite a reasonable shape now. I'm still not sure whether to add the LRMTS window after completion, or mask it as it is. I'm currently erring towards removing it and adding it at the end. That view highlights how wrong the fit of the pod is...maybe I can worry about that for a while before moving on to somethign else
Edited by dr_gn on Sunday 18th January 22:25
jamieduff1981 said:
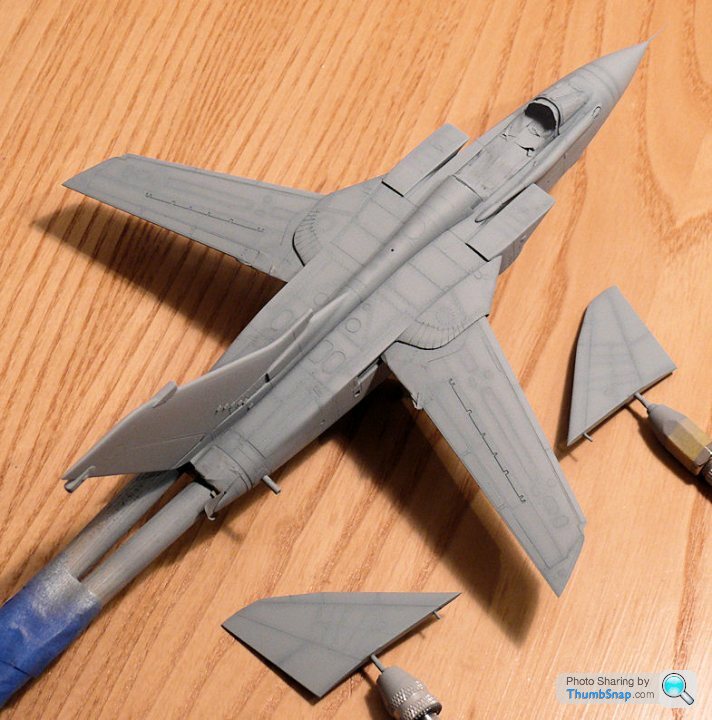
I think the nose looks good. Do you have a reference photo handy for the pod? I've seen them plenty times but can't quite remember how they should look exactly.
I think it's a bit too wide at its widest point, so it partially wraps around the fuselage at that point. It's a resin part that can only fit in one place, so that's that, without a load of extra work. 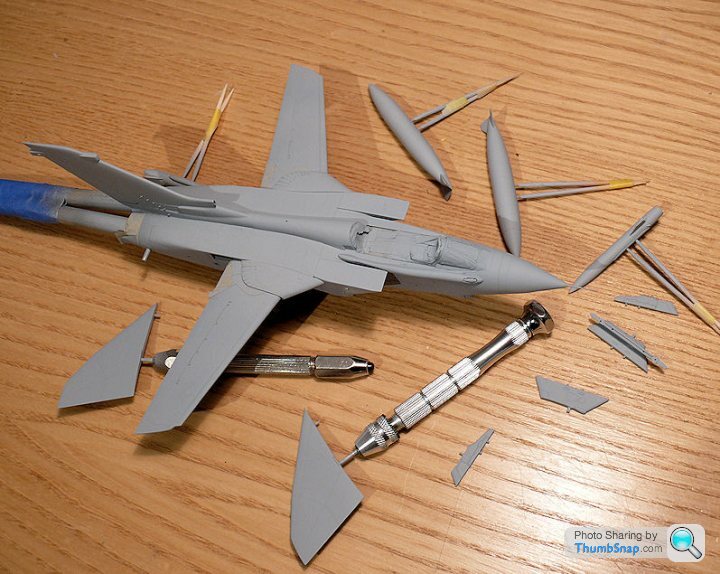
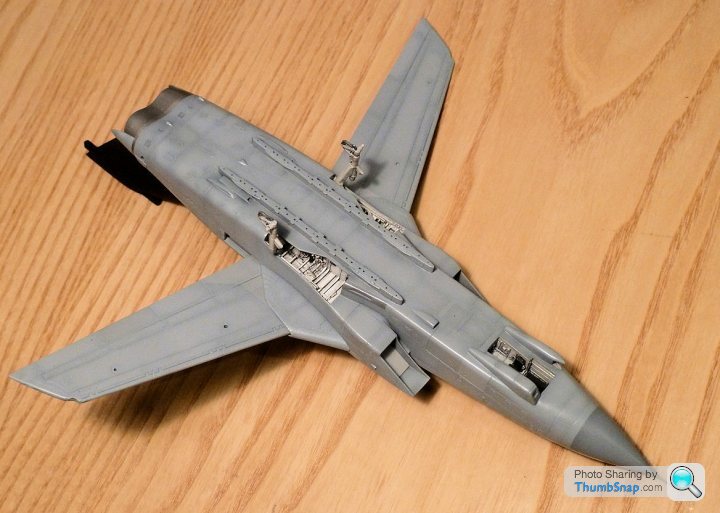
Preshaded the main bits tonight with german grey:
Overcoated with my own mix of light grey and white:
In reality it's more contrasty than in the photo. The plan is to now spray individual panels in lighter and darker shades as appropriate, and becasue the chances of me getting the contrast low enough is zero, I'll overspray again with base coat until I get it subtle enough. Then paint the nose, spine panels that are much darker, then the fin. It's too cold to do any more in the garage tonight so I'll leave it to dry tonight.
jmorgan said:
Does this work with brushing?
Sorry, following what you are doing and just wondering. Should try it on the next one though I suppose you have to gauge how much you want the effect. Looking at the pics I took at airshows last year it can different especially for the military vs non. Looks vs form I suppose?
I doubt very much it would work very well by brushing; you need to mist the overcoats on so that the dark lines just filter through. The effect may or may not be totally true to life, but it's a subtle way of adding interest to a plain scheme. If you compare it to the previous image after the first coat, I think it looks much better.Sorry, following what you are doing and just wondering. Should try it on the next one though I suppose you have to gauge how much you want the effect. Looking at the pics I took at airshows last year it can different especially for the military vs non. Looks vs form I suppose?
I've never seen that before (the Spitfire type preshading).
Another method would be to brush paint as normal, then instead of coating with Klear, apply some thinners to the panel lines and the area around them, and add a dark wash. The wash will creep slightly into the wetted region around the line, and you can dilute the effect as required by brushing thinners onto the appropriate area. You do usually get this effect to an extent when applying a wash, depending on how glossy the surface is. Never tried it but it might work.
Another method would be to brush paint as normal, then instead of coating with Klear, apply some thinners to the panel lines and the area around them, and add a dark wash. The wash will creep slightly into the wetted region around the line, and you can dilute the effect as required by brushing thinners onto the appropriate area. You do usually get this effect to an extent when applying a wash, depending on how glossy the surface is. Never tried it but it might work.
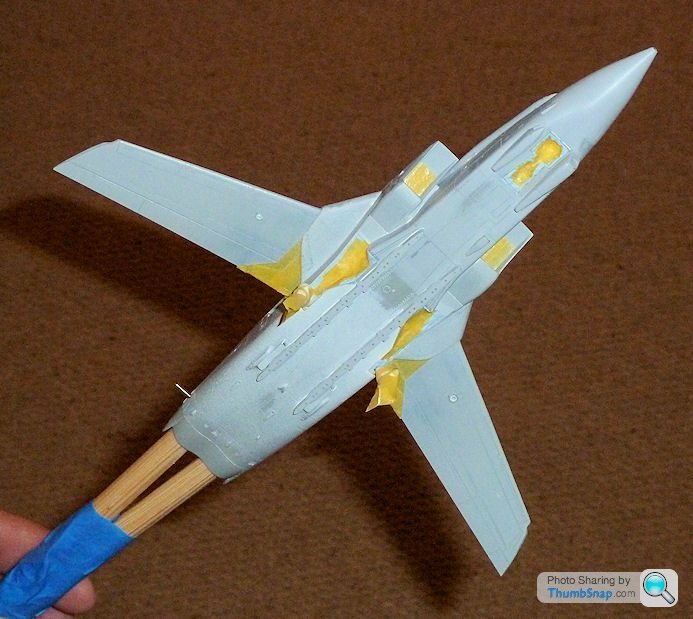
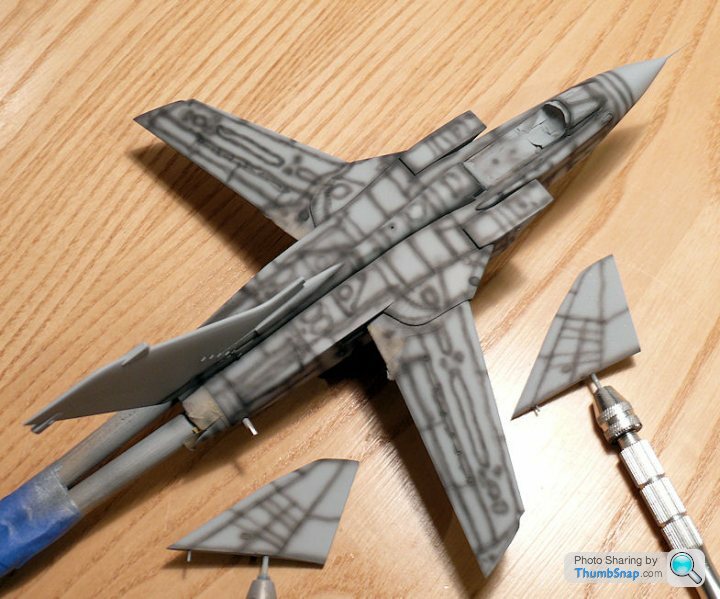
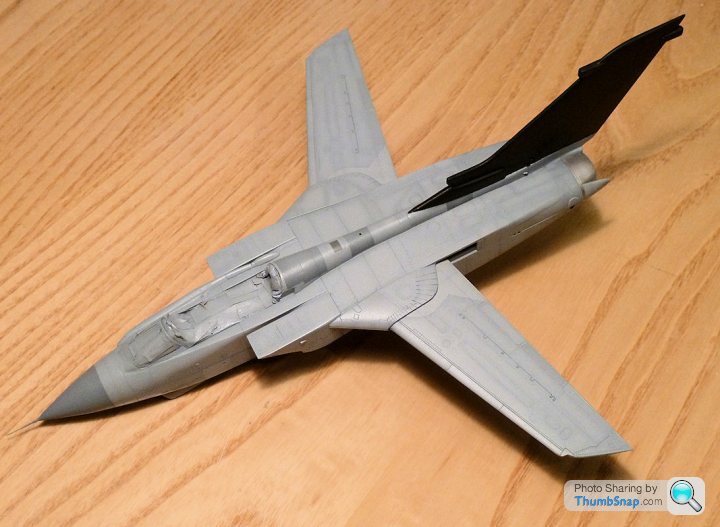
So I spent this evening masking various panels and spraying them slightly darker and lighter greys, plus toned down the preshading a bit further.
I removed most of the masking, including from the parts of the wings swept by the root seals. Turns out the contrast between all the greys I've used isn't really as much as I'd like. In this case I'll be kind to myself and call the effects "subtle"! Better than too much contrast I guess. I just want to get this one finished now...
Still needs the nose and the two spine panels spraying in darker grey, and of course the fin.
Close of play tonight and the main paint is done. The black looks very black, but it is slightly preshaded with light grey. It won't show up on the photos though. I gave it a thin coat of Klear becasue the finish was getting damaged with so much handling. Next steps are detail airbrushing of the refuelling nozzle, gun port area, APU exhausts and a few other minor parts on the fuselage:

Gassing Station | Scale Models | Top of Page | What's New | My Stuff