Italeri 1:72 Macchi C.202 "Folgore"
Discussion


henryk001 said:
Fair doos. At the scale you are using PE to add detail is really impressive. I think i would go crosseyed or worse if i tried to tackle
kits in 1/72. Im Struggling with 1/12th. Brilliant work
Thanks, yes this one is very fiddly. I think it’s got more photo etch than any other model I’ve built so far. kits in 1/72. Im Struggling with 1/12th.
Brilliant workI’ve been following your GT40 build - very impressive work. I’ve got a 1:12 McLaren F1 car underway, but finding time to work on it is difficult.
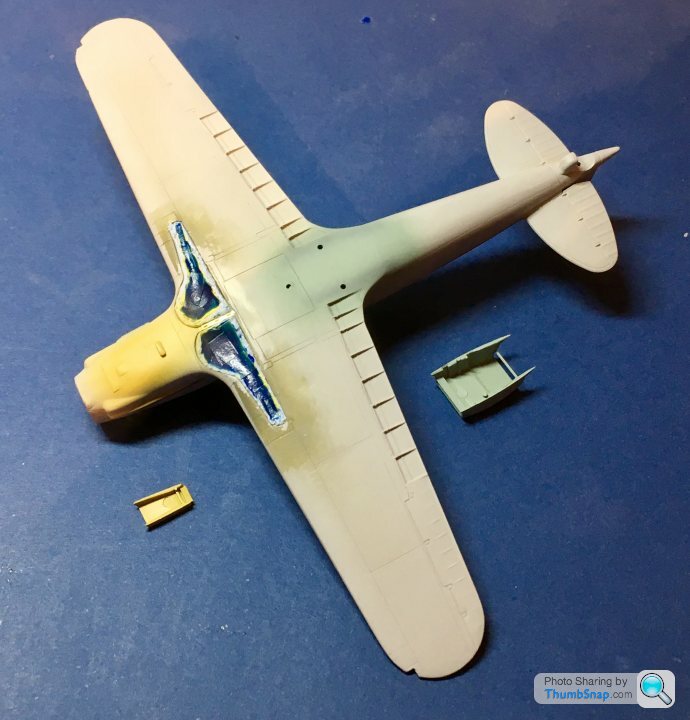
Araldited the flap innards in place:

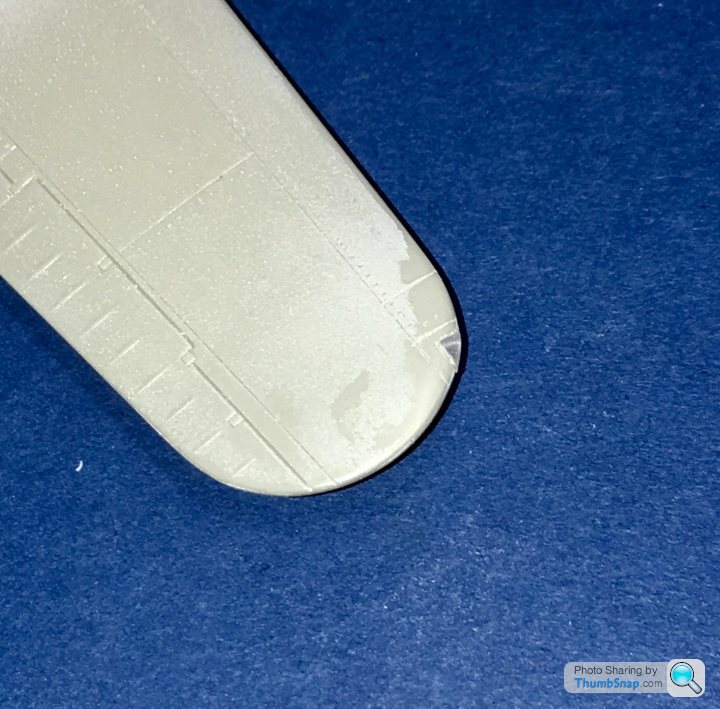
And filled in the numerous gaps using Milliput, plastic card and sprue dissolved in liquid cement. Also cut out the wingtip light covers:


Plenty of flatting and re-scribing still to do there I think.
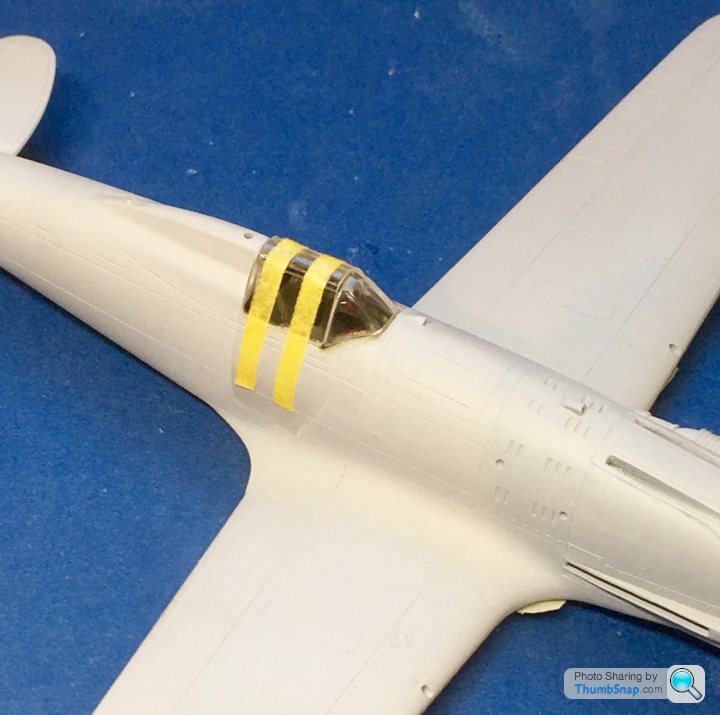
Also did a bit of work making a brass spigot for the aerial, drilled out the Venturi and made a more scale pitot head from brass tubes:

And filled in the numerous gaps using Milliput, plastic card and sprue dissolved in liquid cement. Also cut out the wingtip light covers:
Plenty of flatting and re-scribing still to do there I think.
Also did a bit of work making a brass spigot for the aerial, drilled out the Venturi and made a more scale pitot head from brass tubes:
CanAm said:
.......drilled out the Venturi ........
You make it sound so simple. How the hell do you drill out something so small so accurately?
Just using a micro drill - start it in what you hope is the middle of the hole and angle it while drilling if it’s not centred. Then open up with a larger one.You make it sound so simple. How the hell do you drill out something so small so accurately?
dr_gn said:
Just using a micro drill - start it in what you hope is the middle of the hole and angle it while drilling if it’s not centred. Then open up with a larger one.
So you start with a really small drill, then use a slightly less small drill? I guess we're still talking in the 0.5mm range? I tried it on some part but just ended up snapping it.mcdjl said:
dr_gn said:
Just using a micro drill - start it in what you hope is the middle of the hole and angle it while drilling if it’s not centred. Then open up with a larger one.
So you start with a really small drill, then use a slightly less small drill? I guess we're still talking in the 0.5mm range? I tried it on some part but just ended up snapping it.If you're snapping a drill while just making a dimple in the surface of the plastic, you're doing something wrong!
It really helps to make sure the surface you are drilling is flat (use a stiff sanding stick).
I've got two drill holders - I sometimes use one to hold the part, and the other to hold the drill.
dr_gn said:
Yes.
If you're snapping a drill while just making a dimple in the surface of the plastic, you're doing something wrong!
It really helps to make sure the surface you are drilling is flat (use a stiff sanding stick).
I've got two drill holders - I sometimes use one to hold the part, and the other to hold the drill.
I've snapped drills...though i meant the plastic part which felt tin enough to start with. If you're snapping a drill while just making a dimple in the surface of the plastic, you're doing something wrong!
It really helps to make sure the surface you are drilling is flat (use a stiff sanding stick).
I've got two drill holders - I sometimes use one to hold the part, and the other to hold the drill.
mcdjl said:
dr_gn said:
Yes.
If you're snapping a drill while just making a dimple in the surface of the plastic, you're doing something wrong!
It really helps to make sure the surface you are drilling is flat (use a stiff sanding stick).
I've got two drill holders - I sometimes use one to hold the part, and the other to hold the drill.
I've snapped drills...though i meant the plastic part which felt tin enough to start with. If you're snapping a drill while just making a dimple in the surface of the plastic, you're doing something wrong!
It really helps to make sure the surface you are drilling is flat (use a stiff sanding stick).
I've got two drill holders - I sometimes use one to hold the part, and the other to hold the drill.


Yertis said:
Can I ask what Mr Surfacer is for? I've seen you (and others on Britmodeller etc) mention it but no idea what it does.
It's a primer you can get in different thicknesses, you can brush it or spray it, but I mainly apply it locally with a cocktail stick for filling minor or shallow imperfections. Once it's set it's pretty hard and sands back fairly well. It doesn't absorb paint like some other fillers either.


Gassing Station | Scale Models | Top of Page | What's New | My Stuff