MFH 1/12 BT52b
Discussion


The balls-up's are coming thick and fast :lol:
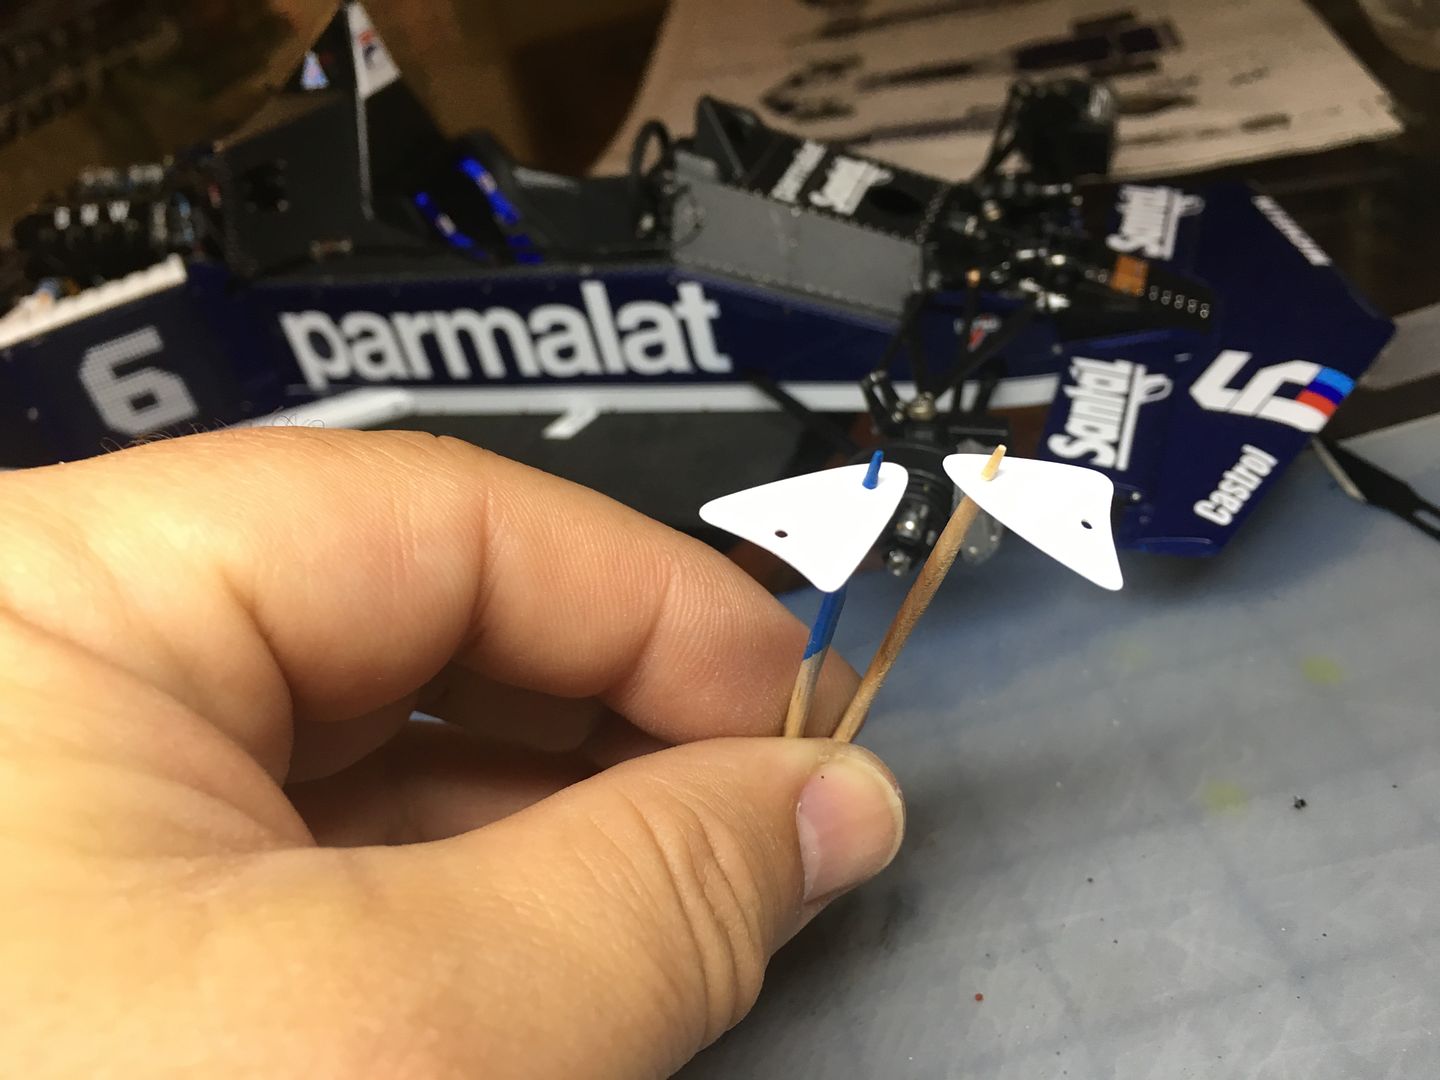
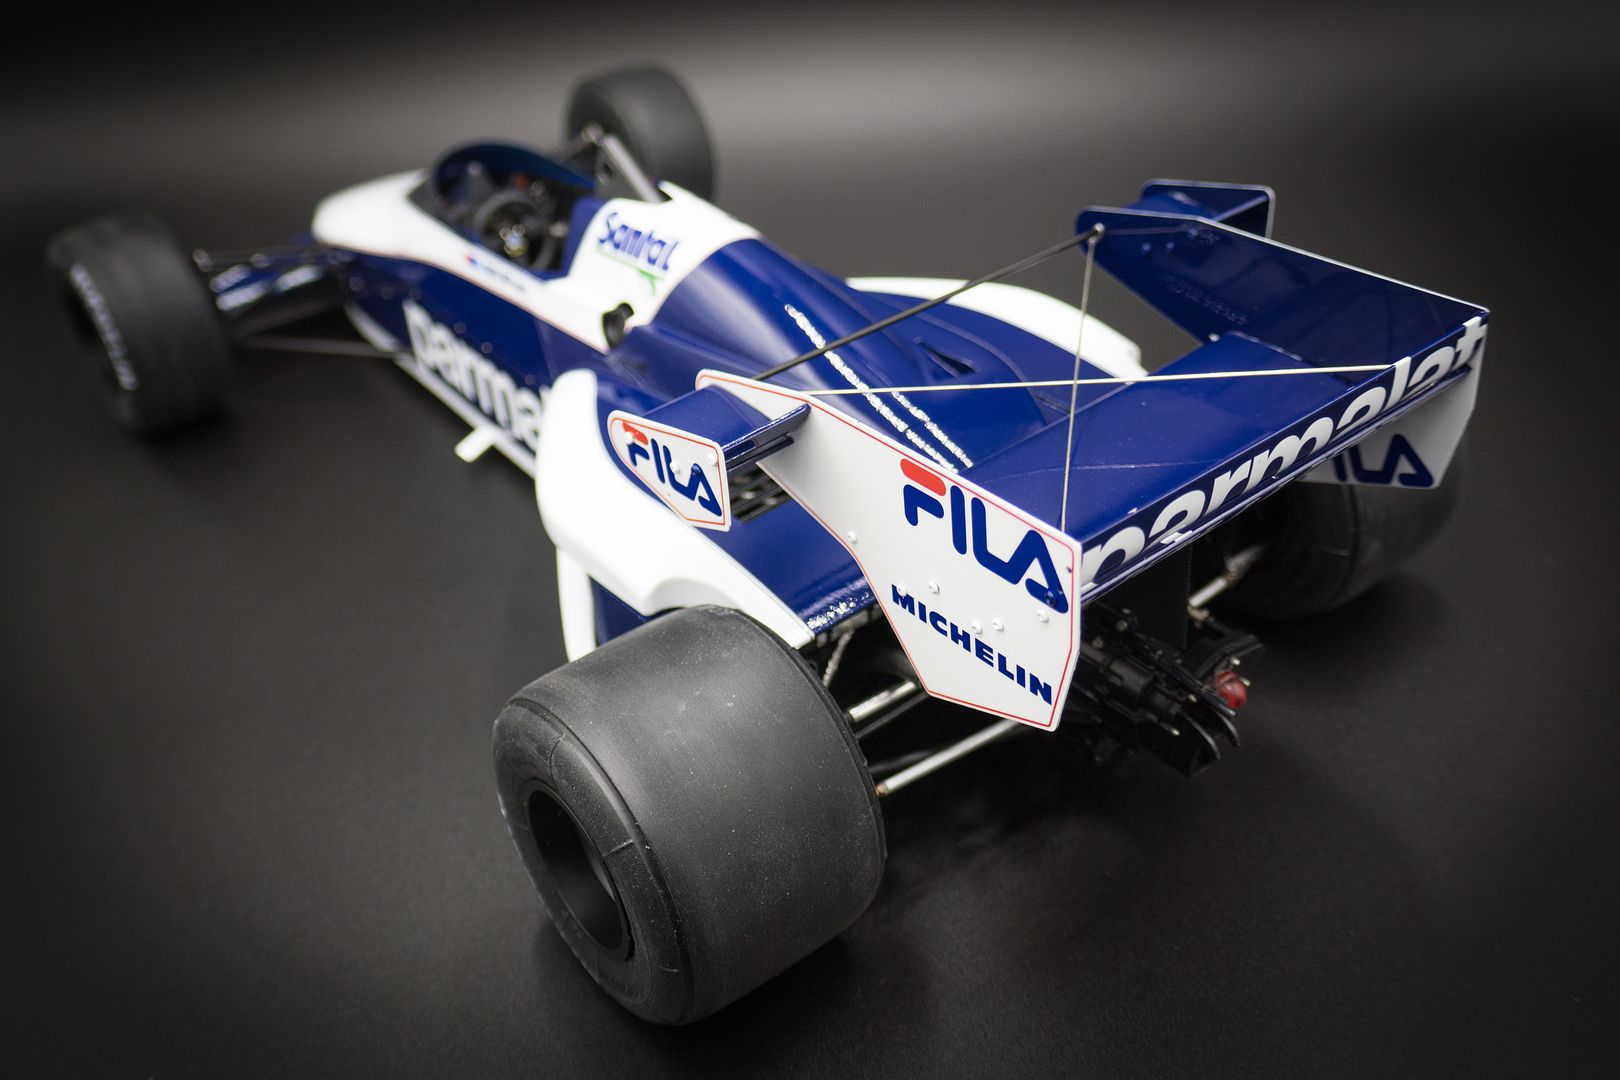
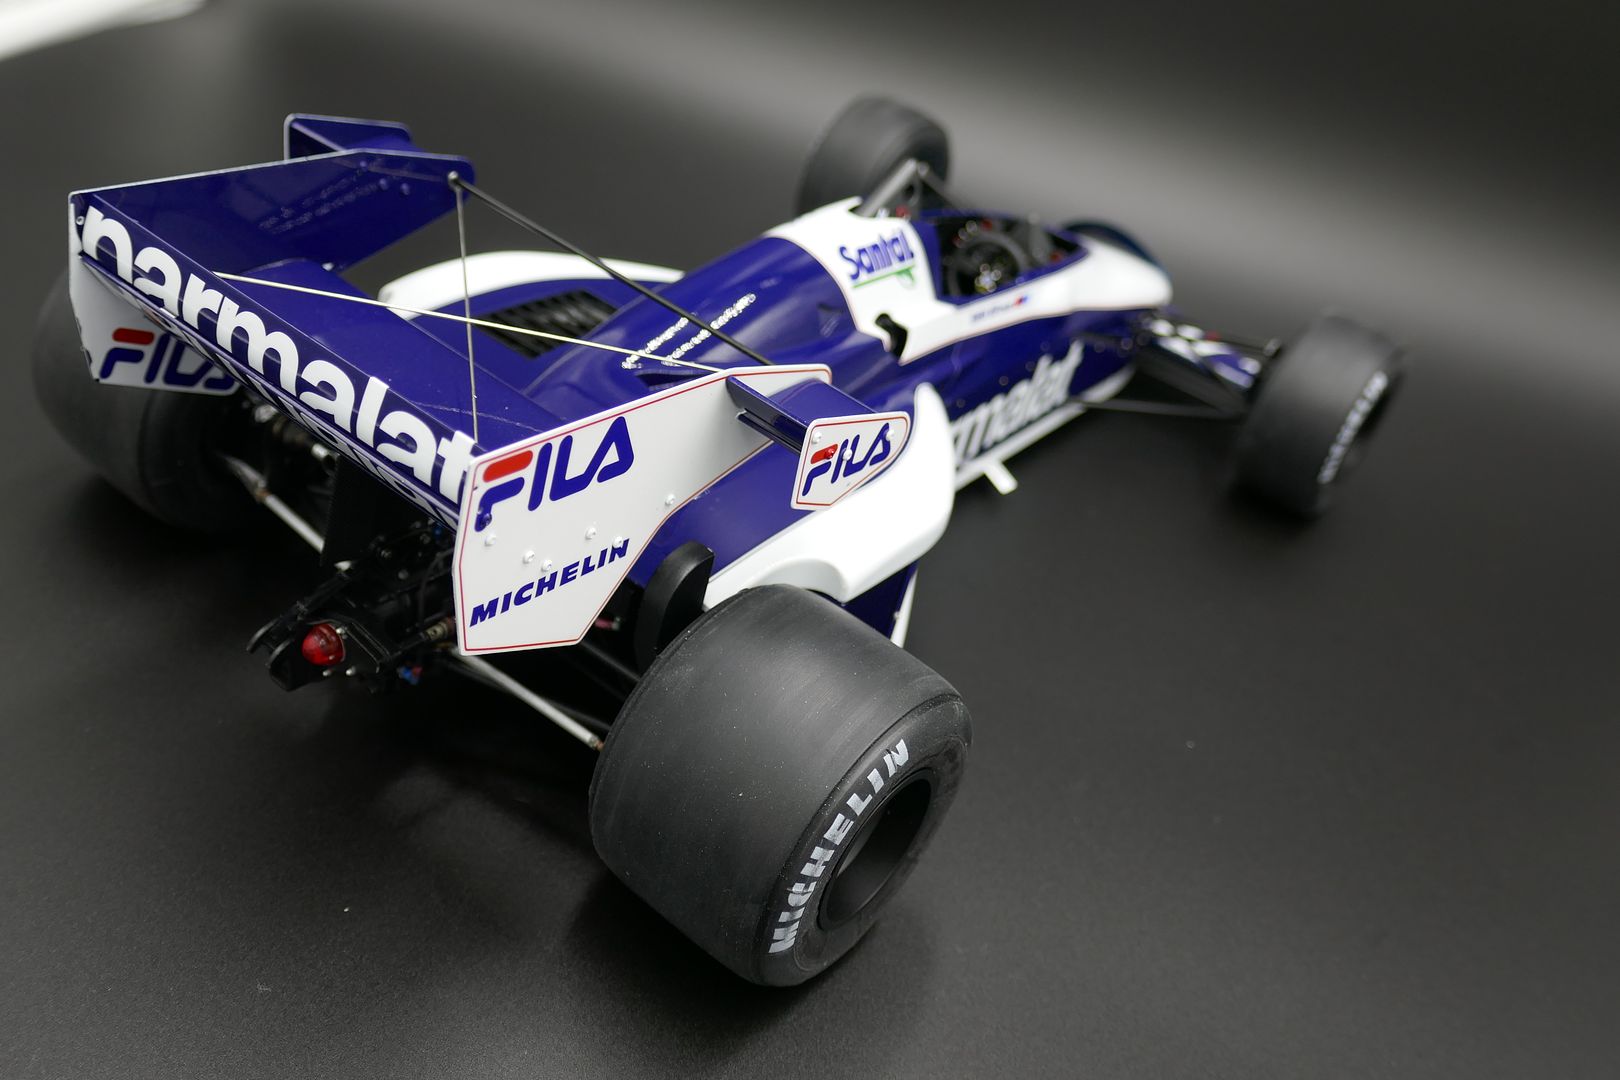
If you look closely at the picture below, you will see that I had sprayed up these two end plates both as 'left handed' - they are blue on the other side so cant be reversed - anyway, corrected now - but grrr!
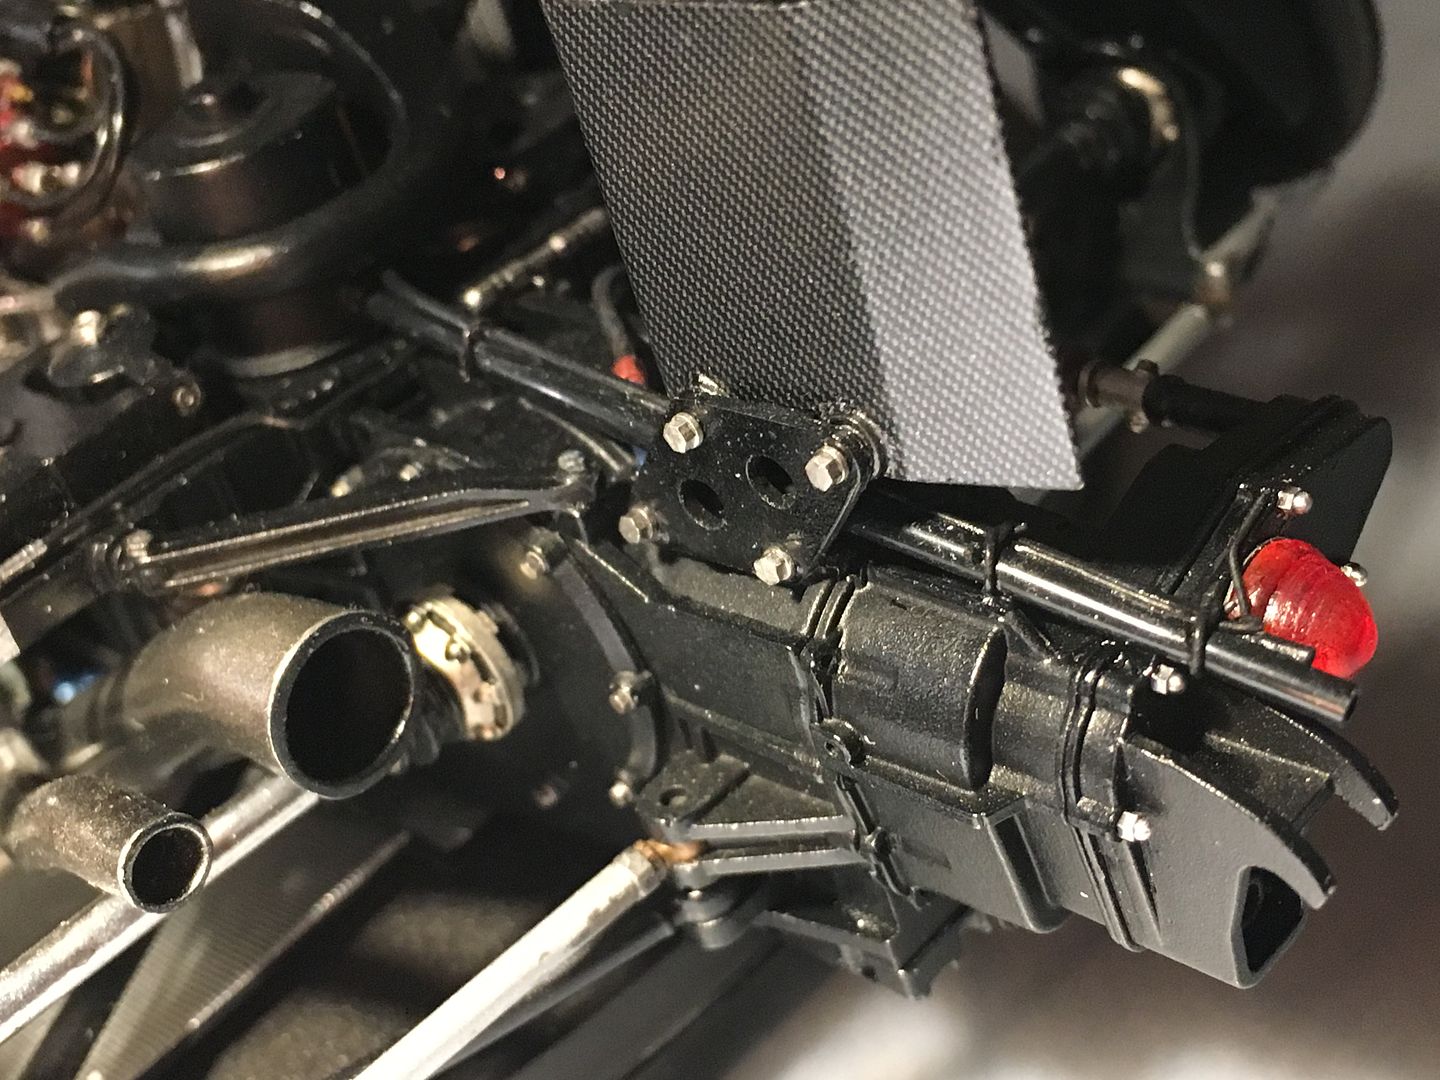
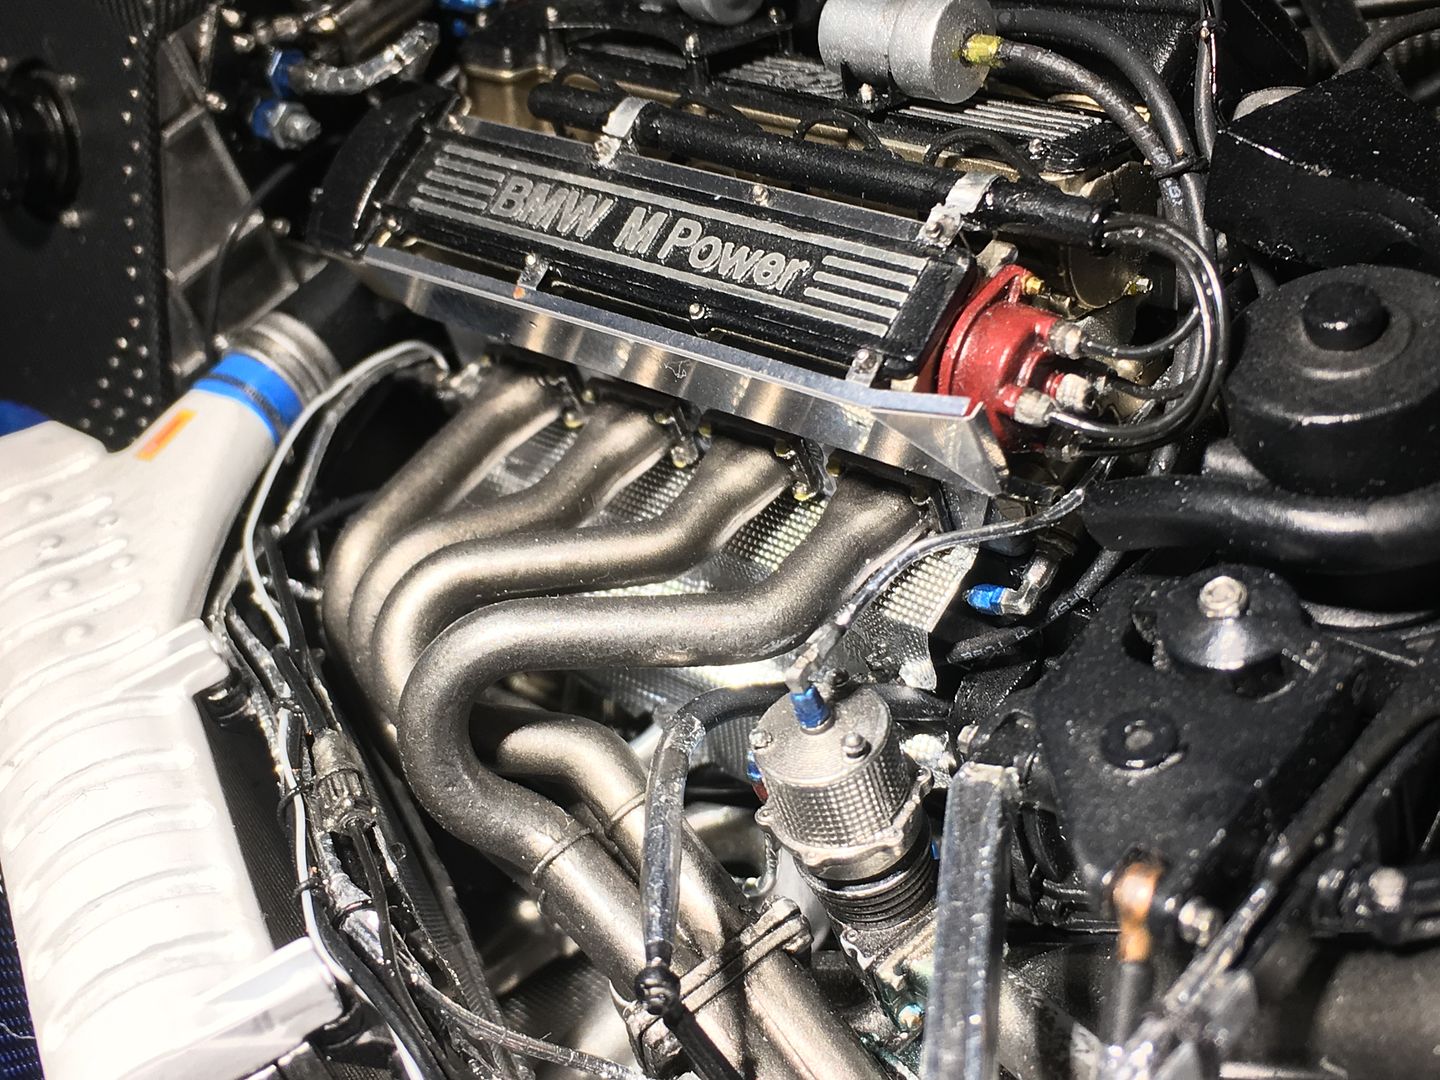
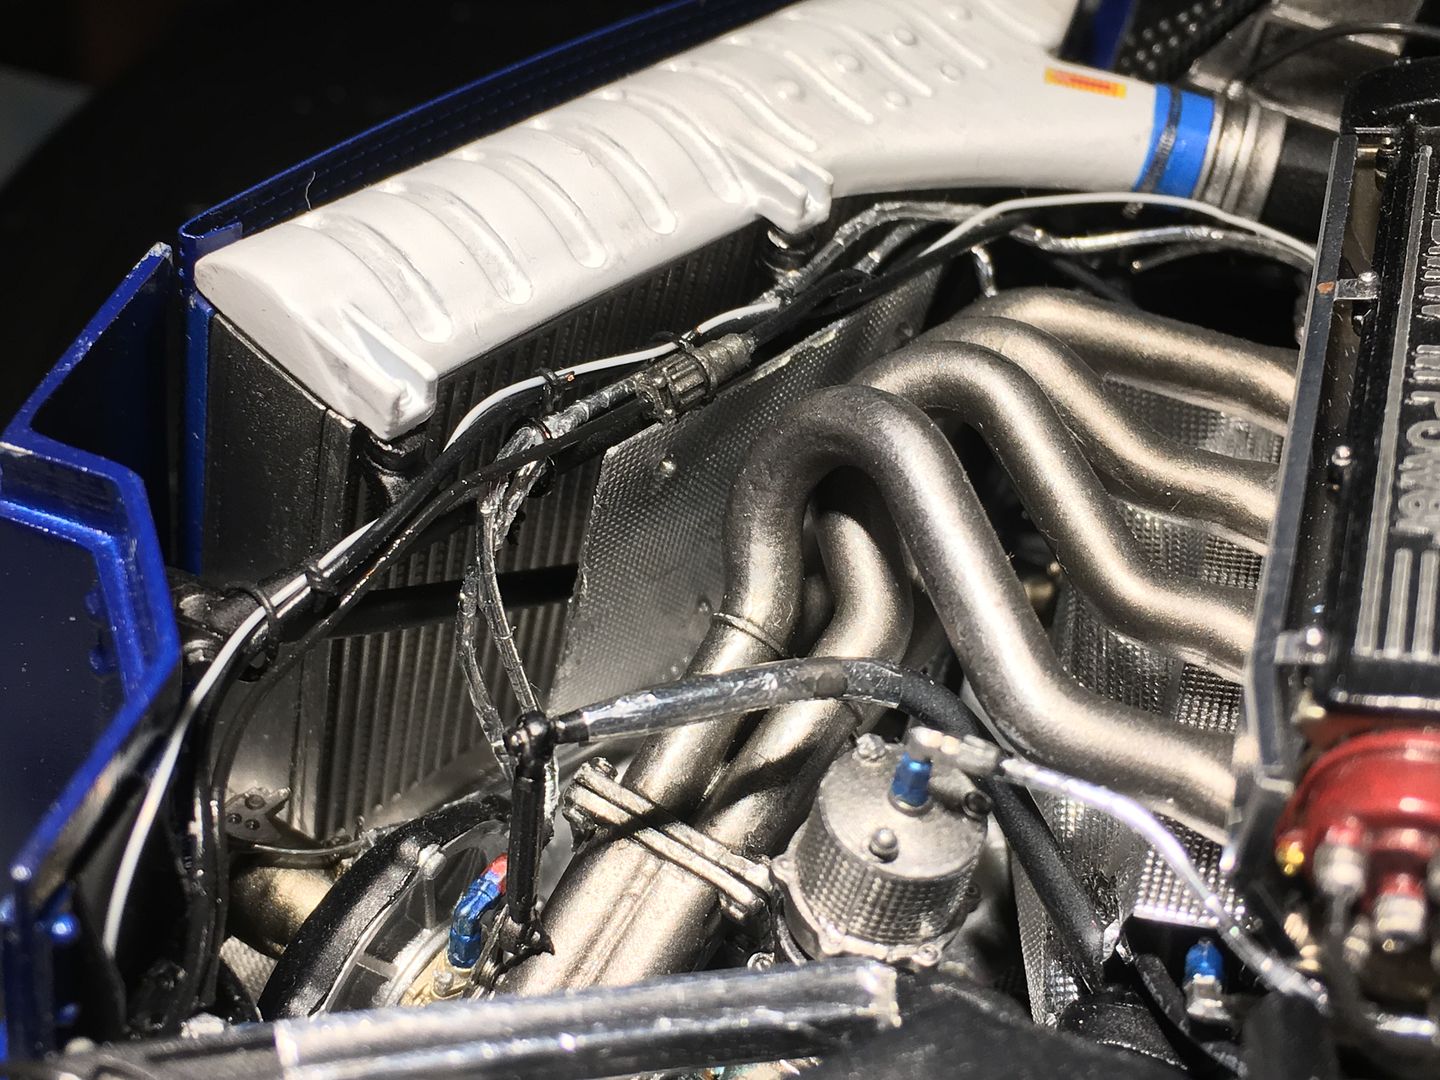
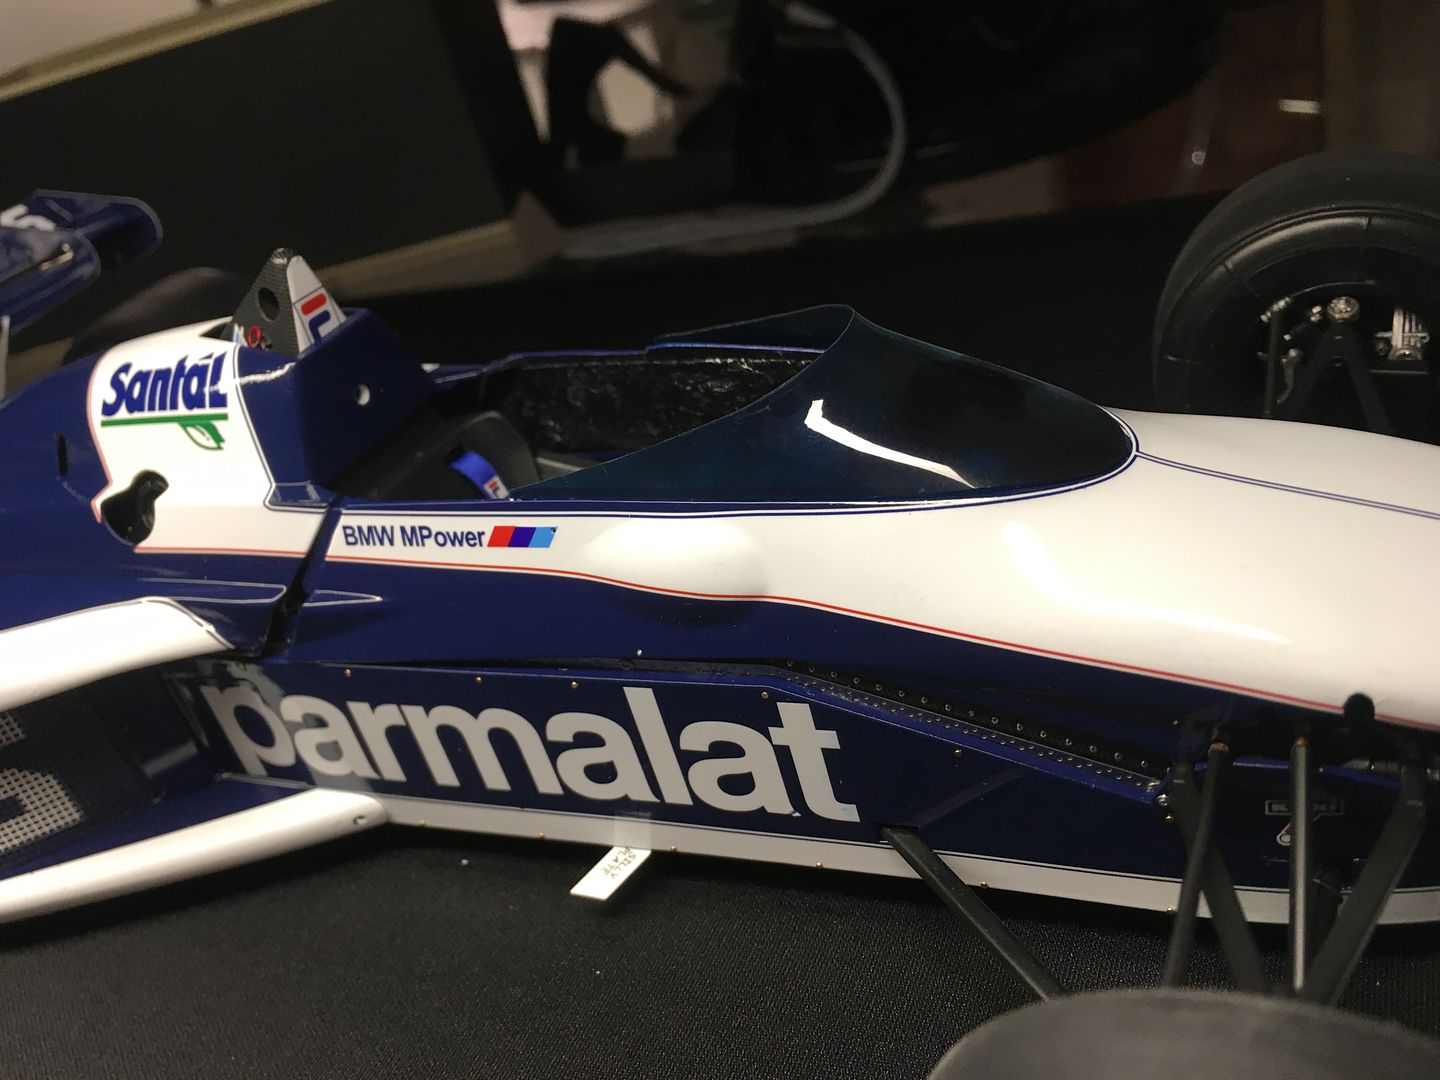
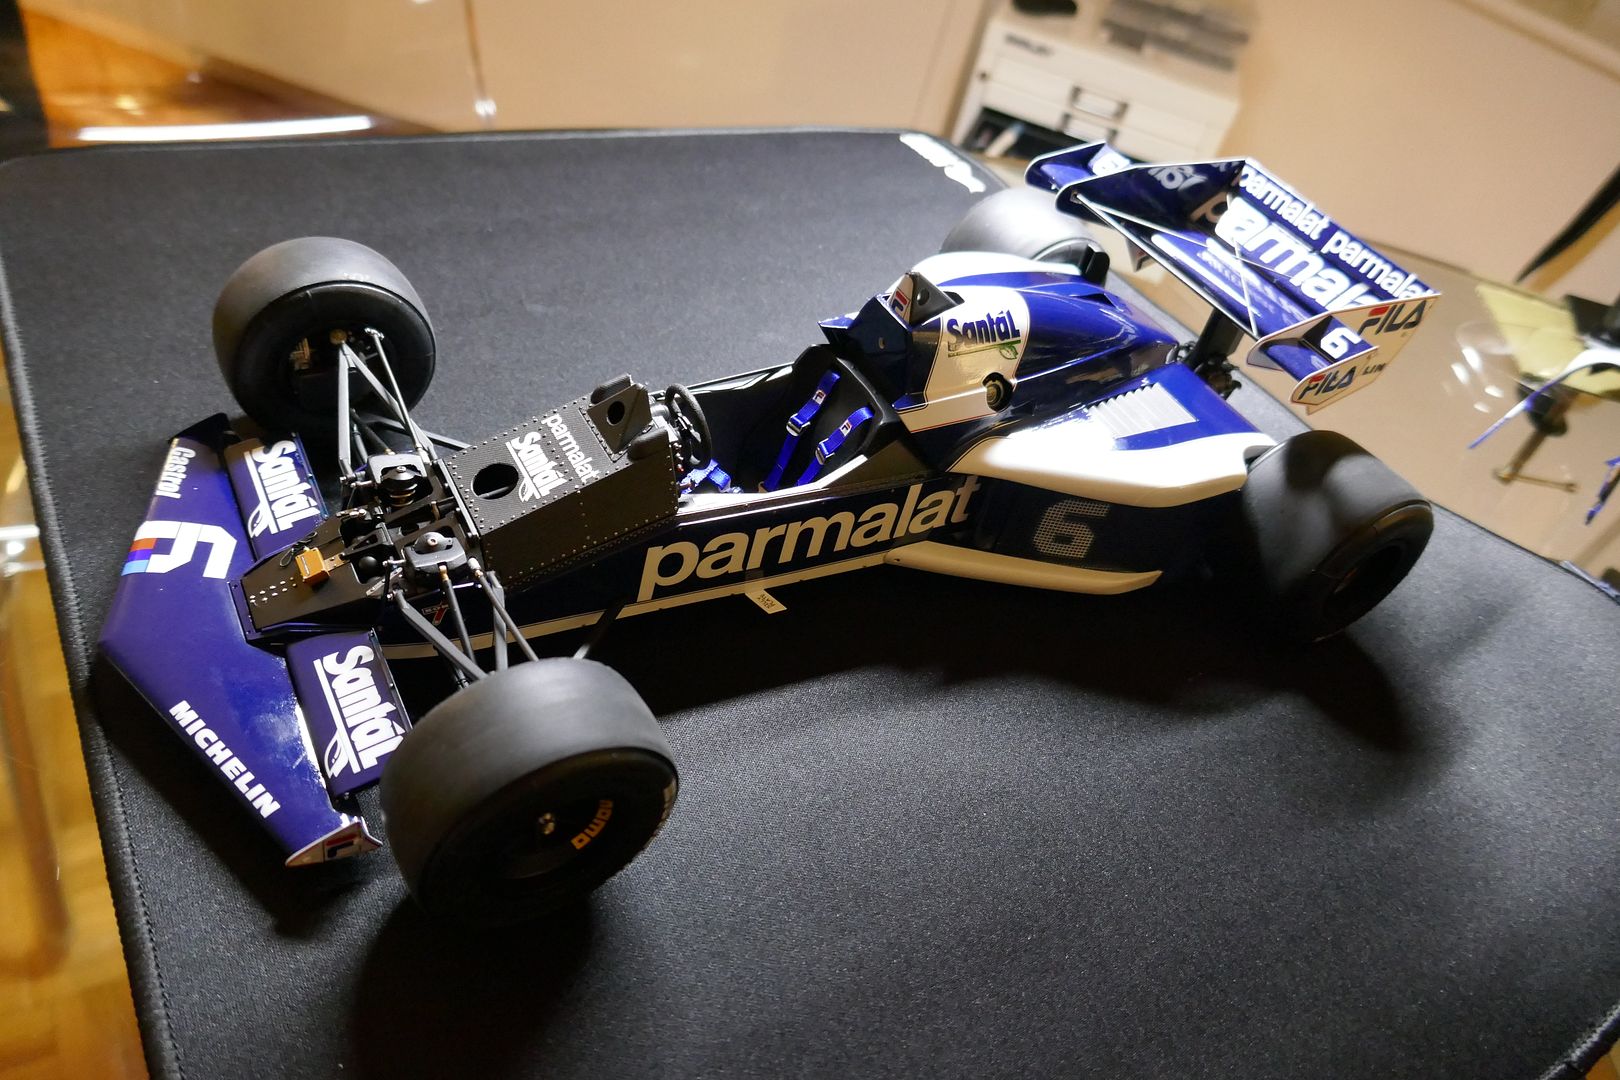
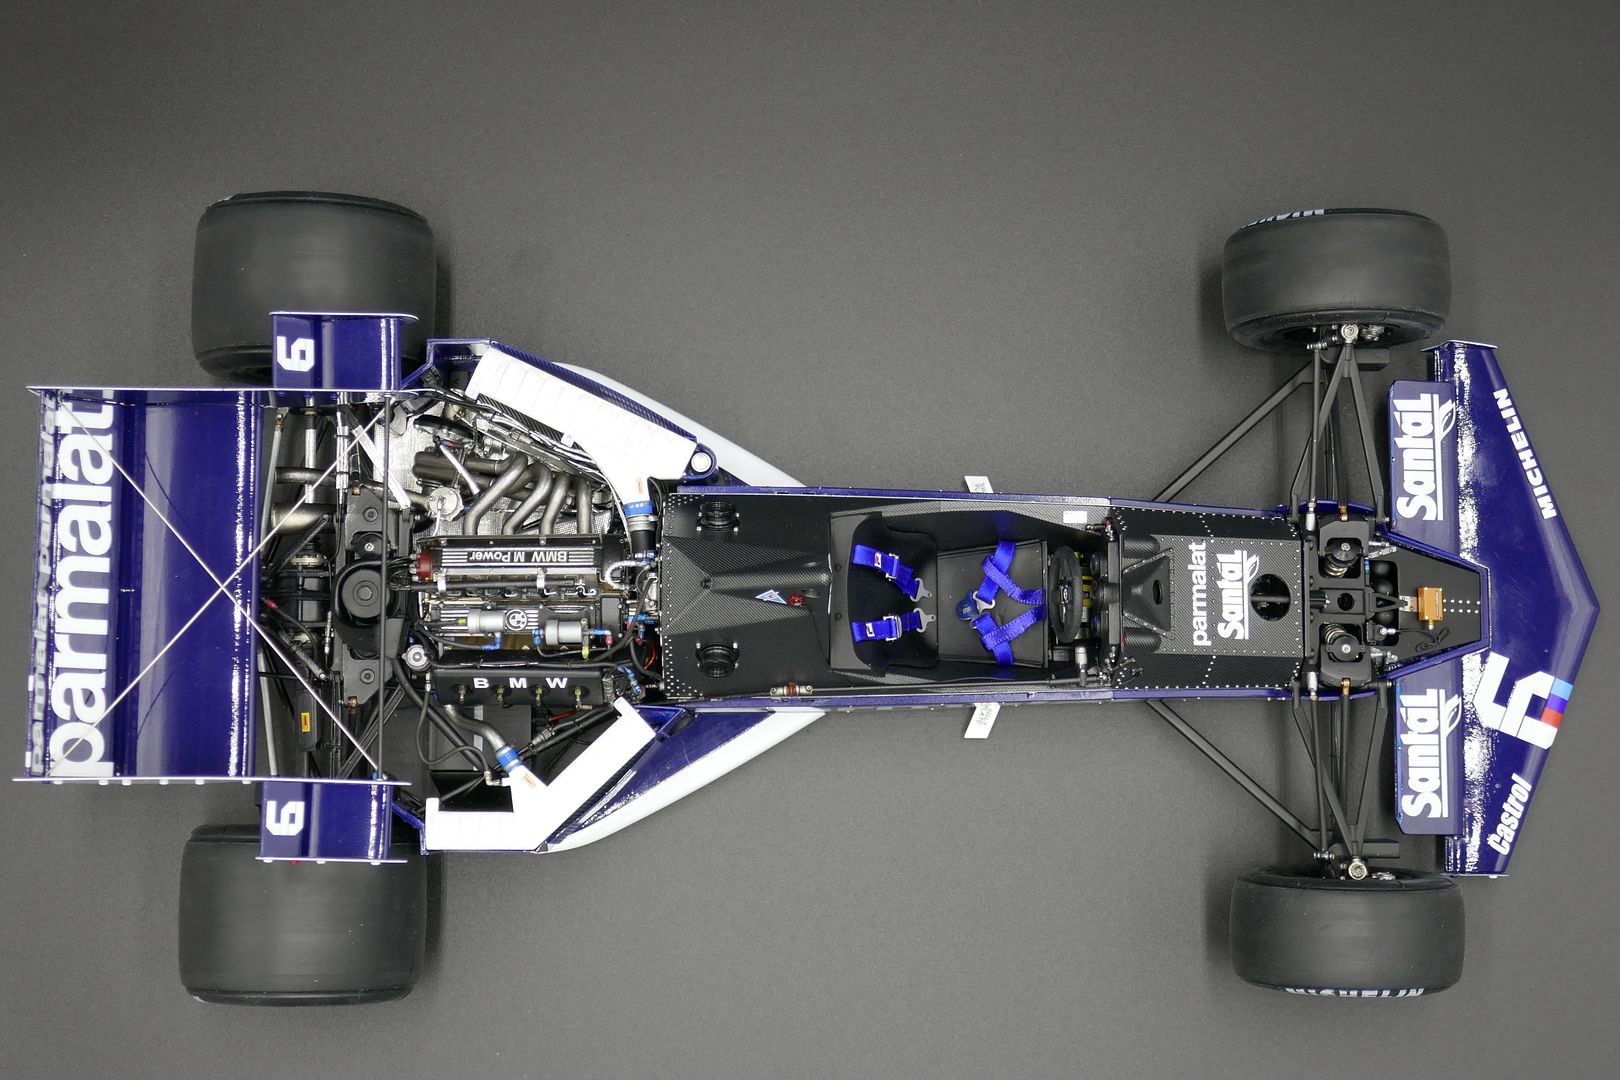
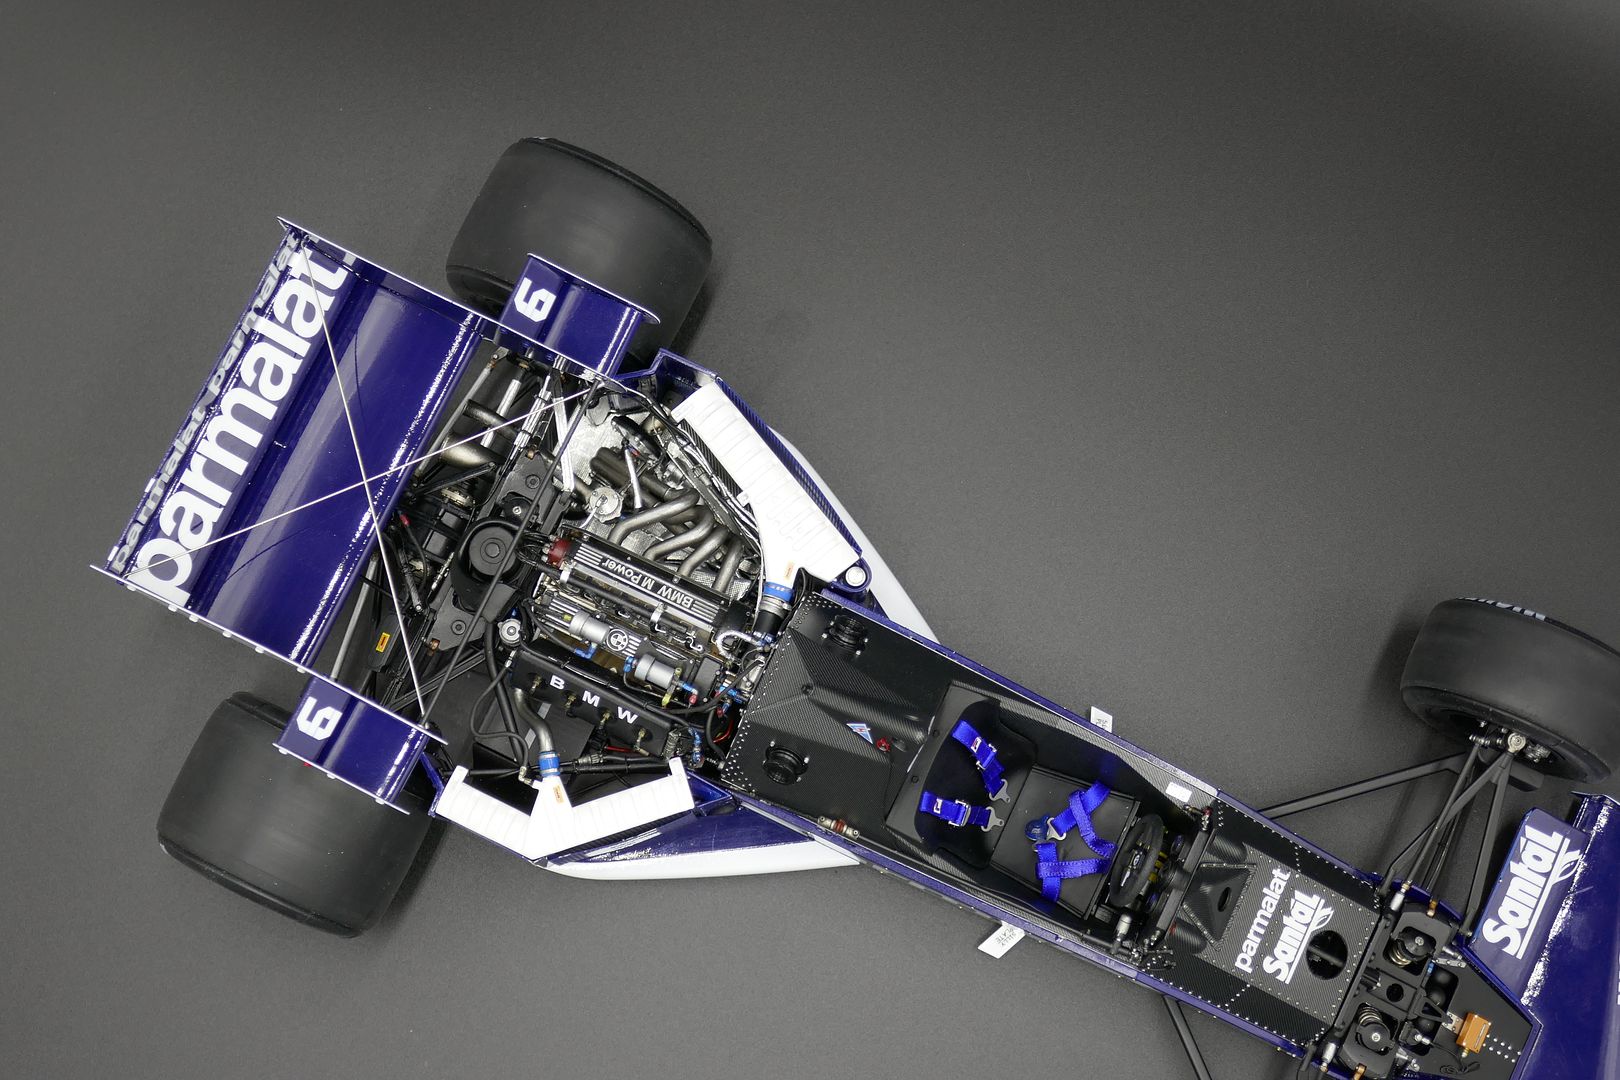
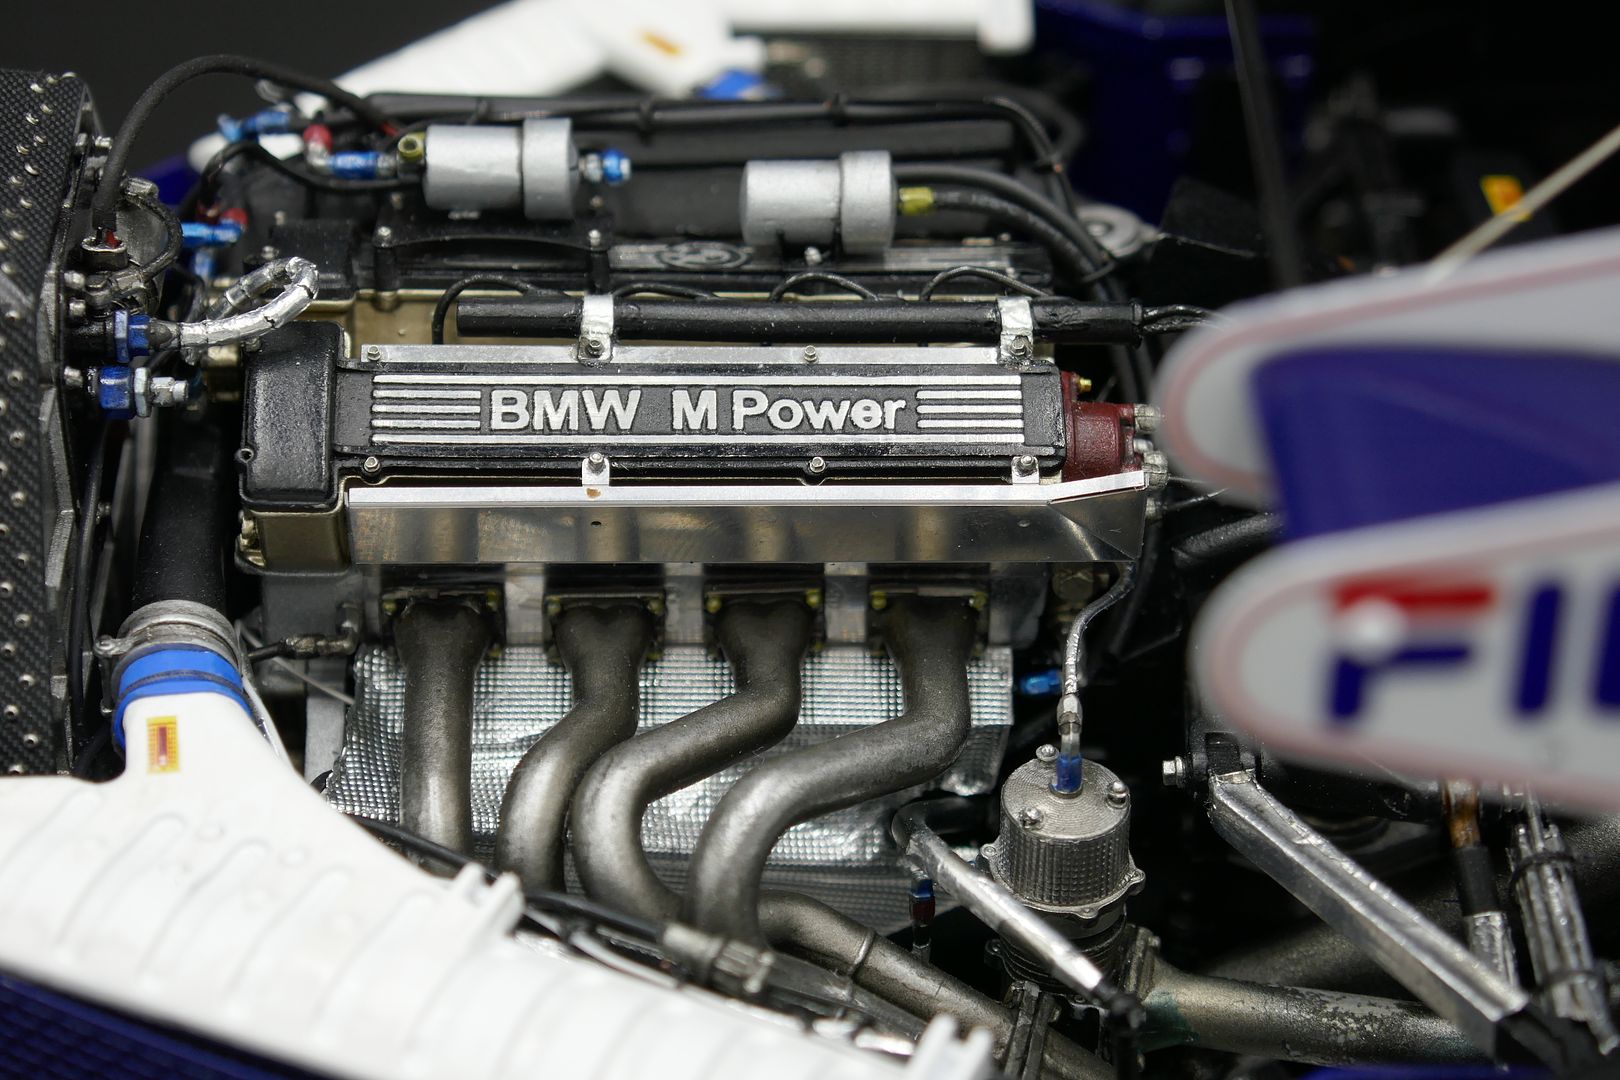
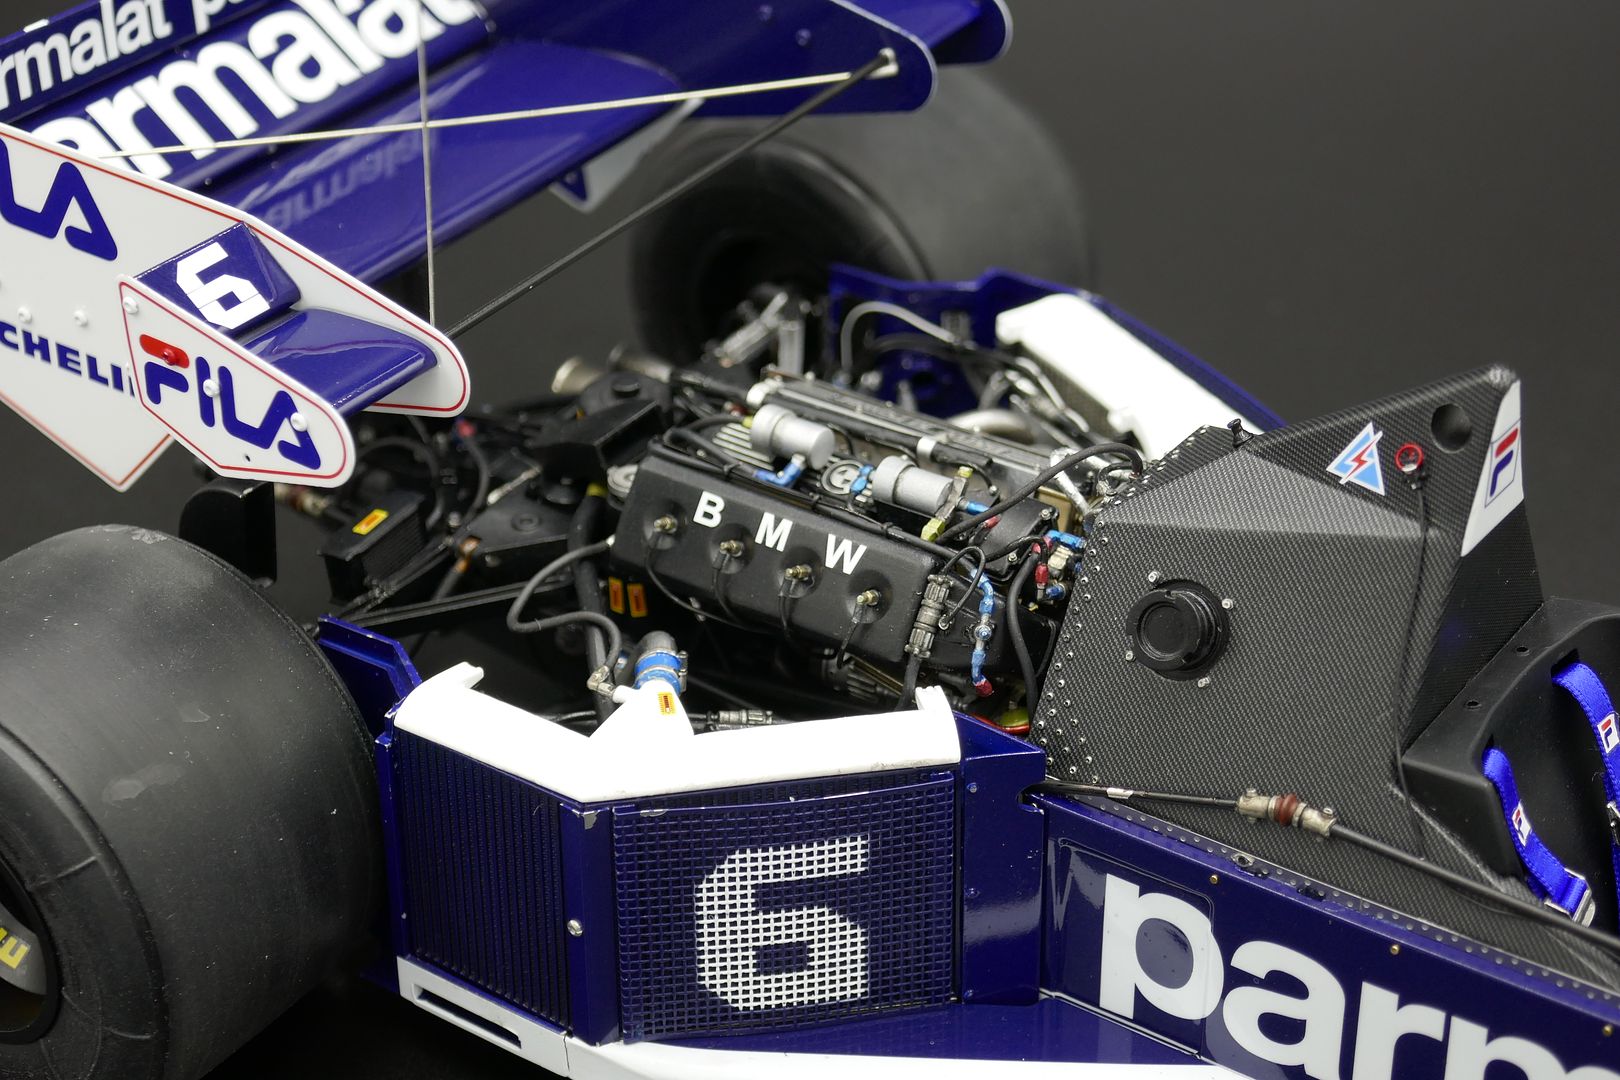
Here are a few pics of the extra wiring I have added - first shows quite a big pipe - a breather I think - that you see on a lot of pictures, but wasn't detailed in the kit....I've also added some 'ground' wires - and wired the wet-weather light!
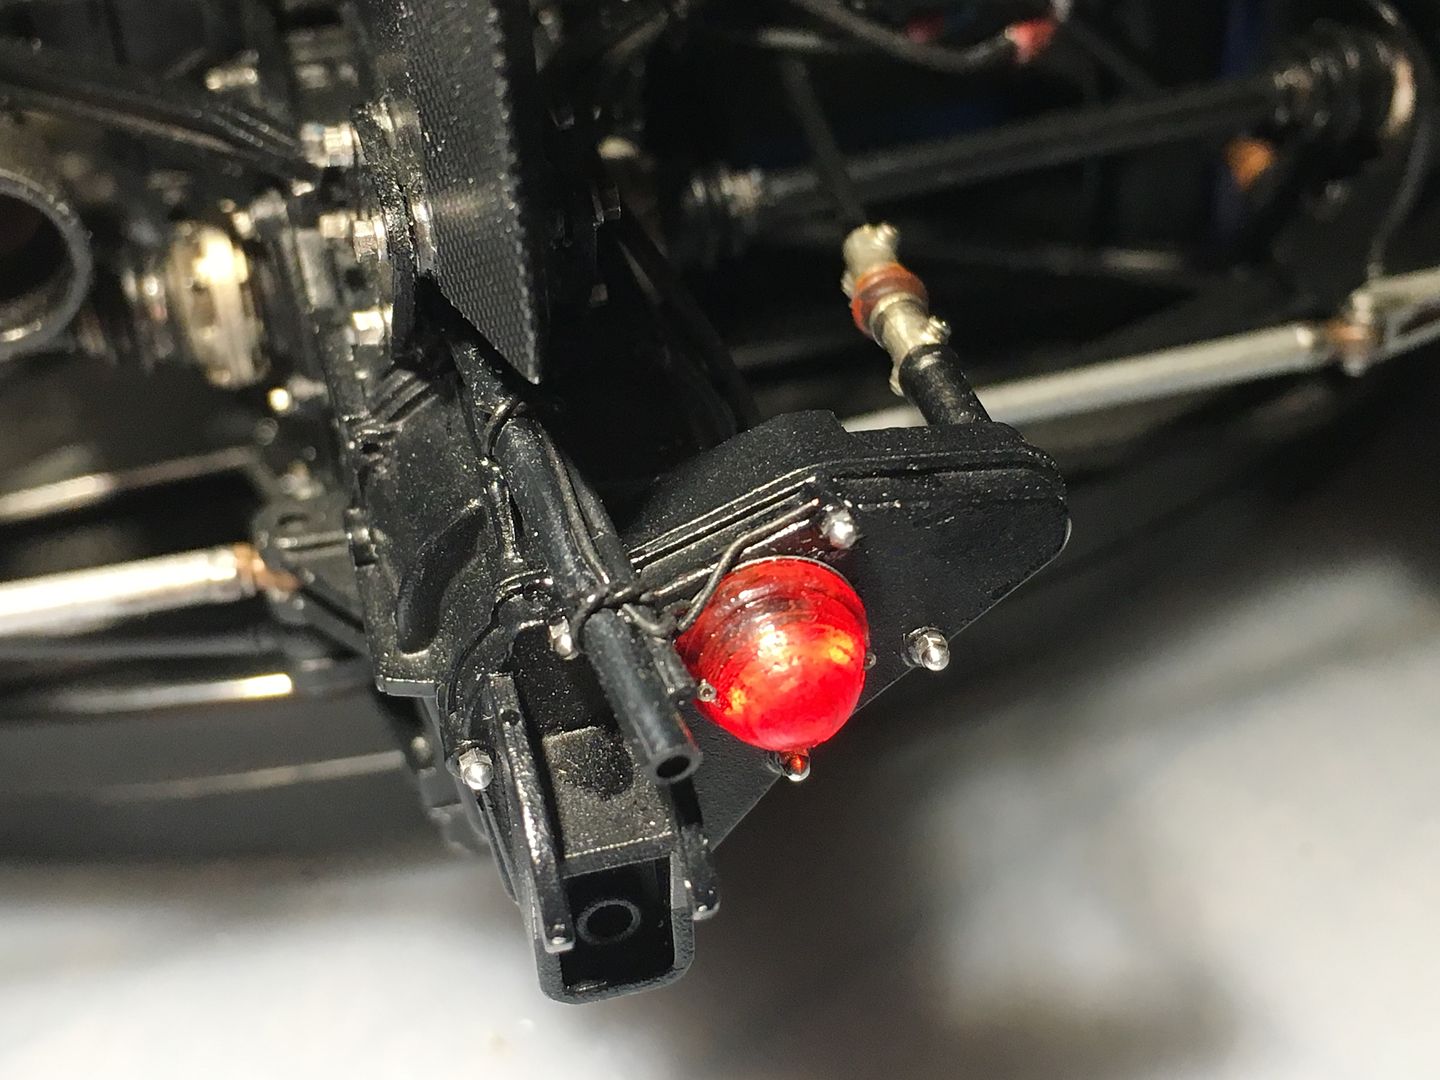
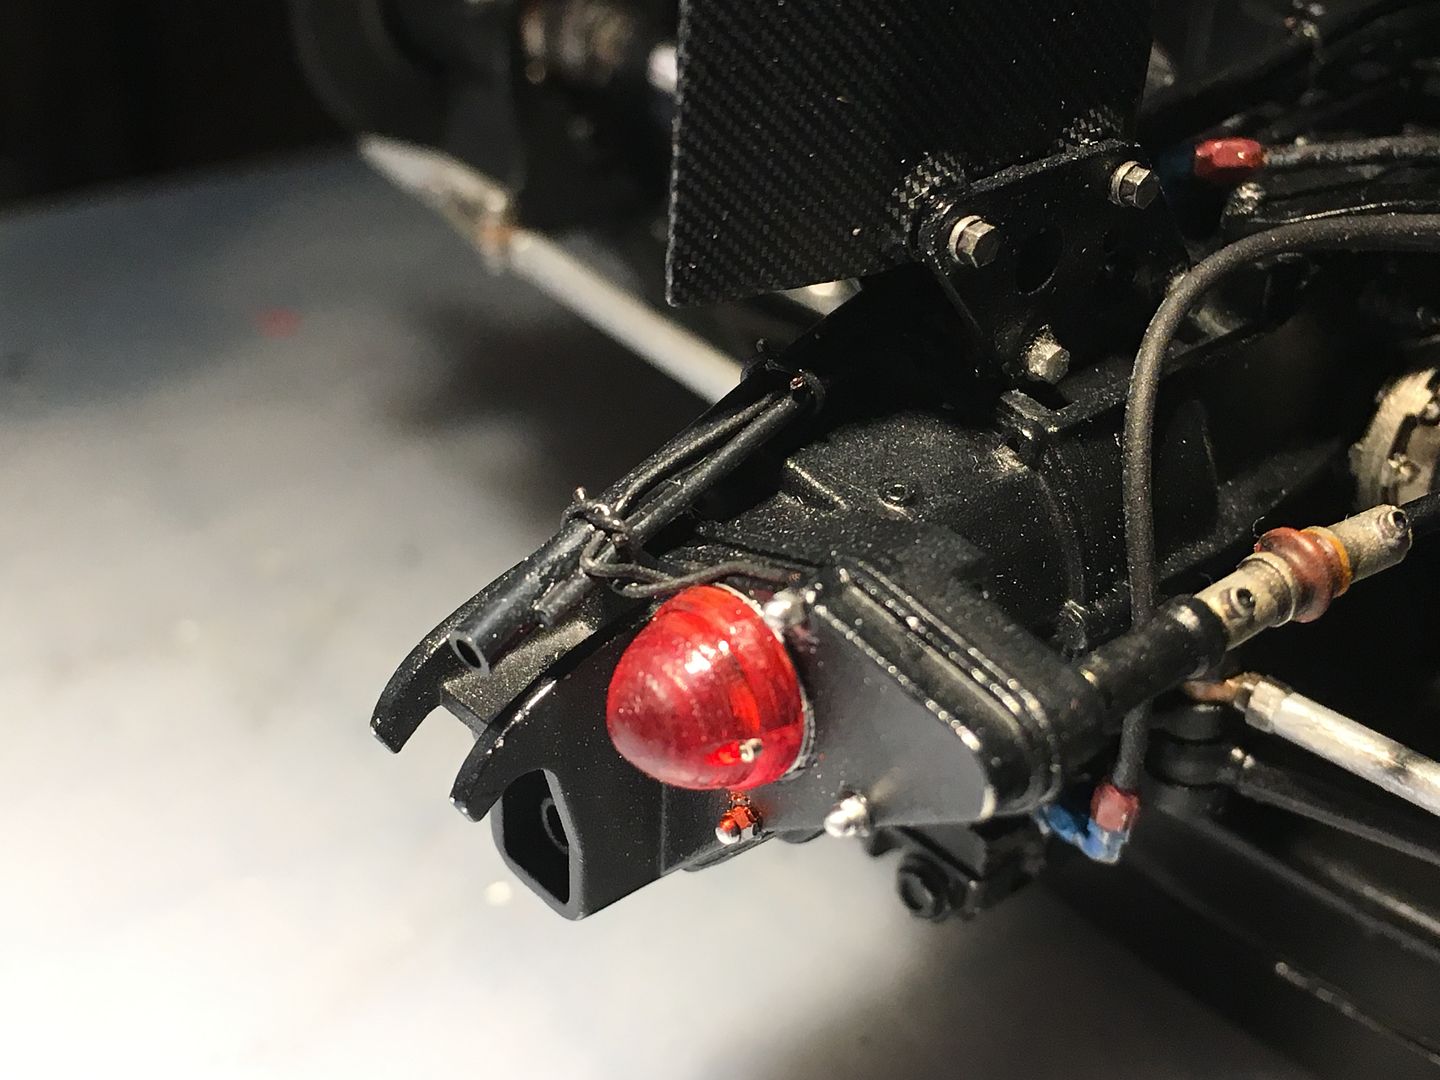
Once I get the dust off all these, I reckon these will actually look like the 'real' version
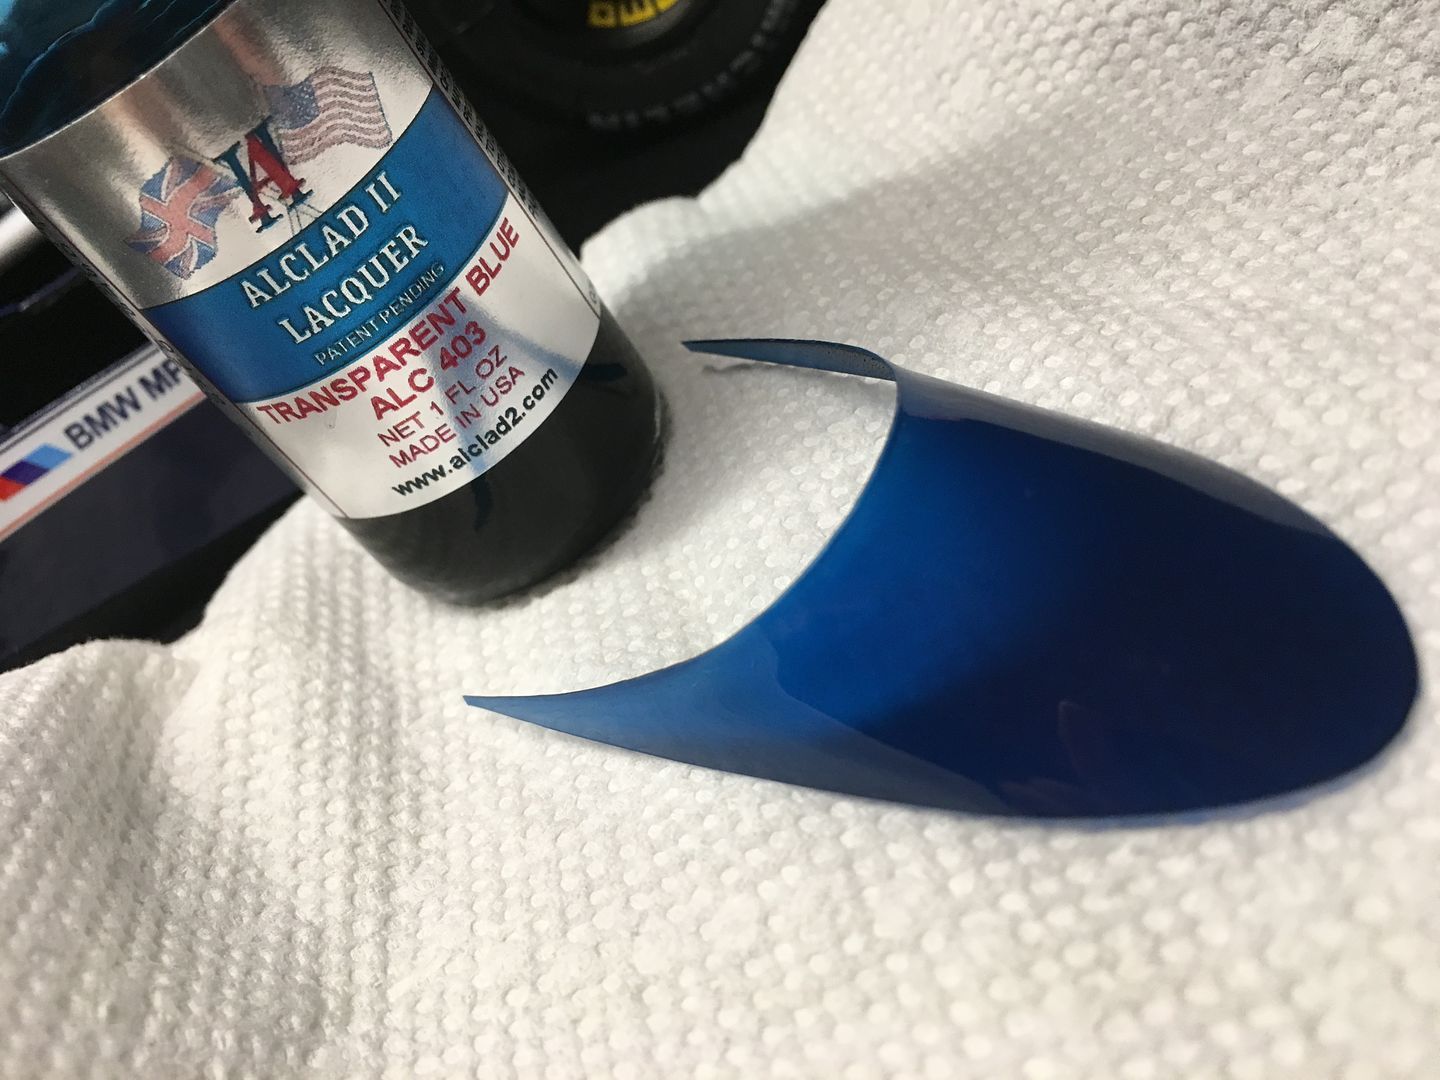
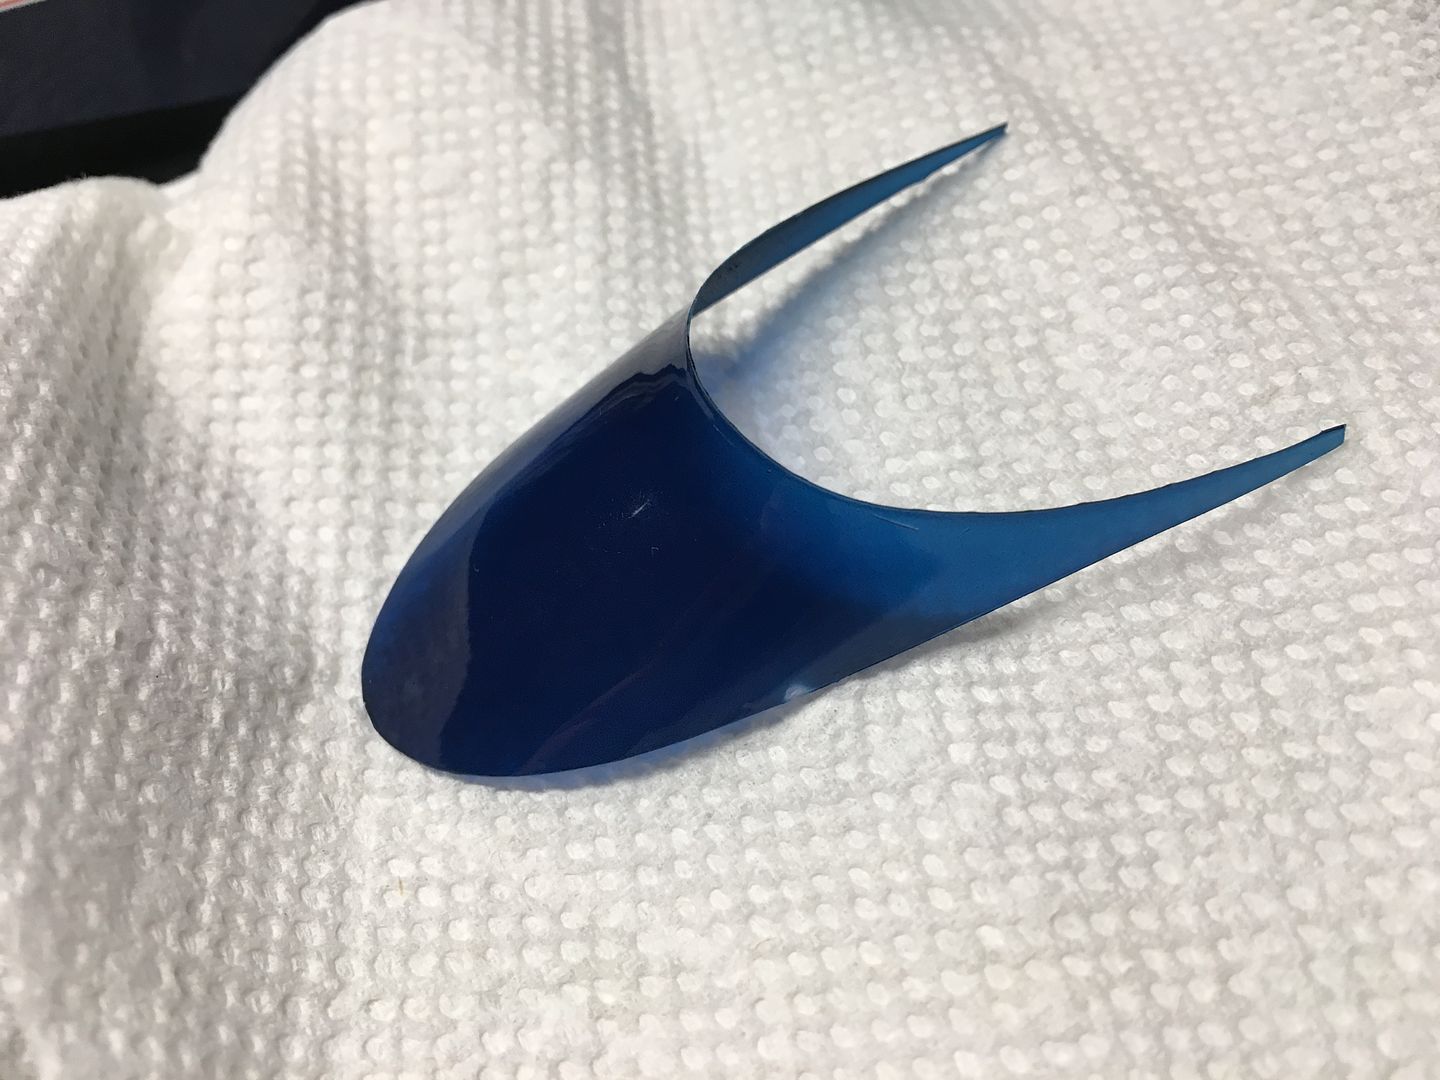
Right - needed quite a dark blue tint, so I used airbrushed clear blue Alclad on the 'inside' - went on fine, taking care to keep it even.
I'd cut the screen out with shark small scissors - needs to be 'riveted' in place...test fit before colouring:
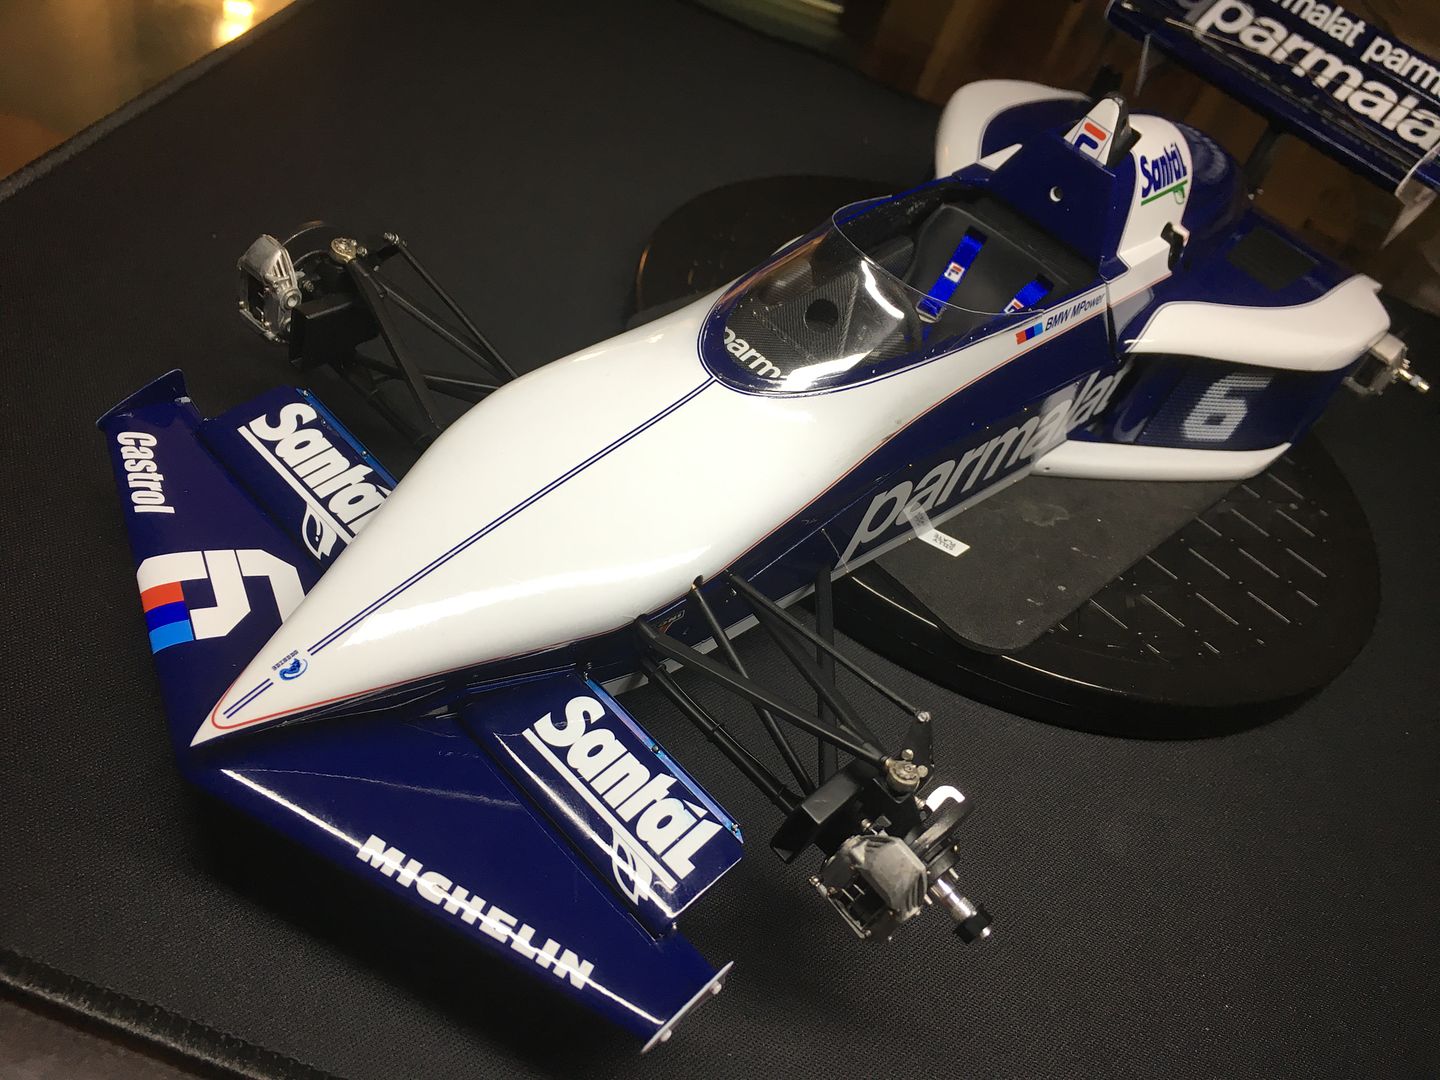
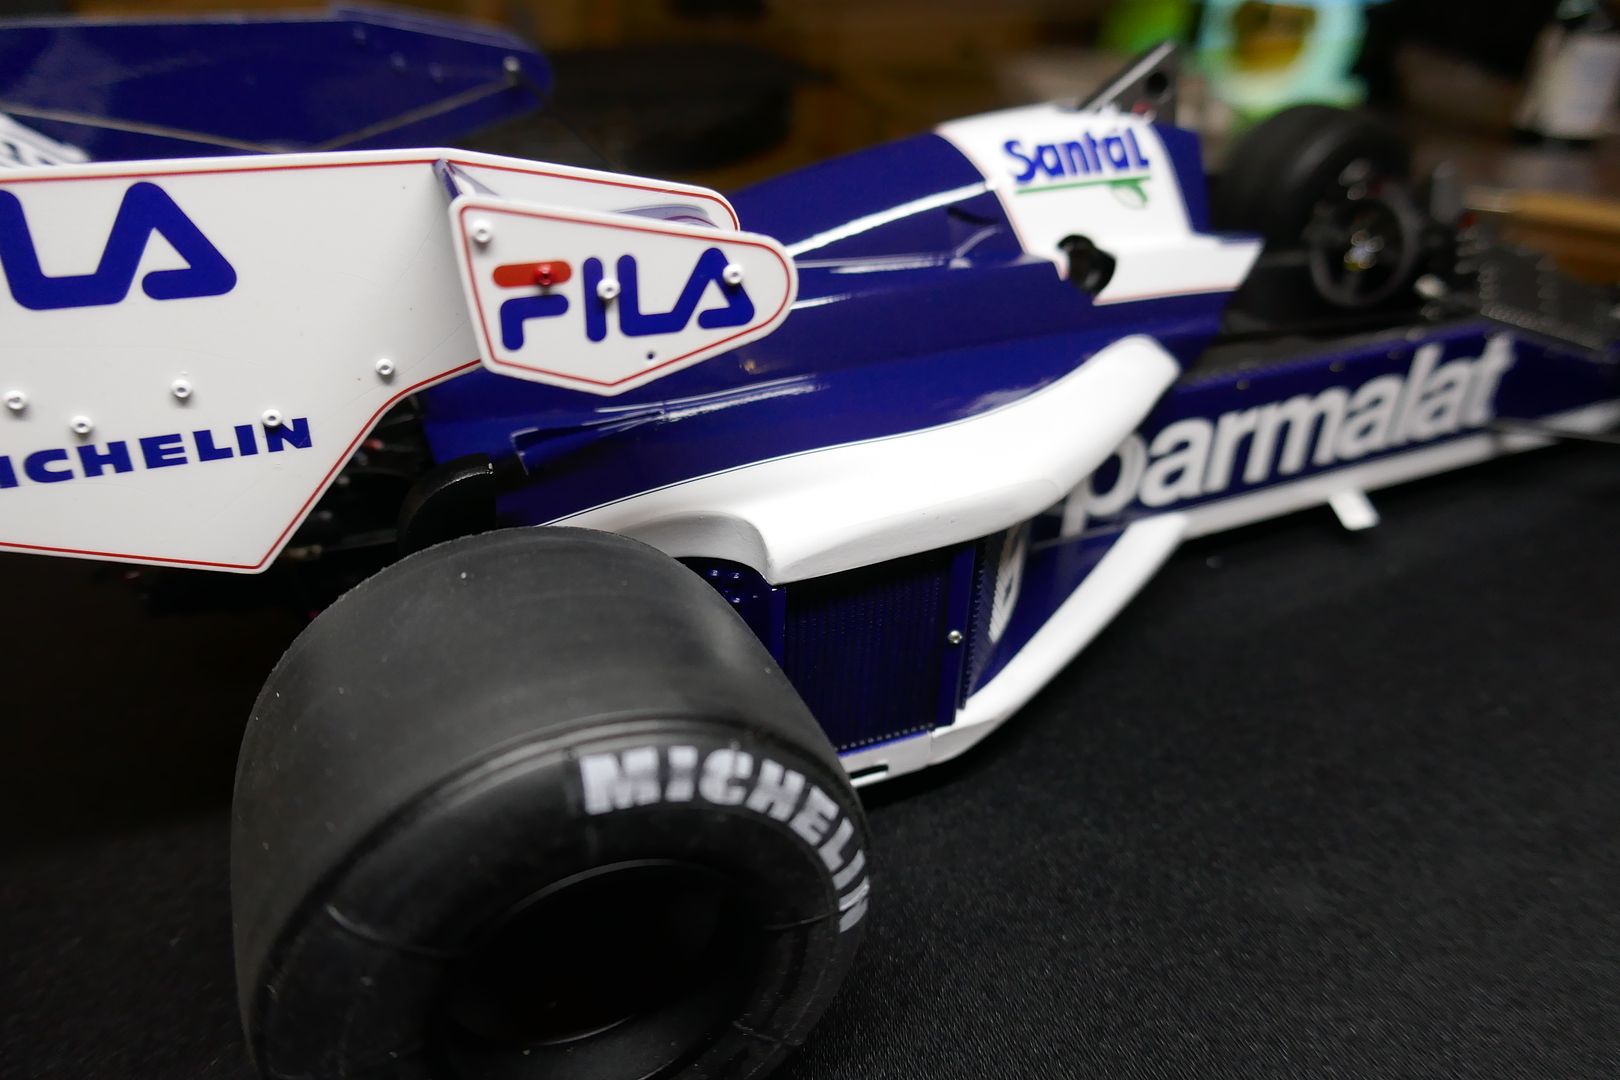
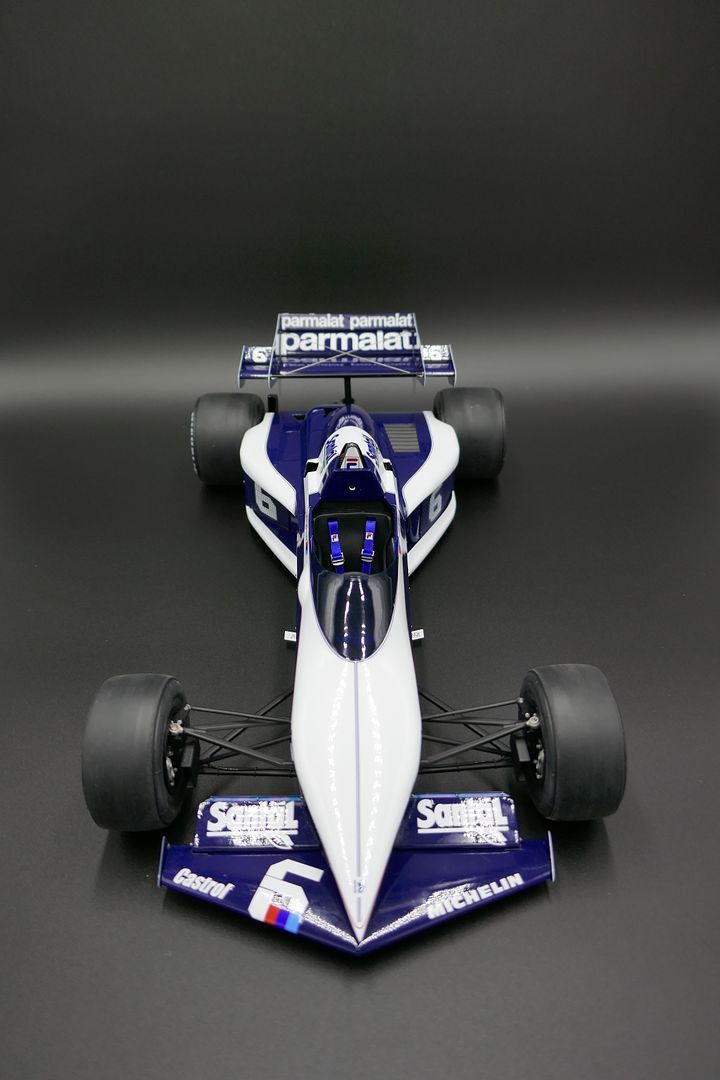
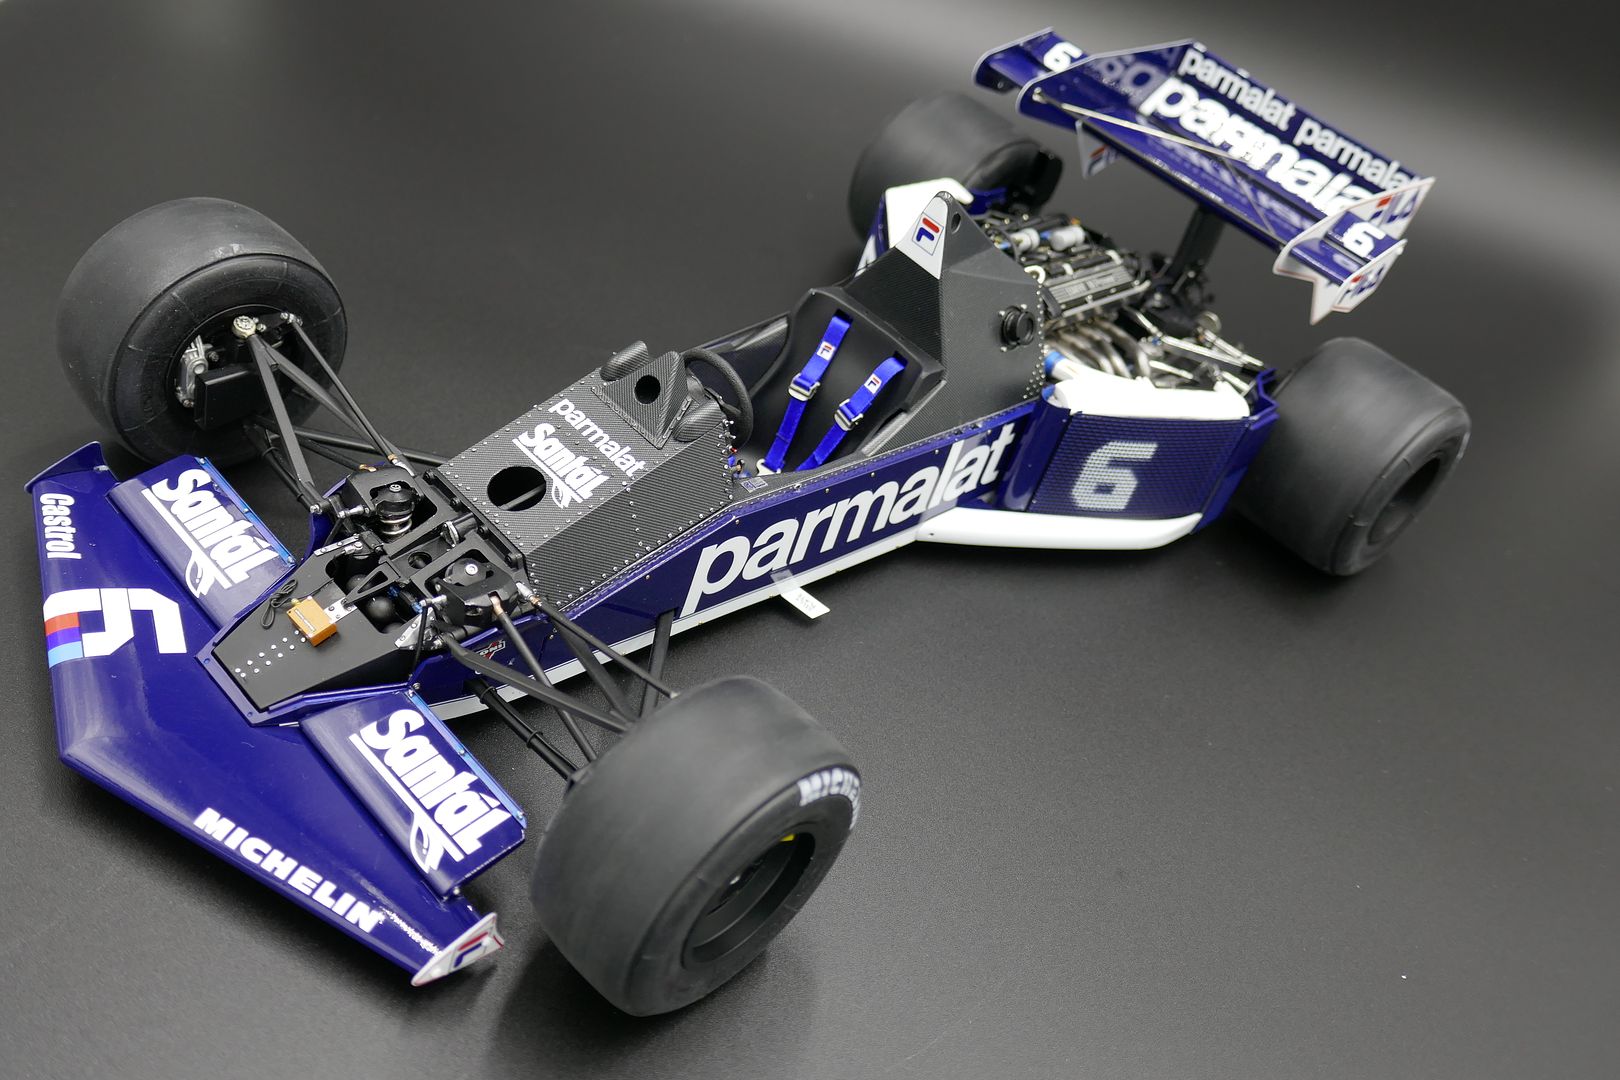
Wing end plates went on...I also added the gurney flaps.
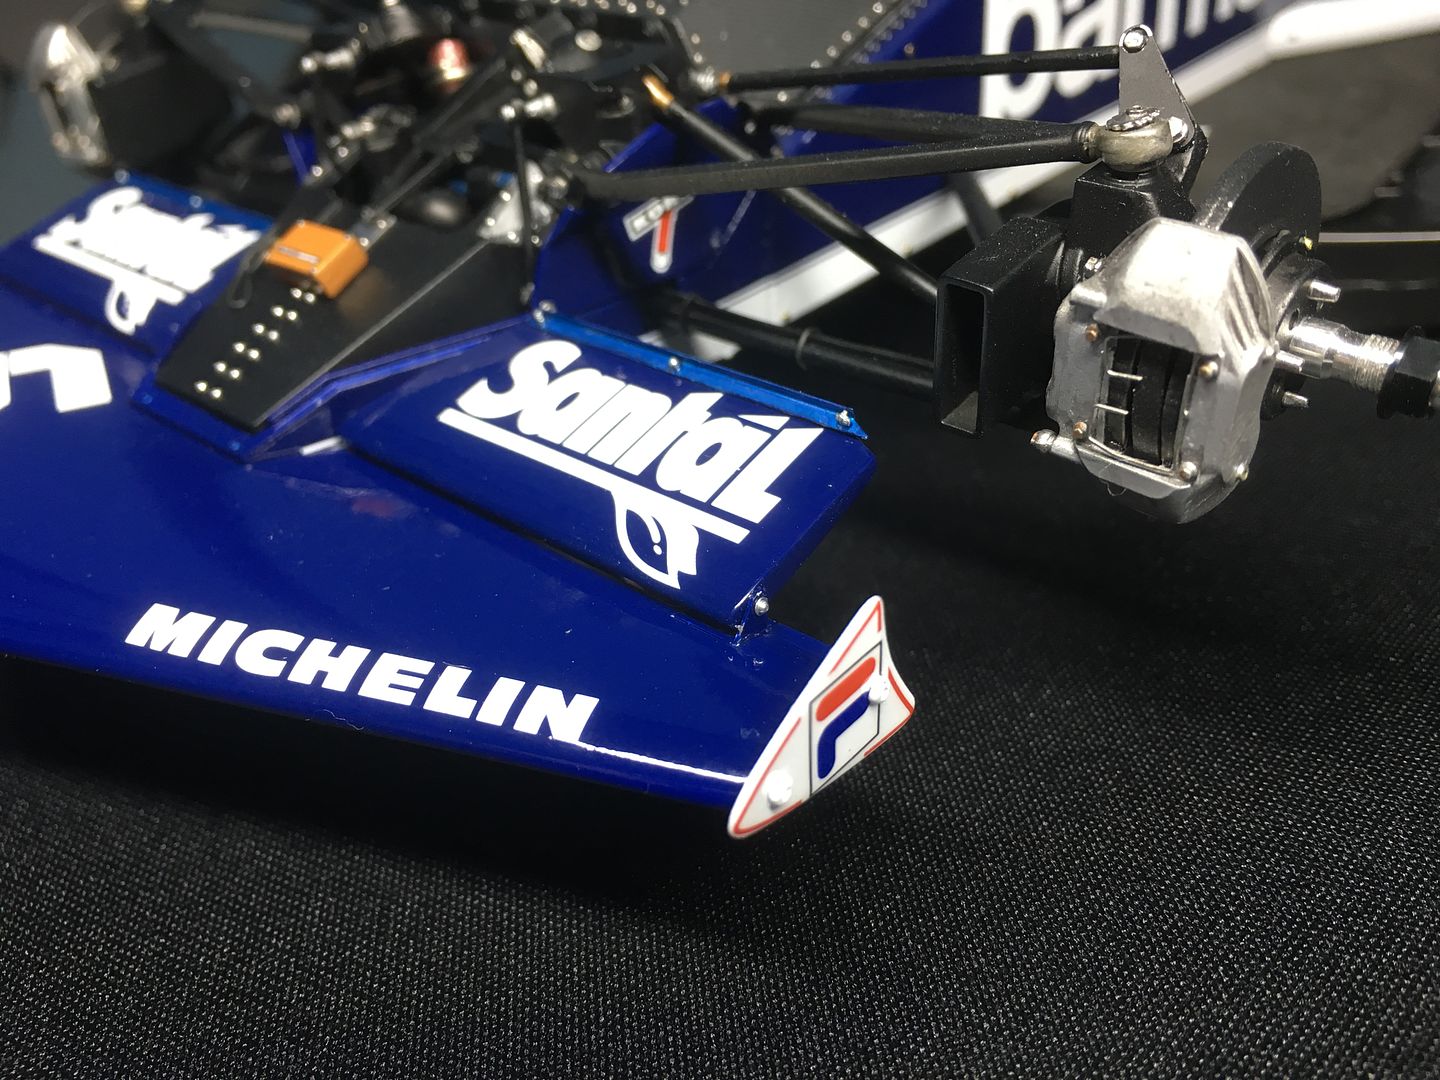
...and you know what - that is ALMOST it!
Need to fit the wing mirrors, rivet screen into place, fix rear wing (in any shots here it is just resting in place) - go over the whole model and tidy it up - touch up the chips etc! I also want to give a little depth to elements with VERY light highlighting etc.
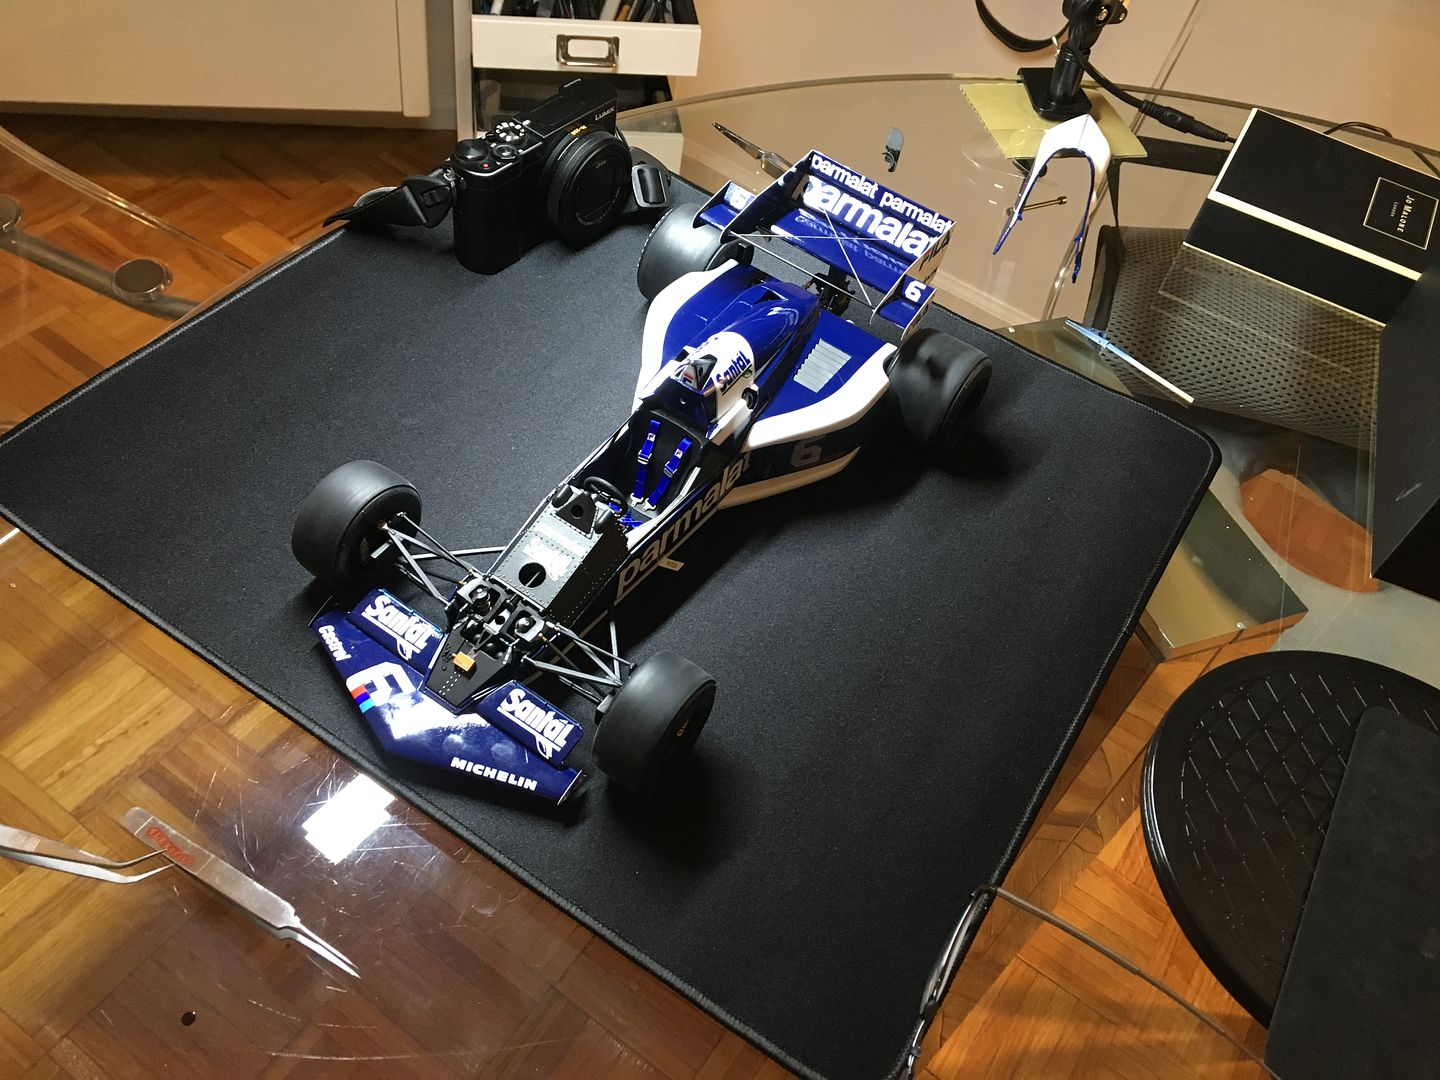
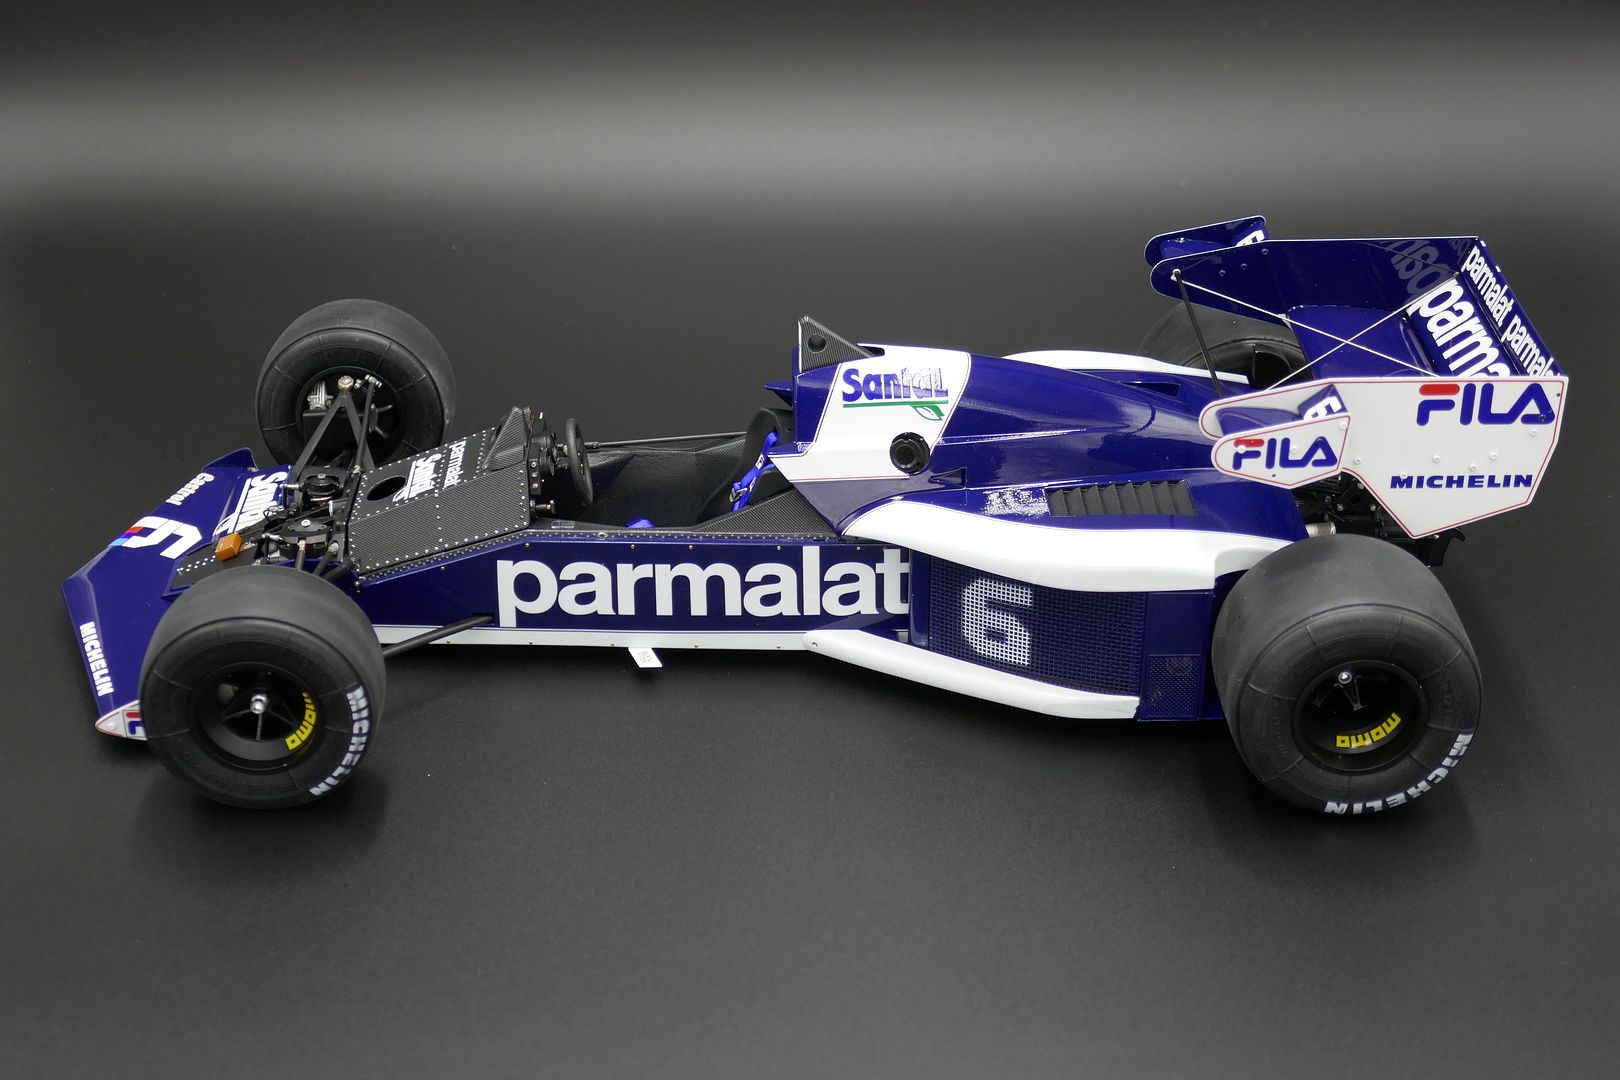
But it is SO close I couldn't resist taking some nice pics - I'll post them here, finish the last bits and bobs and then do a 'finished' thread hopefully at the weekend!!
If you look closely at the picture below, you will see that I had sprayed up these two end plates both as 'left handed' - they are blue on the other side so cant be reversed - anyway, corrected now - but grrr!
Here are a few pics of the extra wiring I have added - first shows quite a big pipe - a breather I think - that you see on a lot of pictures, but wasn't detailed in the kit....I've also added some 'ground' wires - and wired the wet-weather light!
Once I get the dust off all these, I reckon these will actually look like the 'real' version
Right - needed quite a dark blue tint, so I used airbrushed clear blue Alclad on the 'inside' - went on fine, taking care to keep it even.
I'd cut the screen out with shark small scissors - needs to be 'riveted' in place...test fit before colouring:
Wing end plates went on...I also added the gurney flaps.
...and you know what - that is ALMOST it!
Need to fit the wing mirrors, rivet screen into place, fix rear wing (in any shots here it is just resting in place) - go over the whole model and tidy it up - touch up the chips etc! I also want to give a little depth to elements with VERY light highlighting etc.
But it is SO close I couldn't resist taking some nice pics - I'll post them here, finish the last bits and bobs and then do a 'finished' thread hopefully at the weekend!!
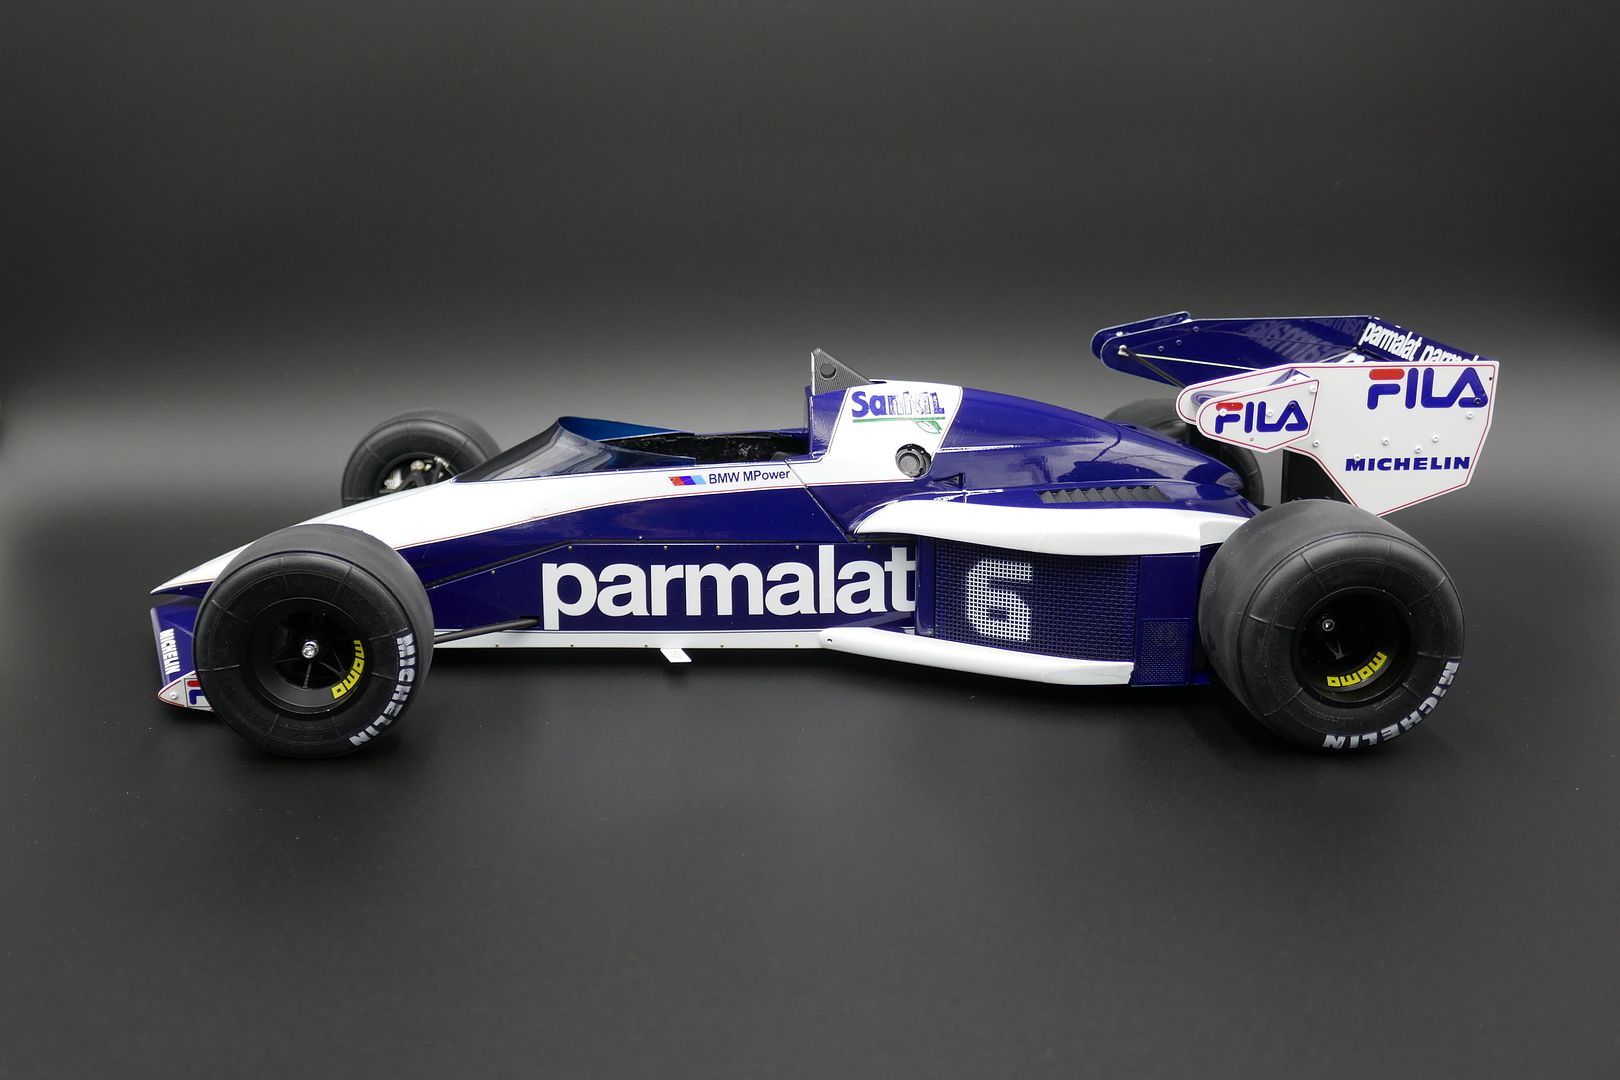
So - remember, not finished - quite!
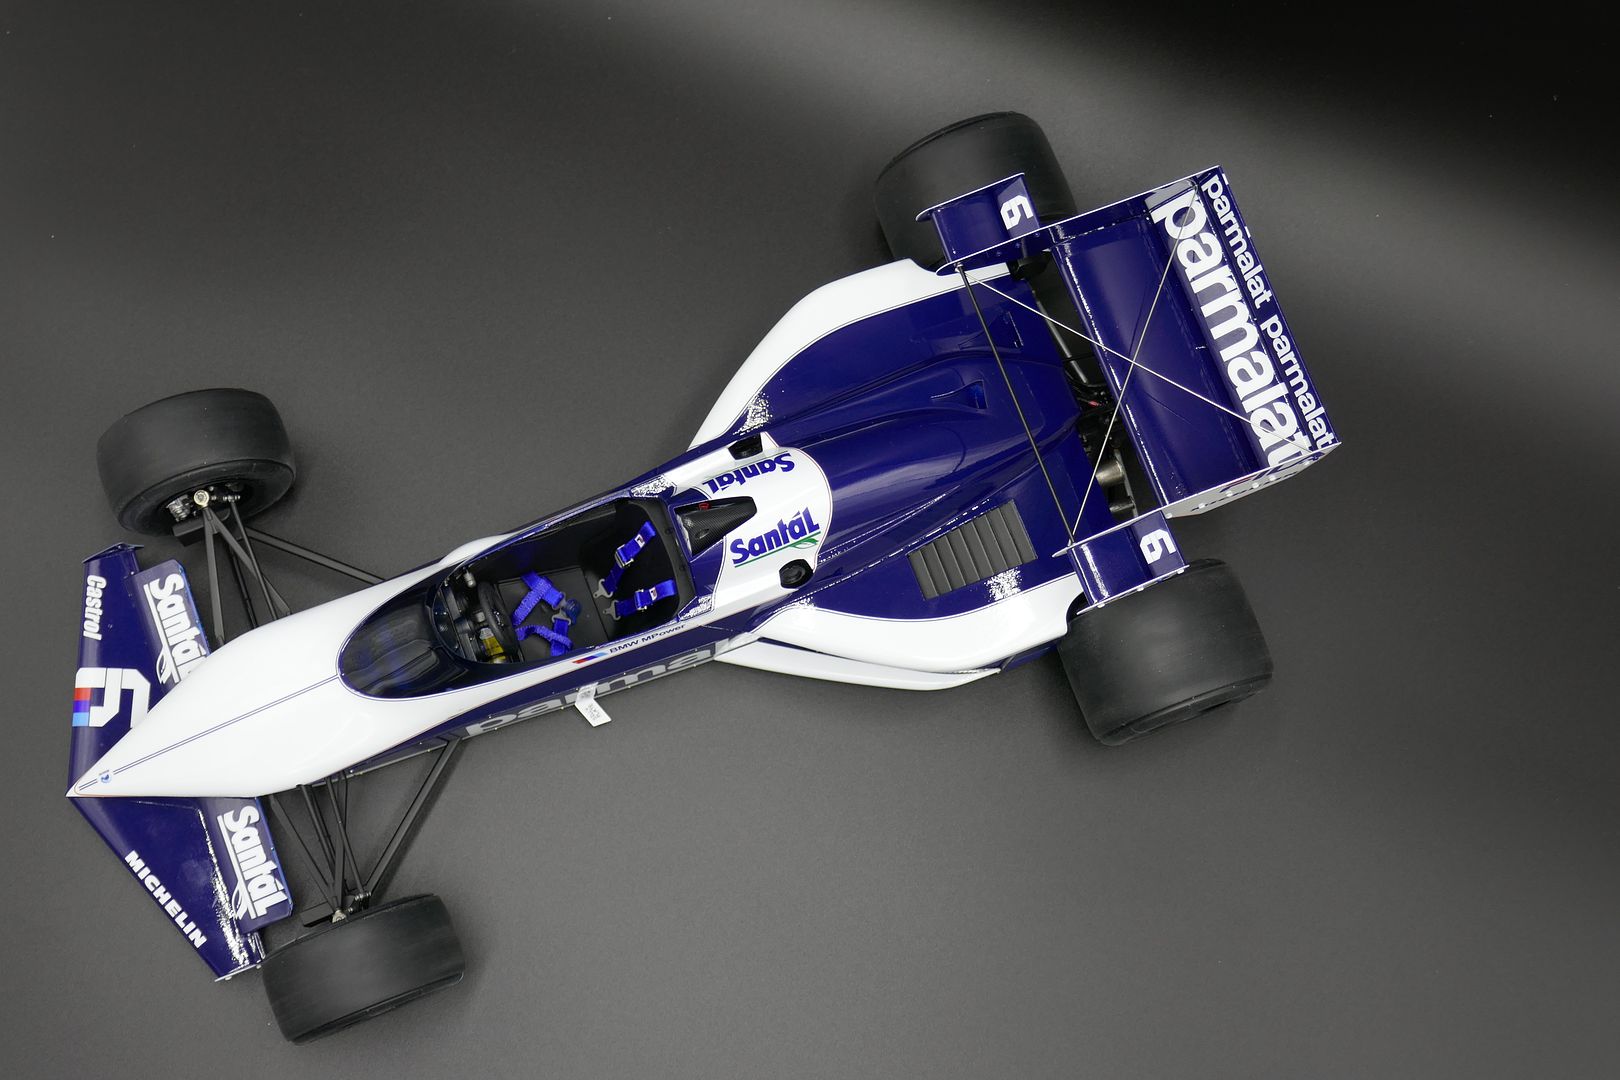
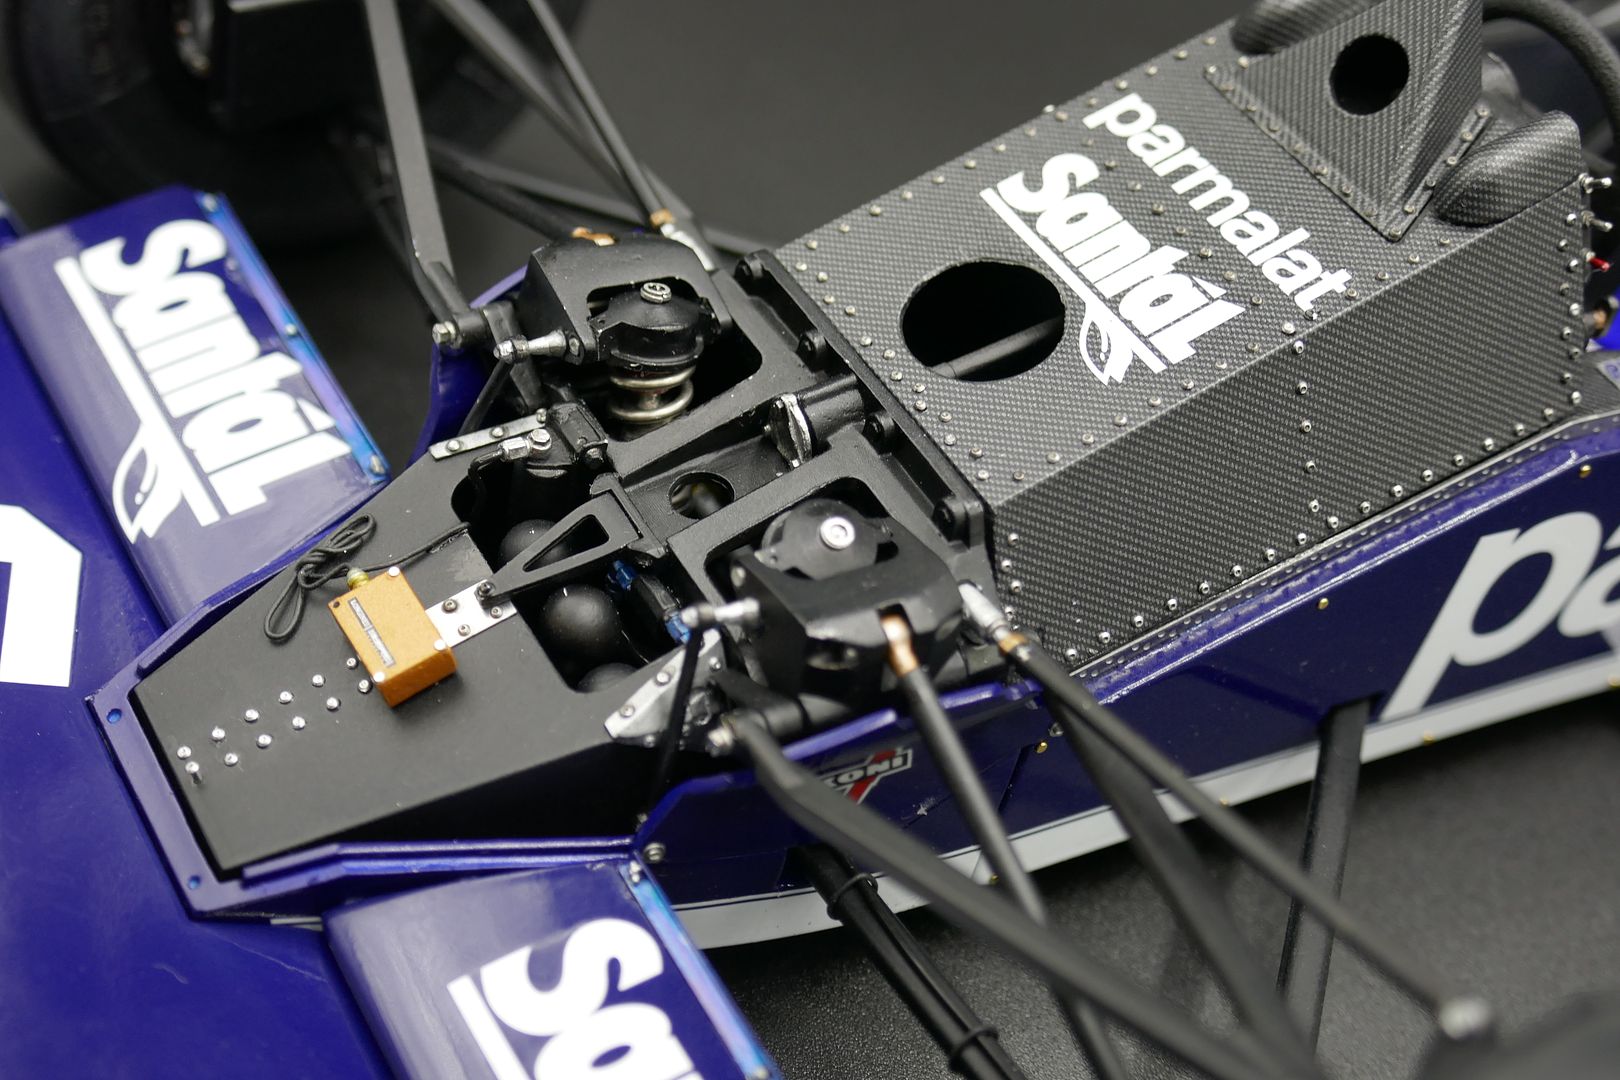
Spot the loose rivet!
...I expect that is almost that for this thread! YEAH!!!!
Thank you SOOO much for following...my first MFH (and indeed finished kit for decades!) and I have learned so much from loads of you guys on here, wither through looking at your superb models, or from you guys answering my questions - cheers!
I will do a 'conclusion' post as well - highlighting any problems with the kit, issues I had, tips, errors, corrections etc etc...
What a beautiful job! But doesn't the nose on that Brabham look short compared with the current crop of F1 cars? For comparison I'd love to see this alongside a model of the current F1 Mercedes (for example) whose wheelbase is about FOUR FEET longer than the DFV engined cars of the 60s. 


Gassing Station | Scale Models | Top of Page | What's New | My Stuff