The ebay generator restoration thread
Discussion
dhutch said:
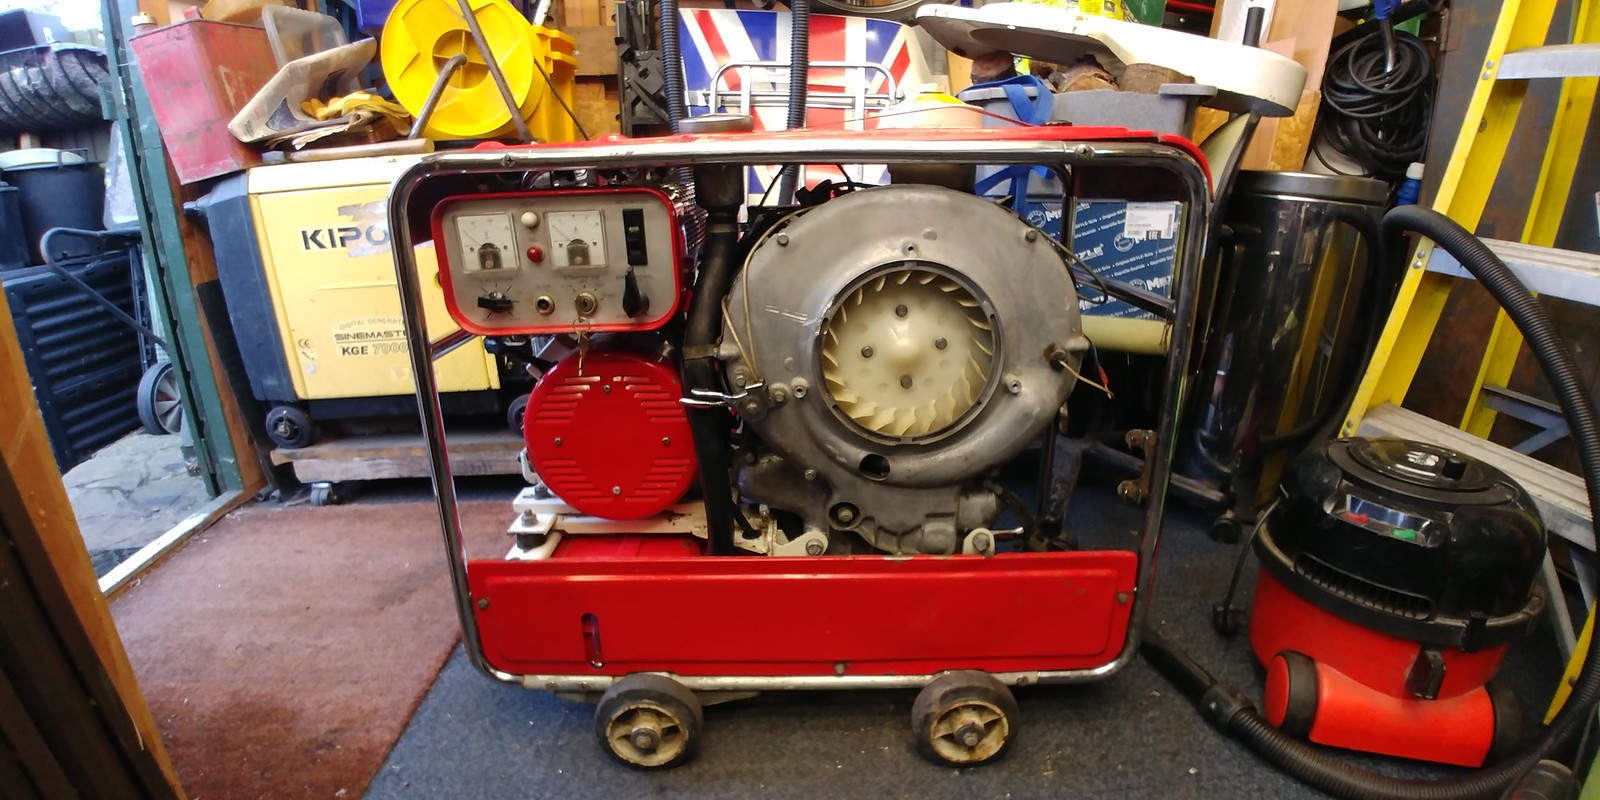
Get is polished up, and enter it at the local steam fair as a stationary engine.
Was thinking the same, just need to make up a board with a load of light bulbs to show it working, at least it would be powerful enough to run a proper kettle so i could make some tea
Spent a bit of time working on it today, decided to remove the alternator so i could work on the bench instead on the floor to make it easier to repair the chewed wiring.
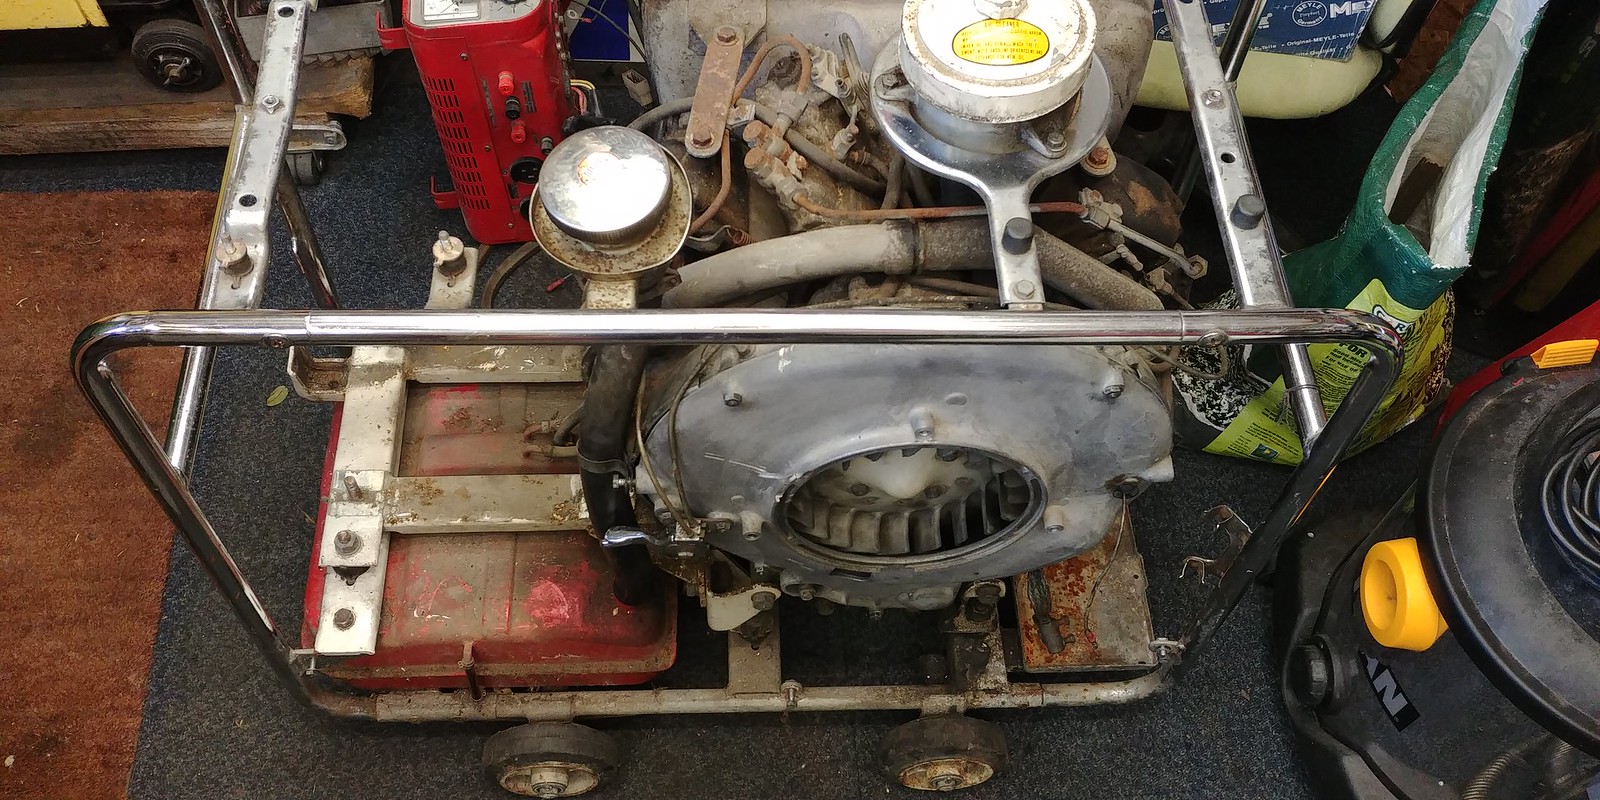
Finally on the bench, it's probably the heaviest alternator i had had to remove, guessing somewhere between 25-30kg! no wonder the whole generator weighs in at nearly 200Kg

some of the damaged wire
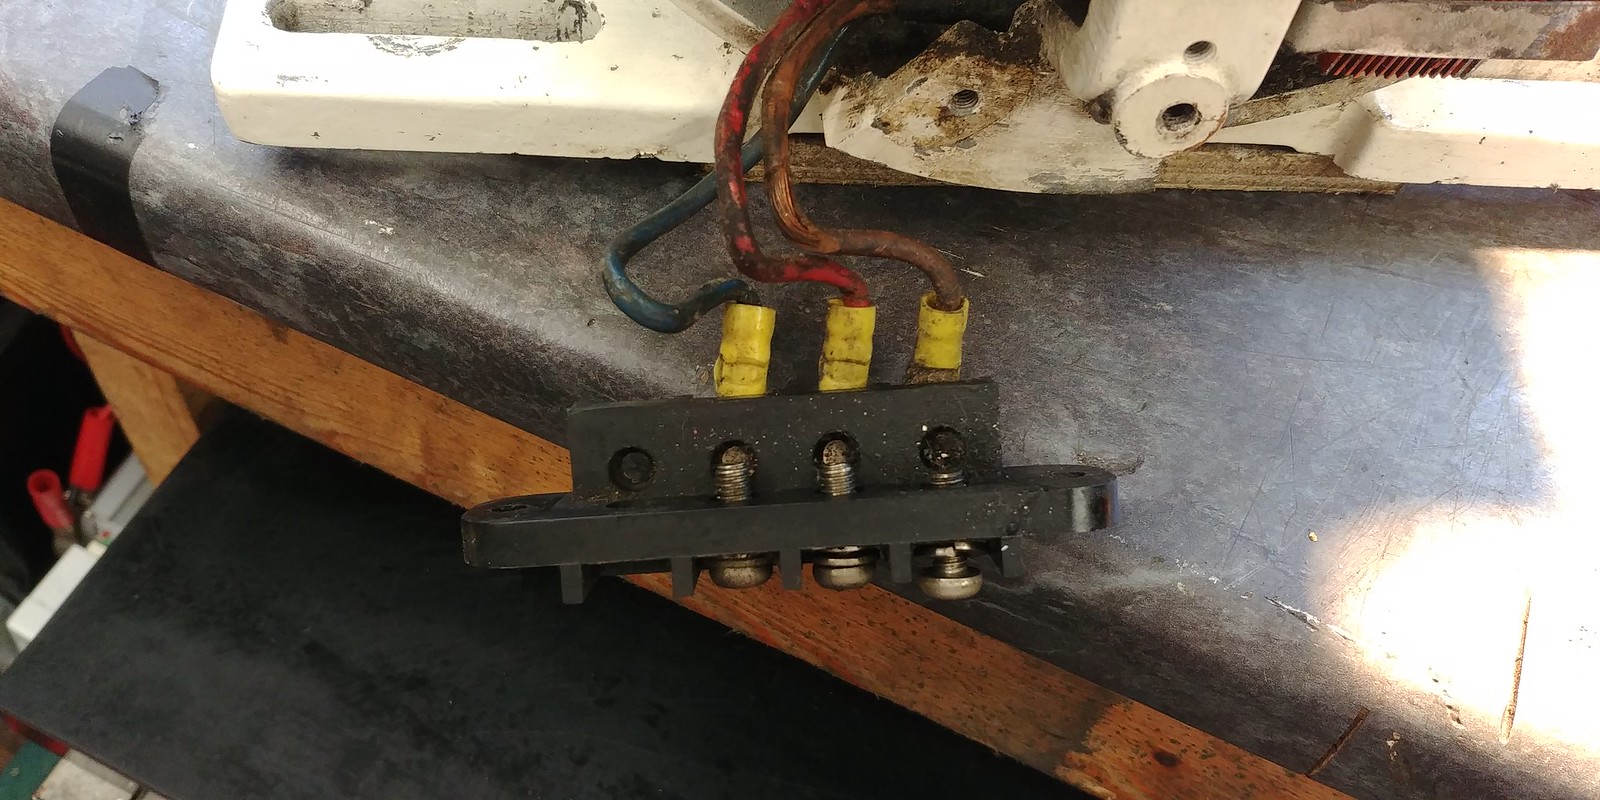
Wiring cleaned up, damage repaired and new crimp terminals fitted
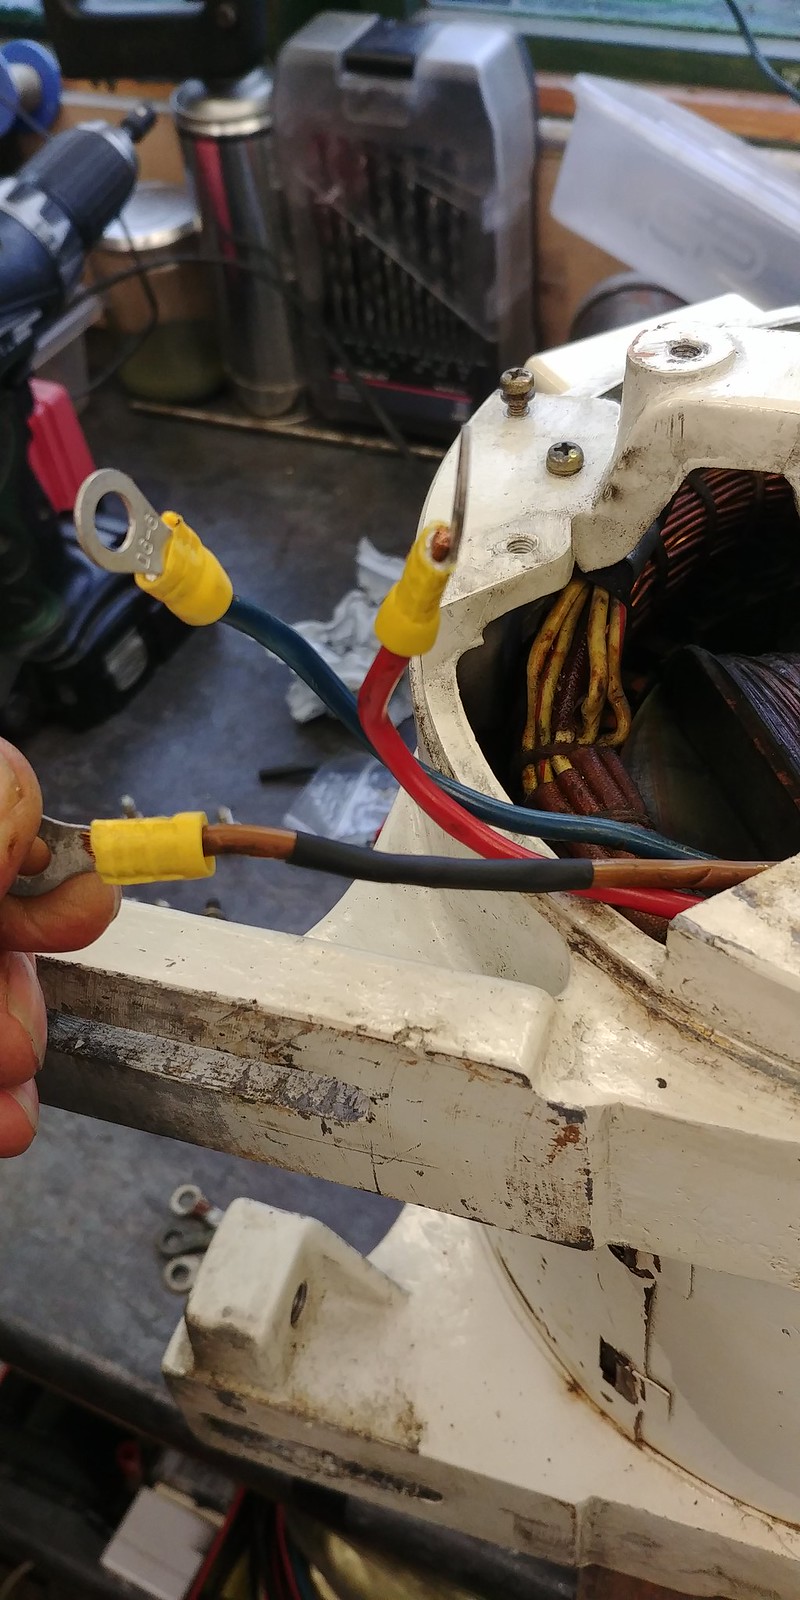
All back together
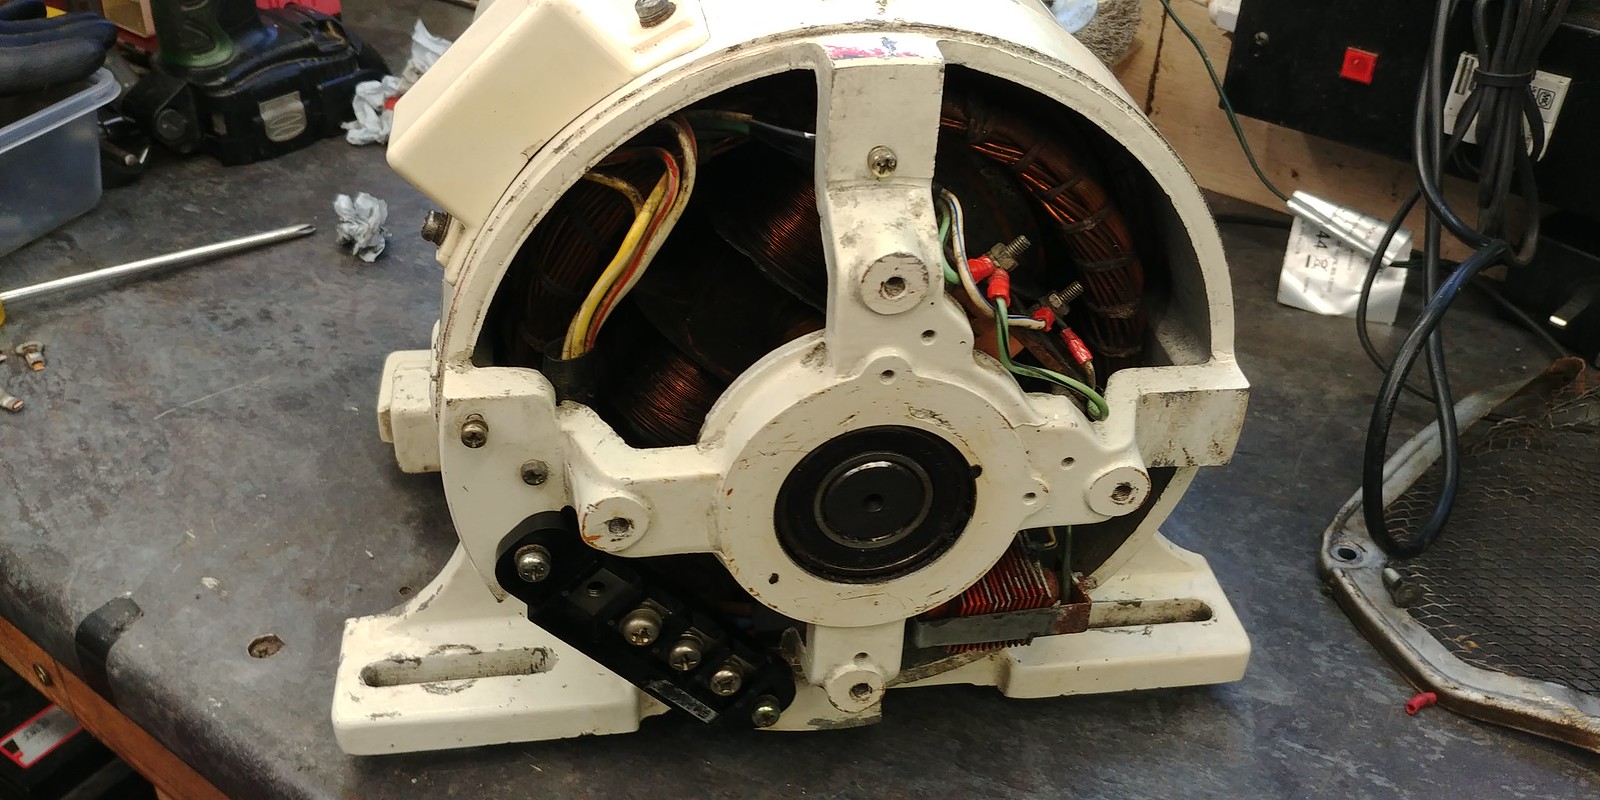
looking better after a clean and ready to be re fitted.
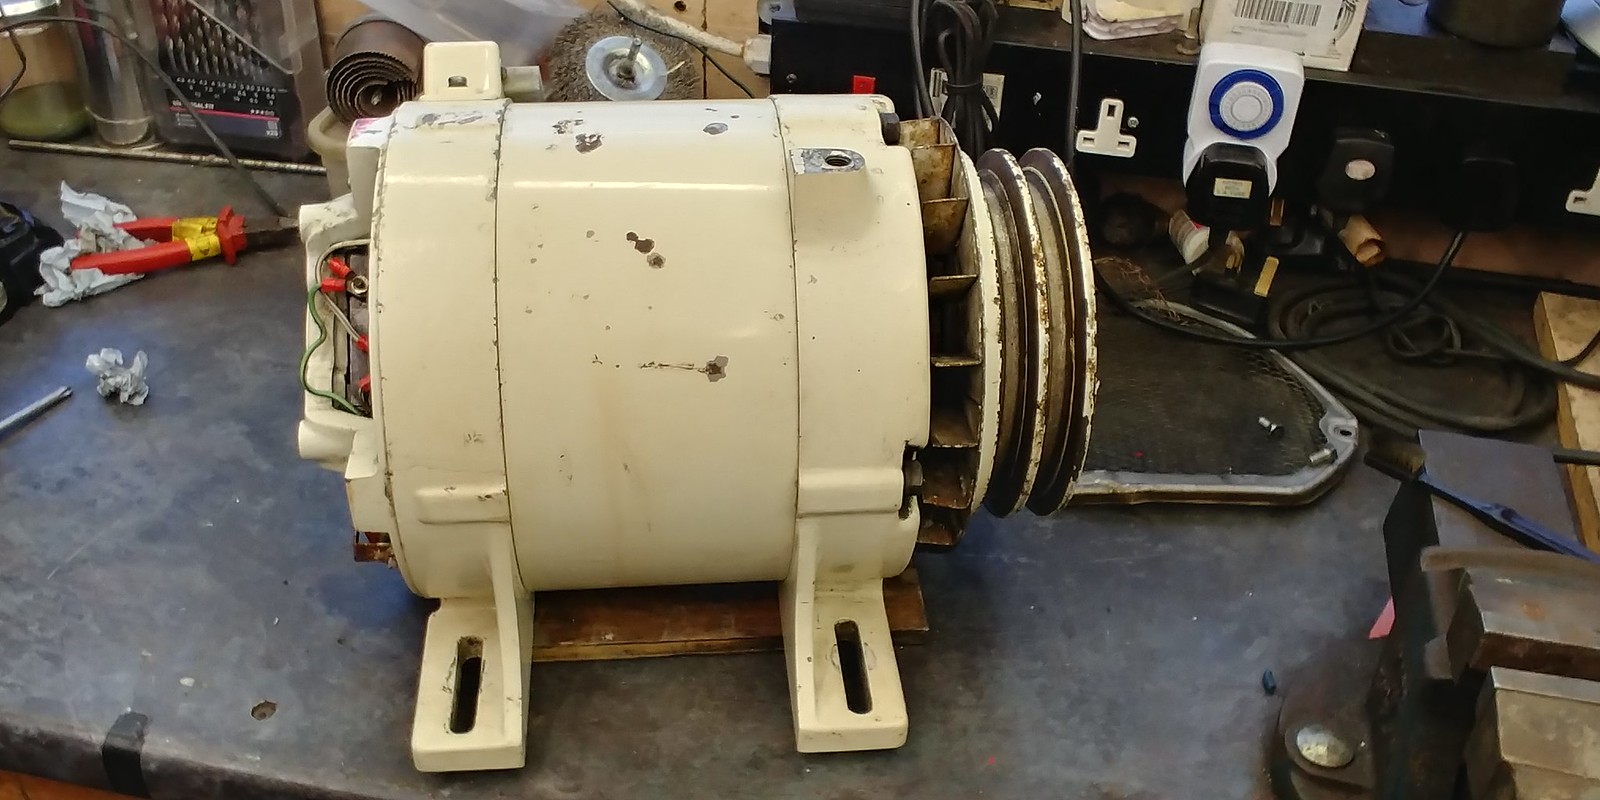
Next job is to give the engine and frame a clean while all the electrical bits are off.
Sorry I missed this, agree with dhutch that the governor is the likely problem.
The governor consists of 3 parts, there is the gear with the weights inside the engine casing, the weights push on a lever/shaft which transfers the movement to the governor to the arm which operates the linkage to the throttle. If you google gx200 governor there are various images and videos showing components that make up the governor.
It could be as simple as where the arm to the throttle is clamped on to the lever/shaft has slipped so the whole mechanism is out of adjustment. Googling GX200 governor adjustment turns up various guides/videos etc showing how to correctly set the governor up.
Bit more progress.
Cleaned inside of fan housing
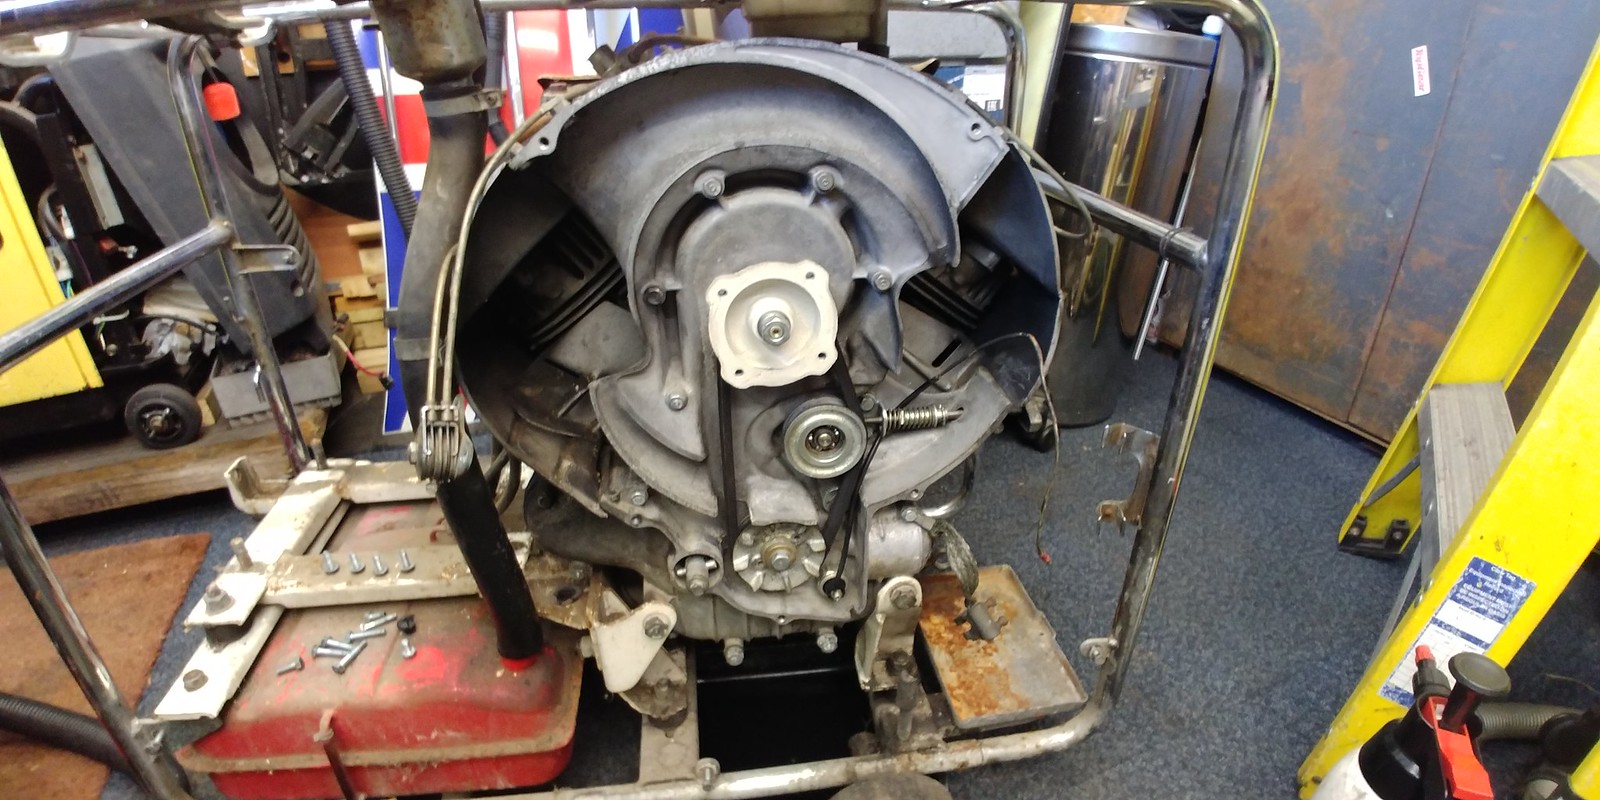
The fan is belt driven off the crank there is a sprung loaded belt tensioner, the bearing was dry so packed it with some grease.
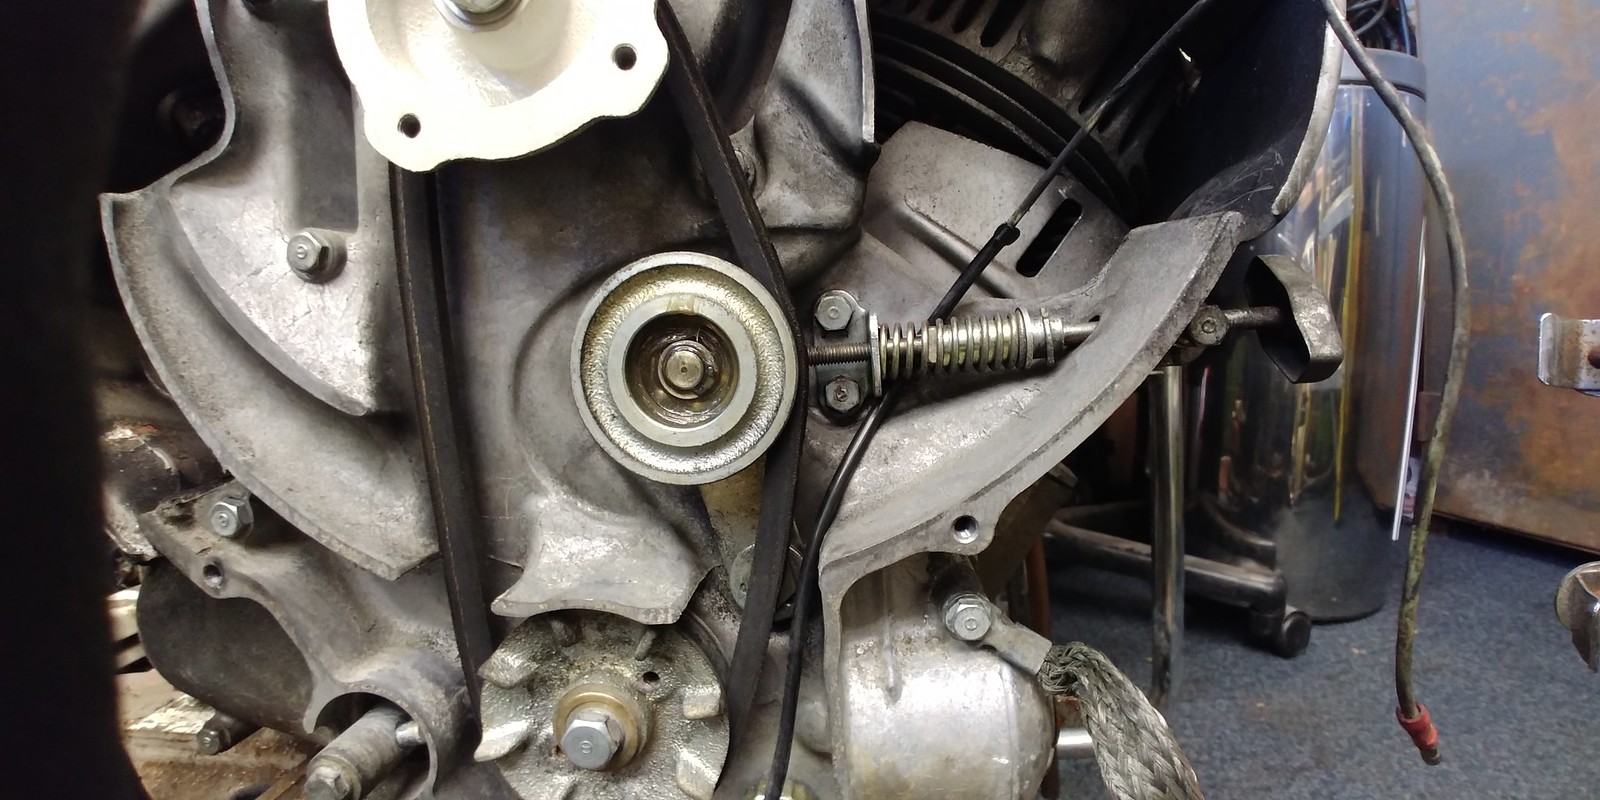
Next job was to give it all a clean to make it easier to work on (hate working on grimy oily things)

After bit of work with some engine de-greaser and brake clean that's allot better
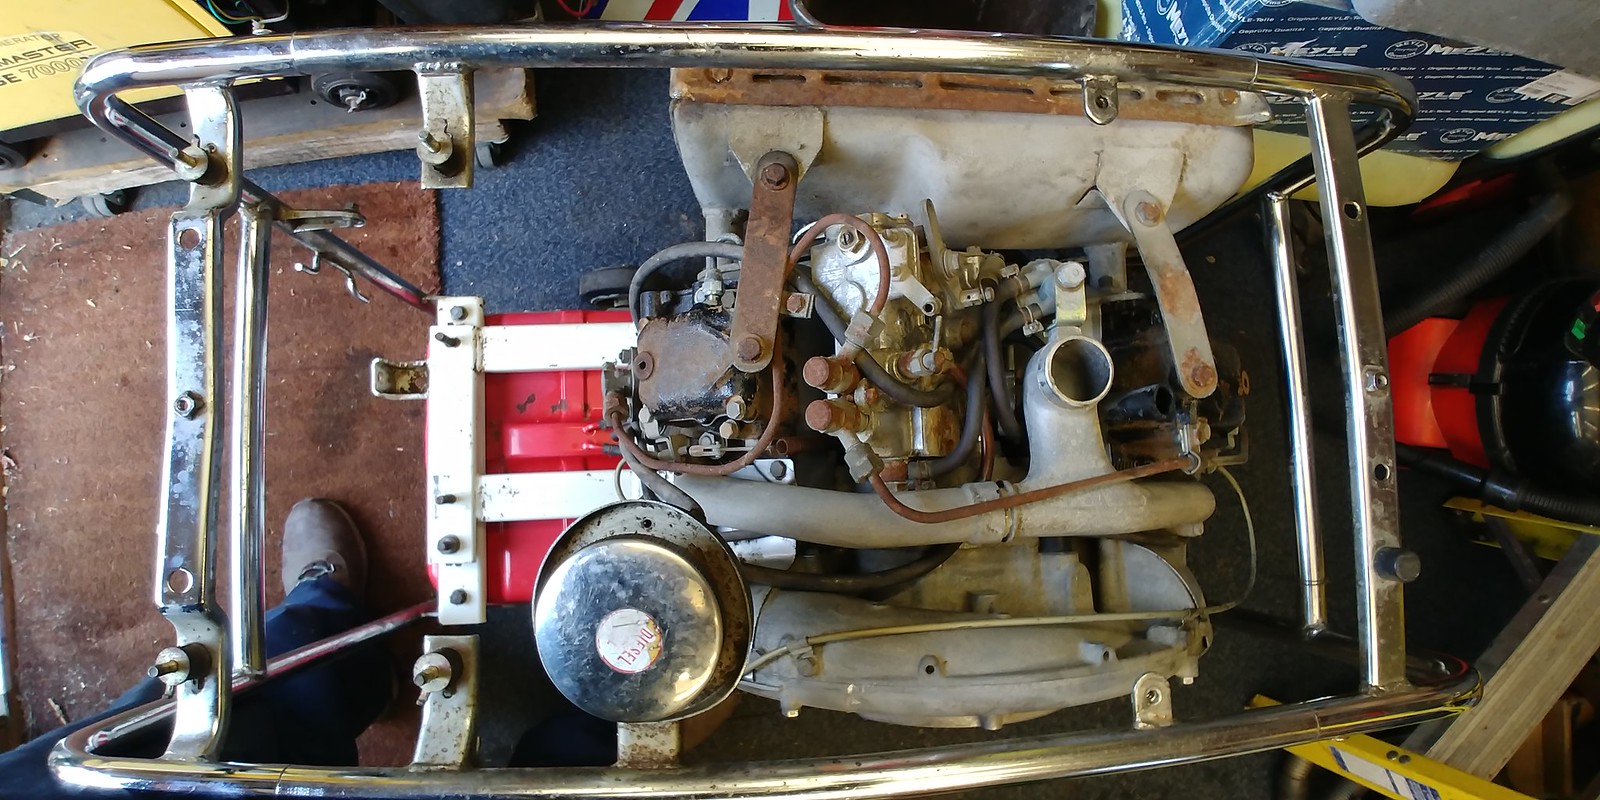
Now it's clean I could check things like the valve adjustment
Bolts removed from valve cover
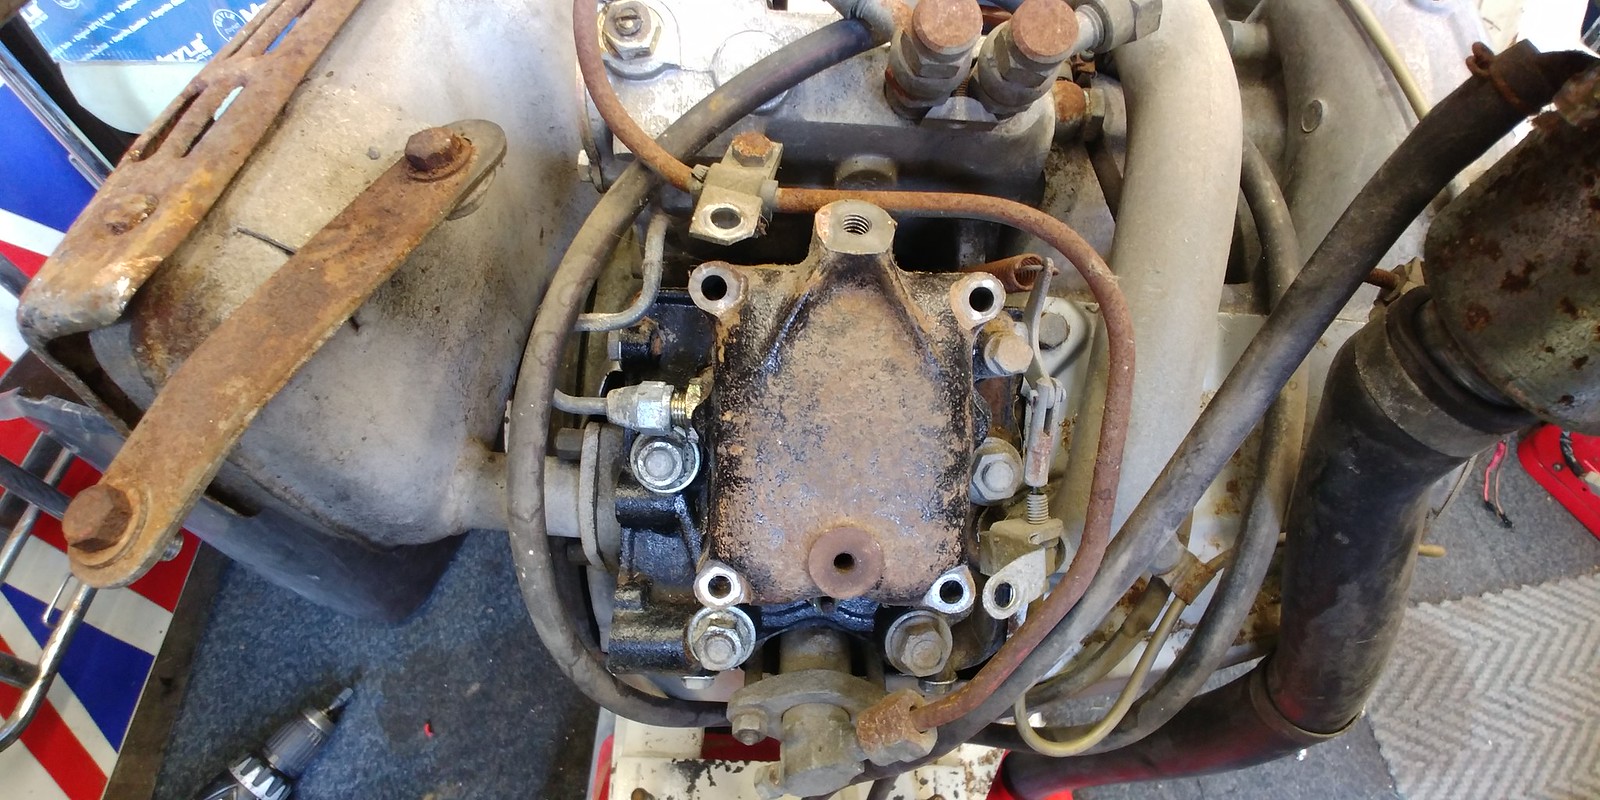
Cover removed, all looks in really good condition, was worried it would either be full of rust or gummed up with congealed oil
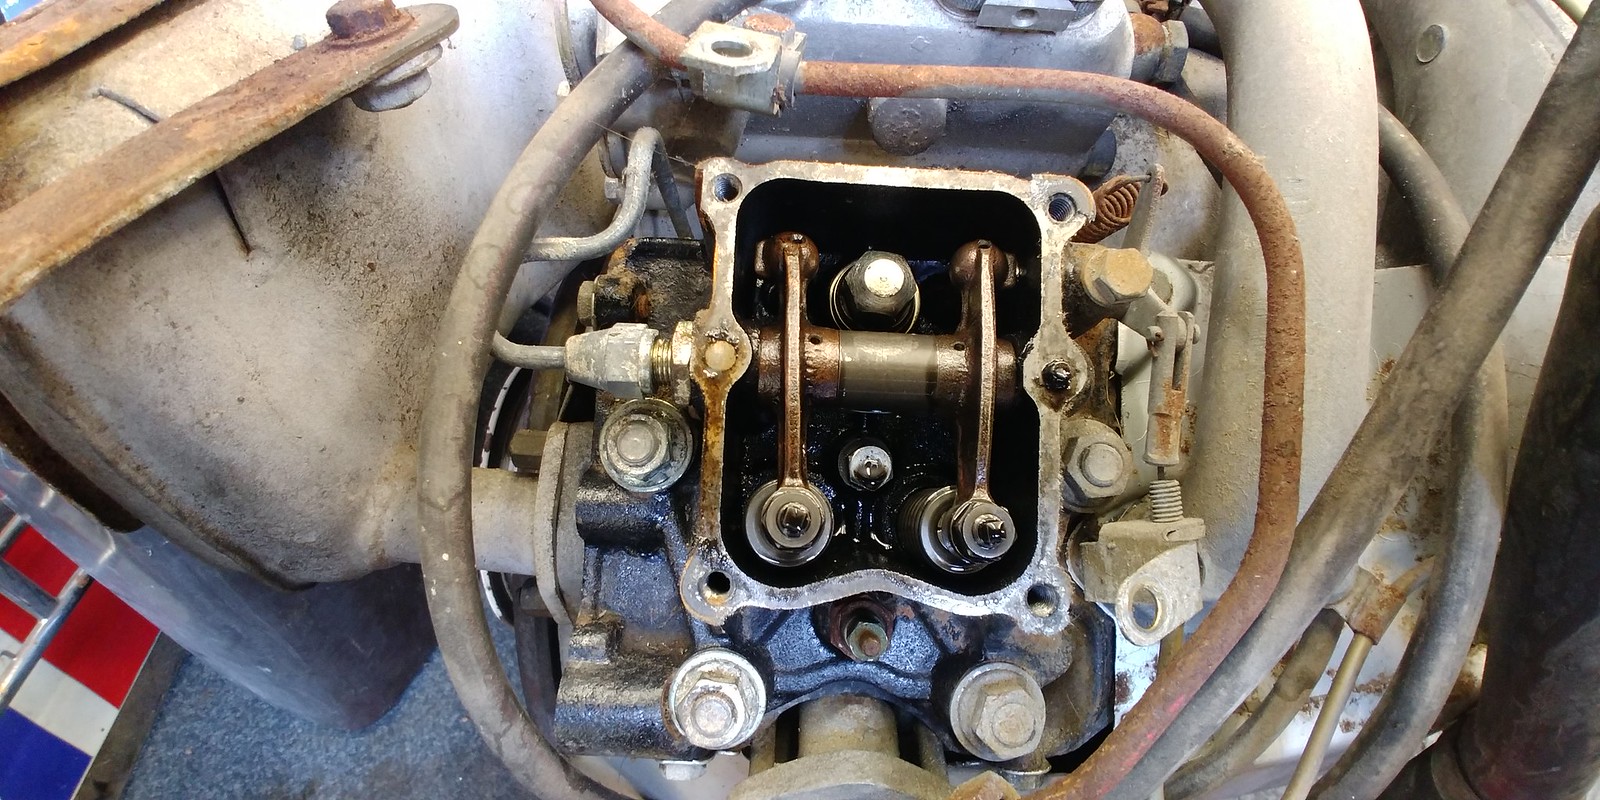
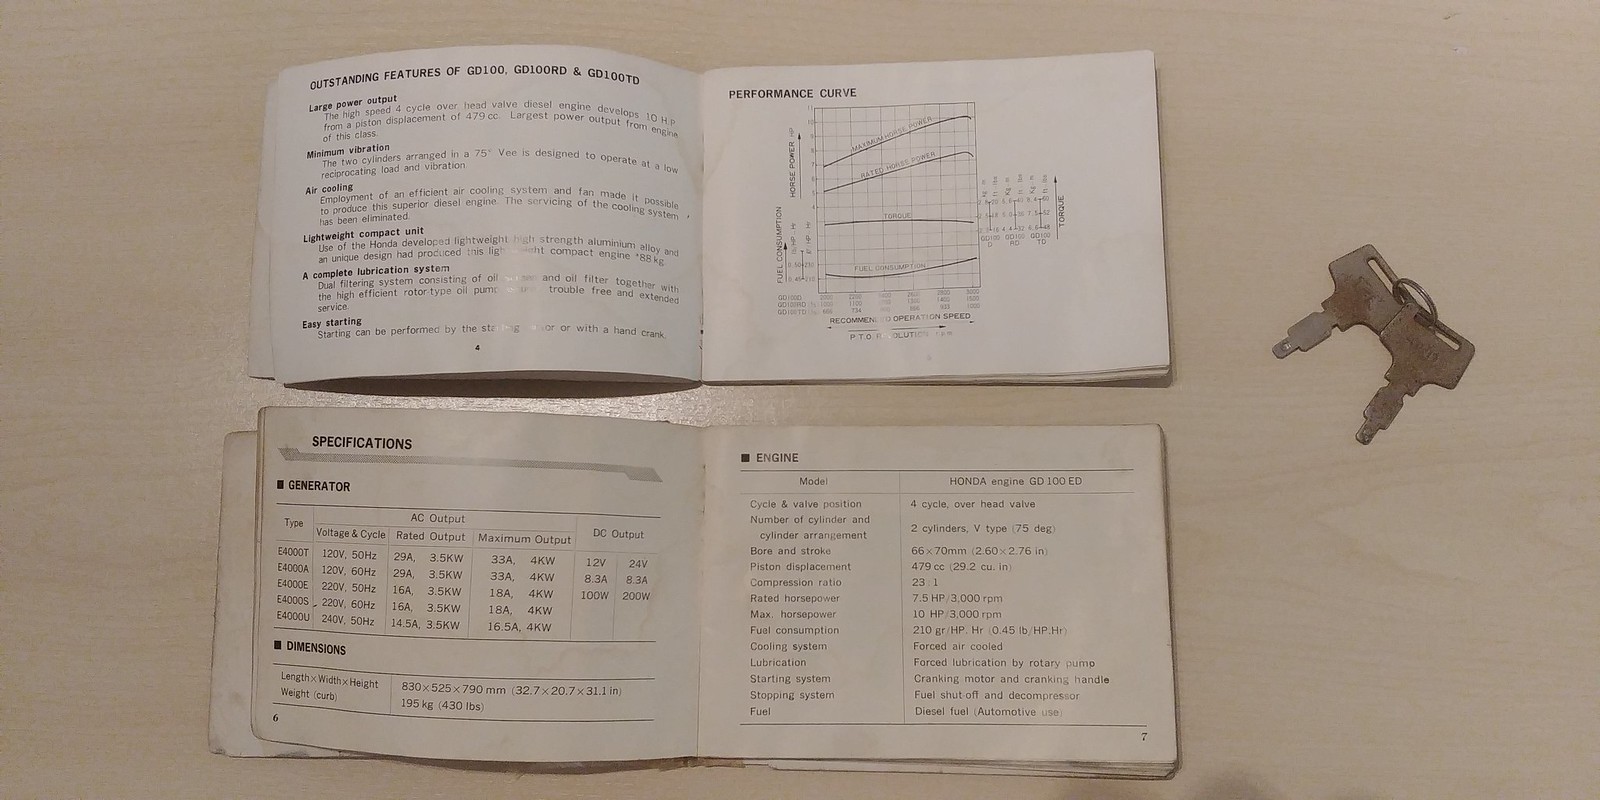
Good thing I have the engine handbook
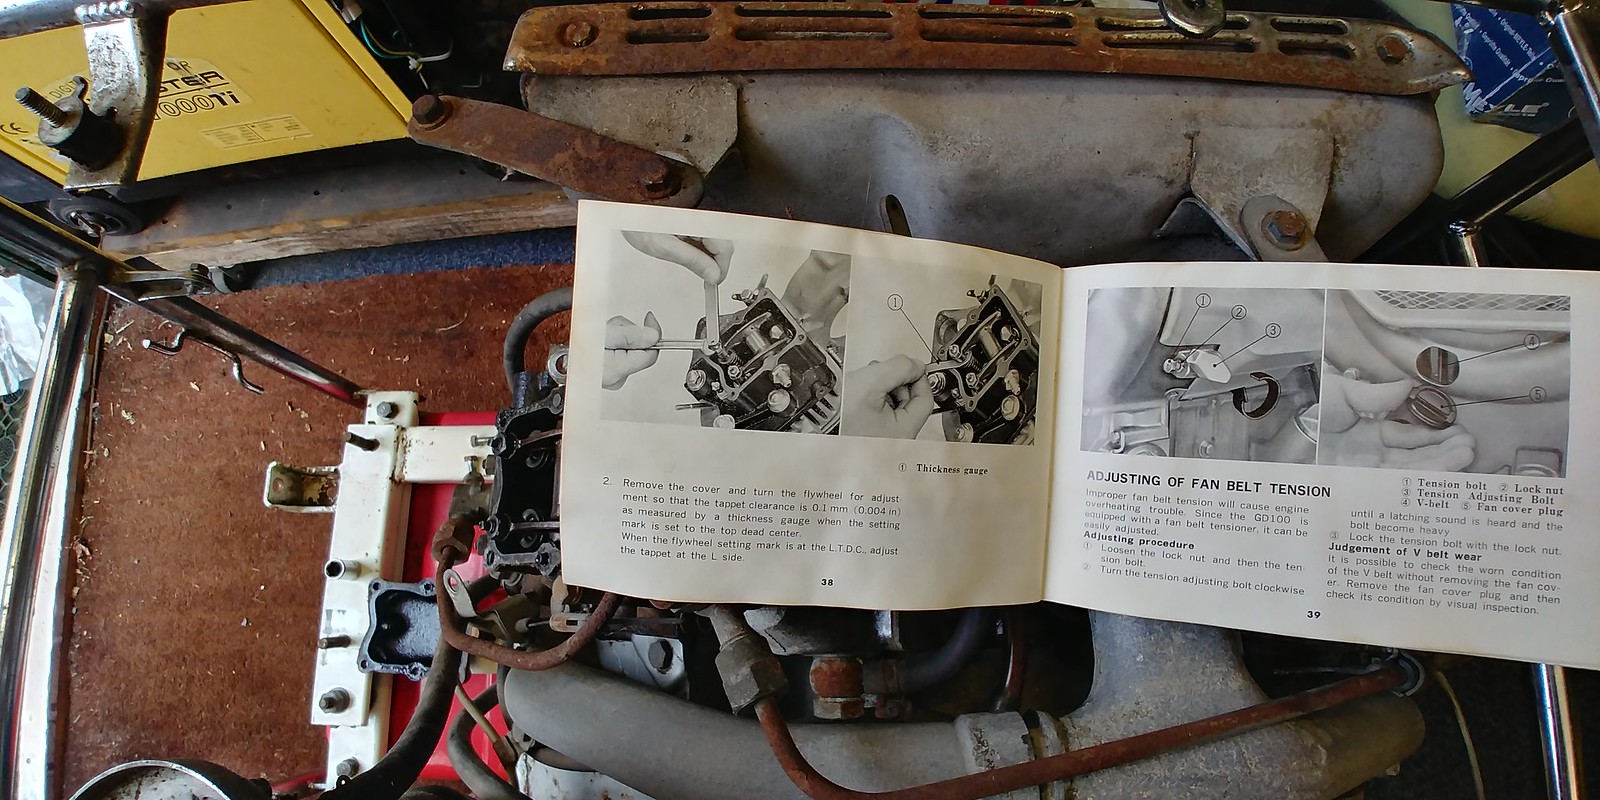
Timing mark for left cylinder T.D.C.

Book says clearance should be 0.1mm, feeler gauge fits in with a little bit of drag
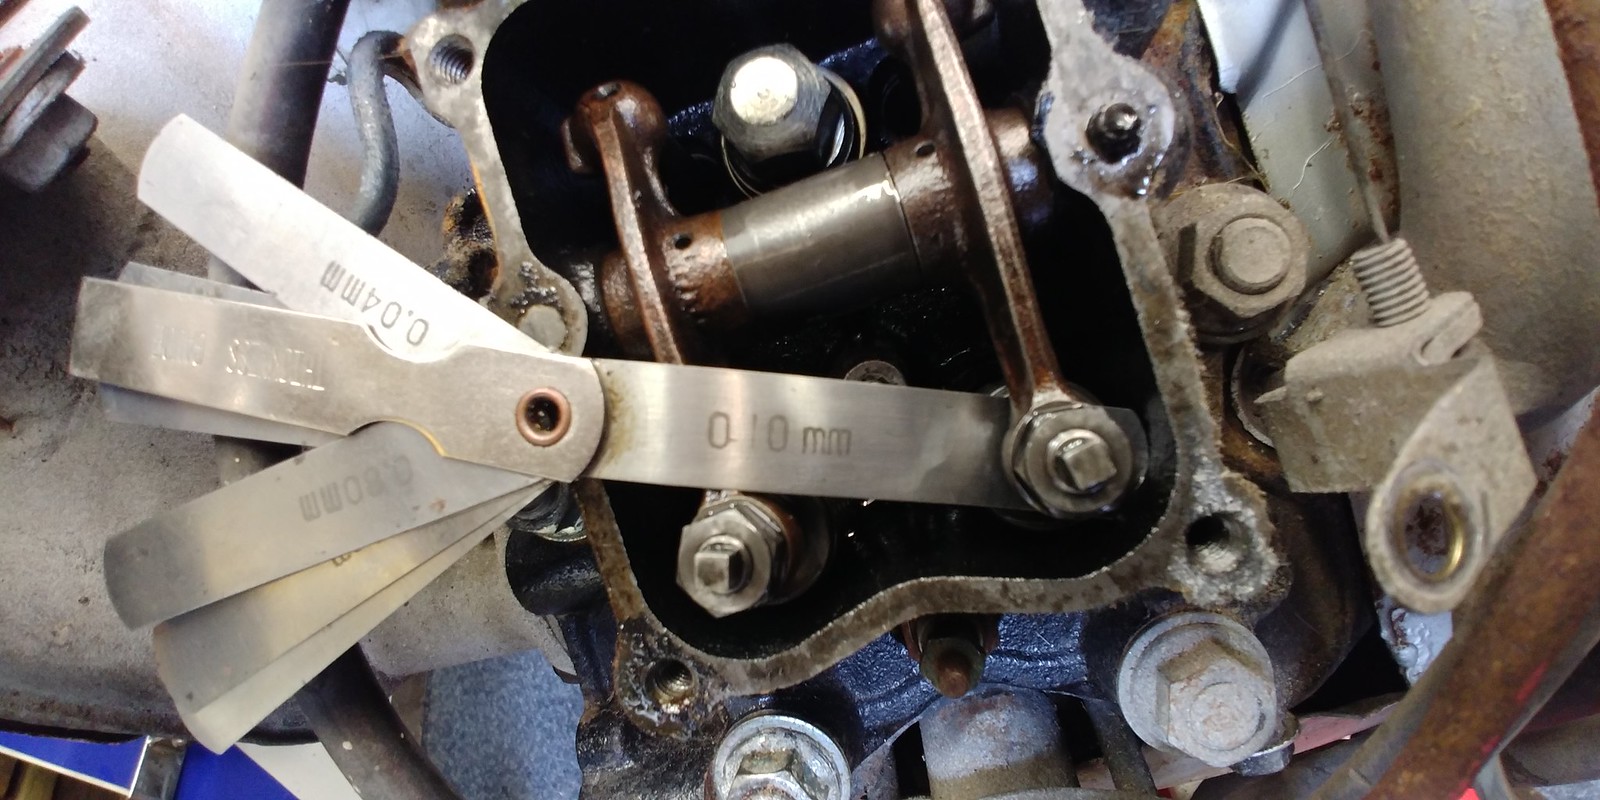
0.15mm doesn't fit so all is good

Didn't bother checking the right cylinder, assumed it will be the same.
Next job was to work on the fuel system
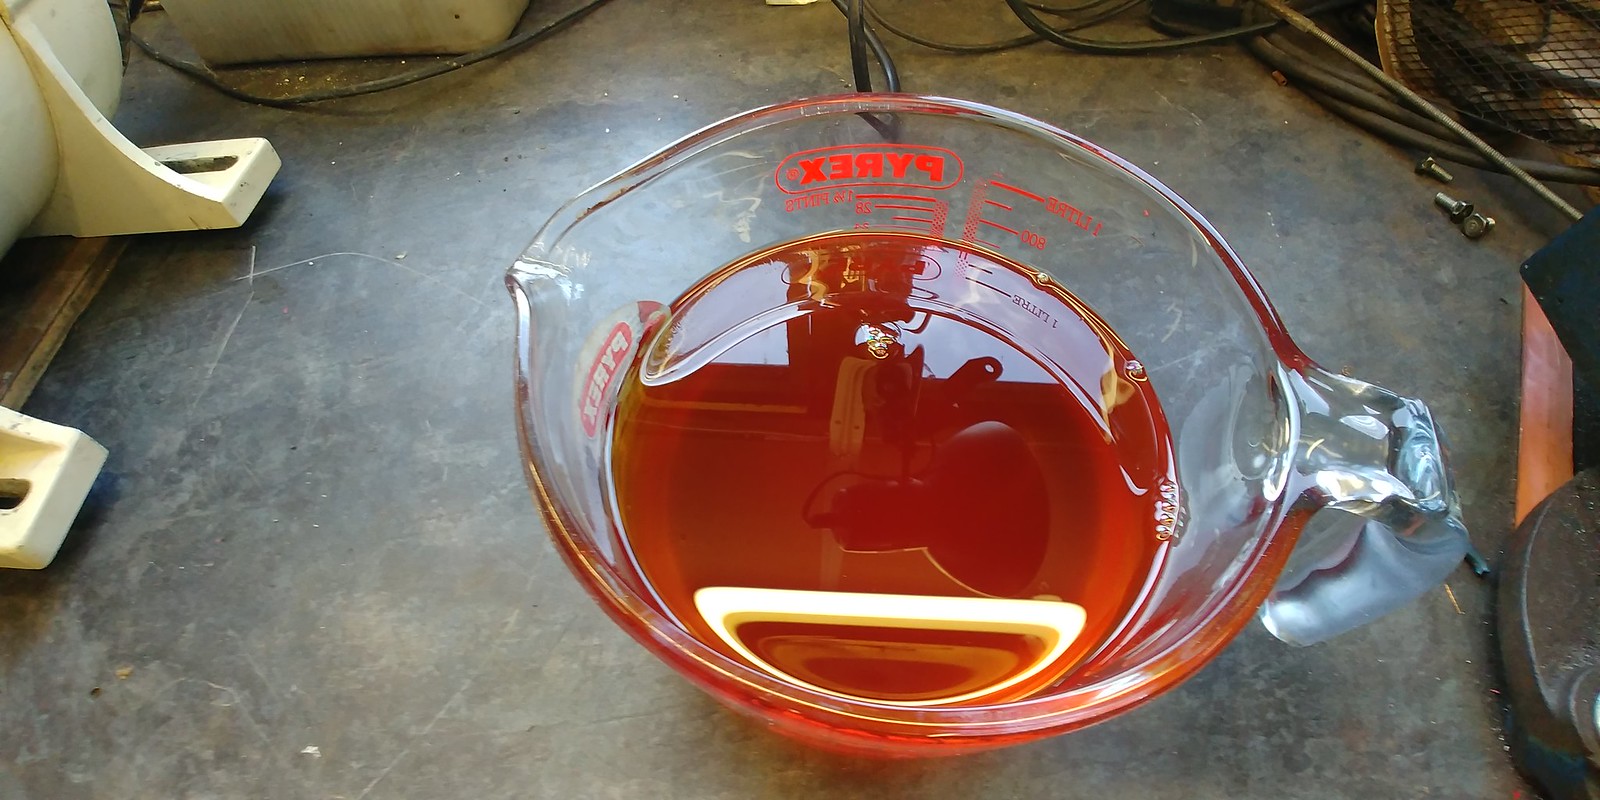
Drained about 2.5l of what i assume is red diesel ready to start replacing the fuel lines
New fuel hose and clips
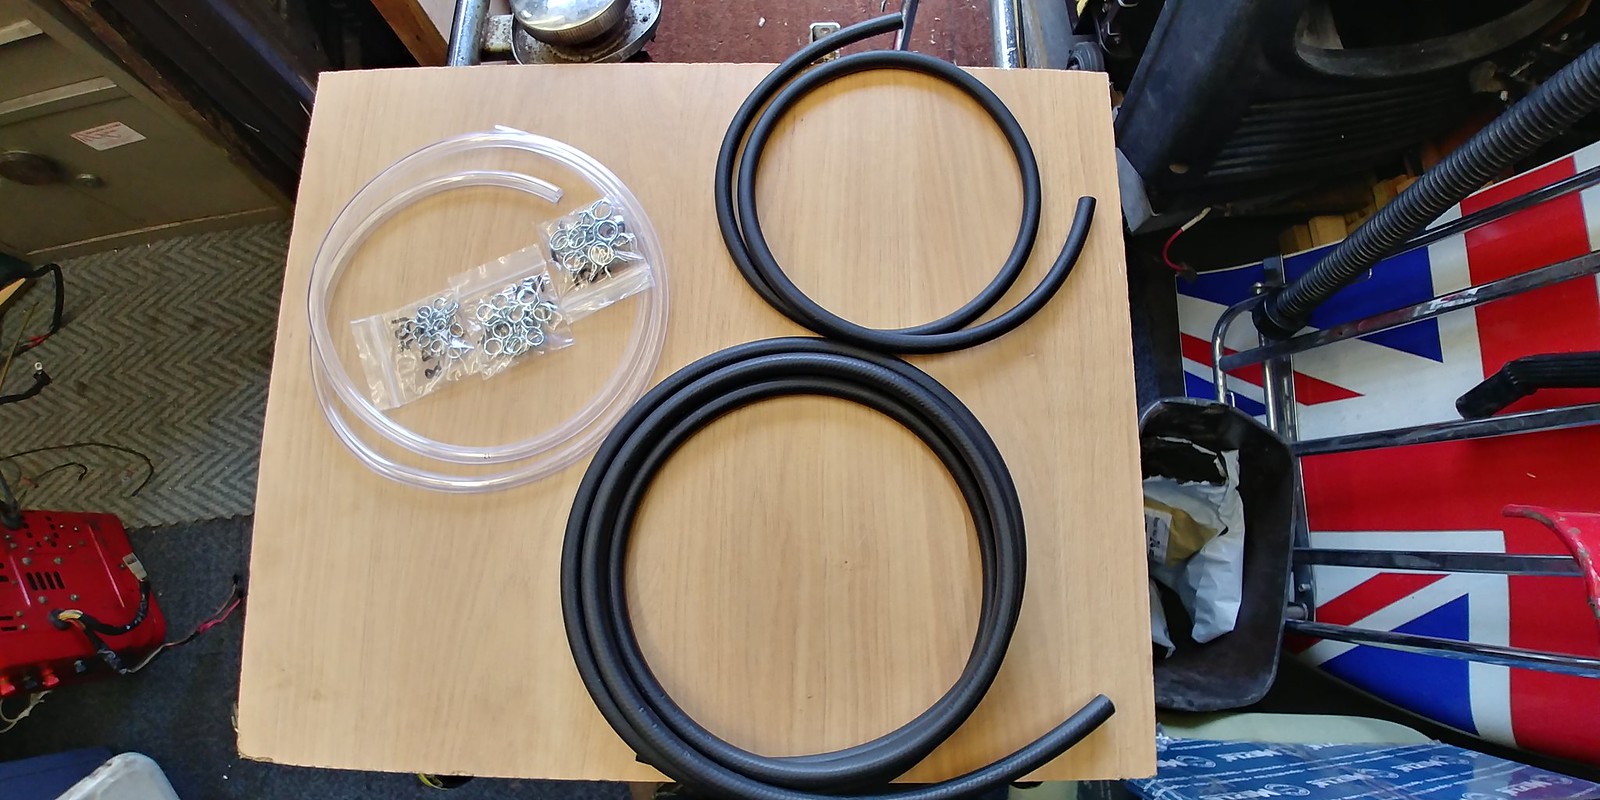
Plan is to replace all the old rubber hoses which had turned solid. The orange pipe should be clear so you can see air bubbles when priming the injection pump
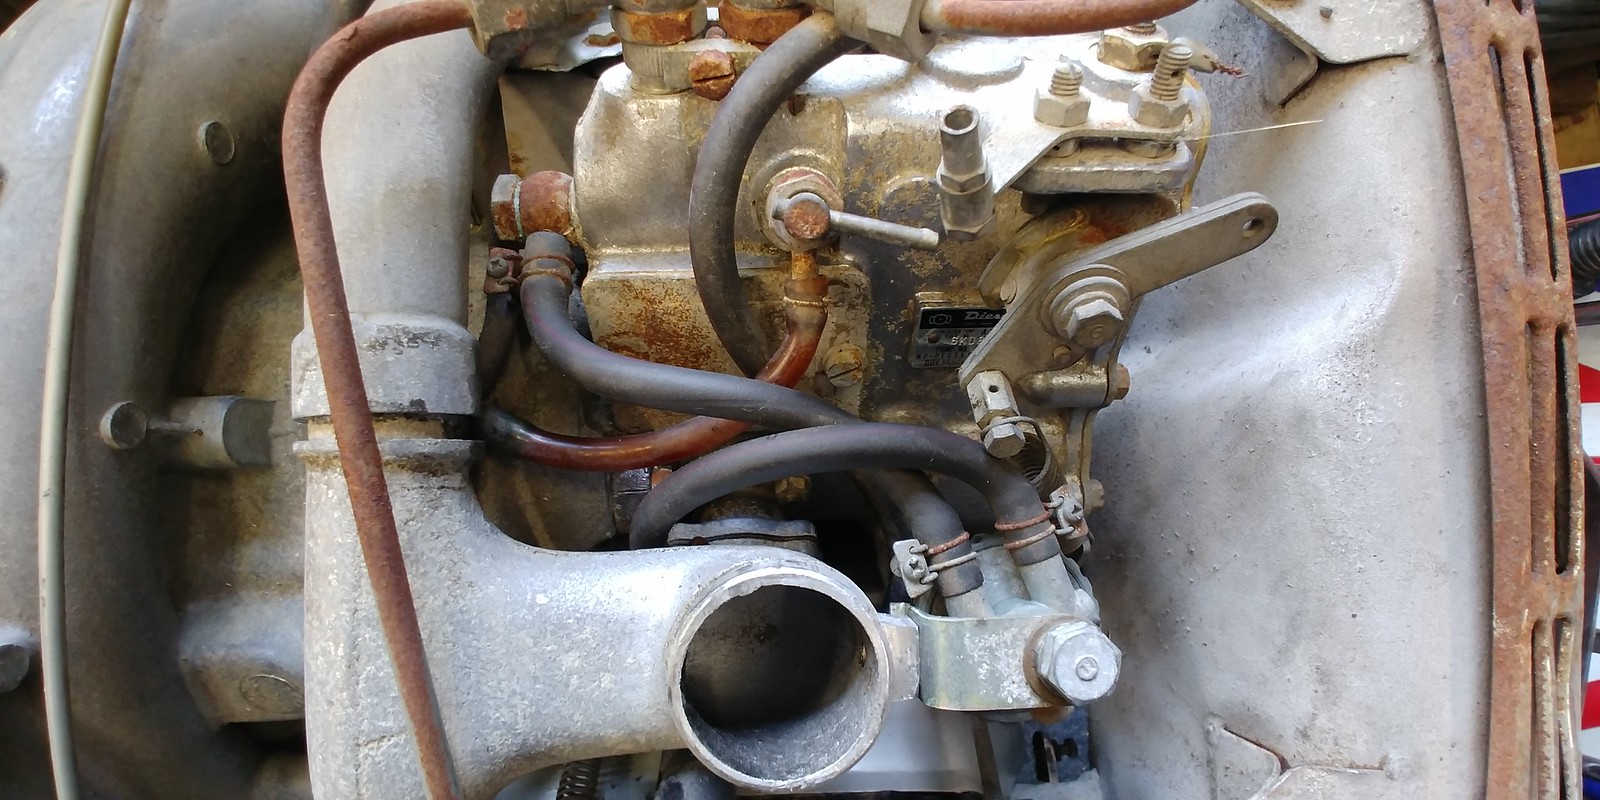
Removed the fuel return line which goes to the air bleed on the injection pump and the returns from the injectors.
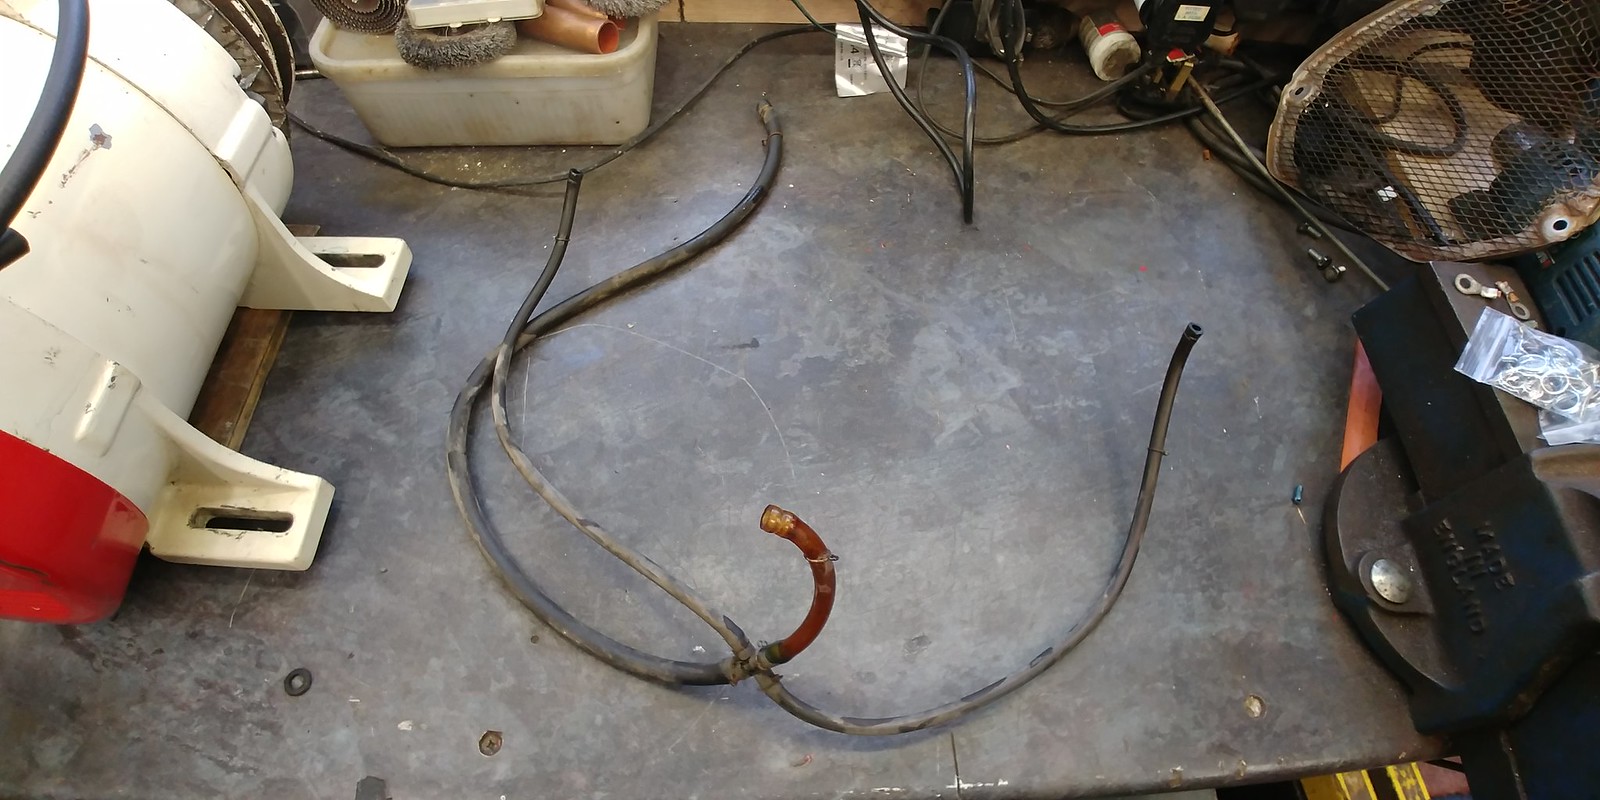
Disassembled, forgot how it is to work with diesel. Hands still smell of diesel hours later
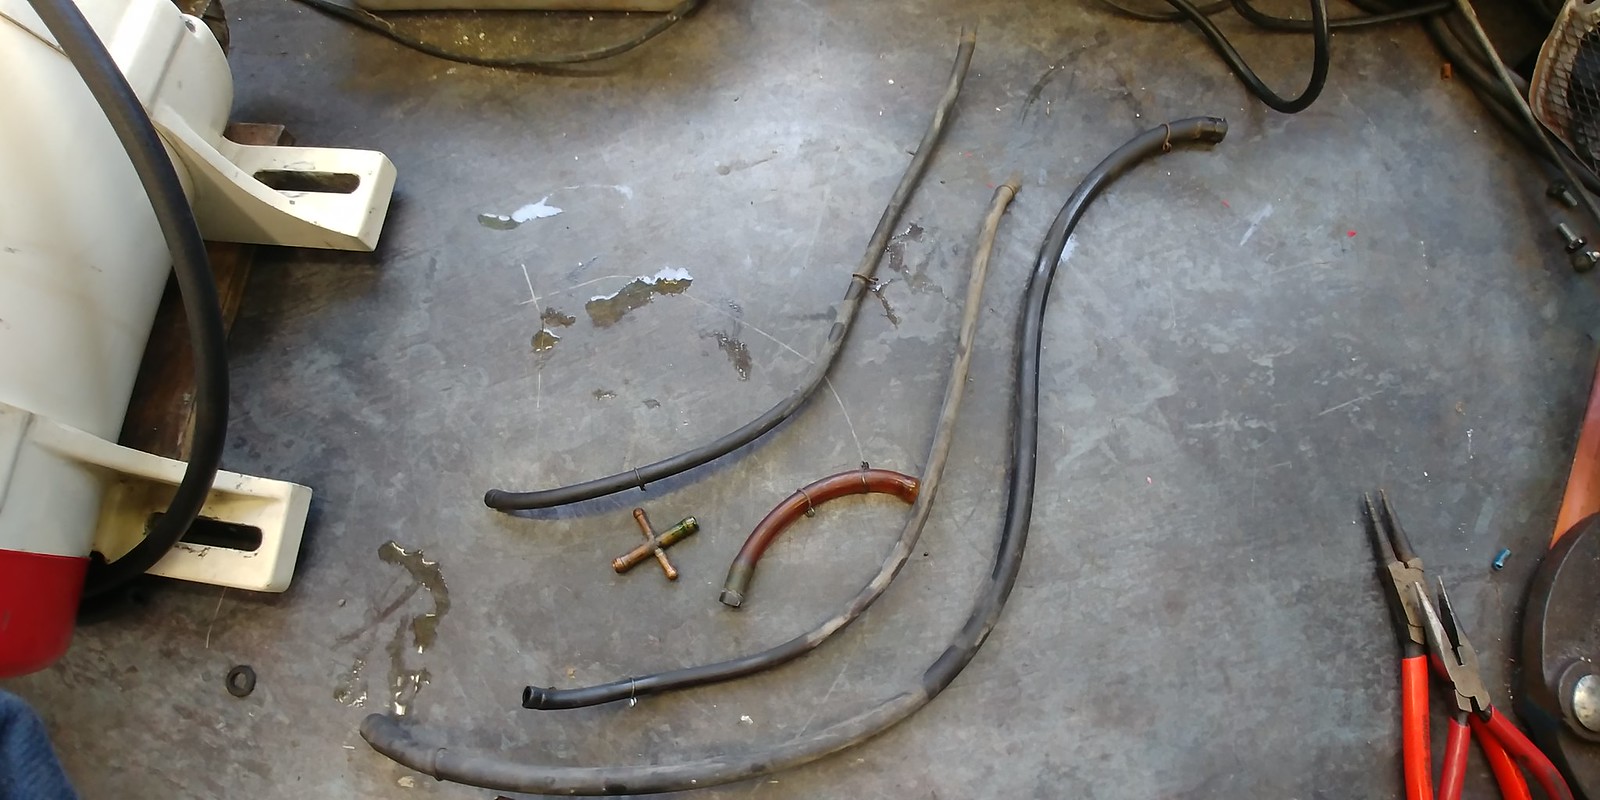
New return lines ready to go back on.

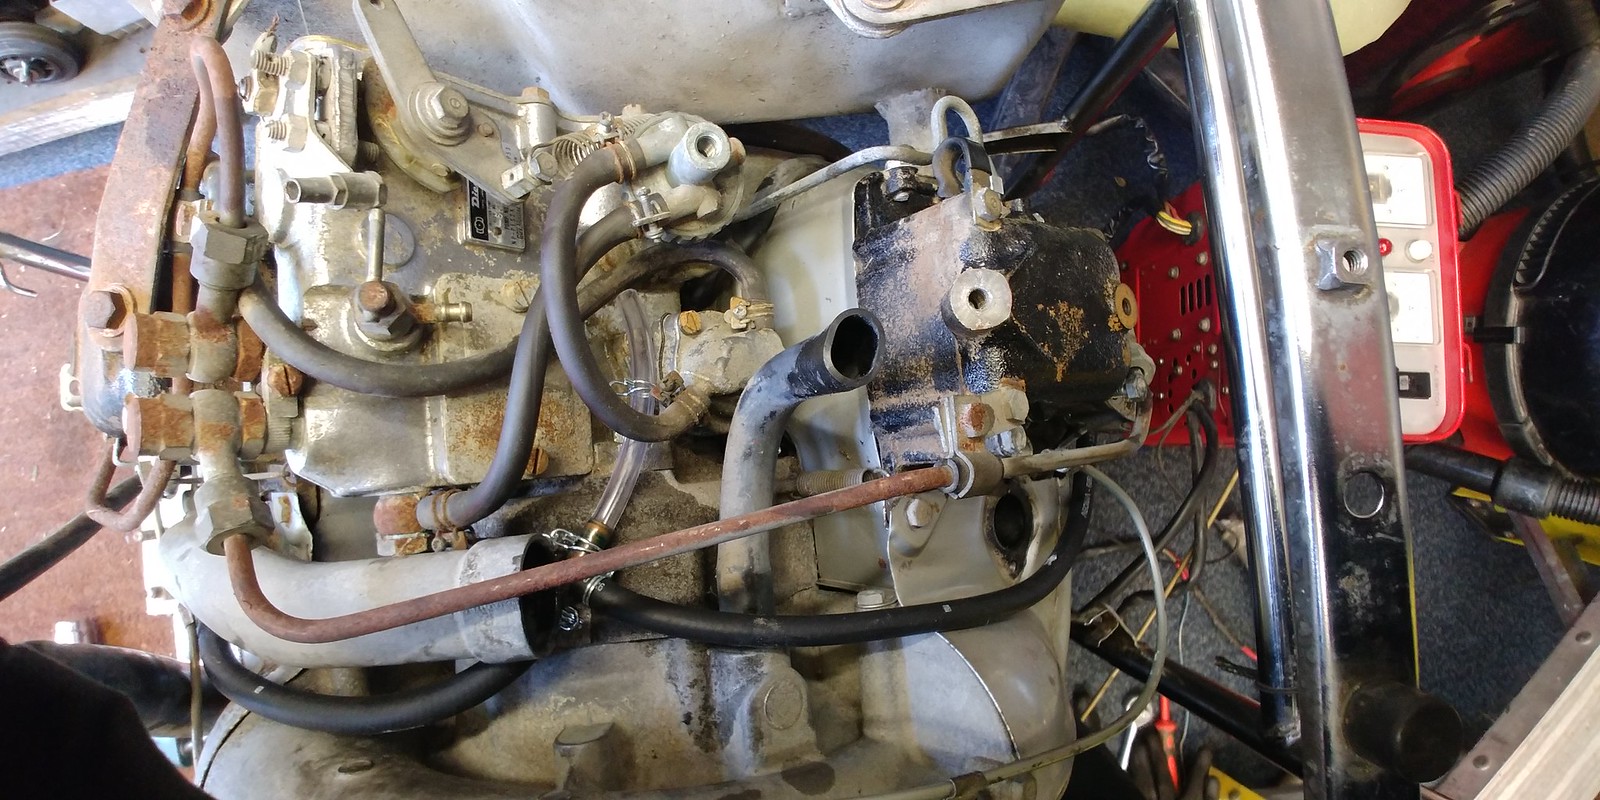
Return line in position, just need to replace the pipes between the fuel tank, lift pump, filter and injection pump.
Cleaned inside of fan housing

The fan is belt driven off the crank there is a sprung loaded belt tensioner, the bearing was dry so packed it with some grease.

Next job was to give it all a clean to make it easier to work on (hate working on grimy oily things)

After bit of work with some engine de-greaser and brake clean that's allot better

Now it's clean I could check things like the valve adjustment
Bolts removed from valve cover

Cover removed, all looks in really good condition, was worried it would either be full of rust or gummed up with congealed oil

Good thing I have the engine handbook


Timing mark for left cylinder T.D.C.

Book says clearance should be 0.1mm, feeler gauge fits in with a little bit of drag

0.15mm doesn't fit so all is good

Didn't bother checking the right cylinder, assumed it will be the same.
Next job was to work on the fuel system
Drained about 2.5l of what i assume is red diesel ready to start replacing the fuel lines

New fuel hose and clips

Plan is to replace all the old rubber hoses which had turned solid. The orange pipe should be clear so you can see air bubbles when priming the injection pump

Removed the fuel return line which goes to the air bleed on the injection pump and the returns from the injectors.

Disassembled, forgot how
 it is to work with diesel. Hands still smell of diesel hours later
New return lines ready to go back on.

Return line in position, just need to replace the pipes between the fuel tank, lift pump, filter and injection pump.

DonkeyApple said:
I've a petrol Honda from the same era that I decided to get back up and running just ahead of Christmas. Always useful things to have at the back of the barn or shed.
Nice work bonus being electric start too
Thinking was if the left cylinder was ok after 50 years, the right should be ok too. Will check the Right Cylinder tomorrow

Edited by Blue32 on Saturday 5th February 21:59
DonkeyApple said:
The less said about that bit the better! I was half killing myself trying to fire it up on the pull cord when the phone rang and I thought it an ideal moment to take a break and stave off one of those embarrassing 'approaching 50' heart attacks. The call was from my father and during the course of the conversation he told me to connect a battery, turn the key and take a break from being a bloody idiot.
It fired almost immediately and idled beautifully.
Dad always knows bestIt fired almost immediately and idled beautifully.

Today's activities
Check valve clearances on Right cylinder, set flywheel to T.D.C for RH cylinder

Spot on as I hoped, if anything the RH valves were a little tighter, felt like a bit more drag on the feeler gauge

Finished replacing the fuel lines and got intake back on. Yes i may have given the valve covers a blow over with some black satin


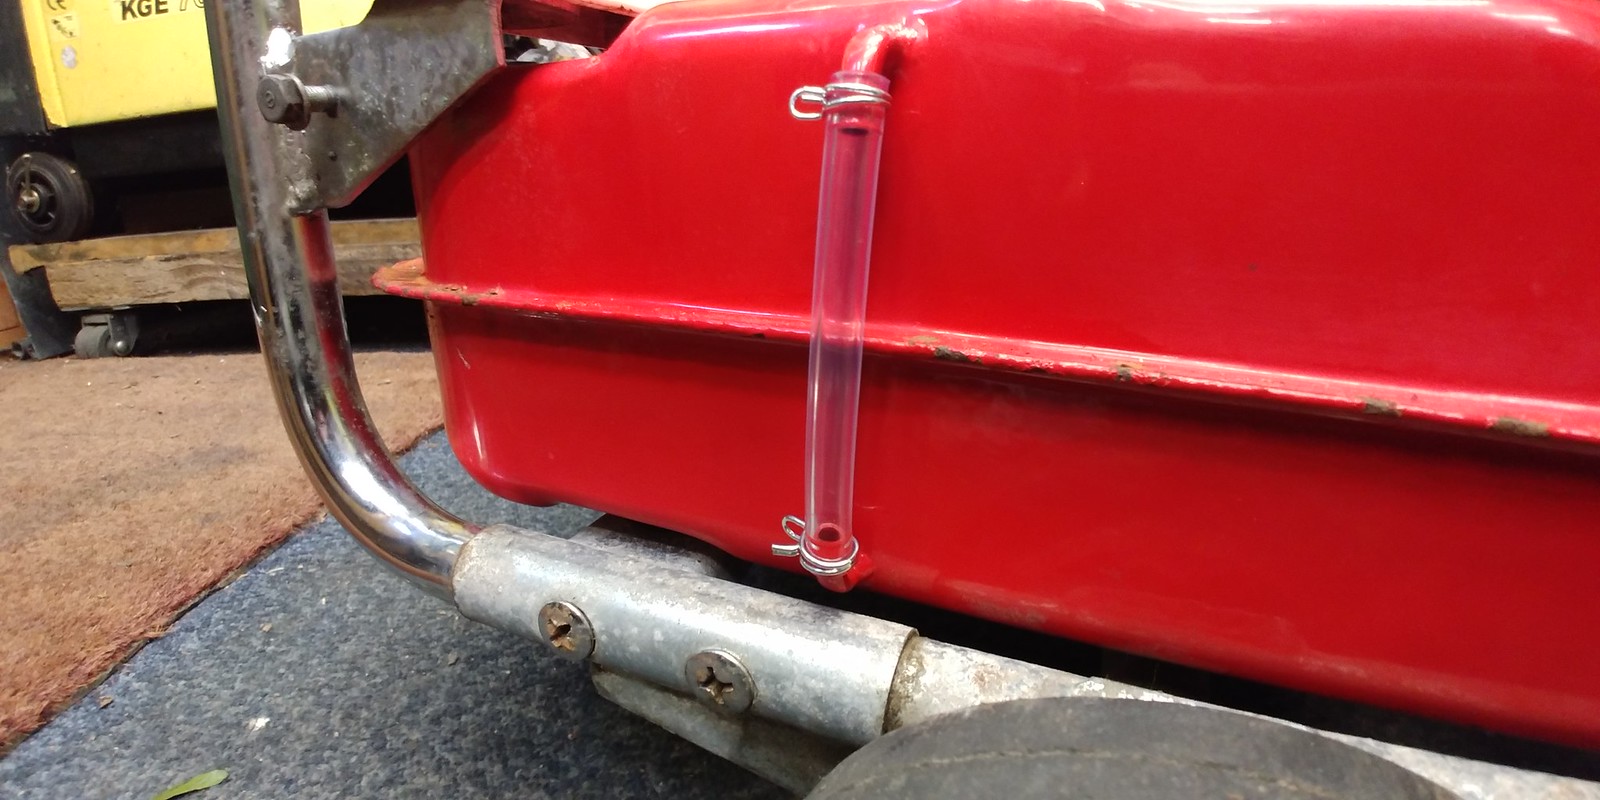
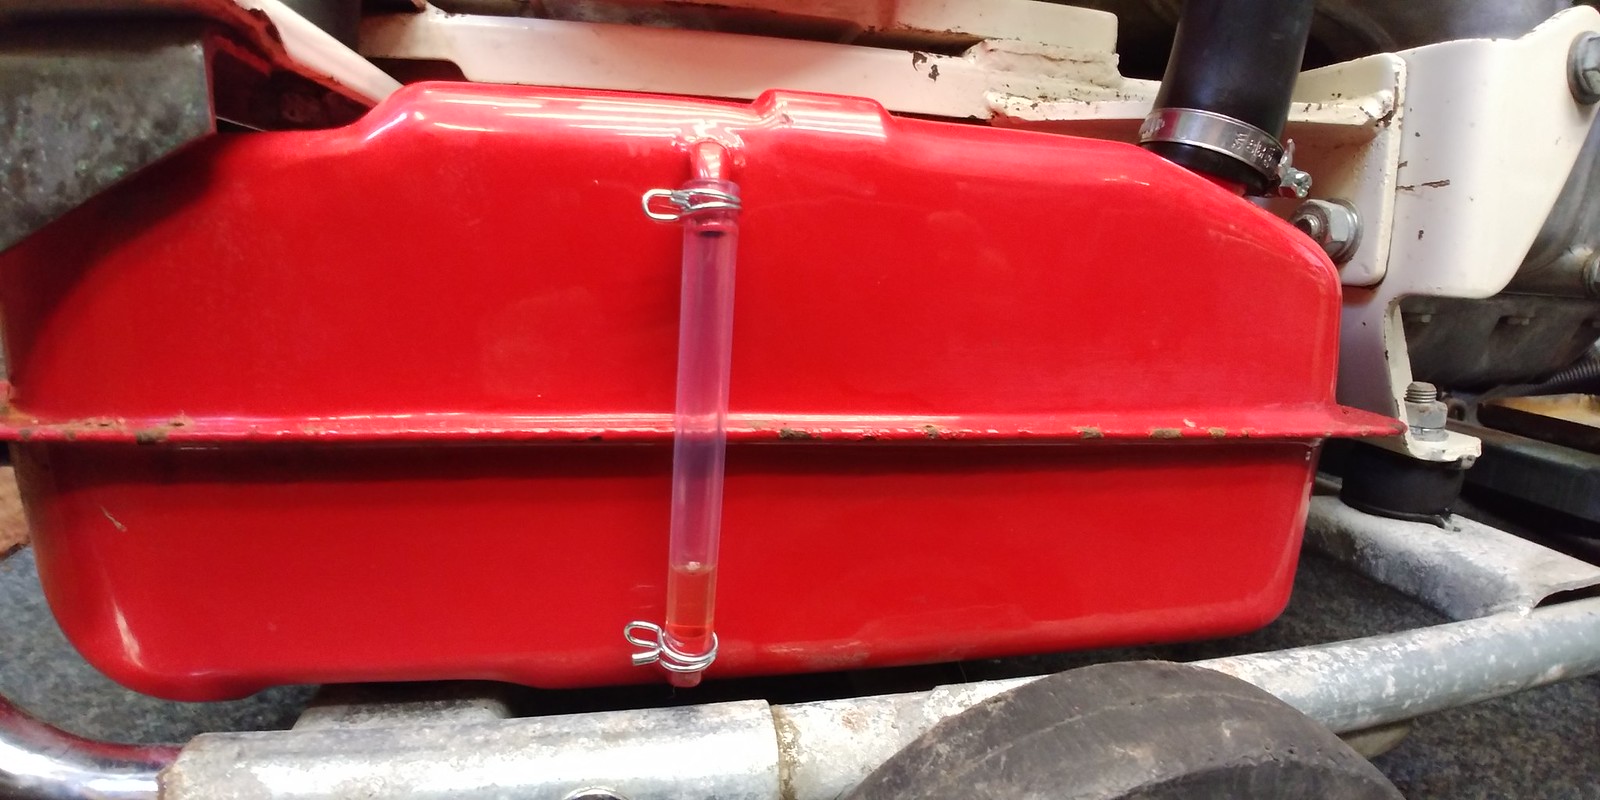
Replaced the bit of pipe for viewing the fuel level in the tank
From this

To this, don't know how long it will last before getting stained again..
Next job was to straighten up the fuel filler.
The filler neck is welded to the frame helpfully the frame can be split into sections


Yep it's bent

After some careful application of a big bar for leverage, it's better but not perfect. I didn't want to push my luck! based on earlier attempt to straighten the fan cover.

Looking better

Reassembly started

Had a productive day today.....
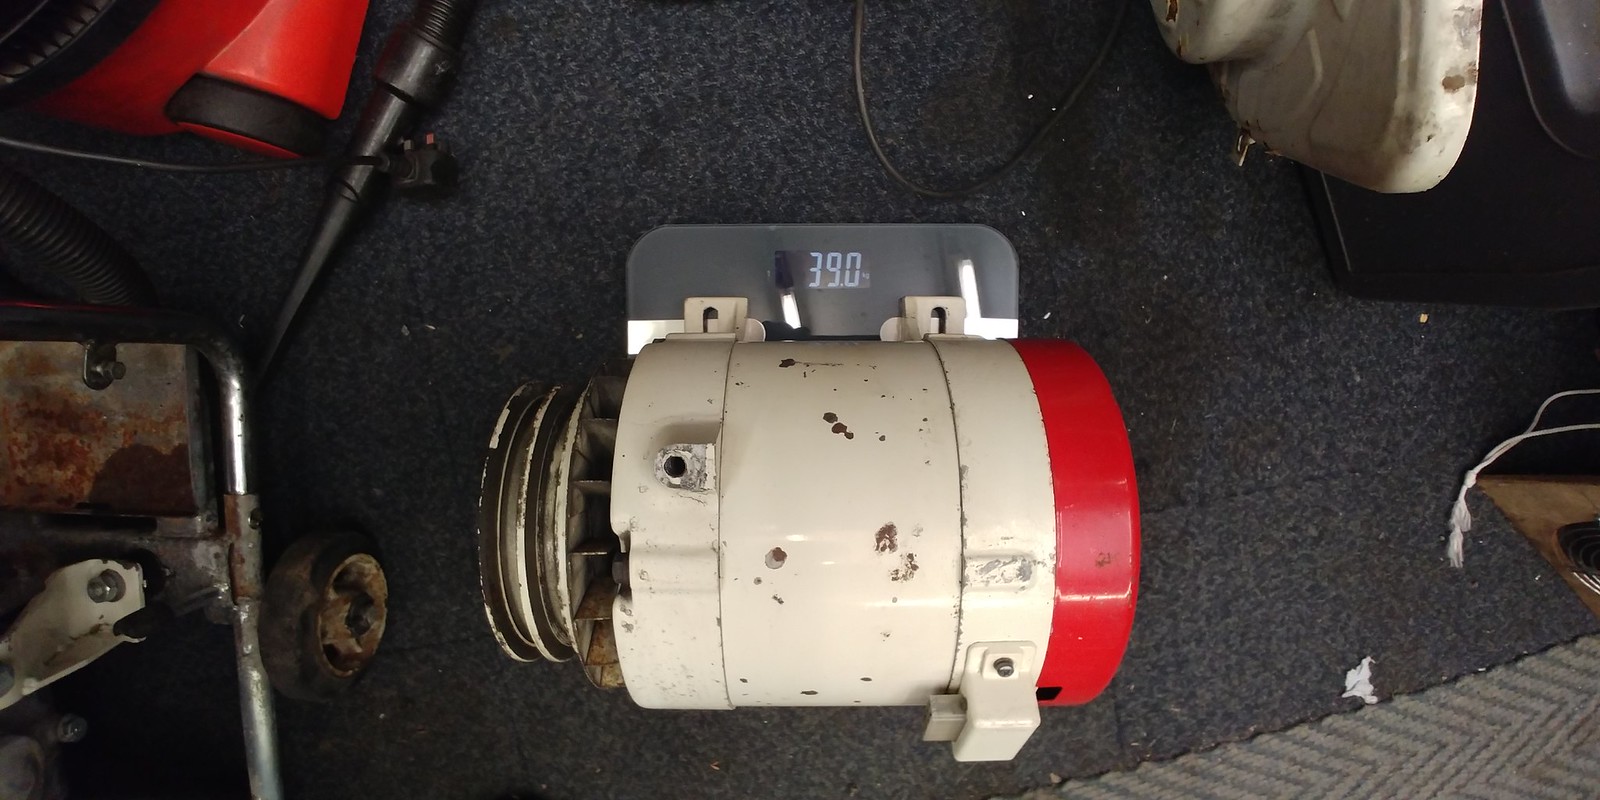
Couldn't resist finding how much the alternator weighed so stuck it on the bathroom scales
 ]
]
Yep that's 39KG! glad i had my Weetabix today
Put the fuel back in the tank
Refitted the control unit and got it running. Did i mention it's quite loud when running, sounds like the insides of the engine want to get to the outside , but its very smooth doesn't shake or vibrate. Not sure I'd want a motorbike with one of these engines between my legs
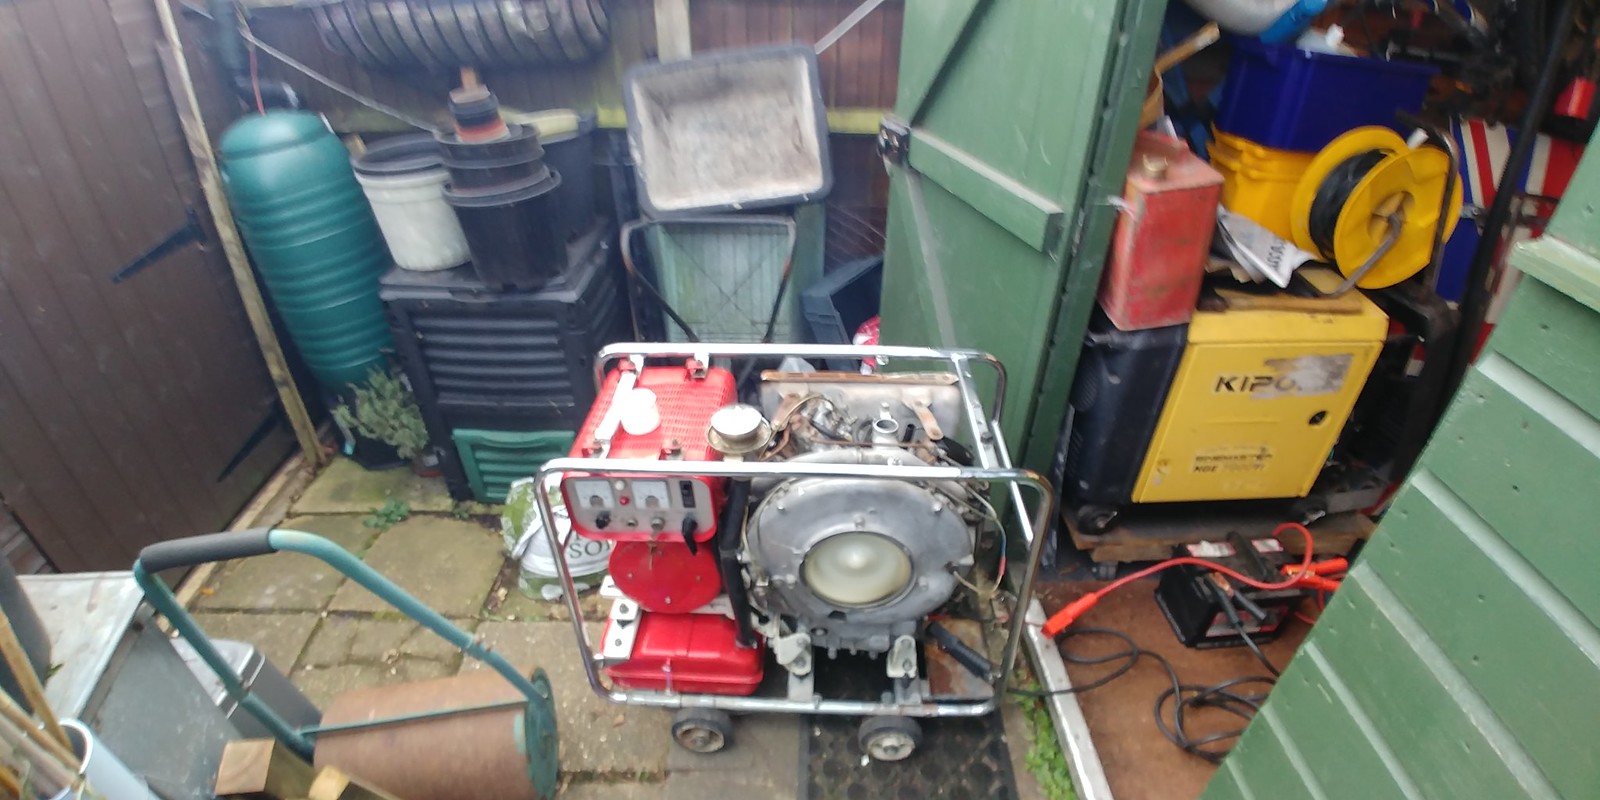
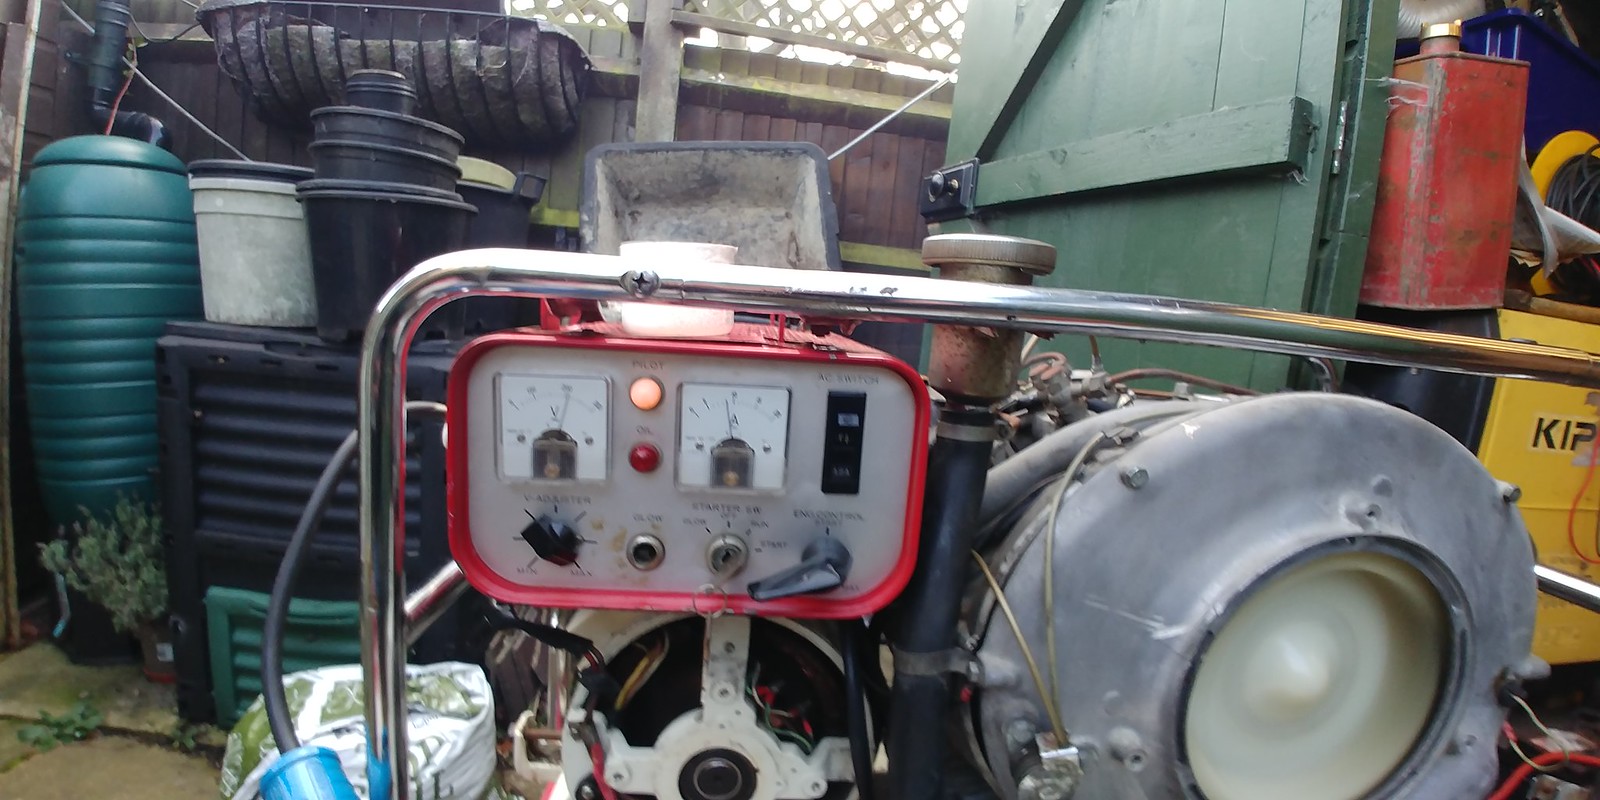
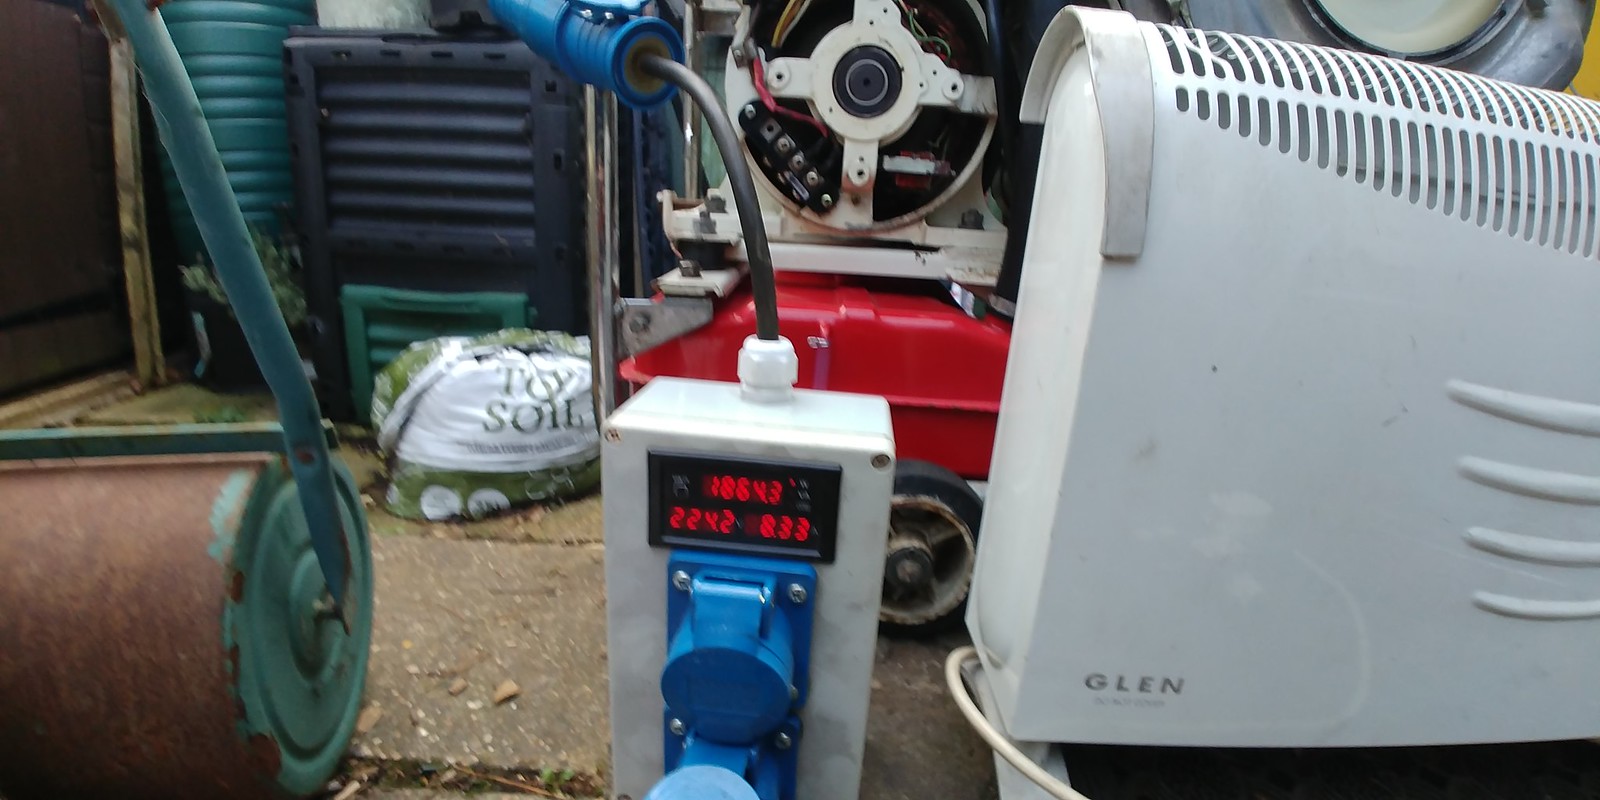
Load test, 2Kw heater engine note doesn't change at all when running a load
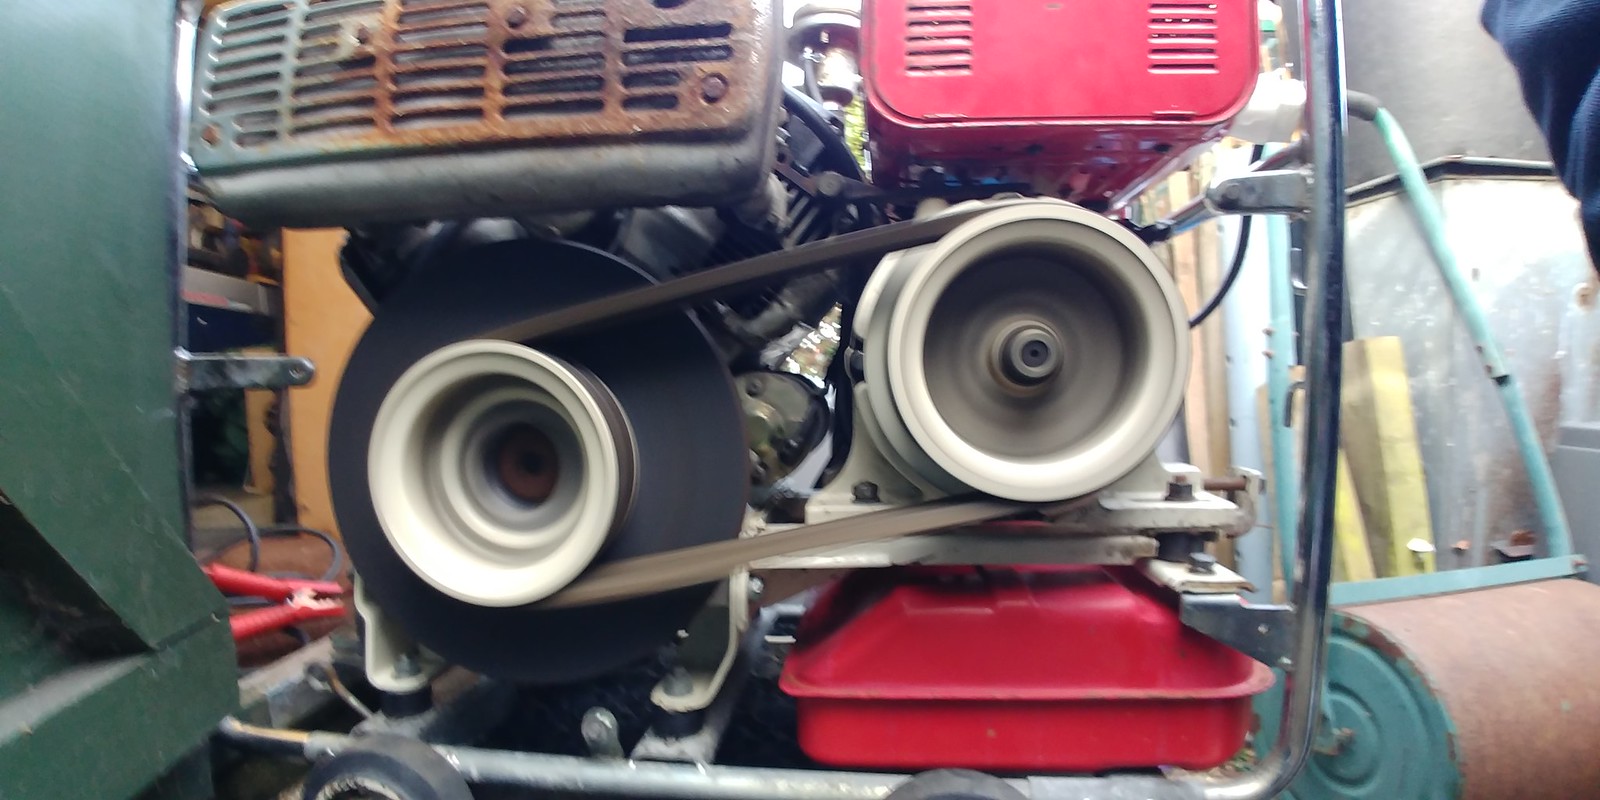
Keep your fingers clear
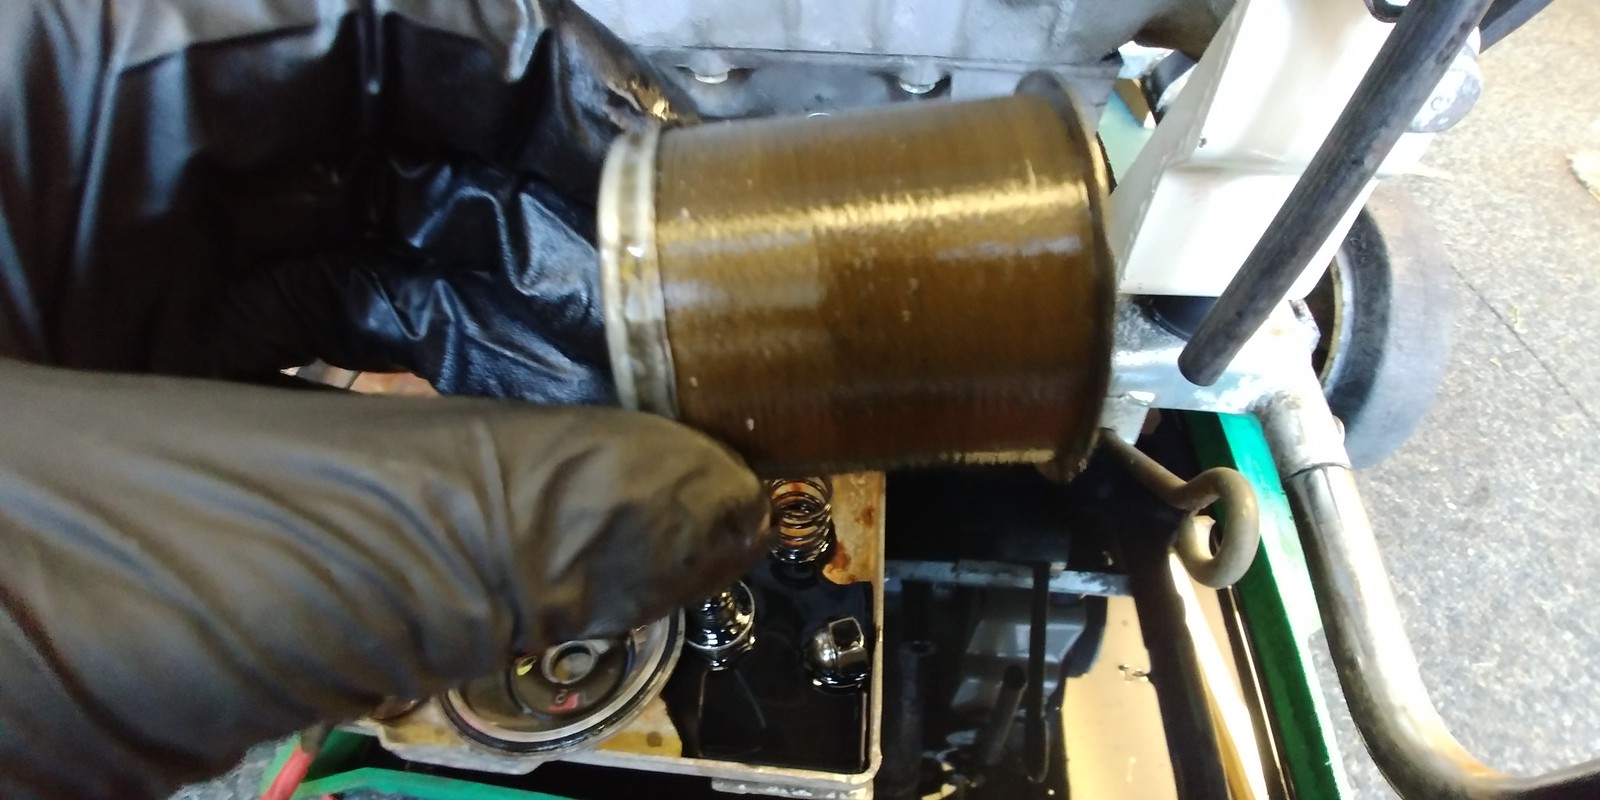
Now I had annoyed the neighbors the engine was nice and warm so oil change time. why couldn't they design it so it doesn't drop oil all over the frame

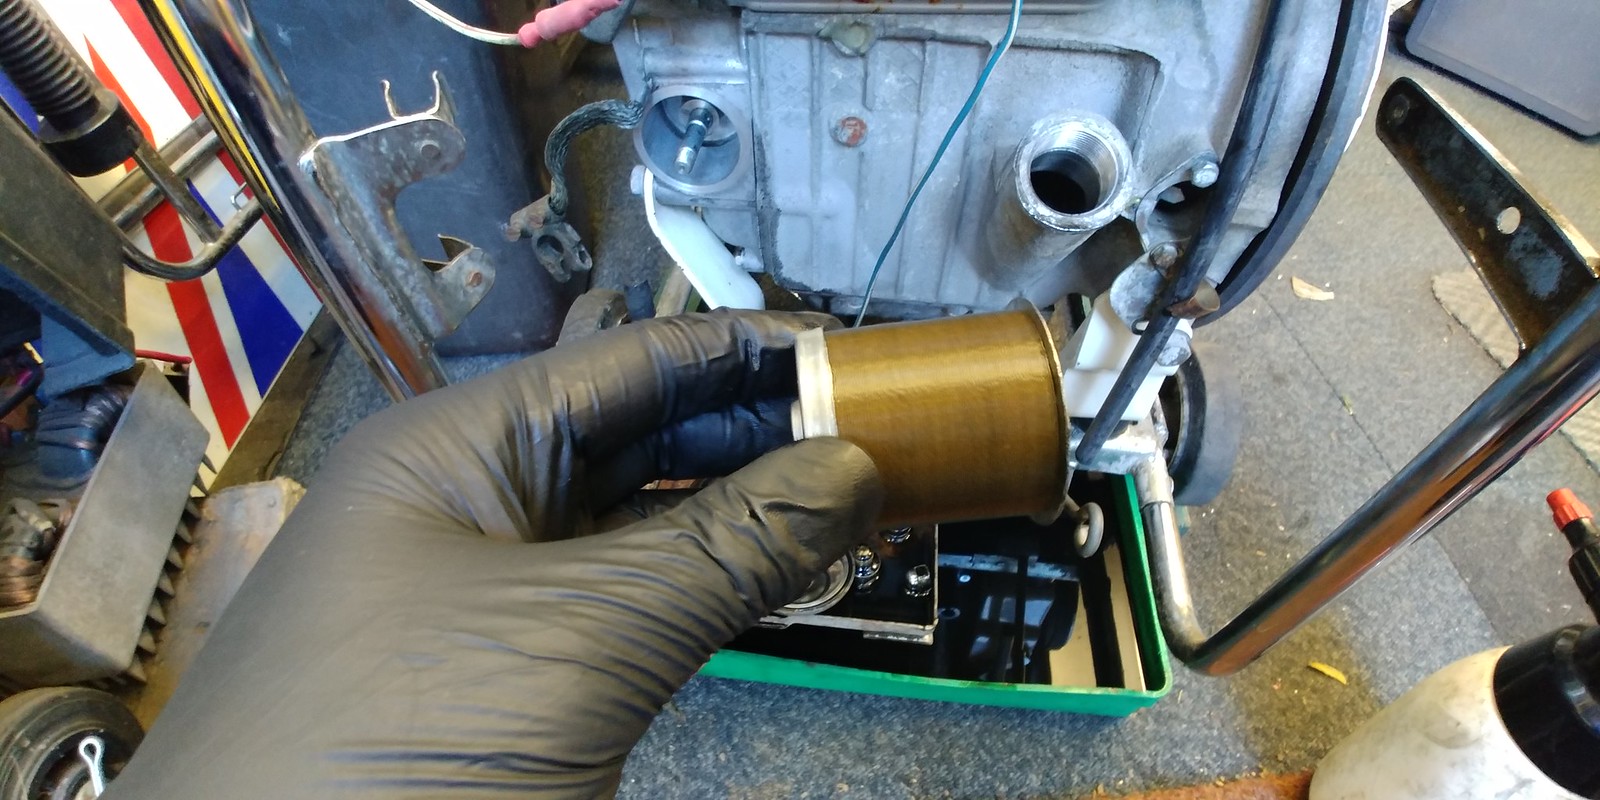
Oil filter, made from finely wrapped brass wire I think? anyway didn't look too bad only one or two little flecks of metal so engine seems healthy.
Filter cleaned up and ready to go back in
Got the top cover mostly straightened out, already looking better
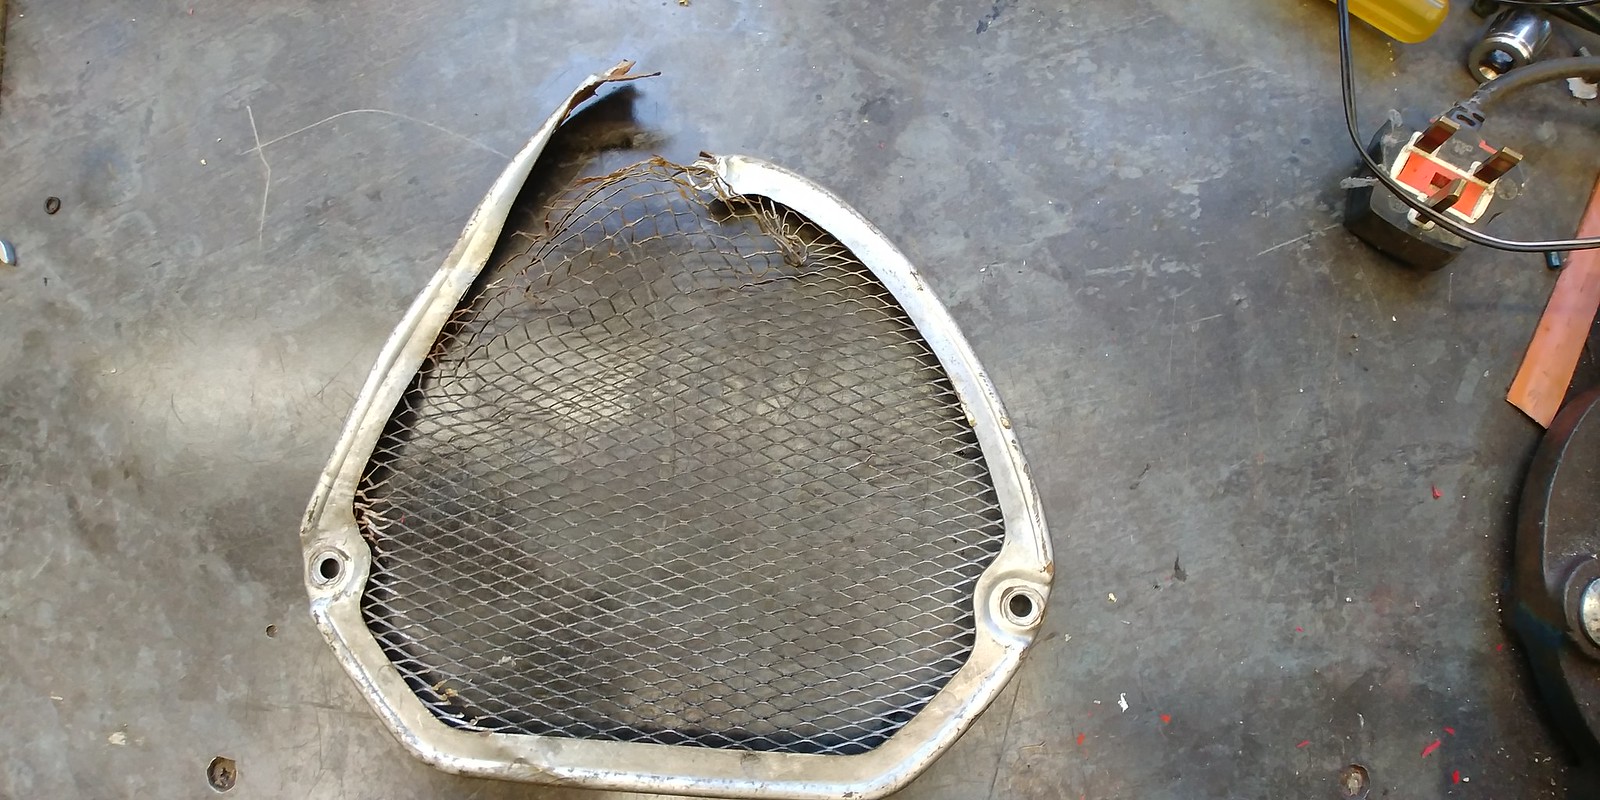
Still have to try and bend this back into shape, going to try and make a former to bend to using the intact side as a template. Probably going to need a lot of heat and hammering to get curve back.
Couldn't resist finding how much the alternator weighed so stuck it on the bathroom scales
 ]
]Yep that's 39KG! glad i had my Weetabix today

Put the fuel back in the tank

Refitted the control unit and got it running. Did i mention it's quite loud when running, sounds like the insides of the engine want to get to the outside
 , but its very smooth doesn't shake or vibrate. Not sure I'd want a motorbike with one of these engines between my legs


Load test, 2Kw heater engine note doesn't change at all when running a load

Keep your fingers clear


Now I had annoyed the neighbors the engine was nice and warm so oil change time. why couldn't they design it so it doesn't drop oil all over the frame


Oil filter, made from finely wrapped brass wire I think? anyway didn't look too bad only one or two little flecks of metal so engine seems healthy.

Filter cleaned up and ready to go back in

Got the top cover mostly straightened out, already looking better

Still have to try and bend this back into shape, going to try and make a former to bend to using the intact side as a template. Probably going to need a lot of heat and hammering to get curve back.

Gassing Station | Homes, Gardens and DIY | Top of Page | What's New | My Stuff


