Mac#1 Motorsport Worx Build
Discussion


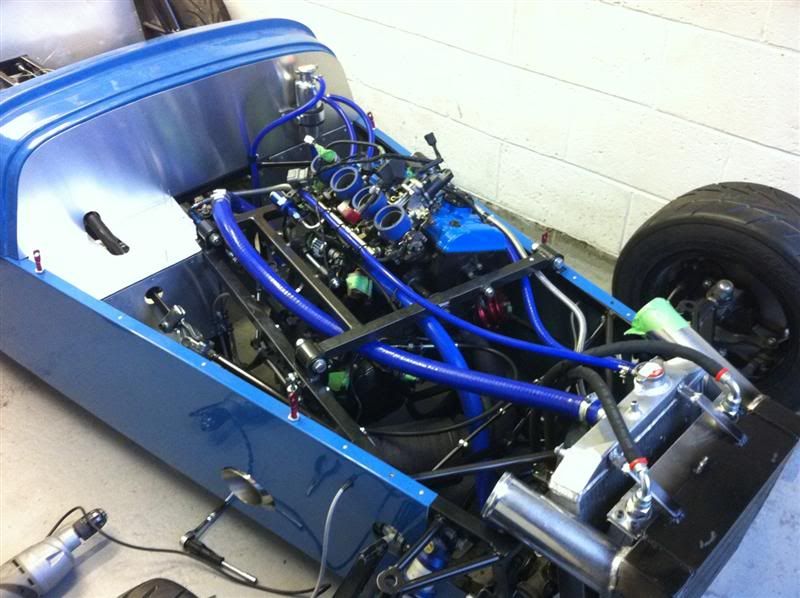
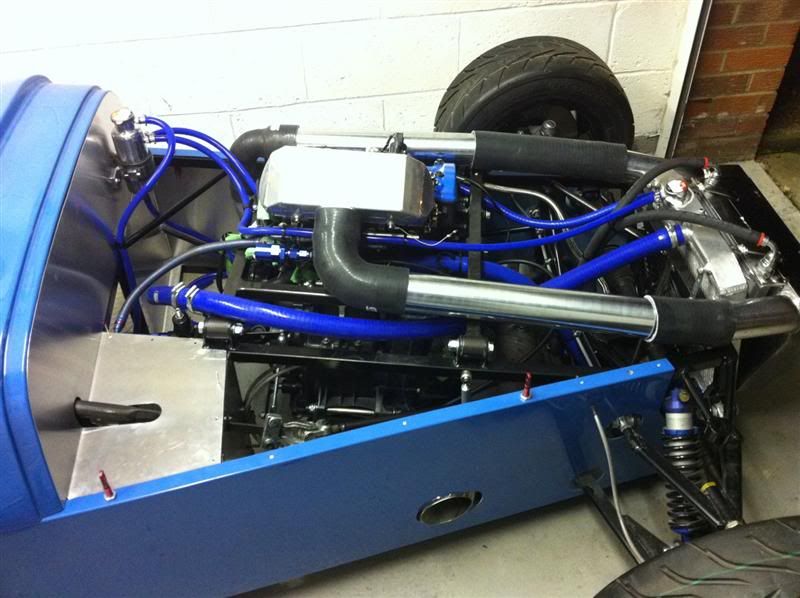
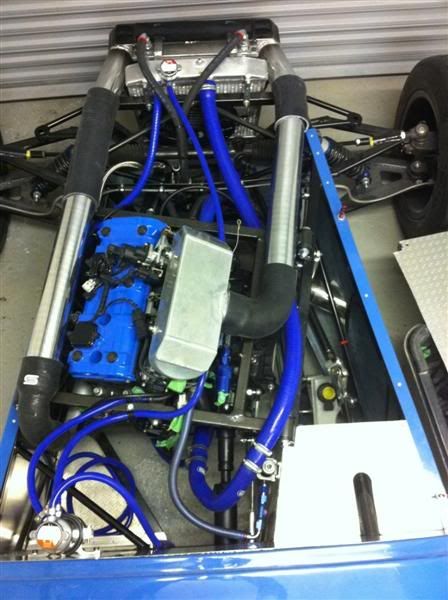
I've been pottering about in the garage this afternoon, fitted the header tank to the bulkhead panel and then plumbed it in.
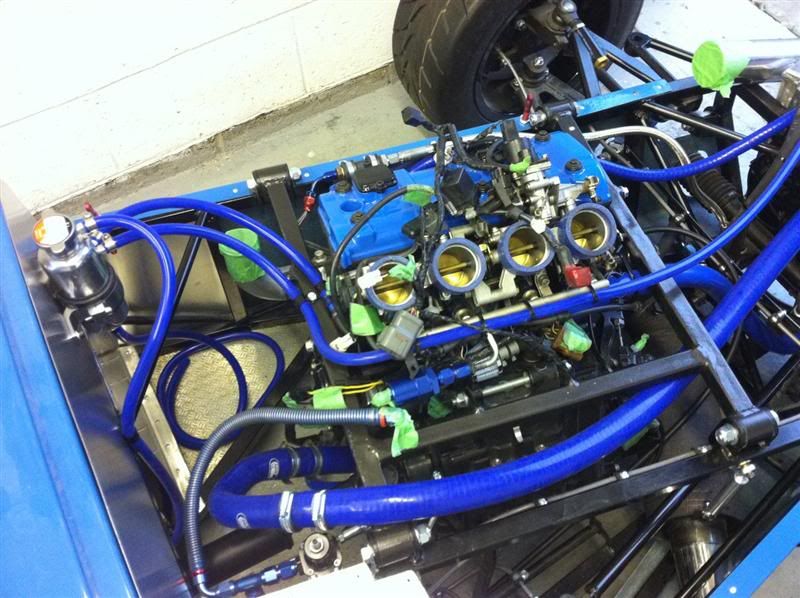
A closer look at the header tank and bulkhead panel
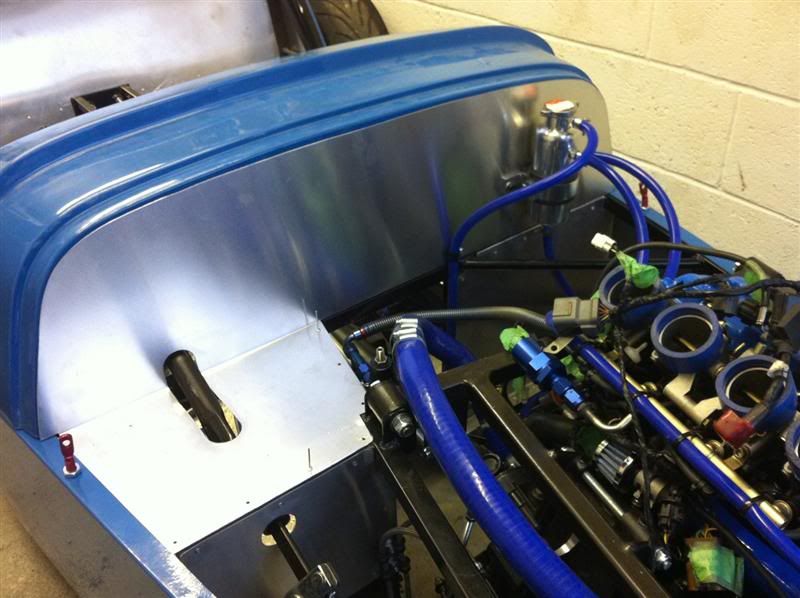
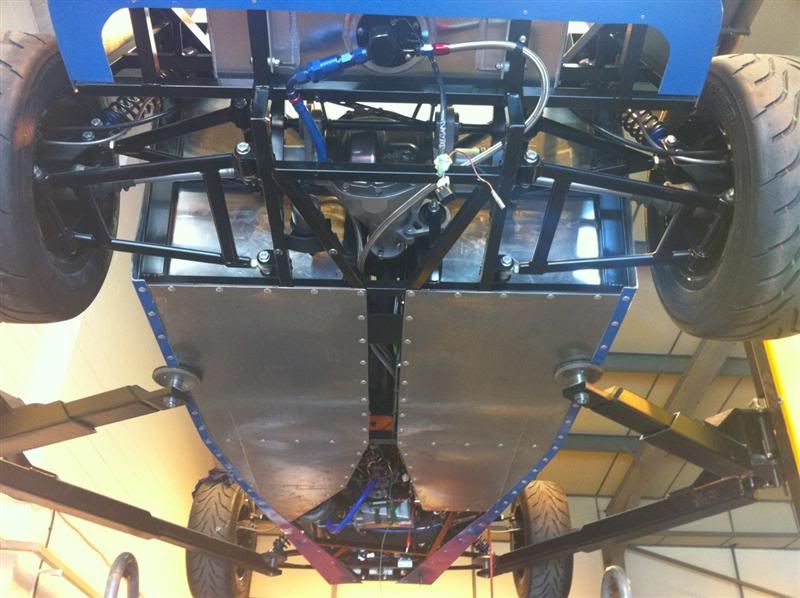
In this photo below you can see the overflow hose from the header tank still needs to be clipped to the bottom of the chassis to keep it nice and straight. The coiled up hose from the bottom of the header tank is to be plumbed into the water pump inlet hose, i'll do that tomorrow when the fitting is delivered.
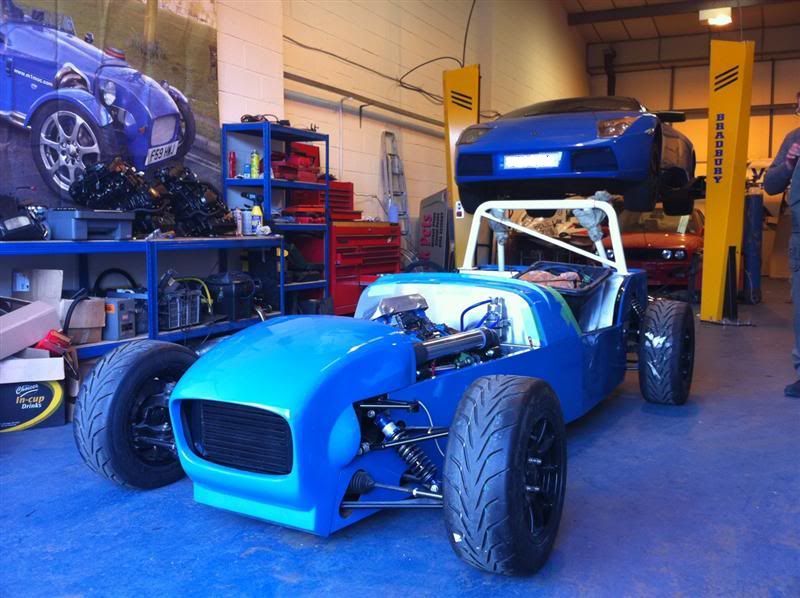
I then quickly fitted the boost pipework and inlet manifold to see how everything is going to look.
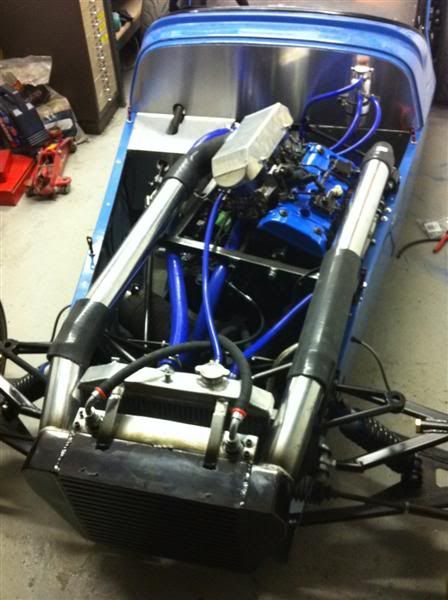
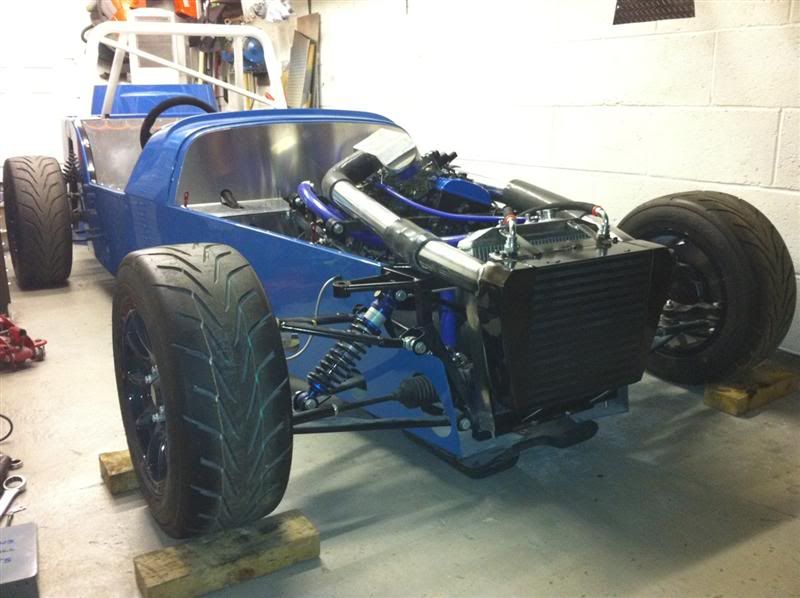
It confirmed one thing... the boost pipework and inlet manifold definitely need to be black
A closer look at the header tank and bulkhead panel
In this photo below you can see the overflow hose from the header tank still needs to be clipped to the bottom of the chassis to keep it nice and straight. The coiled up hose from the bottom of the header tank is to be plumbed into the water pump inlet hose, i'll do that tomorrow when the fitting is delivered.
I then quickly fitted the boost pipework and inlet manifold to see how everything is going to look.
It confirmed one thing... the boost pipework and inlet manifold definitely need to be black
Toyless said:
Are you going to get enough air through the intercooler to keep engine temps down do you think ?
I was thinking the exact same thing. The air will have already been heated by the intercooler and oil cooler before it even gets to the radiator.Also the exaust is infront of the engine in the engine bay and there is a red hot turbo inside the bodywork instead of most sevens were the exhaust runs straight outside into fresh air.
I would be seriously worried about the cooling on this car
Toyless said:
Are you going to get enough air through the intercooler to keep engine temps down do you think ?
I hope so, lol.Intercoolers are normally mounted in front of radiators, obviously this impedes the flow of air to the radiator etc mounted behind. As everyone is aware, keeping the seven style of cars cool is a problem! So time will tell.
CPDMotorsport said:
I was thinking the exact same thing. The air will have already been heated by the intercooler and oil cooler before it even gets to the radiator.
Also the exaust is infront of the engine in the engine bay and there is a red hot turbo inside the bodywork instead of most sevens were the exhaust runs straight outside into fresh air.
I would be seriously worried about the cooling on this car
The exhaust being wrapped will help massively with controlling the heat soak in the engine bay. I plan to vent the bonnet and side panels to allow fresh air to get in and hot air to get out.Also the exaust is infront of the engine in the engine bay and there is a red hot turbo inside the bodywork instead of most sevens were the exhaust runs straight outside into fresh air.
I would be seriously worried about the cooling on this car
I will be fitting some gauges to help me keep tabs on what is happening, they will be along the lines of boost pressure, air charge temperature and oil pressure/temperature, coolant temperature.
As ever, you can't accurately predict how things will perform, so there is always going to be an element of trial and error in this line of work.
Watch this space...

Edited by Red16 on Sunday 20th March 14:05
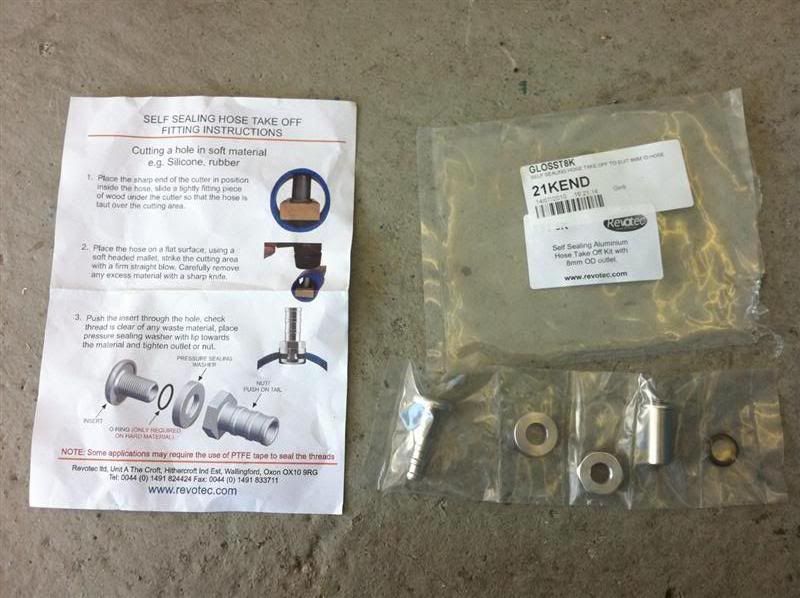
Bought a self sealing hose take off, to allow me to connect the feed from the header tank into the water pump inlet hose, not got any photos of it installed though as I got carried away with other jobs on the car.
Tied up a few loose ends and got the car all prepped, ready to go down to Mac#1 to be wired up and IVA tested, trailer hired, all set to go...

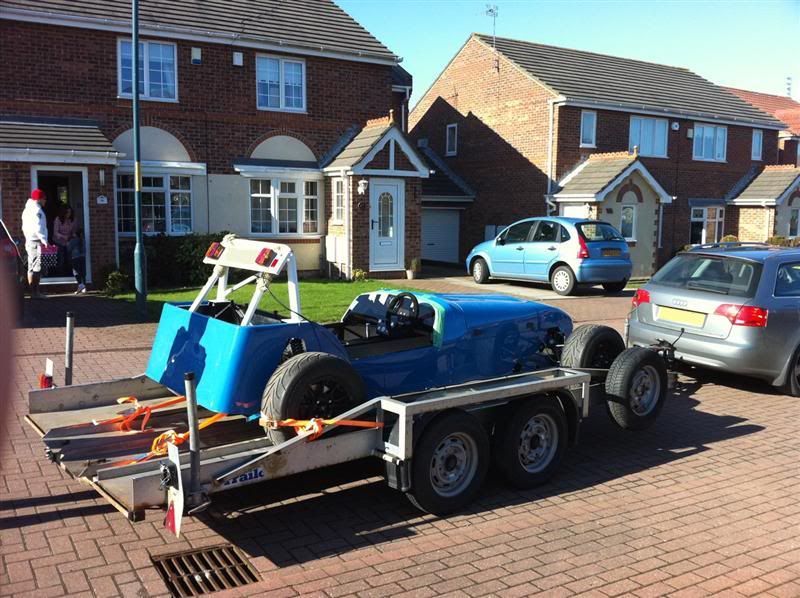
Made it down to Mac#1 safe and sound, here she is sitting in their workshop where she was born
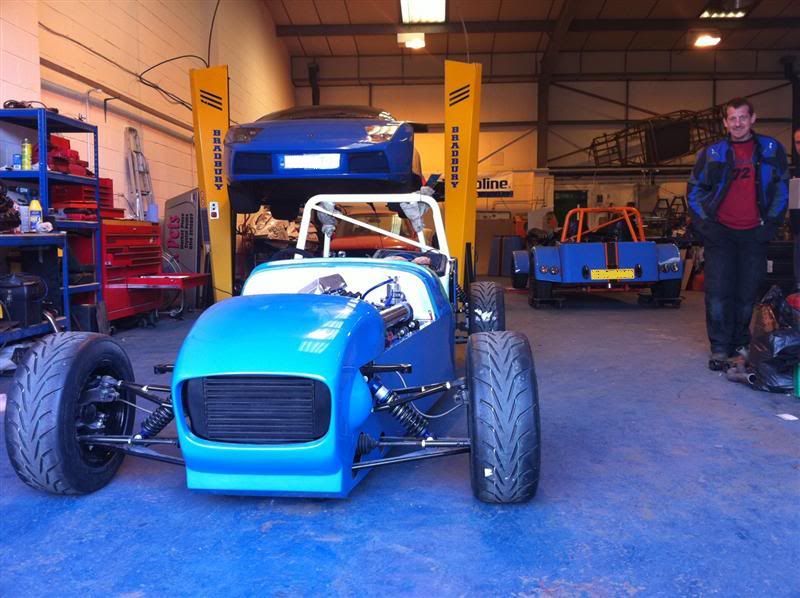
Tied up a few loose ends and got the car all prepped, ready to go down to Mac#1 to be wired up and IVA tested, trailer hired, all set to go...
Made it down to Mac#1 safe and sound, here she is sitting in their workshop where she was born
Small update, unfortunately with no photos, but you'll just have to wait for those.
The wiring has been roughed in and the engine turns, fuel pump primes, sparks etc, an exhaust servo eliminator has been fitted to do away with the butterfly the standard bike exhaust has and no fault codes are being displayed, happy days
The dash is currently being wired up, I'm going down to Mac#1 tomorrow to do a few bits and bobs on the car, the wiring can then be tidied up for the final time and then the engine can be fired up for the first time
The IVA paper work has been submitted now so the clock is ticking, hopefully it wont be too much longer til it's on the road.
Red16 said:
Small update, unfortunately with no photos, but you'll just have to wait for those.
The wiring has been roughed in and the engine turns, fuel pump primes, sparks etc, an exhaust servo eliminator has been fitted to do away with the butterfly the standard bike exhaust has and no fault codes are being displayed, happy days
The dash is currently being wired up, I'm going down to Mac#1 tomorrow to do a few bits and bobs on the car, the wiring can then be tidied up for the final time and then the engine can be fired up for the first time
The IVA paper work has been submitted now so the clock is ticking, hopefully it wont be too much longer til it's on the road.
Cool, shouldn't be long now then. Where will your test station be?The wiring has been roughed in and the engine turns, fuel pump primes, sparks etc, an exhaust servo eliminator has been fitted to do away with the butterfly the standard bike exhaust has and no fault codes are being displayed, happy days
The dash is currently being wired up, I'm going down to Mac#1 tomorrow to do a few bits and bobs on the car, the wiring can then be tidied up for the final time and then the engine can be fired up for the first time
The IVA paper work has been submitted now so the clock is ticking, hopefully it wont be too much longer til it's on the road.
I've got mine on the 20th as a requested date at Nottingham.
one eyed mick said:
Was at Mac 1 yesterday had a look at your car,very nice build should be very quick to
Thanks for the compliment Mick jason61c said:
Cool, shouldn't be long now then. Where will your test station be?
I've got mine on the 20th as a requested date at Nottingham.
Hopefully it wont be too much longer until it's at Nottingham test centre.I've got mine on the 20th as a requested date at Nottingham.
Best of luck with your test Jason.
Well I made the trip down to see Mark and Colin (and the car) this morning.
We coupled up the remaining vacuum hoses and oil scavenge pump hoses, proved the operation of everything before getting ready to fire the engine up for the first time.
See the video below for the outcome...
http://www.youtube.com/watch?v=Opp8ecvY7nU
It's not too loud which is rather nice
The whining noise is the oil scavenge pump, which moves the oil from the bottom of the turbo back to the sump, I think I'm going to have to replace it for something quieter!
Edited by Red16 on Thursday 7th April 20:32
I've been back down to Mac#1 today, as normal it's always a pleasure
One rear arch fitted.
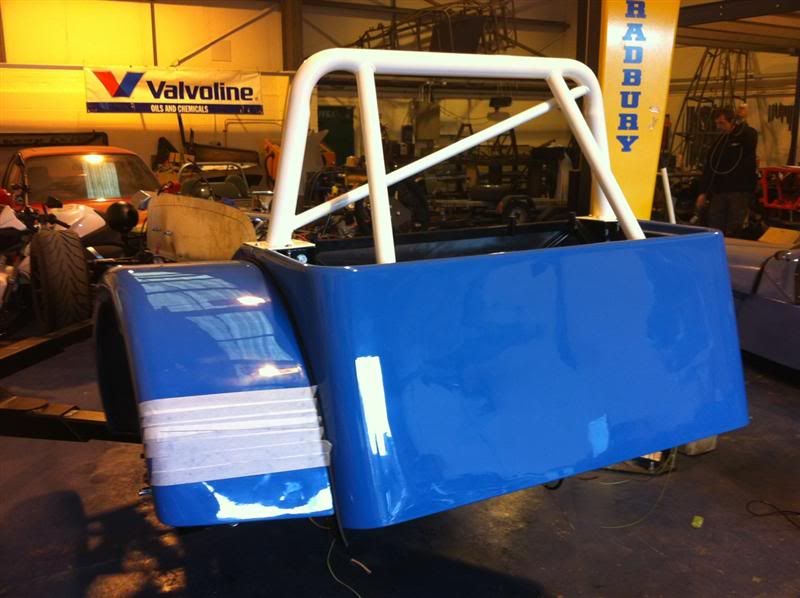
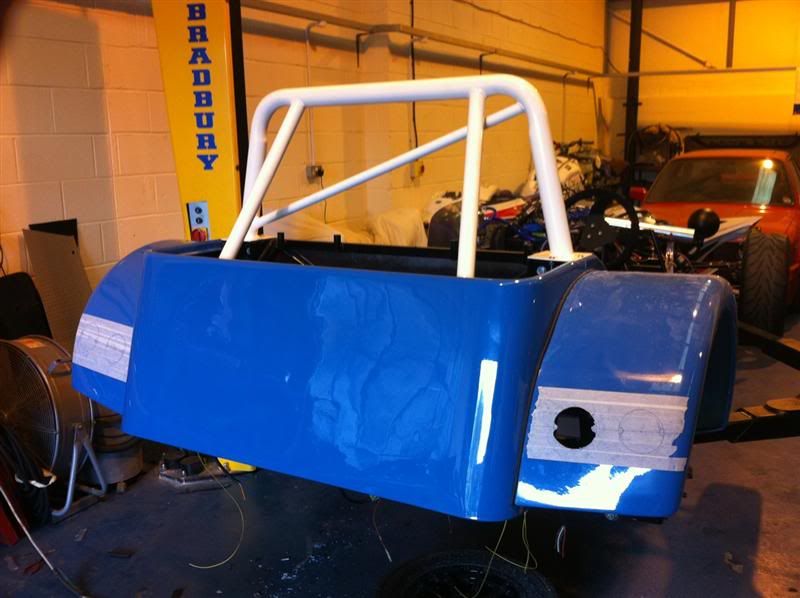
The other rear arch fitted, the positions of the rear lights were then marked out and the cutting got underway.
A peak of one rear arch from the side.

A quick trial fit of one stop/tail light.
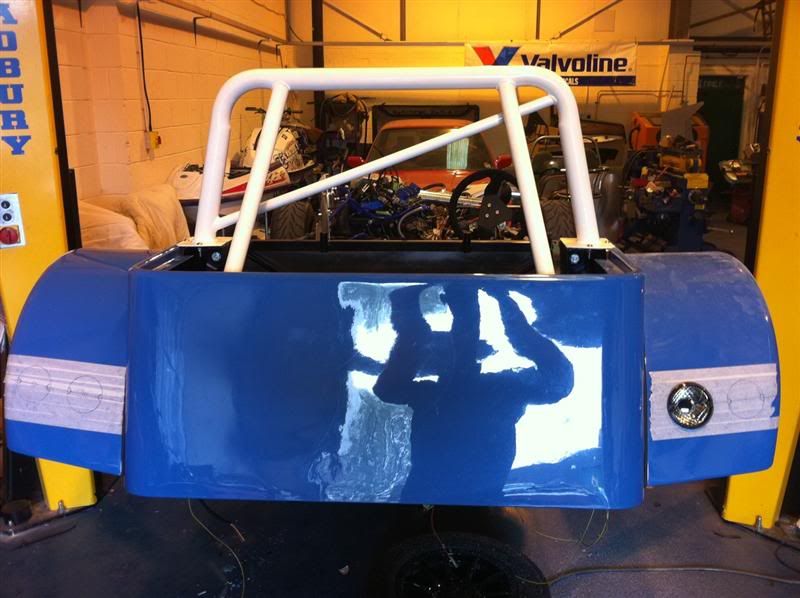
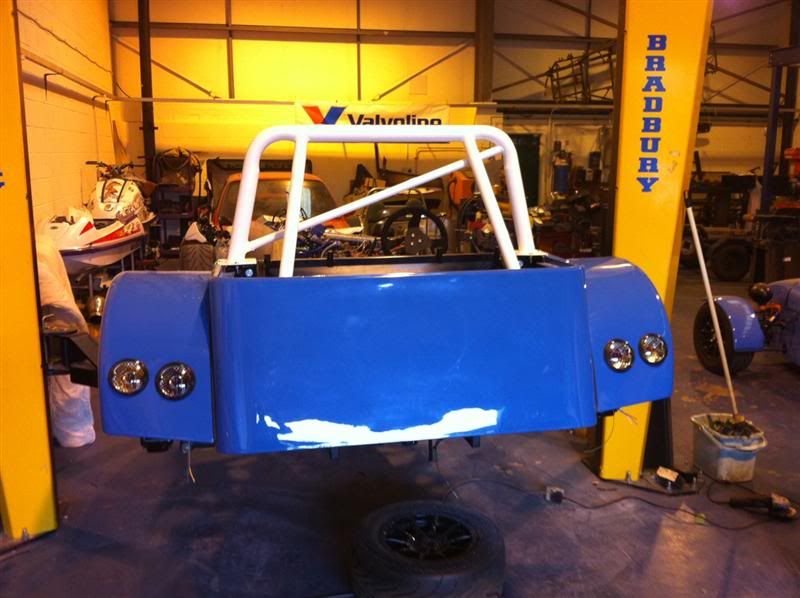
All the holes cut out for the stop/tail lights and indicators.
Lights now fitted.
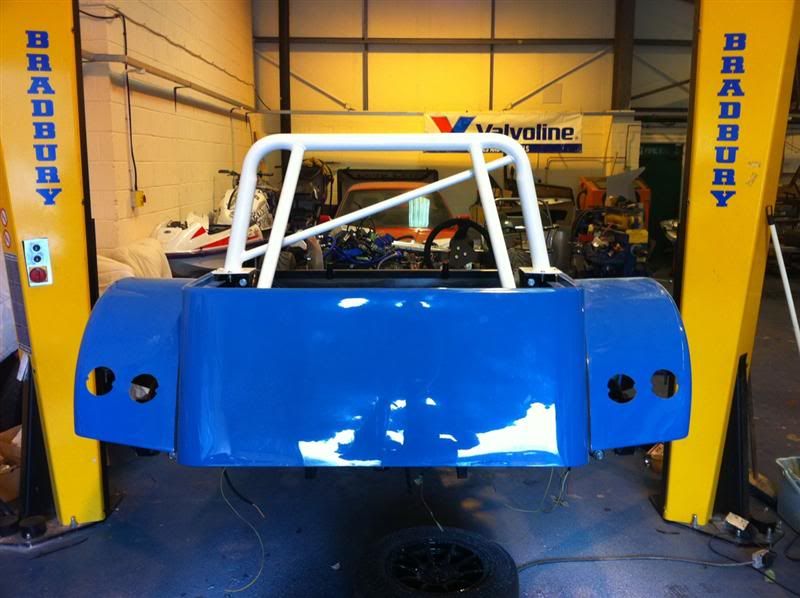
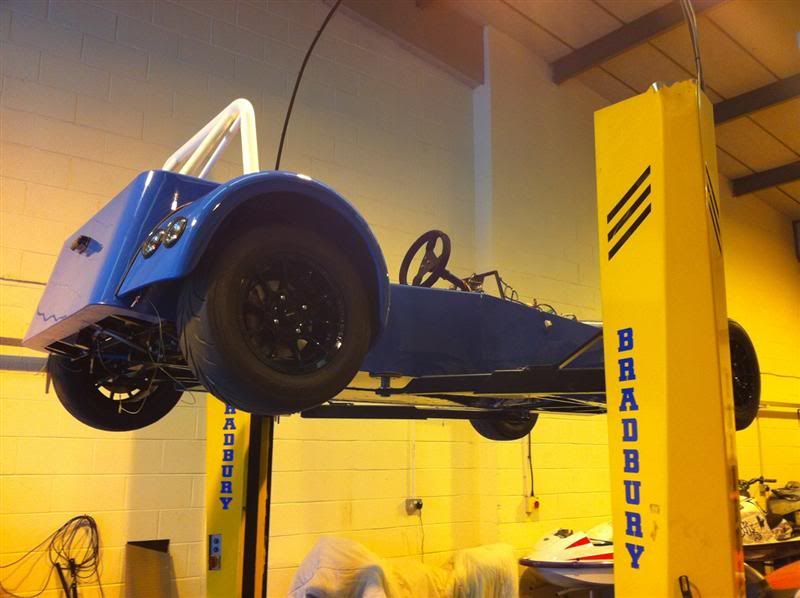
The number plate light fitted and one final photo of the car flying in the air.
That's all for now folks.
One rear arch fitted.
The other rear arch fitted, the positions of the rear lights were then marked out and the cutting got underway.
A peak of one rear arch from the side.
A quick trial fit of one stop/tail light.
All the holes cut out for the stop/tail lights and indicators.
Lights now fitted.
The number plate light fitted and one final photo of the car flying in the air.
That's all for now folks.
Gassing Station | Kit Cars | Top of Page | What's New | My Stuff