Mac#1 Motorsport Worx Build
Discussion


jason61c said:
Cheers for that, how long are the pins? Does the bonnet feel secure?
450kg would be some going
I've not measured the pins but they were about 100mm/4" long.450kg would be some going
The bonnet feels quite secure the way it is, but will feel better when the rubber bushes are slid over the top of the pins, then the bonnet will be held down tight against them.
Well 450kg is the target, will find out when it's on the road, to be honest even if it is a bit heavier I don't think i'll really notice, lol.
I didn't do anything on the car yesterday due to feeling a bit unwell but I did manage to take delivery of some parcels...
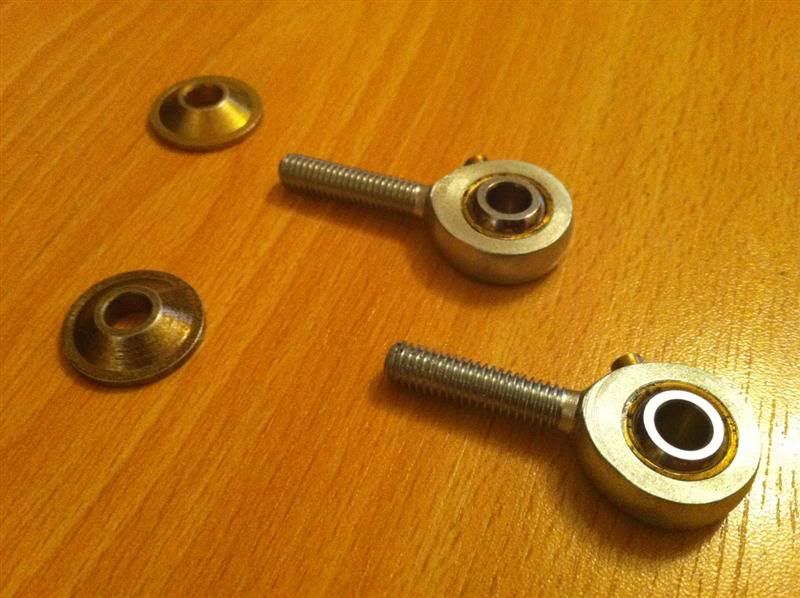
First off some rose joints and misalignment spacers for the exhaust support hanger.
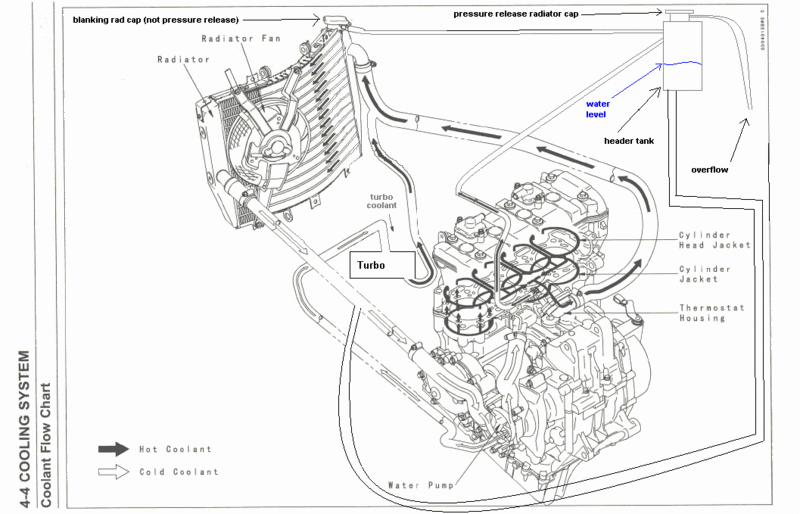
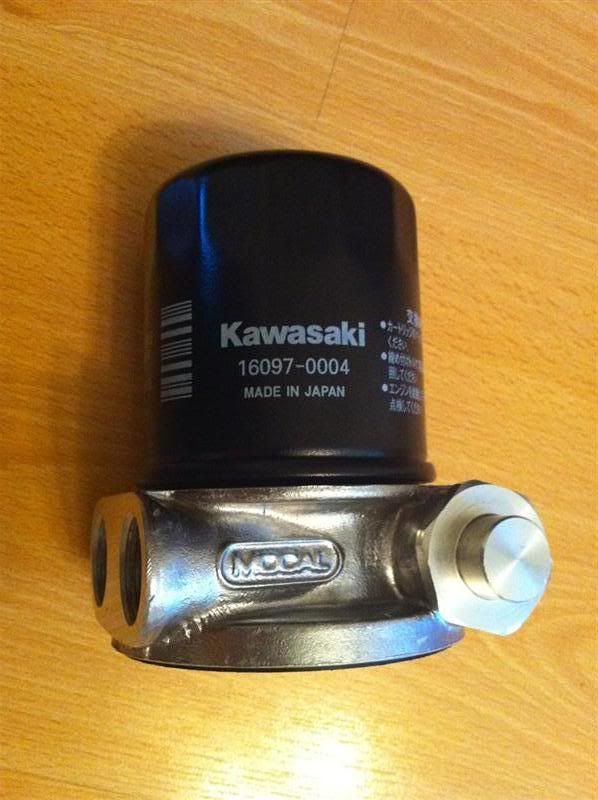
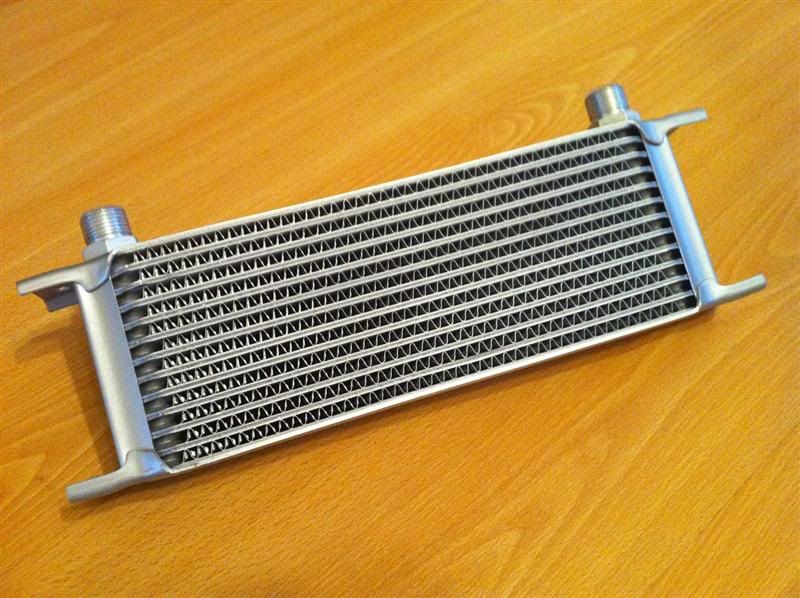
If you've been reading the thread you'll remember the standard oil/water heat exchanger has been removed to make space for the turbo, meaning no oil cooling at all, so I've been doing a bit of research and I have been unable to find an upgraded oil cooler kit for a Kawasaki ZX10R.
The Kawasaki oil filter thread is M20x1.5 and the oil filter seal is I.D. 54mm and O.D. 62mm.
I found on ebay a Mocal sandwich plate with built in thermostat intended for Peugeot 106/206/306 GTI, the dimensions looked suitable so I ordered it.
Here it is...
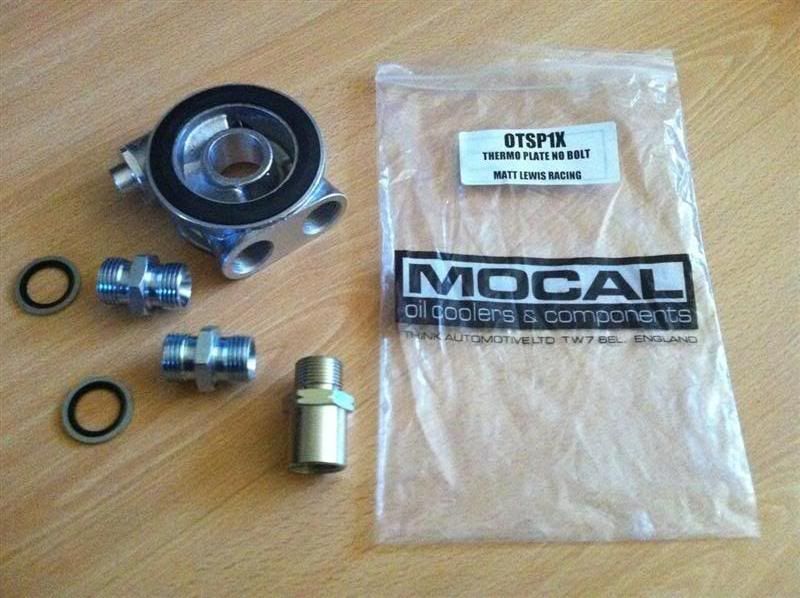
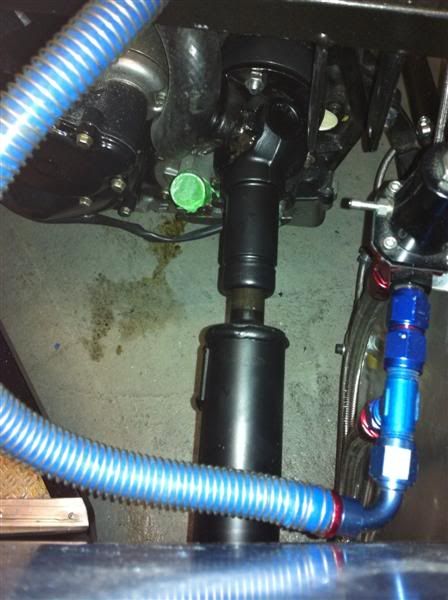
The oil filter screws on nicely and seals nicely against the sandwich plate, result... well it will be if it fits to the remote oil filter mount, but there doesn't look to be any reasons why it will not.
First off some rose joints and misalignment spacers for the exhaust support hanger.
If you've been reading the thread you'll remember the standard oil/water heat exchanger has been removed to make space for the turbo, meaning no oil cooling at all, so I've been doing a bit of research and I have been unable to find an upgraded oil cooler kit for a Kawasaki ZX10R.
The Kawasaki oil filter thread is M20x1.5 and the oil filter seal is I.D. 54mm and O.D. 62mm.
I found on ebay a Mocal sandwich plate with built in thermostat intended for Peugeot 106/206/306 GTI, the dimensions looked suitable so I ordered it.
Here it is...
The oil filter screws on nicely and seals nicely against the sandwich plate, result... well it will be if it fits to the remote oil filter mount, but there doesn't look to be any reasons why it will not.
Edited by Red16 on Saturday 8th January 13:21
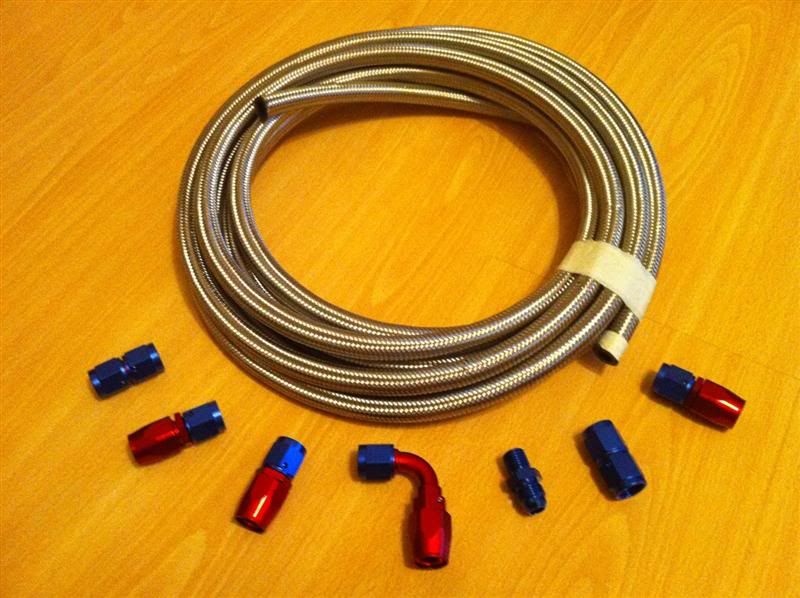
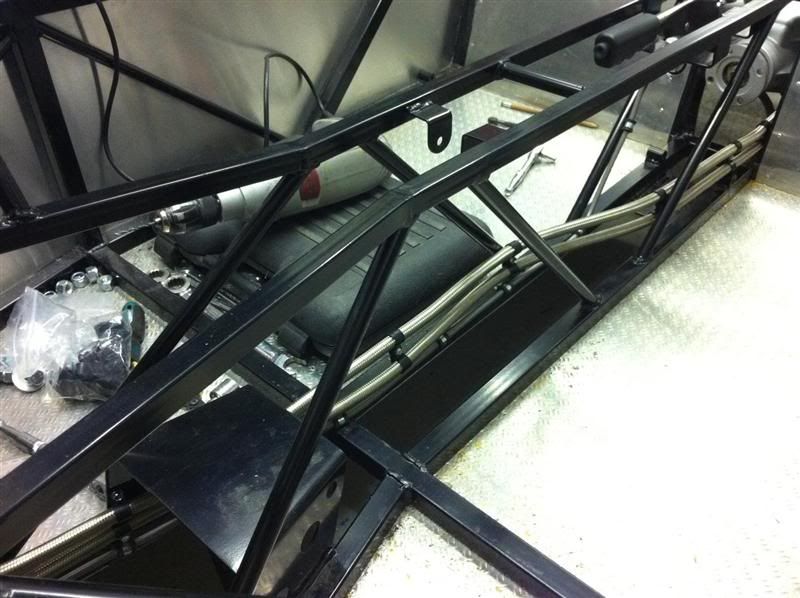
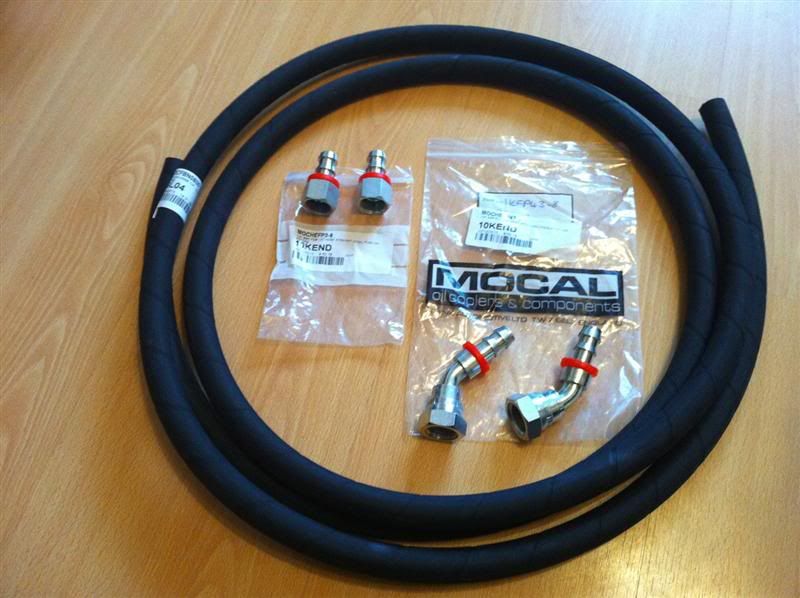
Another parcel arrived this afternoon, some braided fuel hoses and fittings

Do you have a build thread of your car? I'd love to see it if you do, sounds a nice all round package, supercharged zetec should be very responsive!
Mabbx said:
I think your 450Kg is very achievable with engine weight. I am currently building a MEV Rocket and aiming for simular BHP/ton. Doing my best to keep the weight down also - wheels weigh 5kg each and are 15 x 8 on rears (225 tyre)and bucket seats weigh 2 kg each - all carbon fibre and no GRP or ali panels. The engine is a supercharged new 2.0 Zetec - forged pistons, rods, head work etc. As long as I can match you build quality i'll be happy.
The ZX10R engine and gearbox weighs in at 67kg if i remember correctly, which is pretty light really, so should help a lot Do you have a build thread of your car? I'd love to see it if you do, sounds a nice all round package, supercharged zetec should be very responsive!
Mabbx - your build looks great, love the clean look of the chassis. The carbon/composite floor is a lovely touch... is it expensive?
Loosely fitted some parts today, here's how the fuel hoses and filter fit between the regulator and rail.

and with the inlet in place

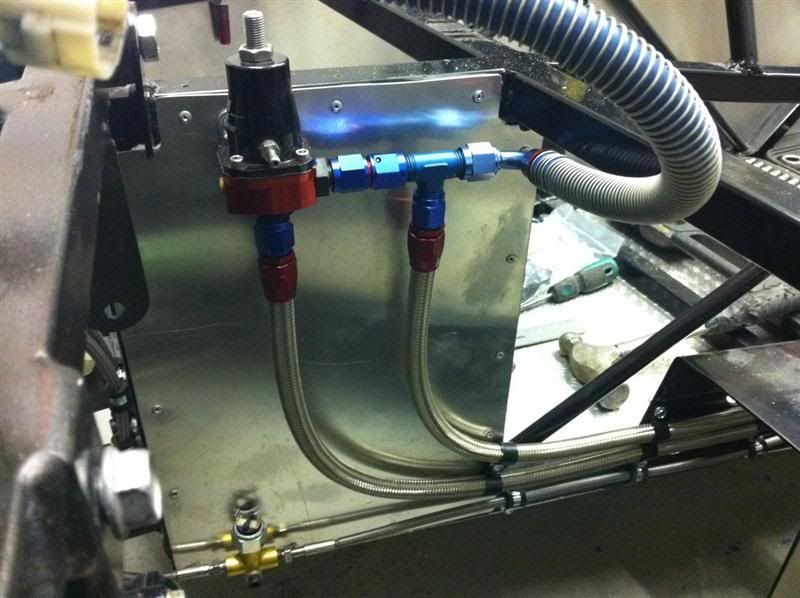
Cut to length and then made up the hoses, here's the Bosch 044 pump outlet
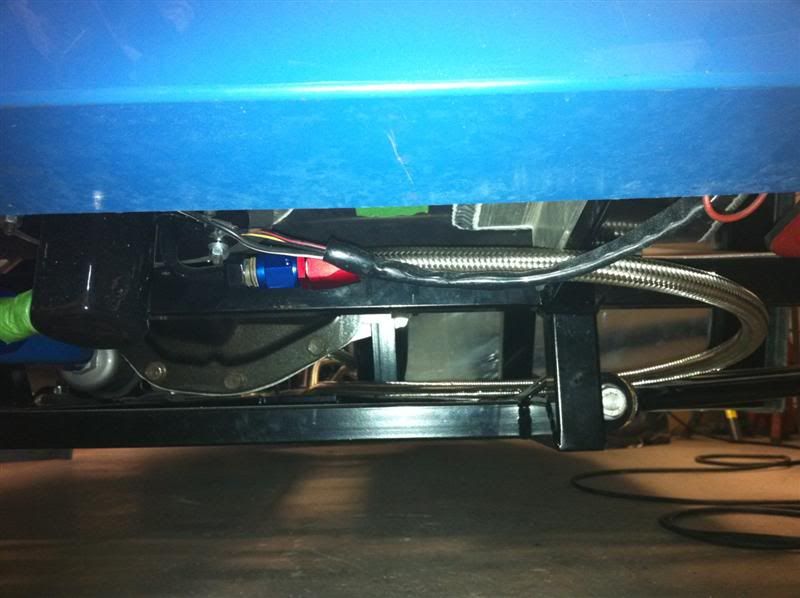
Return hose to tank, it will fit a lot better than this when it's routed and fastened down properly.
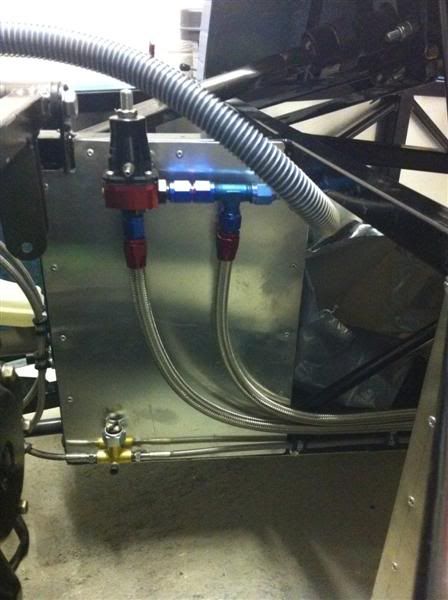
and finally the feed/return hoses connected to the fuel pressure regulator.
I'll get round to fastening the hoses securely to the car tomorrow.
Loosely fitted some parts today, here's how the fuel hoses and filter fit between the regulator and rail.
and with the inlet in place
Cut to length and then made up the hoses, here's the Bosch 044 pump outlet
Return hose to tank, it will fit a lot better than this when it's routed and fastened down properly.
and finally the feed/return hoses connected to the fuel pressure regulator.
I'll get round to fastening the hoses securely to the car tomorrow.
Edited by Red16 on Sunday 9th January 21:38

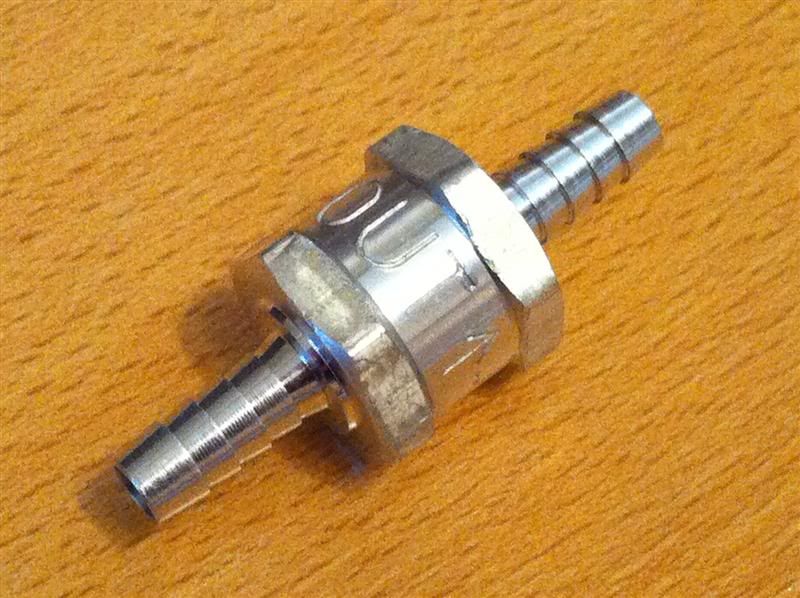
I've been too busy playing on the PS3 today to progress the car, but I did manage to accept a parcel from the postman.
Steve_D said:
Is that a roll over valve or just a one way valve?
If it is just one way then it will not allow the tank to breath.
Cheers for pointing that out Steve, I completely overlooked the air expanding inside the tank!If it is just one way then it will not allow the tank to breath.
procomp said:
Your front dampers are fitted upside down. They do not work that way. Do some research with other Mac owners.
Matt, they were sold to me by Mac#1 as revalved to work the way they are fitted to my car.Ponk said:
Can I ask why you are using push on fittings for the FPR to rail but braided for the rest? You've done a great job routing the hoses, it's not easy keeping them neat.
Sorry Ponk, I forgot to reply yesterday, the reason is I already had the hose and fittings in the garage, but I'll be replacing it with braided hose because it doesn't look right being different to the rest of the fuel hoses.I marked out and then cut the top panel for the transmission tunnel. Once rested in position the edge trim pieces were laid on top and then drilled to accept rivots.
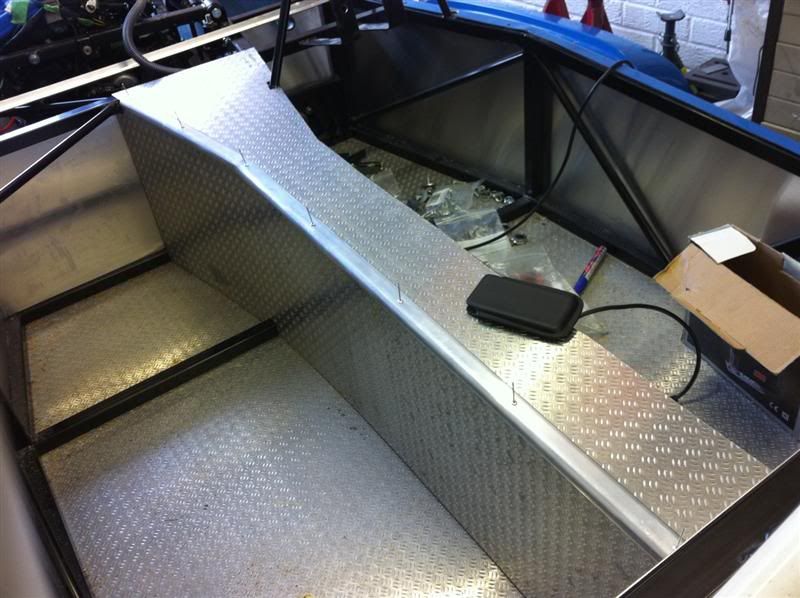
At the moment I'm not sure wether or not to use small rivots like the ones in the photos or use rivots with larger heads.
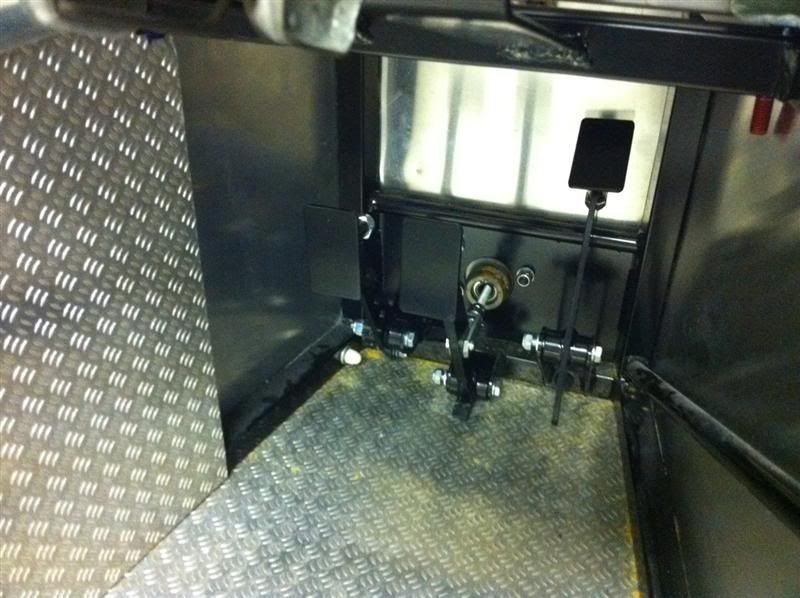
The pedals were fitted along with the clutch cable, will fit the accelereator cable tomorrow.
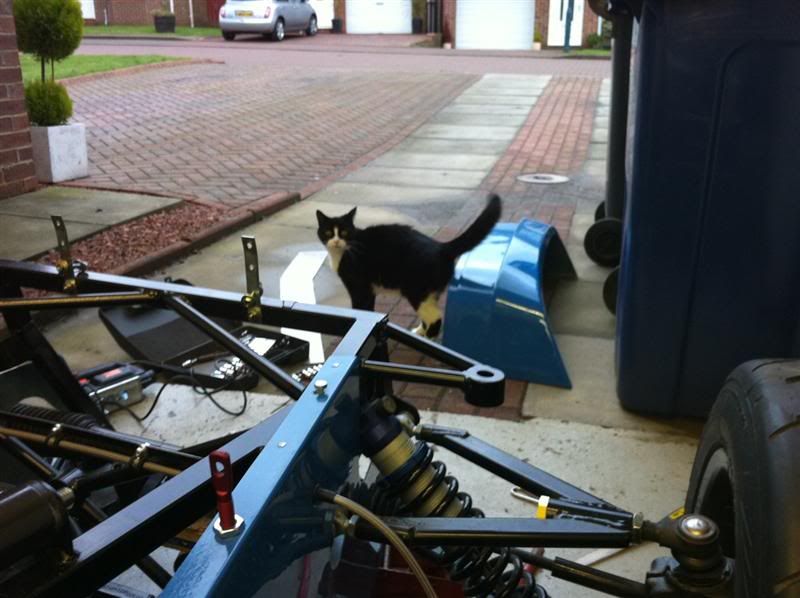
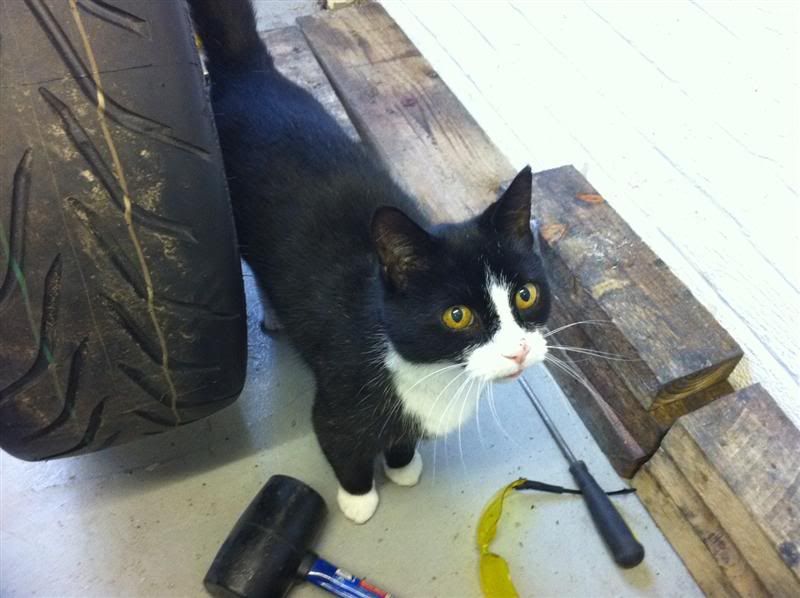
Work was interrupted when one of the neighbours pets, a.k.a. garage kitty, decided to pop in for a mooch around.
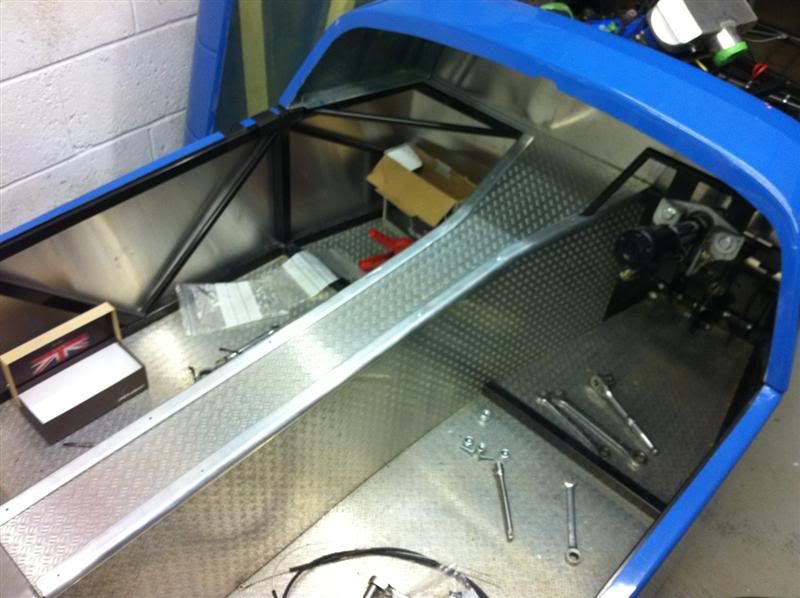
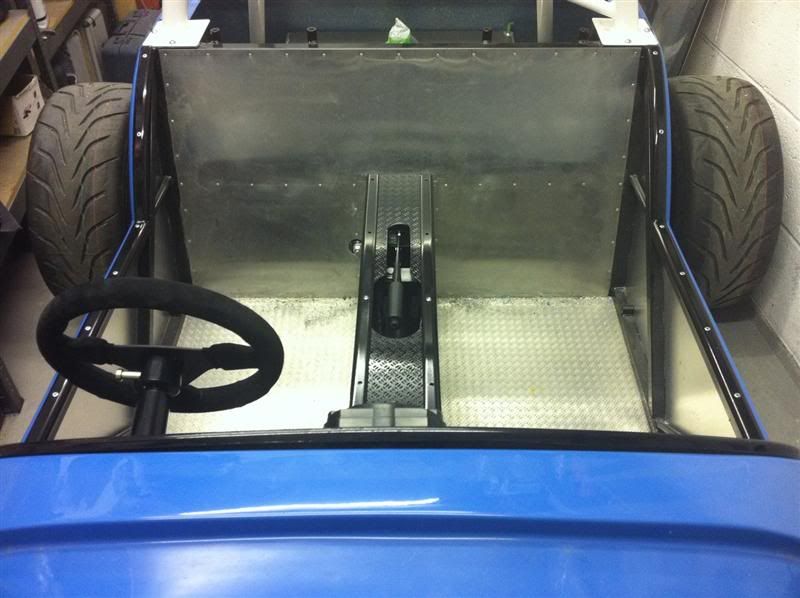
I eventually got round to cutting the bulkhead panel to accomodate the steering column
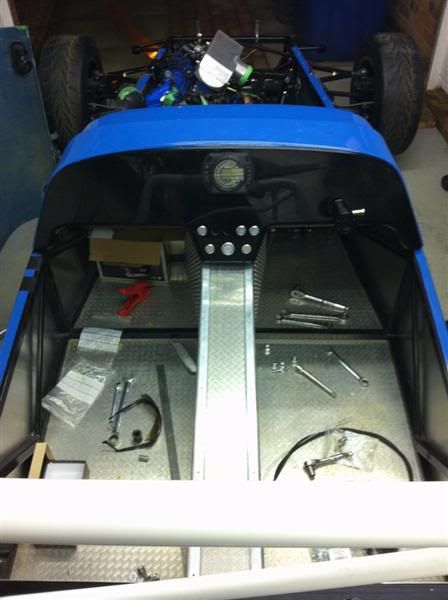
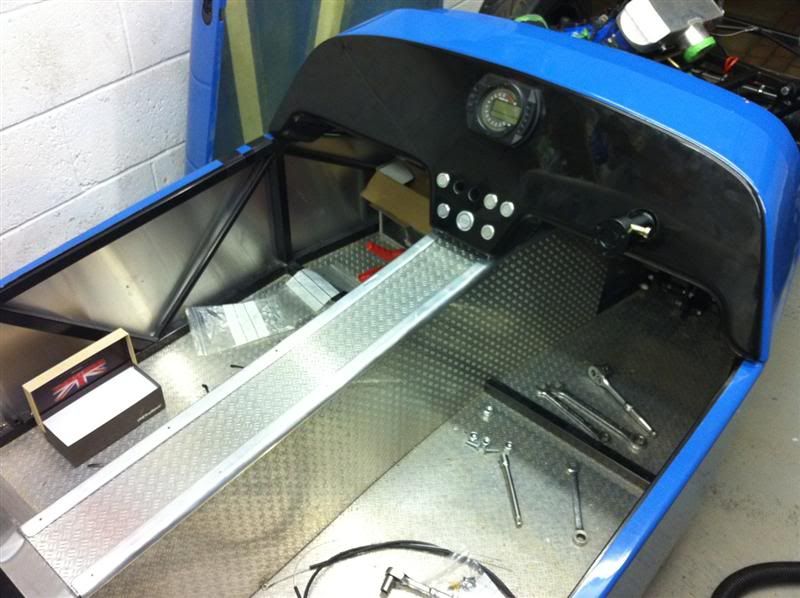
The silver section at the top of the steering column has now been painted black, which blends in with the dash a lot better. Heres how the passenger compartment is looking... starting to take shape nicely now
At the moment I'm not sure wether or not to use small rivots like the ones in the photos or use rivots with larger heads.
The pedals were fitted along with the clutch cable, will fit the accelereator cable tomorrow.
Work was interrupted when one of the neighbours pets, a.k.a. garage kitty, decided to pop in for a mooch around.
I eventually got round to cutting the bulkhead panel to accomodate the steering column
The silver section at the top of the steering column has now been painted black, which blends in with the dash a lot better. Heres how the passenger compartment is looking... starting to take shape nicely now
Edited by Red16 on Thursday 13th January 20:15
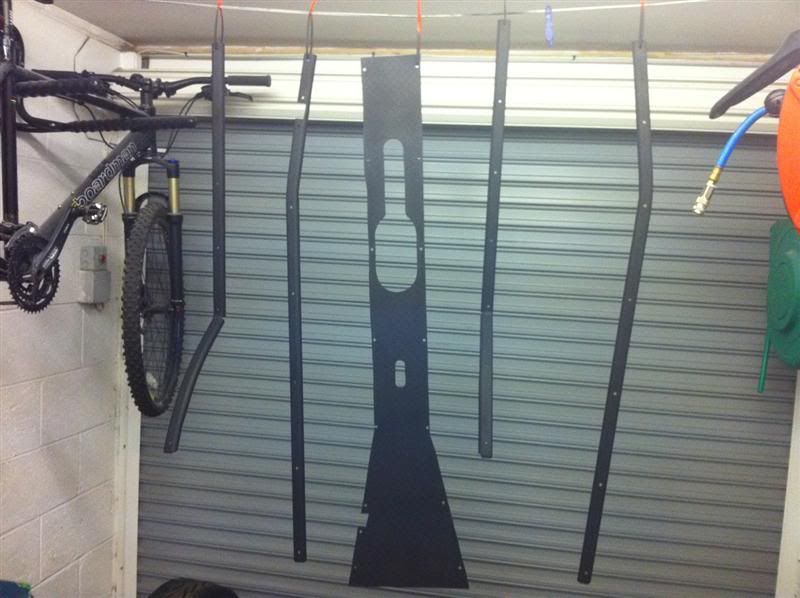
Yesterday I cut the holes in the transmission tunnel upper panel for the handbrake and gear change levers. The trim edging was then marked out and drilled so it could be fitted to the inside edge of the outer sides of the cockpit.
Once all that was done I gave the parts a lick of etch primer
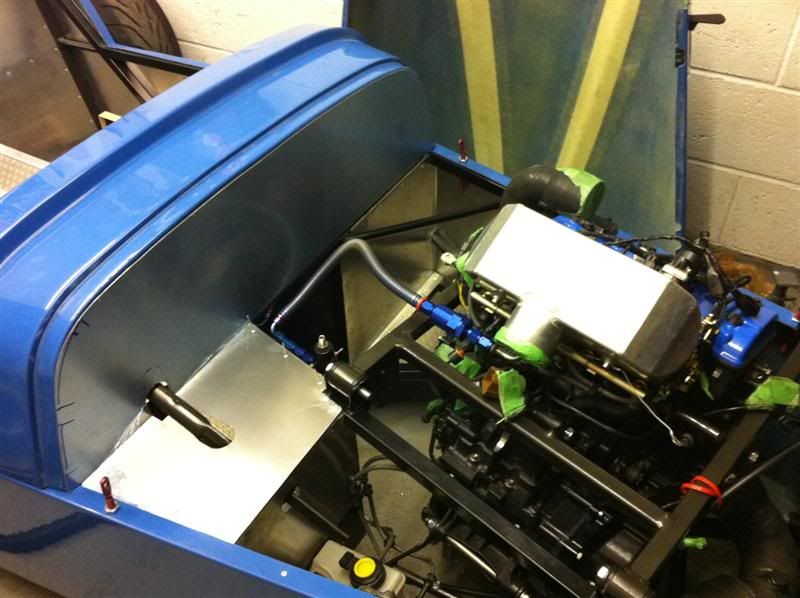
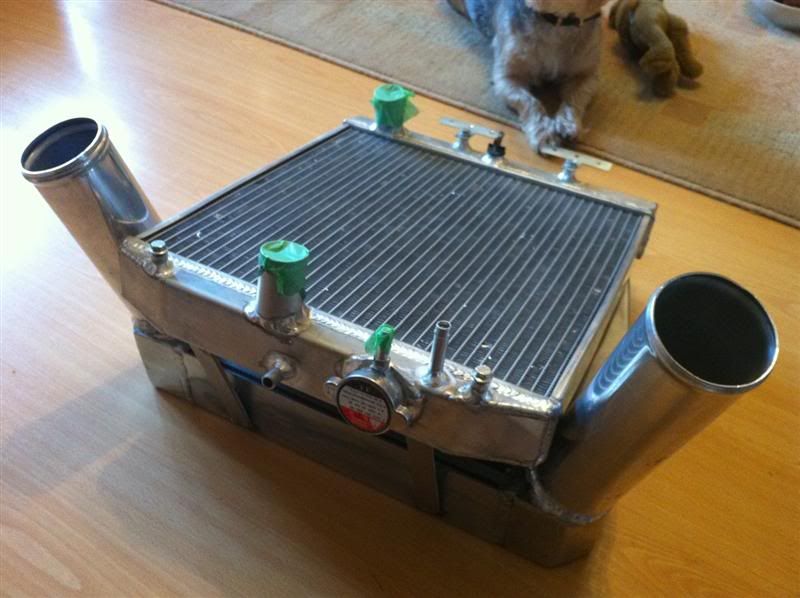
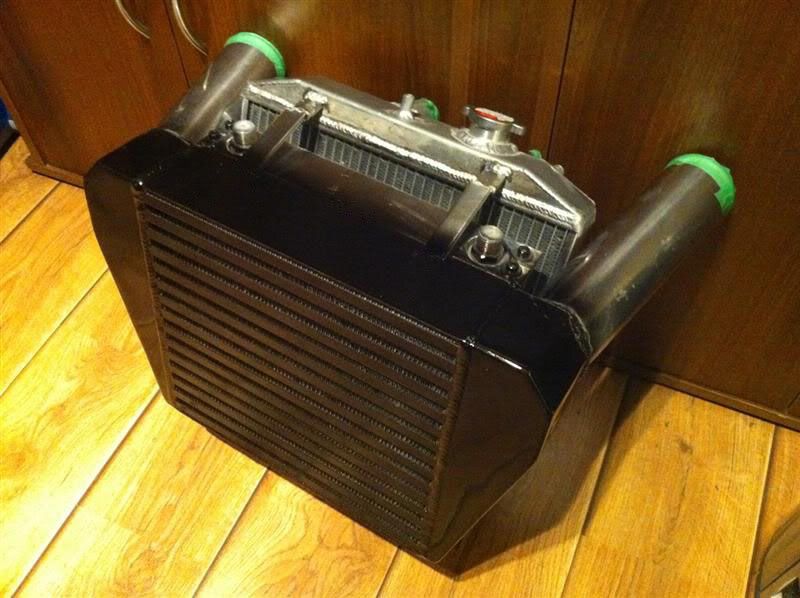
The intercooler pipework needed to be altered again, for the last time this time (hopefully) so I set about cutting the old pipes off and prepping the new ones
This morning I have been to see a local lad to have the intercooler pipes TIG welded onto the intercooler, while he was busy I got an extra 10mm pipe welded to the hot side of the radiator, this pipe is for the turbo cooling water water return.
A couple of parcels have been delivered too
One set of oil cooler fittings and push fit hose
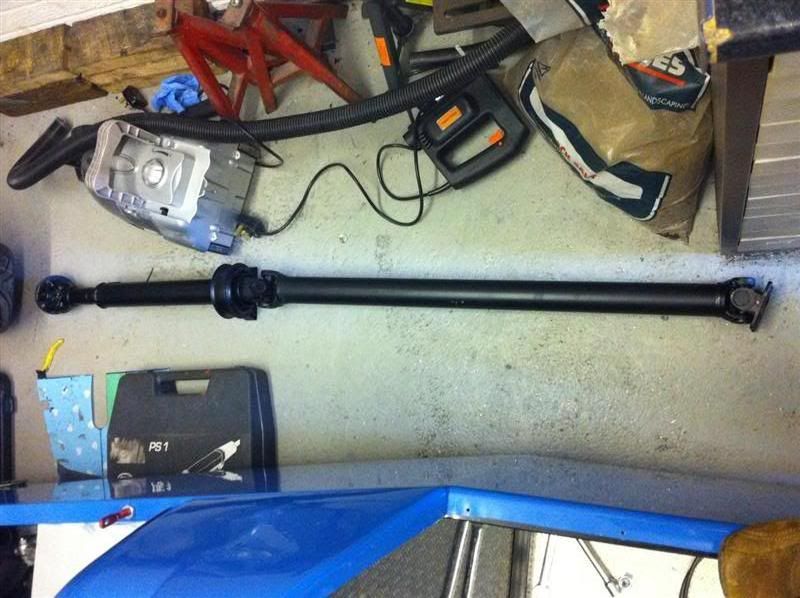
A custom made propshaft to suit bike engine at the front and Freelander rear differential.
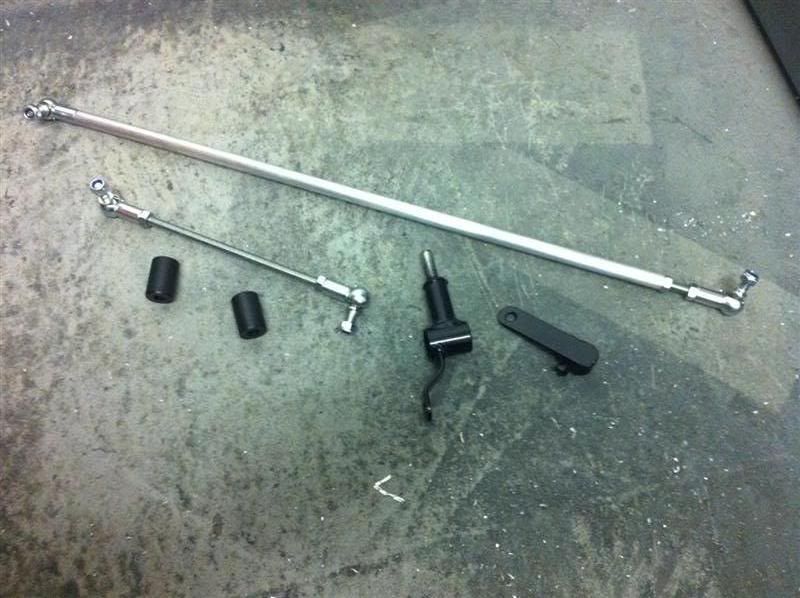
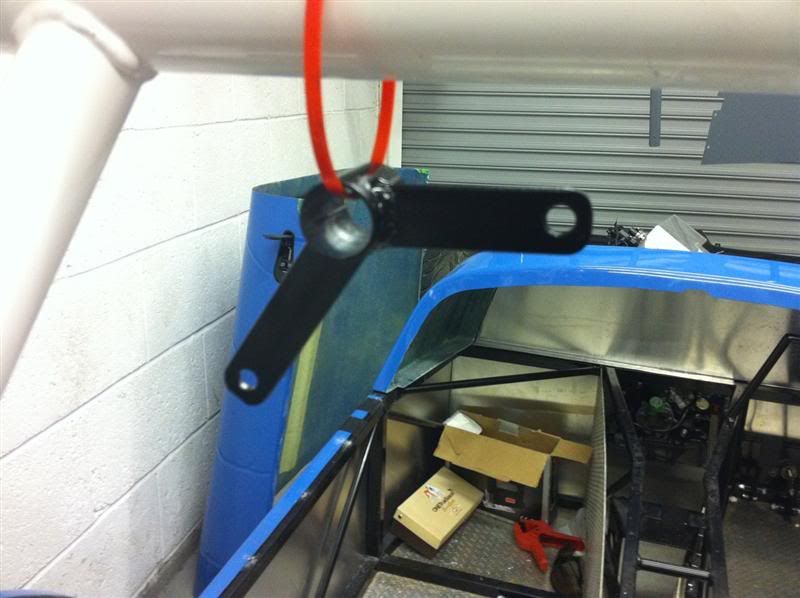
a gear linkage kit
One piece of the linkage kit wasn't painted, so I done that
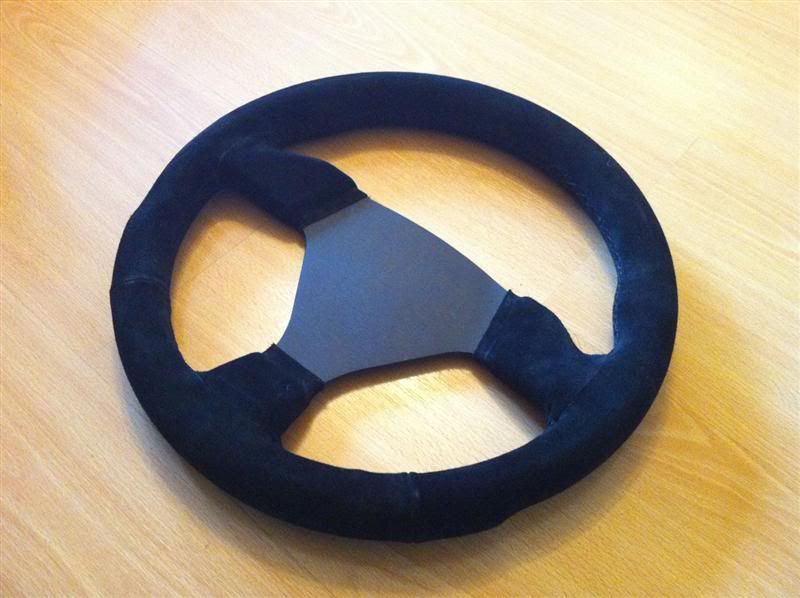
and finally, a 300mm alcantara steering wheel
Once all that was done I gave the parts a lick of etch primer
The intercooler pipework needed to be altered again, for the last time this time (hopefully) so I set about cutting the old pipes off and prepping the new ones
This morning I have been to see a local lad to have the intercooler pipes TIG welded onto the intercooler, while he was busy I got an extra 10mm pipe welded to the hot side of the radiator, this pipe is for the turbo cooling water water return.
A couple of parcels have been delivered too
One set of oil cooler fittings and push fit hose
A custom made propshaft to suit bike engine at the front and Freelander rear differential.
a gear linkage kit
One piece of the linkage kit wasn't painted, so I done that
and finally, a 300mm alcantara steering wheel
plasticpig said:
You do know that spraying 2 pack is illegal outside of a proper filtered spray booth? Isocyanate is nasty stuff and there is a good reason for it's controlled use.
I know of it's toxic nature and the need for adequate PPE, but I didn't think it was illegal.Toyless said:
Is that a Bailey Morris prop ? Doesnt look like its got the cush drive section built in ?
I don't know who made it, I bought it from Mac#1, it hasn't got a cush drive section.Done a little bit today...
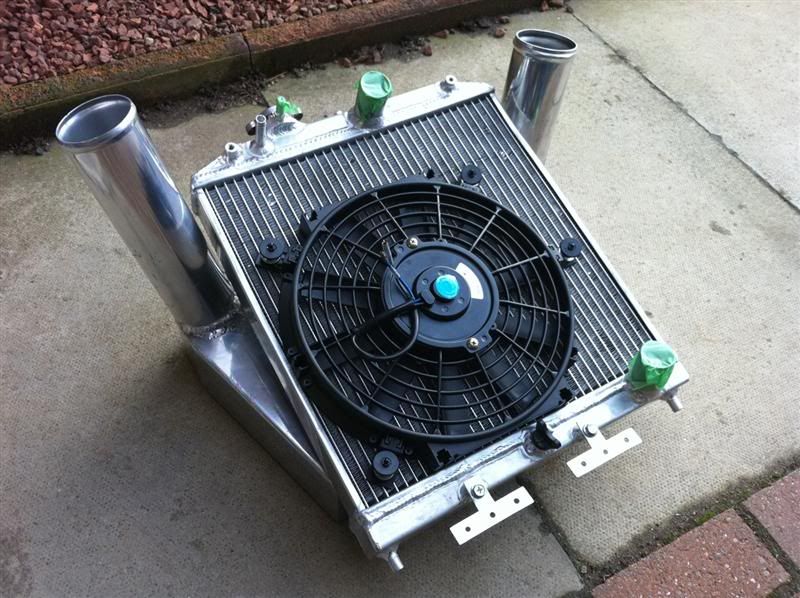
Fitted the radiator fan
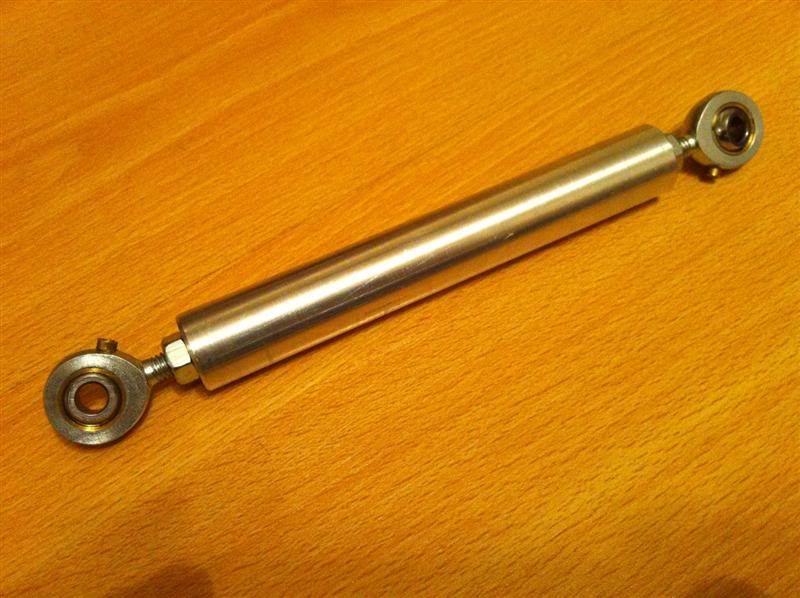
One completed exhaust support rod, will fit it tomorrow
Loosely fitted the prop

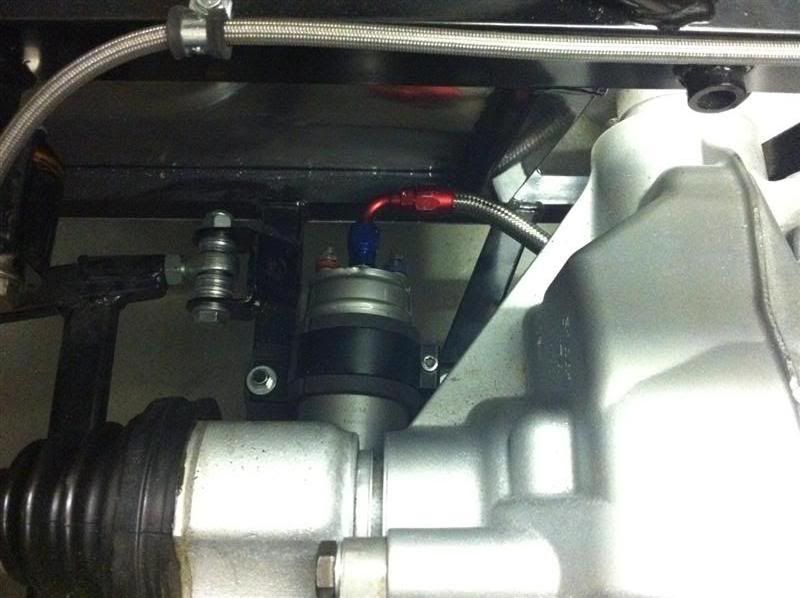
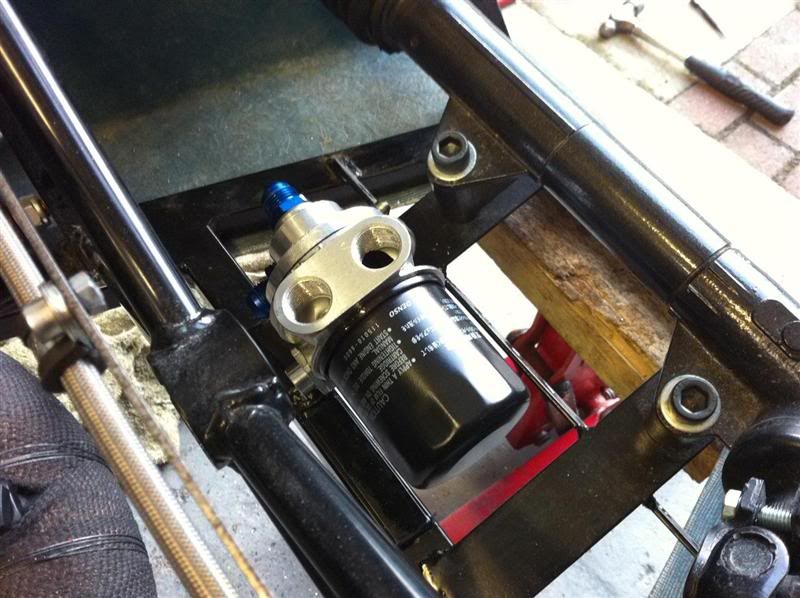
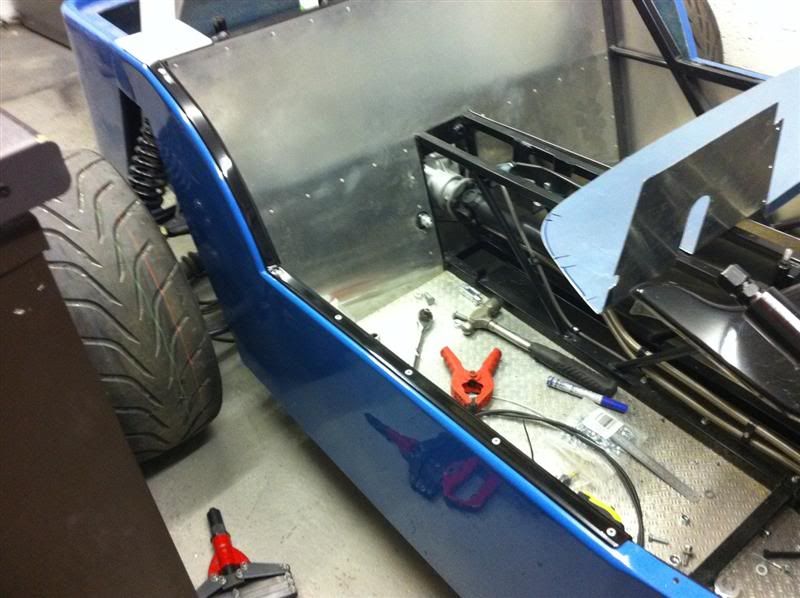
Remote oil filter mount and oil cooler sandwich plate secured to the chassis
Steering wheel drilled and loosely fitted to the quick release boss to get a photo taken, need to get hold of three 5/16" UNC bolts to properly secure it to the boss.

Fitted the radiator fan
One completed exhaust support rod, will fit it tomorrow
Loosely fitted the prop
Remote oil filter mount and oil cooler sandwich plate secured to the chassis
Steering wheel drilled and loosely fitted to the quick release boss to get a photo taken, need to get hold of three 5/16" UNC bolts to properly secure it to the boss.
CPDMotorsport said:
Can you tell us who made that for you please? I need an almost identical prop' for a car with a Freelander Diff and ZX10R Engine.
I've sent you an email with details mate.I painted the panels black this morning, but they look grey in the photo, ready to be lacquered tomorrow
I also made up a plate to mount to the top of the oil cooler, which was then welded to the intercooler, finally the intercooler was given a flash of black paint to make it more discreet.
I started making up the oil cooler hoses using Aeroquip fittings and socketless hose, but gave up and came indoors after the first one, what a b
 d they are to push on
  to be continued...
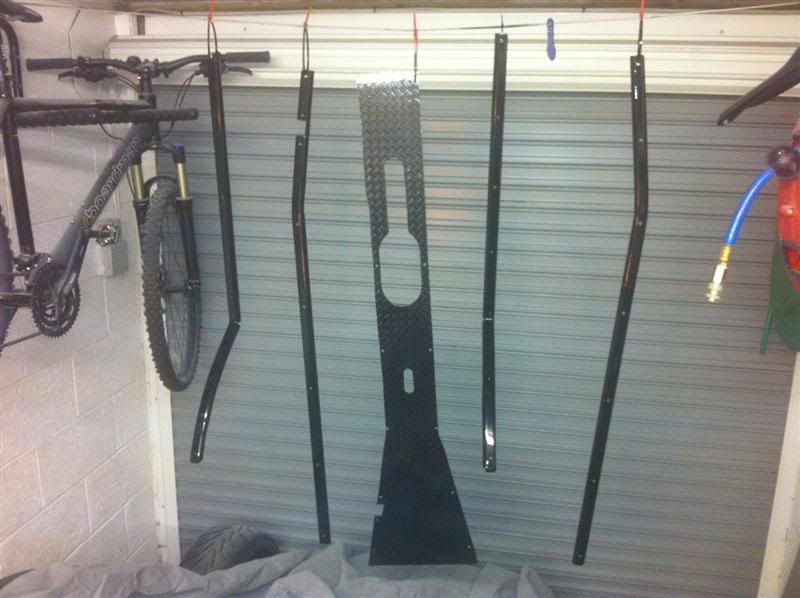
Intercooler/oil cooler/radiator fitted to the car this morning, you can see the 10" rad fan is the biggest I was going to squeeze behind the radiotor.

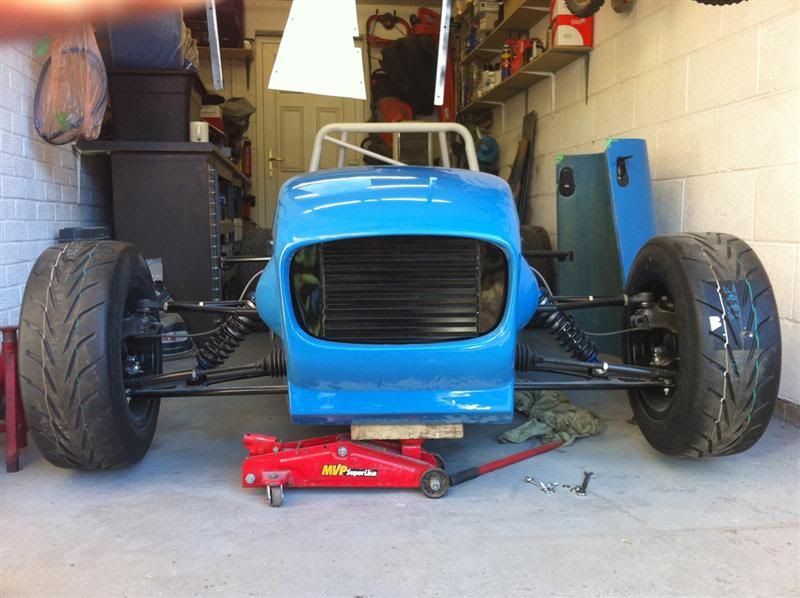
With the nose cone fitted, the intercooler is now looking very discreet
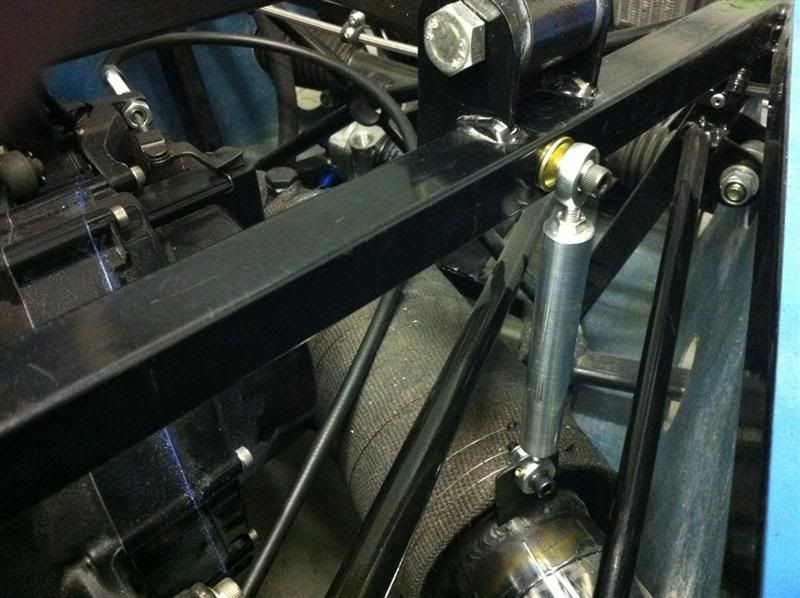
Exhaust support fitted
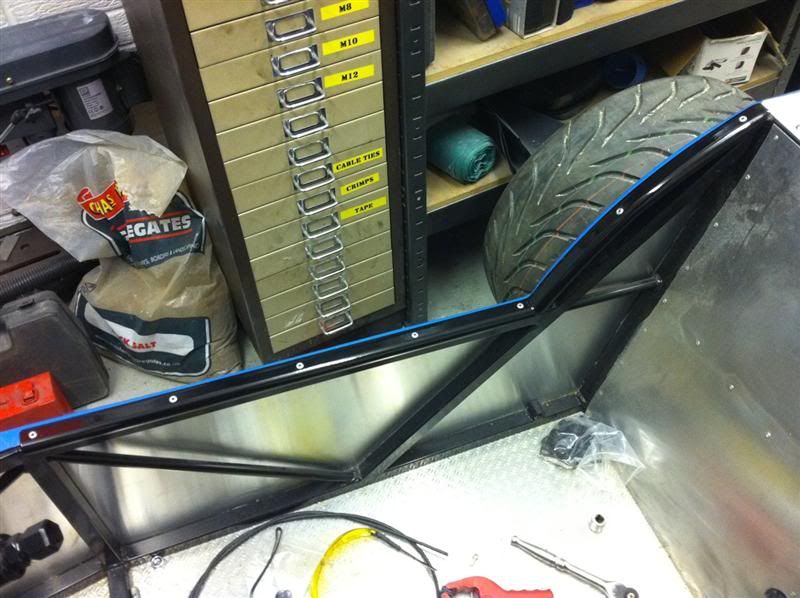
I then set about fitting the finished trim strips to the outside edges of the passenger compartment
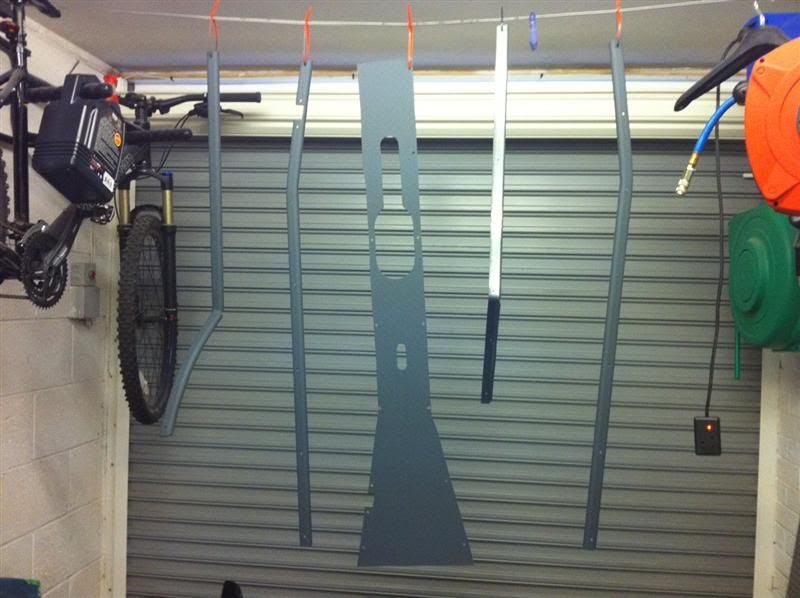
I had to nip out to buy some more rivots this afternoon, I got sidetracked and time passed by, when I returned home I couldnt be bothered to do much else, so I quickly trial fitted the rest of the panels.


With the nose cone fitted, the intercooler is now looking very discreet
Exhaust support fitted
I then set about fitting the finished trim strips to the outside edges of the passenger compartment
I had to nip out to buy some more rivots this afternoon, I got sidetracked and time passed by, when I returned home I couldnt be bothered to do much else, so I quickly trial fitted the rest of the panels.

Gassing Station | Kit Cars | Top of Page | What's New | My Stuff