clarkson's e46 m3 and previous cars - lots of pics
Discussion


Cheers dude, well I did the front suspension some and changed the carbon ashtrays and cubby holes i had back to oem , looks miles better and started on painting my calipers,
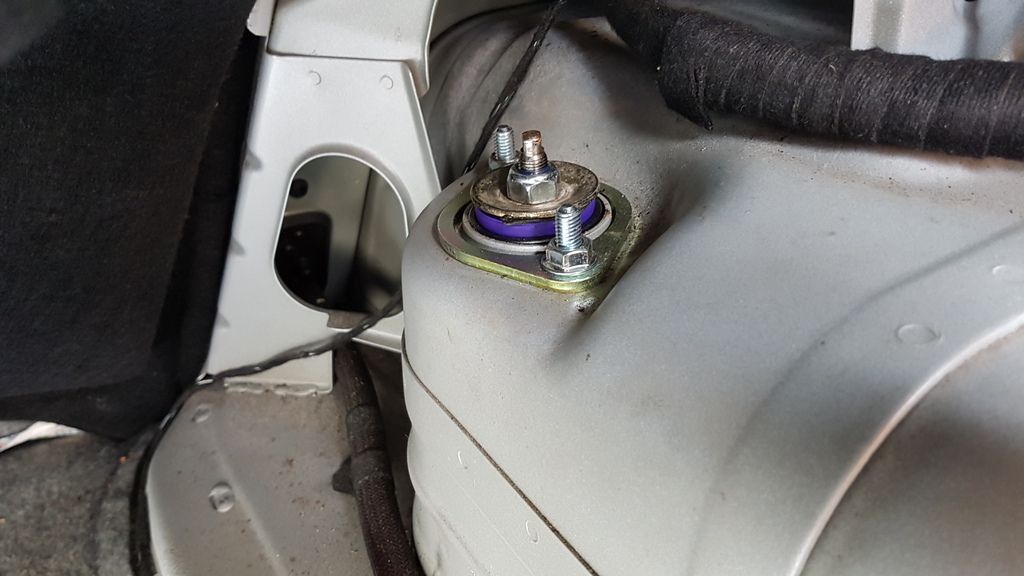
Rear powerflex topmounts
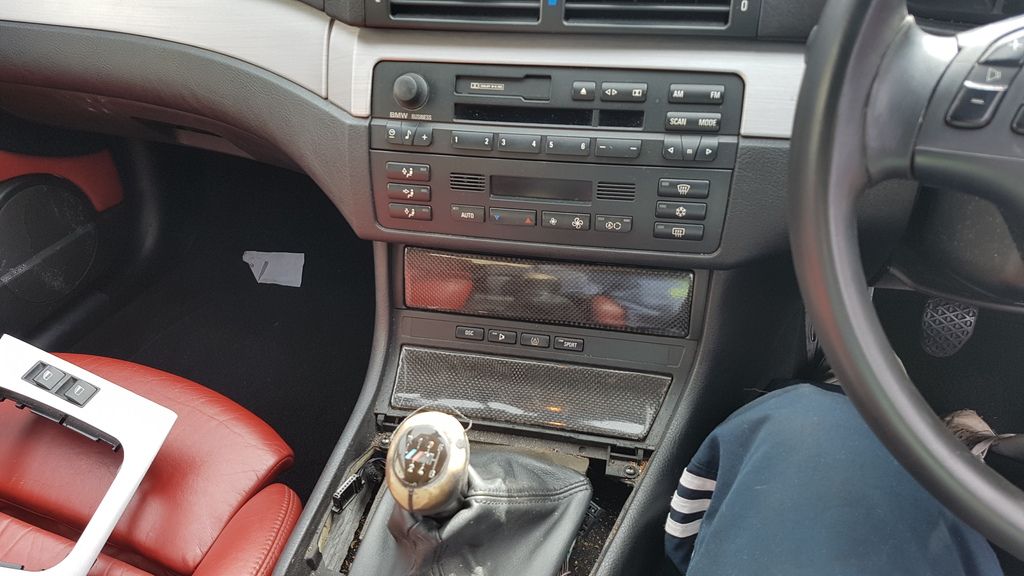
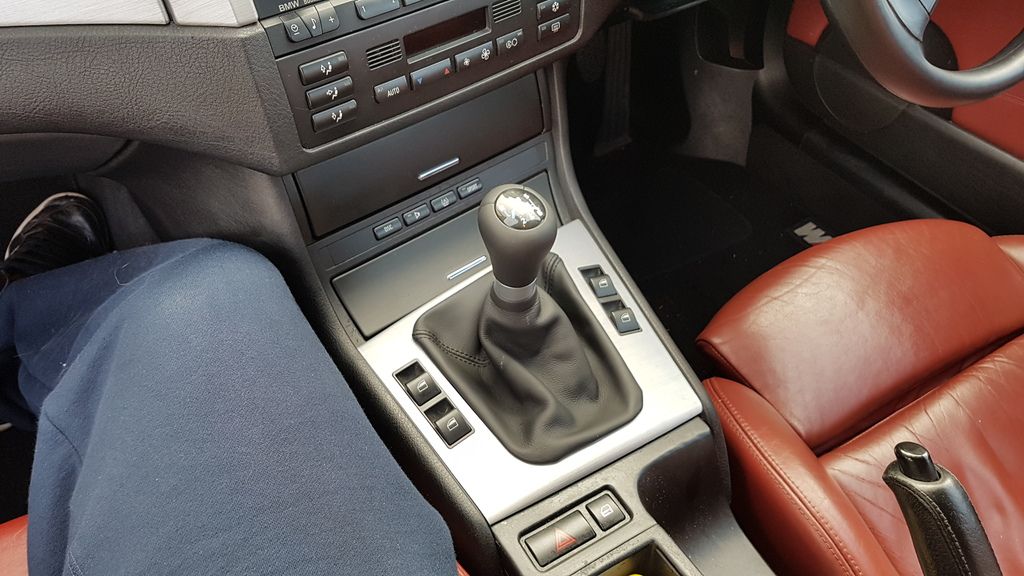
s tty carbon yes I need to put on my new gearknob but it's at my pals and he's on holiday
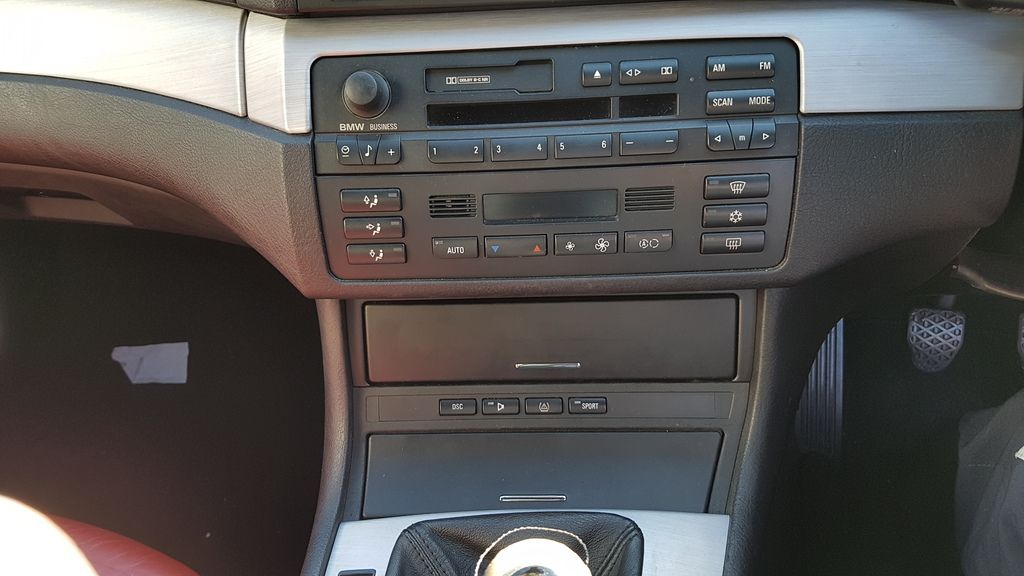
Oem
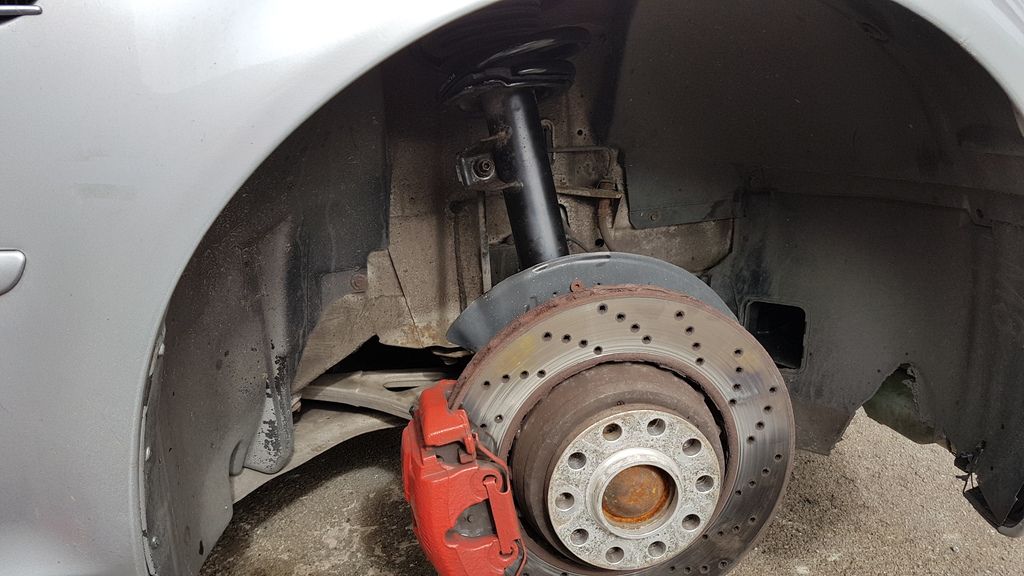
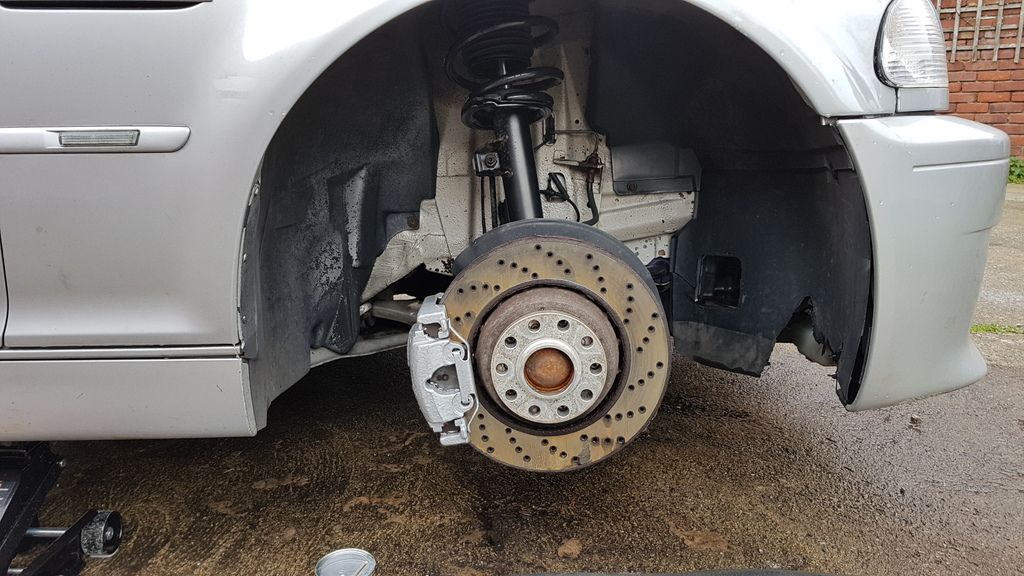
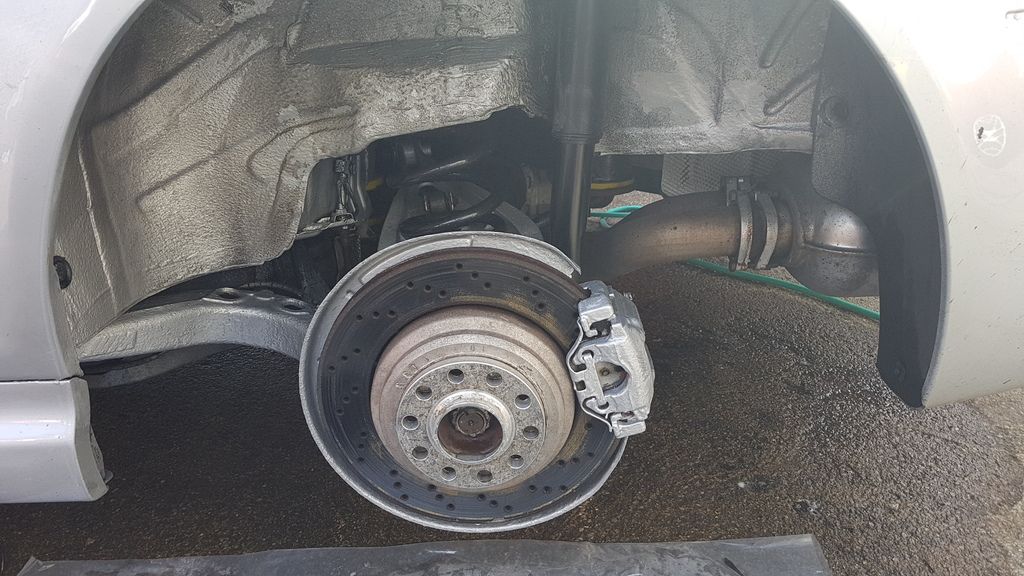
Drivers side off
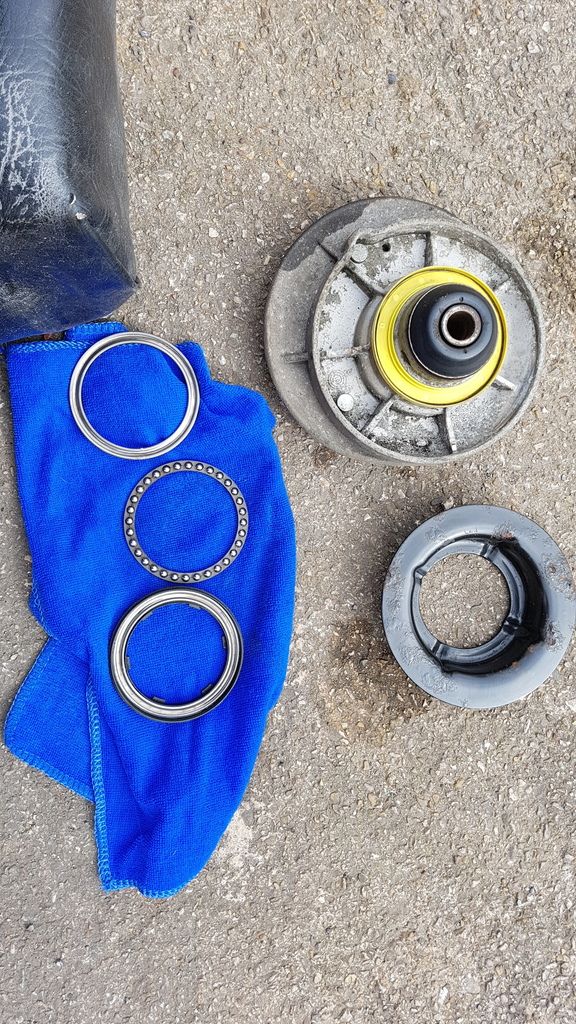
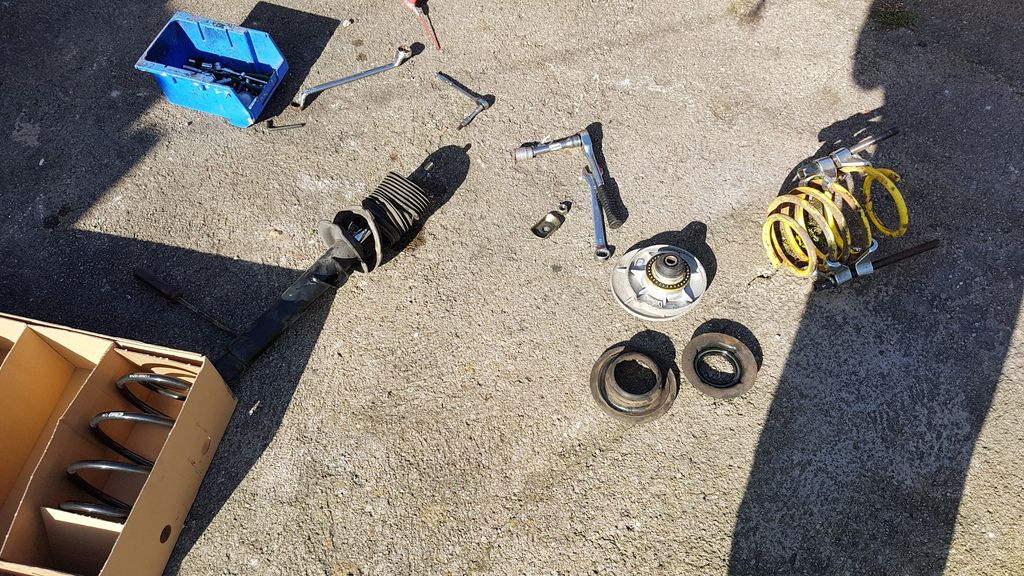
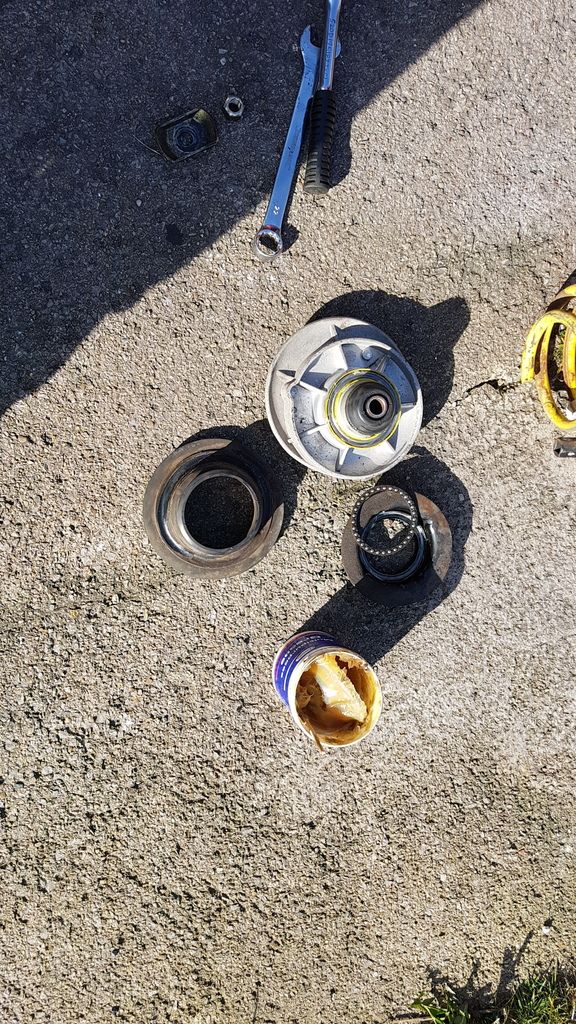
Cleaning up the topmounts and 're greasing them

Clean
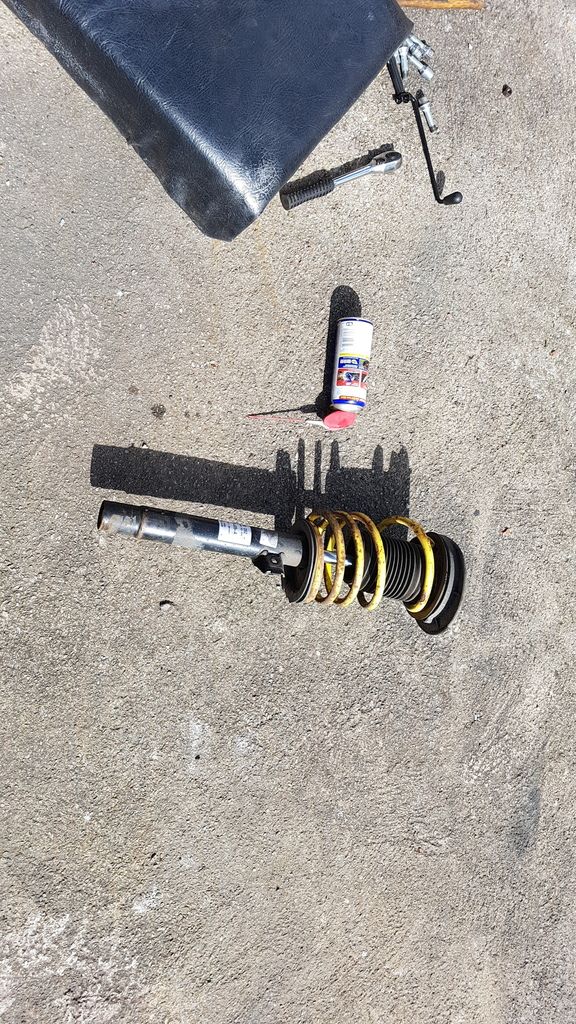
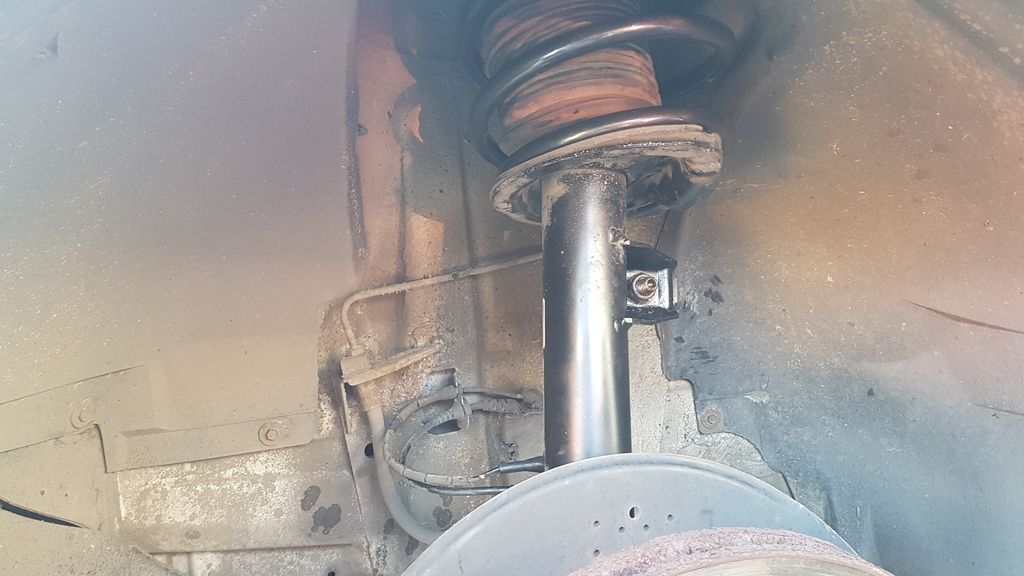
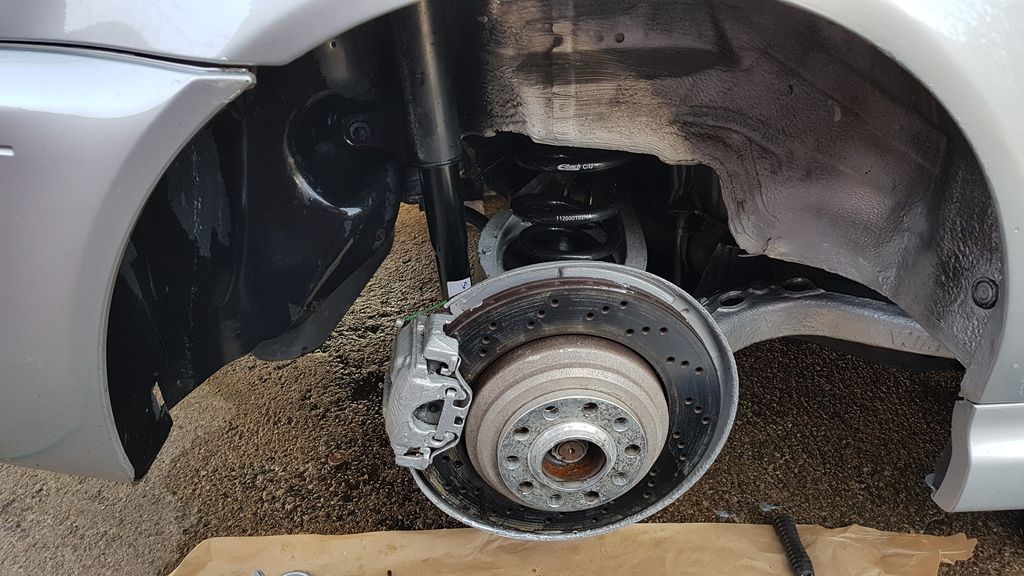
Eibach spring on
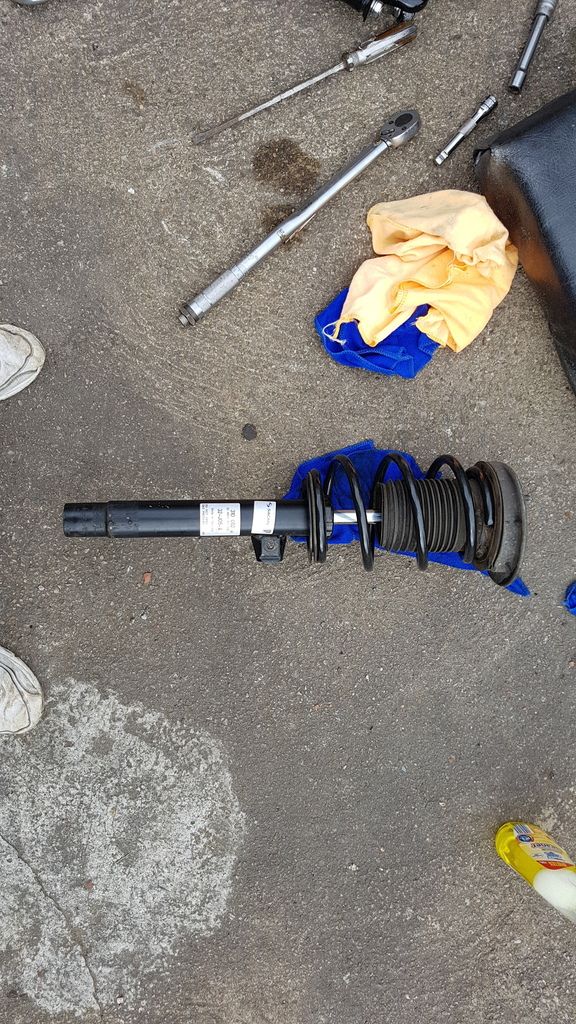
A bit dirty
Clean
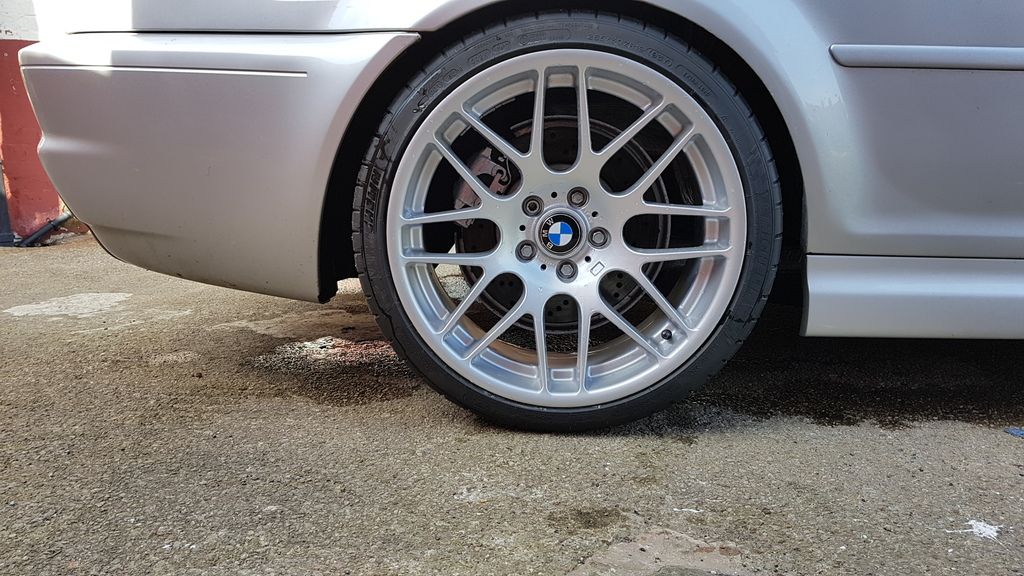
Painted caliper
Much better
Passenger side
Clean and greasing
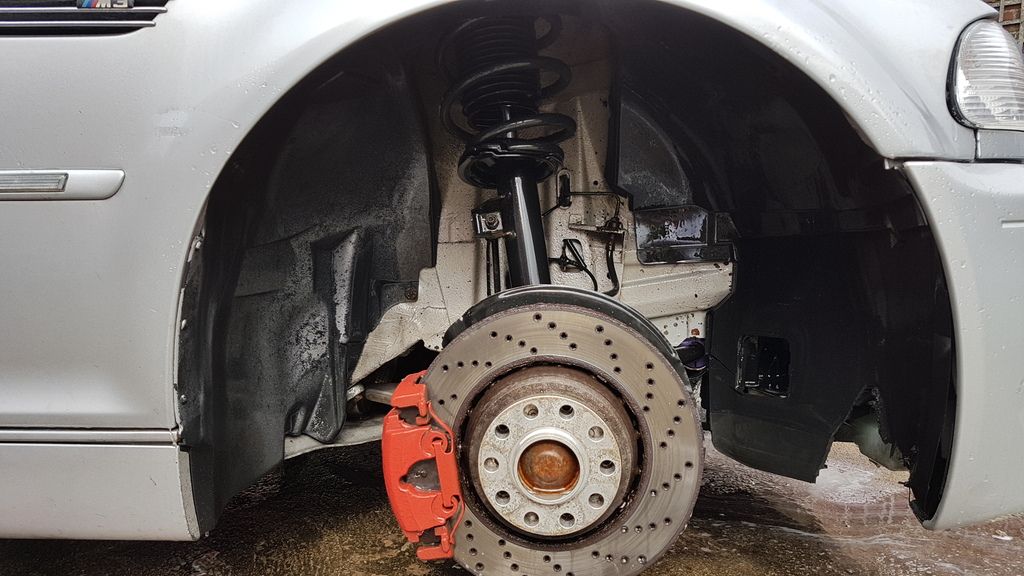
Passenger side on I'm going to clean the arch tomorrow and paint the rest of the calipers
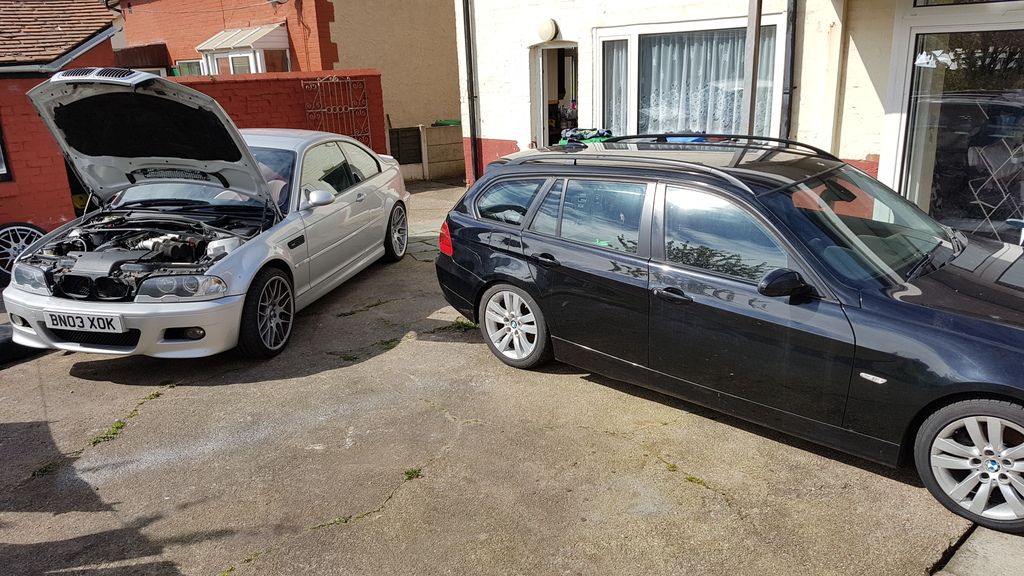
The shed and the m3
Will update soon
Rear powerflex topmounts

s
tty carbon yes I need to put on my new gearknob but it's at my pals and he's on holiday
Oem

Drivers side off

Cleaning up the topmounts and 're greasing them

Clean

Eibach spring on

A bit dirty

Clean

Painted caliper

Much better
Passenger side

Clean and greasing

Passenger side on I'm going to clean the arch tomorrow and paint the rest of the calipers

The shed and the m3

Will update soon
Well I've put 60 miles on my suspension and it feels slot better than the apex springs but I think the new shocks have helped alot it sits slightly higher than the apex springs but I'm not fussed , hopefully pick my m5 knob up from my pals tomorrow and that can get put on, so finished painting my calipers silver today then got the shed ready for it's mot tomorrow some pics

Much better will grab some pics of the m5 knob tomorrow if I get it


Much better will grab some pics of the m5 knob tomorrow if I get it
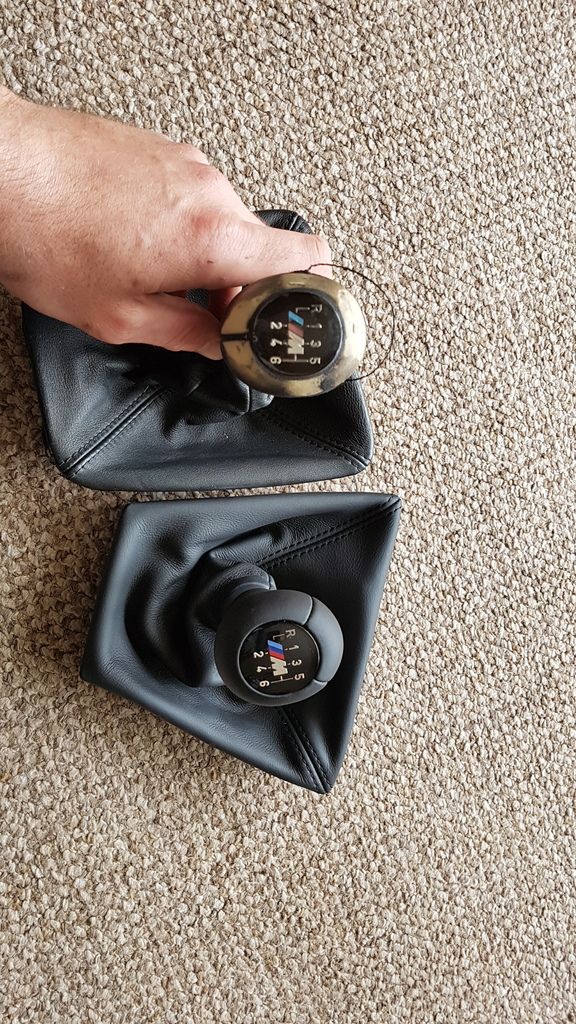
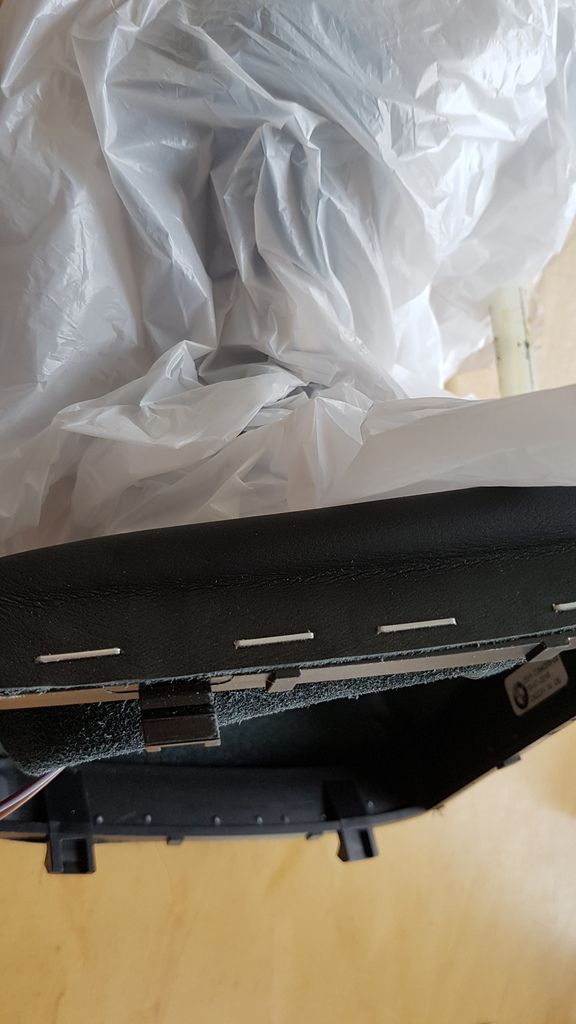
Got the m5 knob fitted today was easy only need some pegs and super glue!
Old and new
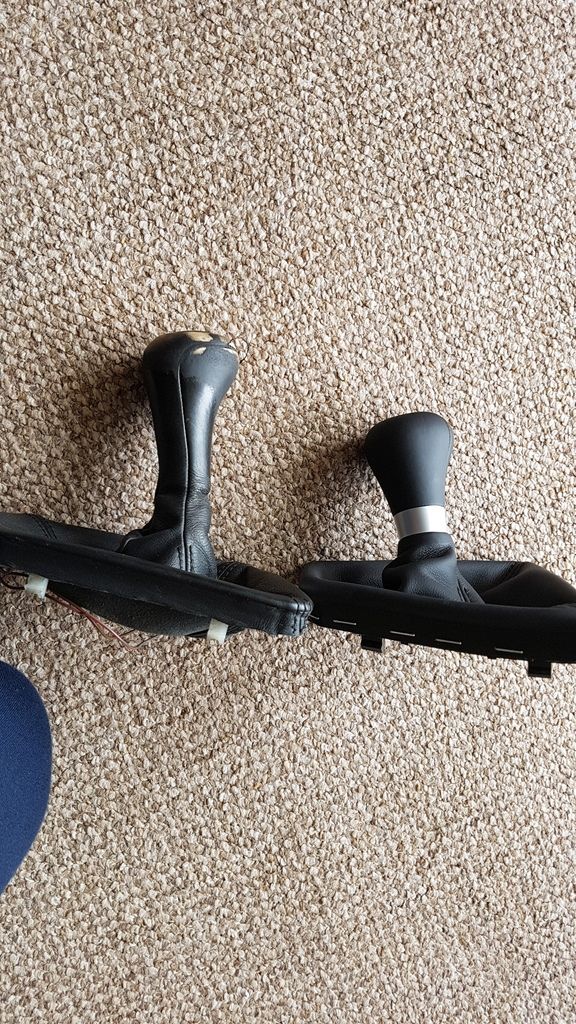
Same connectors
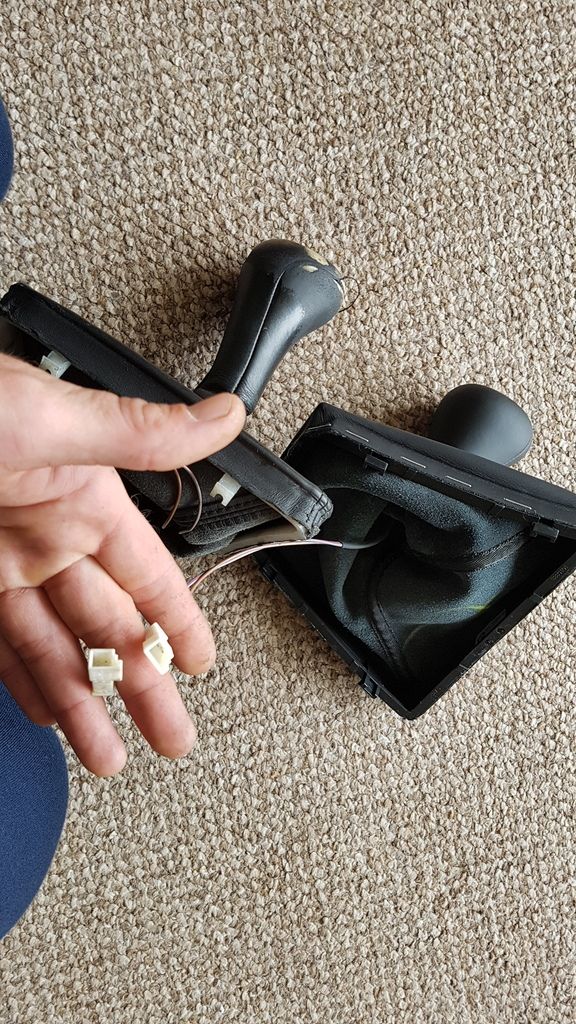
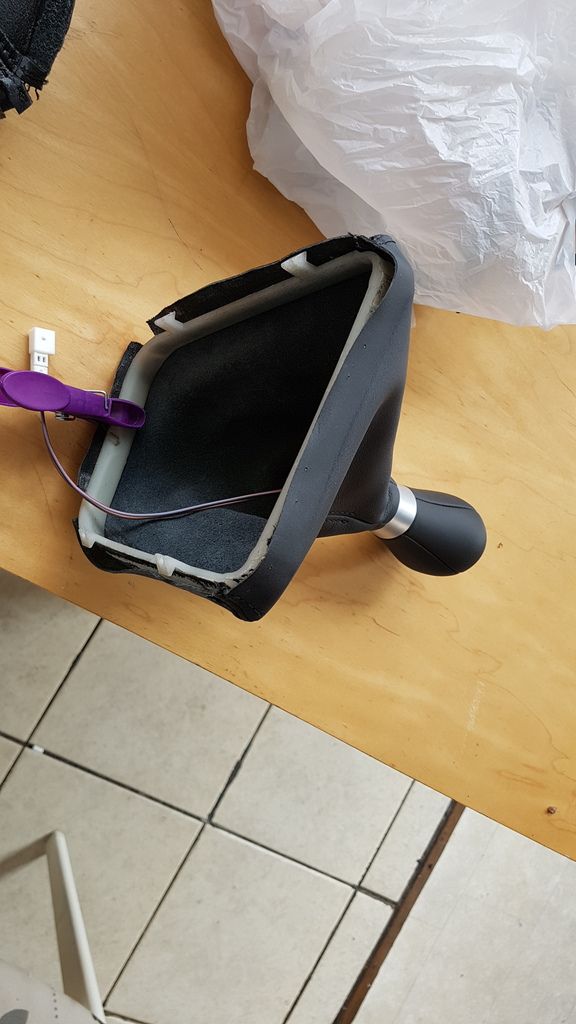
Pull the m3 one of the plastic surround
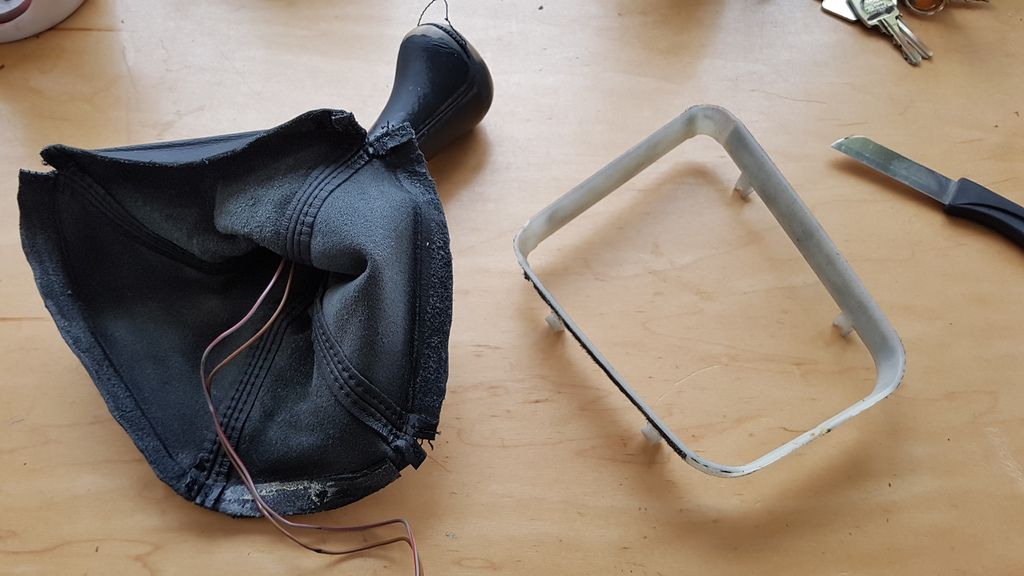
Unhook the staples on the m5 surround
Stretch m5 gator round the m3 surround
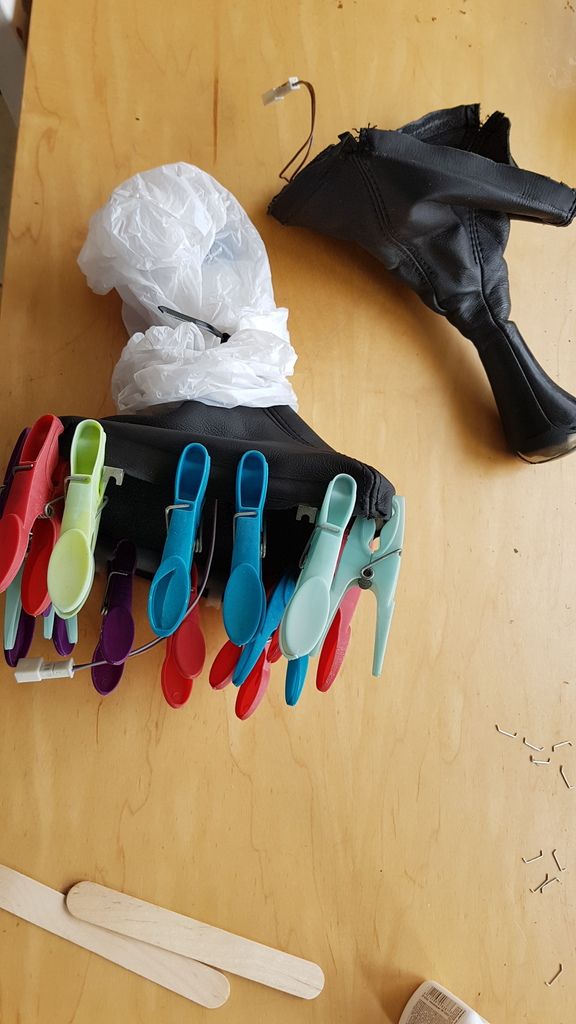
Placed a bag over as I didn't want a y glue or marks on the knob, glue and peg in place
Rouge engerneering short shifter
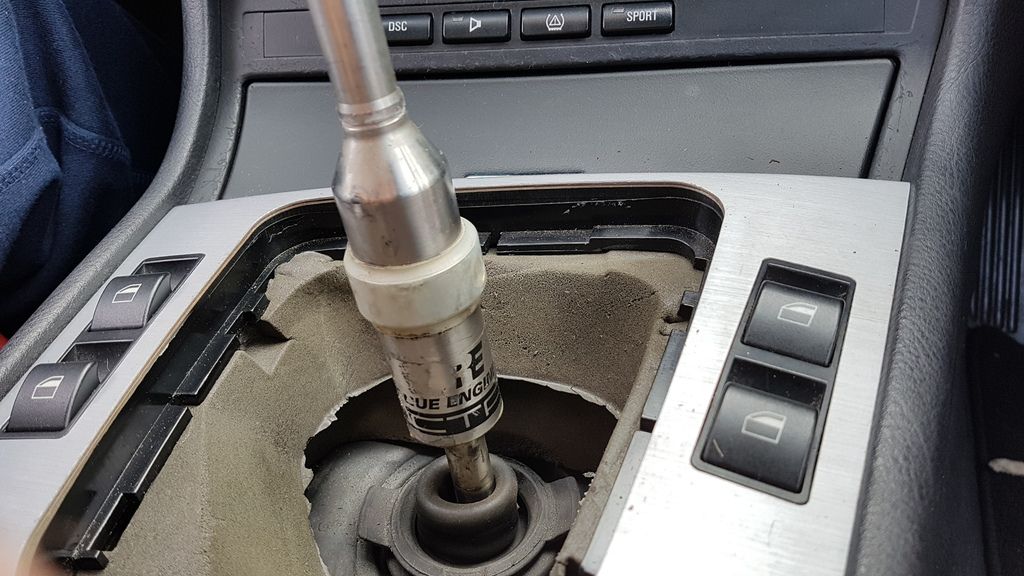
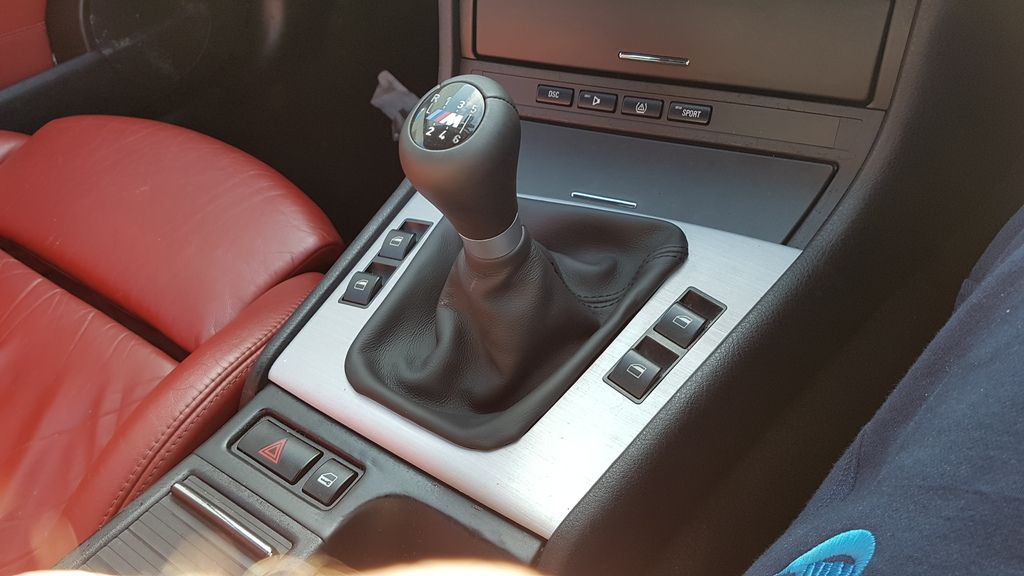
The m5 knob is A LOT heavier than the m3 one gear changes feel about better with the extra weight looks good too and still illuminates
Old and new


Same connectors

Pull the m3 one of the plastic surround

Unhook the staples on the m5 surround

Stretch m5 gator round the m3 surround

Placed a bag over as I didn't want a y glue or marks on the knob, glue and peg in place

Rouge engerneering short shifter


The m5 knob is A LOT heavier than the m3 one gear changes feel about better with the extra weight
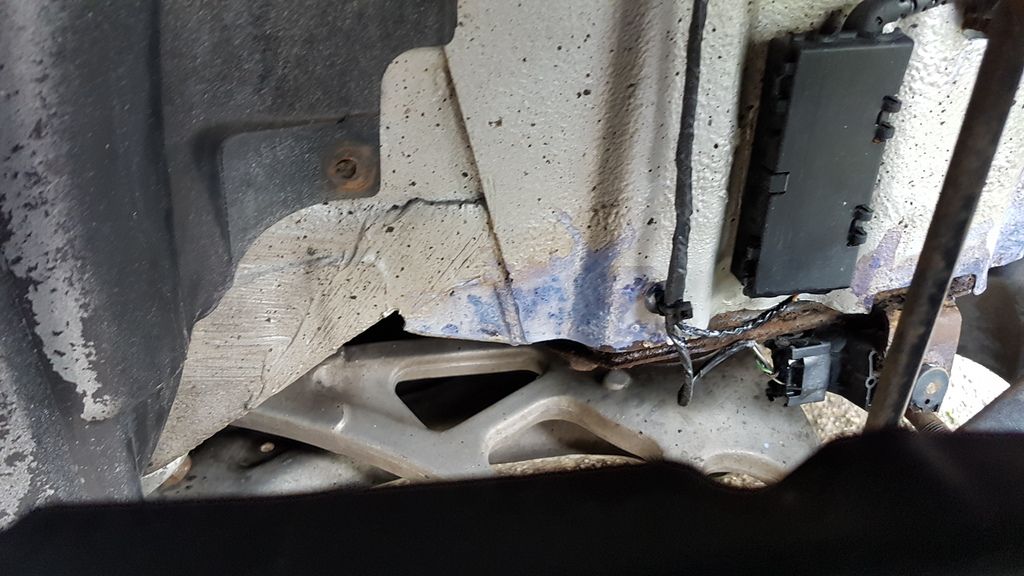
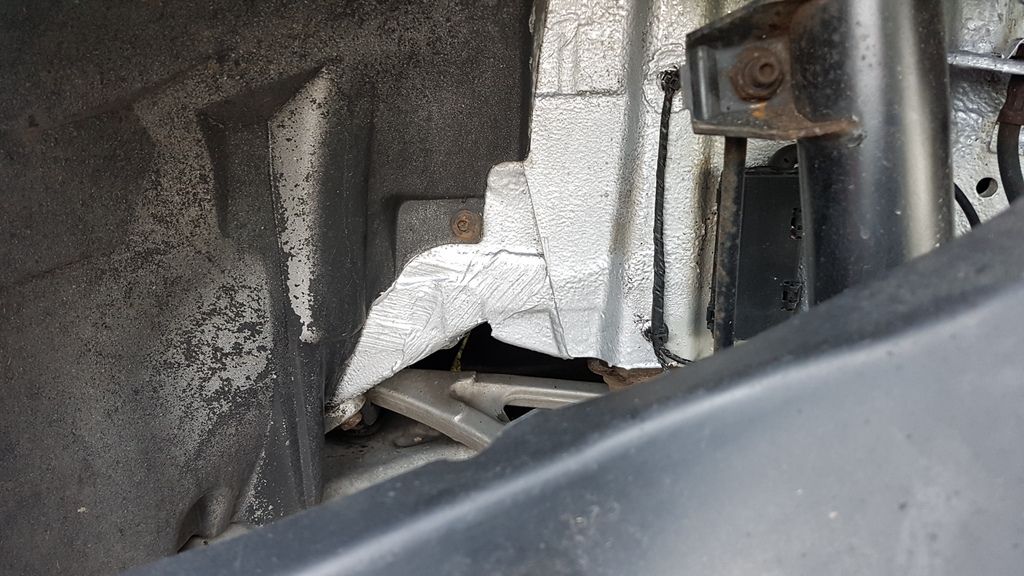
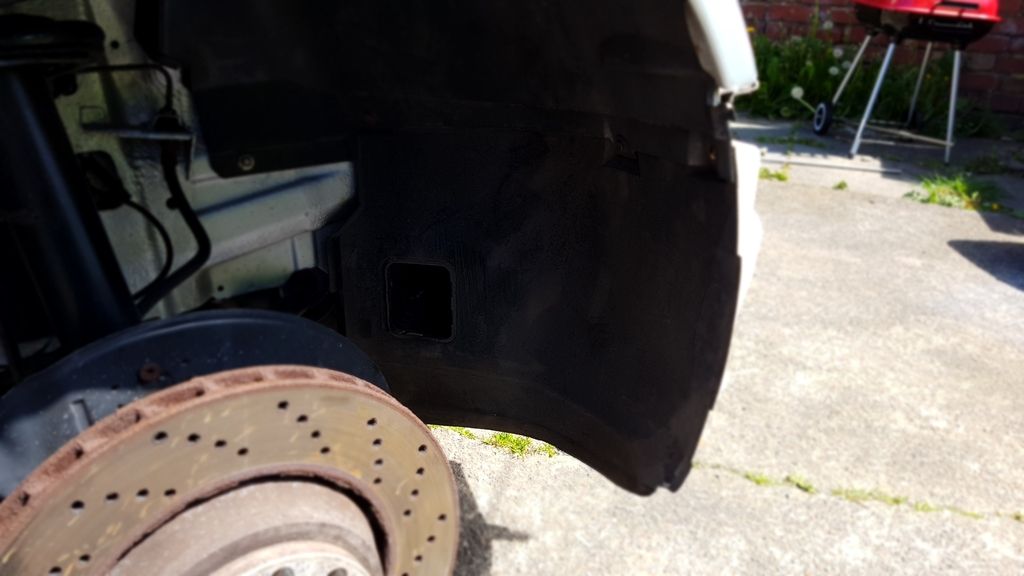
looks good too and still illuminates Well today I was going to tackle bits of rust under the front arch liner , it spiralled out of control.....

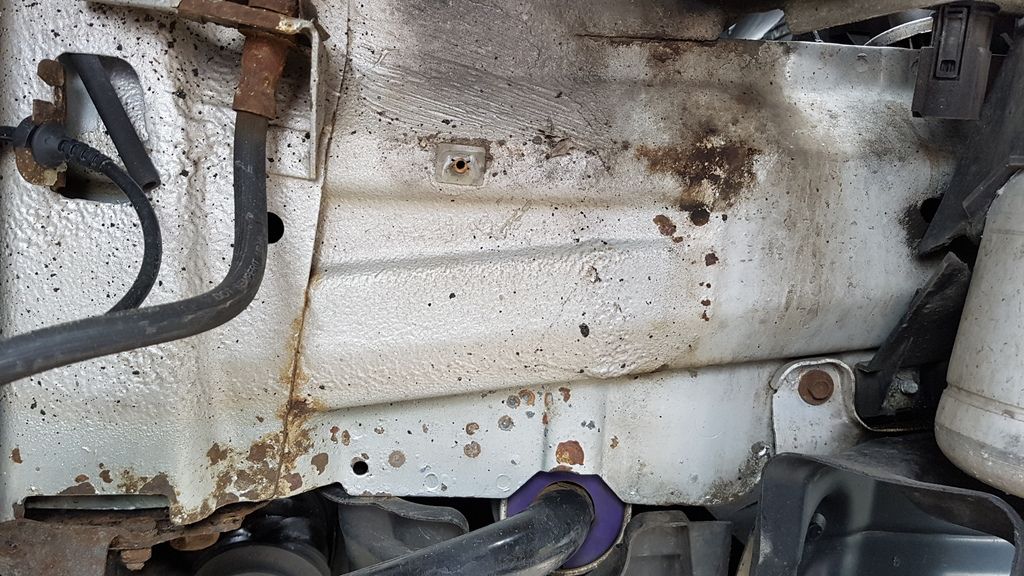
Not that bad, got the dremel out and then used some hammerite krust rust converter and then painted on top with silver hammerite looks good does the job , Will take the rear bit of arch liner off tomorrow you have to undo the metal tray underneath but I need my axle stands and there at my pals
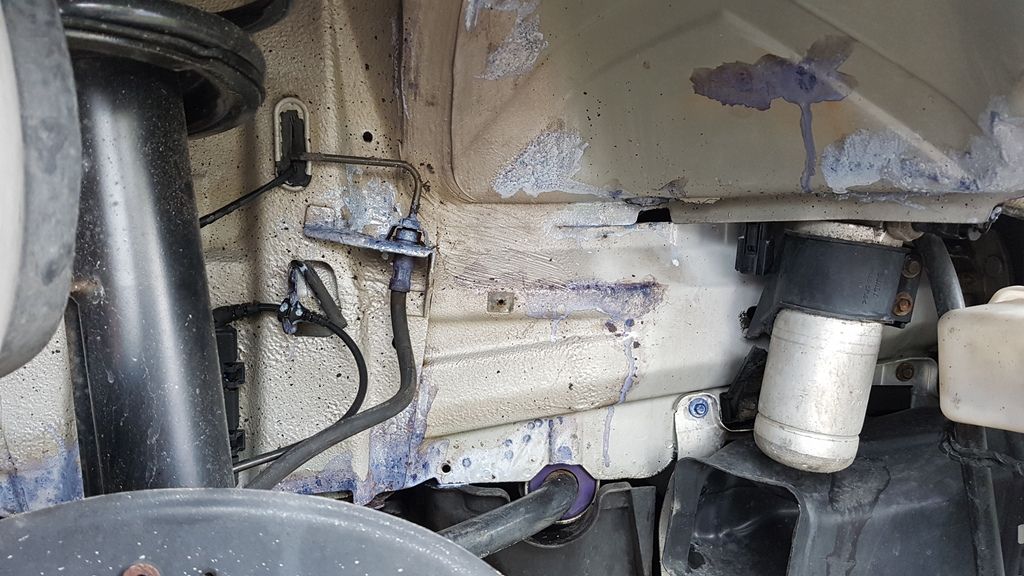
Much better
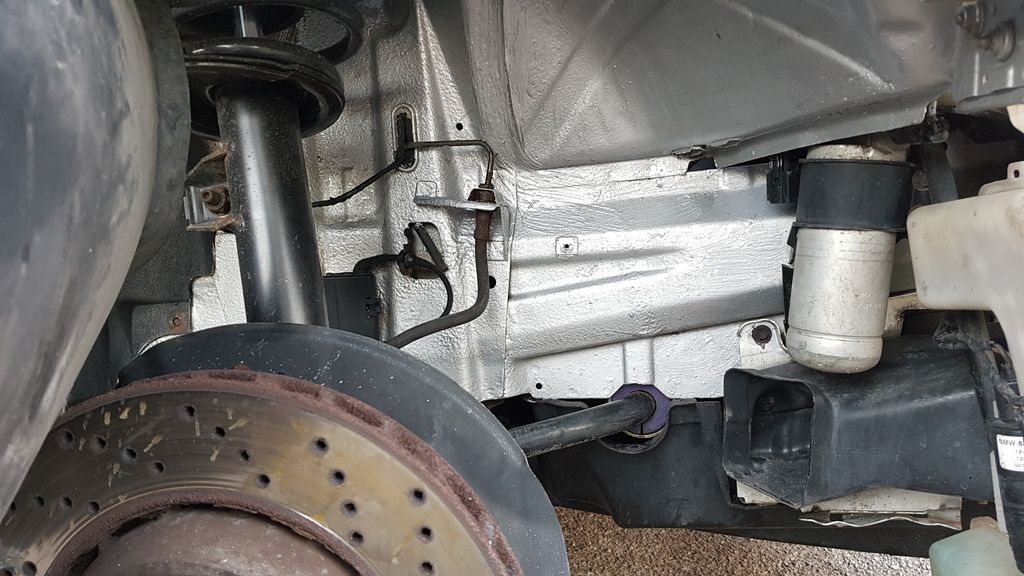
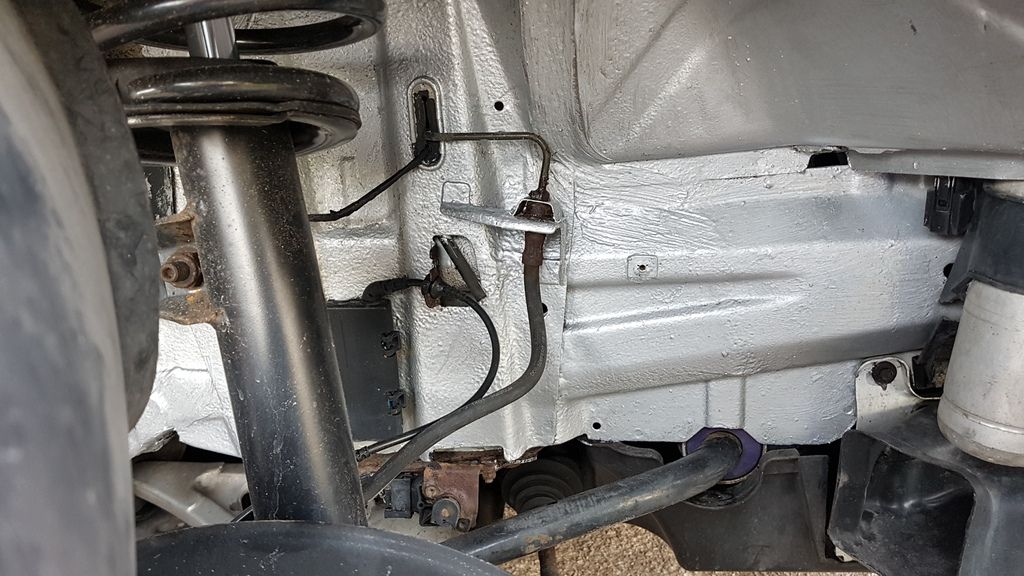
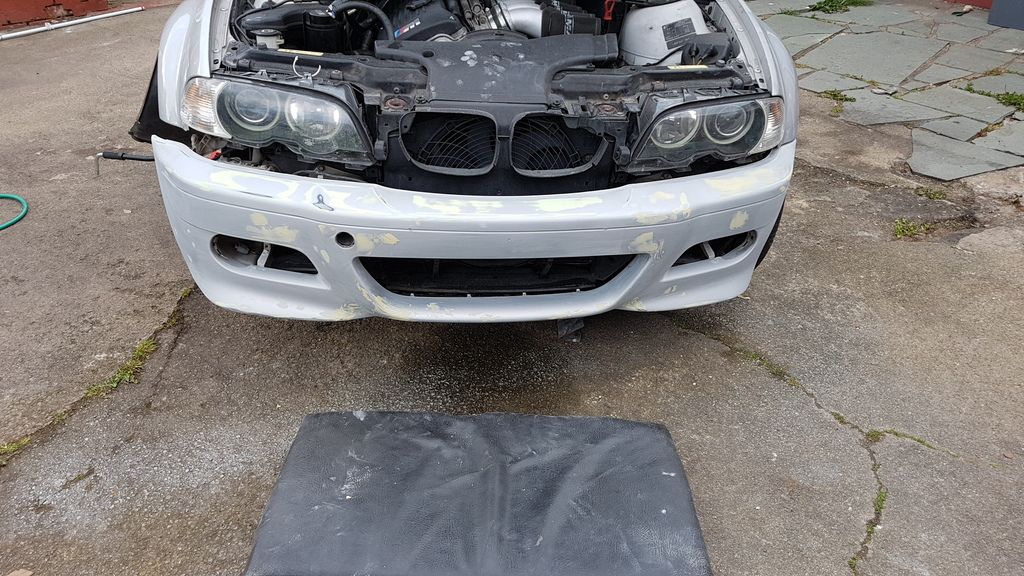
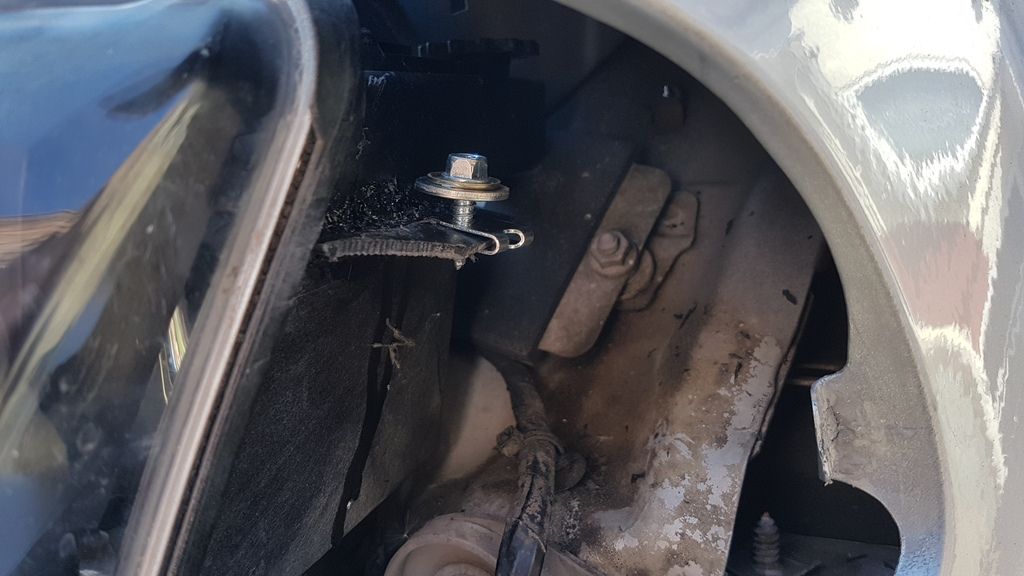
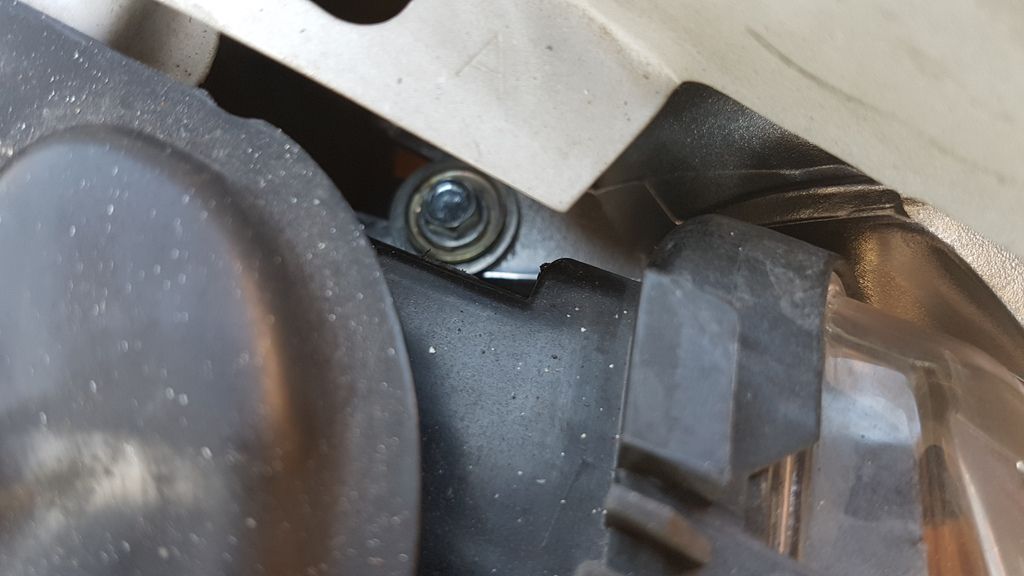
Now I have a new arch liner to go in cause mine was cracked everywhere and the lower arch bit that the bumper bolts to was near enough missing below illustrates this
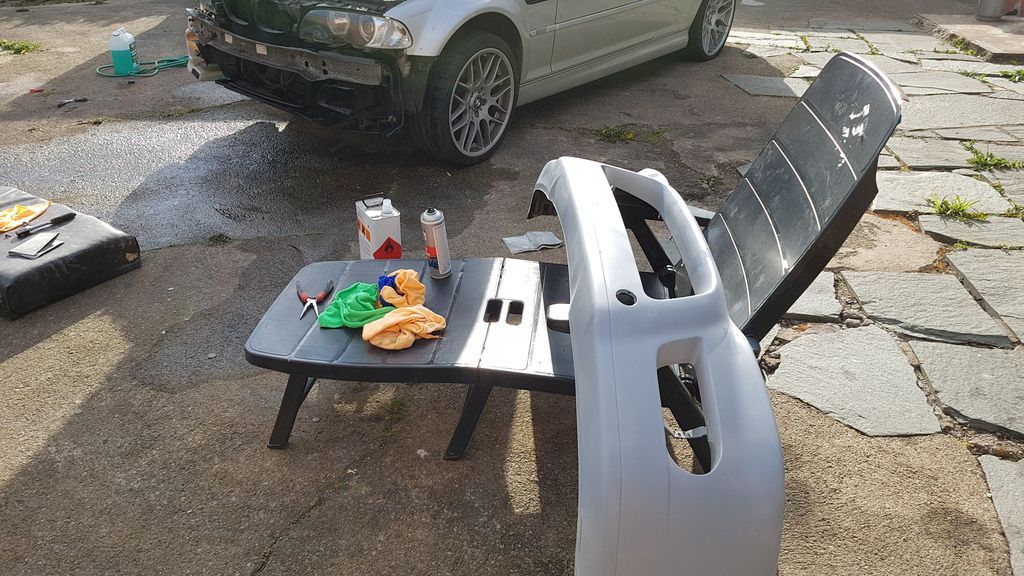
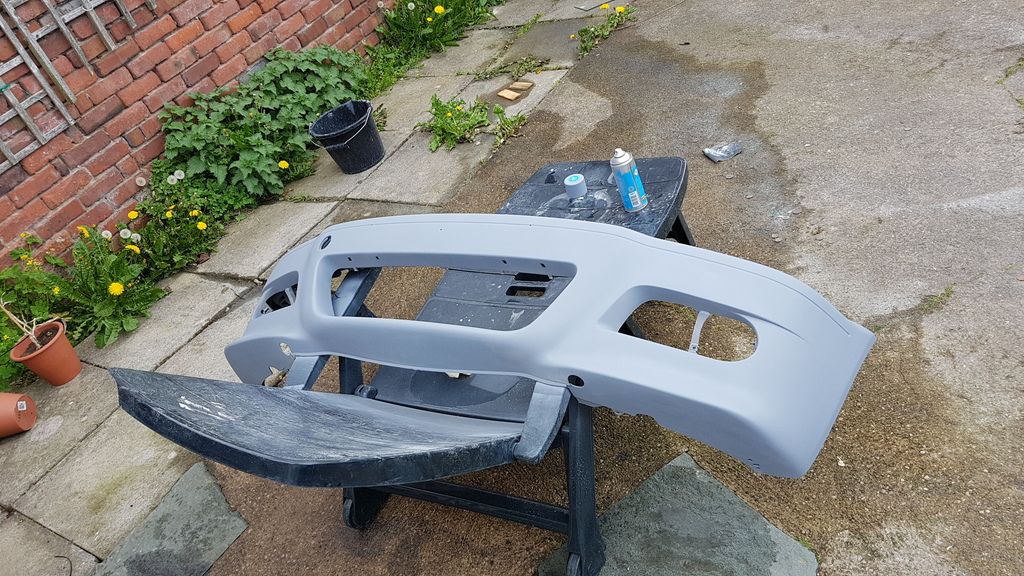
So I kept looking at the bumper and I thought well it's got stone chips lacquer has peeled on some bits and it just looks st sooooooooo
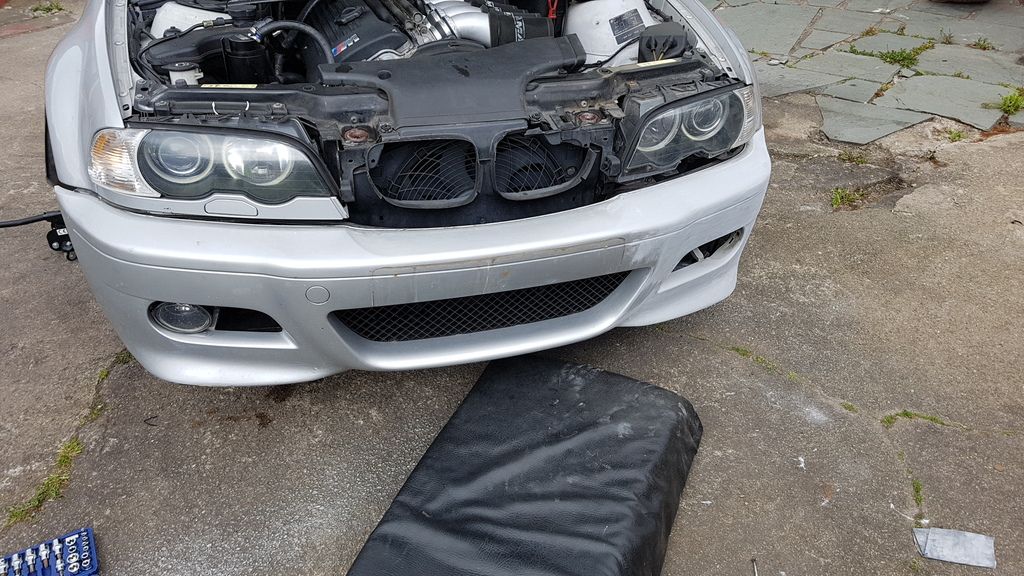

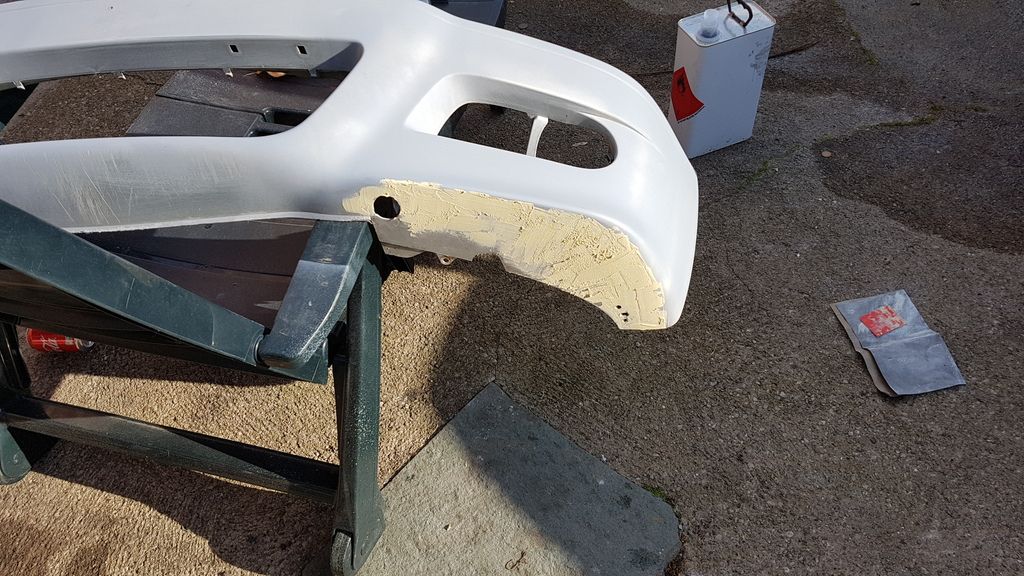
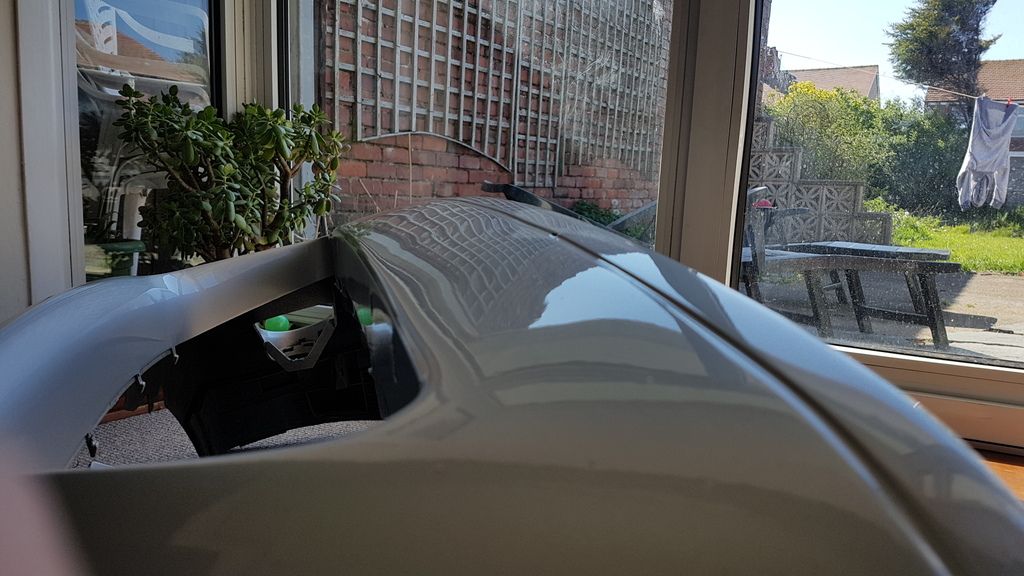
After I sanded the last of the filler down I hit it with some primer just to see if I missed anything and 2 little stone chips appeared sorted them and started the underside it was scratched to hell and broke in parts so fibreglassed it where it met a few curbs and finished it with filler , but ran out of sandpaper and it was 7 so I gave up for the day , I can borrow my mates booth Wednesday for 2 hours so I'm going to paint it then and let it sit for a few days , good job I have my e91 on the road now


Not that bad, got the dremel out and then used some hammerite krust rust converter and then painted on top with silver hammerite looks good does the job , Will take the rear bit of arch liner off tomorrow you have to undo the metal tray underneath but I need my axle stands and there at my pals


Much better


Now I have a new arch liner to go in cause mine was cracked everywhere and the lower arch bit that the bumper bolts to was near enough missing below illustrates this
So I kept looking at the bumper and I thought well it's got stone chips lacquer has peeled on some bits and it just looks s
t sooooooooo


After I sanded the last of the filler down I hit it with some primer just to see if I missed anything and 2 little stone chips appeared sorted them and started the underside it was scratched to hell and broke in parts so fibreglassed it where it met a few curbs and finished it with filler , but ran out of sandpaper and it was 7 so I gave up for the day , I can borrow my mates booth Wednesday for 2 hours so I'm going to paint it then and let it sit for a few days , good job I have my e91 on the road now


Edited by clarkson22 on Monday 1st May 20:16
Edited by clarkson22 on Monday 1st May 20:20

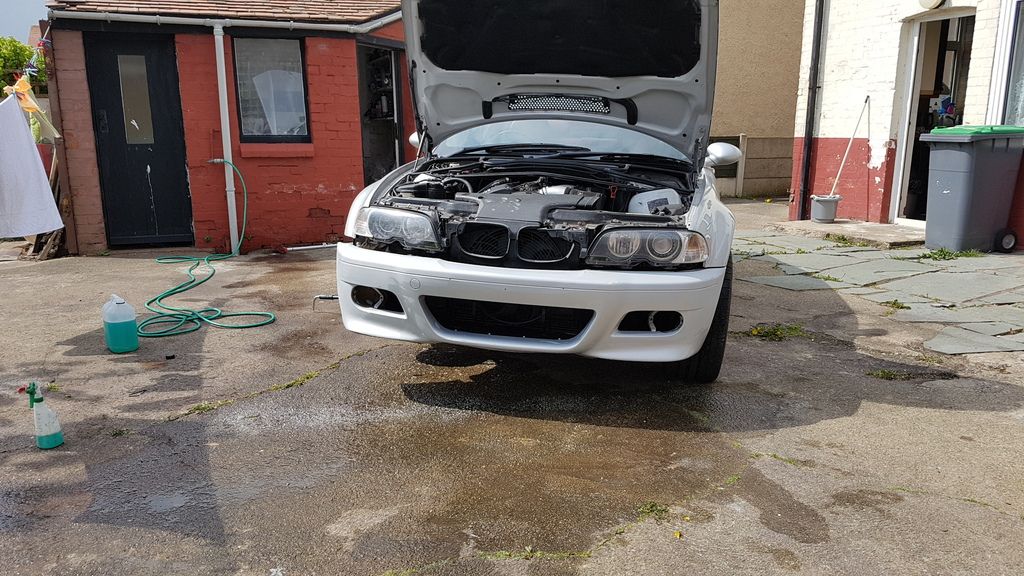
Cheers dude , and it is I'm taking advantage of my e91 so I can get the m3 back to mint,
Finished off the bumper today and sanded and primed the pieces under the headlights , ordered new fogs, headlight lenses , indicators and going to get some new plates.
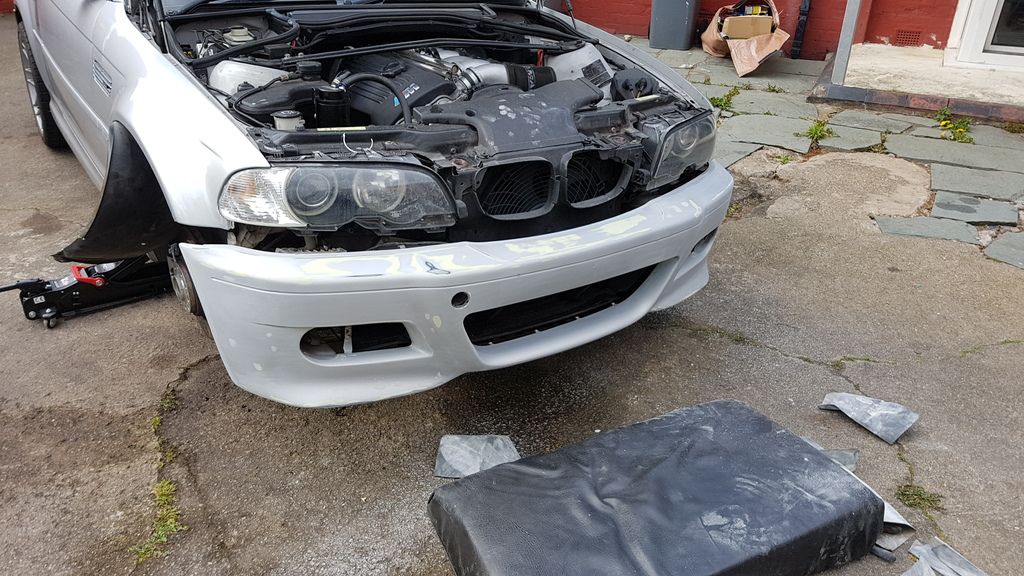
Sanded both undersides smooth
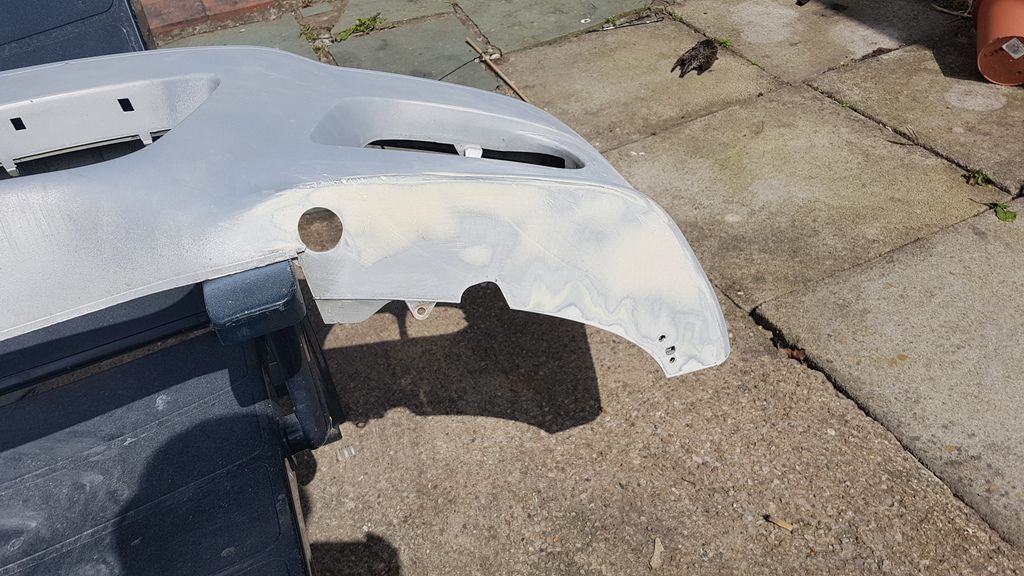
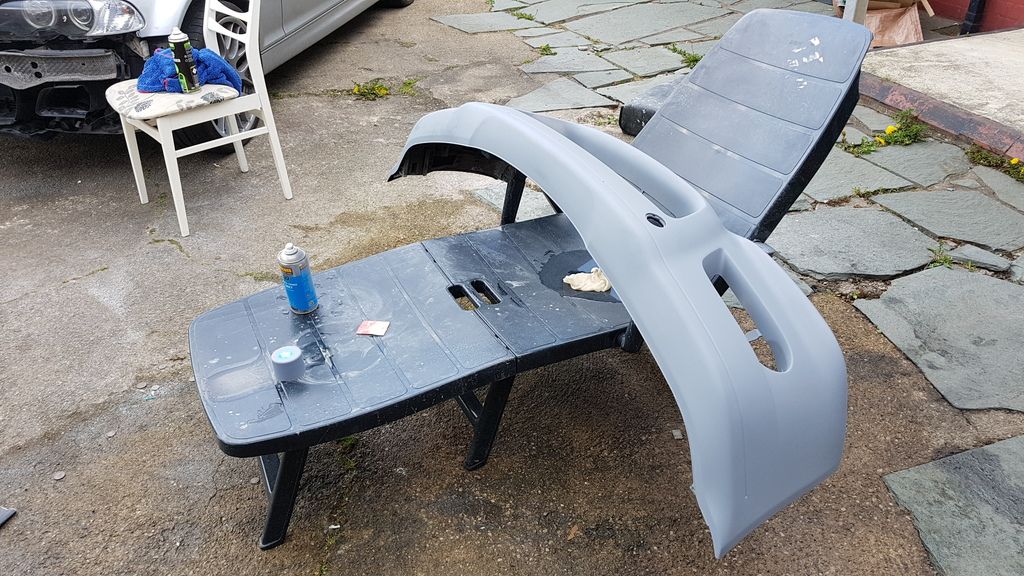
Ready for me to take to mates booth tomorrow morning
Finished off the bumper today and sanded and primed the pieces under the headlights , ordered new fogs, headlight lenses , indicators and going to get some new plates.
Sanded both undersides smooth


Ready for me to take to mates booth tomorrow morning
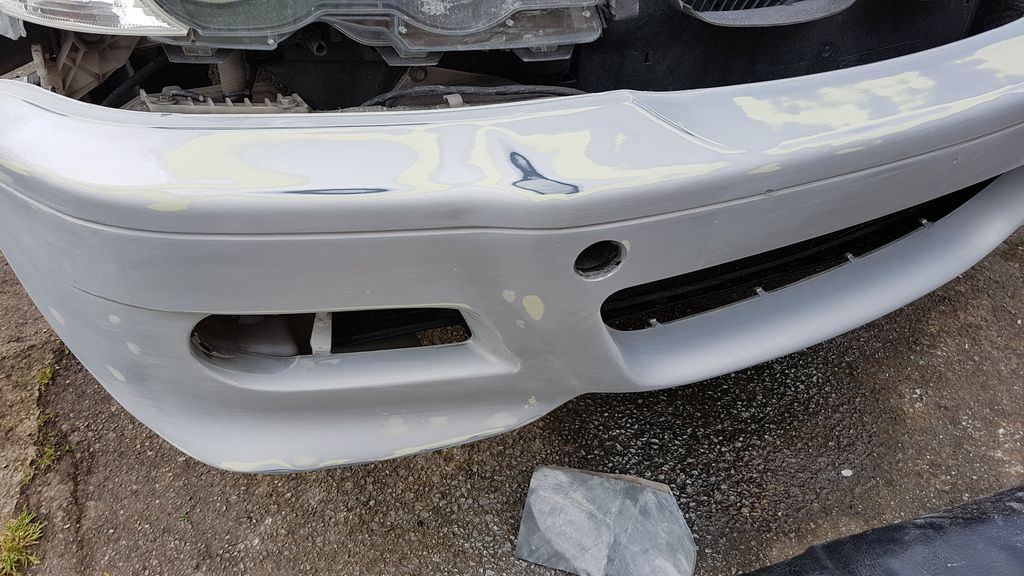
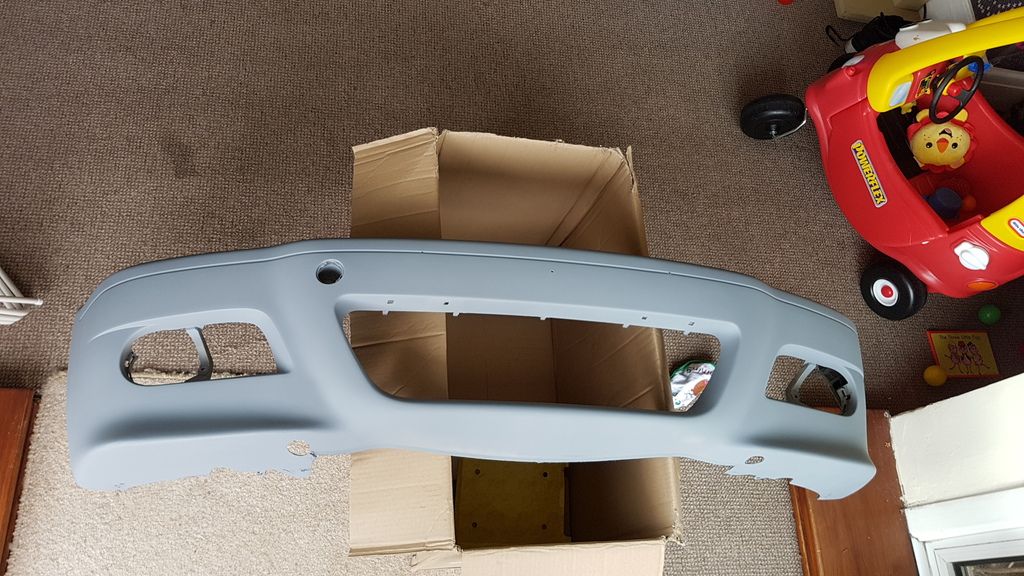
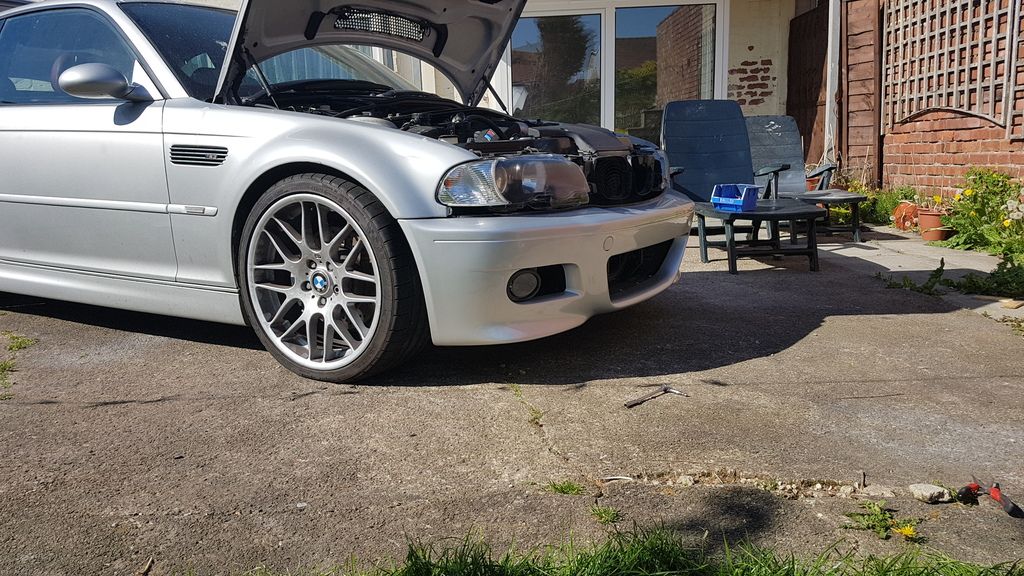
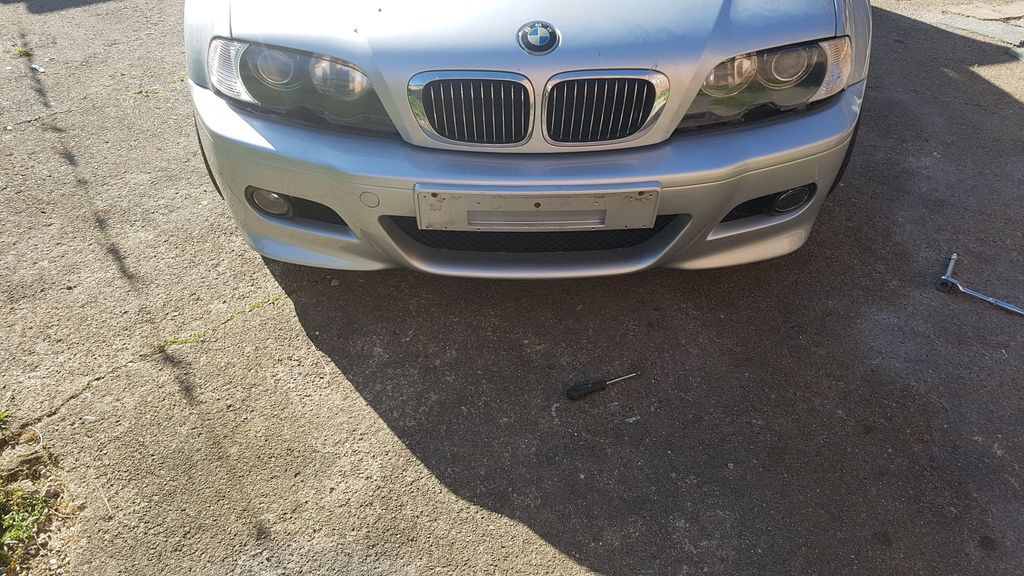
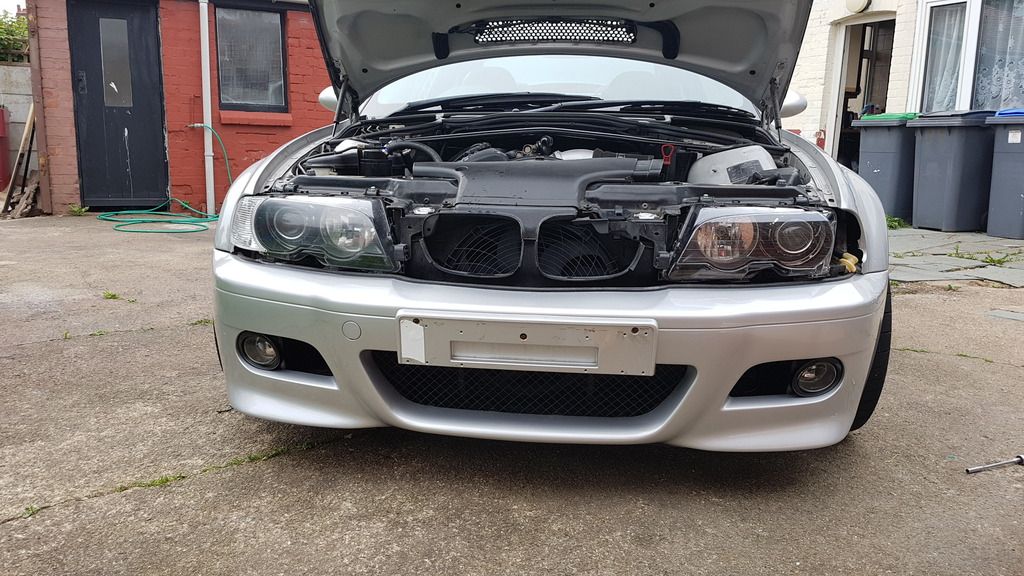
Got my bumper done , one little run on the underside , you can't see it so it will do! My new fogs came and indicators but I'm still waiting on my headlight lenses but did a bit to it today while sun was out
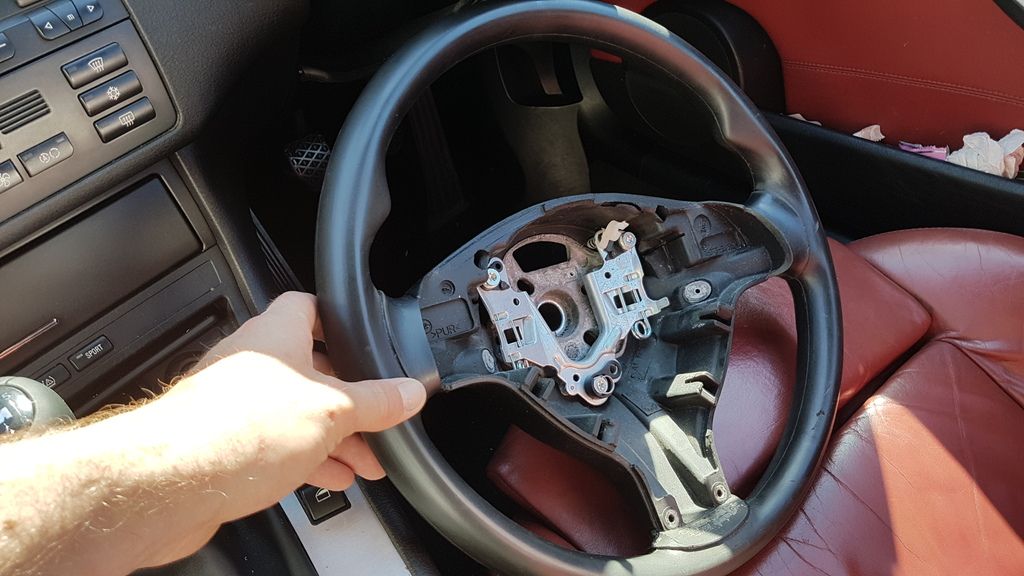
Wheel went to royal steering wheels on Friday
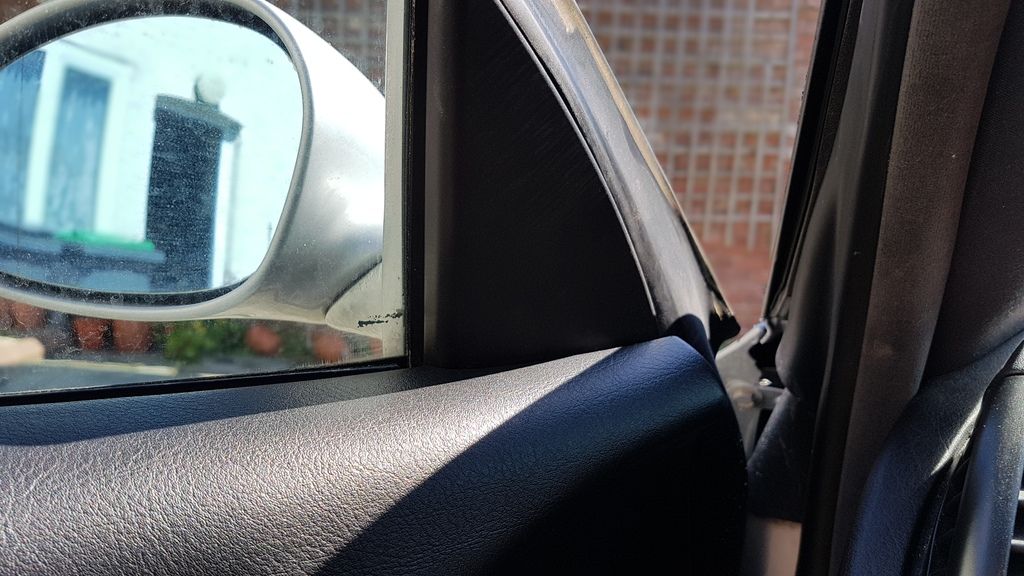
Got rid of the carbon wingmirror covers back to oem
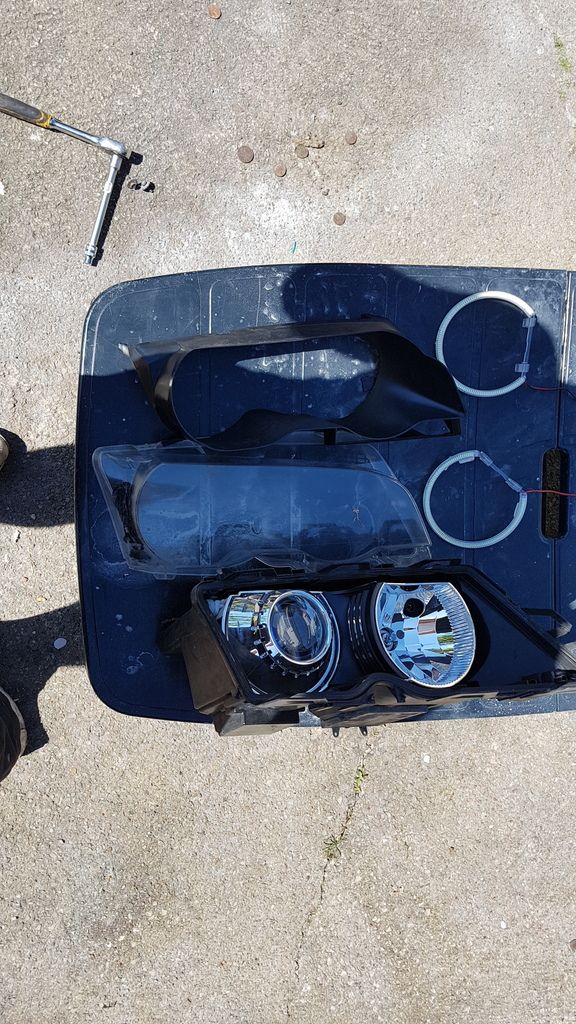
Got rid of the angels eyes , one of the resistors was melting plus I want to go back to oem
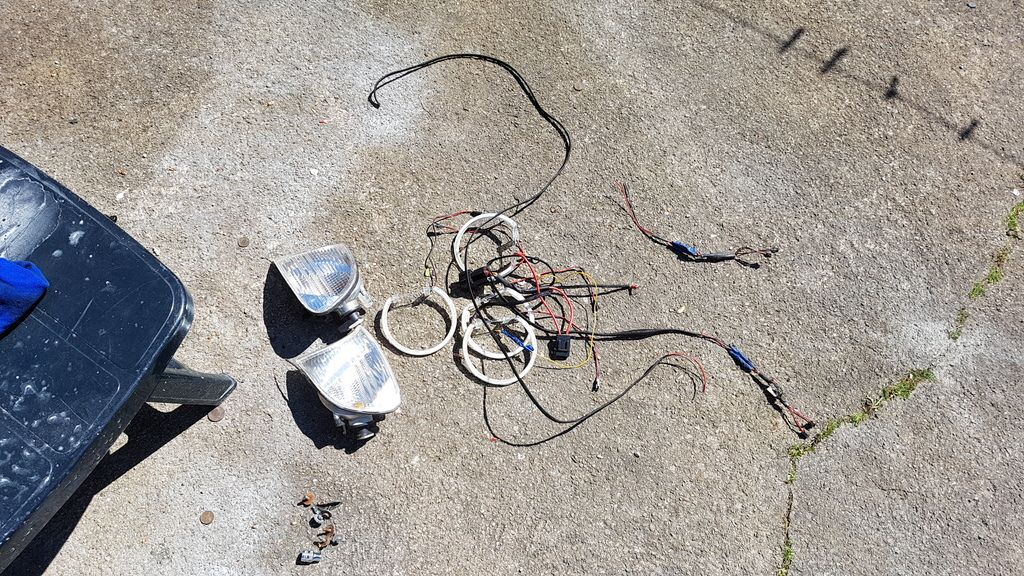
Old indicators and Angel eyes wiring for the bin
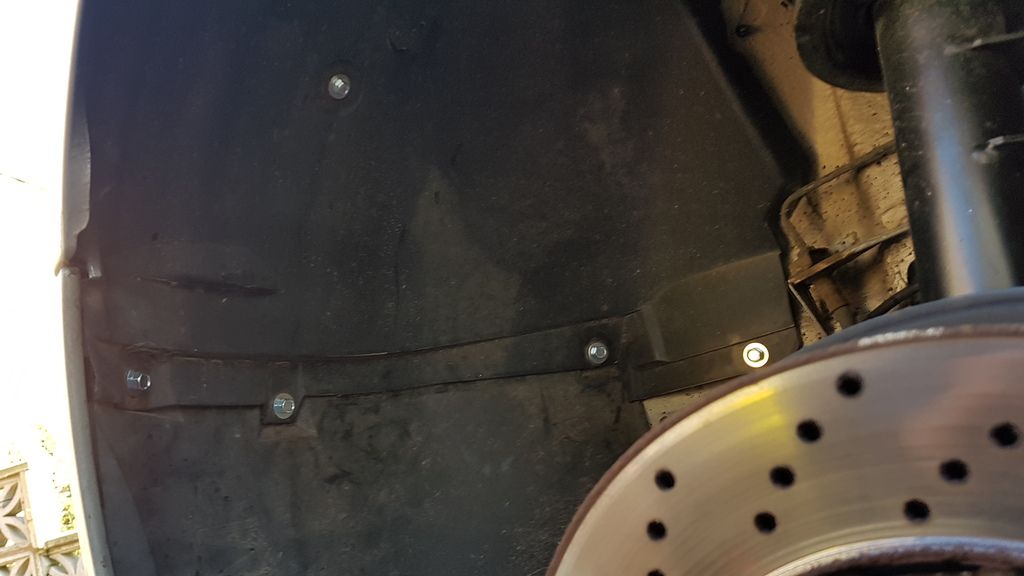
Replaced both lower arch liners now everything bolts up good
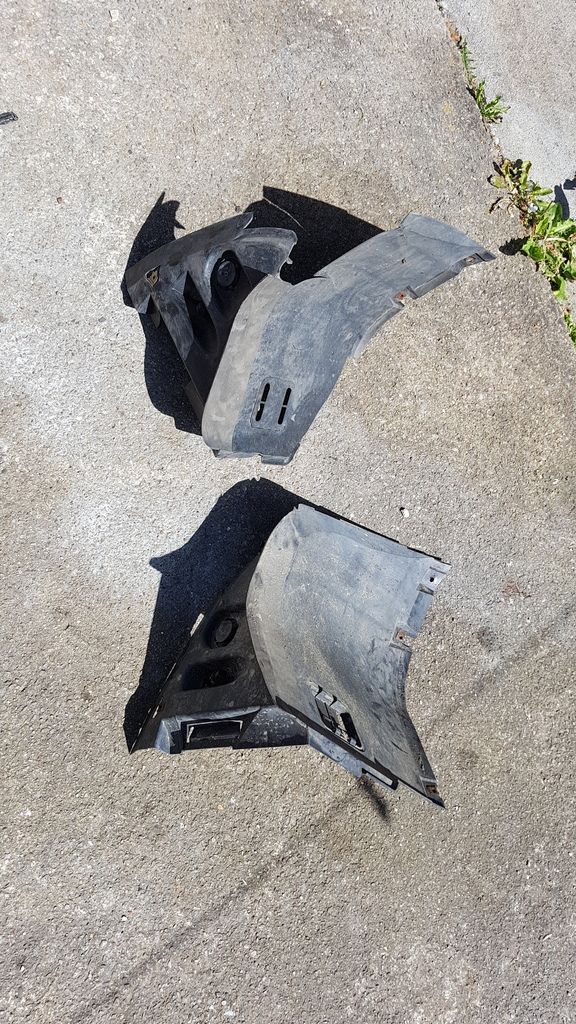
Non broken lower arch liner
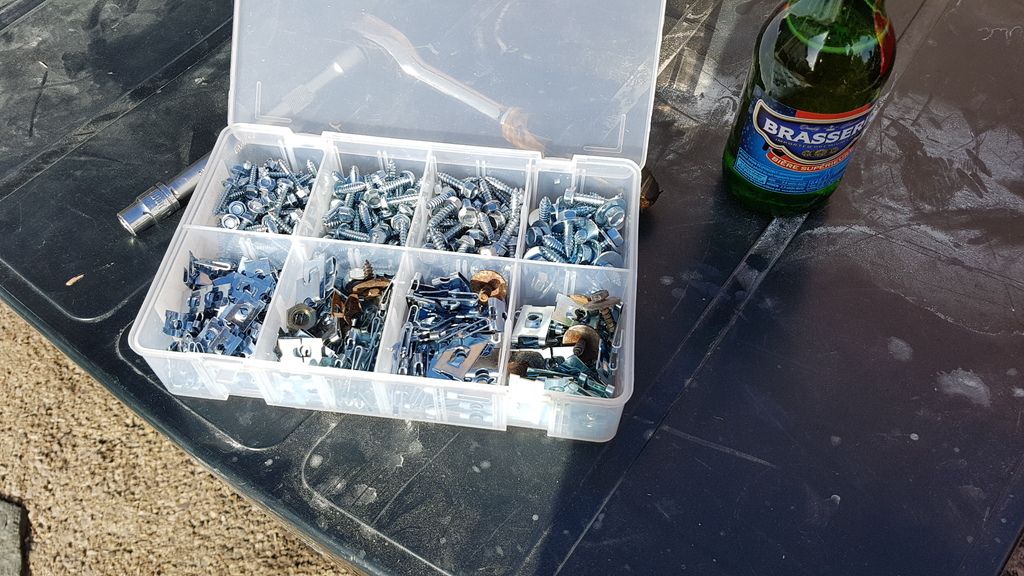
Bought a load of screw and fasteners to replace all the arch and bumper screws and clips not 're used one old bolt
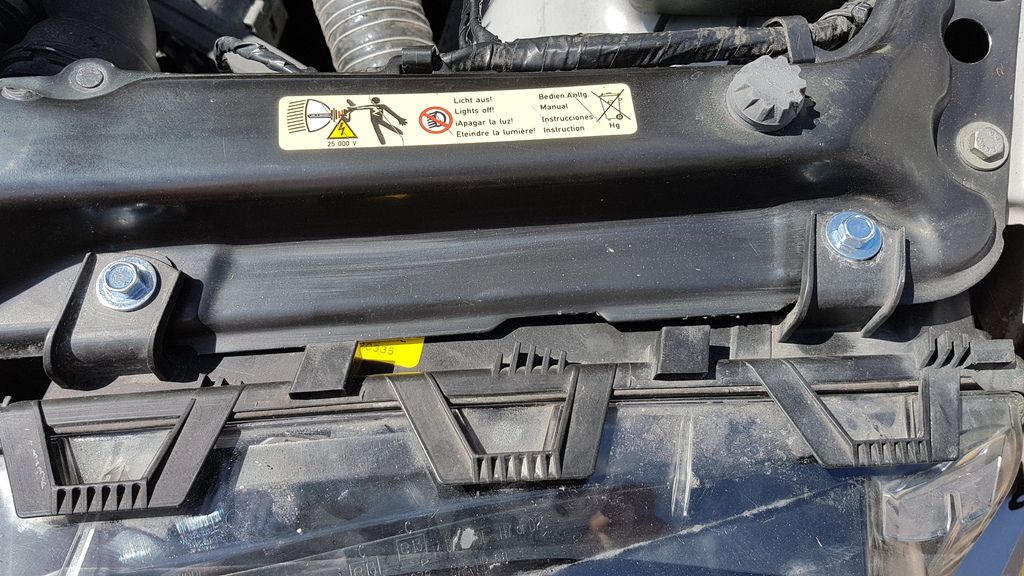
Headlight bolts replaced both sides
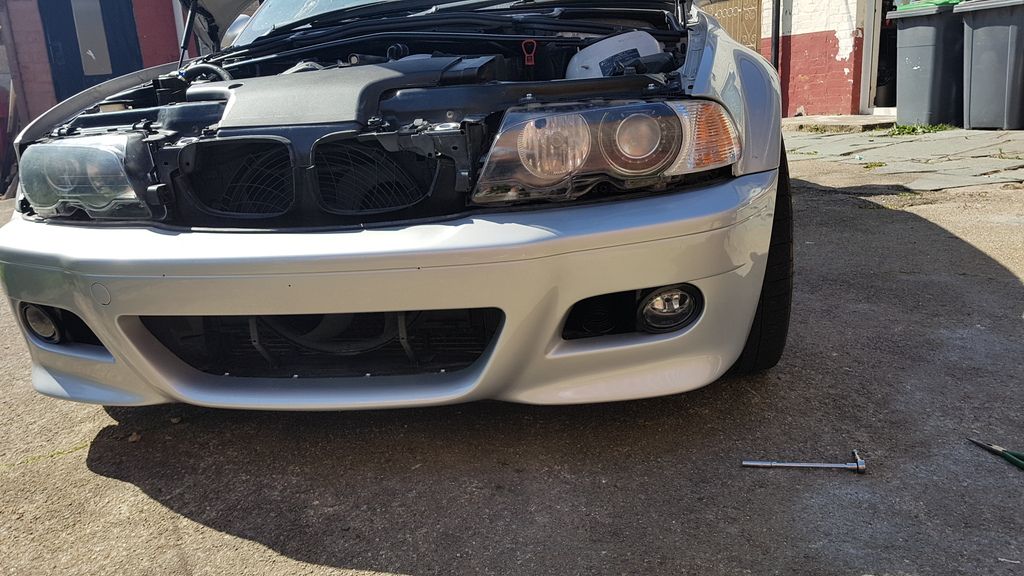
Bumper ready to go on
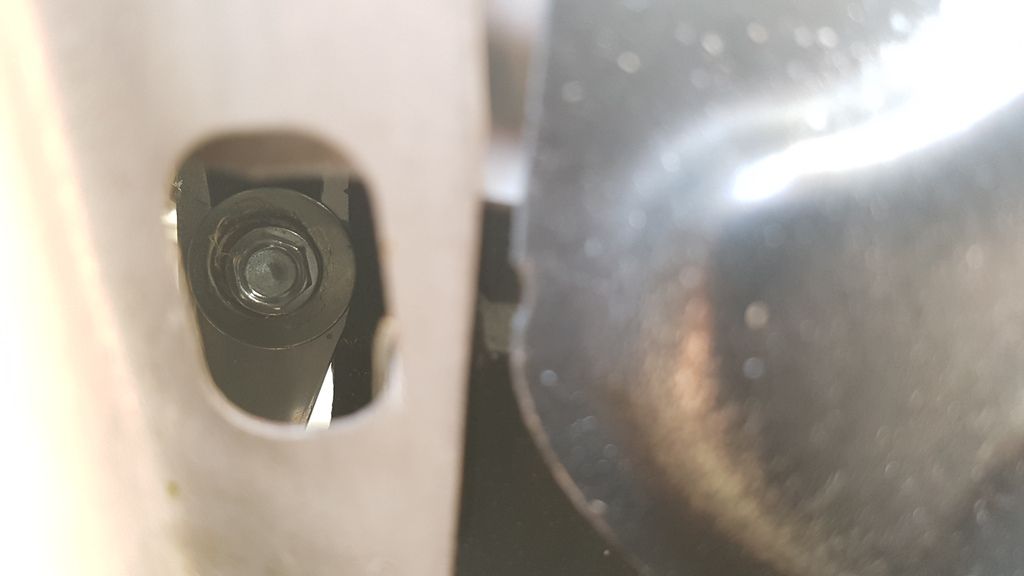
Trying to align bumper
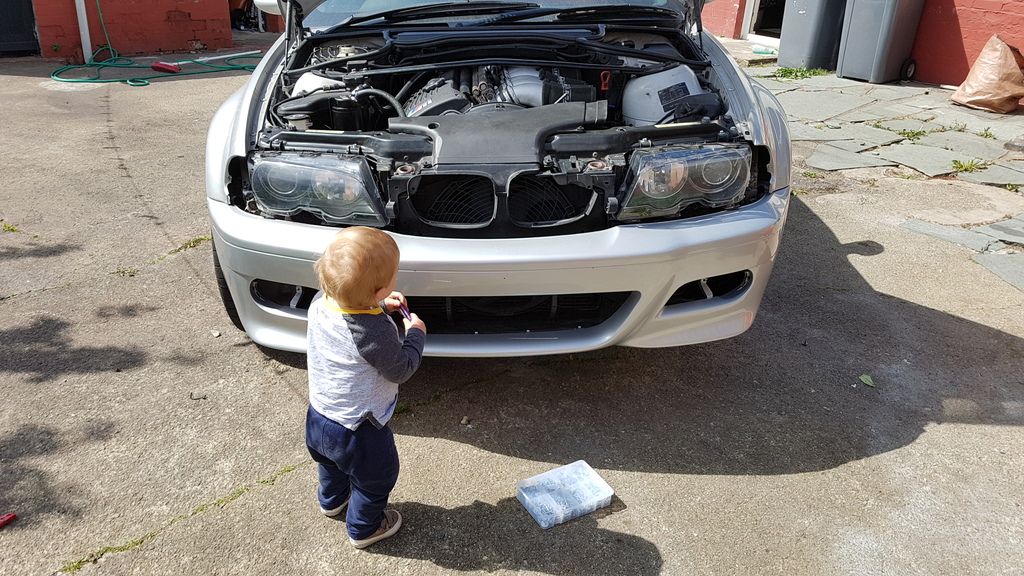
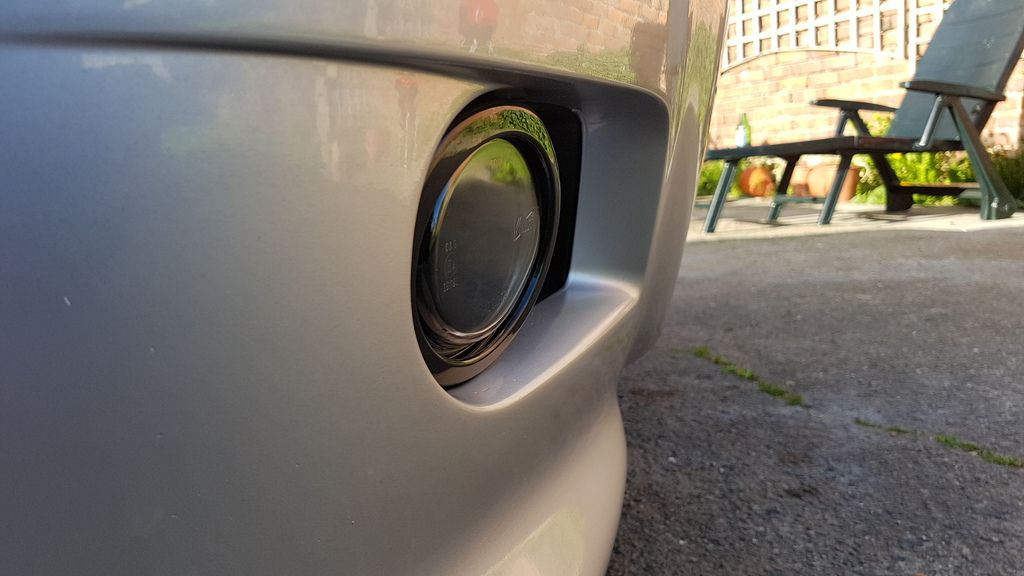
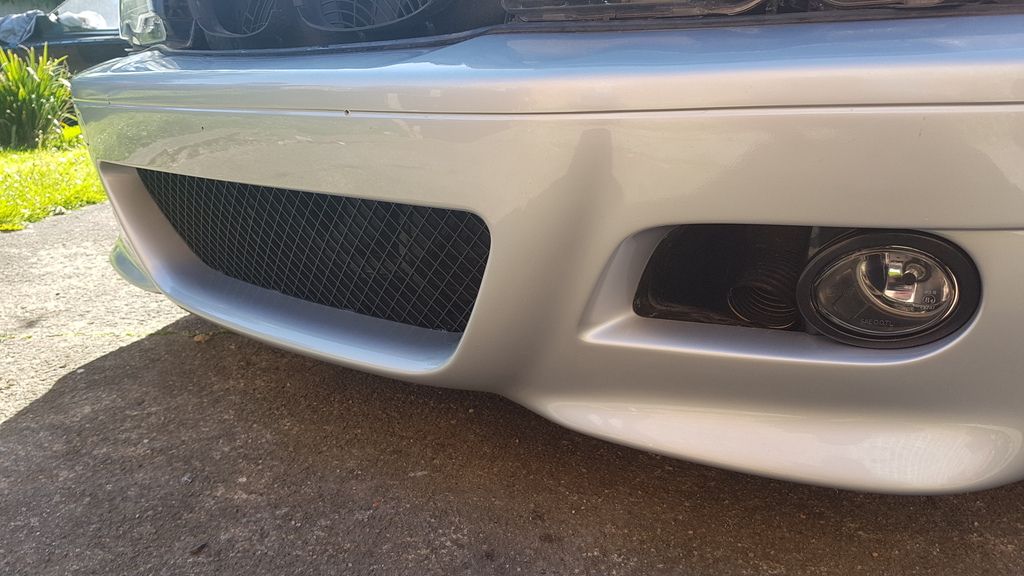
New fogs on
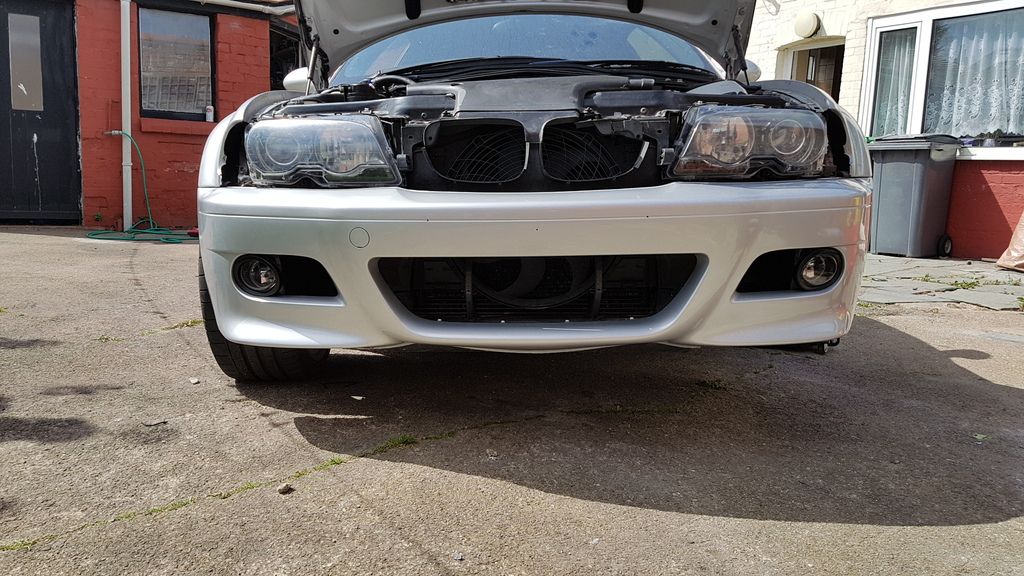

Will update once my headlight lenses arrive
Then I can sort the rear bumper , I'm thinking about a csl diffuser bit fully blended with the bumper I did find a picture with a red m3 with it done but can't find it now
Wheel went to royal steering wheels on Friday

Got rid of the carbon wingmirror covers back to oem

Got rid of the angels eyes , one of the resistors was melting plus I want to go back to oem

Old indicators and Angel eyes wiring for the bin

Replaced both lower arch liners now everything bolts up good

Non broken lower arch liner

Bought a load of screw and fasteners to replace all the arch and bumper screws and clips not 're used one old bolt


Headlight bolts replaced both sides

Bumper ready to go on

Trying to align bumper

New fogs on


Will update once my headlight lenses arrive
Then I can sort the rear bumper , I'm thinking about a csl diffuser bit fully blended with the bumper I did find a picture with a red m3 with it done but can't find it now
Headlight lenses came...sent me ones for a prefacelift estate/saloon .God sake so I got on with making brackets for the indicators , the original brackets were both snapped off that hold the indicator at side of headlight, the indicators have always been siliconed onto the headlight (another reason for new covers) so some plastic welding some strong glue and u clip and boom it works
Ghetto but it works
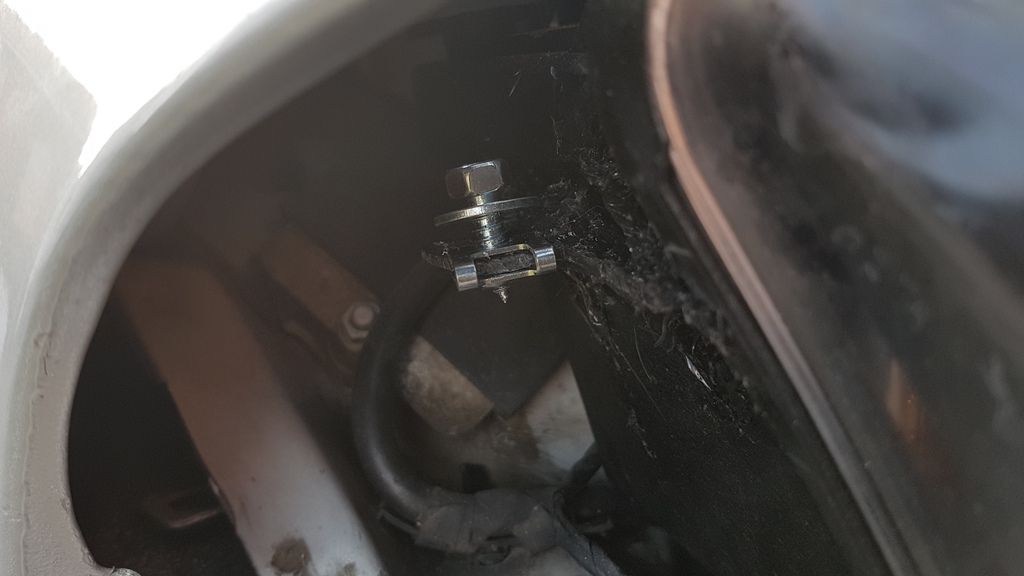
Above the bracket with no clip
Otherside
Extra washer to clamp it all
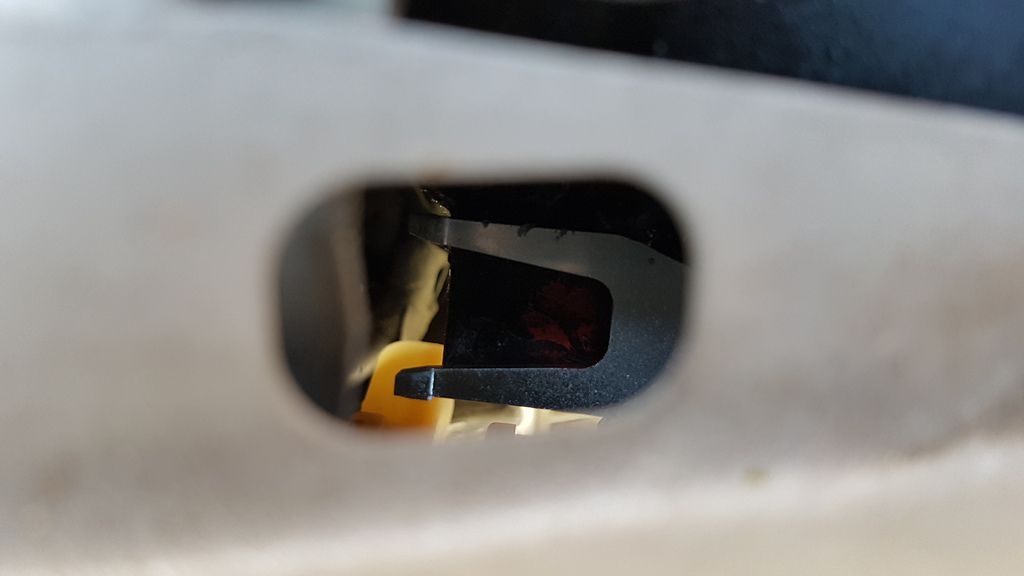
Can still tighten and loosen through the oem hole and with it tightened
Otherside
Nice and tight and no sealant!
Sprayed my grill as it was fading grey
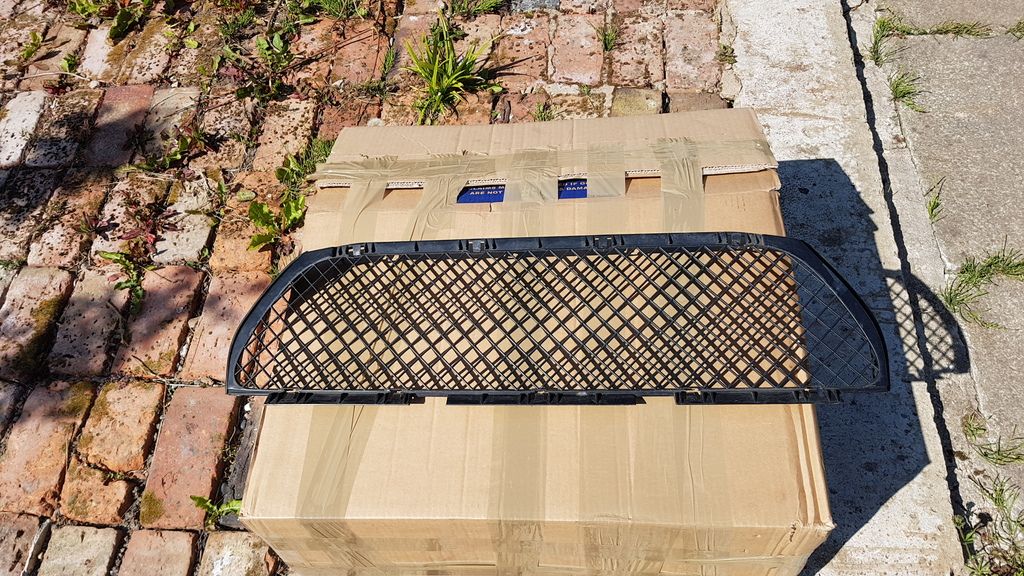
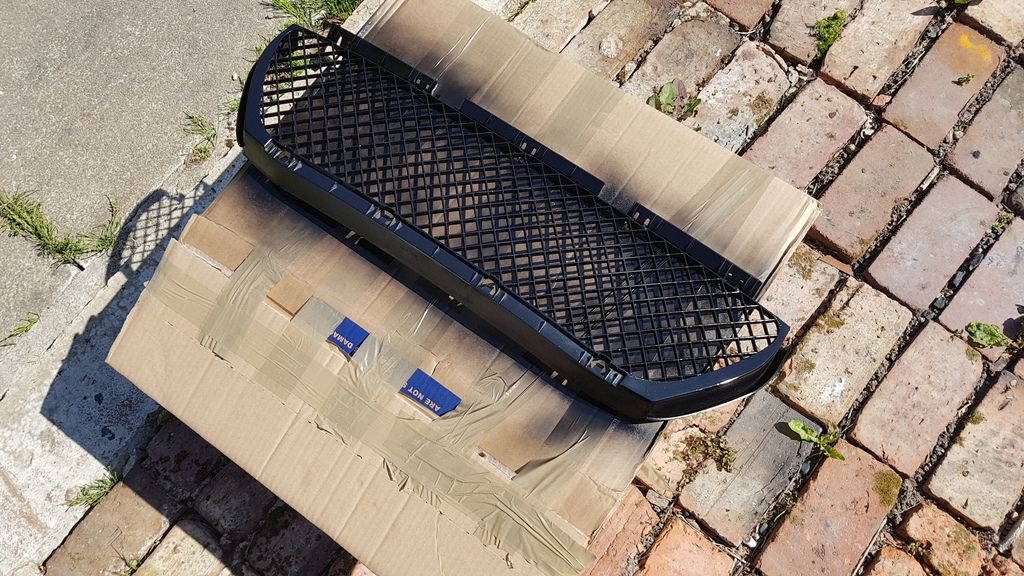
And it on after 3 hours baking
License plate holder back on getting new plates for the 'fresh' look
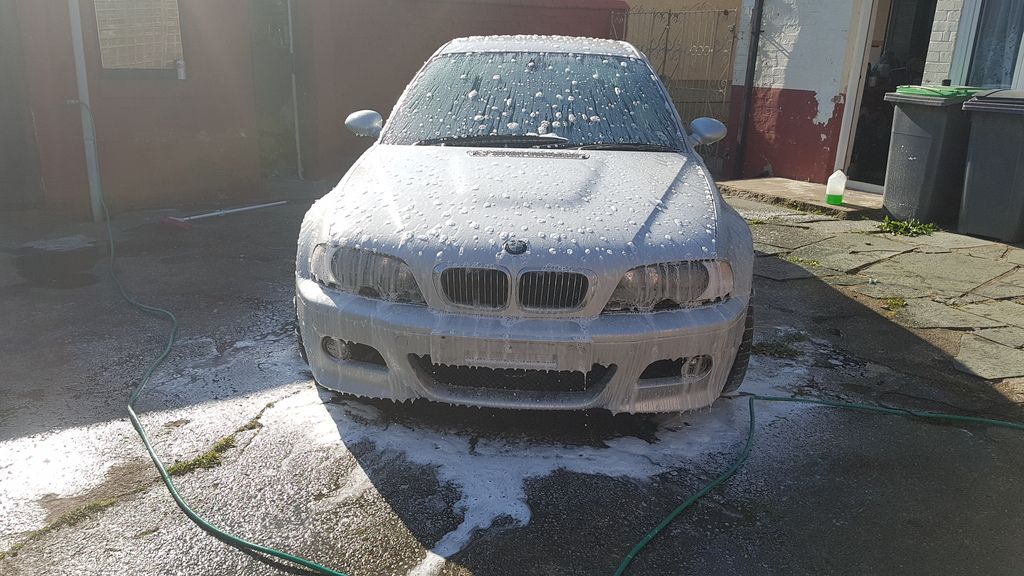
Then gave it a clean , it was full of bird crap and a fine tint of red dust from next doors work
When I finally get my headlight covers I can put the headlight washer trim back and time to move on to the rear bumper.
Ghetto but it works


Above the bracket with no clip

Otherside

Extra washer to clamp it all

Can still tighten and loosen through the oem hole and with it tightened

Otherside


Nice and tight and no sealant!
Sprayed my grill as it was fading grey


And it on after 3 hours baking

License plate holder back on getting new plates for the 'fresh' look

Then gave it a clean , it was full of bird crap and a fine tint of red dust from next doors work

When I finally get my headlight covers I can put the headlight washer trim back and time to move on to the rear bumper.
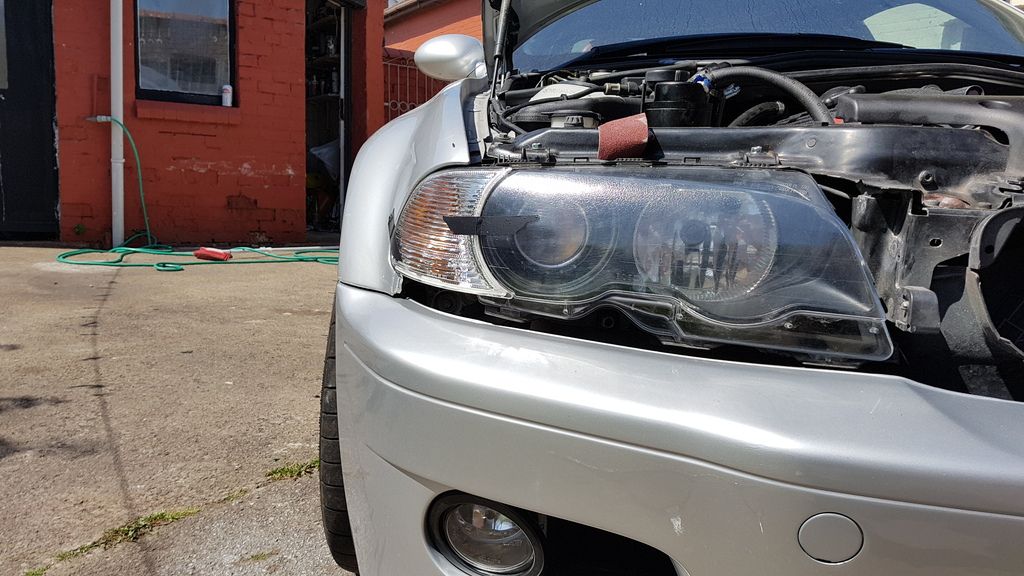
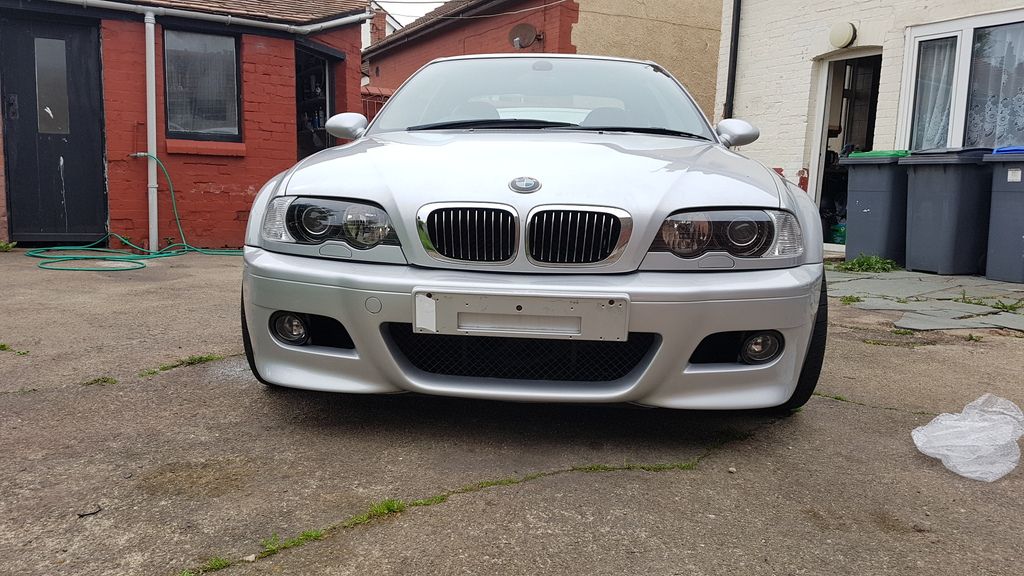
Well headlight lenses came today so fitted them and the headlight washer trim got my metal pressed plates ready to go just waiting on 3m sticky tape to arrive , and still waiting in my wheel from Jack at royal steering wheels any who
De tangoed
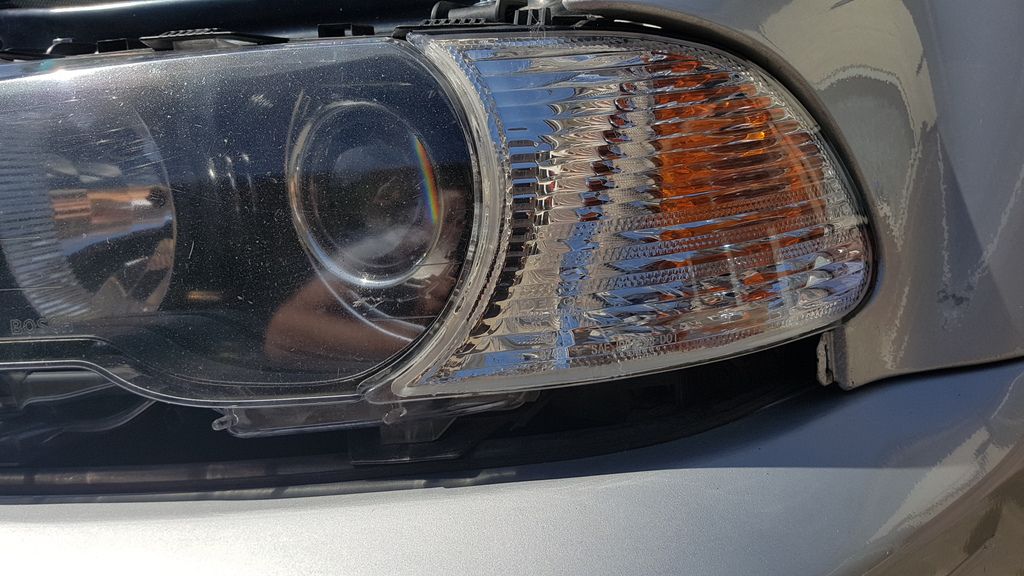
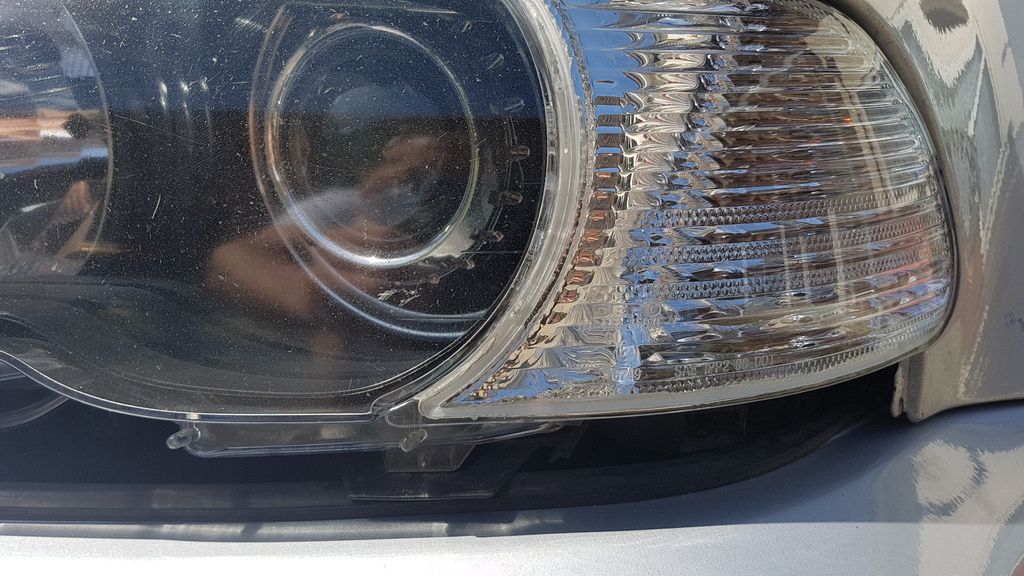
They are old headlights still
They look worse in person

New right, old left
Yes I have a black side grill I stood on my chrome one cleaning it
I have a new bonnet badge as that one has faded bad already, I'm going to give the new one a few coats of lacquer
Will update soon
De tangoed


They are old headlights still
They look worse in person

New right, old left


Yes I have a black side grill I stood on my chrome one cleaning it


I have a new bonnet badge as that one has faded bad already, I'm going to give the new one a few coats of lacquer
Will update soon

Yes mate I've done all the painting,I have been lucky with my mates booth and being able to use it and his equipment but he's moving soon so won't be able to use it but I will be paying for a colour change next year, hopefully.
I'd rather just pay for a brilliant job where I don't have to sand fill paint, realise I've fked somewhere and 're do, I'm thinking of having it done LSB as that is my favourite colour for the e46
but I will be paying for a colour change next year, hopefully.I'd rather just pay for a brilliant job where I don't have to sand fill paint, realise I've f
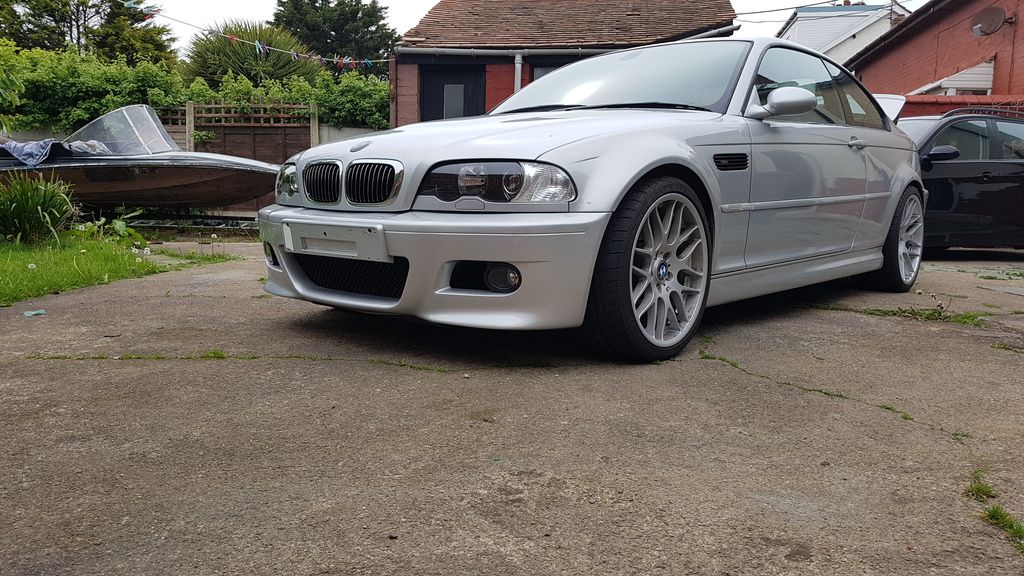
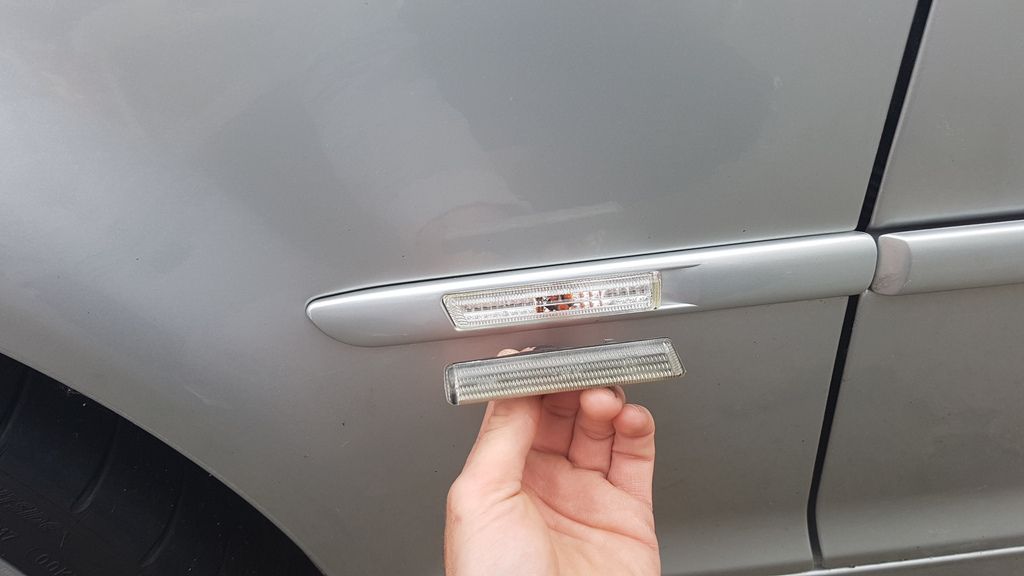
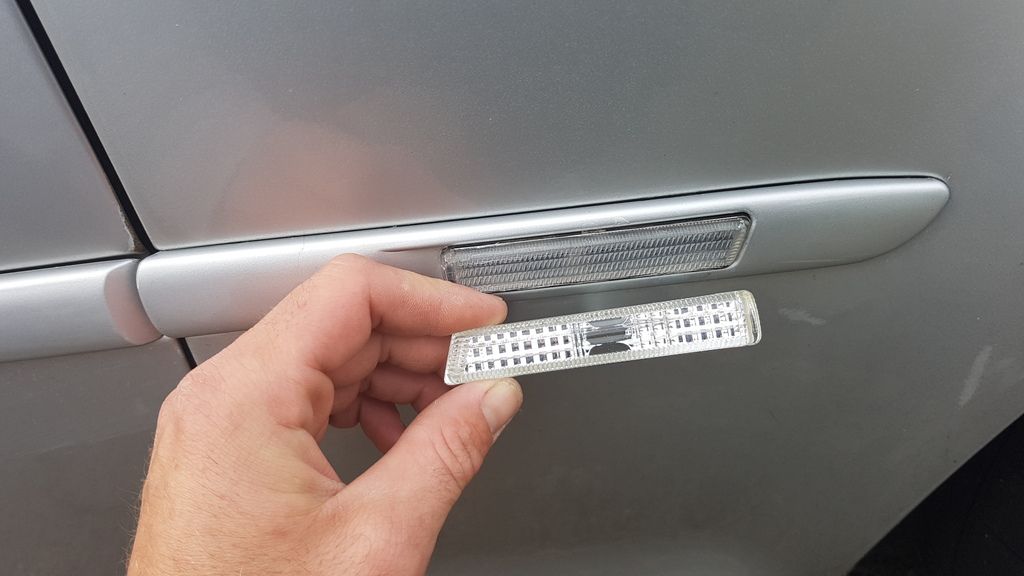
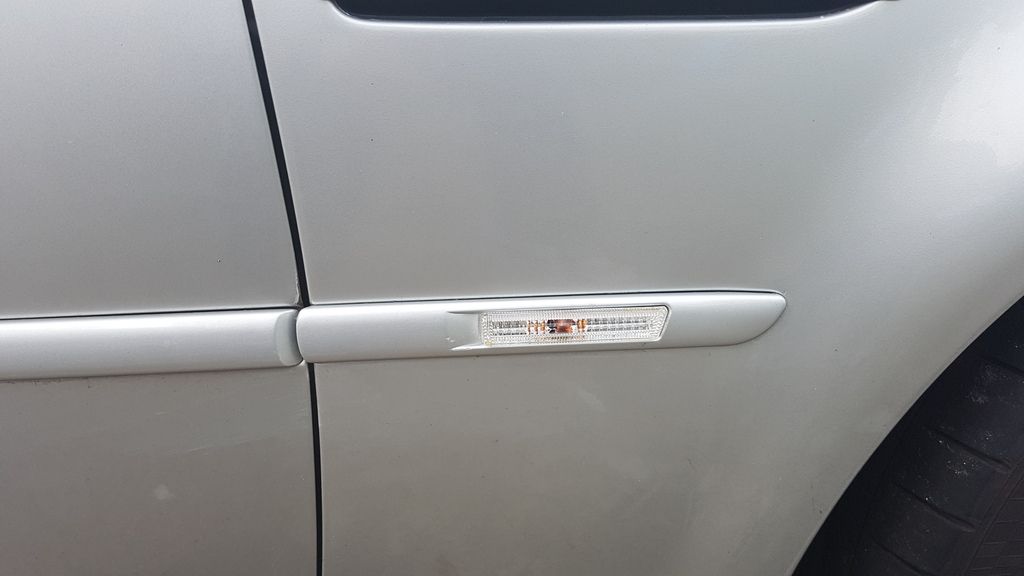
ked somewhere and 're do, I'm thinking of having it done LSB as that is my favourite colour for the e46 Fitted my number plates and some new side repeaters turned up - forgot I ordered these!
Need to order some chrome bulbs for them and de tangoed the rear
Alu pressed plates
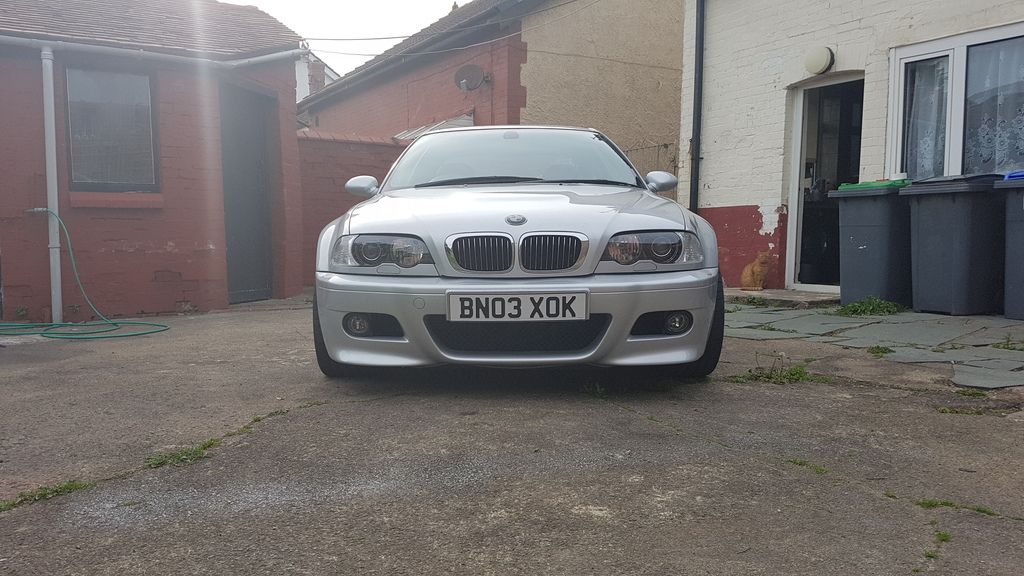
For some reason the rear looks wonky but I assure you my trusty tape measure helped
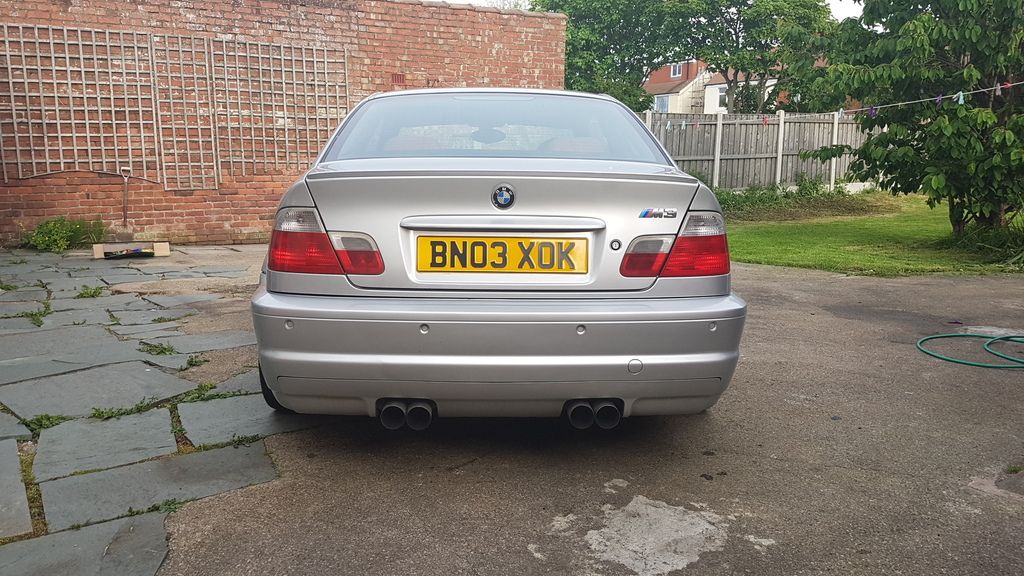
De tangoed rear

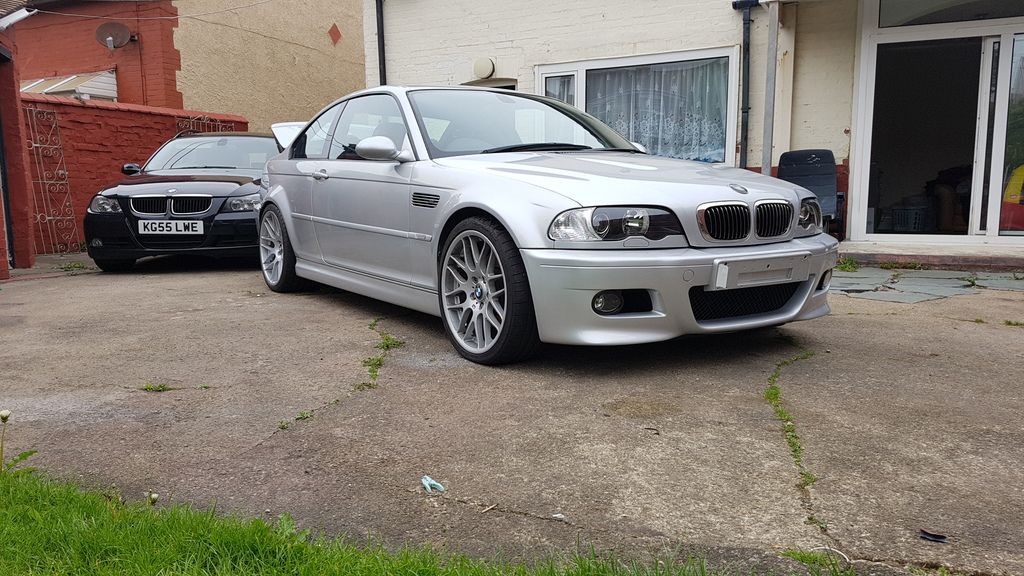
I'm not spending anything on it till next month payday the 15th I'm on a promise to the misses ....
'Next' month I'm going to paint the rear bumper before my mate with the booth moves away, get a csl diffuser some oem led rear lights new m3 badge and freshen the rear up .
Once the outside is done I'm going to finally replace the 2 front wishbones that cost a fortune then every single bush and balljoint have been replaced in the last 4 years with powerflex bushes where available , then I'm going to tackle the rod bearings....
Driving round in the e91 is saving me a fortune on fuel but it's bland as fk.
Need to order some chrome bulbs for them and de tangoed the rear
Alu pressed plates

For some reason the rear looks wonky but I assure you my trusty tape measure helped

De tangoed rear


I'm not spending anything on it till next month payday the 15th I'm on a promise to the misses ....
'Next' month I'm going to paint the rear bumper before my mate with the booth moves away, get a csl diffuser some oem led rear lights new m3 badge and freshen the rear up .
Once the outside is done I'm going to finally replace the 2 front wishbones that cost a fortune then every single bush and balljoint have been replaced in the last 4 years with powerflex bushes where available , then I'm going to tackle the rod bearings....
Driving round in the e91 is saving me a fortune on fuel but it's bland as f
k.Gassing Station | Readers' Cars | Top of Page | What's New | My Stuff