Scratch built car
Discussion


creationracing said:
Excellent choice, it continues the roof line very well.
I assume you're just going to have to make your own rear 1/4 window to suit? Or are we due for the worlds coolest panel van?
Thanks, no room for rear windows that were the air inlets will be to cool the rear brakes (bit of a problem with the jag setup)Andy I assume you're just going to have to make your own rear 1/4 window to suit? Or are we due for the worlds coolest panel van?
LondonChris said:
Just enjoyed reading up on this amazing project.
How's progress?
Cheers, work always slows down over the summers. I will be up dating soon now that I have machined the locating lugs for the rear hatch (was going to be welded in but now will be removable for access) AndyHow's progress?
Justin S said:
I am enjoying this build and the OP is very talented in what he is doing. Well done and hats of to you OP.
As for the rear brakes, the jags had cooling issues, being the discs were by the diff housing, which would cause the diff seals to melt, oil to leak out and onto the brakes, which is never a good thing.Iam sure that a friend with a jag based kit car, which he raced , used a conversion to put the discs out by the wheels, so as to cure the problem and make like easier to service and bleed. Not sure if this is still available? His car was a Cougar or Kougar car from the 90's.
Cheers, I do not know of a kit but I think jag did do out board setup later on. AndyAs for the rear brakes, the jags had cooling issues, being the discs were by the diff housing, which would cause the diff seals to melt, oil to leak out and onto the brakes, which is never a good thing.Iam sure that a friend with a jag based kit car, which he raced , used a conversion to put the discs out by the wheels, so as to cure the problem and make like easier to service and bleed. Not sure if this is still available? His car was a Cougar or Kougar car from the 90's.
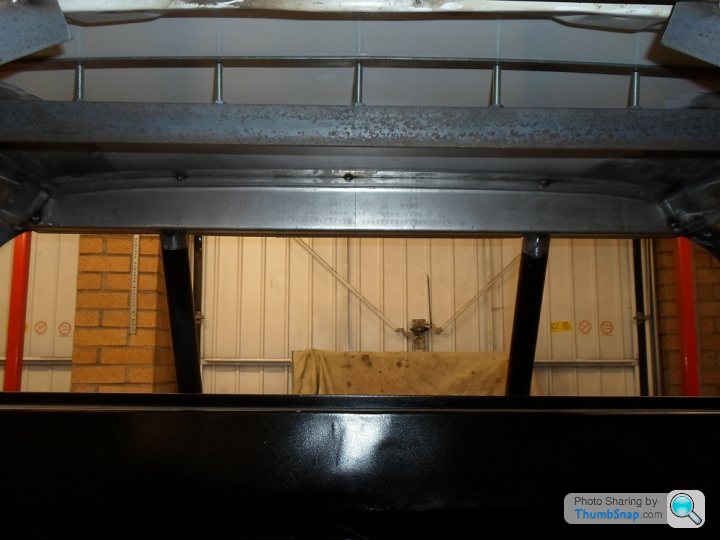
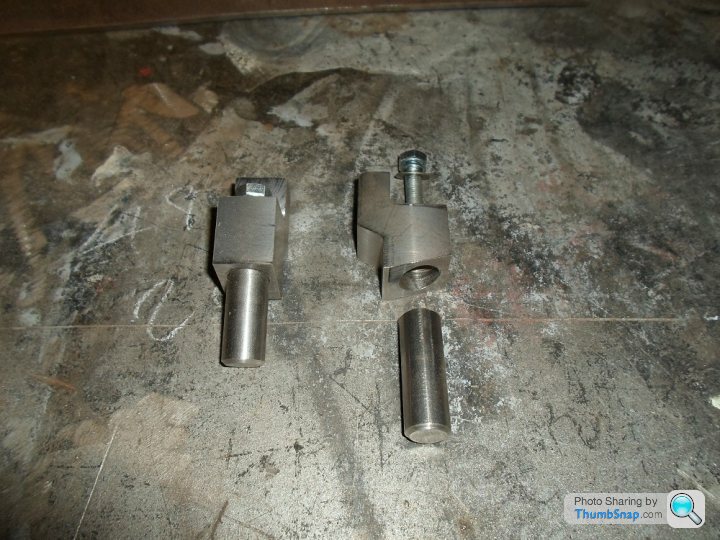
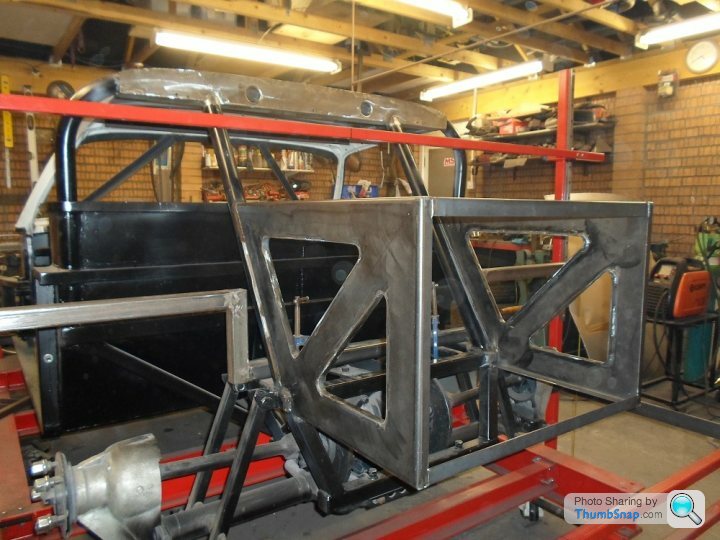
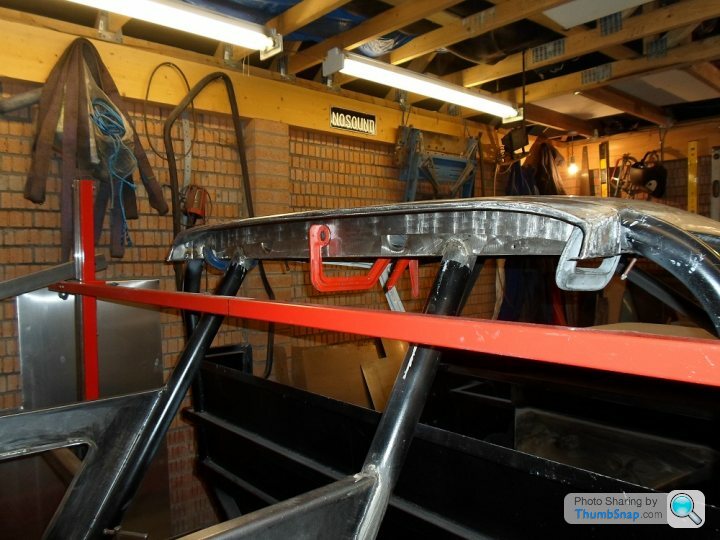
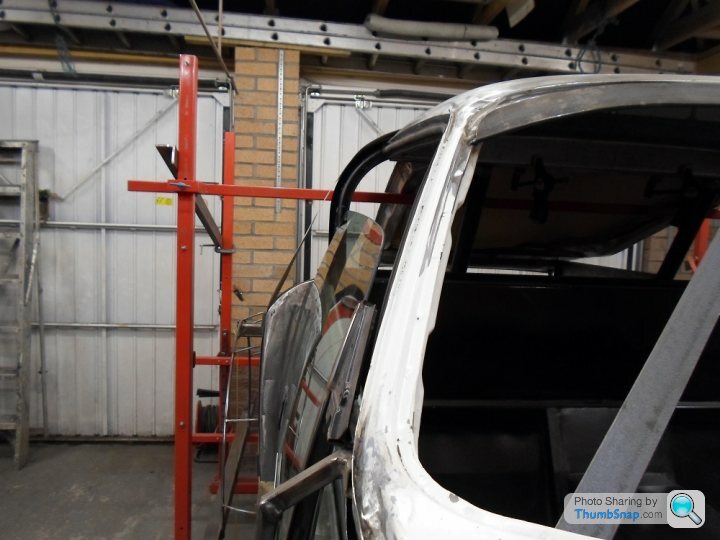
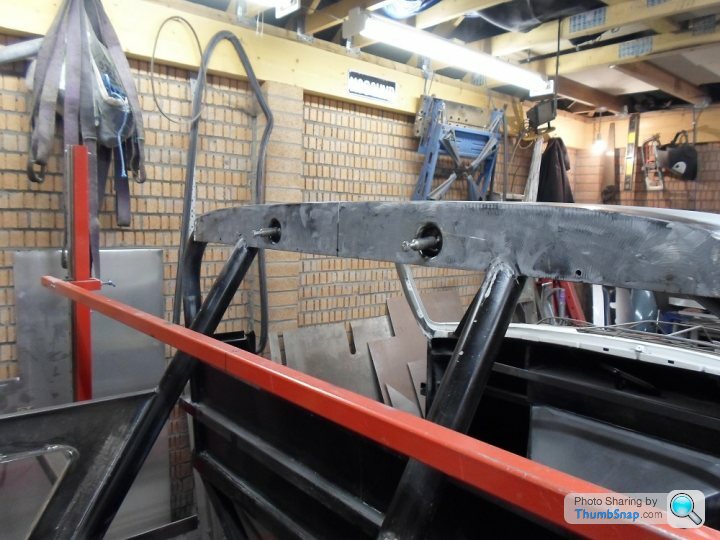
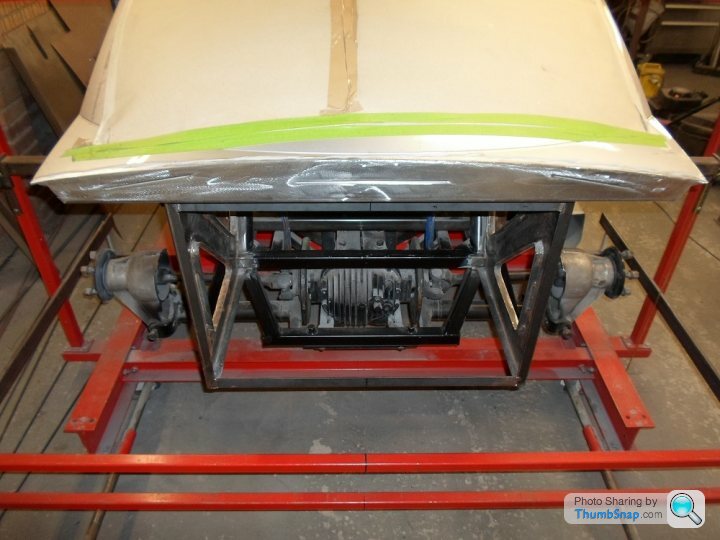
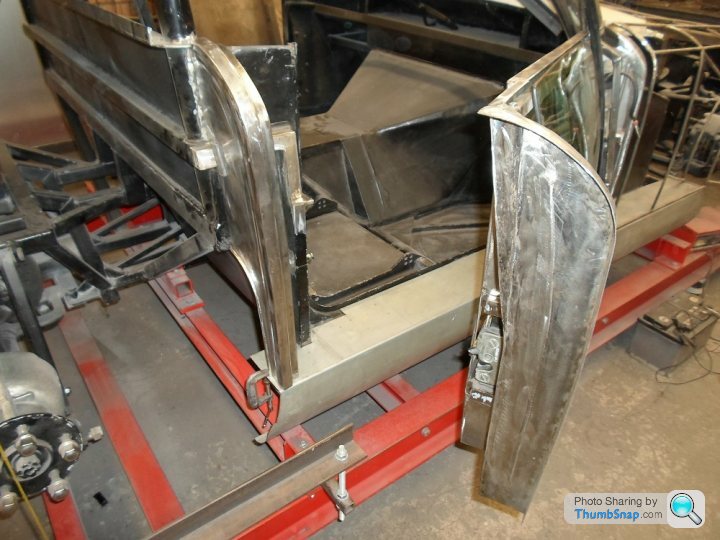
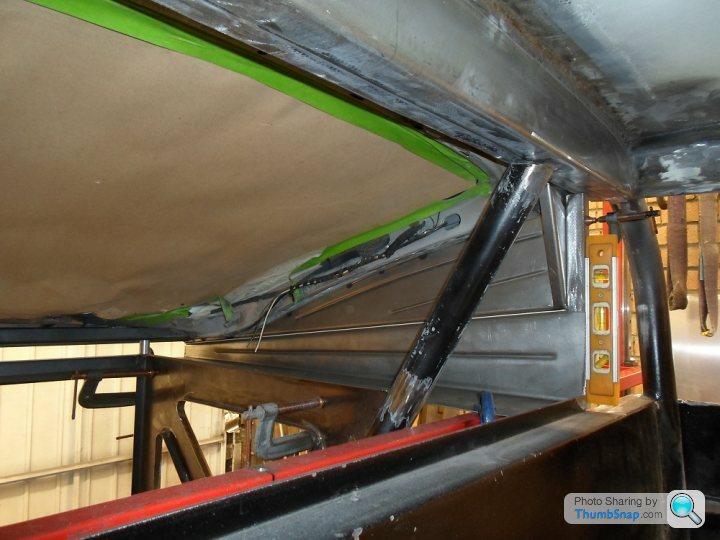
I needed to box in the roll bar for the interior finish and the original plan was to weld the Jaguar and Audi roof/hatch together but this could give me access problems later. So I decided to make the hatch part removable. Since there will be no boot just a parcel shelf and also because the two panels are different shapes in both directions I decided to make the hatch a bolt in/out affair. So I needed to flange the roof end section and to machine two locating lugs/pins. The lugs are to be welded to the hatch and the 16mm diameter tapped pins will be welded to the roll bar. The next job is to flange the hatch and make the rear support brackets.
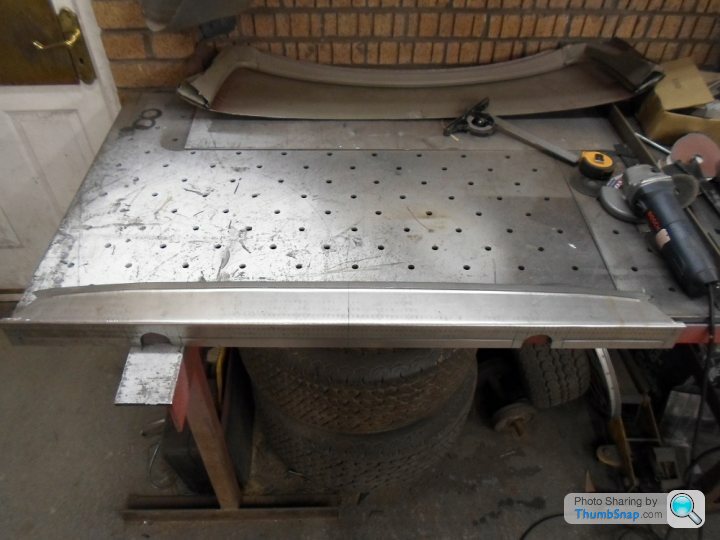


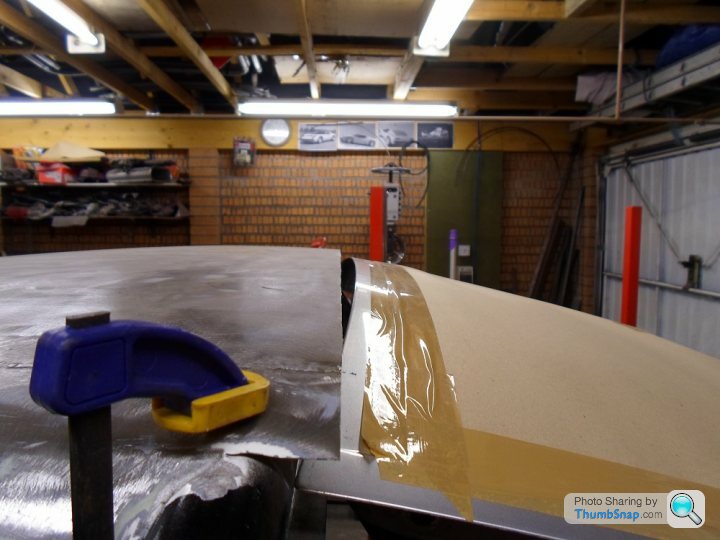
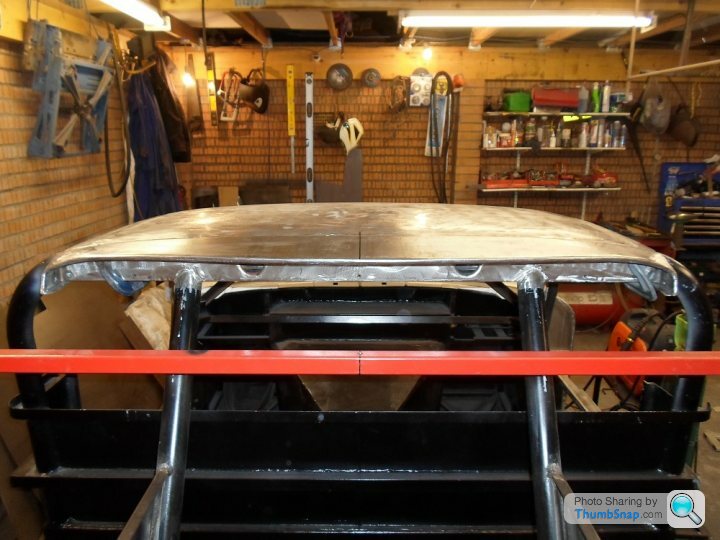
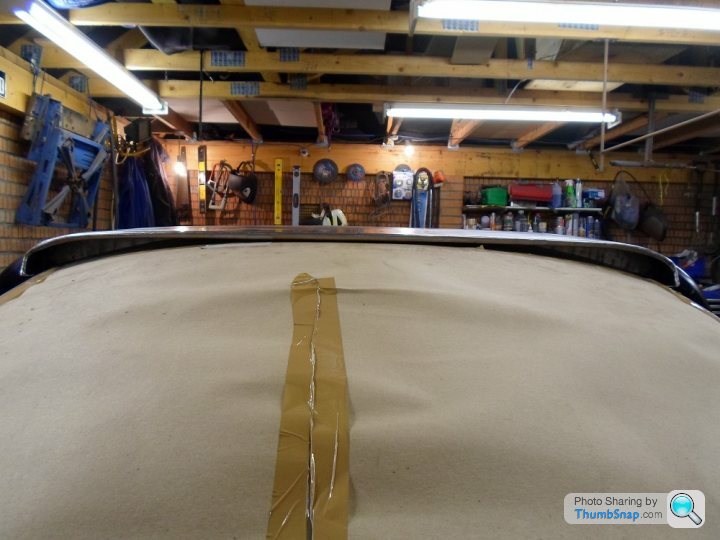
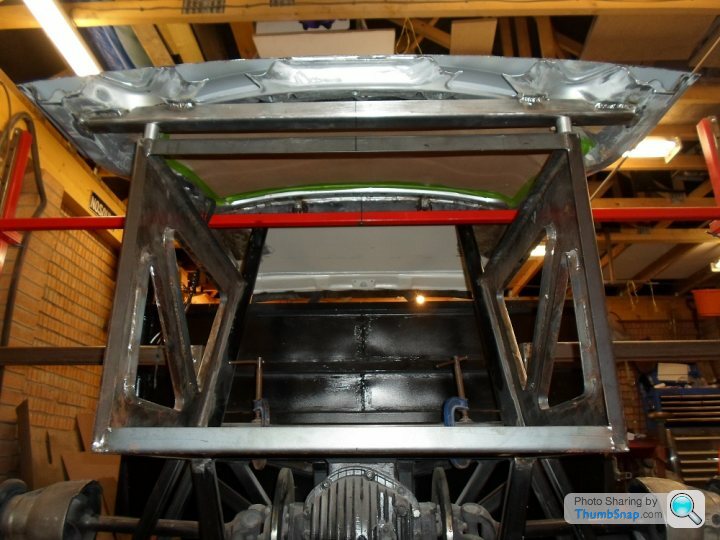
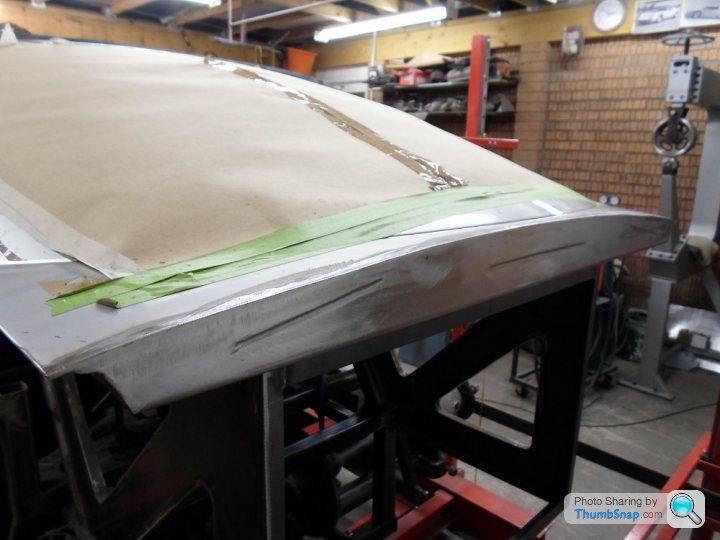
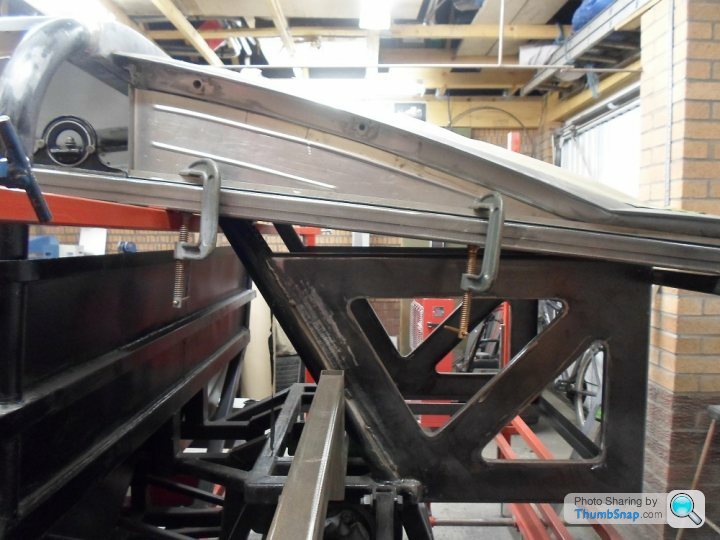
Well the next job was to flange the hatch to match the roof flange in one plane. The hatch had to be shaped (cut) in the opposite direction from the original panel to make it match up. A “T” seal will be fitted between the two panels and one side will be bonded to the roof and the other will overlap onto the hatch. Now I just need to match up the roof and the hatch in the other plane which you can see from the last picture requires a bit of design/tin work to make a small rear spoiler. Andy


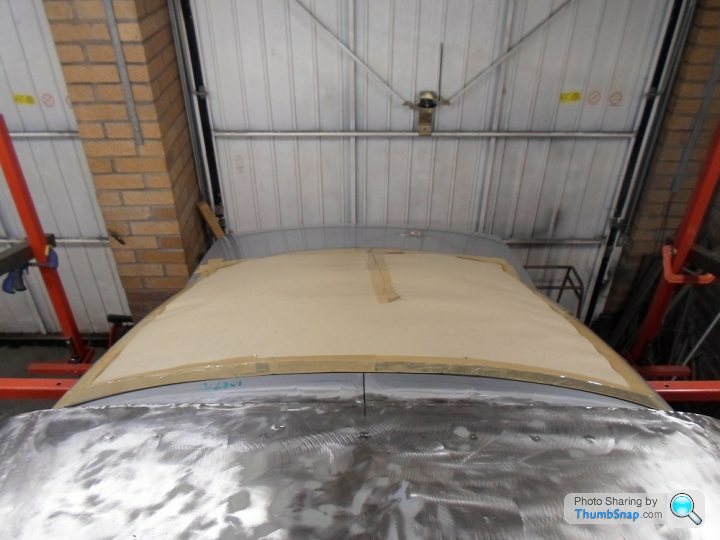
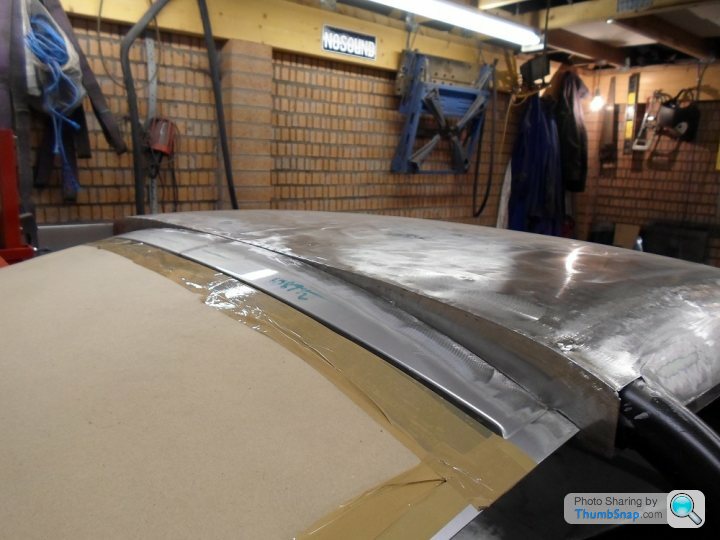

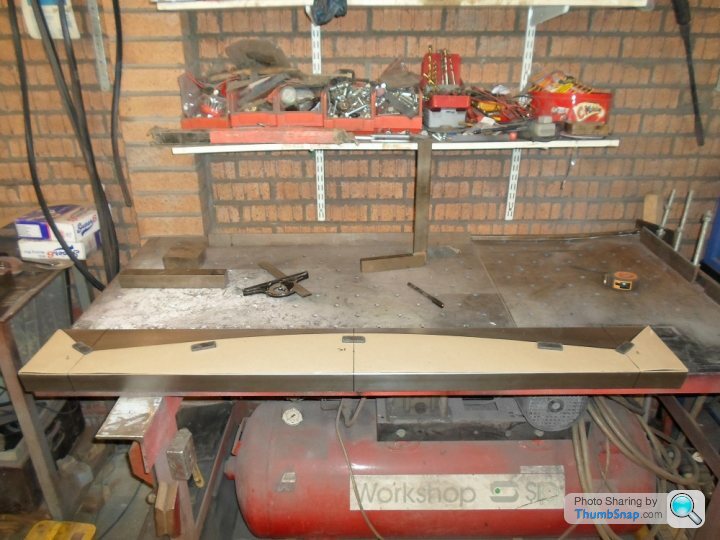
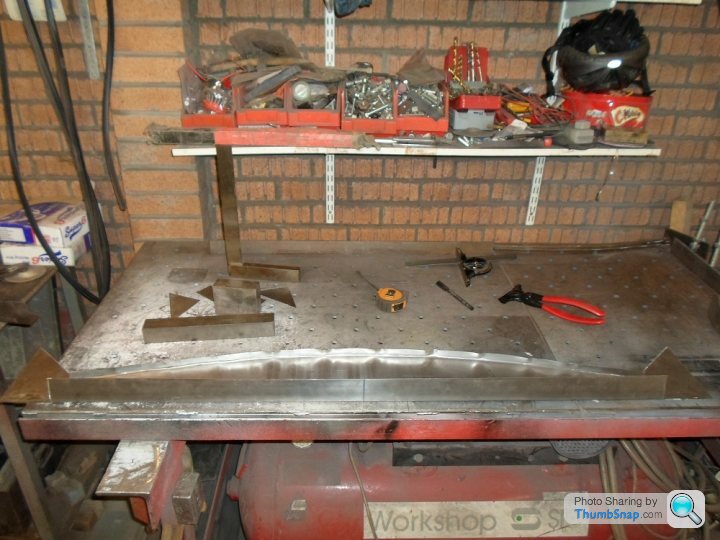
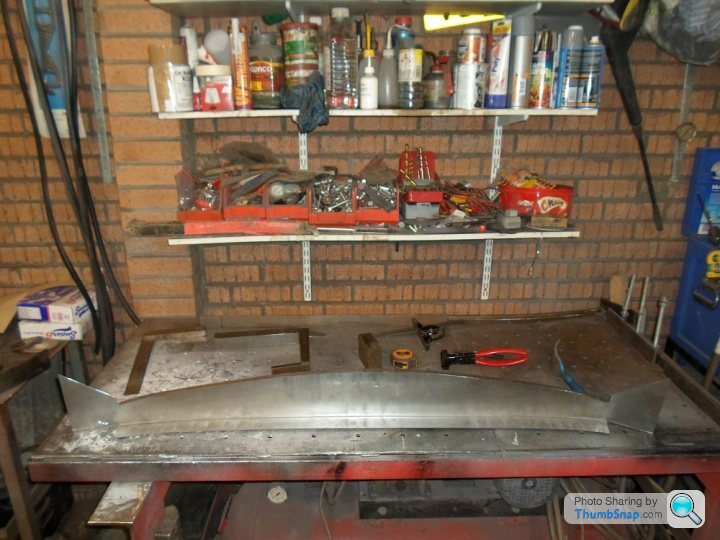
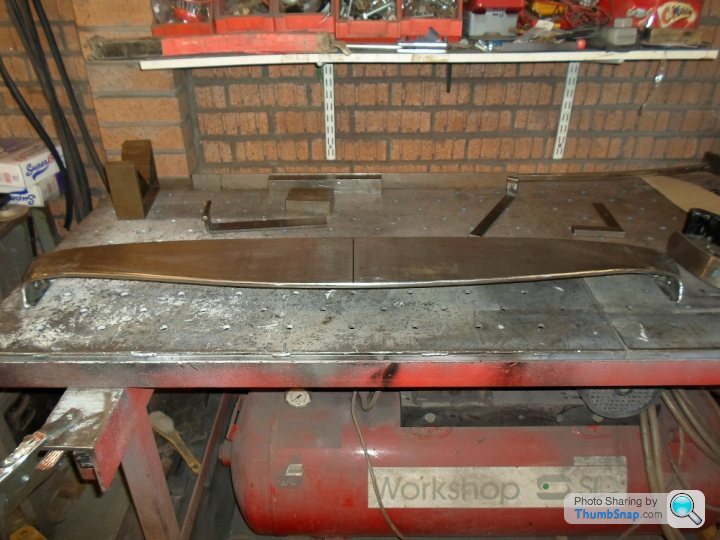
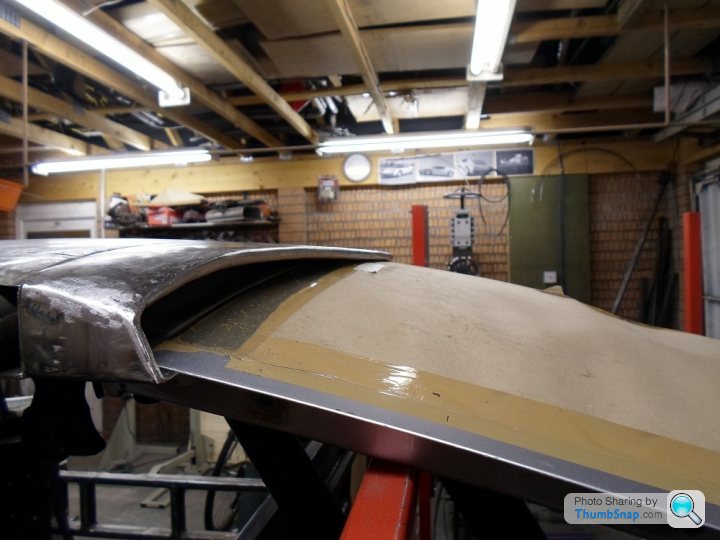
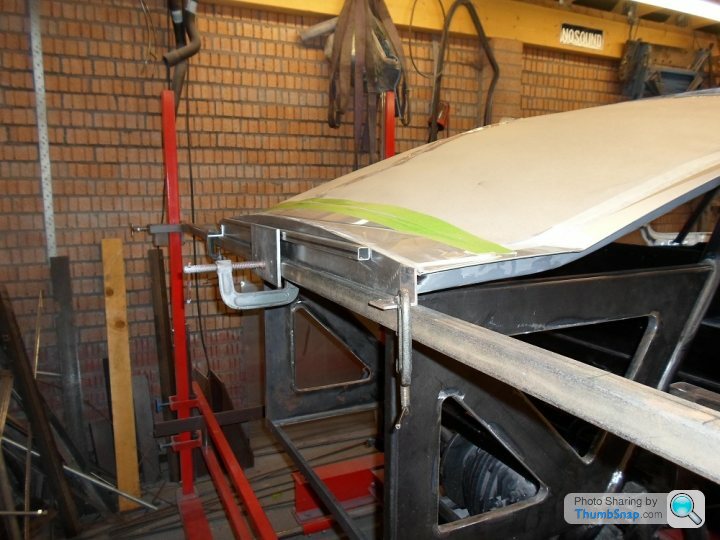
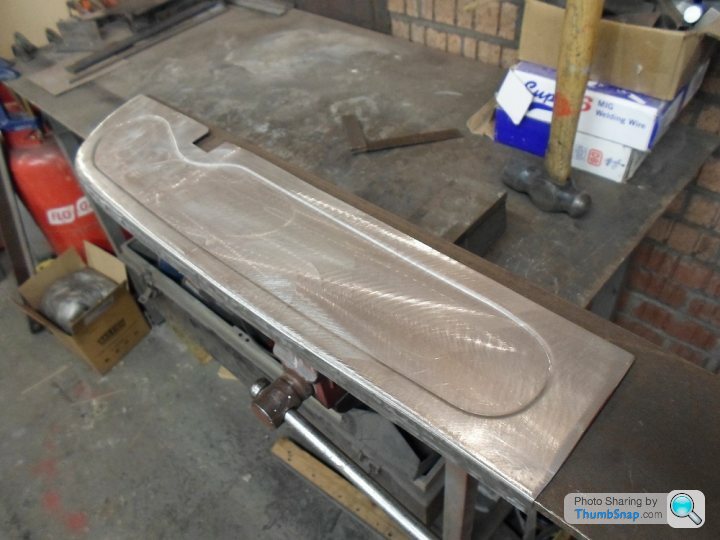
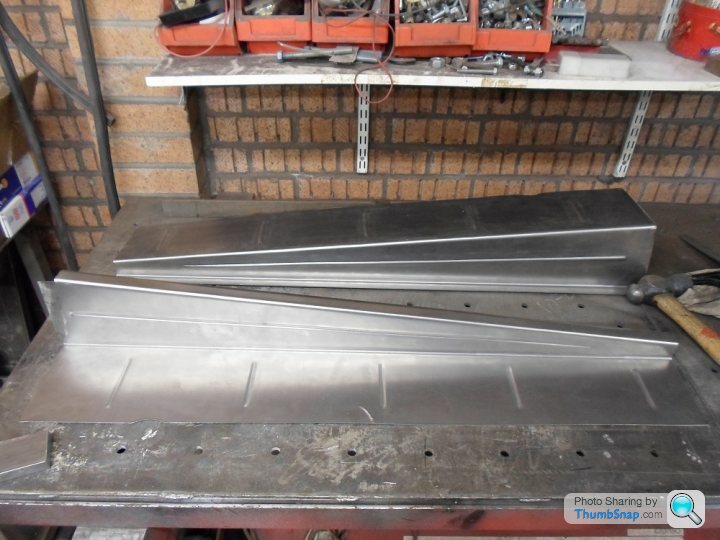
I made up the outer part of the spoiler out of 1mm steel. I want to avoid welding on the outer section so I flanged both sides and then using the shrinker/spoon to form the curve. I still need to make the inner part but first I will need to position/lock the hatch into position. The spoiler can then be positioned and welded onto the hatch section. Andy
Justin S said:
Its looking fantastic and am envious of the skill you have in the work you are doing. One thing, will the car have to be IVA tested to gain registration? Is this something you have been building into the car?
Cheers, yes the car will have to have a IVA/BIVA inspection for registration. I have a copy of version 5 of the manual but I think there is a newer version. Andy 
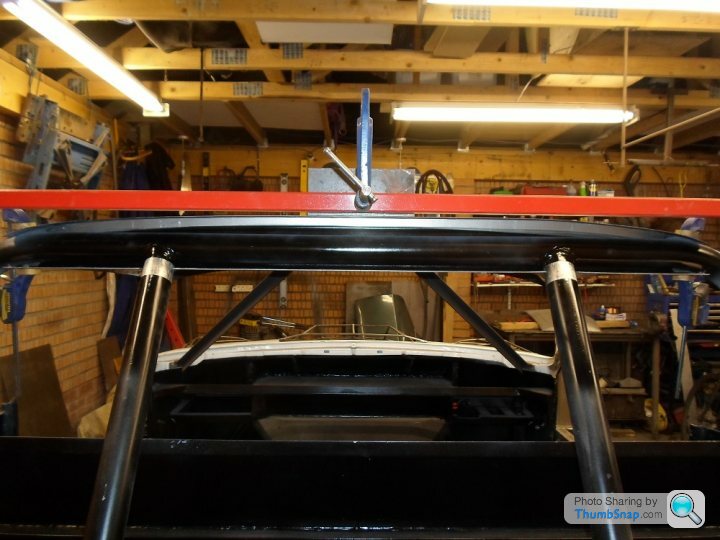
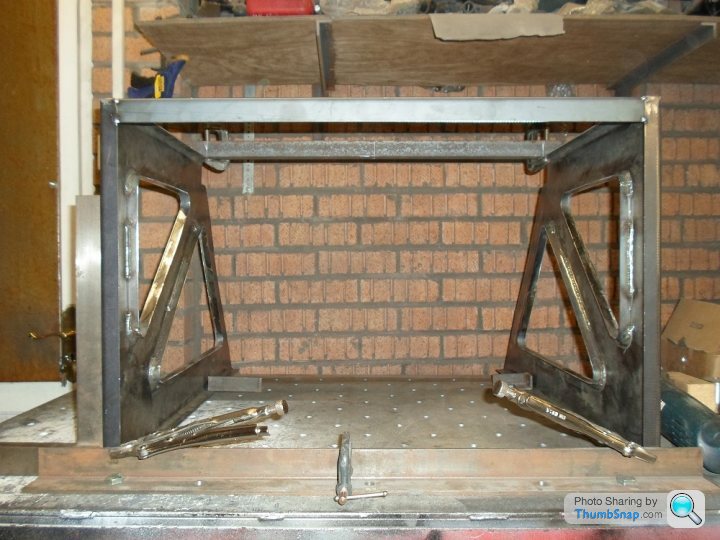
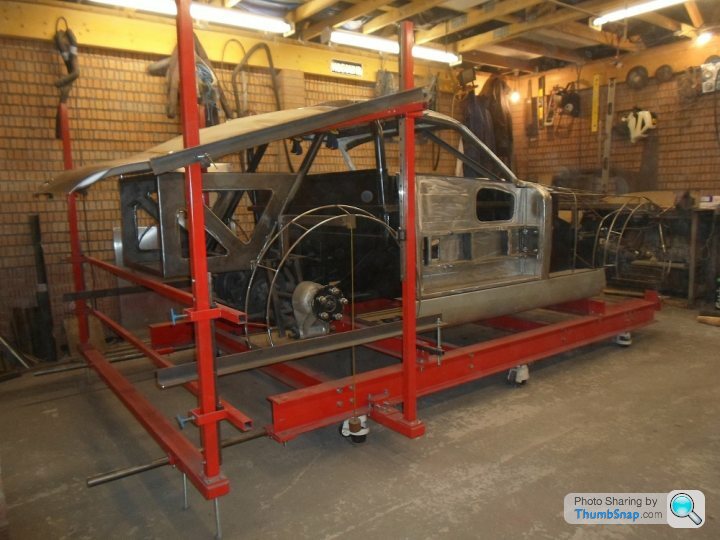
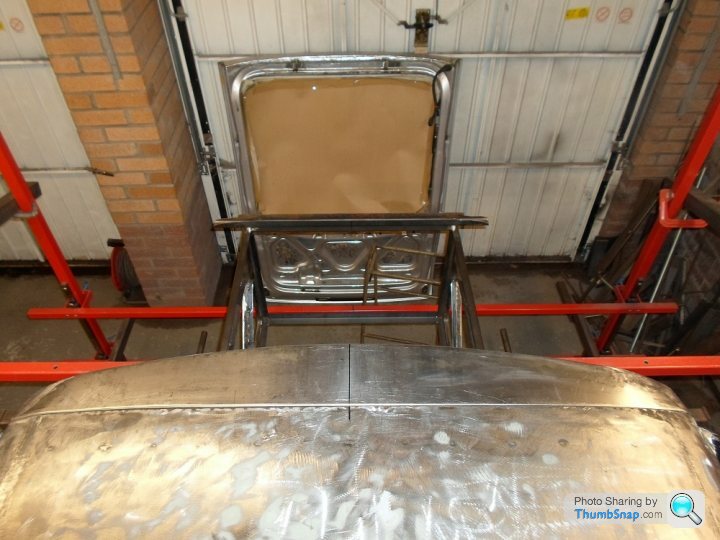
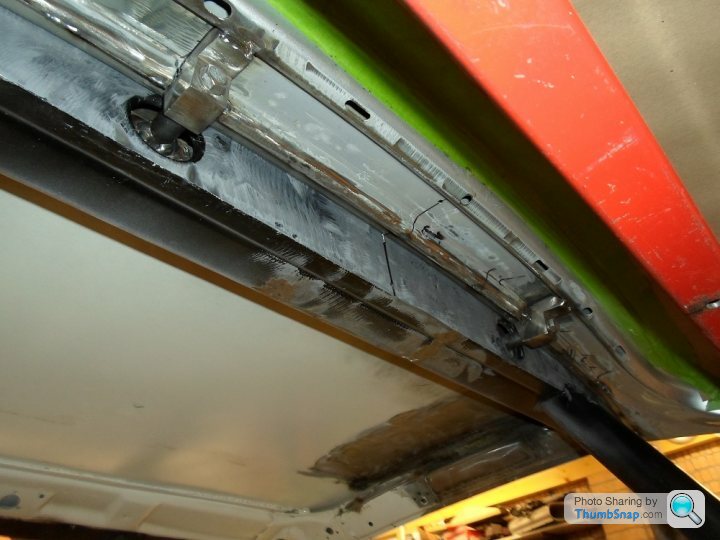
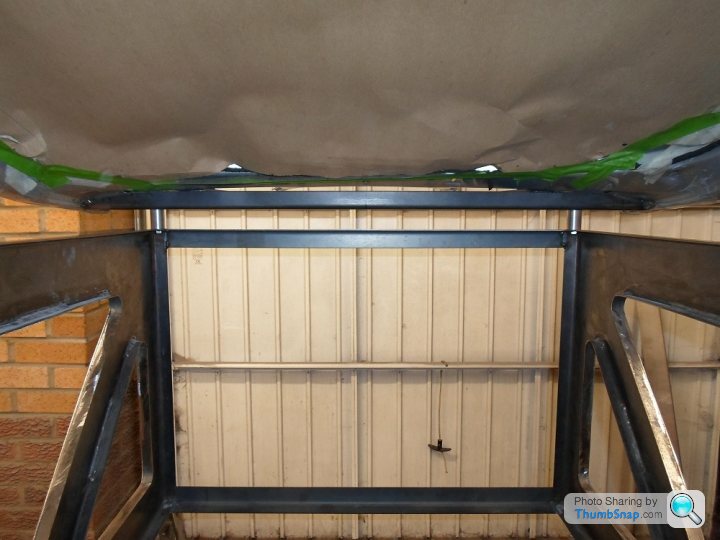
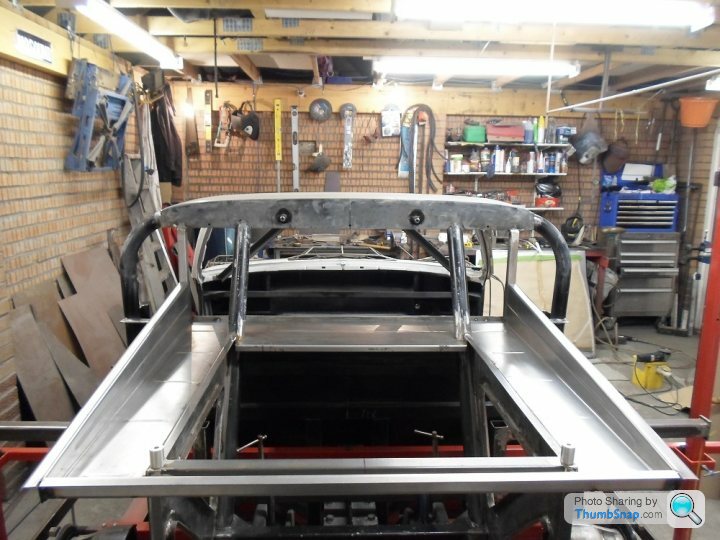
I finished of fitting the hatch by tacking the tapped pins (weld later) to the roll bar, I then made up the rear support cross member, aluminium spacers and then cut off the back end of the hatch by 400mm and welded on the closing panel, so now I can style the rear end of the car as I like. All I need to do now is finish off the sides and then fit the ‘D’ section seal to the hatch flange. Andy
I made up the rear closing panel which fits behind the rear of the door frame using the same jig I used for the door frame. The gap between the closing panel and the door frame will reduce by 3mm from 8mm to 5mm when the door skin and rear wheel arch panel are folded around the frames. The panel will be welded in when I have all the panels/air inlet in position. Andy


Cheers guy’s many thanks for comments they are much appreciated.
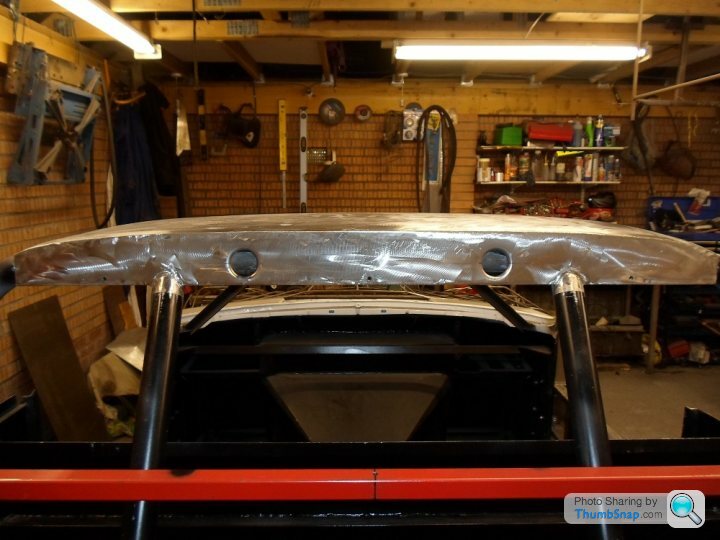
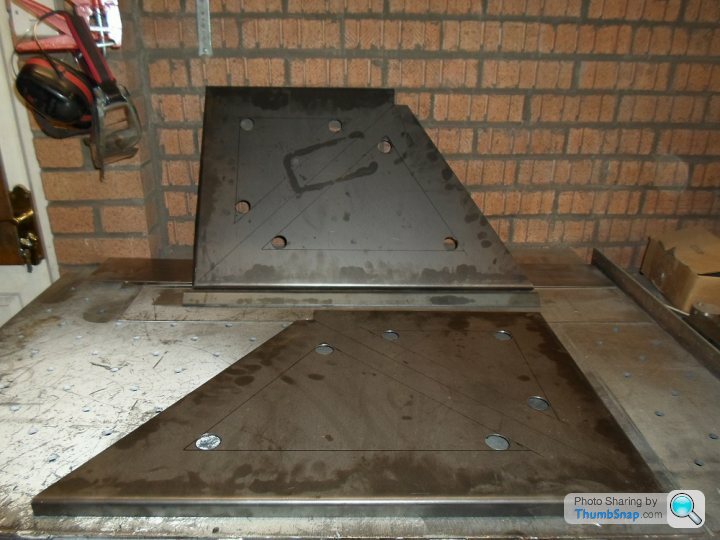
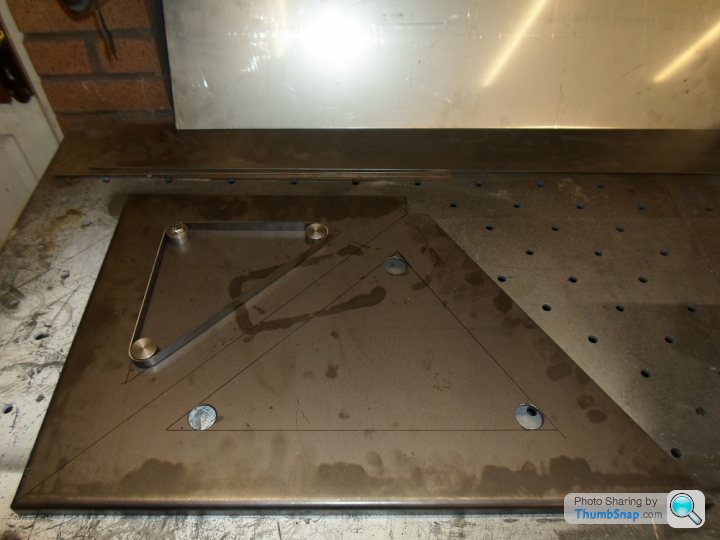
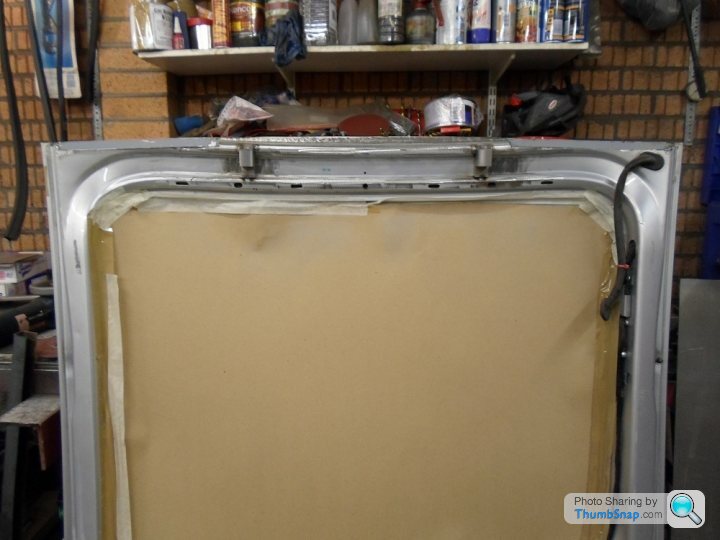
Before I can start the air scoops/wire frame for the rear I needed to make up the sheet metal work for the hatch and the lower panel for the bracket. The retaining pins on the roll bar are angle at 6 degrees from the horizontal so the steel metal work had to match the angle so the hatch can be removed. Andy
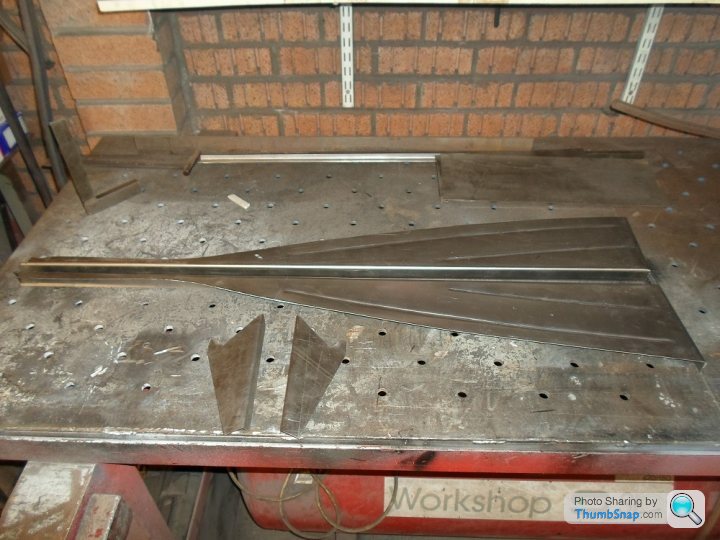

Before I can start the air scoops/wire frame for the rear I needed to make up the sheet metal work for the hatch and the lower panel for the bracket. The retaining pins on the roll bar are angle at 6 degrees from the horizontal so the steel metal work had to match the angle so the hatch can be removed. Andy
Alias218 said:
Top, top work. I'm very much looking forward to seeing the final product, although I think I'm enjoying the WIP shots more!
A few questions:
1. What background do you have to facilitate this work? Nowhere does this sort of work!
2. Do you have a press of some description to stamp out those panels? Surely they're not hand beaten?
3. Can we have a full side on view of the car as it stands, please?
Keep it up!
Sorry for not getting back to you sooner, but answers away:A few questions:
1. What background do you have to facilitate this work? Nowhere does this sort of work!
2. Do you have a press of some description to stamp out those panels? Surely they're not hand beaten?
3. Can we have a full side on view of the car as it stands, please?
Keep it up!
1) Welder fabricator by trader, engineer for job but most important total passion for cars.
2) Panels will be handmade but the pressing you see are from using bead roller.
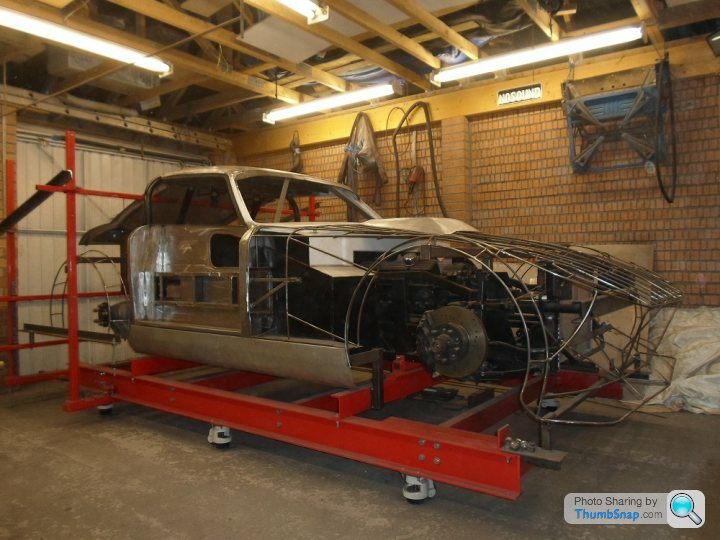
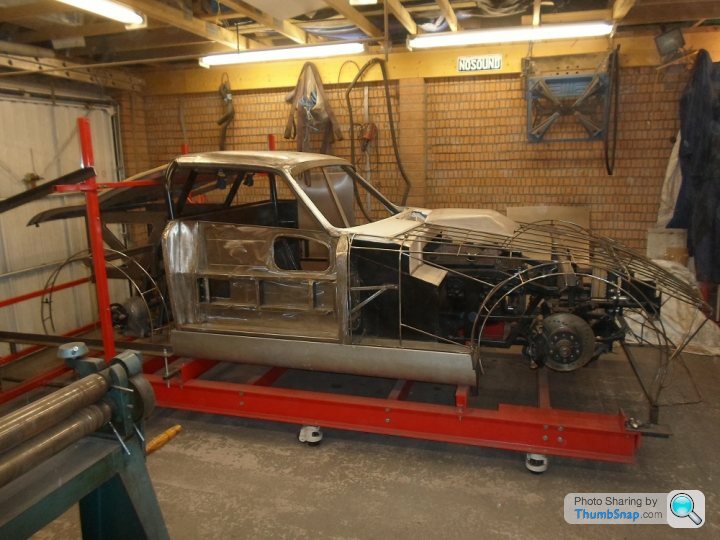
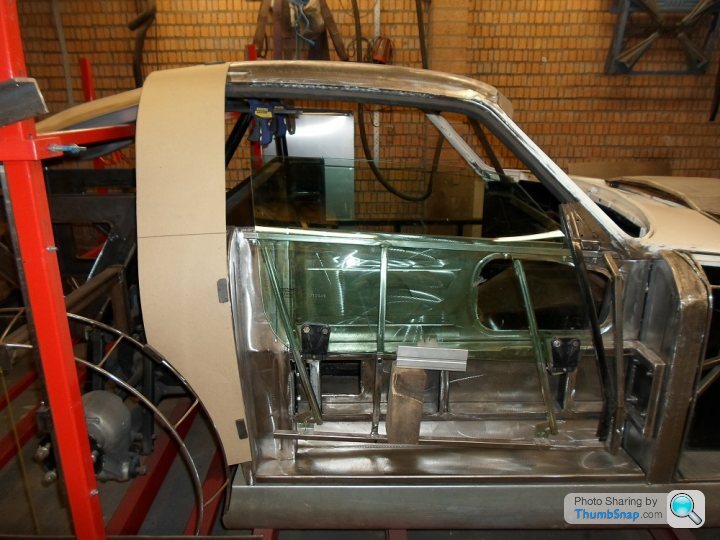
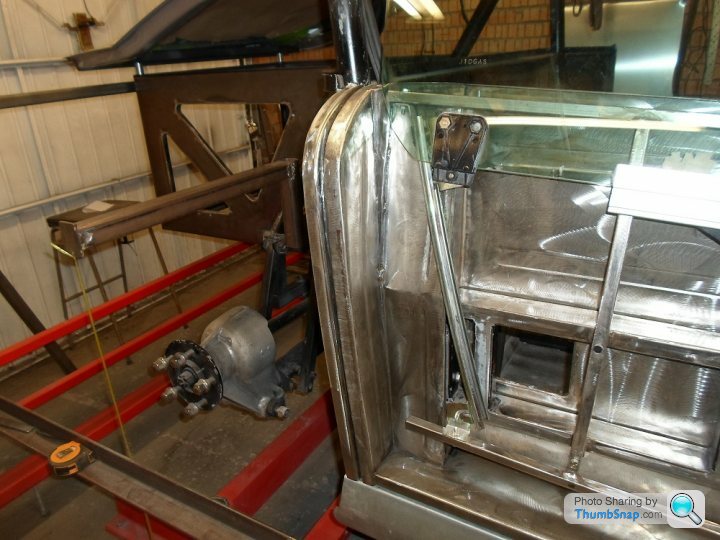
3) Pictures as requested.
Andy


Farlig said:
Andy - you need to start filming this & create a you tube channel of this build :P
Here are a couple of interesting builds I´m following:
https://www.youtube.com/channel/UCHvBHWBzzB7NyU5tI...
https://www.youtube.com/user/submarineboat
Cheers,
Neil
Cheers but hardly have time for pictures never mind film. AndyHere are a couple of interesting builds I´m following:
https://www.youtube.com/channel/UCHvBHWBzzB7NyU5tI...
https://www.youtube.com/user/submarineboat
Cheers,
Neil


Gassing Station | Readers' Cars | Top of Page | What's New | My Stuff