Toyota MR2 Turbo Rev 1 - Black (restoration in progress)
Discussion


Hi,
I decided to get a MR2 as I sold my motorbike.
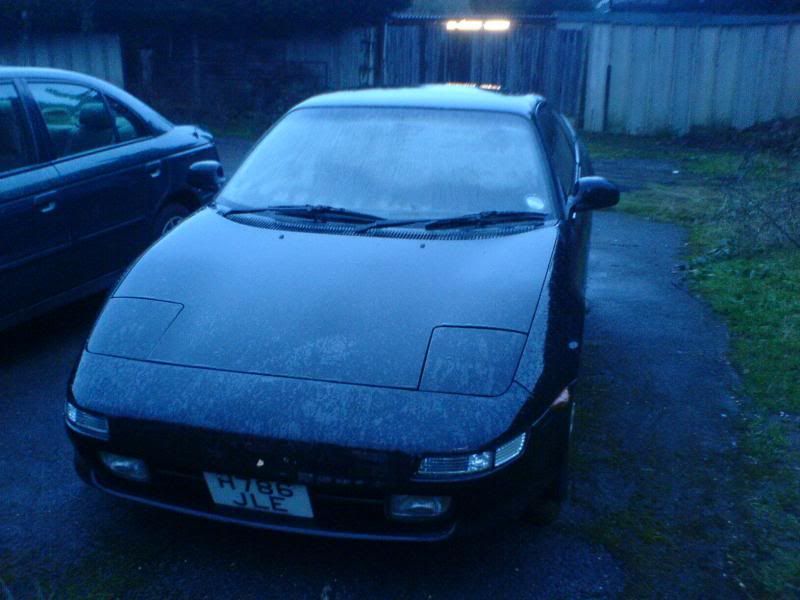
I settled on a rev 1 turbo in black, I found it super cheap and decided I would have more fun buying a fixer and buying the parts I wanted to get it up to standard than buying one ready made.
It's also only 50k and has a new cambelt and clutch!
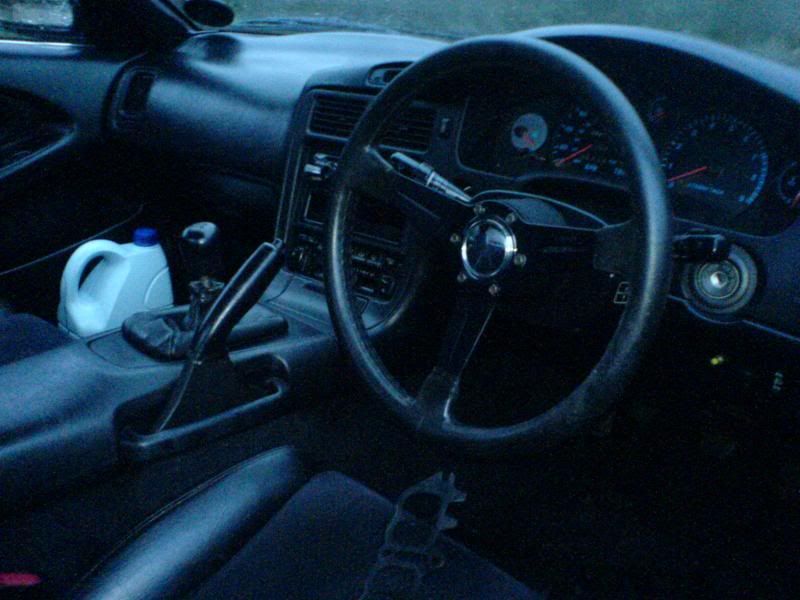
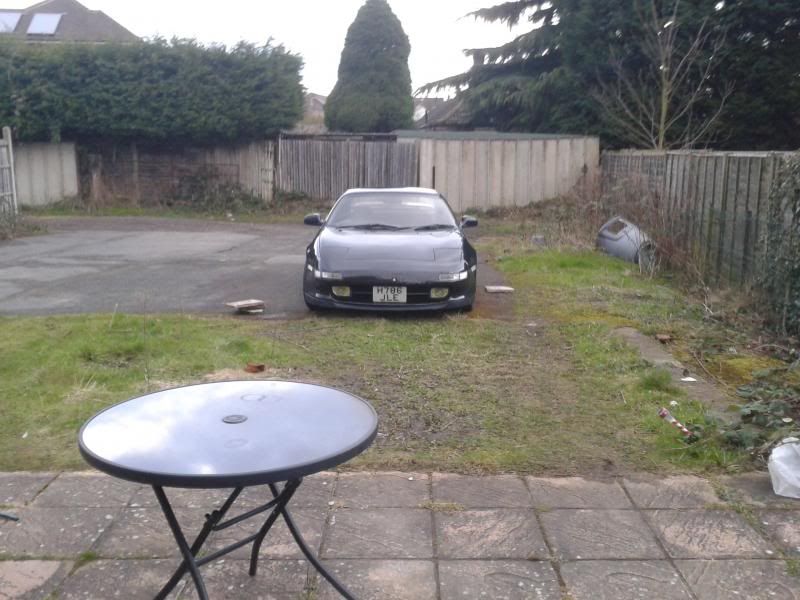
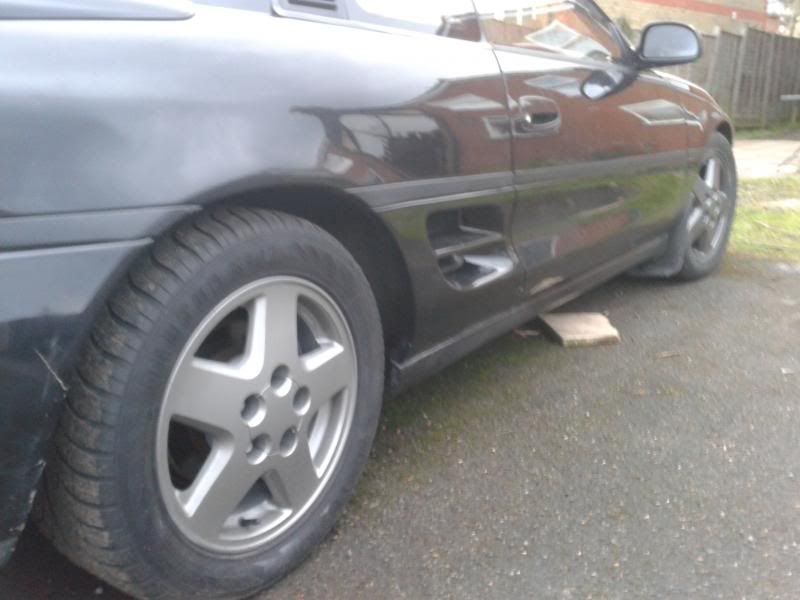
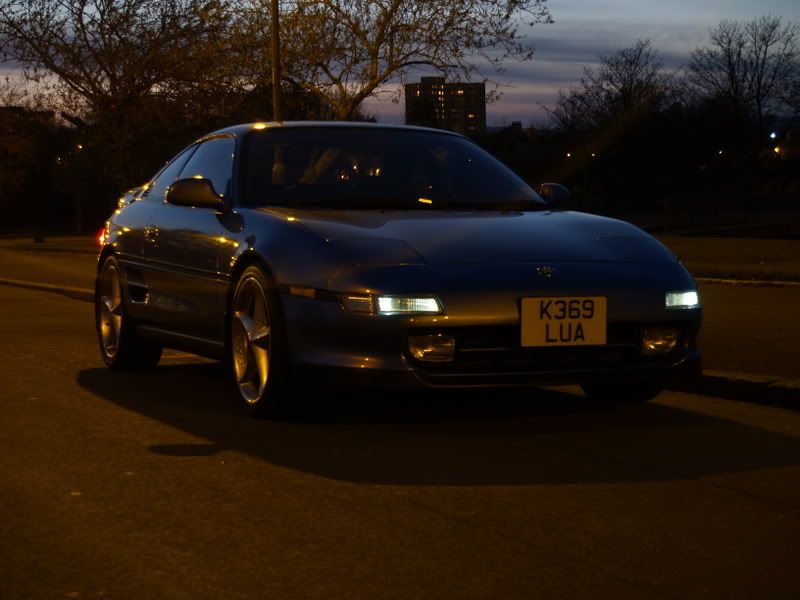
Here it is, fairly bad photo (wish I had more to show the progress of the car):
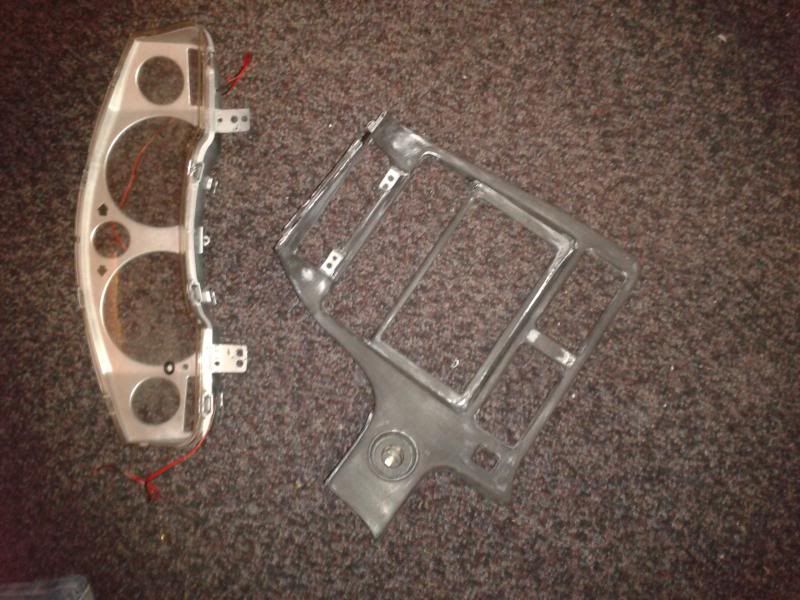
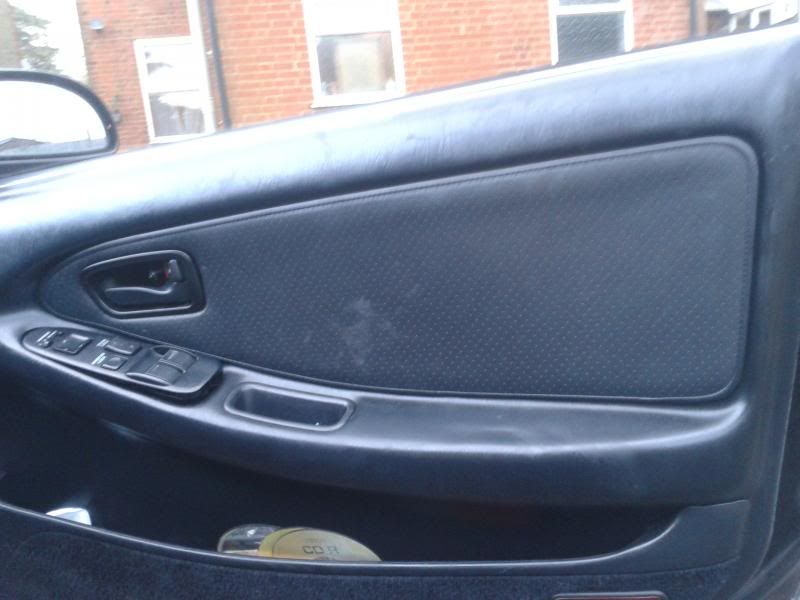
The first step was to remove the interior, IT WAS A MESS. The dash was sanded back and the cockpit painted silver and the door cards badly wrapped in carbon, plus a very chavvy gear stick. Here are the offending items:
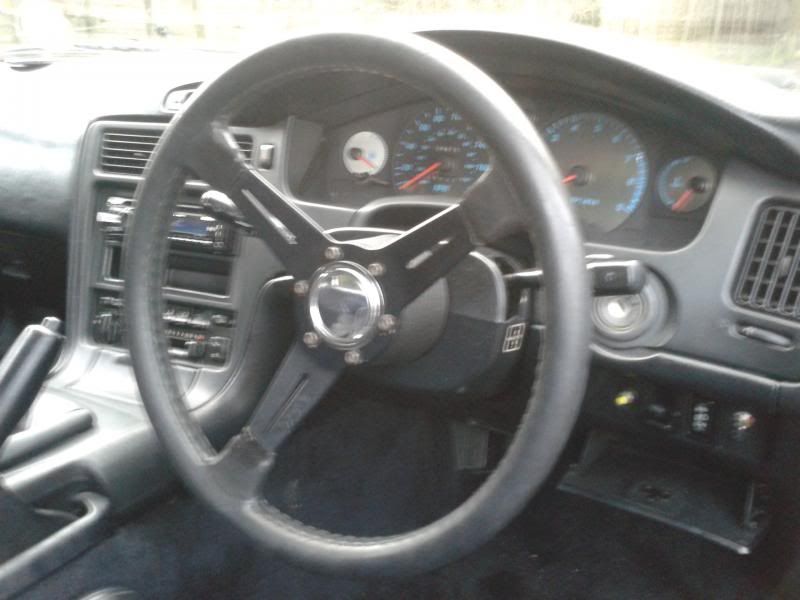
And here is the interior after the tidy up:
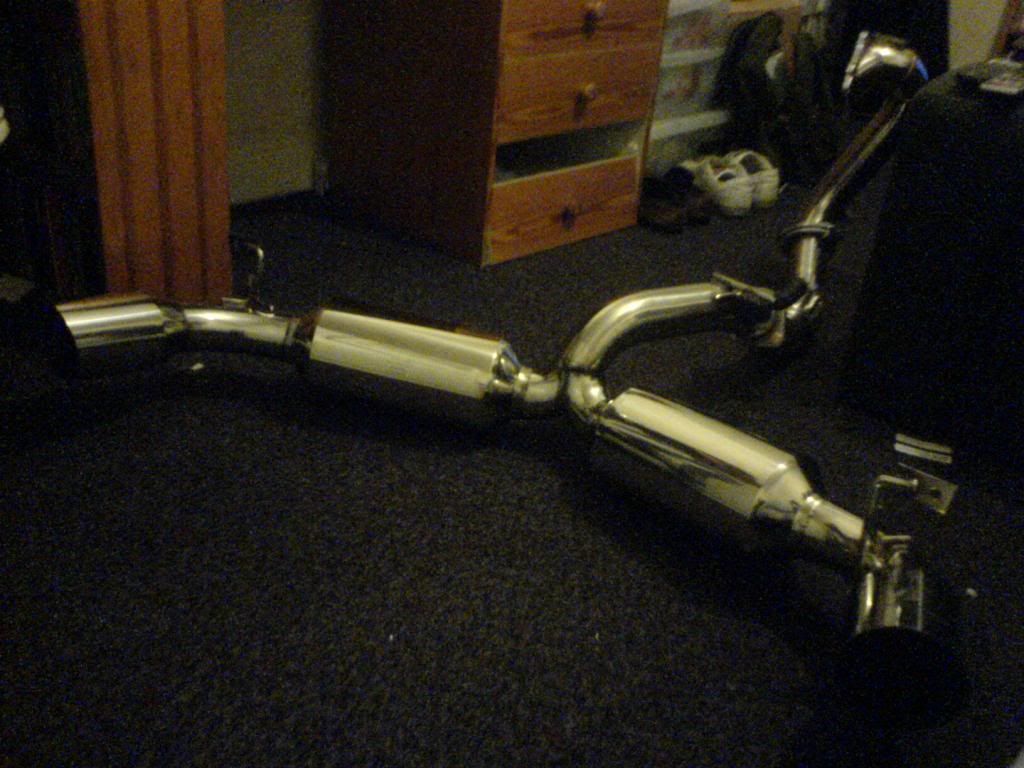
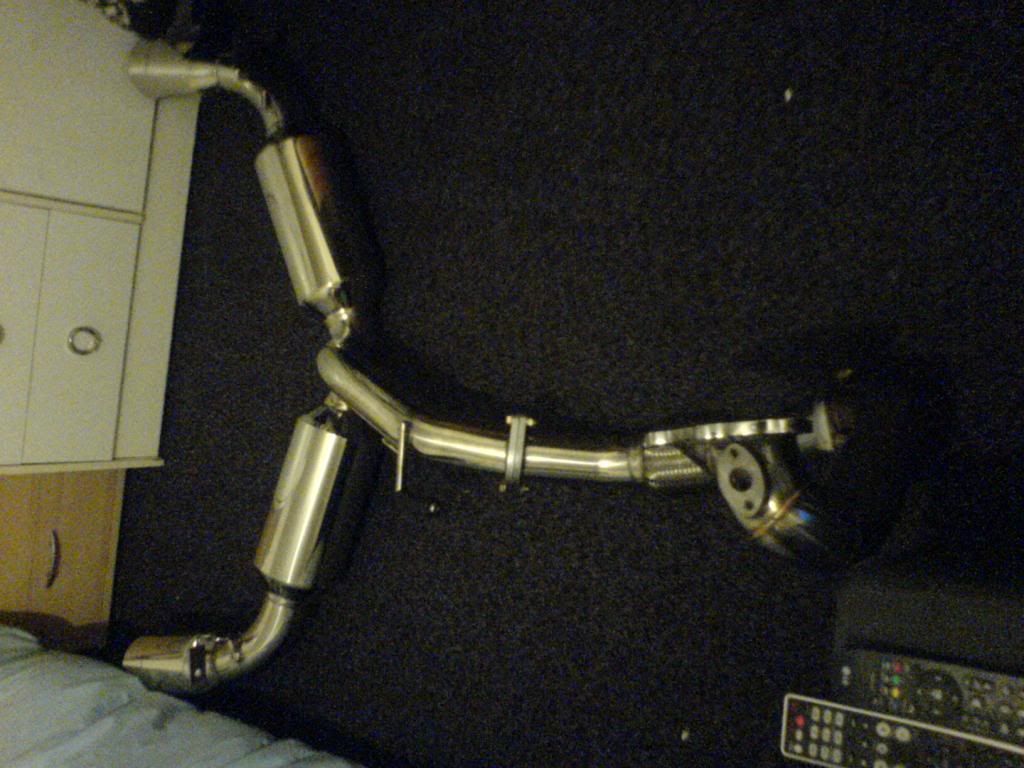
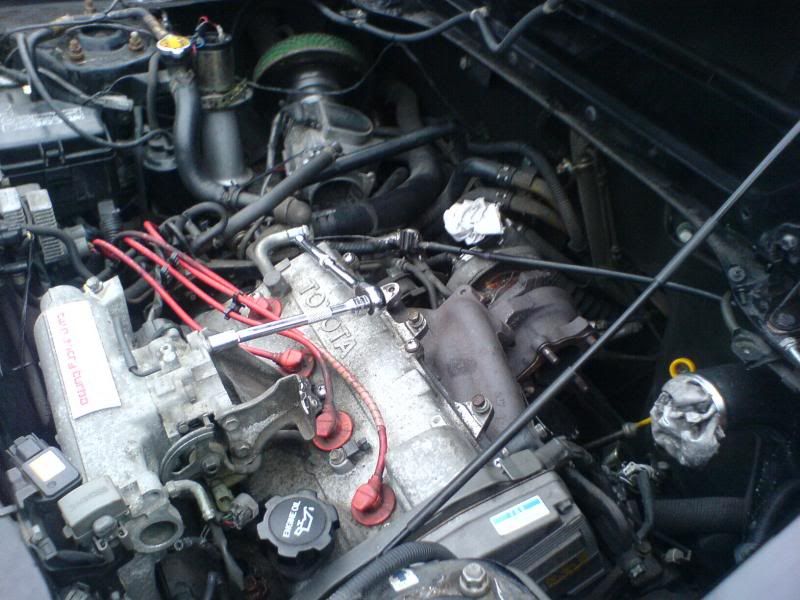
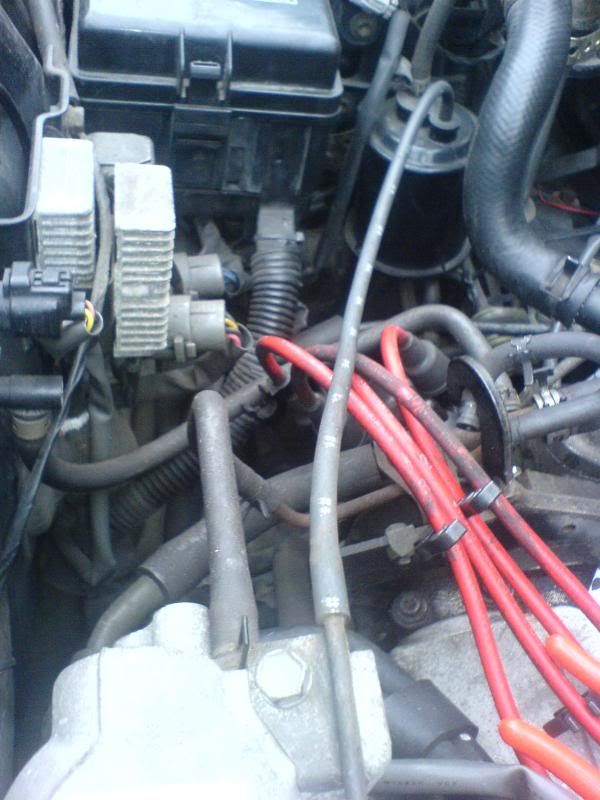
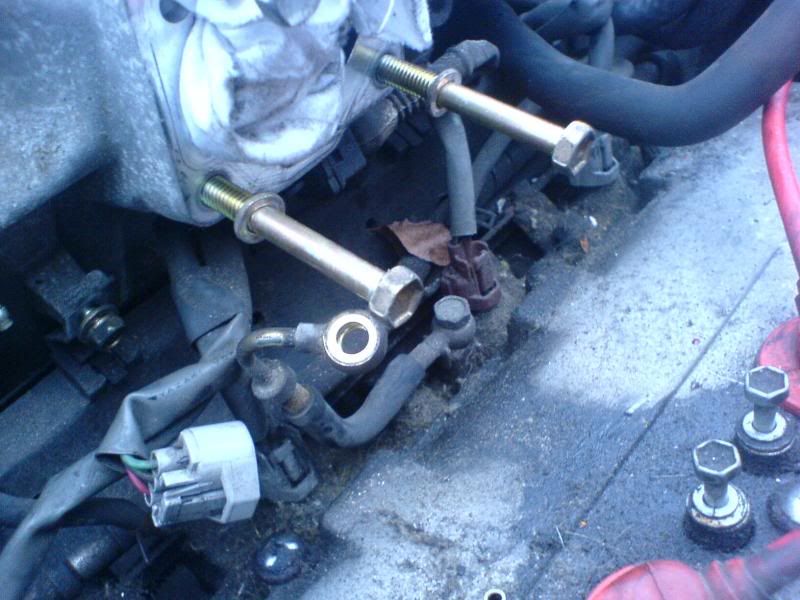
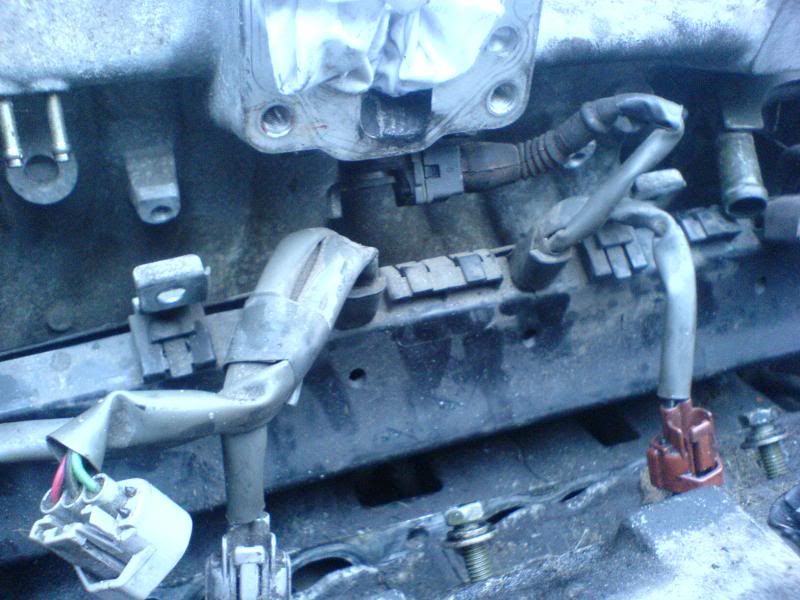
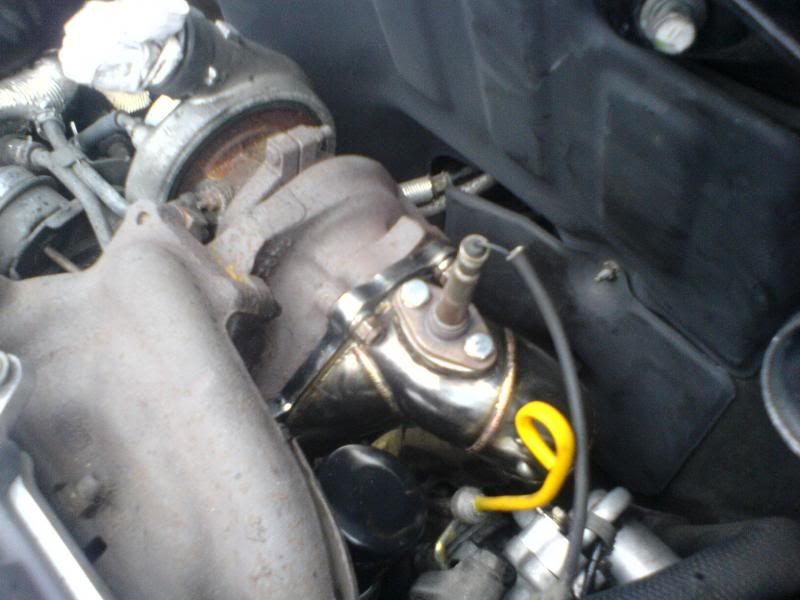
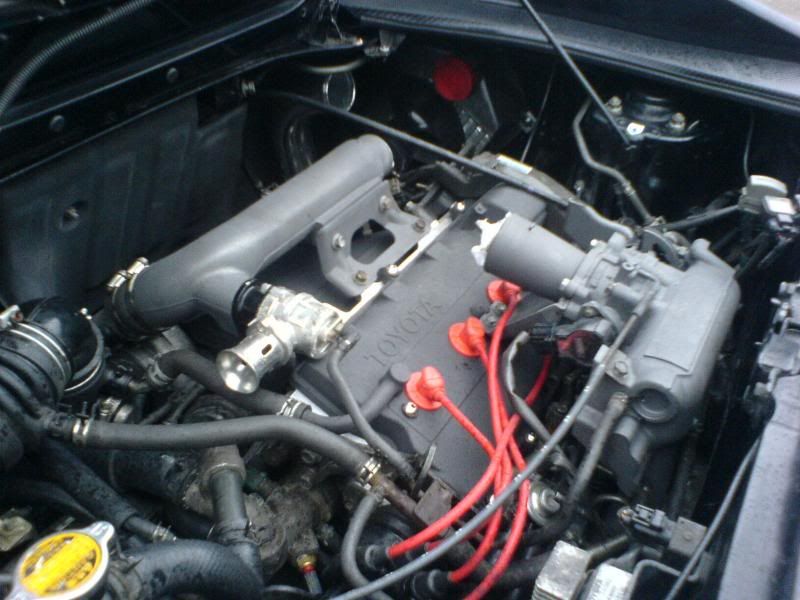
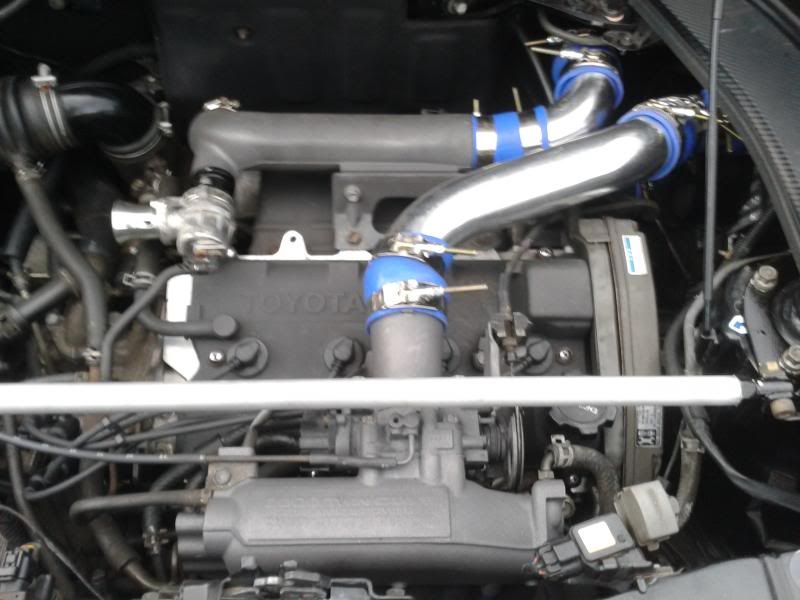
The next step was to tidy up the engine bay and fit the new parts:
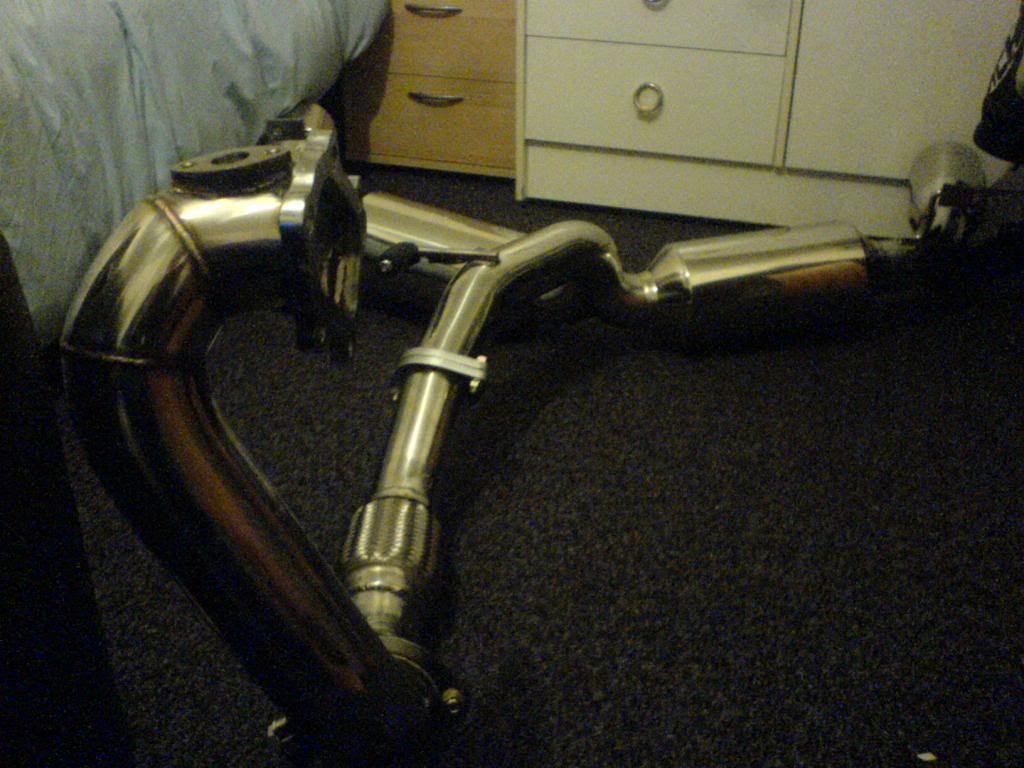
3" Japspeed Exhaust
3" Down pipe
Manual Boost controller
Boost Gauge
Side mount Intercooler
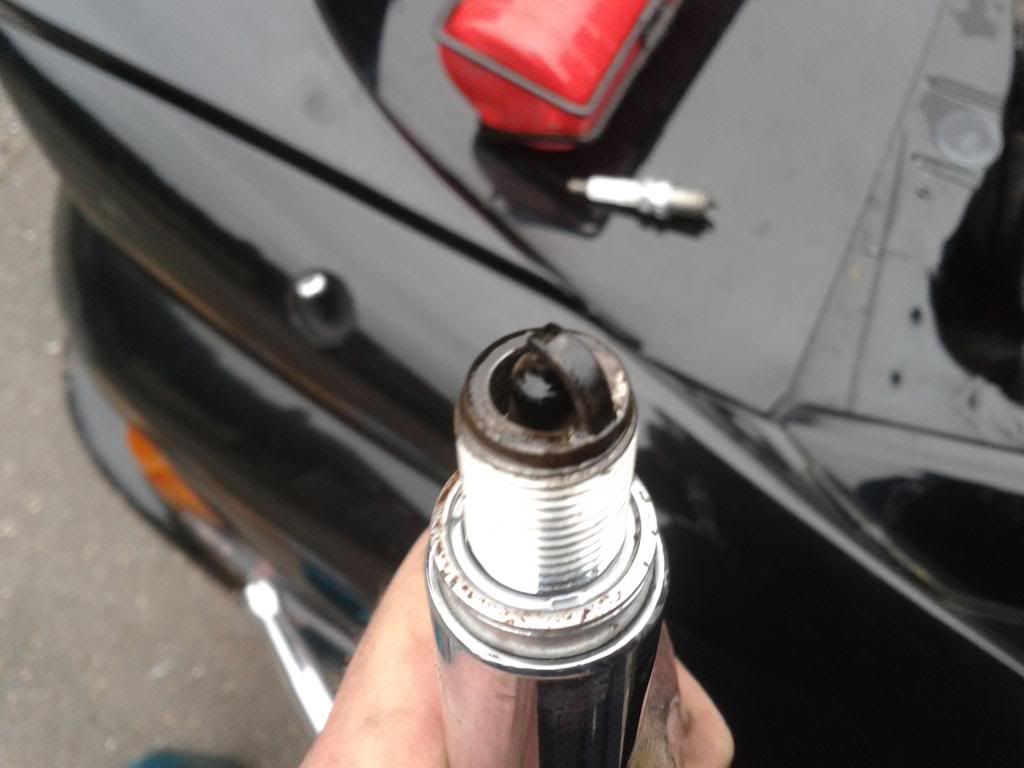
Spark plugs
Distributor Cap
Rotor Arm
Intercooler Shroud
HT leads
Oil
Coolant
Fuel Filter
Oil Filter
Braided Brake hoses
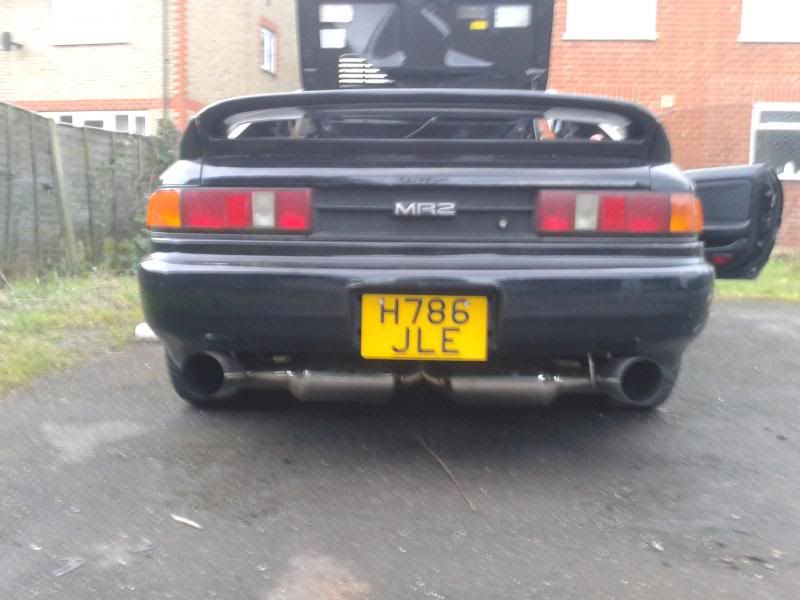
Some photos of the new exhaust:
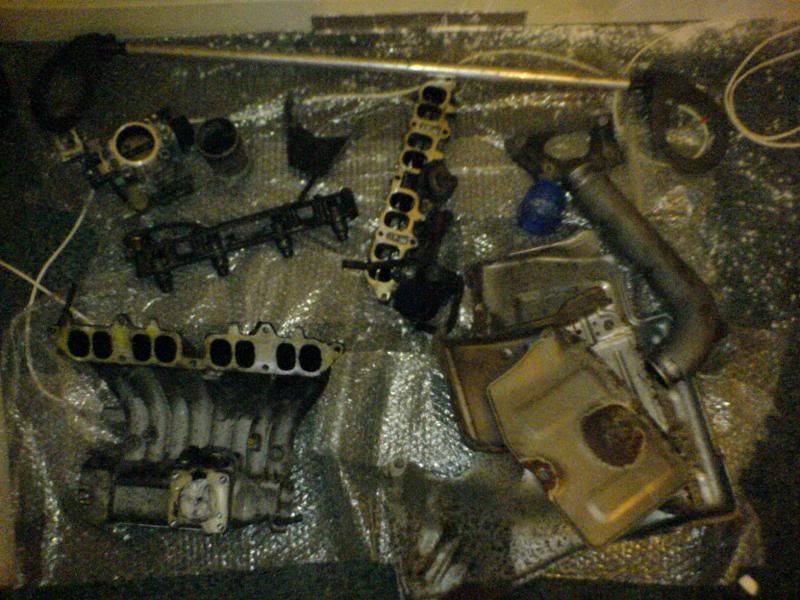
So anyway, I started stripping the engine back!
All very messy!
And picked out the parts to paint, black/gun metal.
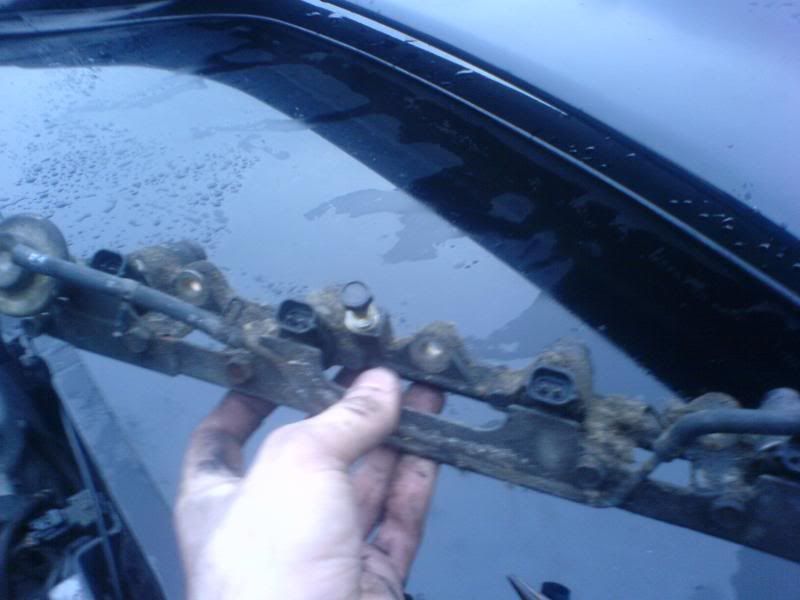
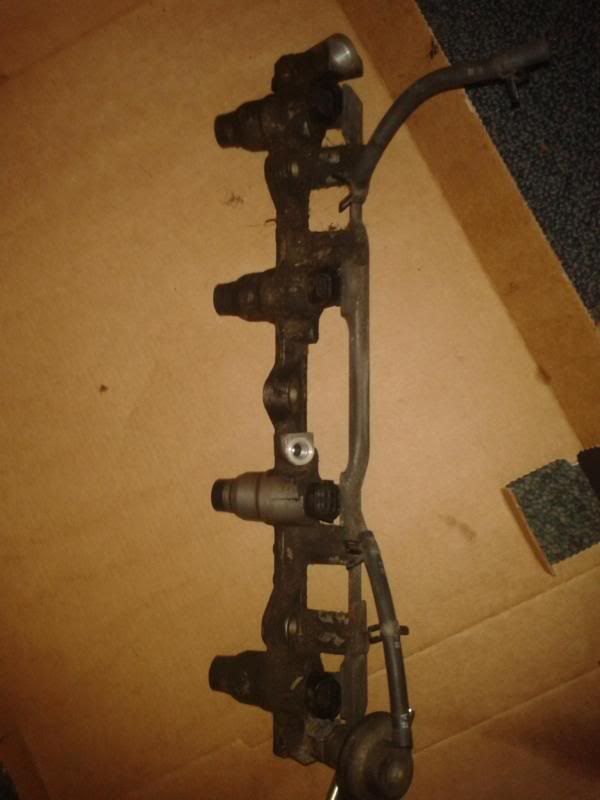
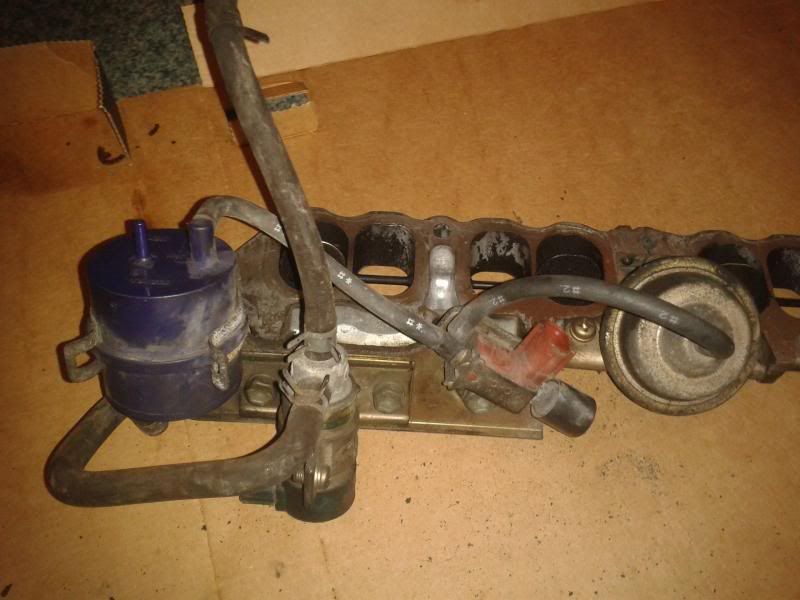
Fuel rail before:
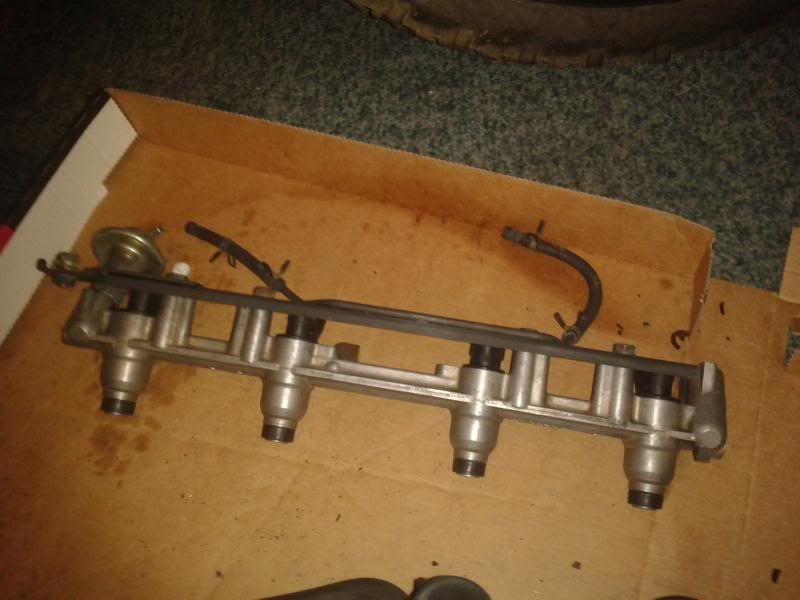
After:
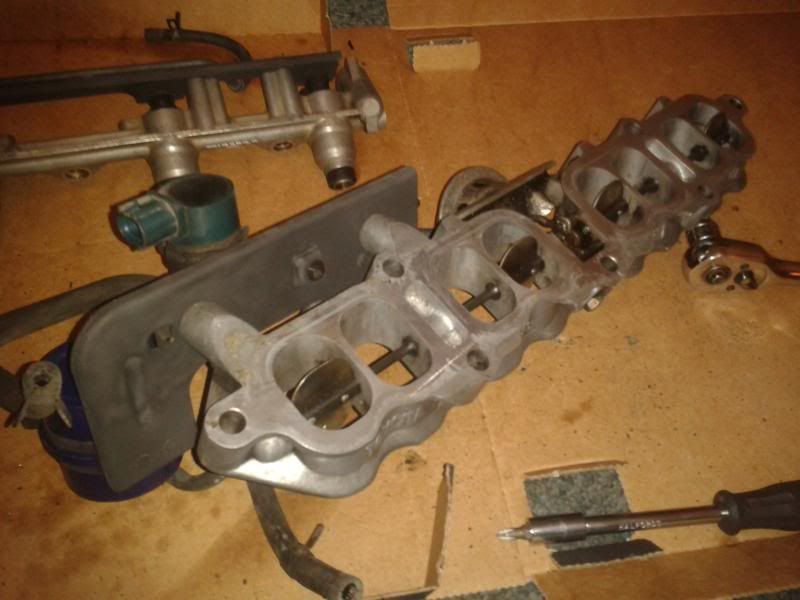
TVIS before:
After:
Etc
Then I started putting it all back together:
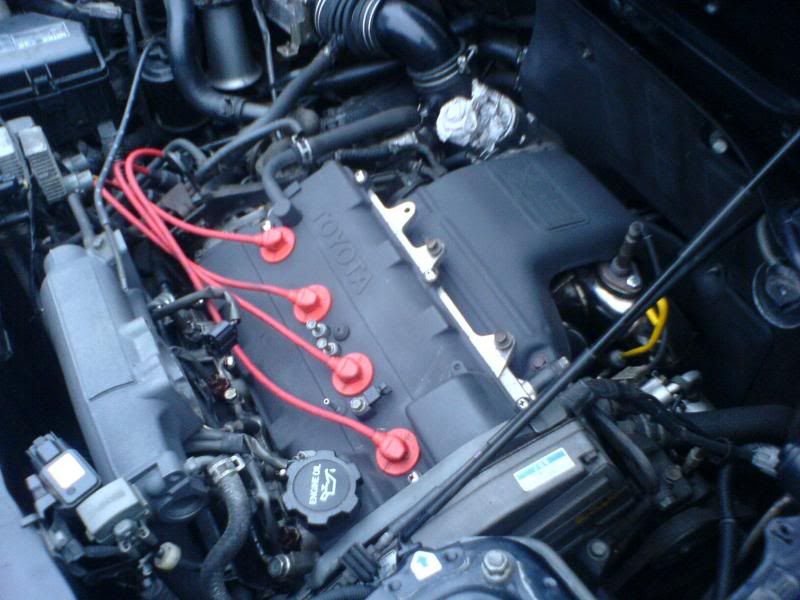
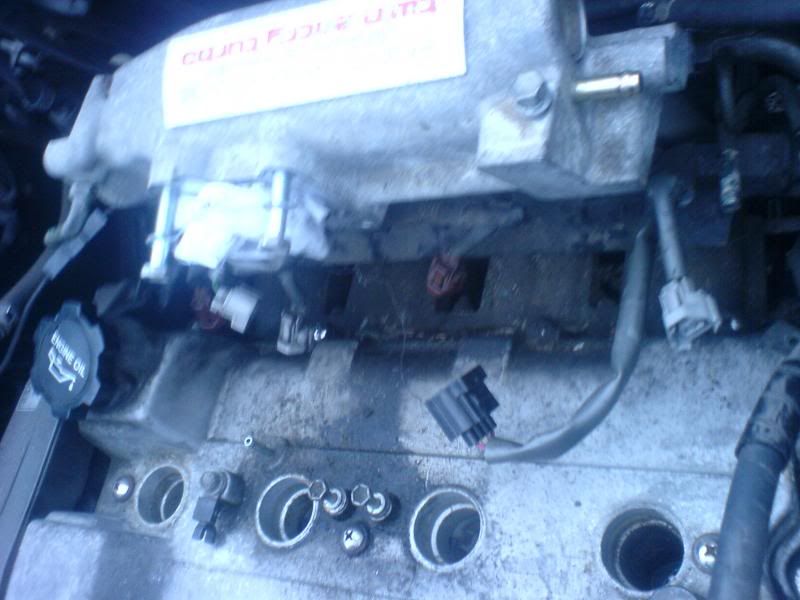
And completely put back together, new oil in, new coolant, new filters etc, new spark plugs, new rotor arm and dizzy cap, new HT leads:

I had some issues with over fueling:
But it was just the AFM sticking! Thanks Pete!
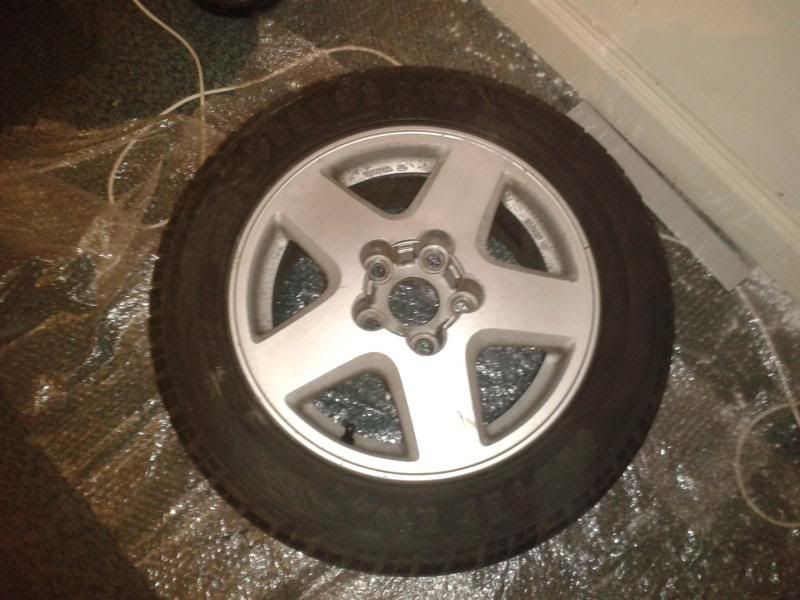
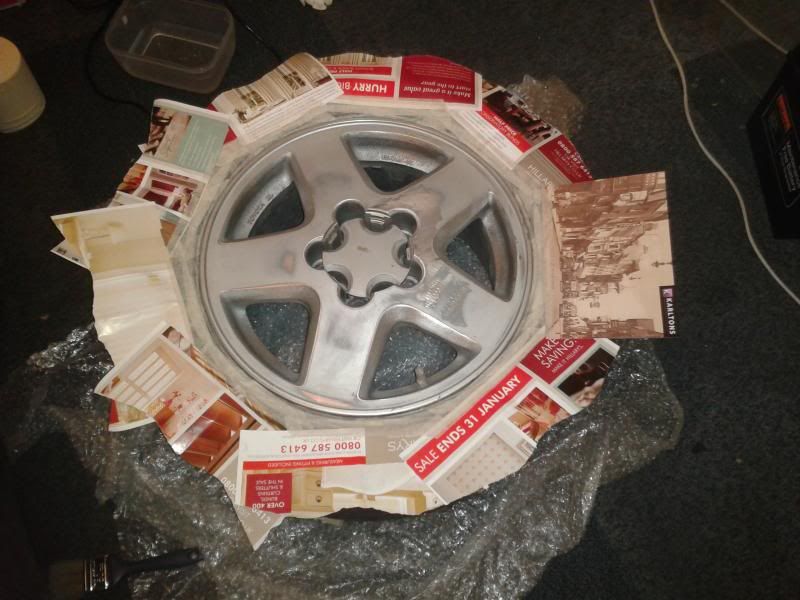
Next the wheels all needed painting:

Then the braided brake hoses were fitted!
NO PIC!
I also got a set of Toyo TR-1's for the front (205/50/R15).
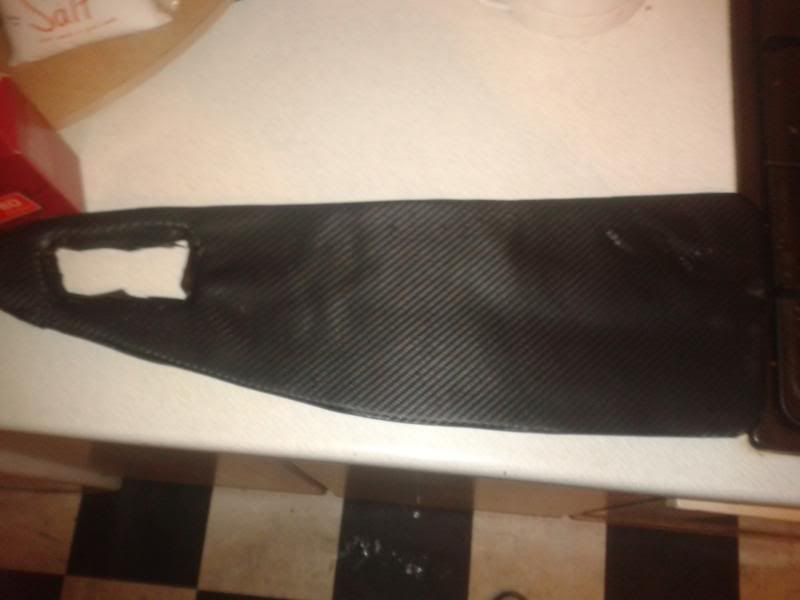
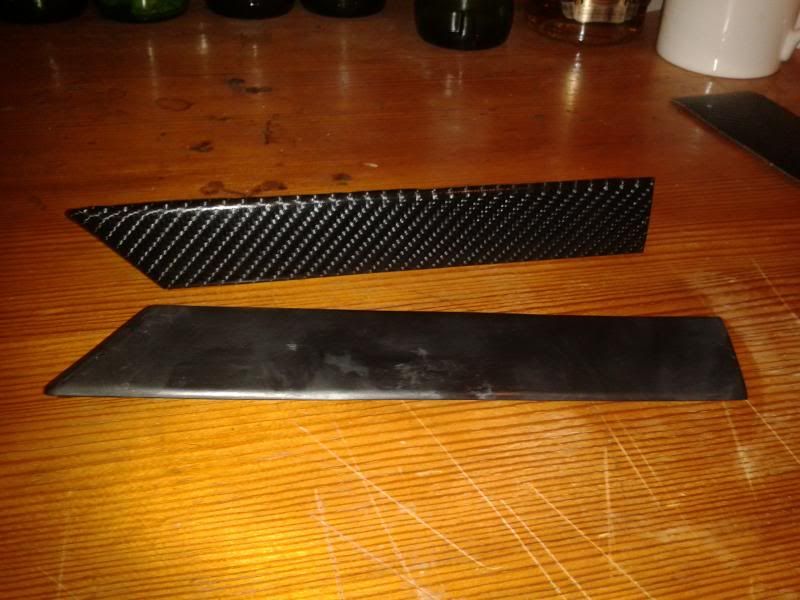
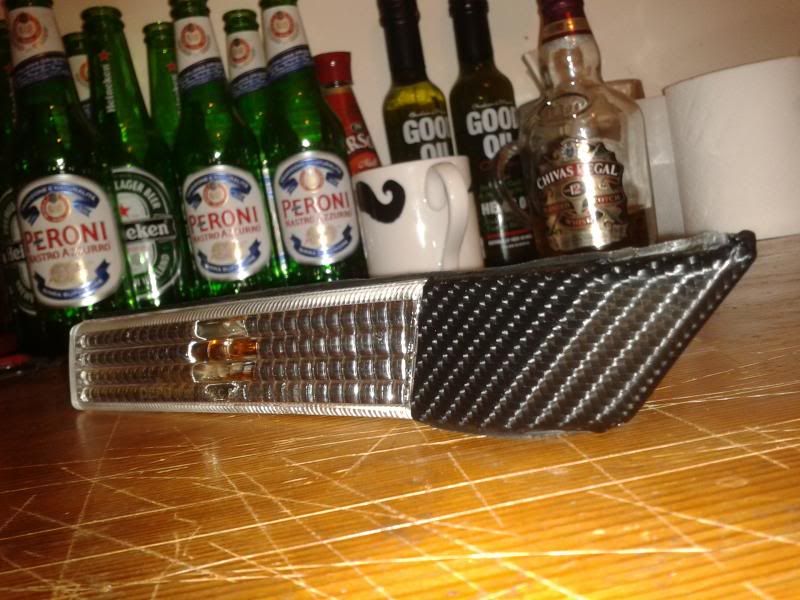
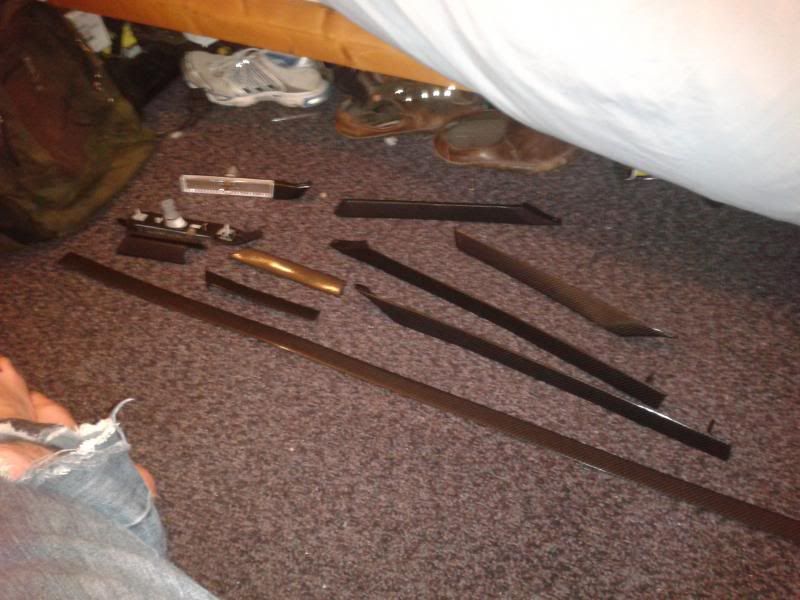
I decided to carbon wrap the trim, instead of painting:
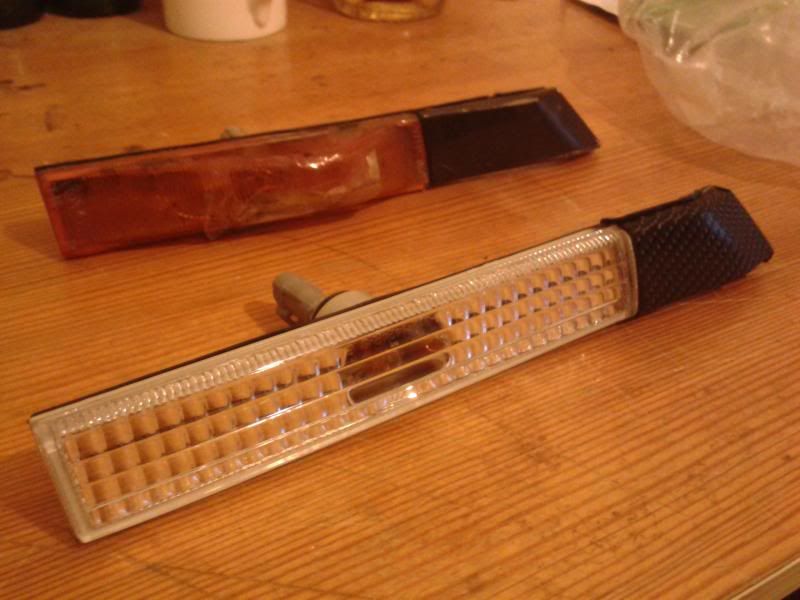
And got some nice new side lights:
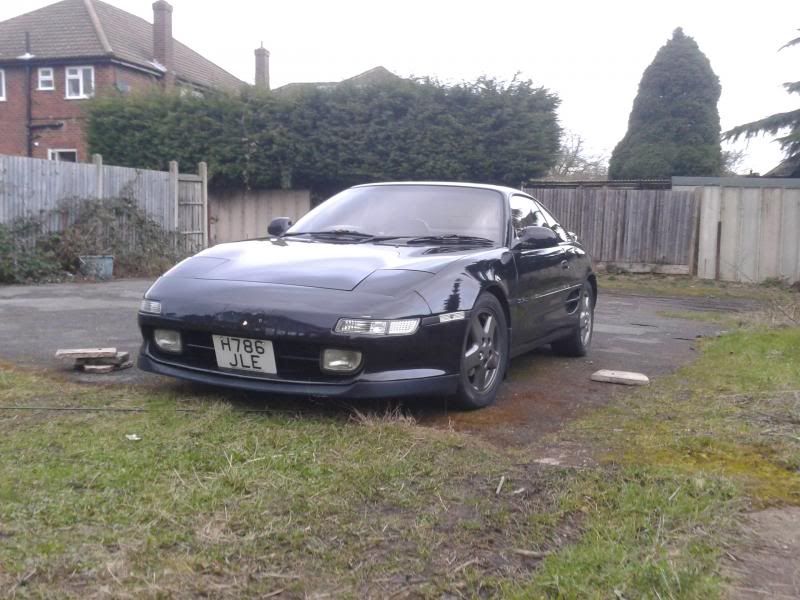
And here it is almost done, needs a polish though, but after I've painted the bumpers:
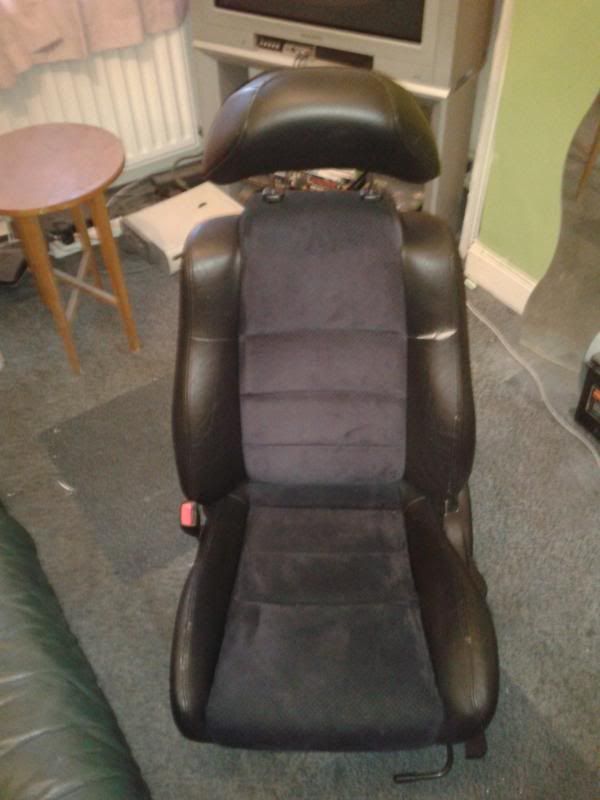
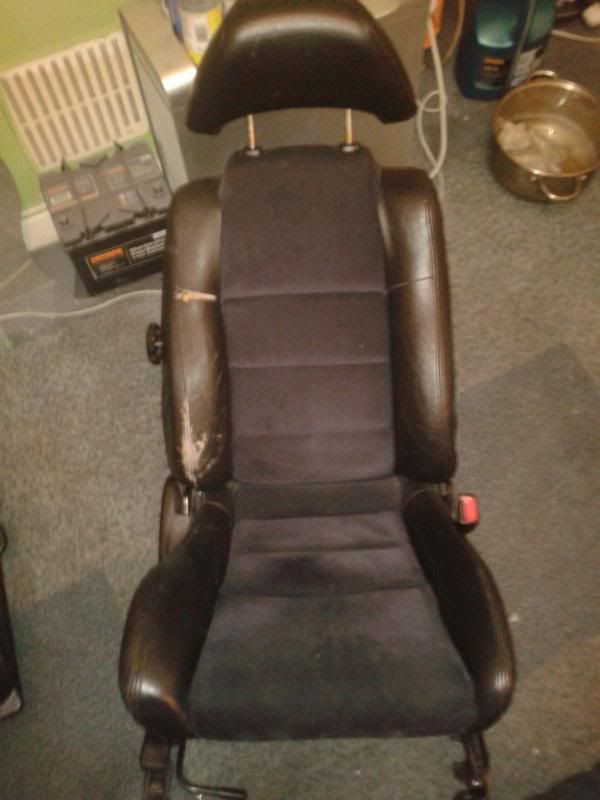
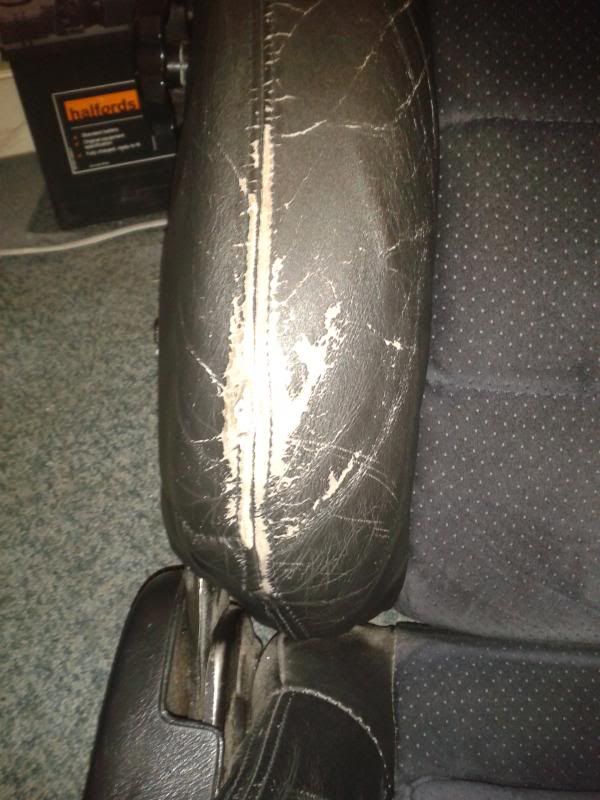
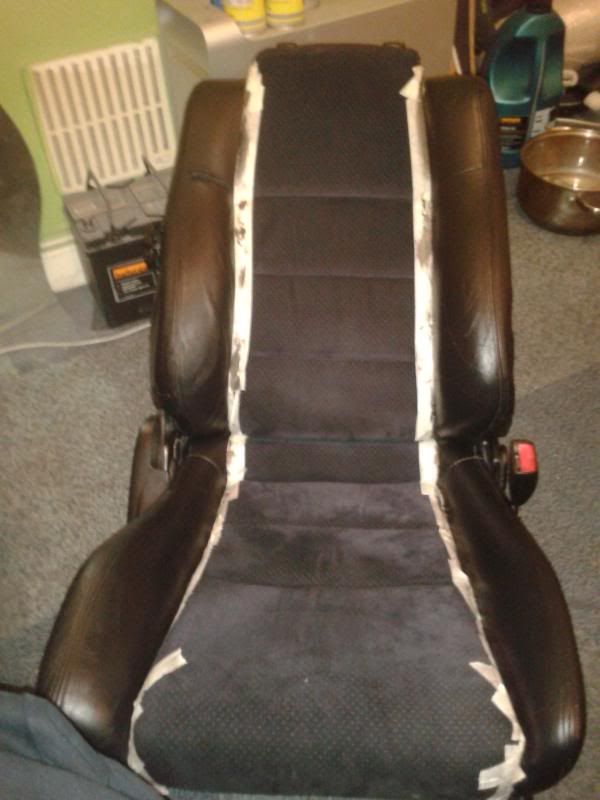
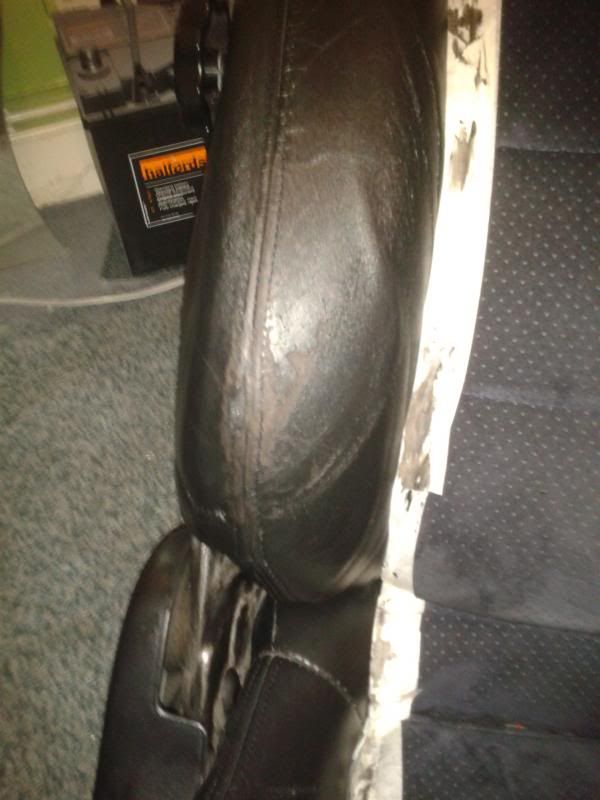
The seats were a mess so I am in the process of restoring them:

Passengers before:
After:
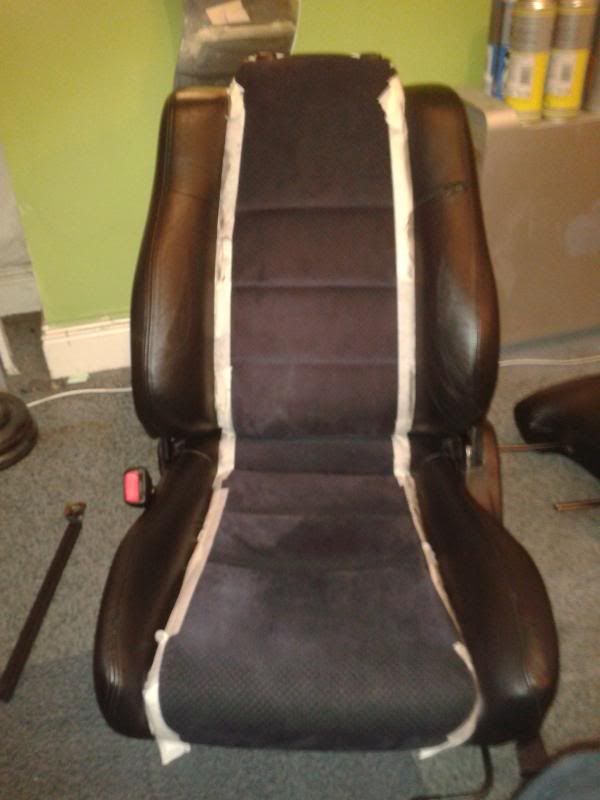
Drivers before:
New accelerator cable fitted!
Note. Don't bother buying one for 40 quid, it's just a cable and you can buy the ends for 2 quid each from a nut and bolt store. I kept mine, felt a bit rude sending it back.
Boost gauge fitted. Looks fine under the dash, but I'll get a 45mm one when funds allow or one comes up cheap.
Now the boost gauge and accelerator cable are in the final job is to spray the bumpers.
I got the rear bumper off and sanded it back, plus used some plastic filler and fibre glass on the crack. IT's come up well.
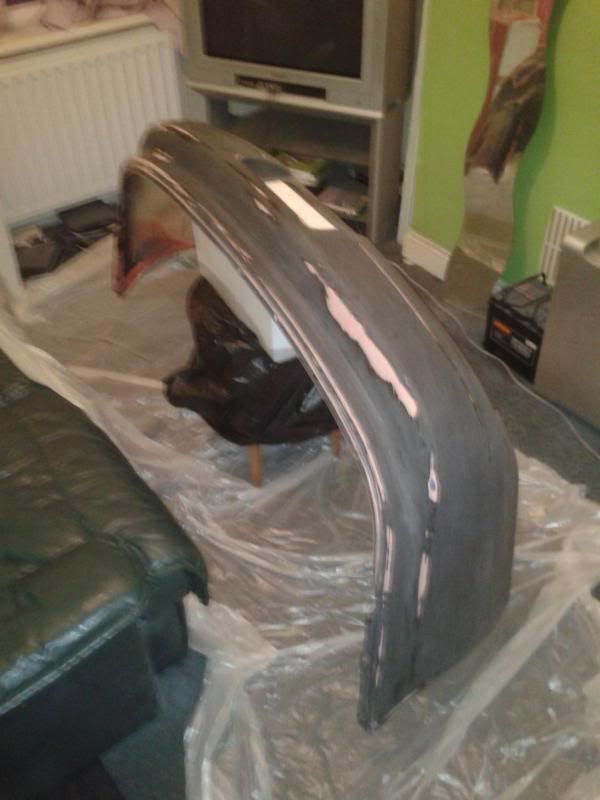
Primer'd:
In also thought I'd colour match the bits of trim under it, they took some filling and sanding to get smooth!

Next I removed the Front bumper, this took 3 hours!! But was quite easy.
Note. There are 2 plastic rivets behind each fog lamp, the fog lamps would normally need to be removed but the screws were 'screwed' and rounded so I just used a knife and cut them out. Took 2 mins and is much easier!
There are a gizzilion bolts and panel rivets on the bumper so it won't matter that these 4 aren't in there.
I may drill out the screws on the fog lamps as it's easier access now, and put fresh ones in with copper grease.
Front bumper:
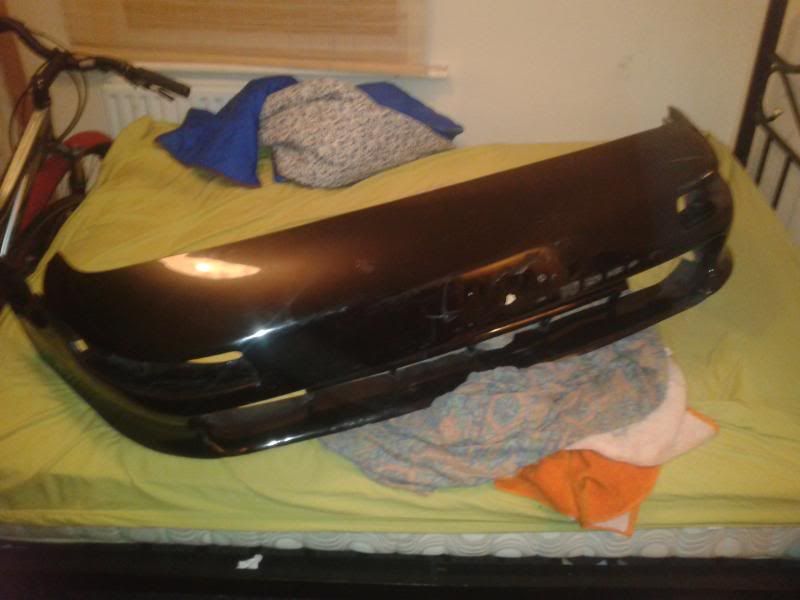
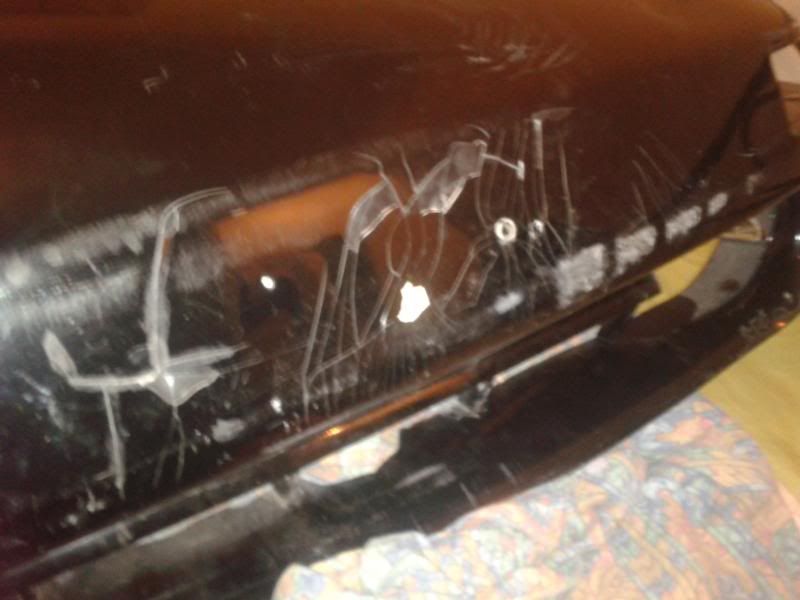
Damage! Dunno how this happened, I'l just sand it back.
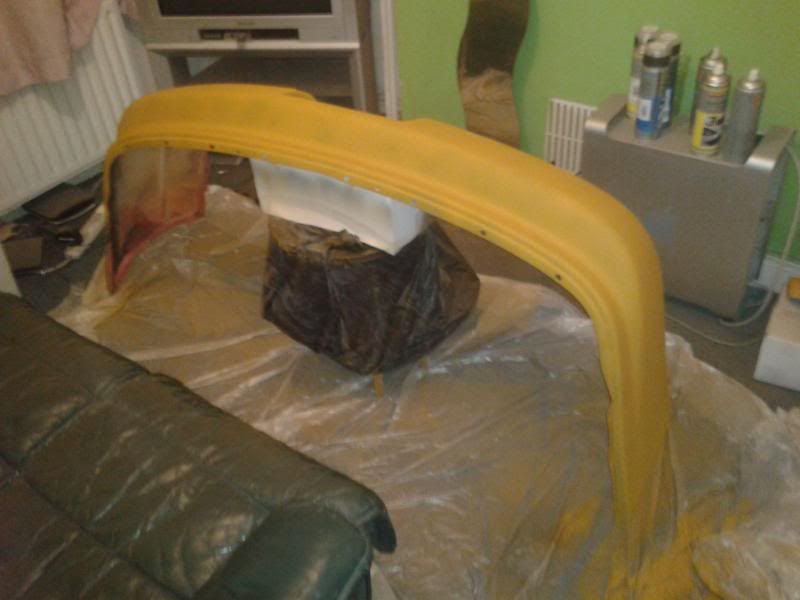
The cost of paint is adding up, but I got quoted 300 per bumper, 120 if I took it in primer'd just needing a top coat. But it's still a lot cheaper to have a go myself, and that's where the fun comes from.
Got to sand back the front bumper and primer.
Wet sand both bumpers, wait 24 hours.
Top coat and lacquer.
Refit.
Then I can give the whole car a t-cut and polish, and polish up the rear lights and tidy/polish up the frunk.
I'll have to wait a week or so to colour sand/cut the bumpers.
I decided to get a MR2 as I sold my motorbike.
I settled on a rev 1 turbo in black, I found it super cheap and decided I would have more fun buying a fixer and buying the parts I wanted to get it up to standard than buying one ready made.
It's also only 50k and has a new cambelt and clutch!
Here it is, fairly bad photo (wish I had more to show the progress of the car):
The first step was to remove the interior, IT WAS A MESS. The dash was sanded back and the cockpit painted silver and the door cards badly wrapped in carbon, plus a very chavvy gear stick. Here are the offending items:
And here is the interior after the tidy up:
The next step was to tidy up the engine bay and fit the new parts:
3" Japspeed Exhaust
3" Down pipe
Manual Boost controller
Boost Gauge
Side mount Intercooler
Spark plugs
Distributor Cap
Rotor Arm
Intercooler Shroud
HT leads
Oil
Coolant
Fuel Filter
Oil Filter
Braided Brake hoses
Some photos of the new exhaust:
So anyway, I started stripping the engine back!
All very messy!
And picked out the parts to paint, black/gun metal.
Fuel rail before:
After:
TVIS before:
After:
Etc
Then I started putting it all back together:
And completely put back together, new oil in, new coolant, new filters etc, new spark plugs, new rotor arm and dizzy cap, new HT leads:
I had some issues with over fueling:
But it was just the AFM sticking! Thanks Pete!
Next the wheels all needed painting:
Then the braided brake hoses were fitted!
NO PIC!
I also got a set of Toyo TR-1's for the front (205/50/R15).
I decided to carbon wrap the trim, instead of painting:
And got some nice new side lights:
And here it is almost done, needs a polish though, but after I've painted the bumpers:
The seats were a mess so I am in the process of restoring them:
Passengers before:
After:
Drivers before:
New accelerator cable fitted!
Note. Don't bother buying one for 40 quid, it's just a cable and you can buy the ends for 2 quid each from a nut and bolt store. I kept mine, felt a bit rude sending it back.
Boost gauge fitted. Looks fine under the dash, but I'll get a 45mm one when funds allow or one comes up cheap.
Now the boost gauge and accelerator cable are in the final job is to spray the bumpers.
I got the rear bumper off and sanded it back, plus used some plastic filler and fibre glass on the crack. IT's come up well.
Primer'd:
In also thought I'd colour match the bits of trim under it, they took some filling and sanding to get smooth!
Next I removed the Front bumper, this took 3 hours!! But was quite easy.
Note. There are 2 plastic rivets behind each fog lamp, the fog lamps would normally need to be removed but the screws were 'screwed' and rounded so I just used a knife and cut them out. Took 2 mins and is much easier!
There are a gizzilion bolts and panel rivets on the bumper so it won't matter that these 4 aren't in there.
I may drill out the screws on the fog lamps as it's easier access now, and put fresh ones in with copper grease.
Front bumper:
Damage! Dunno how this happened, I'l just sand it back.
The cost of paint is adding up, but I got quoted 300 per bumper, 120 if I took it in primer'd just needing a top coat. But it's still a lot cheaper to have a go myself, and that's where the fun comes from.
Got to sand back the front bumper and primer.
Wet sand both bumpers, wait 24 hours.
Top coat and lacquer.
Refit.
Then I can give the whole car a t-cut and polish, and polish up the rear lights and tidy/polish up the frunk.
I'll have to wait a week or so to colour sand/cut the bumpers.
Nice!
Always liked these and a black one would be my choice when I am able to get one,
Good to see you are doing the work yourself too!!
Might sound like a patronising question but are you learning with this, have a good mechanical knowledge or a mechanic by trade? Just asking because I'd love to do this but haven't got the cahones or the skill!!
fieldl said:
northandy said:
Totally off topic but....
Are you doing the spaying in your living room?, credit if you are, my better half would murder me till i was dead!
I was thinking exactly the same. Your doing a great job but wow doing it indoors in the living room.Are you doing the spaying in your living room?, credit if you are, my better half would murder me till i was dead!
 my thoughts as well
 op
op
dozydavenport and Jamirecluse...
Thanks, it has taken a while but it is all simple stuff I have done. I have had no training and am not a mechanic.
If you look at what I've done it is all very easy and very simple.
The interior: Just unscrew the door and centre console, the bolts are obvious, remove and refit.
Tee wheels: Remove, sand back, primer and paint... easy.
Engine: It's really obvious how to change the service items like spark plugs, filters, distributor cap. You only have to open the engine bay to figure this out. To paint the engine and clean it up, I just started taking it apart, bit by bit, taking a lot of photos, labelling bolts. Then to paint, it's just hard work wire brush, de grease, sand, primer, paint. Ofc I used heat proof paint from Halfords. THen I used the photos to put it back together again.
After doing this I had a much better understanding.
Fitting the new exhaust, inter cooler and down pipe was pretty easy.
There are guides on how to do almost every job online. The only problem you ever have is rusted bolts... just stick with it and get some Irwins and a blow torch at the ready.
Paint: Well, I was a bit apprehensive about this but I just took the bumpers off. There were even guides for this. Sanded it back, then filler, then primer, then wet sand... I don't know, just take your time and it
s fine. Take it one job at a time.
My dad was a mechanic for a year out of school and my grandad an engineer, they did all the jobs themselves. I've just never even considered it an option that I would pay another man to do a job I can learn to do. Maybe when I have more money that will change, but I certainly wouldn't feel as proud of owning a car if someone else has touched it.
northandy...
Yep, my living room. My house mates don't care, the house is not in a good state anyway. Also the wet paint hits the bumper, any over spray dries in the air and can be hoovered up.
joshc
No idea mate, I use a windows PC I built. Don't touch macs.
psychoR1
Er... about 1-2 cans of grey primer, 1 can of filler primer and 3 cans of paint and 1 can of lacquer
so 6 cans at 6.50 each is 39 quid a bumper, 10% of what a paint shop would charge.
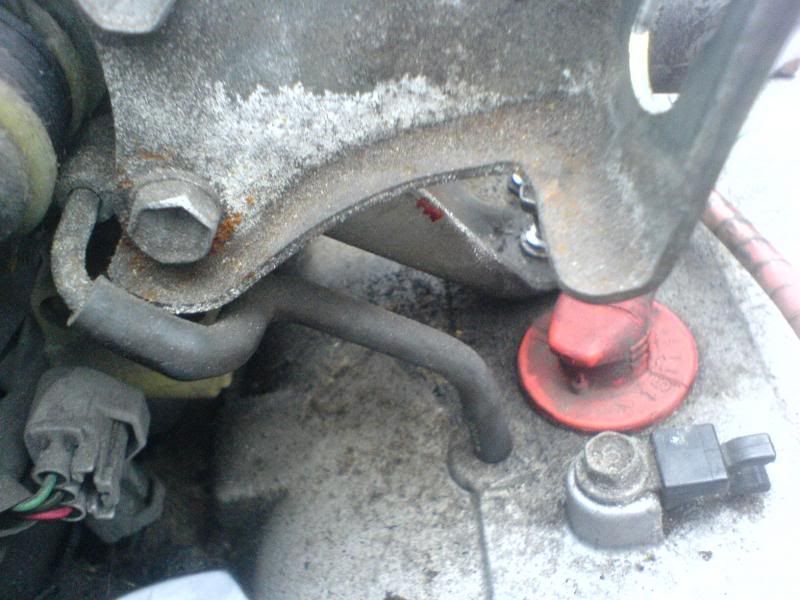
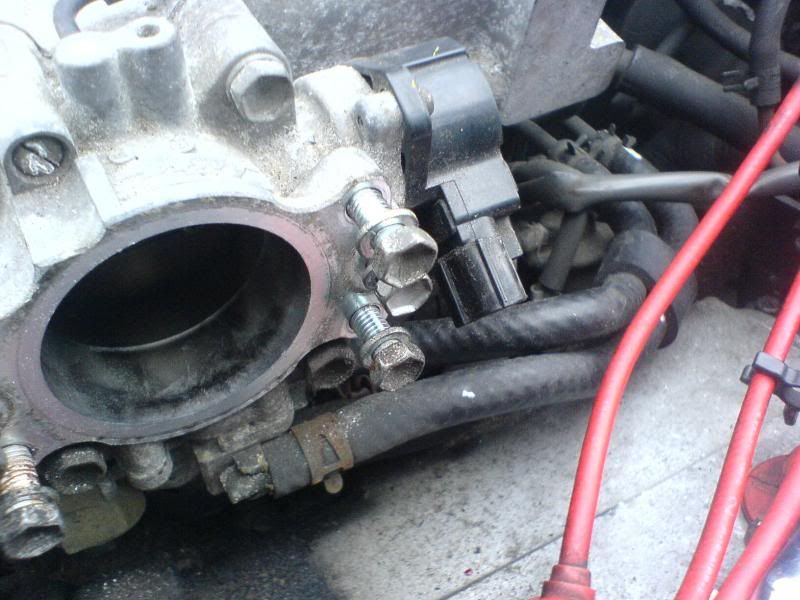
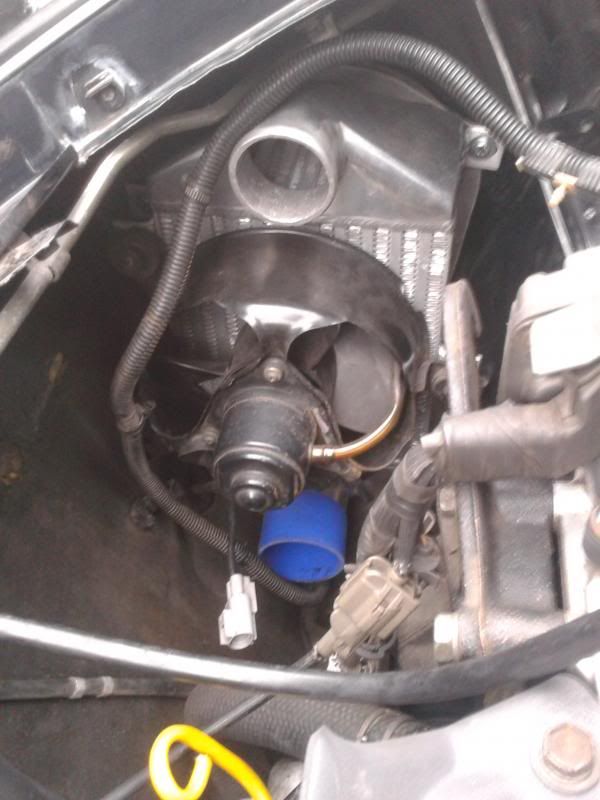
What's that bolted next to the coolant filler cap?
Engine clean up looks like it has made a world of difference!
Are you sure about the mileage? Just 50,000 miles in 22 years doesn't sound much and the wear on the seats is commensurate with something muchhigher unless it was only used to do very short journeys very often. I wouldn't be too fussed as these cars are bought purely on condition in my experience. What are the sills looking like?
I hold a theory that the earlier cars were made of a better standard steel/materials and had more toys on them. Through the years the cars became more expensive and to stay competitive cost savings were made on later cars. I realised this after getting rid of my rev2 which turned out to be better in quality than the rev4 that replaced it.
Above it? Thwe air flow meter.
Thanks, the engine l;ooks better in real life. I don't like shiny, blue//red engine bays. The matt blac/gun metal grey looks great alongside the black car. Very tidy and not in your face.
I still need to tidy the passenger side, move some lines, paint the coolant tree.
The records add up the the mileage, the guy who owned it was pretty big (fat) so must of added to the wear. 50k is a lot anyway. It was imported at very low mileage. The guy barely drove it.
Sills are rust free.
Finally painted the rear bumper..
And in fact painted the front bumper too!
Fitted it on Sunday and polished the lights and gave the car a good polish, looking good and nice and fast.
I'll get some photos up soon.
The boost gauge works, seems to boost to 12 psi in 1st, 2nd, 3rd and 4th but only 10 psi in 5th. Think I'll fit the MBC and set it to 15psi.
I'll fit the ct20b, metal head gasket, rev 3 cams and new cambelt before I increase it anymore.
Searching for an ECU atm.


Looking good, pretty simple cars to work on, did all my mods myself (except ecu, it came with it)
I ran a rev2 tubby for a couple of years and loved every minute of it!
I also ran the japspeed system and downpipe with an apexi filter, blitz access ecu and a set of tein super streets. Also factory option LSD
Still miss the noise to this day similar to you, mine only had about 48k on it when I sold it about 5 years ago, never had the leather but mine was absolute mint inside, including the cloth.
Nice moody shoot for ya....
I ran a rev2 tubby for a couple of years and loved every minute of it!
I also ran the japspeed system and downpipe with an apexi filter, blitz access ecu and a set of tein super streets. Also factory option LSD
Still miss the noise to this day
similar to you, mine only had about 48k on it when I sold it about 5 years ago, never had the leather but mine was absolute mint inside, including the cloth.Nice moody shoot for ya....
Edited by pd2 on Monday 15th April 21:34
Gassing Station | Readers' Cars | Top of Page | What's New | My Stuff