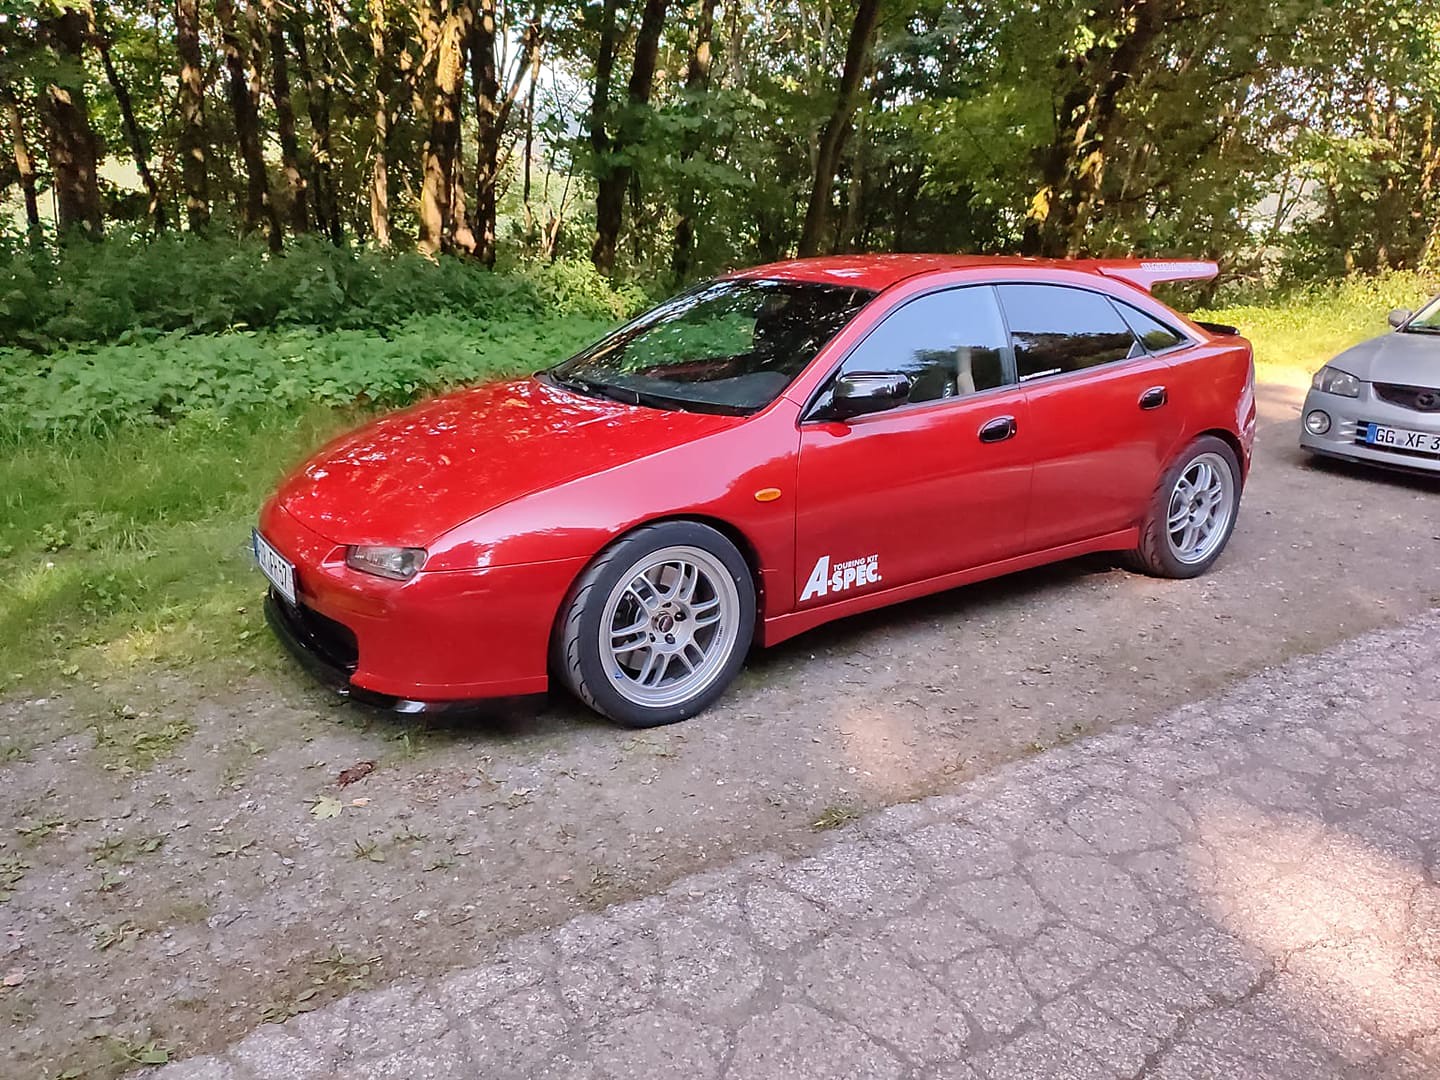
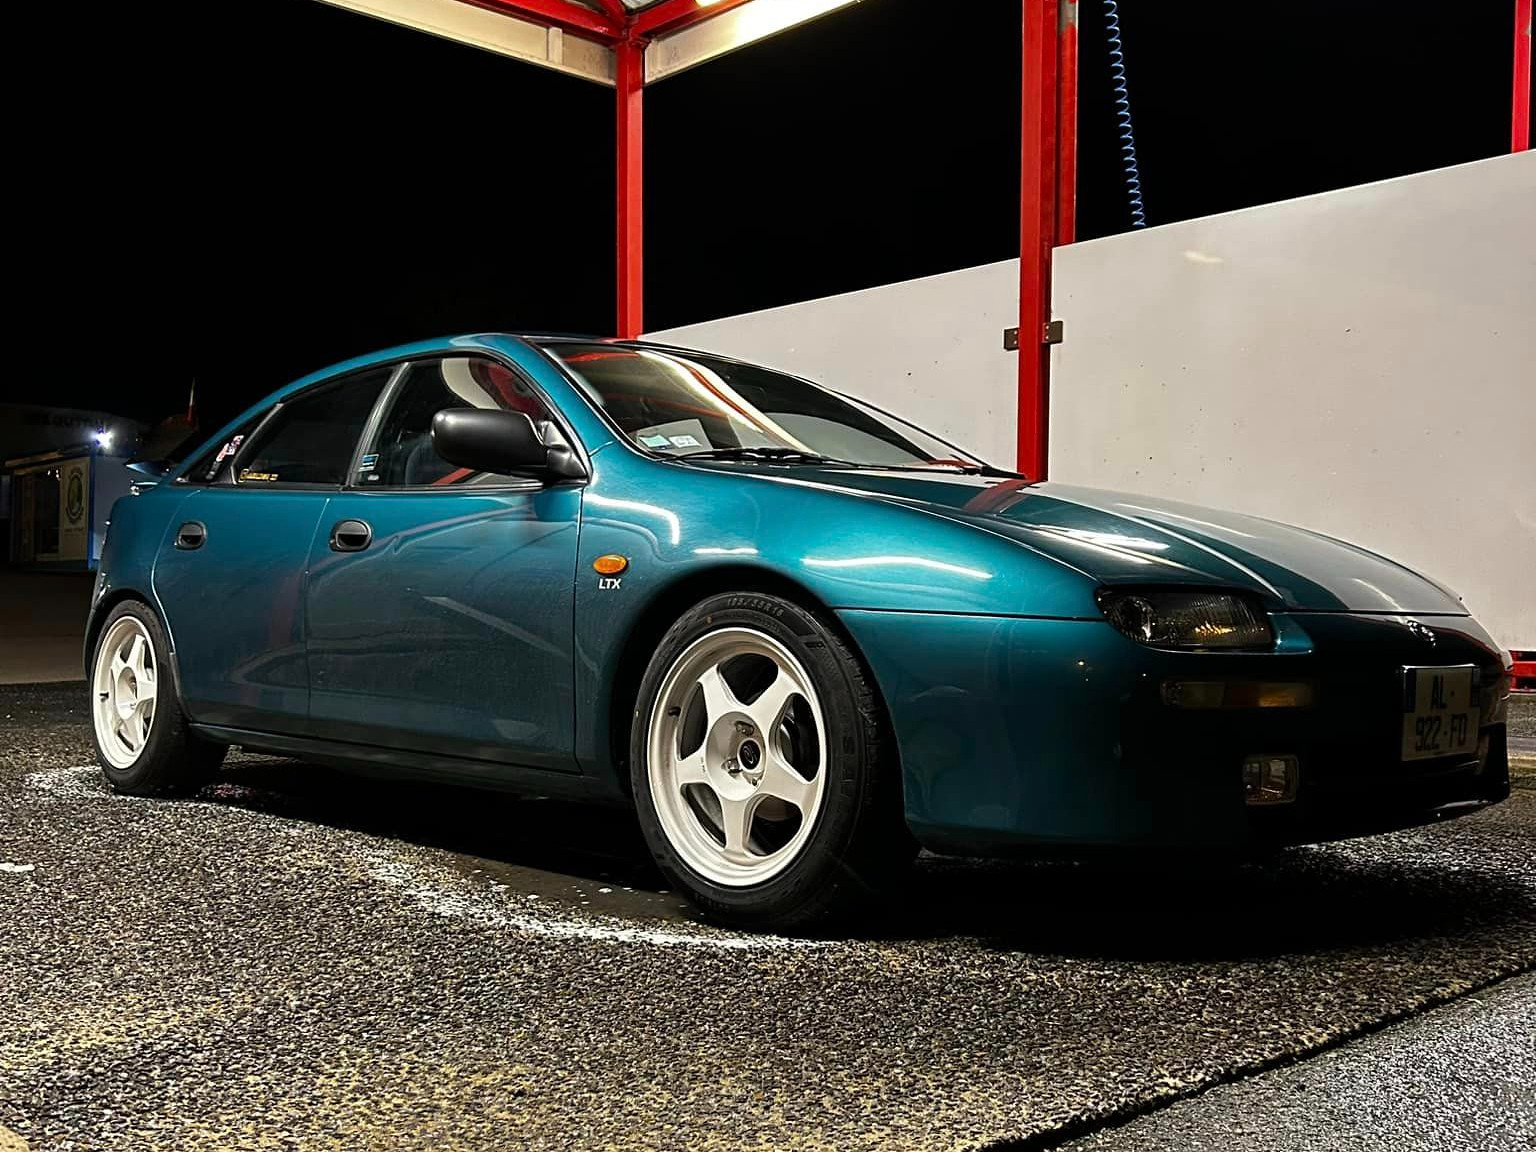
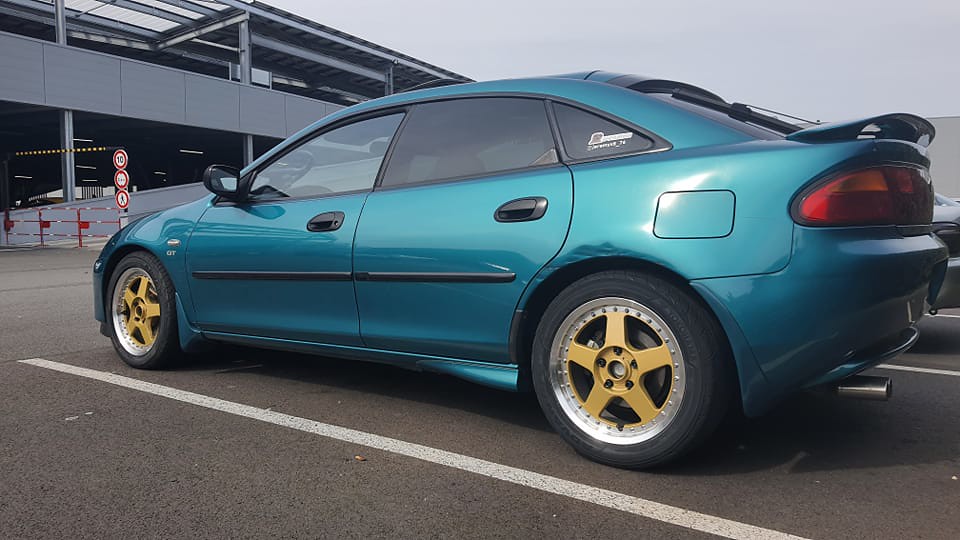
Chris' Mazda 323F V6
Discussion


Since buying the car, I knew the S14 wheels weren't going to be a 'forever' wheel. They're not a bad looking wheel and they do suit the car, but I felt the large flat spokes were abit boring.
I've spent countless hours browsing through selling sites and despite specific searches, I kept being presented with everything but what I was looking for.
I wanted to stay with 16s, I knew this would limit my search but I wasn't expecting it to be so difficult. Majority of results came back as 15" (I'm unsure if they're fit over the brakes) or 17" (can look too big on the car) or the wrong PCD.
Here are a few options,unfortunately I didn't have a HUUUGE budget which also didn't help the search.
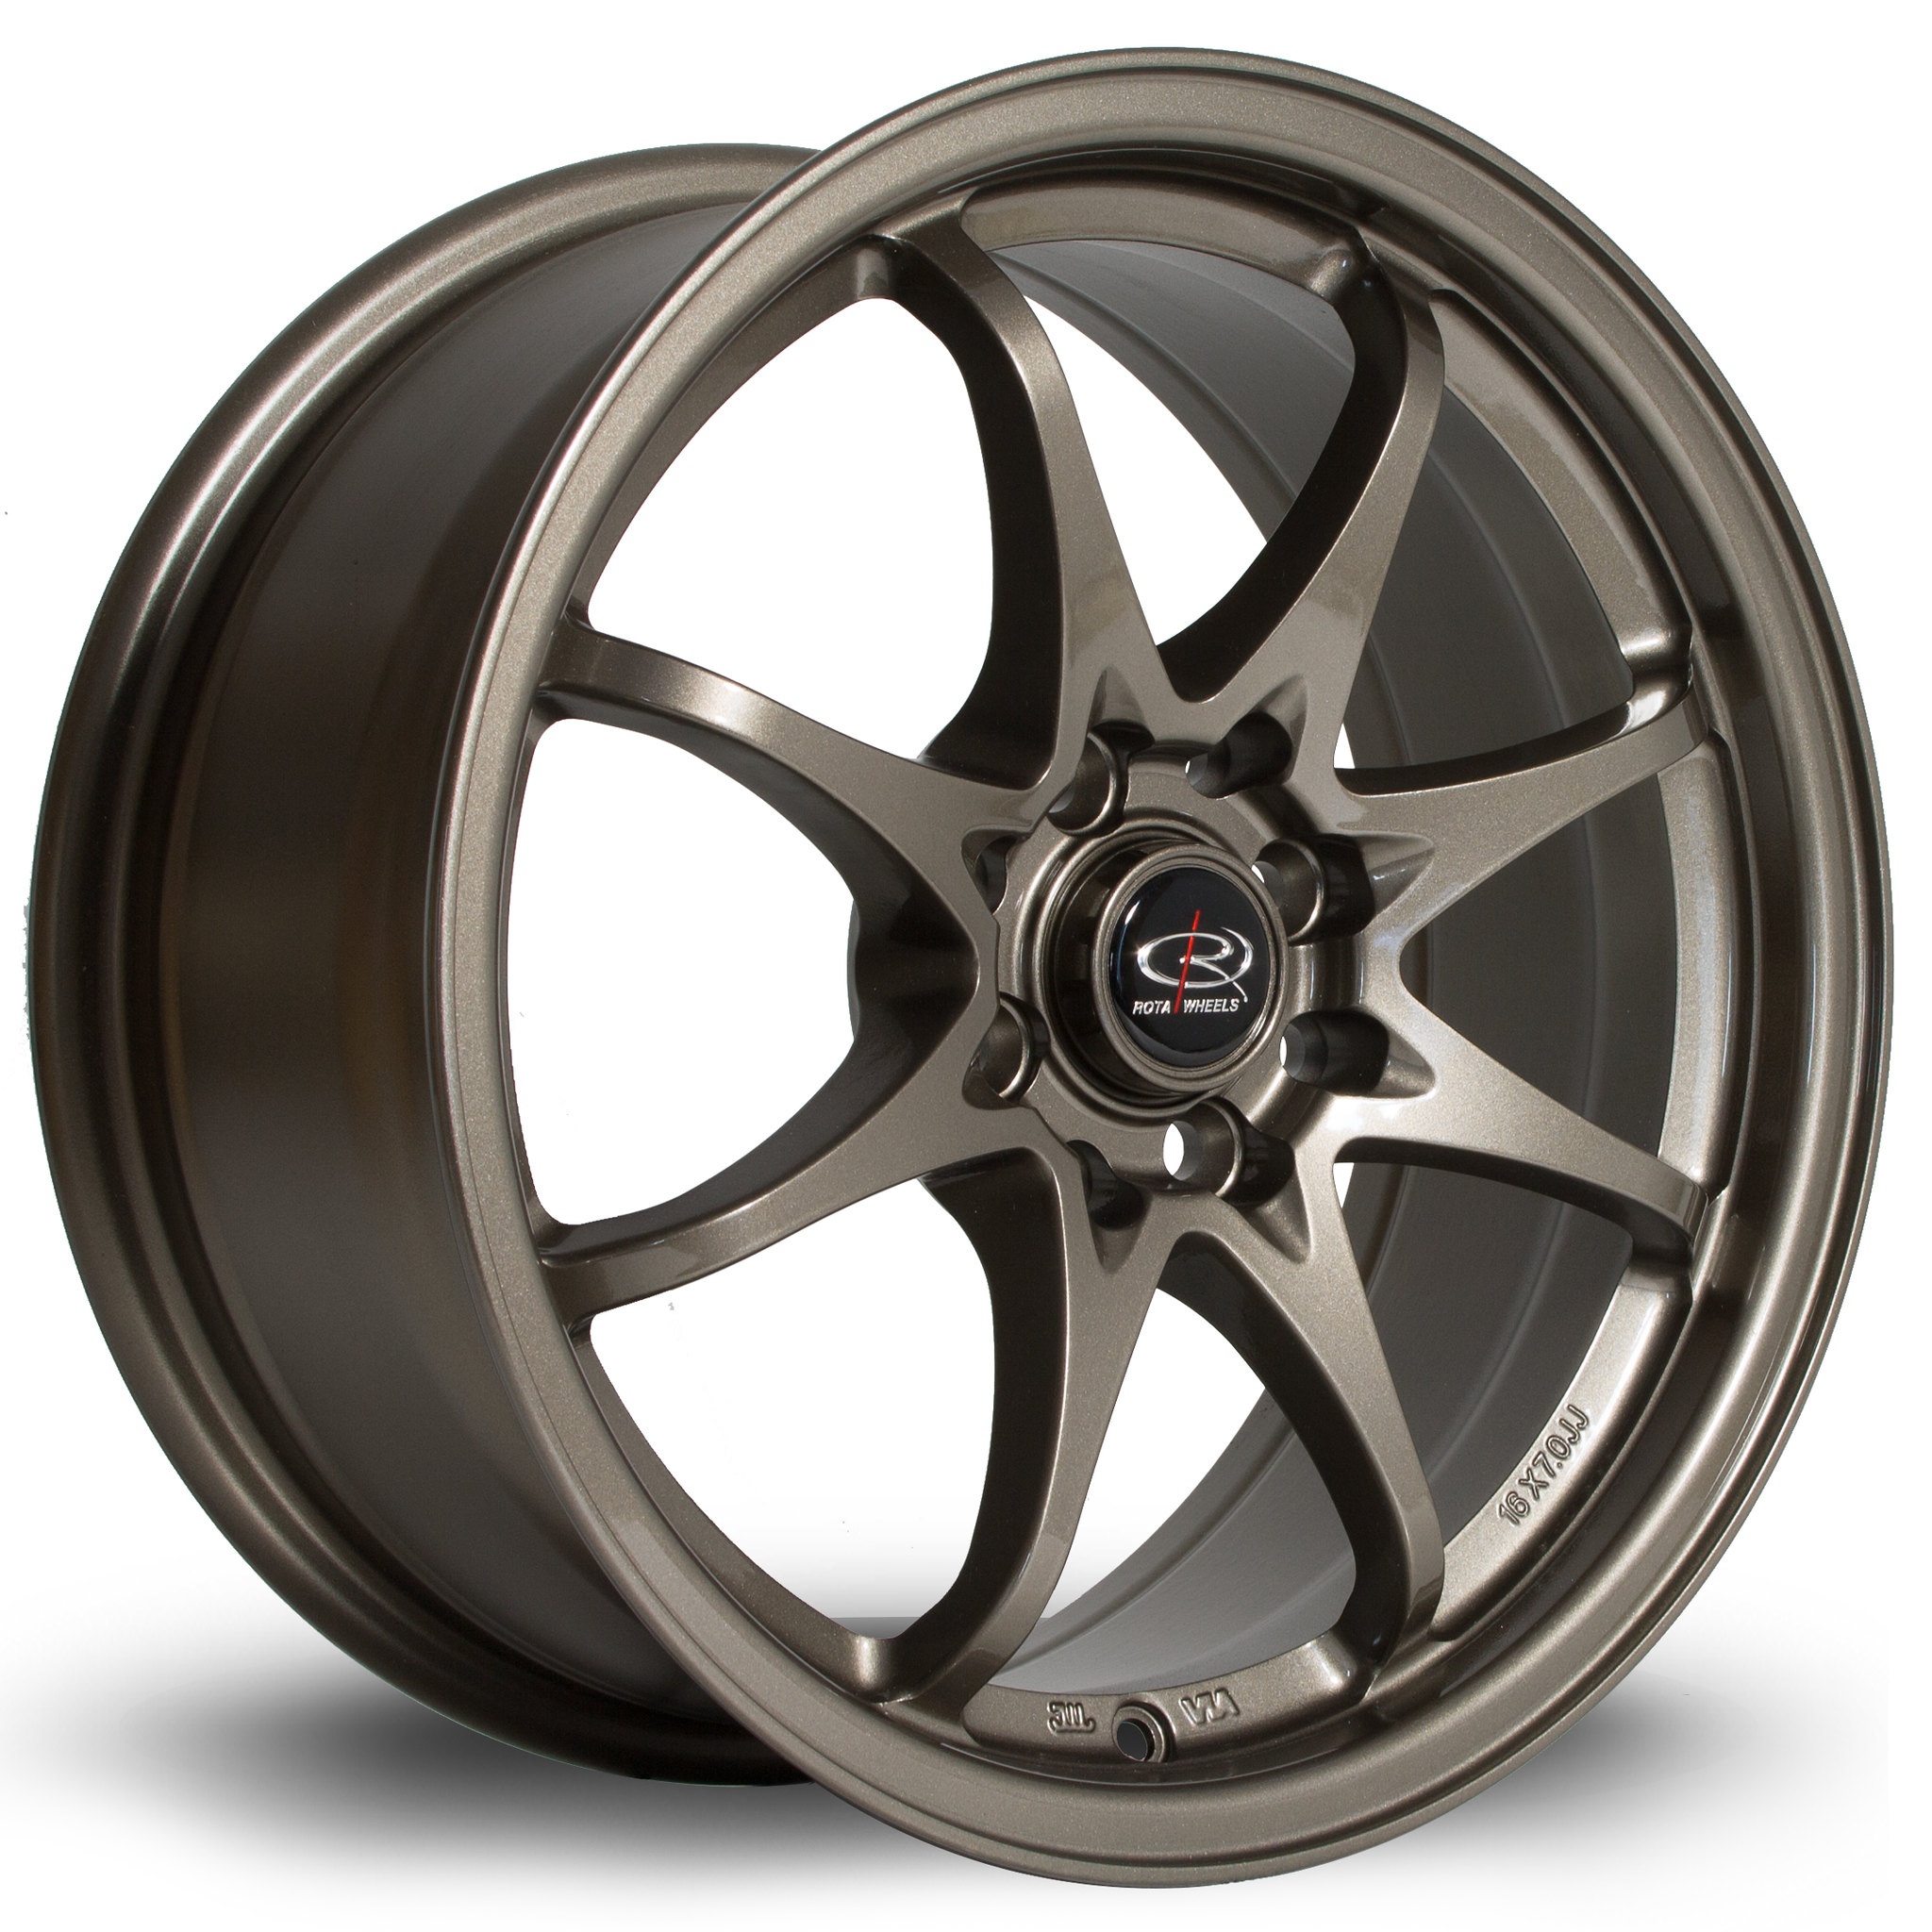
Rota Fighter (Volk Racing CE28 reps) Not a huge fan of multi spokes
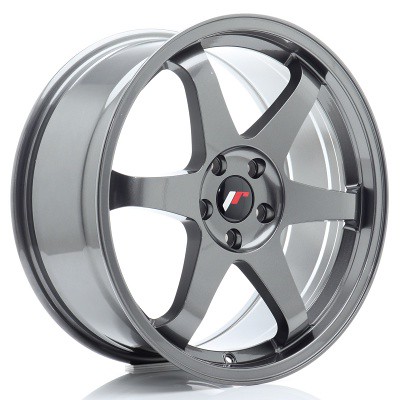
Japan Racing JR3/Rota Grid (Volk Racing TE37 reps)
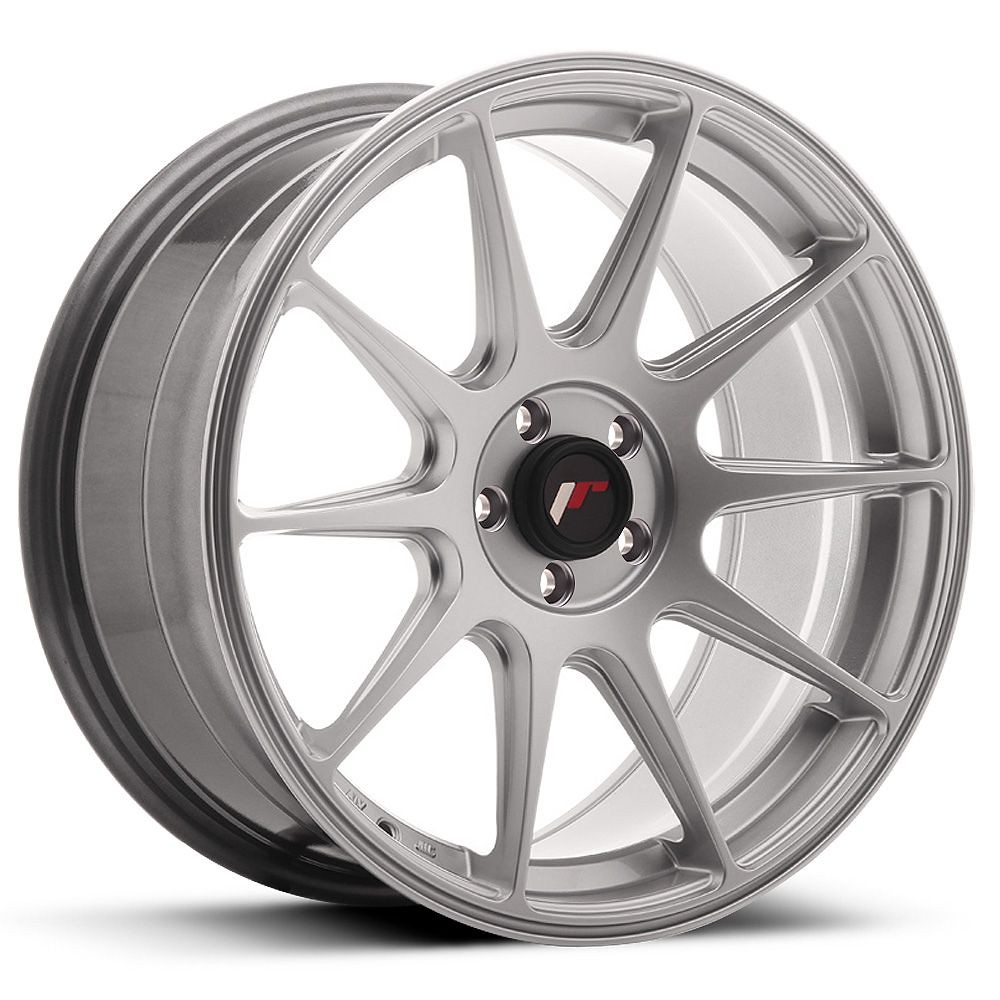
Japan Racing JR11 (Weds SA-99R reps) again, quite a few spokes
I've always liked the Enkei RFP01 design and it works on alot of cars. It was one wheel I couldn't find in the specs I was after (at the time)
The Rota Slipstream were my first choice. I had these on the Motul K11 Micra, its a simple design which looks great
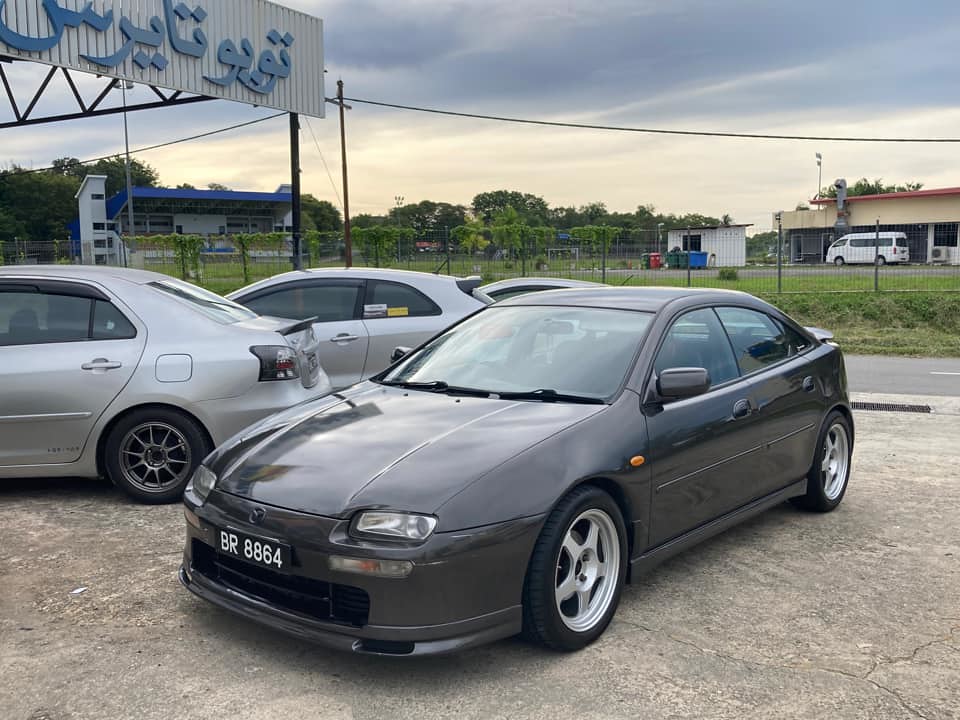
This grey 323F has the real deal Desmond Regamasters (or so the owner says)
Mazdaspeed installed their MS01 wheel on their Lantis models, which came in 16". But as you can imagine these can hold a good 2nd hand value
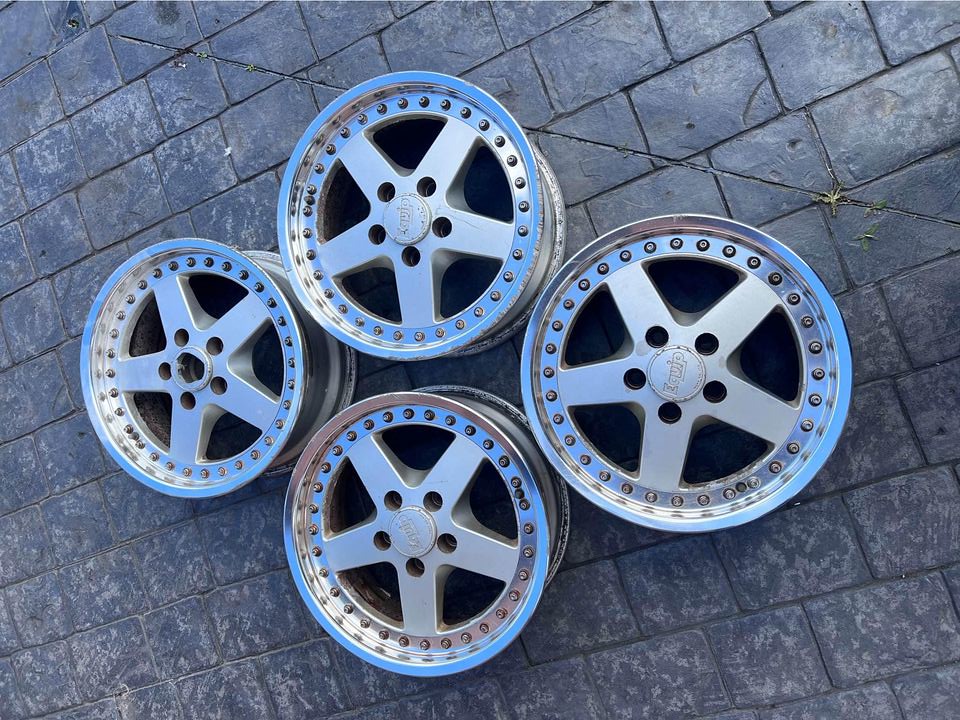
The more I searched for examples the more I prefered a 5 or 6 spoke design. I did come across a set of Work Equip 05s but by the time they're refurbed it'd be close to a 4 figure total. Plus my days of keeping polished lips clean are in the past from the Work Meister S1s on the purple MX5.
That's when I had a wheel design pop into my head which may tick all of the boxes. An OEM wheel from a rival manufacturer.
I sent out a few messages to people who may know the whereabouts of said wheel, which led me to a seller local to me. I immediately went to view them and providing they were all straight with no major damage or cracks, they'd be coming home with me.
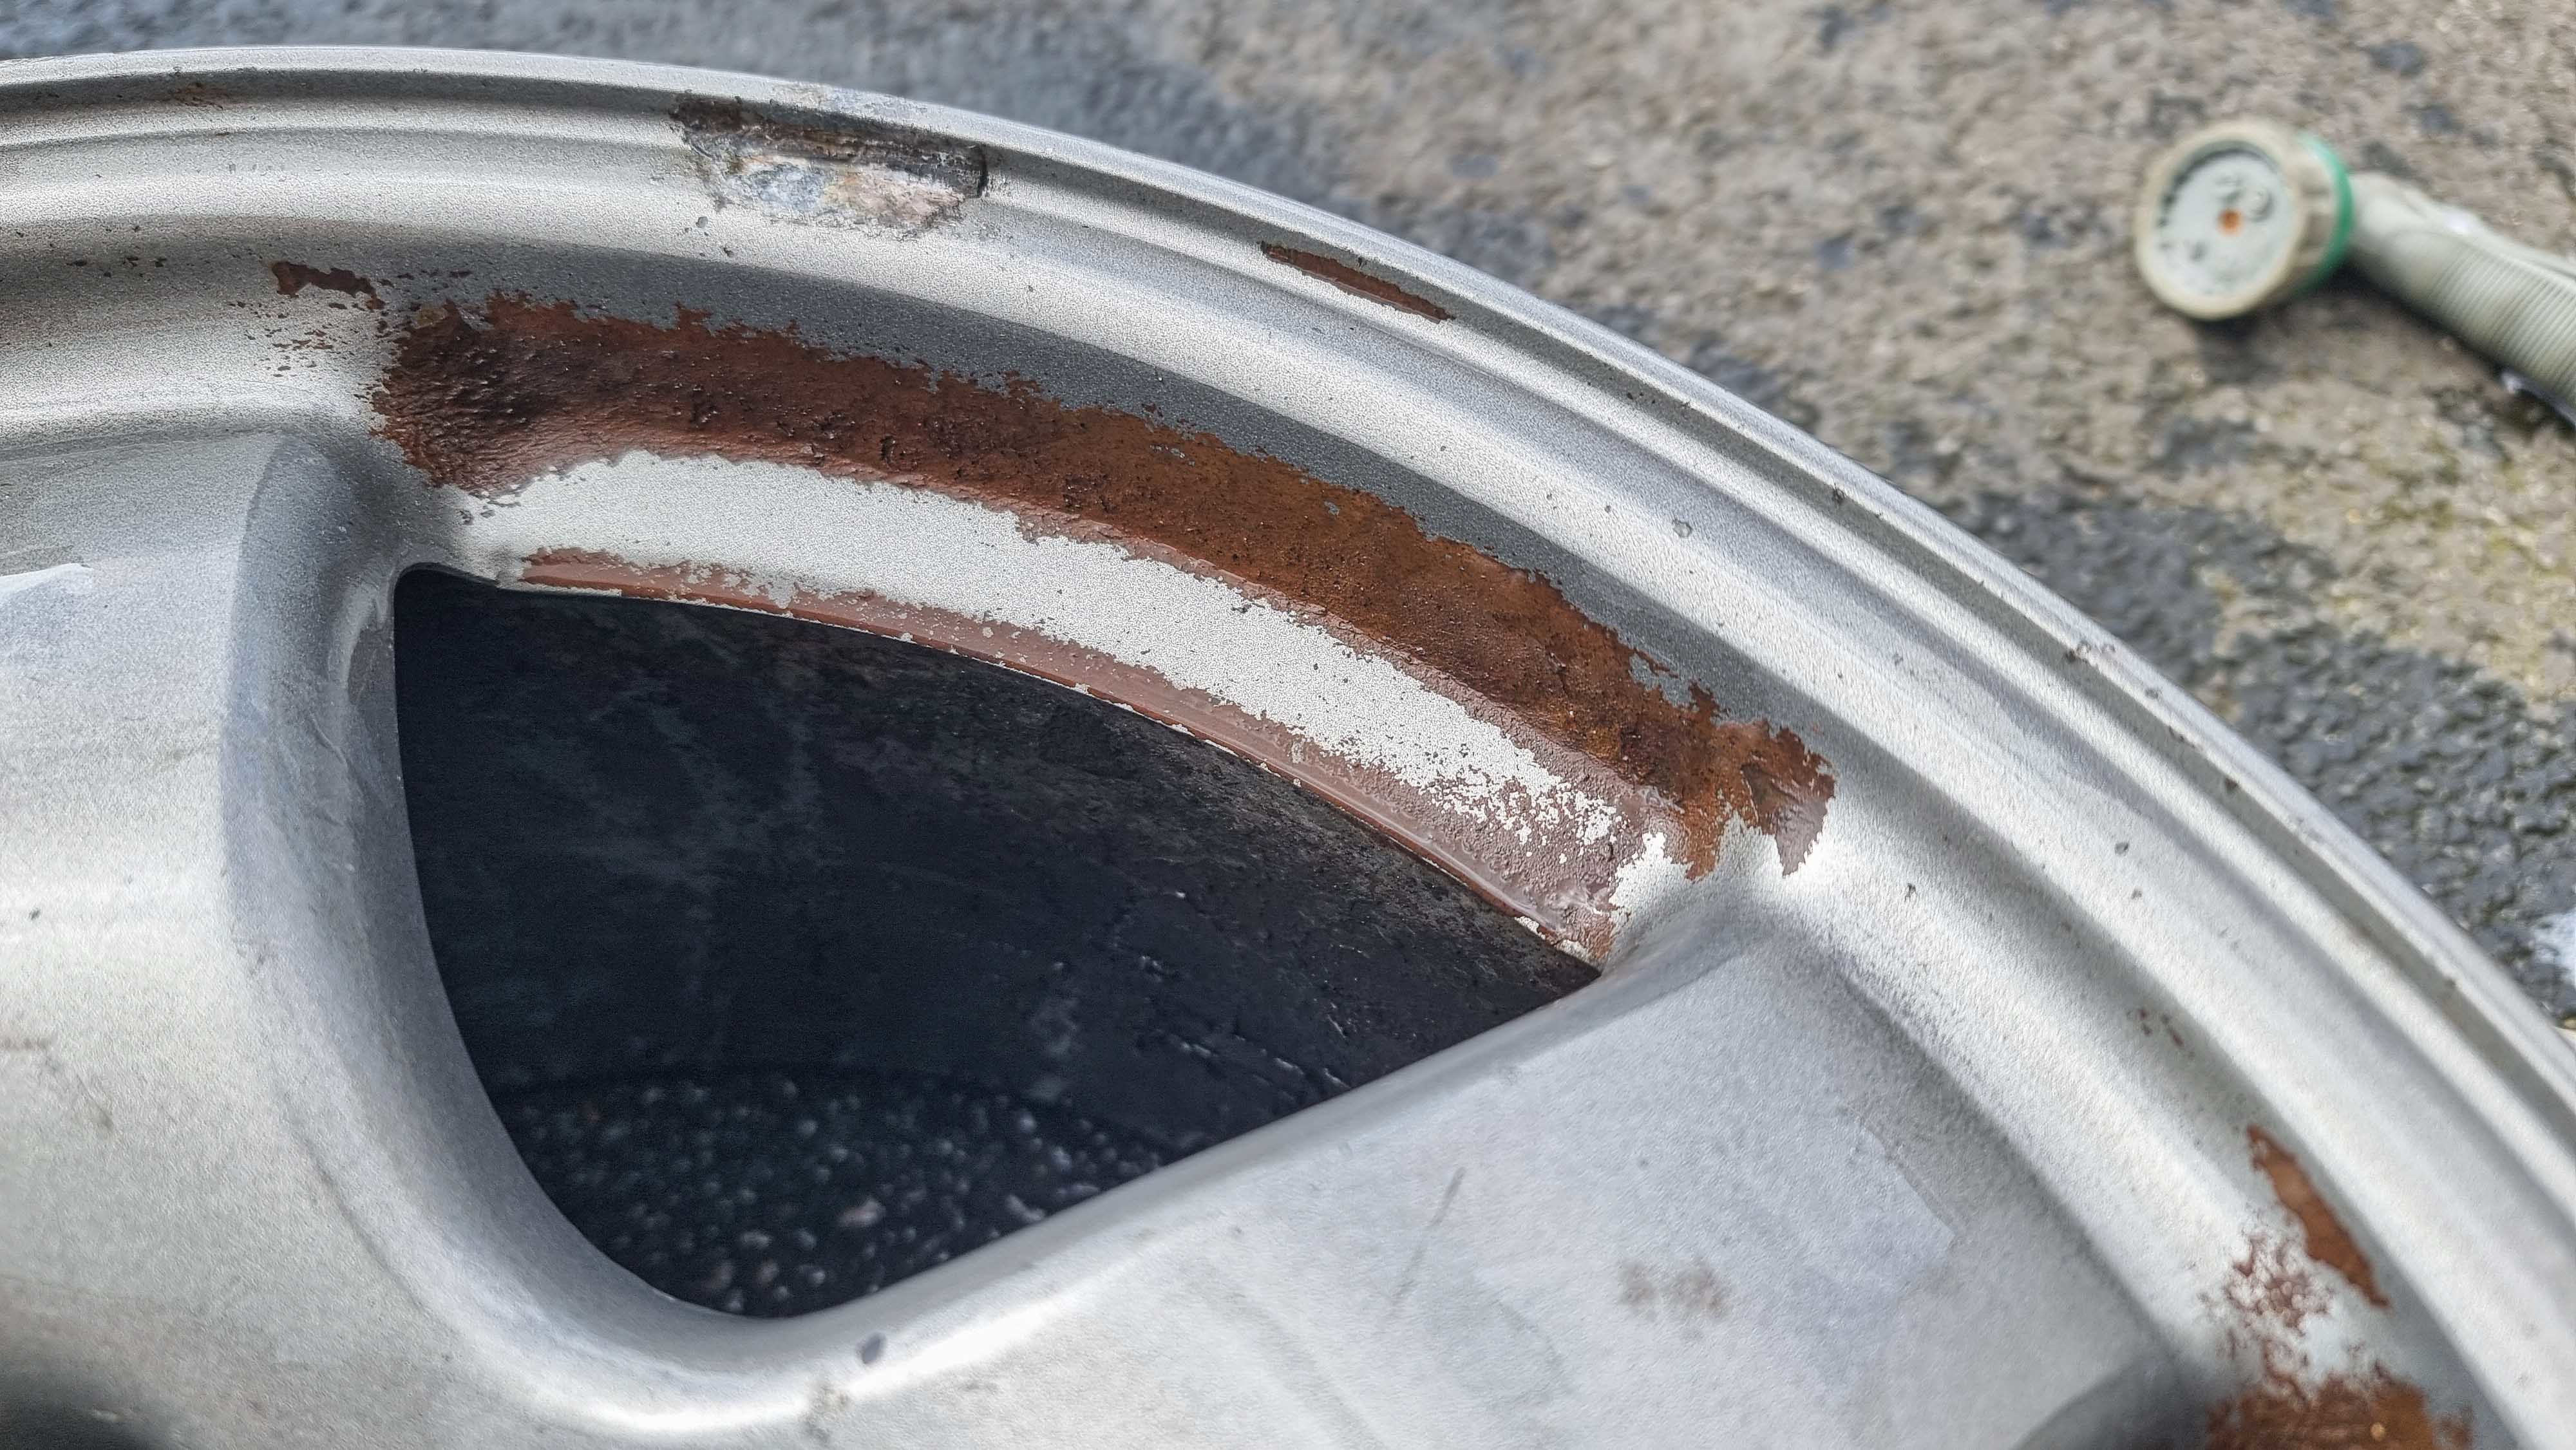
The wheels had been stored for a number of years outside, but the lips had quite alot of brake dust embedded
I tried the strongest wheel cleaner/fall out remover I had and it didn't shift it at all. This meant I would struggle to clean them and the only way was a refurb.

I was able to get my hands on a knackered tyre in the same size as the Kumhos. I used this for testing on the car to make sure they cleared the arches and brakes.
With no spacers it was a pretty good fit and plenty of clearance. A small spacer would be required due to the centre bore being smaller than the 323F hub.
It was all steam ahead so I got it booked in for a refurb. A friend of a friend was able to do them for me for a cash price. I asked for them to be sprayed in a gunmetal colour. Their response was they do a light or a dark gunmetal. I didn't want it too light where it'd be silver, but I didn't want it too dark and it's almost black.
I left him to decide and hoped they came out ok.
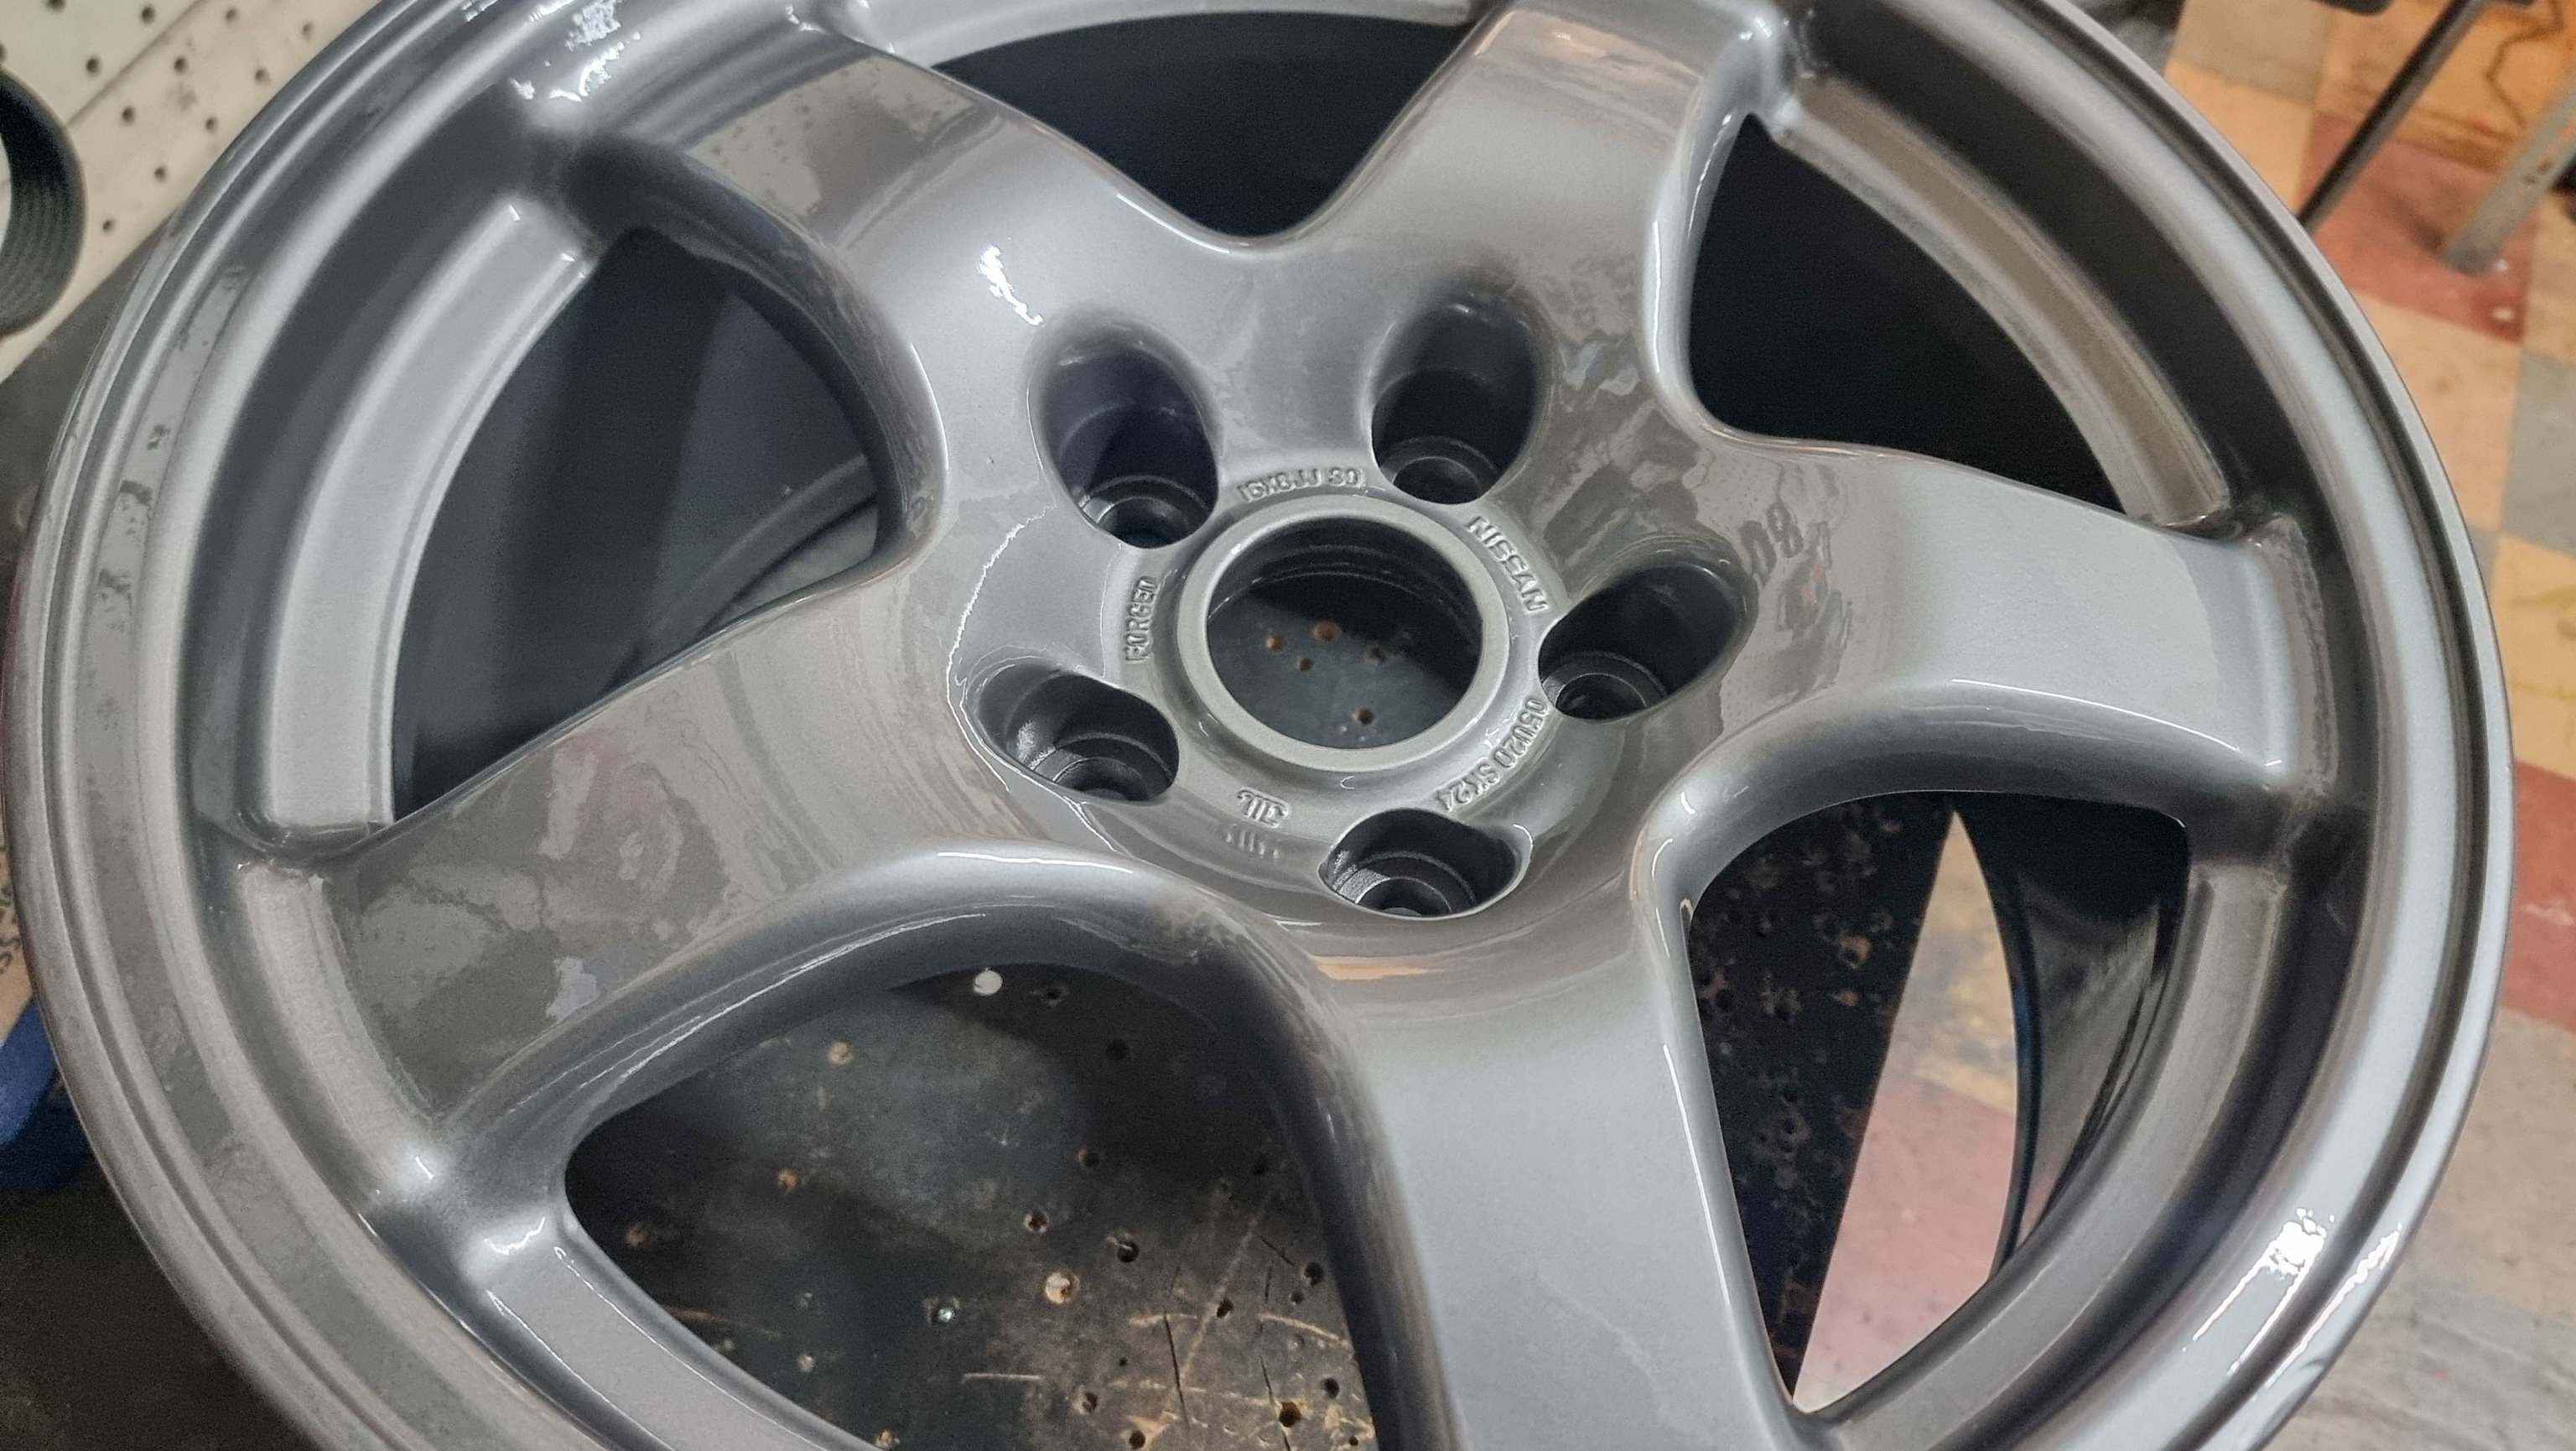
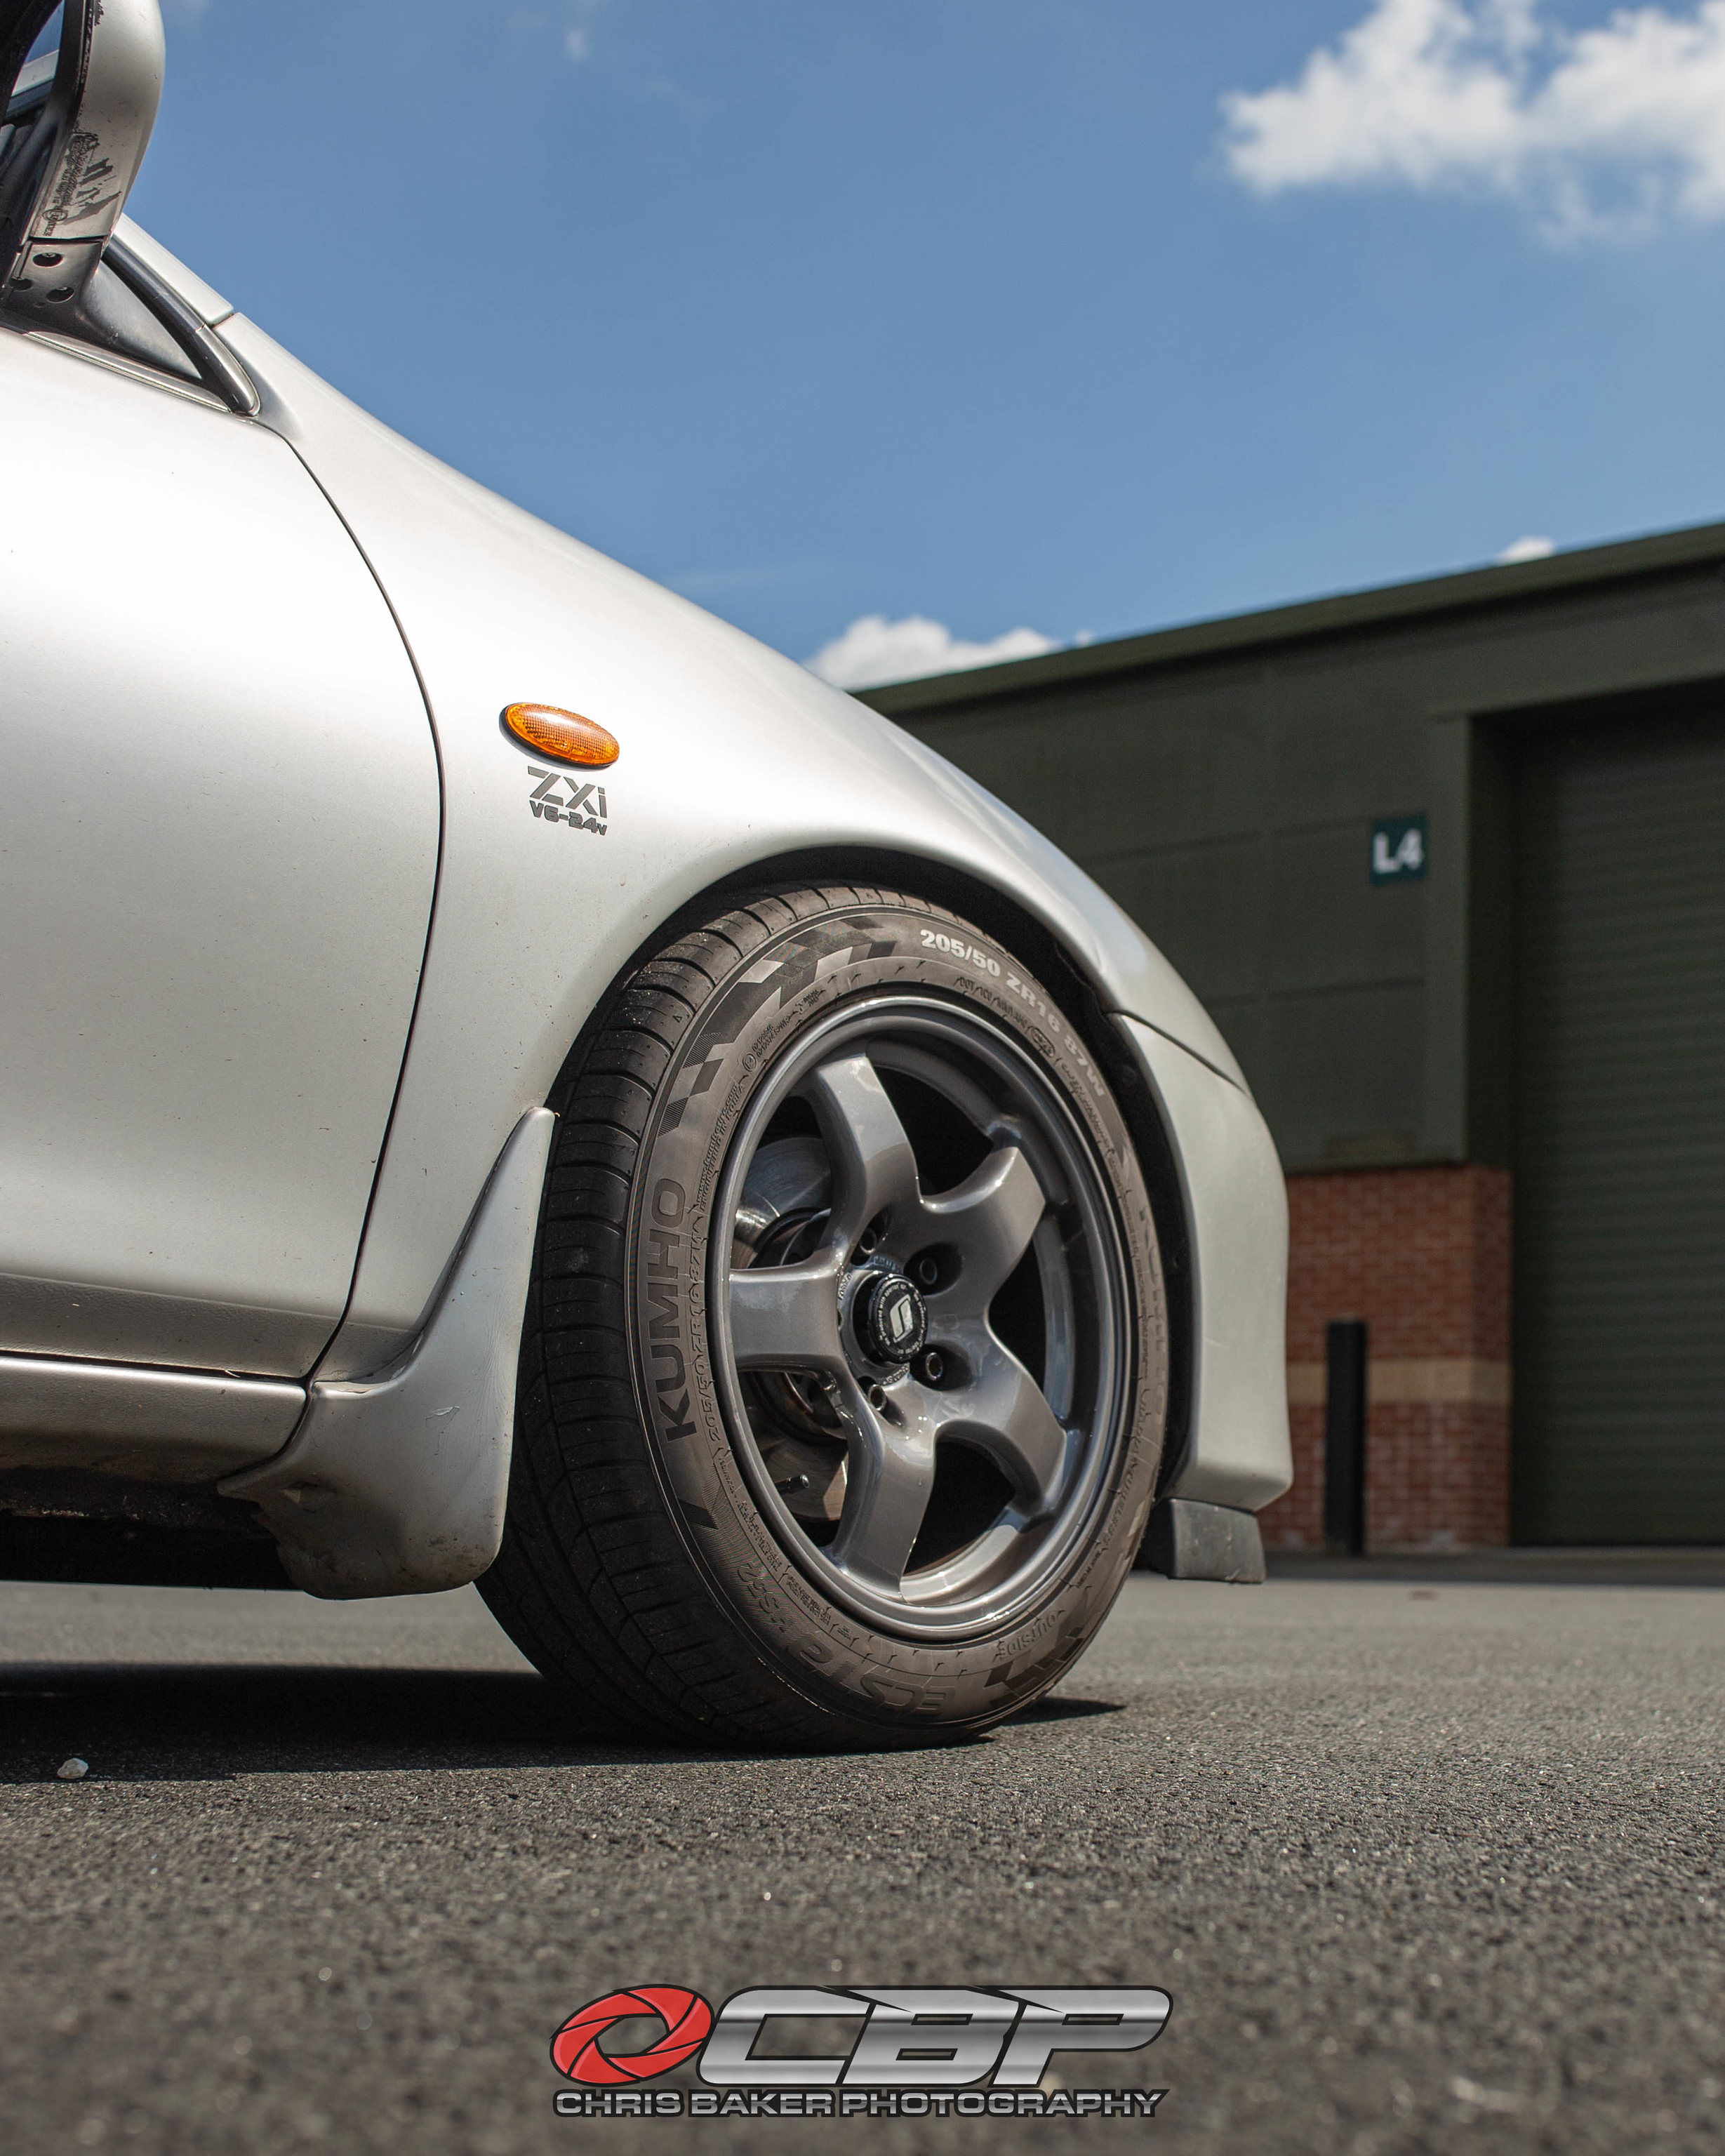
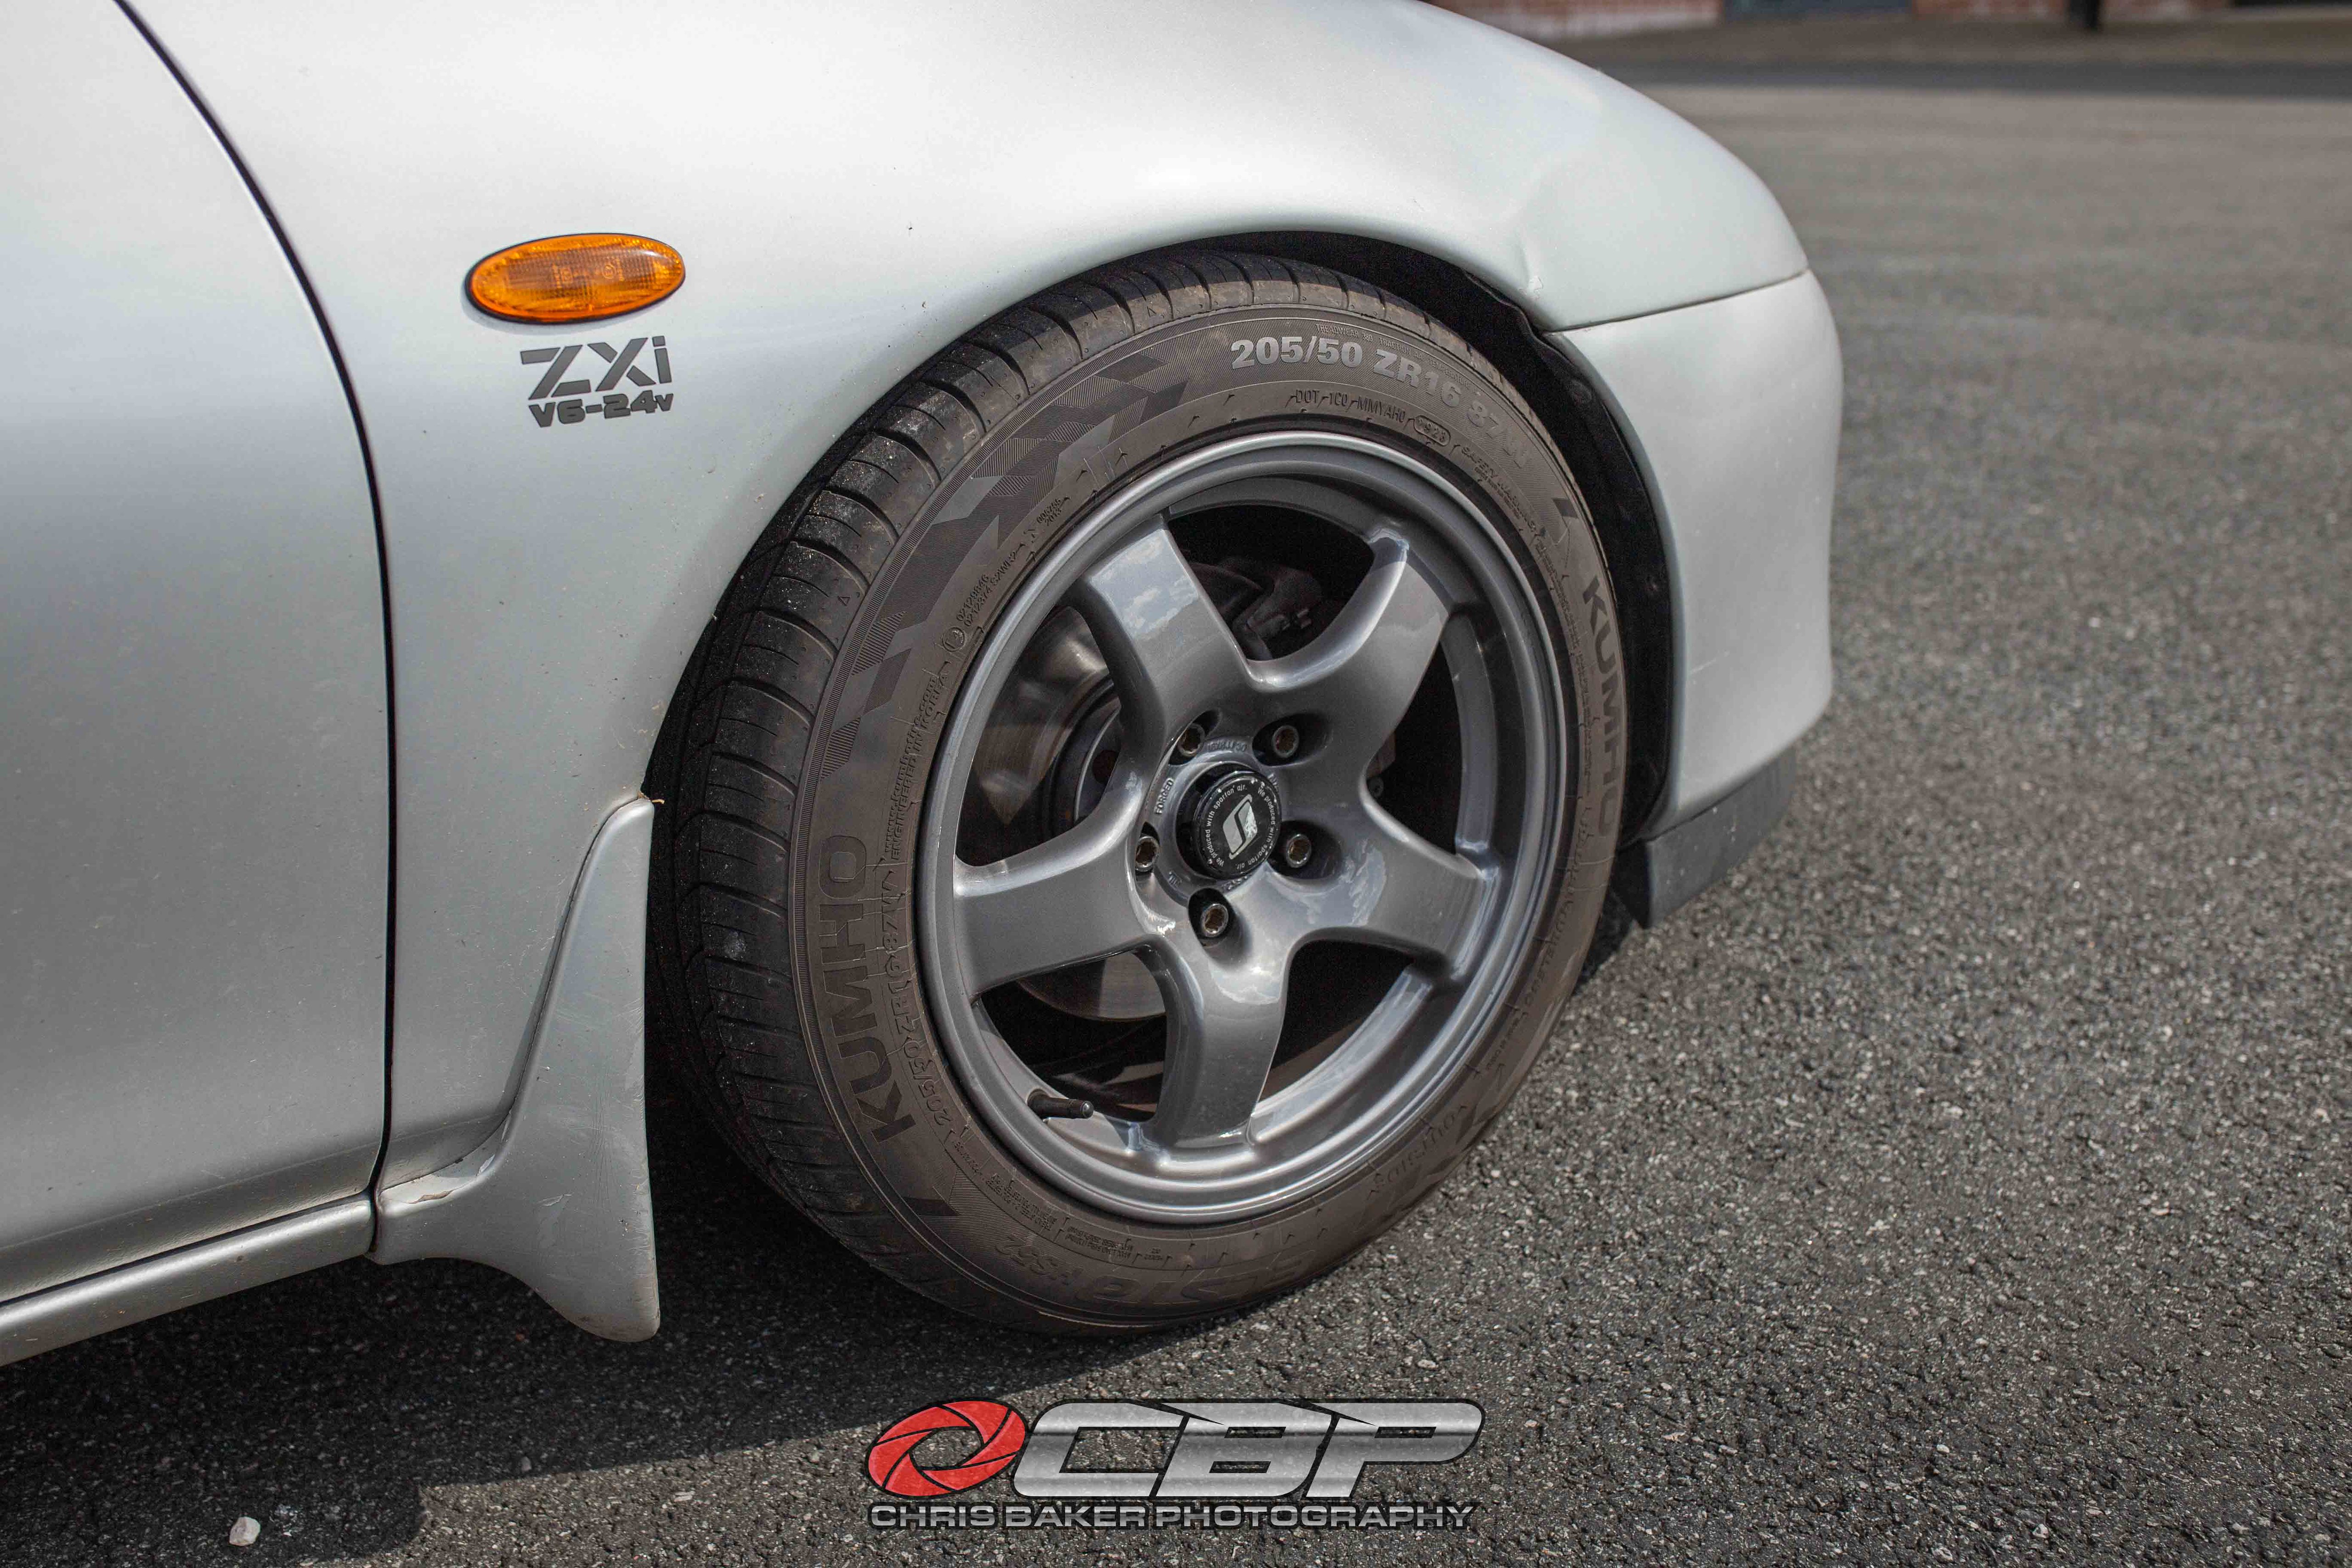
I'm very very happy with the colour and the overall condition is great considering how much corrosion and pitting the wheels had originally.
I gave them a layer Meguiars Ultimate Wax to help seal them
Forged Nissan R32 GTR 16x8j ET30 (technically ET27, I have 3mm spacers fitted), 205/50R16 Kumho tyres
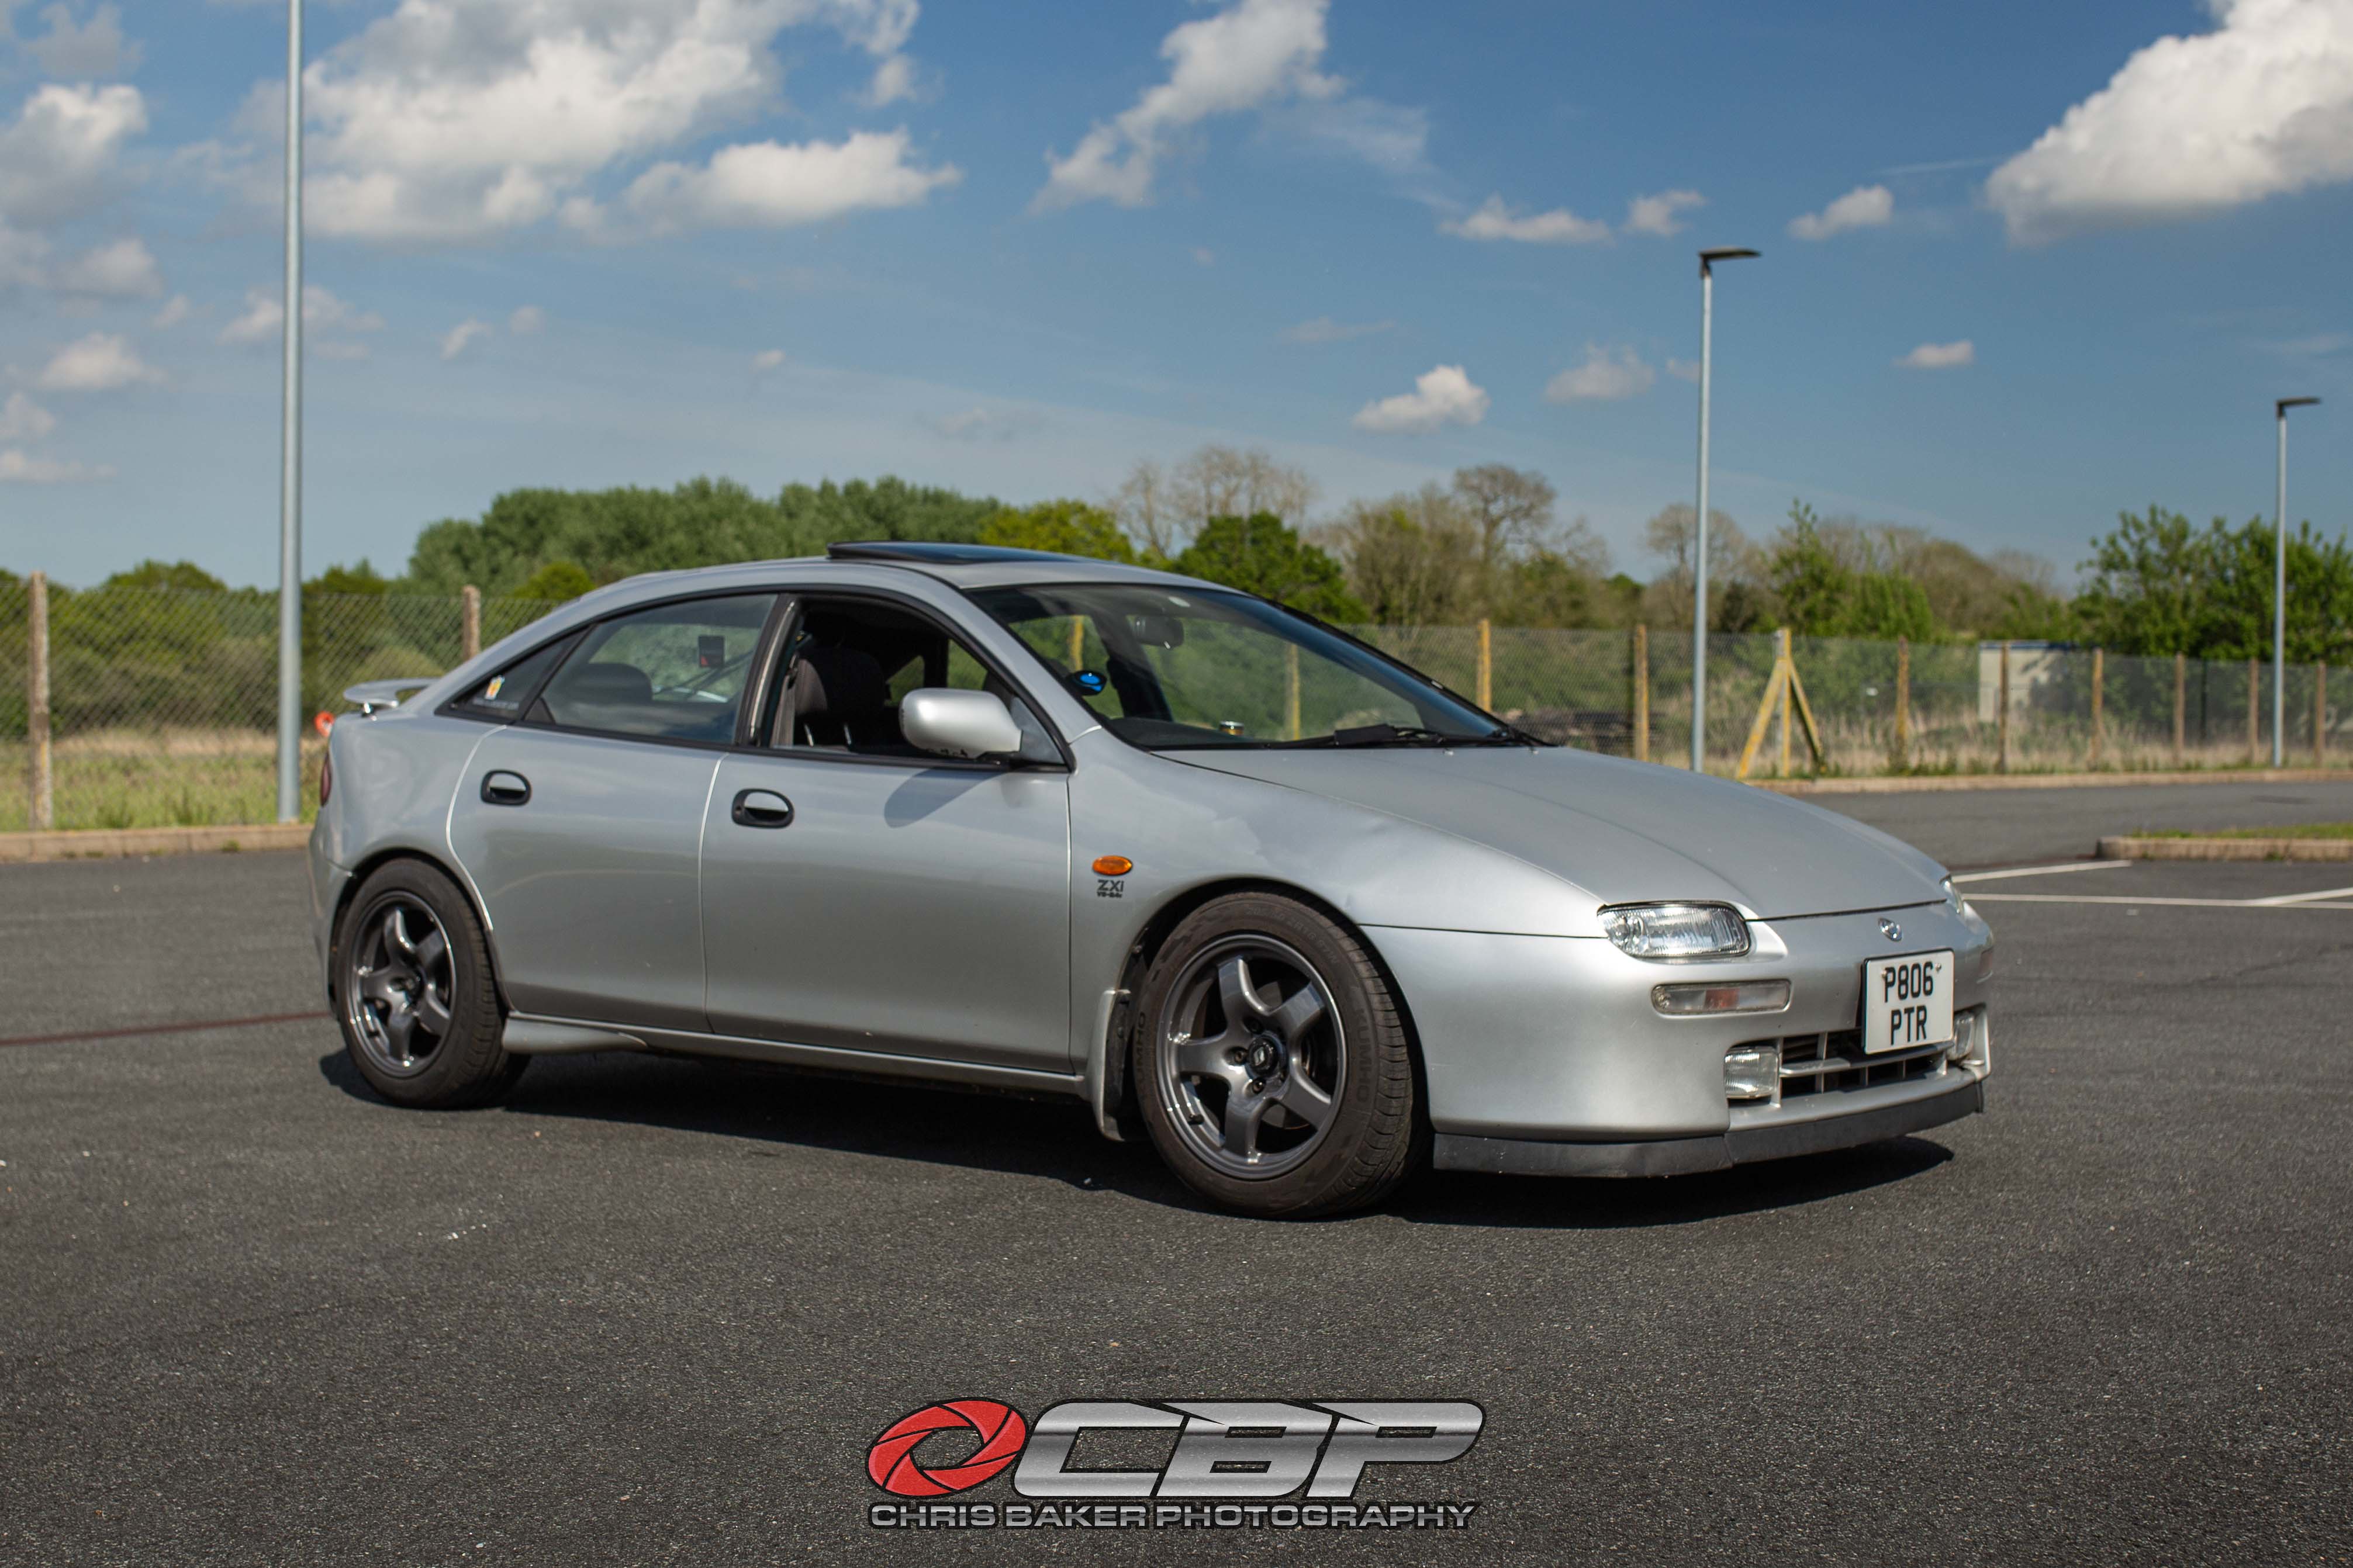
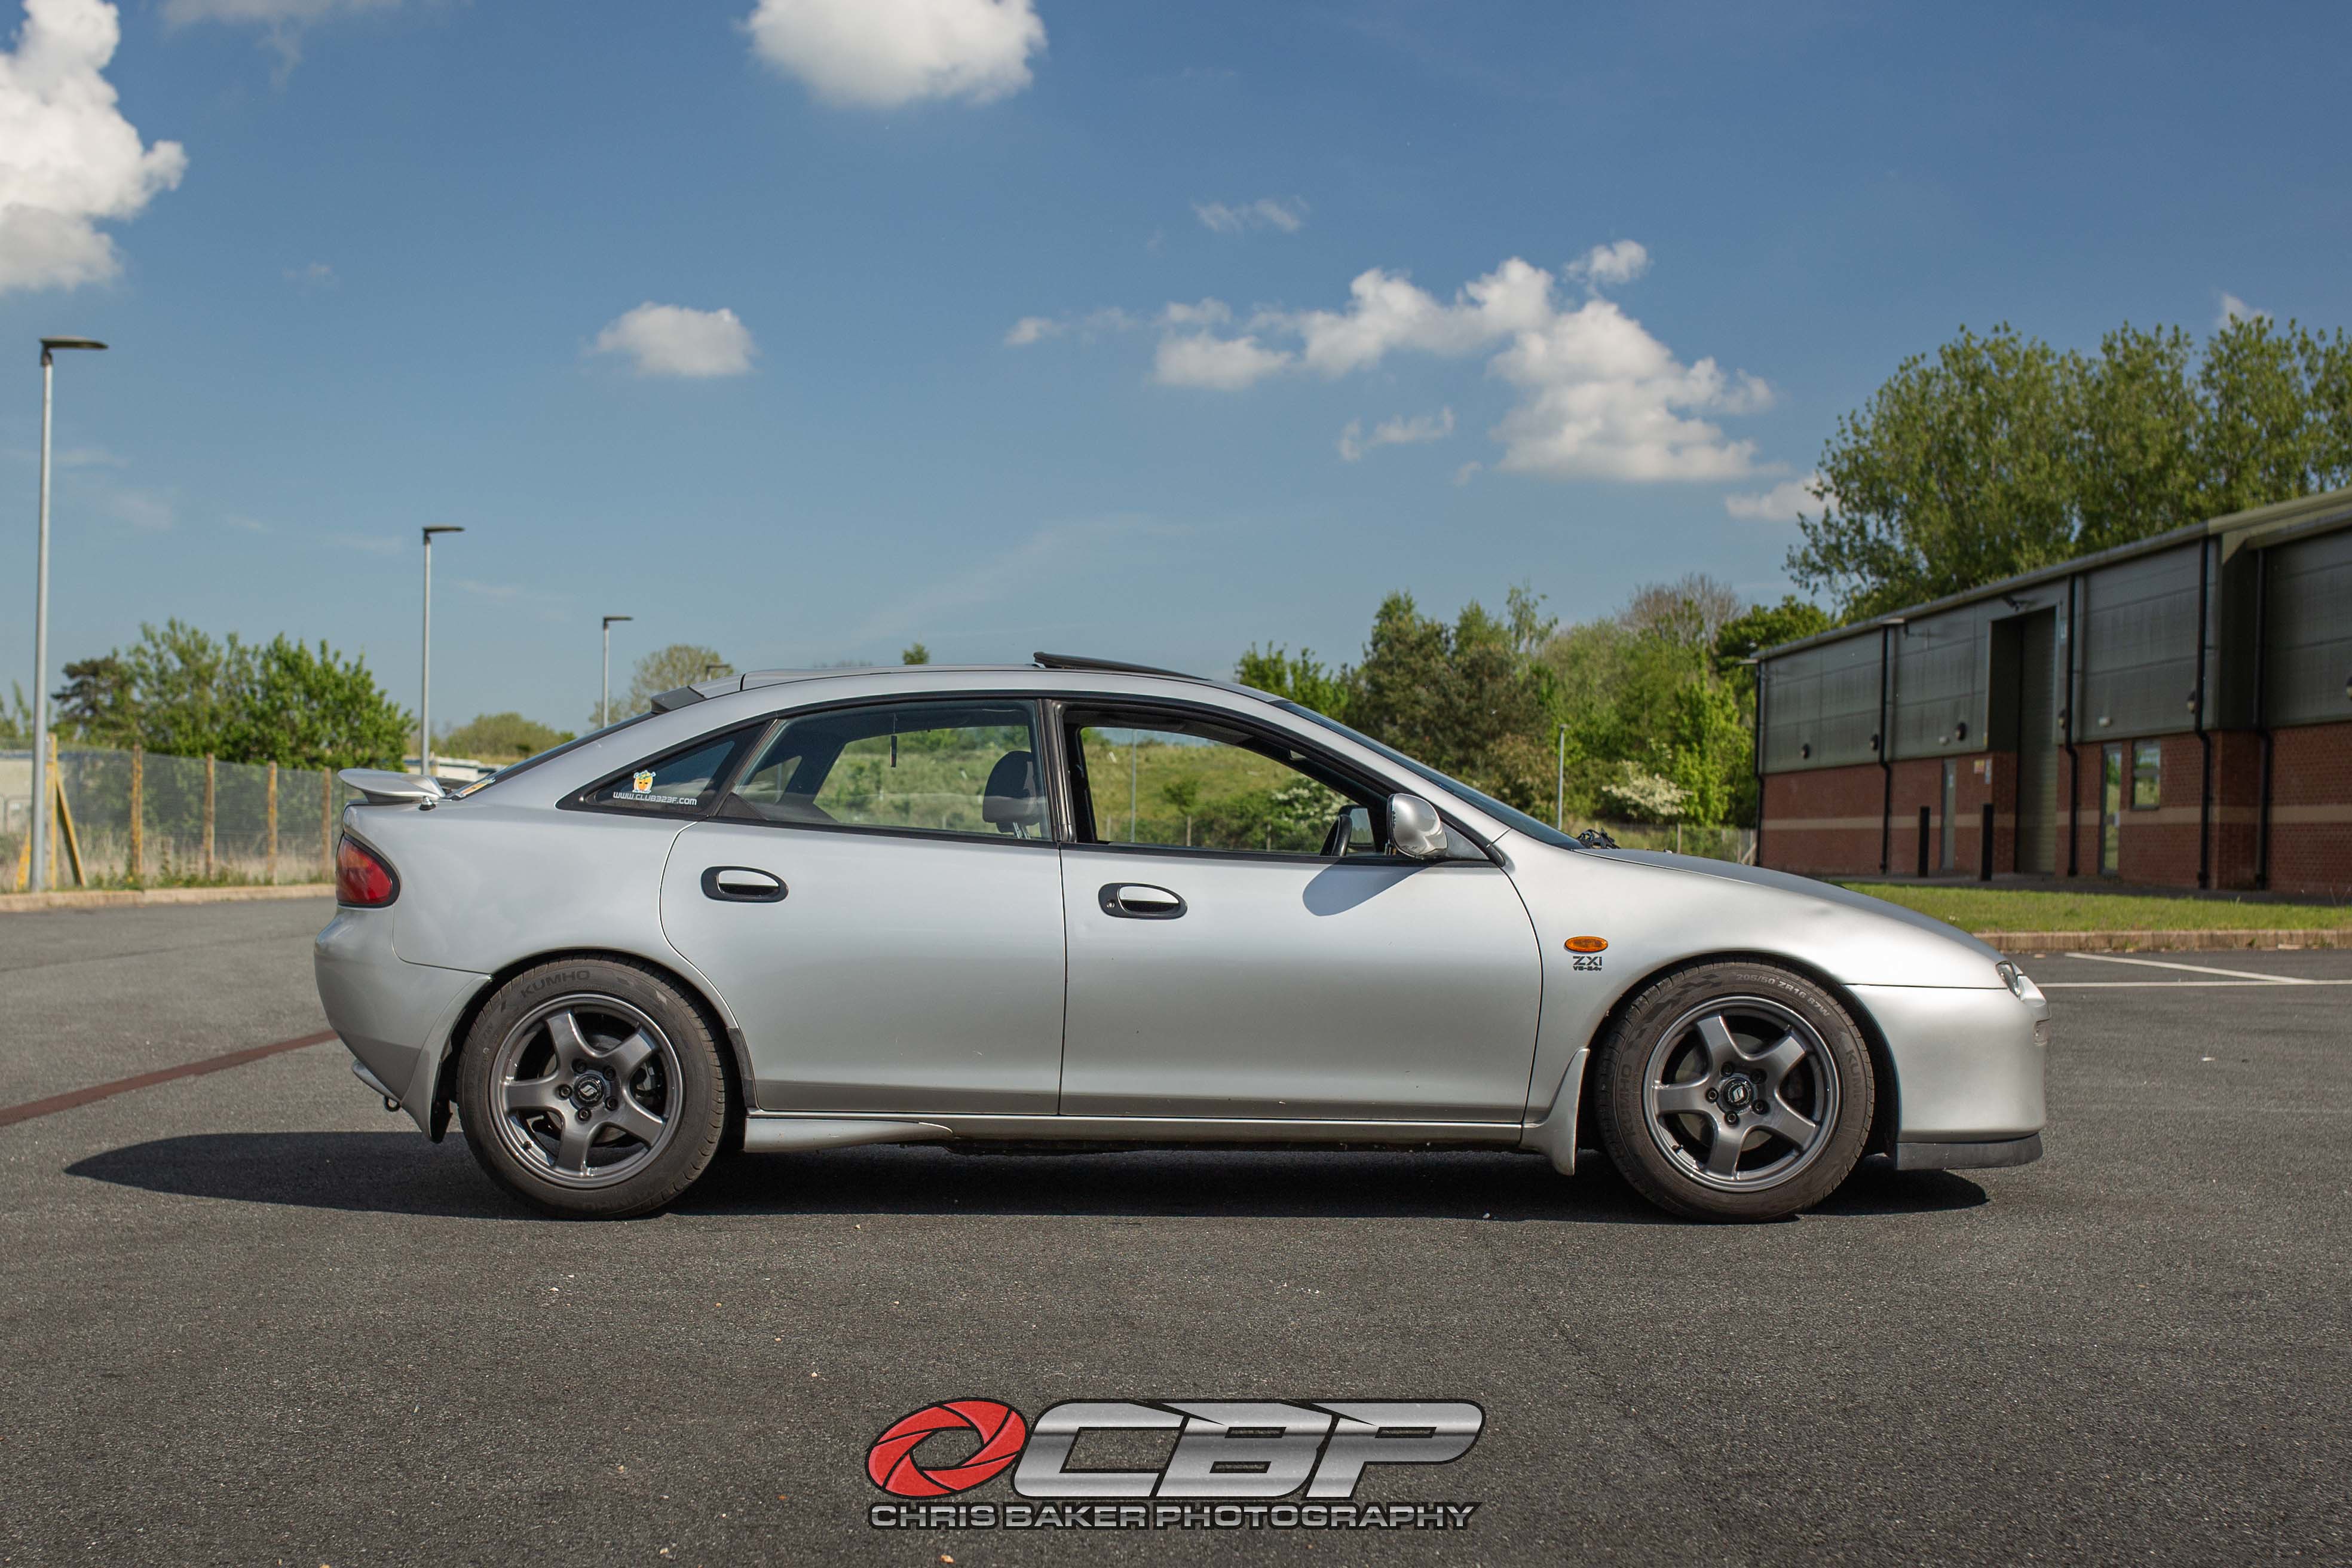
I lowered the BC Racing coilovers to eliminate the rear arch gap. Both axles were different heights! The front got lowered approx 10mm and the rear approx 15mm
The distance from the locking collars are:
Front: 40mm
Rear: 135mm


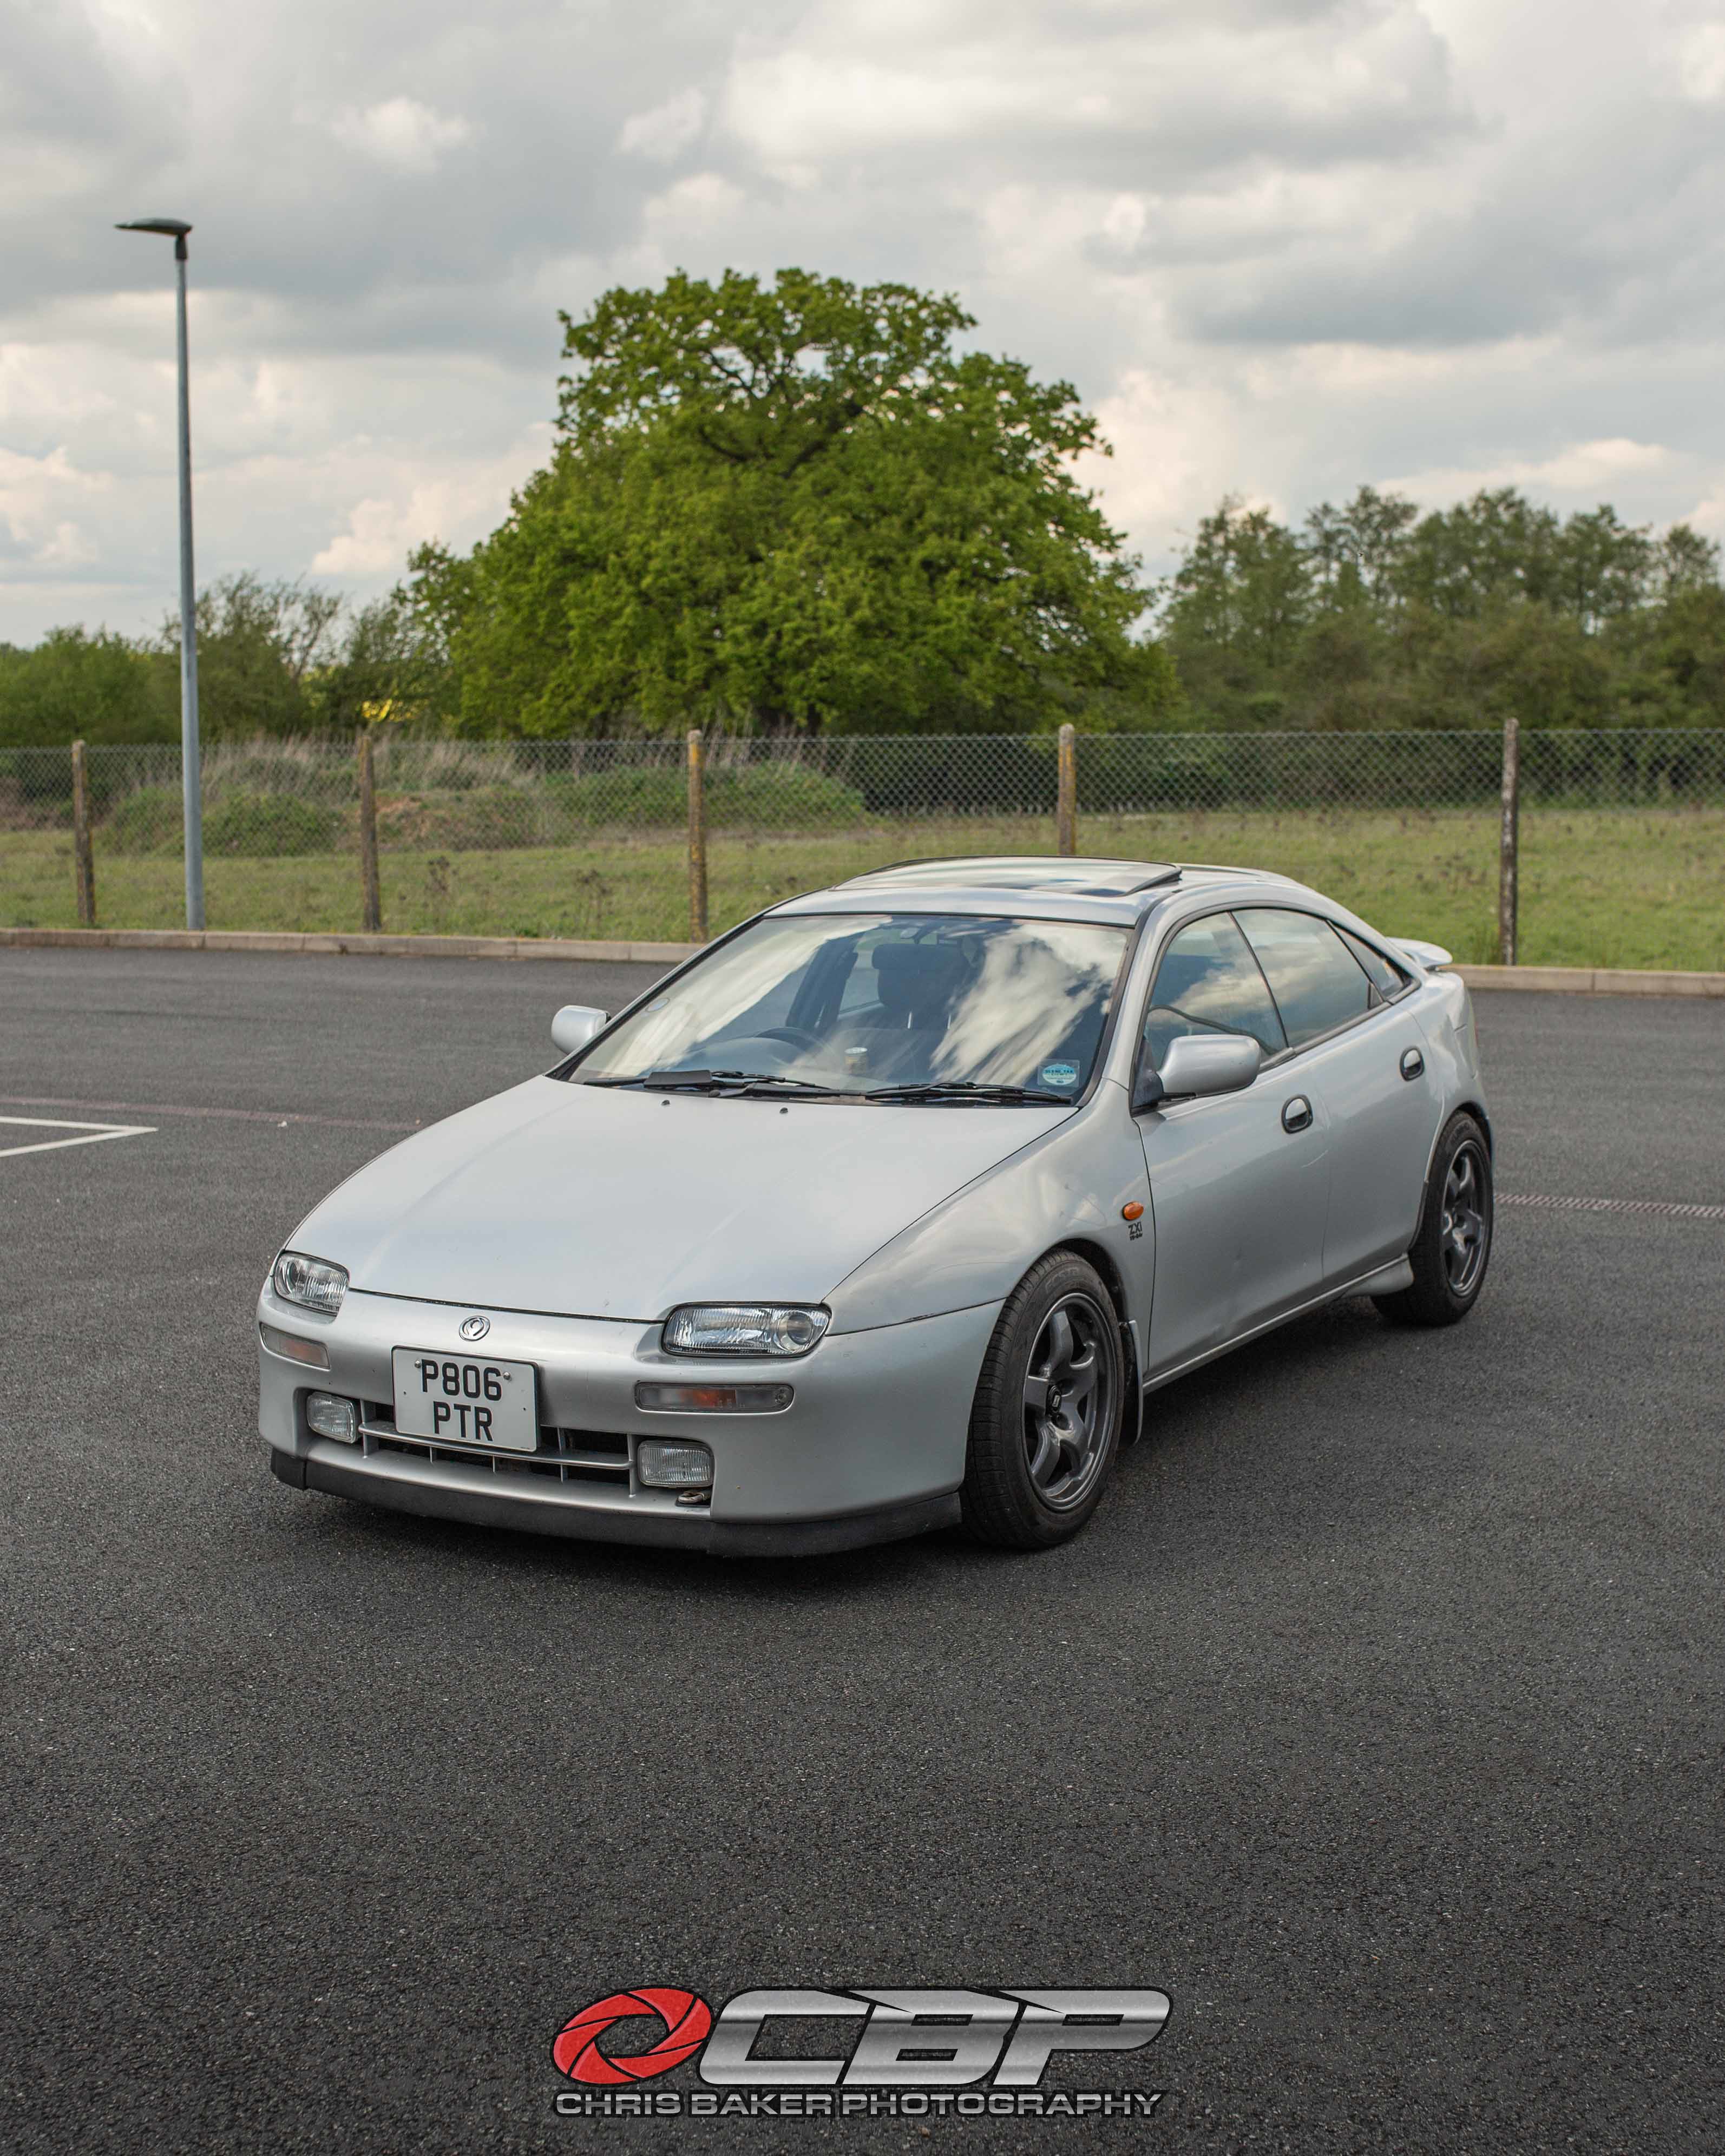
I'm extremely happy with the result!
What do you think?
The Youtube video can be found here (I tried improving my 'cinematic' editing):
https://www.youtube.com/watch?v=c6sT7wV61-c&t=...
I've spent countless hours browsing through selling sites and despite specific searches, I kept being presented with everything but what I was looking for.
I wanted to stay with 16s, I knew this would limit my search but I wasn't expecting it to be so difficult. Majority of results came back as 15" (I'm unsure if they're fit over the brakes) or 17" (can look too big on the car) or the wrong PCD.
Here are a few options,unfortunately I didn't have a HUUUGE budget which also didn't help the search.
Rota Fighter (Volk Racing CE28 reps) Not a huge fan of multi spokes
Japan Racing JR3/Rota Grid (Volk Racing TE37 reps)
Japan Racing JR11 (Weds SA-99R reps) again, quite a few spokes
I've always liked the Enkei RFP01 design and it works on alot of cars. It was one wheel I couldn't find in the specs I was after (at the time)
The Rota Slipstream were my first choice. I had these on the Motul K11 Micra, its a simple design which looks great
This grey 323F has the real deal Desmond Regamasters (or so the owner says)
Mazdaspeed installed their MS01 wheel on their Lantis models, which came in 16". But as you can imagine these can hold a good 2nd hand value
The more I searched for examples the more I prefered a 5 or 6 spoke design. I did come across a set of Work Equip 05s but by the time they're refurbed it'd be close to a 4 figure total. Plus my days of keeping polished lips clean are in the past from the Work Meister S1s on the purple MX5.
That's when I had a wheel design pop into my head which may tick all of the boxes. An OEM wheel from a rival manufacturer.
I sent out a few messages to people who may know the whereabouts of said wheel, which led me to a seller local to me. I immediately went to view them and providing they were all straight with no major damage or cracks, they'd be coming home with me.
The wheels had been stored for a number of years outside, but the lips had quite alot of brake dust embedded
I tried the strongest wheel cleaner/fall out remover I had and it didn't shift it at all. This meant I would struggle to clean them and the only way was a refurb.
I was able to get my hands on a knackered tyre in the same size as the Kumhos. I used this for testing on the car to make sure they cleared the arches and brakes.
With no spacers it was a pretty good fit and plenty of clearance. A small spacer would be required due to the centre bore being smaller than the 323F hub.
It was all steam ahead so I got it booked in for a refurb. A friend of a friend was able to do them for me for a cash price. I asked for them to be sprayed in a gunmetal colour. Their response was they do a light or a dark gunmetal. I didn't want it too light where it'd be silver, but I didn't want it too dark and it's almost black.
I left him to decide and hoped they came out ok.
I'm very very happy with the colour and the overall condition is great considering how much corrosion and pitting the wheels had originally.
I gave them a layer Meguiars Ultimate Wax to help seal them
Forged Nissan R32 GTR 16x8j ET30 (technically ET27, I have 3mm spacers fitted), 205/50R16 Kumho tyres
I lowered the BC Racing coilovers to eliminate the rear arch gap. Both axles were different heights! The front got lowered approx 10mm and the rear approx 15mm
The distance from the locking collars are:
Front: 40mm
Rear: 135mm
I'm extremely happy with the result!
What do you think?
The Youtube video can be found here (I tried improving my 'cinematic' editing):
https://www.youtube.com/watch?v=c6sT7wV61-c&t=...
Edited by hoodedreeper on Friday 10th May 22:49

Adding to the chorus - looks great, and a car I knew nothing about so its been a steep curve on the thread catching up!
I hoenstly thought you were goign to go gold or bronze on the wheels, but vs silver body it makes sense where you ended up. Love the cam cover work too.
Now I'm looking at Xedos saloons....
I hoenstly thought you were goign to go gold or bronze on the wheels, but vs silver body it makes sense where you ended up. Love the cam cover work too.
Now I'm looking at Xedos saloons....
roadie said:
I agree that they look great!
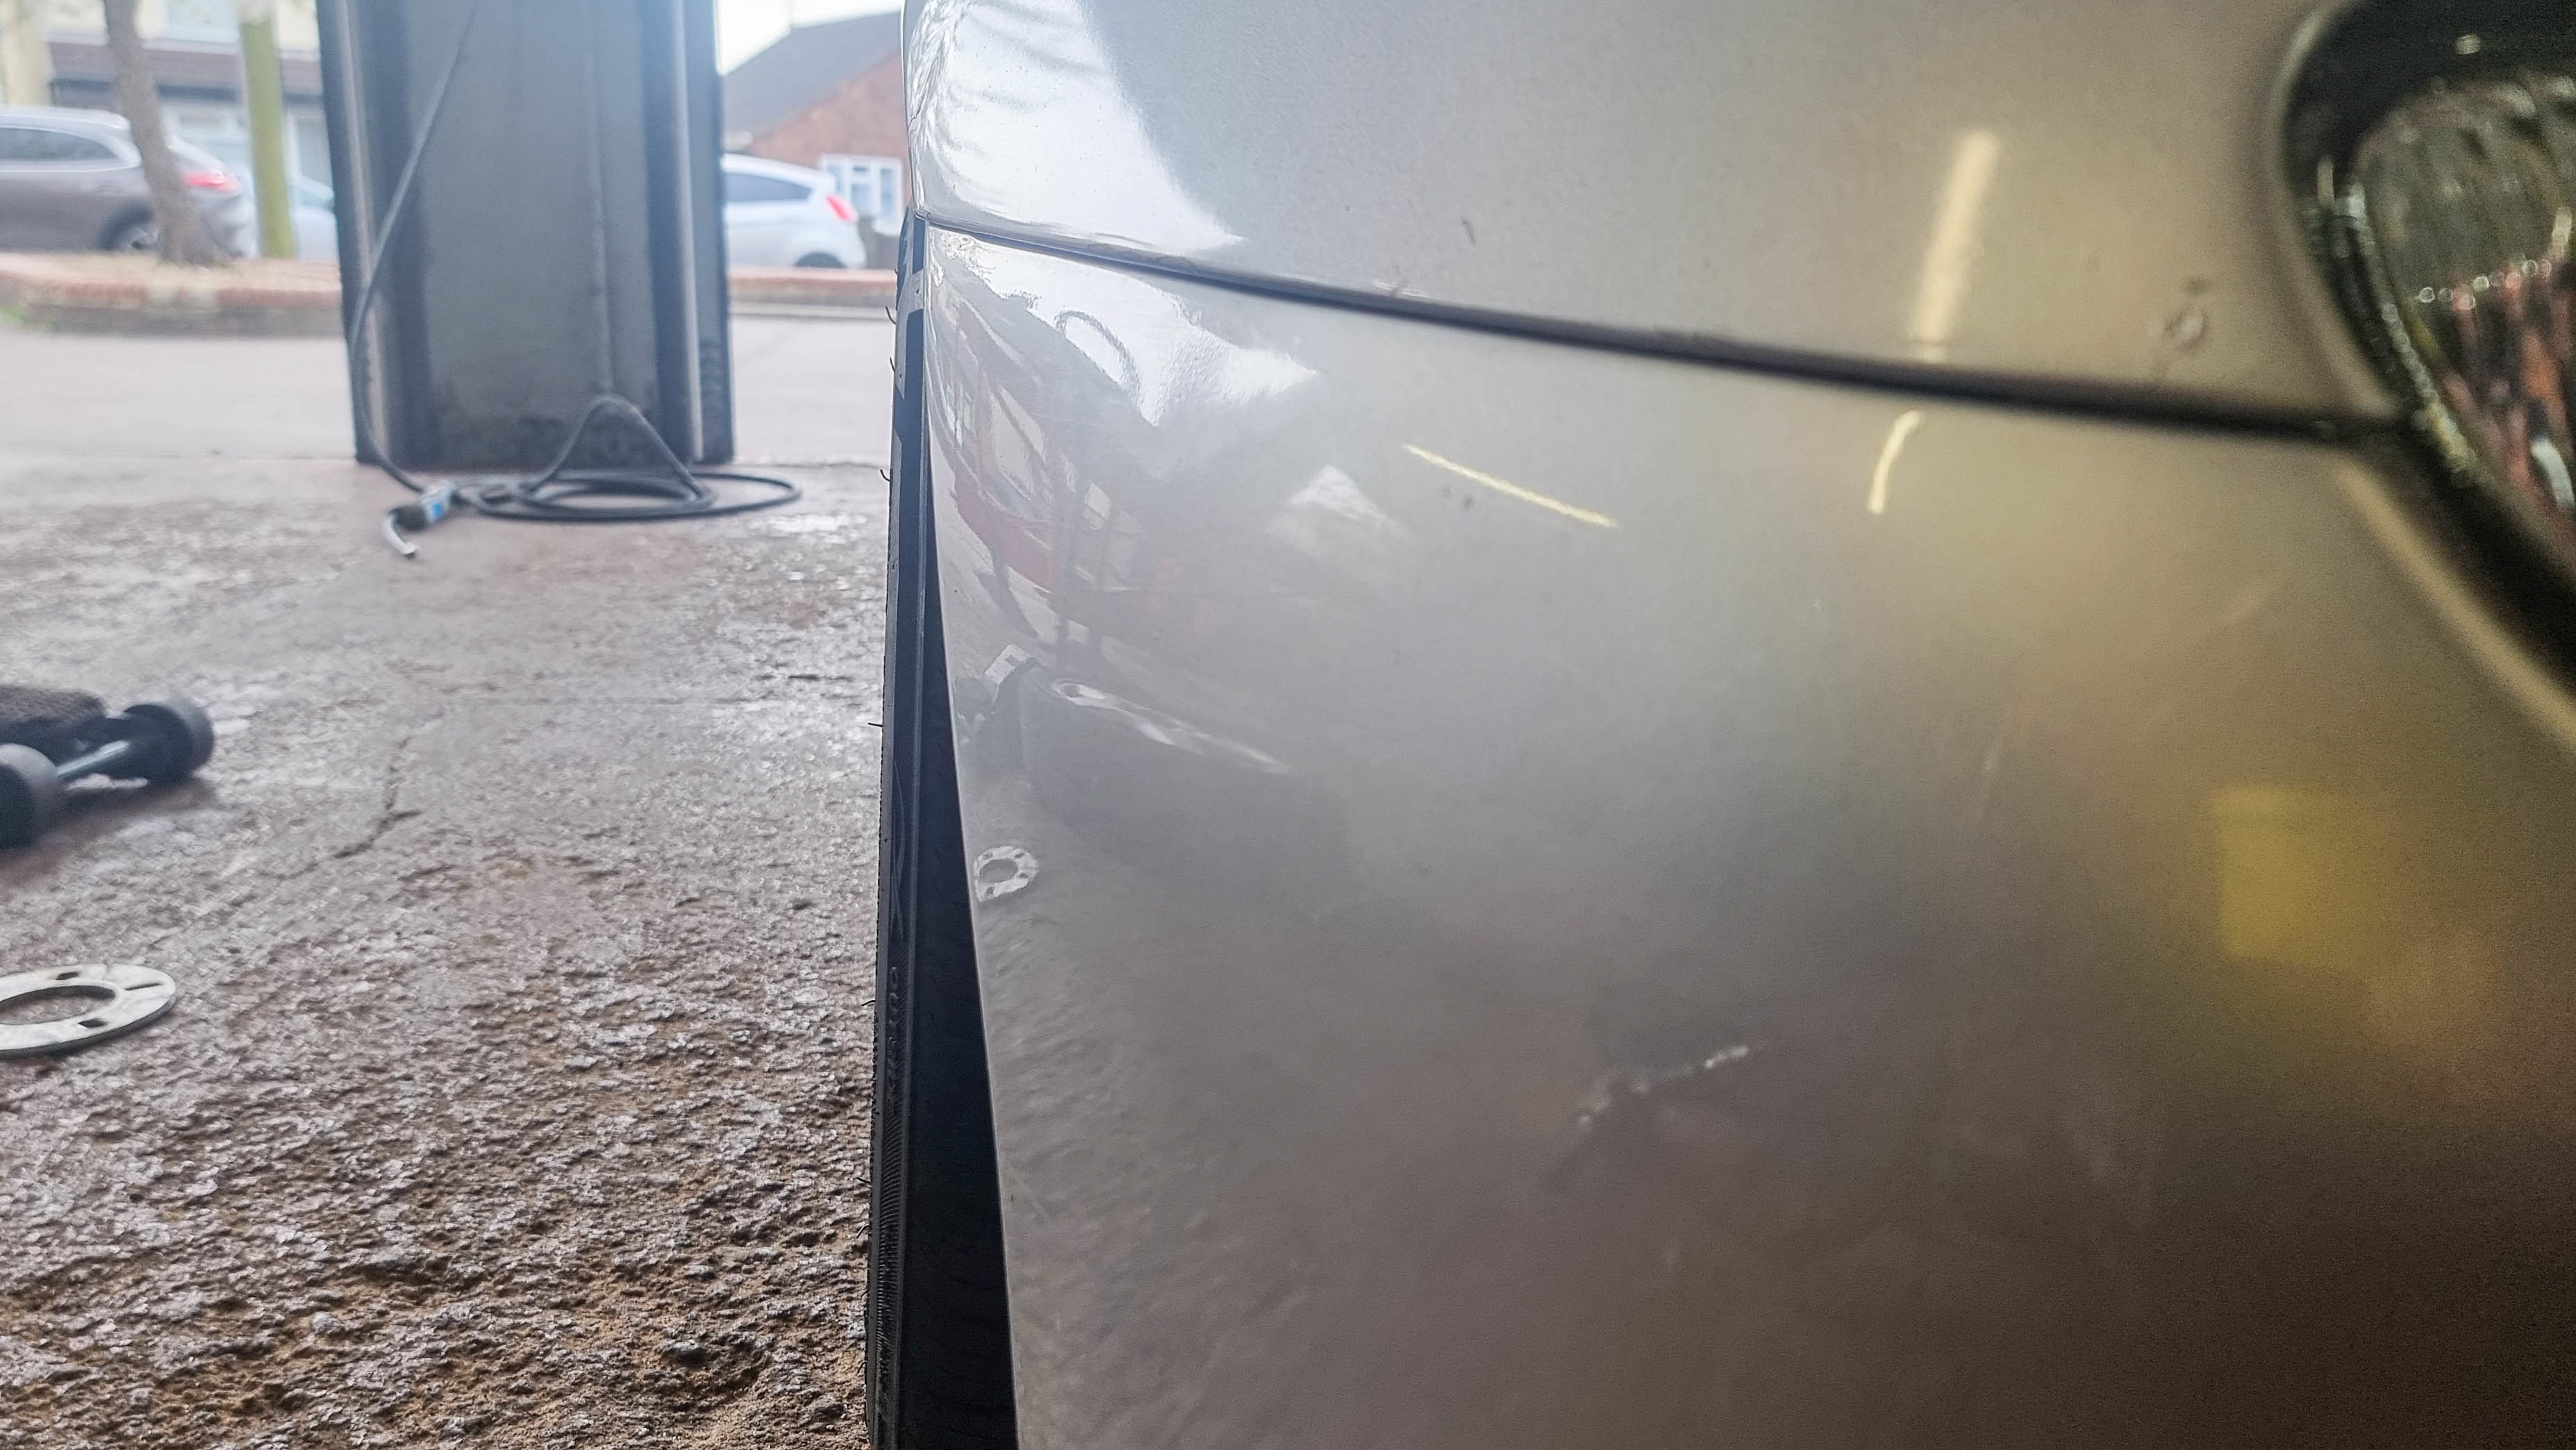
However, that the wheels are in perfect condition does highlight that the bodywork isn't if you know what I mean.
It is unfortunate, if the wheels didn't have the brake dust heavily bonded on and they cleaned up ok I would have fitted them as they were.However, that the wheels are in perfect condition does highlight that the bodywork isn't if you know what I mean.
I do hope to sort the dents out, but it won't be receiving any paint work (unless the passenger door is beyond repair)
paralla said:
Might be just me but I'd rather have nicely painted bodywork than nicely painted cam covers.
It's difficult knowing what to prioritise, especially when issues arise in the mean time (like the vacuum chambers breaking for example).Having mint bodywork wouldn't do me any favours if there's leaks or a mechanical failure somewhere.
paralla said:
Might be just me but I'd rather have nicely painted bodywork than nicely painted cam covers.
Quite the difference there though eh, a couple of hundred for the engine bay and new wheels to look mint or probably twice the cost of the car for a respray???I think the silver hides any imperfections, my eye certainly wasn't drawn to any with the new wheels fitted.
A little update
The 323F has been off the road for 2 weeks and the R34 has been on daily duties. Not something I should complain about, except for the fuel consumption *cries*.
I was trying to eliminate the knocking noise by replacing the ball joints and drop links. Starting off with the driver side the ball joint came off with ease, the drop link not so much. We all know drop links never come off so I cut it off. Access was limited with everything still attached, I should have disconnected the tie rod end in the first place and the next bit wouldn't have been an issue.
With no room to get the angle grinder in, I decided to remove the lower arm to cut off the remaining drop link. That came off fine and it was time to refit the suspension arm. The rear bush/bracket went on fine but I had trouble with the long front bolt.
It would tighen to the point where approx 10mm of the bolt was poking out. I gave it abit more ooomph and it started to turn with ease. I tried un-doing it but the bolt just span. With a pry bar inbetween the suspension arm and subframe while turning the ratchet I could feel something move, then get wedged, then move etc
It looks like the captive nut inside the subframe had broken off and was spinning, doh! I managed to get a replacement bolt from the local Mazda dealer along with a couple of steel nuts from a hardware store.
The car was booked in to be sorted but there was a 2 week wait. The morning of the booking I moved the car to find a puddle of transmission fluid underneath the passenger wheel. I guess something got disrupted while I was working on the driver side.
The garage diagnosed it as a nipped gearbox seal when the clutch was changed. My Mazda dealer was able to get me a new seal and driveshaft clip next day, but there was another week wait for the garage to look at it.
So thats booked in for Friday 31st, hopefully this is the end of the bad luck. Fingers crossed!
Moving onto a slightly more interesting update...
I've booked a track day at Snetterton Circuit (my local) for Wednesday 26th June, woohoo!
I wanted to be able to monitor the oil pressure and oil temperature, but I didn't want modern LED gauges. I found a company called VDO who produce both LED and analogue units.
I gathered majority of the parts from Merlin Motorsport, the pressure gauge came from Europa Spares and the wiring componants from my work.

I began by routing the 17amp sensor wiring through the bulk head, tucking it around the carbon canister and along the fuel and vacuum hoses.

From here I tucked it underneath the distributor and used the existing wiring trunking.

I cable tied the new wiring to the Alternator/Oil Pressure Switch loom to keep things tidy

Next up was to remove the oil filter ready for the Mocal sandwitch plate. What I liked about this particular item was the seal was nice and wide, unlike others on the market where they're as thin as an O ring.
The sender unit and sensor screwed in but not so tight you couldn't see the threads. Both threads are tapered so didn't require a full send with a spanner.


With the sensor wires now through the bulk head I could feed them through the dash and out above the stereo. The car had a dash pocket which was a perfect place to mount the gauges.
I made sure to label everything using some cable tie tags. Nothing worse than a spaghetti of wires behind the dash which are all red and black with no clue what does what.

The gauge illuminaton required to be wired in seperately which made things a little messy. Originally I had spliced into the cig lighter illumination live but for some reason that wasn't working. In the end I used the two empty fuse slots on the 4 way fuse box.
I made sure to earth the illumination and gauges seperately as per the VDO instructions.

I let the car idle for 10-15mins to allow the oil temperature to increase to make sure the gauge works. It also allowed me to check for any possible leaks at the sandwich plate, luckily there wasn't any.

I just need to cover the stud on the fuse box to prevent any shortening, but its all good to go.
The Youtube video can be found here:
https://www.youtube.com/watch?v=WWTxobGG1xQ
The 323F has been off the road for 2 weeks and the R34 has been on daily duties. Not something I should complain about, except for the fuel consumption *cries*.
I was trying to eliminate the knocking noise by replacing the ball joints and drop links. Starting off with the driver side the ball joint came off with ease, the drop link not so much. We all know drop links never come off so I cut it off. Access was limited with everything still attached, I should have disconnected the tie rod end in the first place and the next bit wouldn't have been an issue.
With no room to get the angle grinder in, I decided to remove the lower arm to cut off the remaining drop link. That came off fine and it was time to refit the suspension arm. The rear bush/bracket went on fine but I had trouble with the long front bolt.
It would tighen to the point where approx 10mm of the bolt was poking out. I gave it abit more ooomph and it started to turn with ease. I tried un-doing it but the bolt just span. With a pry bar inbetween the suspension arm and subframe while turning the ratchet I could feel something move, then get wedged, then move etc
It looks like the captive nut inside the subframe had broken off and was spinning, doh! I managed to get a replacement bolt from the local Mazda dealer along with a couple of steel nuts from a hardware store.
The car was booked in to be sorted but there was a 2 week wait. The morning of the booking I moved the car to find a puddle of transmission fluid underneath the passenger wheel. I guess something got disrupted while I was working on the driver side.
The garage diagnosed it as a nipped gearbox seal when the clutch was changed. My Mazda dealer was able to get me a new seal and driveshaft clip next day, but there was another week wait for the garage to look at it.
So thats booked in for Friday 31st, hopefully this is the end of the bad luck. Fingers crossed!
Moving onto a slightly more interesting update...
I've booked a track day at Snetterton Circuit (my local) for Wednesday 26th June, woohoo!
I wanted to be able to monitor the oil pressure and oil temperature, but I didn't want modern LED gauges. I found a company called VDO who produce both LED and analogue units.
I gathered majority of the parts from Merlin Motorsport, the pressure gauge came from Europa Spares and the wiring componants from my work.
I began by routing the 17amp sensor wiring through the bulk head, tucking it around the carbon canister and along the fuel and vacuum hoses.
From here I tucked it underneath the distributor and used the existing wiring trunking.
I cable tied the new wiring to the Alternator/Oil Pressure Switch loom to keep things tidy
Next up was to remove the oil filter ready for the Mocal sandwitch plate. What I liked about this particular item was the seal was nice and wide, unlike others on the market where they're as thin as an O ring.
The sender unit and sensor screwed in but not so tight you couldn't see the threads. Both threads are tapered so didn't require a full send with a spanner.
With the sensor wires now through the bulk head I could feed them through the dash and out above the stereo. The car had a dash pocket which was a perfect place to mount the gauges.
I made sure to label everything using some cable tie tags. Nothing worse than a spaghetti of wires behind the dash which are all red and black with no clue what does what.
The gauge illuminaton required to be wired in seperately which made things a little messy. Originally I had spliced into the cig lighter illumination live but for some reason that wasn't working. In the end I used the two empty fuse slots on the 4 way fuse box.
I made sure to earth the illumination and gauges seperately as per the VDO instructions.
I let the car idle for 10-15mins to allow the oil temperature to increase to make sure the gauge works. It also allowed me to check for any possible leaks at the sandwich plate, luckily there wasn't any.
I just need to cover the stud on the fuse box to prevent any shortening, but its all good to go.
The Youtube video can be found here:
https://www.youtube.com/watch?v=WWTxobGG1xQ
Gassing Station | Readers' Cars | Top of Page | What's New | My Stuff