Chassis Refurb
Discussion
It was now time to start the reminder of the bodywork
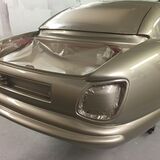
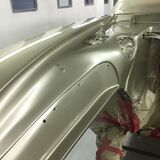
The F1 panel, scuttle panel, doors, bonnet and boot lid were removed for repair and prep.


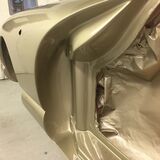
There was also a repair on the bonnet front as the hinge had started to come away from the bonnet


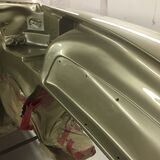
Bonnet locking plate repaired

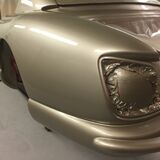
I had the areas on displayed blacked with 2k semi gloss


Repairs complete, now ready for primer, repair any pin holes then paint


Thanks for reading
The F1 panel, scuttle panel, doors, bonnet and boot lid were removed for repair and prep.


There was also a repair on the bonnet front as the hinge had started to come away from the bonnet


Bonnet locking plate repaired

I had the areas on displayed blacked with 2k semi gloss


Repairs complete, now ready for primer, repair any pin holes then paint


Thanks for reading
Well its been a long time since I last posted, a lot has happened over the last few years. An expanding family amongst other things had put the project on hold until further notice.
I have now completed the car and some of may of seen it at various events, but now I am going to document the reminder of the build post completion over the next couple of weeks, the ups the down and the road to completion.
I finished the rebuild in April 2019 ready for the season opener at Burleigh House Stamford were the car was displayed in the main circle.
I am going to start with the body been completely re-sprayed, yes we had already done this once but we felt the finish would of been better if we stripped it right back and start from the beginning. So the decision was made, and we started from scratch........
Picking up from August 2017
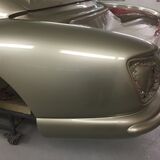
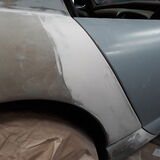
Over the following 6 months, as stated we wanted give the body the attention and detail it really needed and decided to start from scratch, during this process we identified that the body had a couple of dips/flat spots from the factory mould. These were mainly located on both of the rear quarters, very hard to see but once our paint guy pointed them out, I could no longer unsee them. We wanted to fill these and get the gapping and lines around the doors and boot lid as tight and as even as possible.
We literally spent the next couple of months sanding and flatting to reach the finish ready for a high build primer filler, for yet another heavy sand back and flatting.
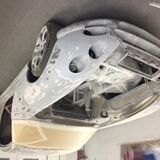
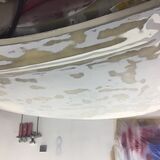
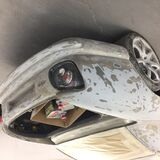
From the following photos you can see the areas which we built-up
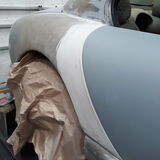
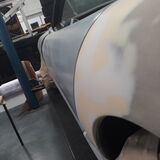
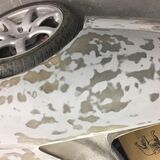
We spent a lot of time (a fair few hours) around the boot and rear wing areas to try and get the gapping bang on and the lines perfect, I think we achieved this.
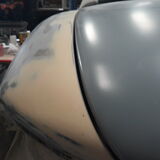
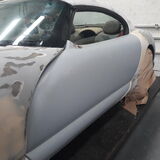
Please click on the images to see the full size
Thanks for reading and I would welcome any comments
Over the following 6 months, as stated we wanted give the body the attention and detail it really needed and decided to start from scratch, during this process we identified that the body had a couple of dips/flat spots from the factory mould. These were mainly located on both of the rear quarters, very hard to see but once our paint guy pointed them out, I could no longer unsee them. We wanted to fill these and get the gapping and lines around the doors and boot lid as tight and as even as possible.
We literally spent the next couple of months sanding and flatting to reach the finish ready for a high build primer filler, for yet another heavy sand back and flatting.


From the following photos you can see the areas which we built-up


We spent a lot of time (a fair few hours) around the boot and rear wing areas to try and get the gapping bang on and the lines perfect, I think we achieved this.


Please click on the images to see the full size
Thanks for reading and I would welcome any comments
Edited by Jonbouy on Thursday 28th October 20:32
Edited by Jonbouy on Thursday 28th October 20:33
Sorry for the silent treated, life has been busy.
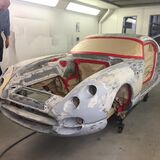
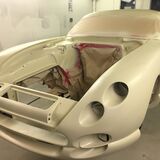
Anyway I will now continue, we decided to remove the body from the chassis and mount it on dolly. John our resident body and paint expert felt this work provide the best outcome and finish.
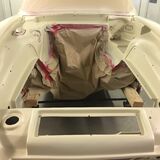
Warning picture heavy, body mounted to dolly, body painted with fibre glass friendly primer (off yellow colour) and then finally the body was primed ready for a final inspection prior to the top coat and lacquer.
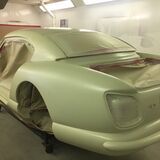
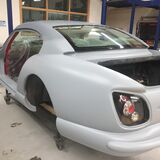
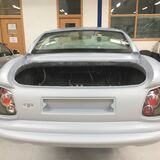
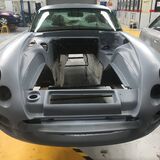


Edited by Jonbouy on Saturday 2nd July 20:34
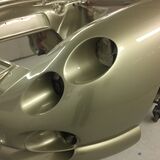
After the body was painted, we briefly moved the focus to overhauling the air boxes. The common problem of the inlets being crushed I aimed to mitigate. I bought a set of ACT carbon fibre back plates. These were bonded to the existing air box housing.
Now as per normal after the back plates had cured we continued the prepping, priming and painting, including the air filter panel box, a-post trims and rear spoiler. Black and gold goes well, as an extra we added a small amount of rose gold flake to the paint to compliment the body colour.
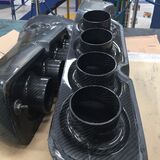
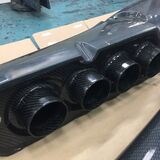
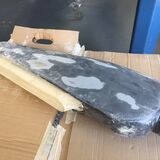
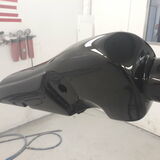
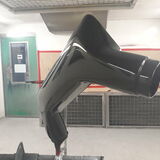
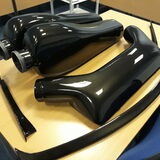
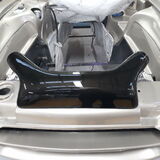
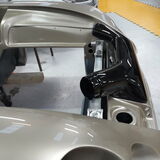
Now as per normal after the back plates had cured we continued the prepping, priming and painting, including the air filter panel box, a-post trims and rear spoiler. Black and gold goes well, as an extra we added a small amount of rose gold flake to the paint to compliment the body colour.


Underbody!
The underbody, because of the extent of the refurb we thought we may as well re-paint the underbody. We blended the sills and exhaust back box areas.
The engine bay was also completely repainted ready for the chassis and engine to go back in. We included a lot of detail, the masking was difficult especially around the exhaust box area, I cant see there been many Cerbs with this sort of body detail.
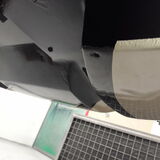
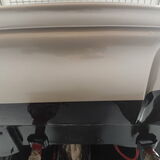
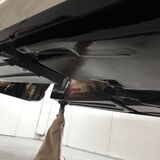
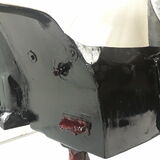
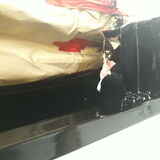


Whilst the chassis was off the body we thought it would be a good time to improve the paint finish from the first round of painting a year or two earlier. There was a few paint corrections and overspray which need some attention. I wanted a glass like finish, there also some areas that required a small amount of filling due to historic heat damage and pitting from the exhaust manifolds. This was purely from a aesthetical point of view, and probably something that know one would see.
After the chassis was painted and hardened, it was polished to perfection!
The prep work.
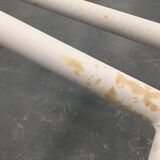
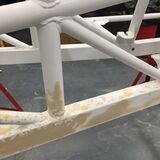
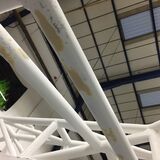
After painting
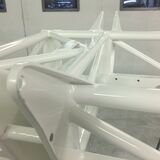
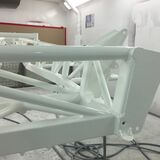
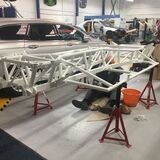
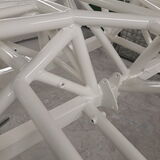
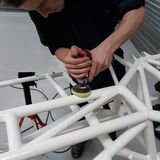
After the chassis was painted and hardened, it was polished to perfection!
The prep work.


After painting


Utterly superb story of insane dedication Jon.
I used to be the Cerbera Editor for TVRCC Sprint.
Do you fancu doing an article on what you've done.
It is such a superb example o what a Human Being can do
Send me a mail if you're interested in either writing something solo or cobbling summat up together.
Truly well done, Sir !


I used to be the Cerbera Editor for TVRCC Sprint.
Do you fancu doing an article on what you've done.
It is such a superb example o what a Human Being can do

Send me a mail if you're interested in either writing something solo or cobbling summat up together.
Truly well done, Sir !


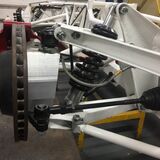
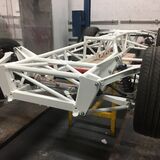
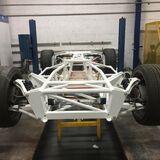
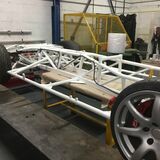
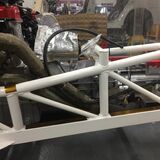
Next we started to reassemble the chassis with basic suspension components so that we could get it rolling. This was after we treated the inside of the chassis with a metal protection treatment.
Once the rolling chassis was moved onto the ramp I decided that the chassis rails could do with some heat protection help from the exhaust manifolds and CAT areas, I chose to use Funk Motorsport gold reflective tape after a lot of research.
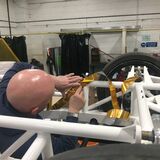
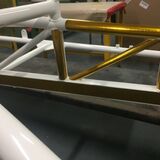
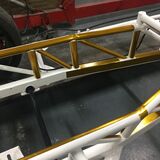
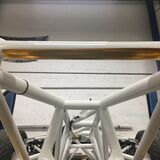
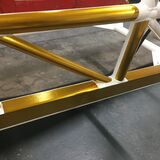
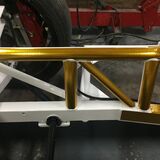
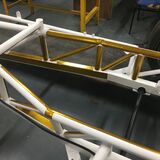
Once the rolling chassis was moved onto the ramp I decided that the chassis rails could do with some heat protection help from the exhaust manifolds and CAT areas, I chose to use Funk Motorsport gold reflective tape after a lot of research.


The chassis rebuild!
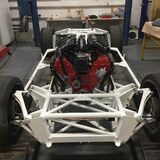
We started by assembling the chassis bit by bit.
Great attention to detail was paid to all the components when re-assembling. Aluminumized grease was used for all the nuts and bolts and red grease for any rubber components. Every nut, bolt and washer was new!
The brakes were rebuilt with new pads front and back, new brake shoes and mechanism, hand brake cables (both) and so on.
I also fitted a set of new stainless Goodridge brake hoses.
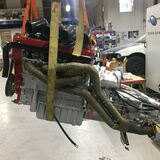
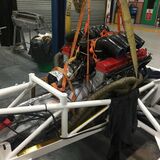
The engine was next, lifted carefully into place! Notice the starter motor had its blanket on! which we made a number of months prior along with lots of heat shielding for various wires and components.
We started by assembling the chassis bit by bit.
Great attention to detail was paid to all the components when re-assembling. Aluminumized grease was used for all the nuts and bolts and red grease for any rubber components. Every nut, bolt and washer was new!
The brakes were rebuilt with new pads front and back, new brake shoes and mechanism, hand brake cables (both) and so on.
I also fitted a set of new stainless Goodridge brake hoses.


The engine was next, lifted carefully into place! Notice the starter motor had its blanket on! which we made a number of months prior along with lots of heat shielding for various wires and components.


Looks stunning!
But my distant recollection of helping to put the body back on a mates Cerb was that it was a tight fit around the upper chassis rails
Will it be a problem with the engine in?
https://vimeo.com/64001222
But my distant recollection of helping to put the body back on a mates Cerb was that it was a tight fit around the upper chassis rails
Will it be a problem with the engine in?
https://vimeo.com/64001222
Gassing Station | Cerbera | Top of Page | What's New | My Stuff


