I dislike the Spongy project thread (Scotty Project)
Discussion


Thought i should make a project thread as well
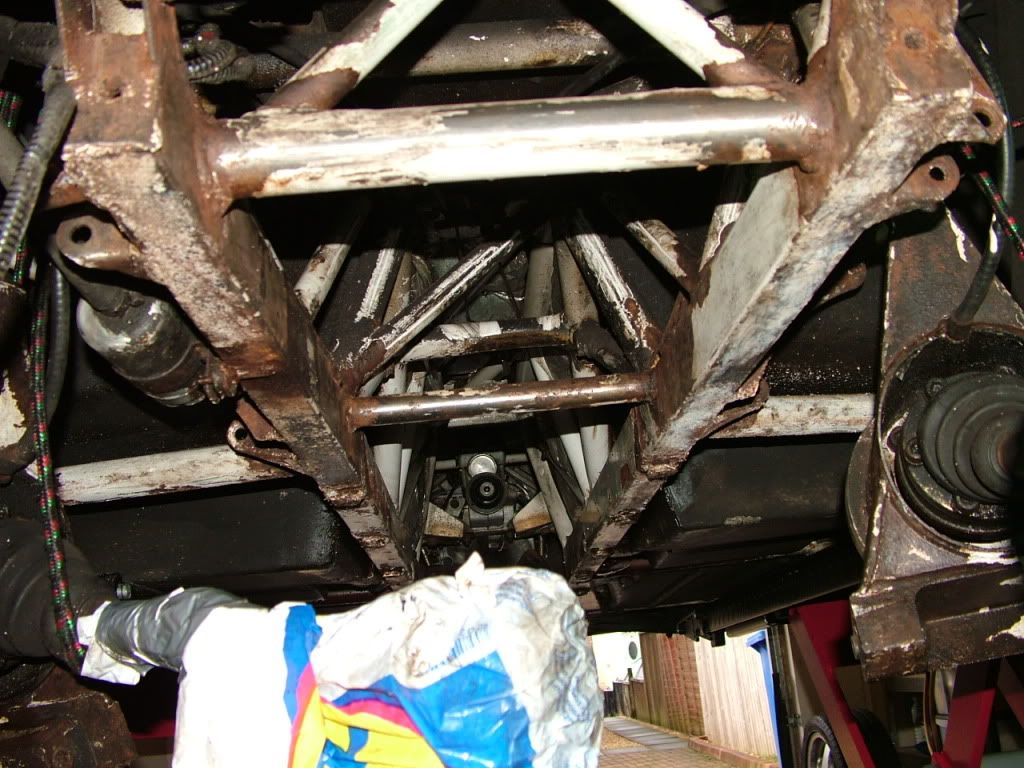
He made me feel guilty and look what has happened my diff is on the ground now. How did you ever get that thing out it weighs a ton. I am lucky to have the ramp and i just lowered it down and then lifted the car clean when i spun it round and that was bad enough. Respect to the guys who lift it out by hand.
Started as a little chassis cleaning and painting now i have everything rear of the engine on the under side unbolted and on the garage floor.
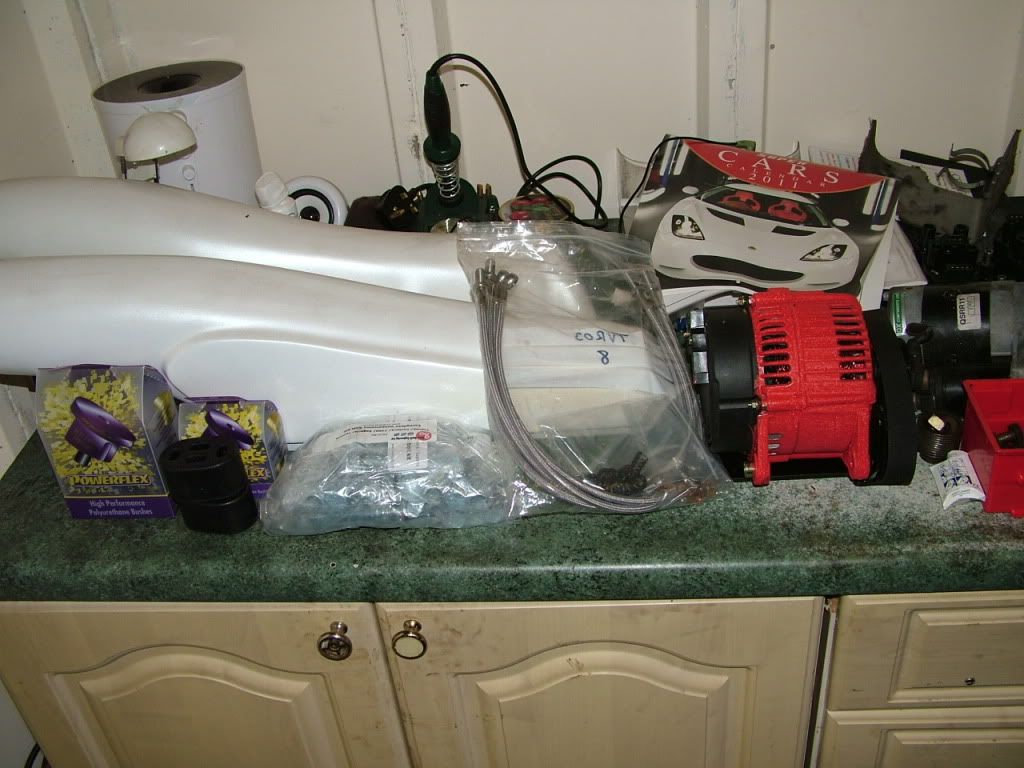
This is what i am doing and where i am at.
New Wish bone and suspension bolts all round.
New Polly Bushs for anti roll bars and diff.
Fully 12k service .
Painted rocker covers.
New altenater, also painted.
New Alt belt.
New Air con belt.
New Braided brake hoses.
New Injector O-rings.
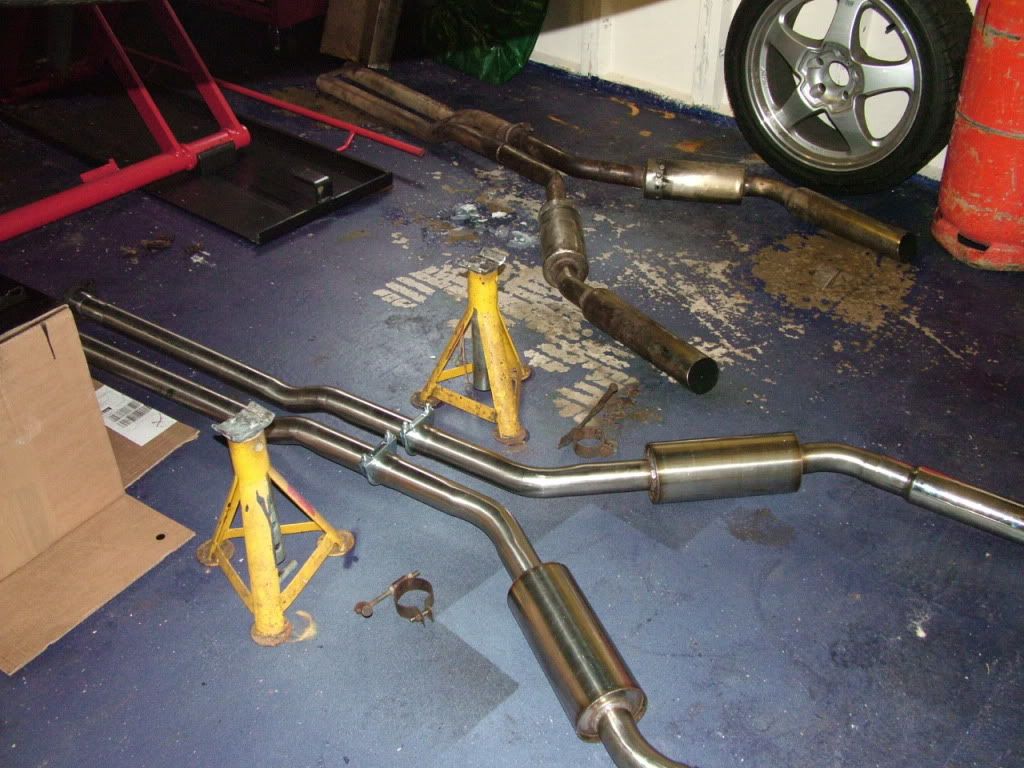
New Custom stainless Sports Exhaust.
Inlet Manifold Ported and gas flowed.
Re-furbing the shocks.
Prop shaft is getting balanced while it is off as my dad is going to do it for free.
Clean the brakes up.
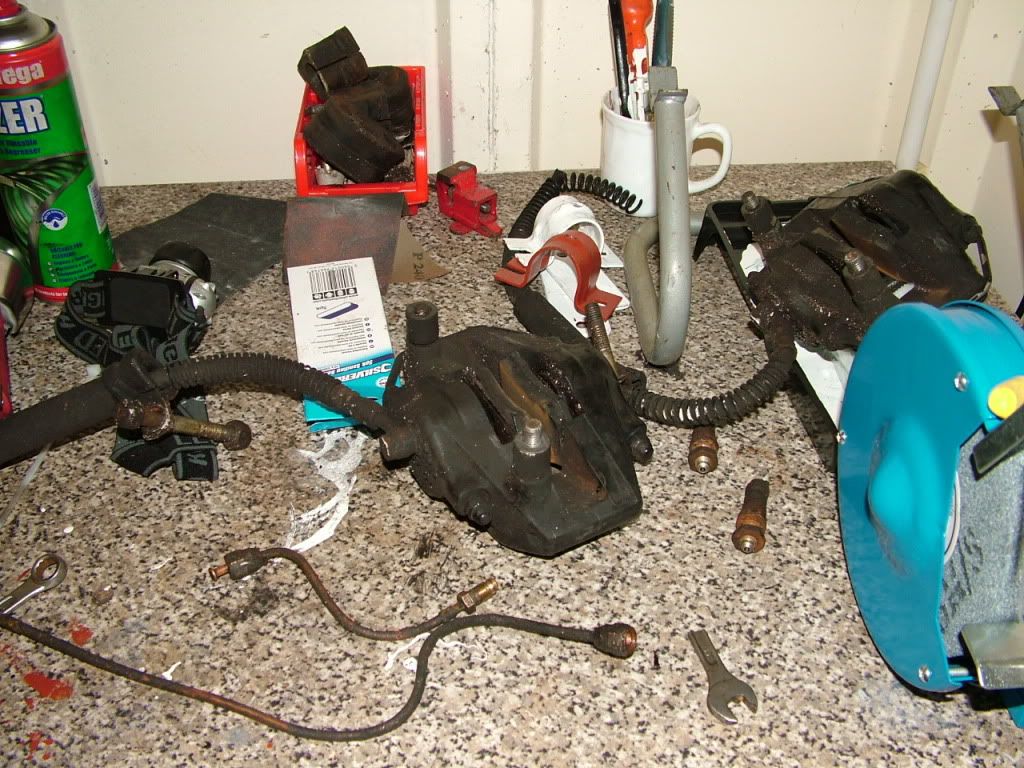
I still have the front end to do but i will finish the rear first before i start on the front end.
Looks good scotty. All this work is on my to do list, but I'm still waiting on my new engine to be built
But one thing I noticed was your rebuilding your shocks , if there standard factory spec I would nt bother.
After market shocks are much better even the budget protects are a vast improvement.
But one thing I noticed was your rebuilding your shocks , if there standard factory spec I would nt bother.
After market shocks are much better even the budget protects are a vast improvement.
Cheers
It is going to cost me less than a tenner for the seals to re-build them,My Dad re-builds rams and drive shafts for the company he works for just now so pretty handy.
and i like the way the car feels on it's set up. It has standard Front shocks and the rears are from a Tuscan i believe, It rides well on the track and the road so i don't want to change it.
I also have a second hand set of standard shocks that came off a cerb at only 19k and in good nick i will be using these for the fronts as the front near side had a blow out. It was misting last Mot so did well to hold out for 1 more year lol
Edited by scotty_d on Saturday 7th January 15:25
Thats brilliant sir,the title made me smile big time.Try getting the diff back in on your own without damage Did it though.One thing to say sir is when you repaint dont put too much paint on the inner bracket faces,cos it makes it hard to get bushes etc in,and clean all bolt holes before assembly.When you mount the diff do the back support first,then the longer front one then the shorter one....Bolt the plates to the diff first,then align bushes in the chassis.Good job;)
Cheers For the tips, I have been following yours closely a true inspiration. It is much the same as i did with my chim but i left the diff in place. Now to get the old top diff bush out Can't wait 
It is a painfully slow project i knew how bad it was with the chim why did i put myself though it all again lol.
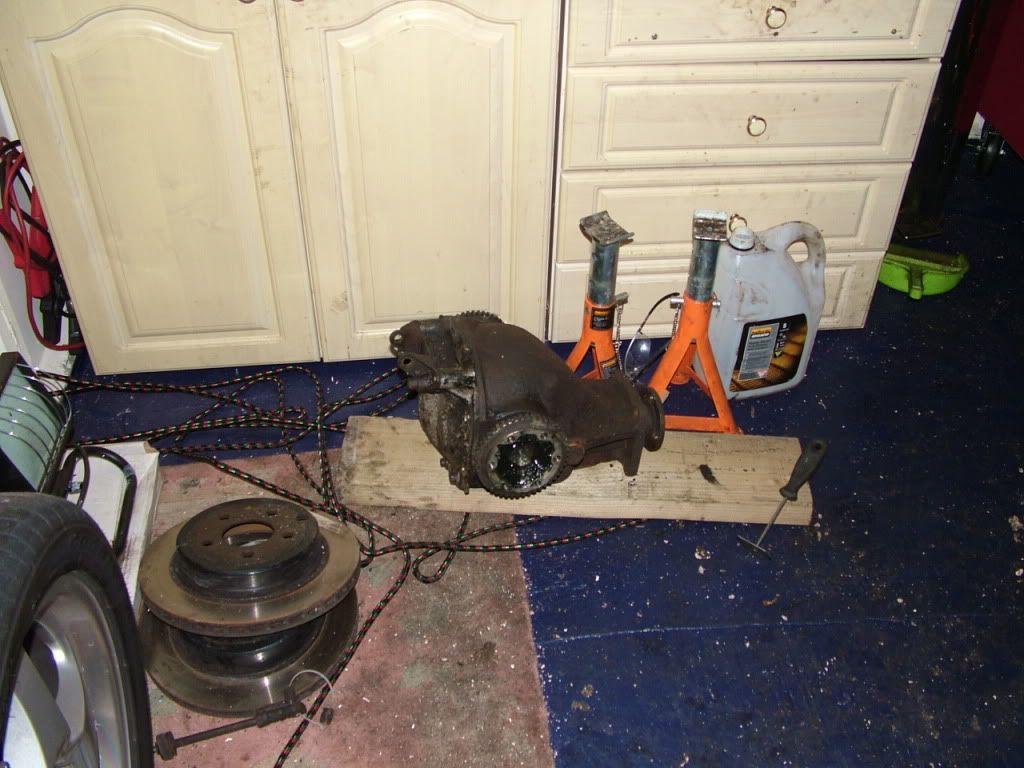
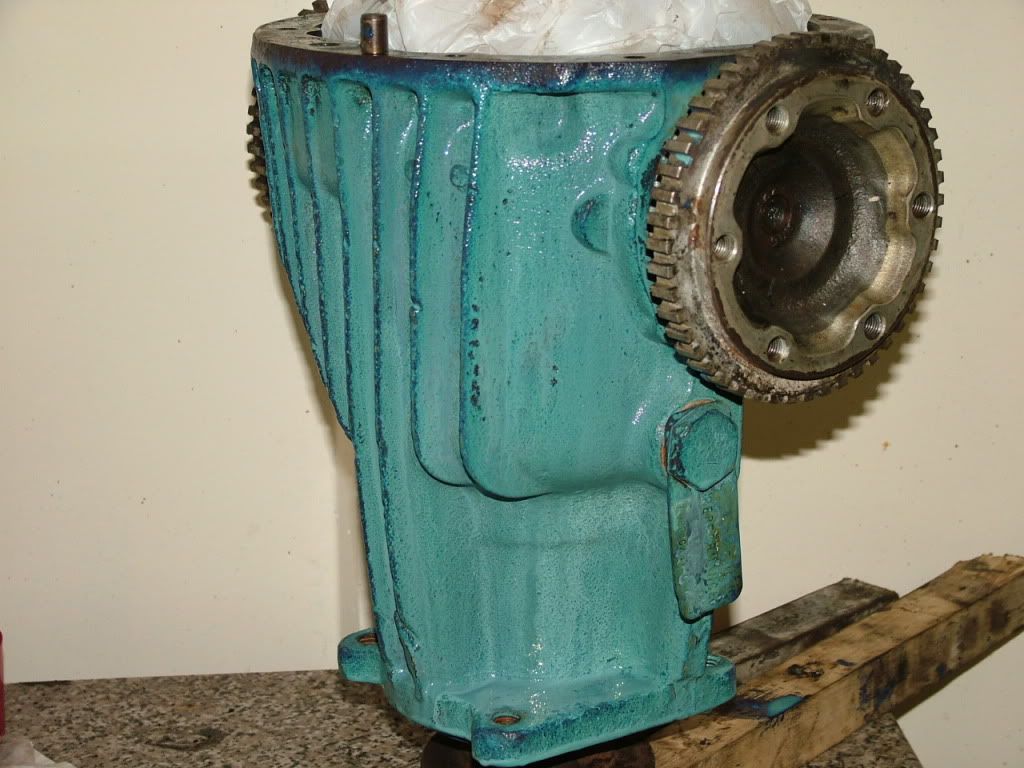
My diff is different to yours i believe mine is a hydra track unit the back plate is different any way. Looks like treacle and not oil that was in there says a lot for the last service only 4k a go
Any one know what Oil these units use?
It is a painfully slow project i knew how bad it was with the chim why did i put myself though it all again lol.
My diff is different to yours i believe mine is a hydra track unit the back plate is different any way. Looks like treacle and not oil that was in there says a lot for the last service only 4k a go
Any one know what Oil these units use?
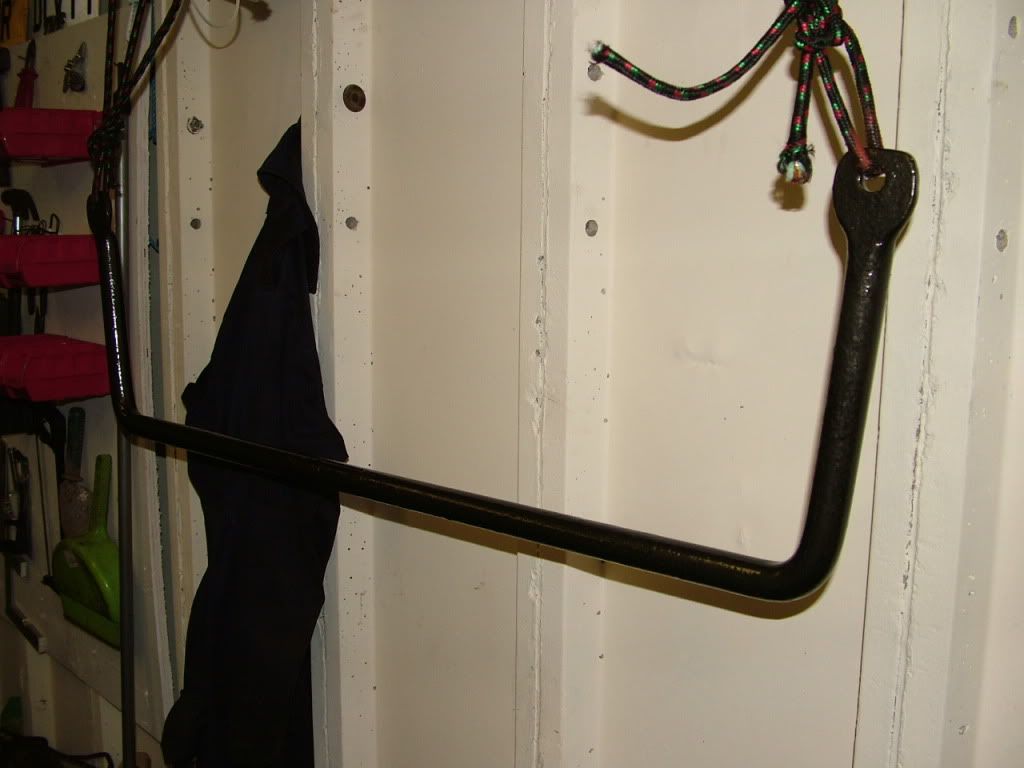
Ps,one tool i have used alot today is a round punch which is the same diameter as the suspension bolts etc,this helps to line up the wishbones etc and the diff bushes.Sorry if im telling you to suck eggs,but it is always good to have pointers .I think it takes so long because when you put things back you are trying so hard not to damage things
.I think it takes so long because when you put things back you are trying so hard not to damage things Ive got one of those in my shed that i could have used.....what a pleb
No Keep it all coming it is good to hear different angle and views on this any little things to make life a little more smooth lol.
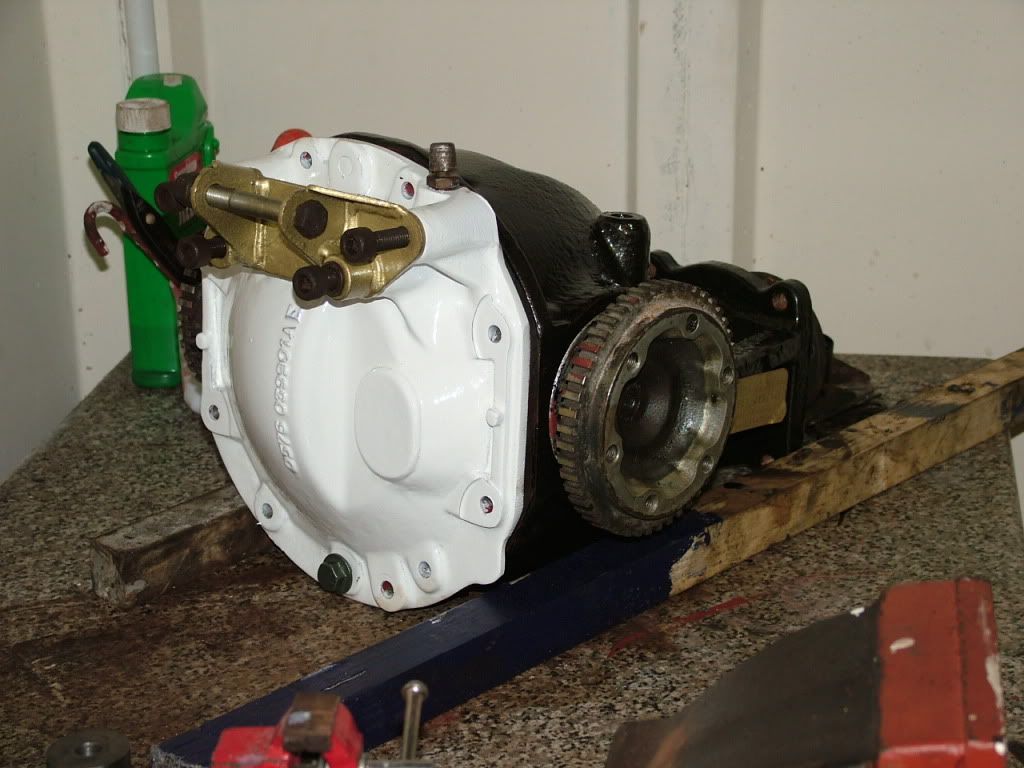
Will post up a picture of the inside and back plate of mine just to make sure it is a Hydra track diff i was told it was from the owner of Green star as it was his car.
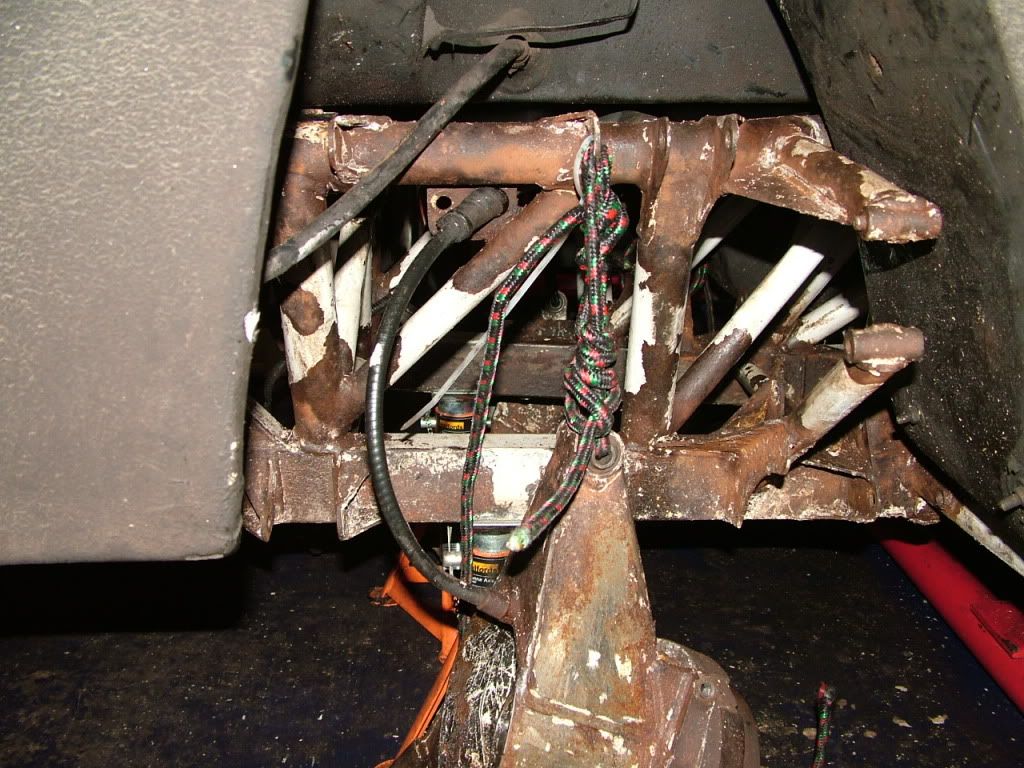
Yeah the torch is good to free a hand up when looking up in to the abyss of the chassis. lol
Will post up a picture of the inside and back plate of mine just to make sure it is a Hydra track diff i was told it was from the owner of Green star as it was his car.
Yeah the torch is good to free a hand up when looking up in to the abyss of the chassis. lol
Where i am at before i have to go back to work tonight.
some zinc primer for the back plate 2 coats of this.
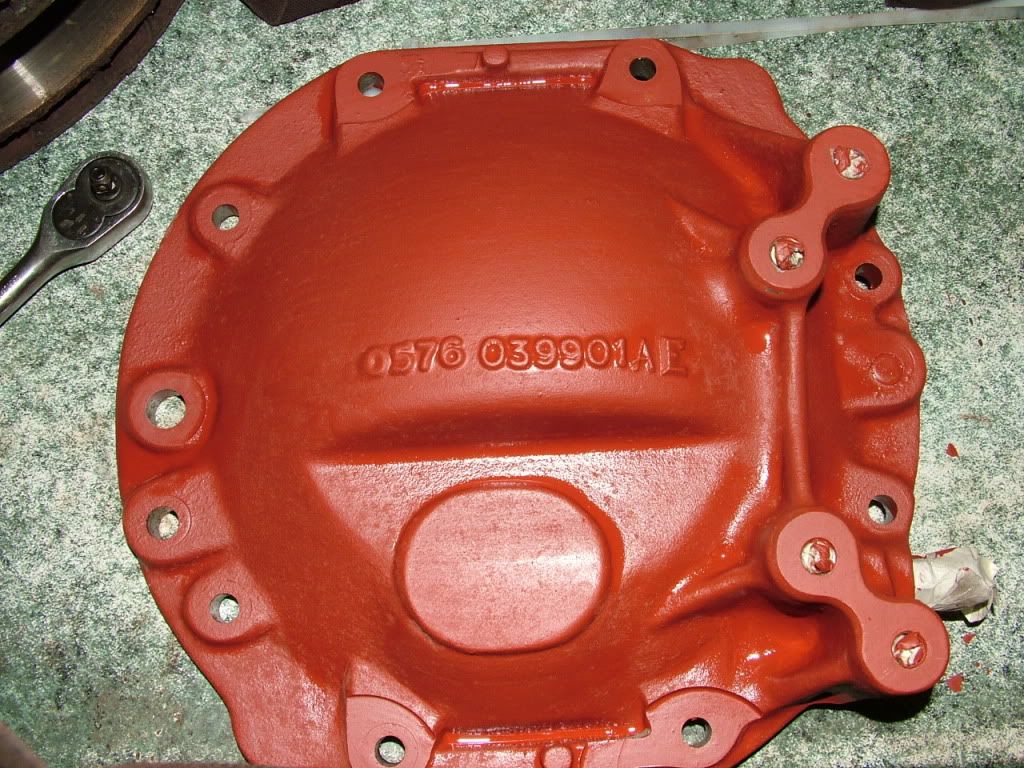
A coating of Aqua shield a product used in the marine and sub sea environment stops rust and give a protective coating. I this gave the diff 2 coats of zinc primer and a top coat of hamirite might give the black a second coat.
Still got a bit to do but this is where it will sit for 3 weeks till i get back home to tidy it up and clean up any over spray ect. It's not bad not as pretty as spongys but it wont rust
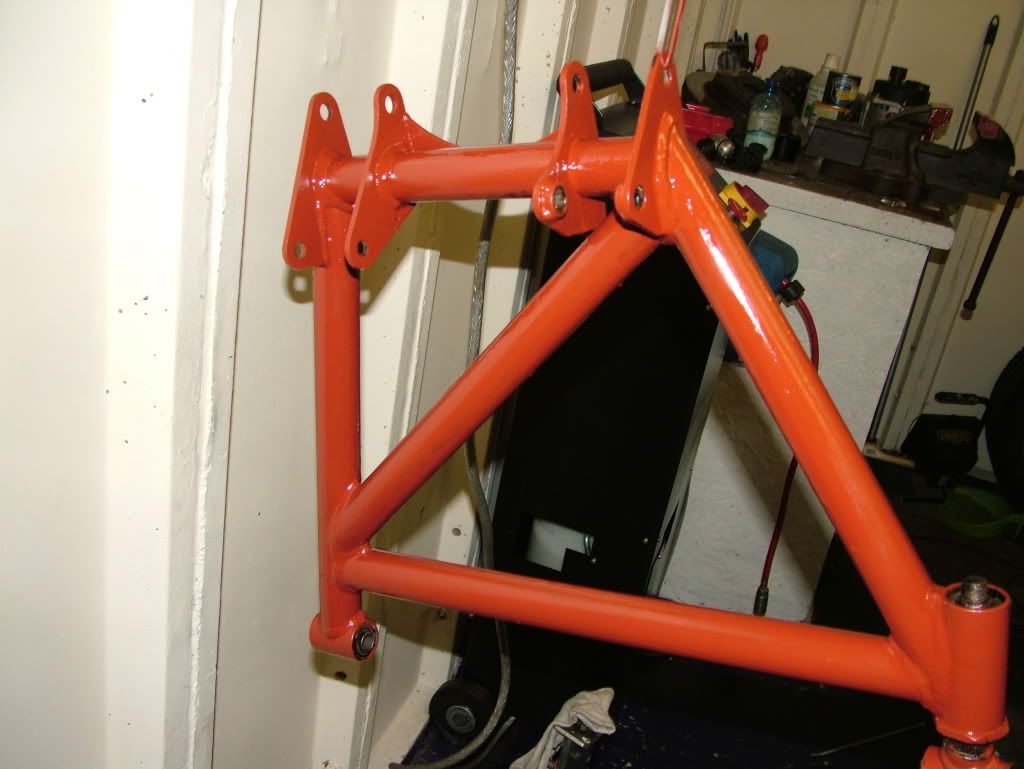
Anti roll bar 2 coats of high content zinc primer and hamirite top coat good bye rust.
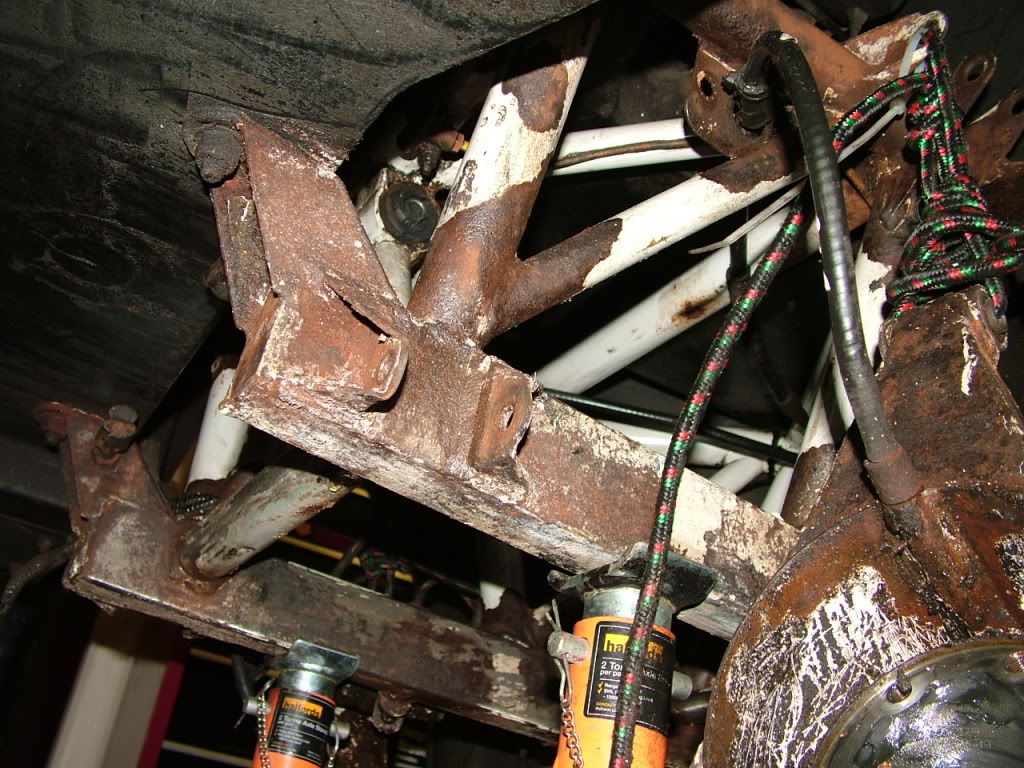
Chassis is still no where near ready to paint yet It is eating up so much time. But getting there very slowly. Started on the top diff bush toady getting there but i need some more blades for my Air saw to make light work of it.
some zinc primer for the back plate 2 coats of this.
A coating of Aqua shield a product used in the marine and sub sea environment stops rust and give a protective coating. I this gave the diff 2 coats of zinc primer and a top coat of hamirite might give the black a second coat.
Still got a bit to do but this is where it will sit for 3 weeks till i get back home to tidy it up and clean up any over spray ect. It's not bad not as pretty as spongys but it wont rust
Anti roll bar 2 coats of high content zinc primer and hamirite top coat good bye rust.
Chassis is still no where near ready to paint yet
It is eating up so much time. But getting there very slowly. Started on the top diff bush toady getting there but i need some more blades for my Air saw to make light work of it.It's moving along now starting to built the rear up now after i have done all the prep work and painted the chassis the diff is back in and the new Polly bush's too.

Picked up my new Stainless Sports Exhaust today. Still a little work to be done on it but because he did not have the car he had to leave some of it "lose" till i fit it up and take it down to him to finish. It is just little things like welding a couple of bracing s on and slash cutting the tips once i get the correct length and i will get him to get shot of the clamps and weld it as a 1 section system, Then get my cat replacements made at the same time Just some small Silencers depending on how loud this system is I want it quieter than it is just now as it just drones at all the wrong speeds. He has made the box's as quite as he can with out restricting it.
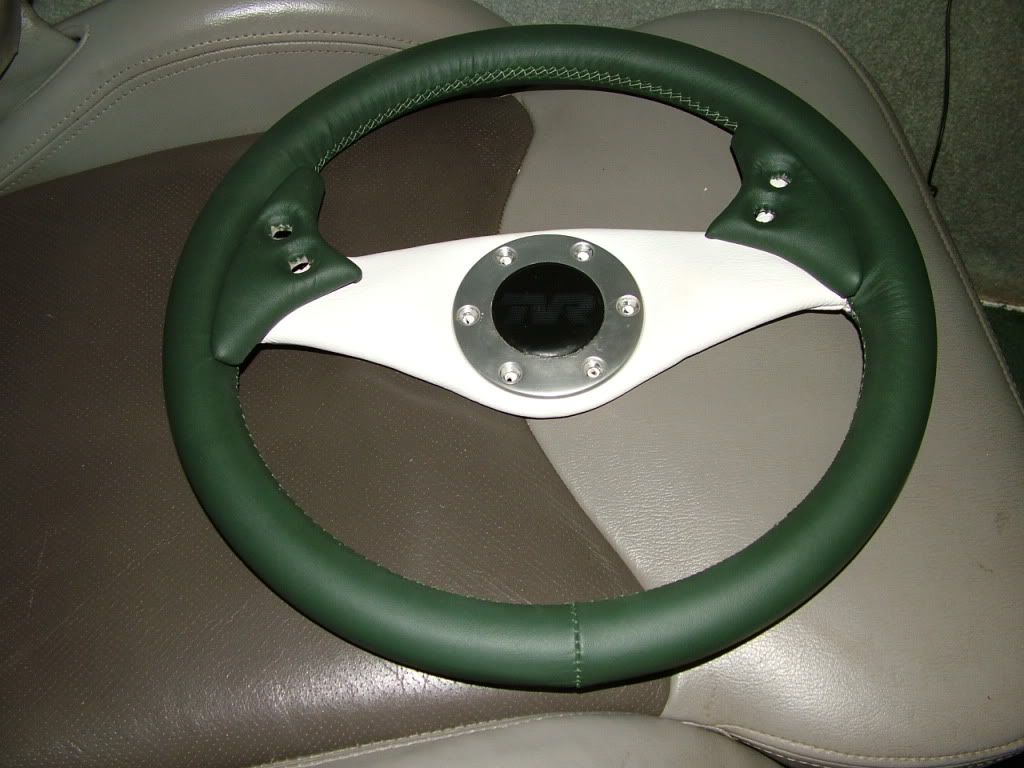
And my Steering wheel is also back from D&C trim very happy with it ,now has grip lol.
Still lots to do my conservatoire is my overflow for new parts for the garage, I have every fluid for the car sitting there now and my new 18" Tyres are on order for the spiders and should be here any day now. Will i make Chatsworth still going to be close i think as i need to find out why it is not cranking over. I now know it is not the starter itself as i got it to spin up on the bench today.
Oh and i have quite a bit of paint to touch up as you can see, the diff was a ***** to get back in.
Picked up my new Stainless Sports Exhaust today. Still a little work to be done on it but because he did not have the car he had to leave some of it "lose" till i fit it up and take it down to him to finish. It is just little things like welding a couple of bracing s on and slash cutting the tips once i get the correct length and i will get him to get shot of the clamps and weld it as a 1 section system, Then get my cat replacements made at the same time
Just some small Silencers depending on how loud this system is I want it quieter than it is just now as it just drones at all the wrong speeds. He has made the box's as quite as he can with out restricting it. And my Steering wheel is also back from D&C trim very happy with it ,now has grip lol.
Still lots to do my conservatoire is my overflow for new parts for the garage, I have every fluid for the car sitting there now and my new 18" Tyres are on order for the spiders and should be here any day now. Will i make Chatsworth still going to be close i think as i need to find out why it is not cranking over. I now know it is not the starter itself as i got it to spin up on the bench today.
Oh and i have quite a bit of paint to touch up as you can see, the diff was a ***** to get back in.
Edited by scotty_d on Thursday 9th February 20:02
 Always a good engineering solution as the top diff bolt and bush are in.
Got to say its a s t of a job.....but well done.foofin weather is ste now and to really feck me off i had to pass a gritter on the duel carriage way
 on the way home.Keep going sir im on a outrigger break after monday so no car for two weeks,Time to fit my bathroom and keep mrs sponge happy for a while
t of a job.....but well done.foofin weather is ste now and to really feck me off i had to pass a gritter on the duel carriage wayon the way home.Keep going sir im on a outrigger break after monday so no car for two weeks,Time to fit my bathroom and keep mrs sponge happy for a whileGassing Station | Cerbera | Top of Page | What's New | My Stuff