E36 cheap track day toy
Discussion


Bolted the modified seat frames in.
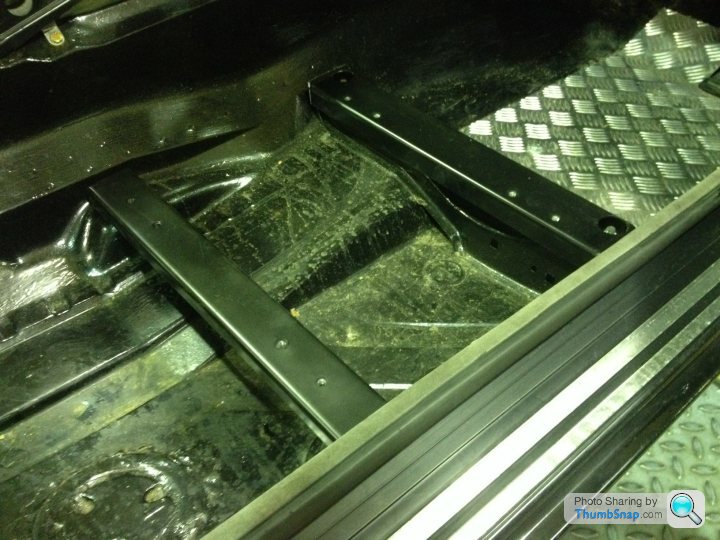
It has lowered the seat nicely. 20mm cut out of the frames, also removed a 6 mm spacer below the runners and just put in a 1mm thick washer. So that's 25mm more head room. This along with the sun roof being gone, there is now plenty of head room.
I had a few hours to kill Saturday afternoon once the roof panel was on. Made a very slight start on the actual cage.
Not a huge amount I know, but I cant really progress with the cage much until I get my flat door panels fitted and the dash out.
Anyway turned up at work Monday morning with the rain pooring down. Good first test for the roof.
Drove about 5 miles and stopped to get her washed on the way. Sat staring at the roof as the jet wash passed over it, but we seemed to remain bone dry inside. This probably had something to do with me sealing inside the rivets to.
Thanks iluvmercs, nice to get some feedback. If you do love Mercedes you might be interested in my mild S class restoration that I am also doing.
http://www.pistonheads.com/gassing/topic.asp?h=0&a...
The door cards have finally arrived. They look like they will match the roof panel nicely. I'm going to start fitting them tomorrow after work. Then dash removal if time allows, have a couple of bits to do on the girlfriends car to. No rest for the men who like a project.
So started the door cards after work today.
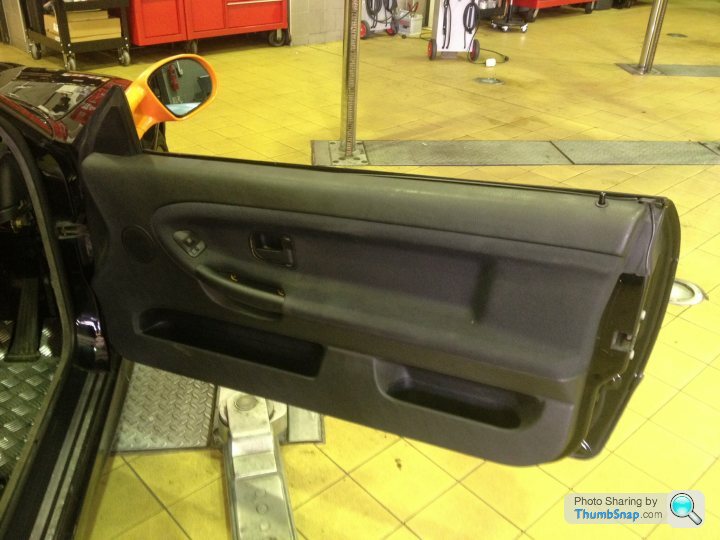
Pretty standard style card with just the two screws in the handle. It's kind of nice to take a card off in the knowledge that you will never be refitting it. You don't have to worry about prying to hard, or the clips breaking.
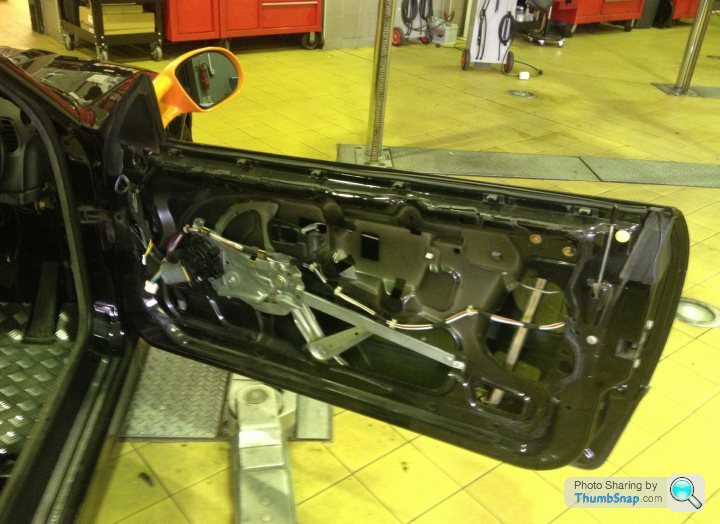
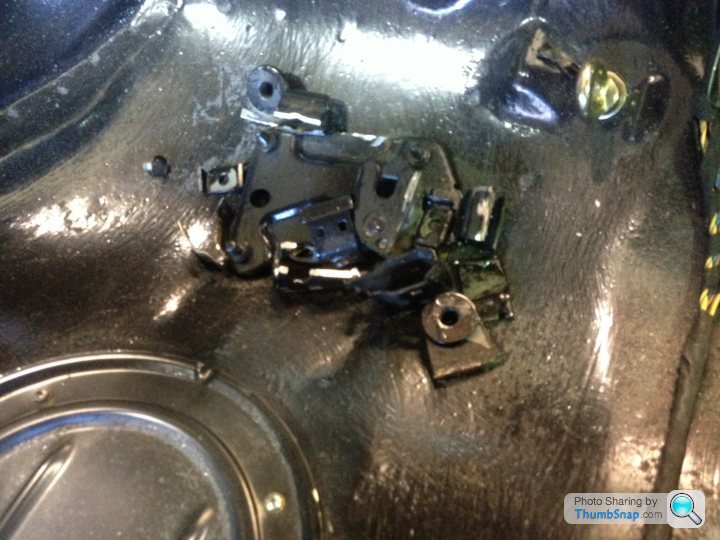
I have decided that as a totally track based car, everything but the essentials can go. So I pulled out the wiring loom. Then removed every unnecessary wire right down to the multiplug pins.
From this,

To this.
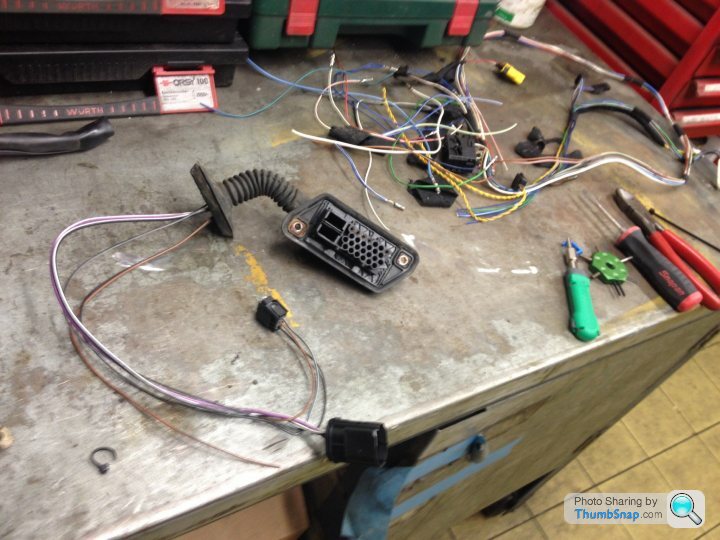
It's amazing how much two doors worth of wires, speakers, cards and sound deadening weigh.
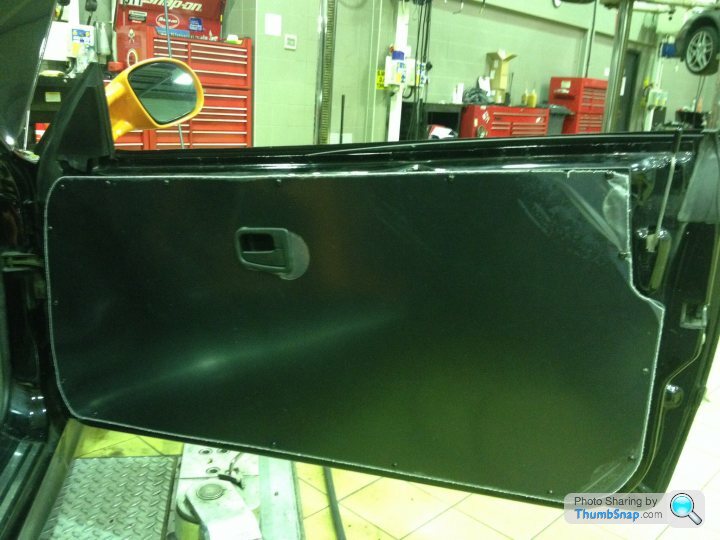
With the loom refitted, I fitted the door card around the handle.

Gently bent the new cards around the doors edges, held it and drilled right through into the door. Then opened up the hole in the card with a bigger drill. Seem to fit quite nicely. Good tip is to check how they fit with the door closed, before drilling any holes. Self tapping screws inserted and voila. New lightweight doors. More importantly, doors that won't get in the way of the cage. I have left the thin plastic sheet on the door cards for now. They will be coming off again when the welding starts. All in all quite pleased despite the two month wait for delivery. They do match the roof nicely.
Pretty standard style card with just the two screws in the handle. It's kind of nice to take a card off in the knowledge that you will never be refitting it. You don't have to worry about prying to hard, or the clips breaking.
I have decided that as a totally track based car, everything but the essentials can go. So I pulled out the wiring loom. Then removed every unnecessary wire right down to the multiplug pins.
From this,
To this.
It's amazing how much two doors worth of wires, speakers, cards and sound deadening weigh.
With the loom refitted, I fitted the door card around the handle.
Gently bent the new cards around the doors edges, held it and drilled right through into the door. Then opened up the hole in the card with a bigger drill. Seem to fit quite nicely. Good tip is to check how they fit with the door closed, before drilling any holes. Self tapping screws inserted and voila. New lightweight doors. More importantly, doors that won't get in the way of the cage. I have left the thin plastic sheet on the door cards for now. They will be coming off again when the welding starts. All in all quite pleased despite the two month wait for delivery. They do match the roof nicely.
Morning mate. I got mine direct from Hard Motorsport. Here
http://www.hardmotorsport.com/hard-motorsport-330-...
They did a build thread of their own here which may help you.
http://forums.bimmerforums.com/forum/showthread.ph...
The front arches were basically easy. Just hold them on, trace round, cut out, drill and rivet. The rears is where the real work is. I wouldn't suggest starting without a wheel arch roller. Getting the inner skin to meet the outer is hard hot work. But if I can do it.
Even though Carpet might be the only one reading this, I will crack on.
Finished off the passenger door card last night. Tonight did some sizing up of the cage, but it is really hard to get a good idea with the dash in. Possibly the last time it will look like this.
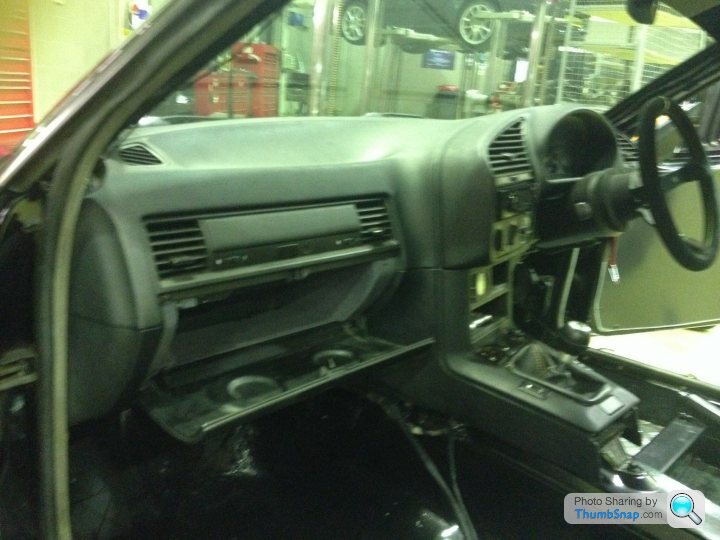
I have never stripped an E36 dash before. But it turned out to be pretty simple. Hour and a half later.
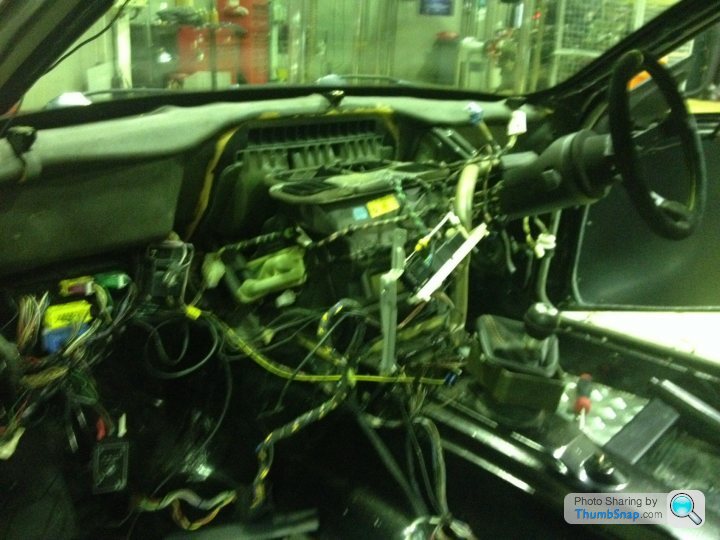
There is a huge amount of wiring considering how few electrical items are left on the car. I do intend to get as much of it out as possible. This does look pretty daunting.

Googled a few of the control unit part numbers. I now have quite a good idea what's what. As soon as I identified the alarm control unit. I unplugged it and went to see if the car started. It did, happy days no worries about it immobilising now. The alarm appears to have been originally fitted by a monkey with some electrical tape. Loads and loads of wire coiled up and shoved into the dash. That will all be coming out. Starting to think the car won't actually weigh much more with the cage in.
Finished off the passenger door card last night. Tonight did some sizing up of the cage, but it is really hard to get a good idea with the dash in. Possibly the last time it will look like this.
I have never stripped an E36 dash before. But it turned out to be pretty simple. Hour and a half later.
There is a huge amount of wiring considering how few electrical items are left on the car. I do intend to get as much of it out as possible. This does look pretty daunting.
Googled a few of the control unit part numbers. I now have quite a good idea what's what. As soon as I identified the alarm control unit. I unplugged it and went to see if the car started. It did, happy days no worries about it immobilising now. The alarm appears to have been originally fitted by a monkey with some electrical tape. Loads and loads of wire coiled up and shoved into the dash. That will all be coming out. Starting to think the car won't actually weigh much more with the cage in.
I guess Flocking it would be quite cool, but that would be one more thing to do on a very long list. Also I really don't have anymore money to through at this for now. I spent a few quid on eBay last night. Newish instrument cluster. Seen as its out might as well try and get one in that will actually display a millage. A new center console front section, so I can do away with the sunroof switch, alarm LED etc without leaving holes in the dash. Oh and a fog light switch, as I managed to break the old one taking it out.
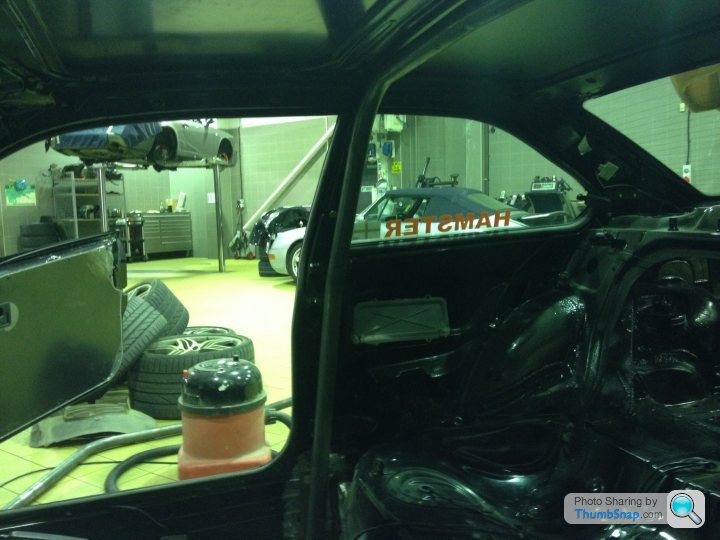
Tried to have a bit of a tidy up tonight. The car was full of bits of stripped dash and two tyres I have been saving. Obviosly all needs to come out ready for the grinding and welding to begin. I gave the rear tyres a good look. They really are tired with some worrying darker patches. So I buzzed them off and set to swapping tyres for my saved pair. Gave the wheels a light dusting of paint at the same time. Cover up a few of the marks from this years many off and ons.

Not to bad for a quick spray. These tyres have a fair bit of tread. They were taken off a car at work purely on the customers request. He didn't want them so I had them. Should last a few days out.
Not to bad for a quick spray. These tyres have a fair bit of tread. They were taken off a car at work purely on the customers request. He didn't want them so I had them. Should last a few days out.
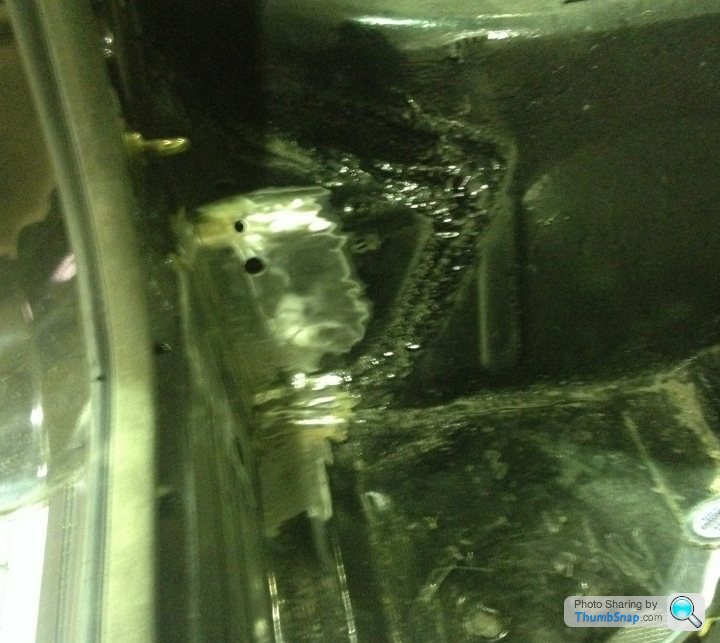
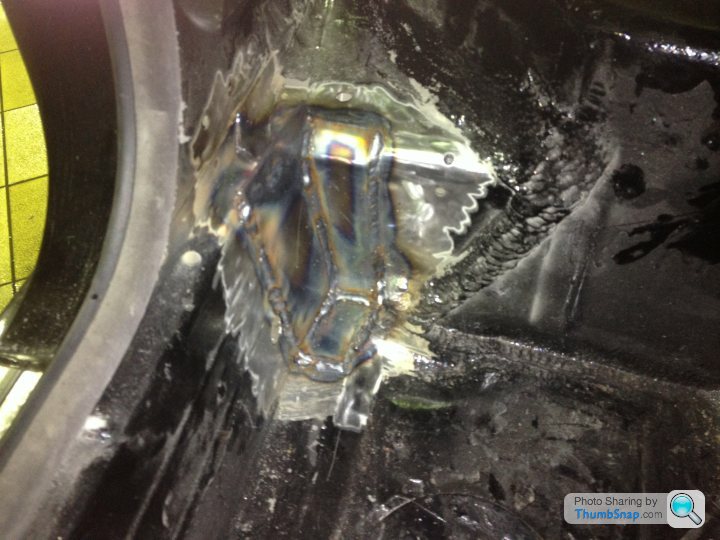
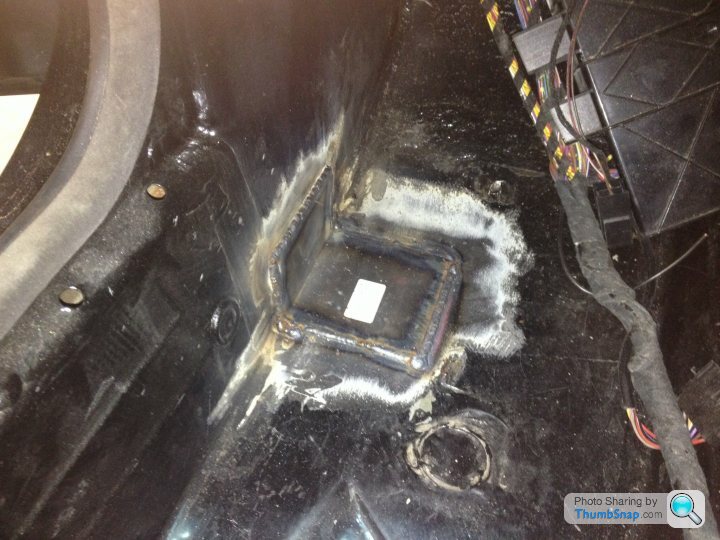
Started the main cage work today. Ground back the paint and seam sealer where the hoop mounts.
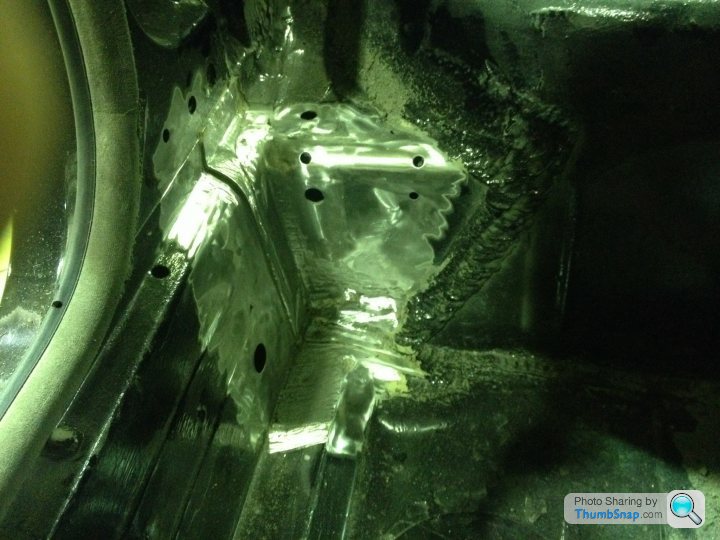
Then made some small alterations to the mounting brackets for a really good fit.
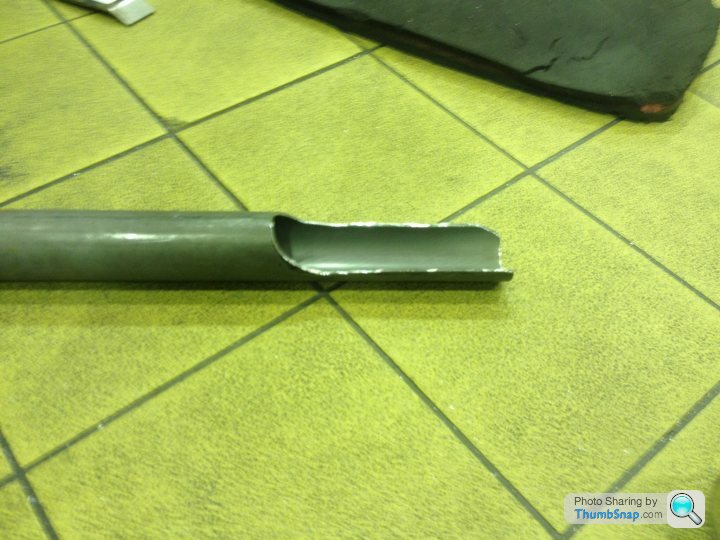
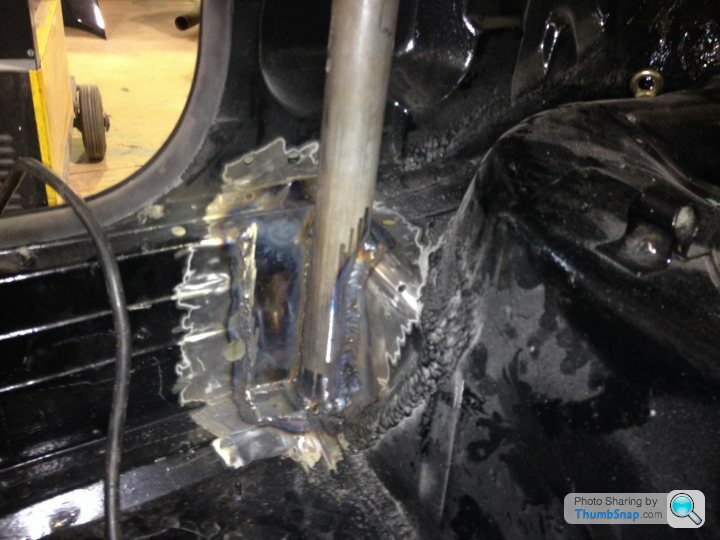
Then time for the hoop. This is supplied rather to tall. Not the easiest thing to measure in place. So I ended up taking many small cuts from both ends.

Finally it squeezed in. I did spend rather to long on this. But I want a nice tight fit.
Finally I cut the shape of the mounts out of the hoop. I'm copying this idea from another build thread. I don't know if it's right, but it looks like it worked well and was strong.
Then made some small alterations to the mounting brackets for a really good fit.
Then time for the hoop. This is supplied rather to tall. Not the easiest thing to measure in place. So I ended up taking many small cuts from both ends.
Finally it squeezed in. I did spend rather to long on this. But I want a nice tight fit.
Finally I cut the shape of the mounts out of the hoop. I'm copying this idea from another build thread. I don't know if it's right, but it looks like it worked well and was strong.
Plenty of work done over the last couple of evenings.
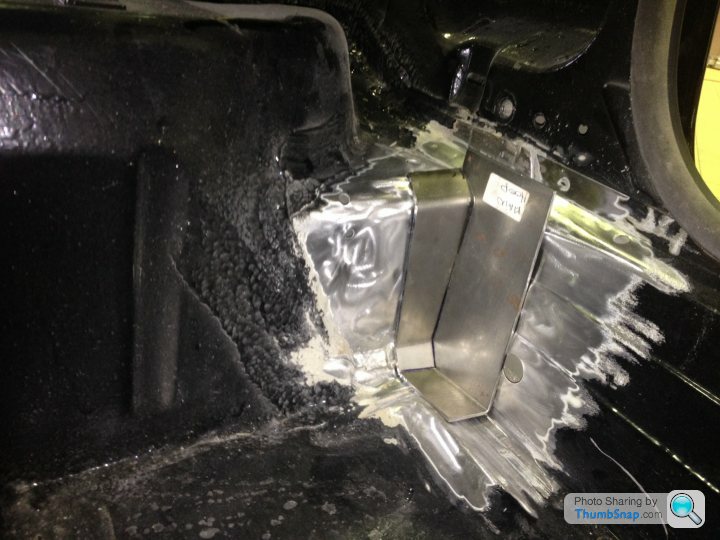
The hoop and both side legs ready to go in now. Front feet have also been welded in.
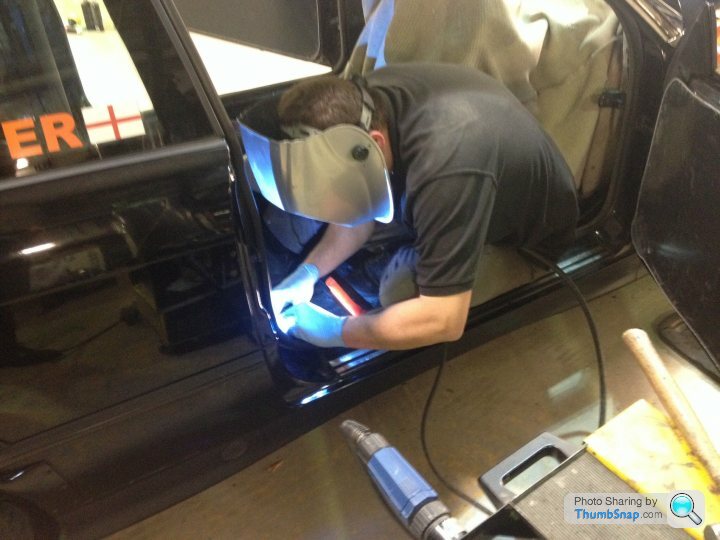
The hoop was finally fitted tonight as well. Still needs a clean up before paint, but I'm very pleased with it.
I have to give a massive thank you to Arron my welder who has stayed late into the evening a couple of times now.
The hoop and both side legs ready to go in now. Front feet have also been welded in.
The hoop was finally fitted tonight as well. Still needs a clean up before paint, but I'm very pleased with it.
I have to give a massive thank you to Arron my welder who has stayed late into the evening a couple of times now.
Thanks longintheleg, it is still nice to get positive coments. Especially when you are putting in the late nights.
Hopefully on the home stretch now. It is starting to actually look like a cage.

Must admit I felt bad last night, some of the tight areas Arron had to wedge himself in.
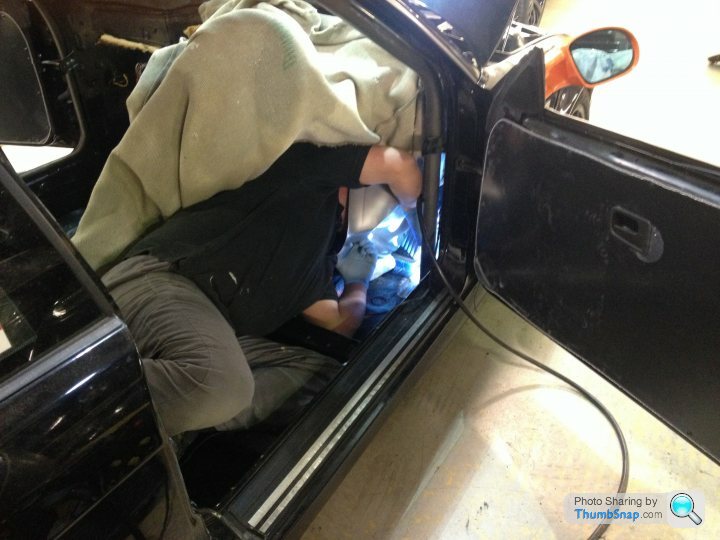
One of the reasons I gave him the largest crate of beer I could get my hands on this morning, plus cash obviously.
Hopefully on the home stretch now. It is starting to actually look like a cage.
Must admit I felt bad last night, some of the tight areas Arron had to wedge himself in.
One of the reasons I gave him the largest crate of beer I could get my hands on this morning, plus cash obviously.
Glad you like it DanMateX.
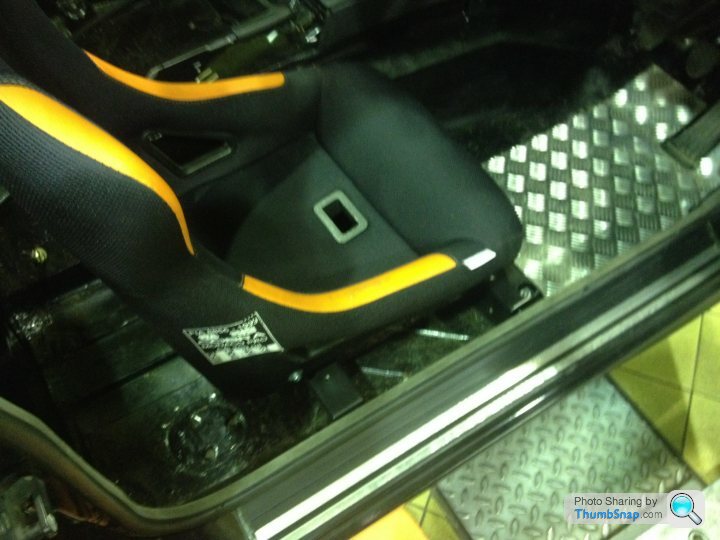
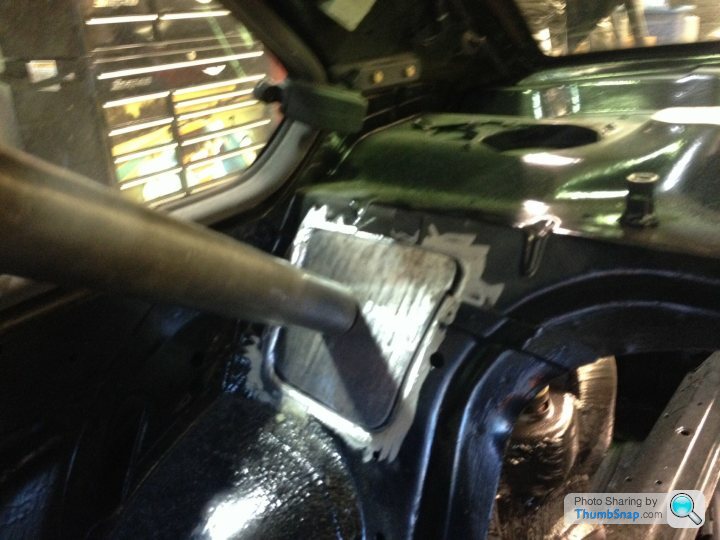
Time to make sure it wasn't all going to easy. Seat back in, skin lid on. Thankfully my helmeted head seems to miss the cage, with room to move.

After that I put her up in the air, the welding has made a bit of a mess of the underseal. I will grind it all back and coat it with new underseal at the weekend.

Hopefully the weekend might see the rear legs finished to.
Time to make sure it wasn't all going to easy. Seat back in, skin lid on. Thankfully my helmeted head seems to miss the cage, with room to move.
After that I put her up in the air, the welding has made a bit of a mess of the underseal. I will grind it all back and coat it with new underseal at the weekend.
Hopefully the weekend might see the rear legs finished to.
carpetsoiler said:
Getting there dude! Slowly slowly catchy monkey. 
What seats have you got? They look tasty.
They are Cobra Monaco Pro seats. They are pretty standard. I remember I had been looking for some black seats, put my name on a mailing list for some website. I had looked at the standard Monaco in black, thought those look nice but I can't afford them. The next day, I get an email, with 20% off a limited edition black and orange seat. Well I had to have them didn't I? What seats have you got? They look tasty.

Gassing Station | BMW General | Top of Page | What's New | My Stuff