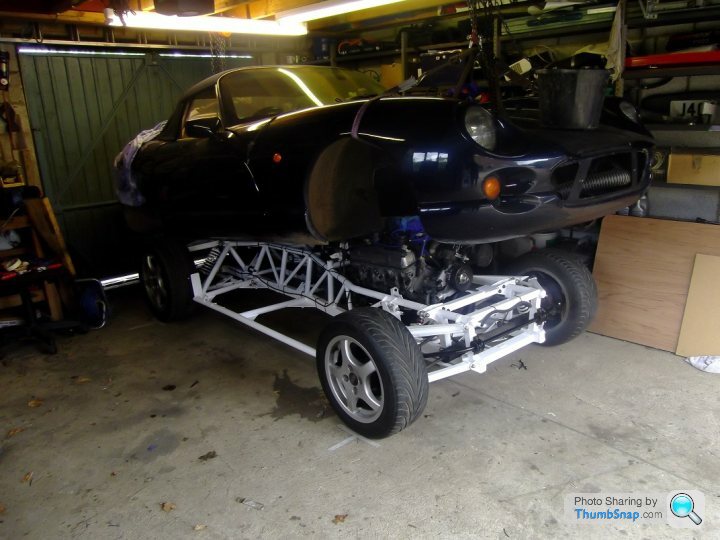
J400 GED Chimaera Chassis refurb
Discussion


This weekend's jobs were:
Replace Clutch Master Cylinder - old one weeping along the actuator rod back to the clutch pedal.
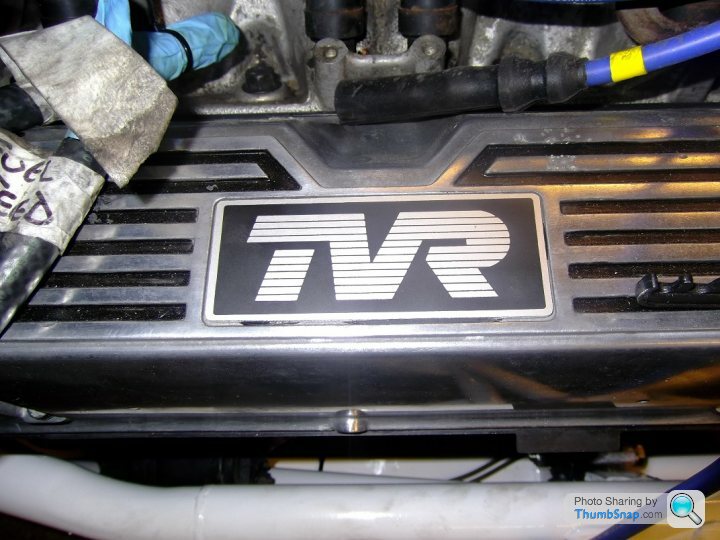
Replace the engine bay heatshields
GRP repair to Left Hand outboard seat belt mount area of the body - I had to "encourage" the body past the bolt (which had sheared) during the body lift.
So, On Friday I replaced the clutch master cylinder and removed the old heatshields.
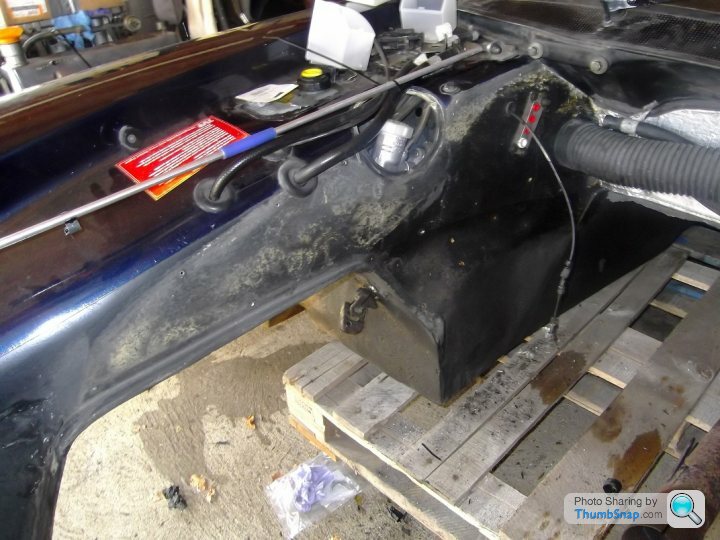
Yesterday I made up a new right hand heatshield - I am waiting for some more heatshield material to be delivered next Friday, so that I can do the left hand side.
As a bonus job I also wrapped the right hand exhaust manifold.
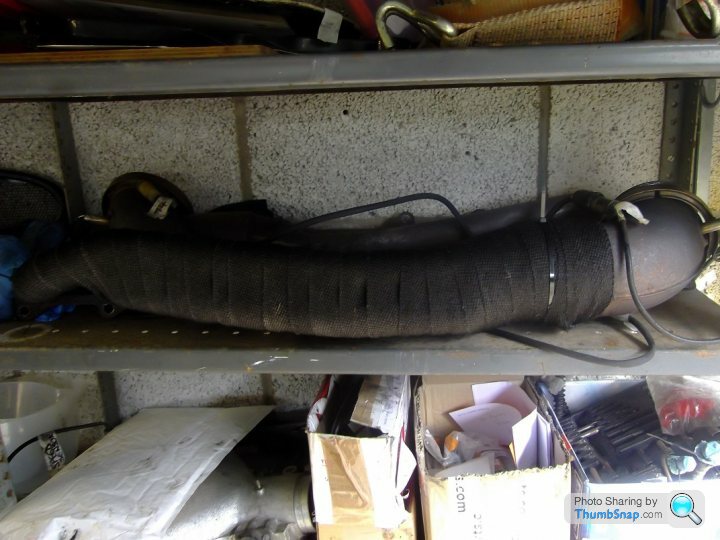
Don't worry, the tie-wraps will be replaced before refitting the manifold.
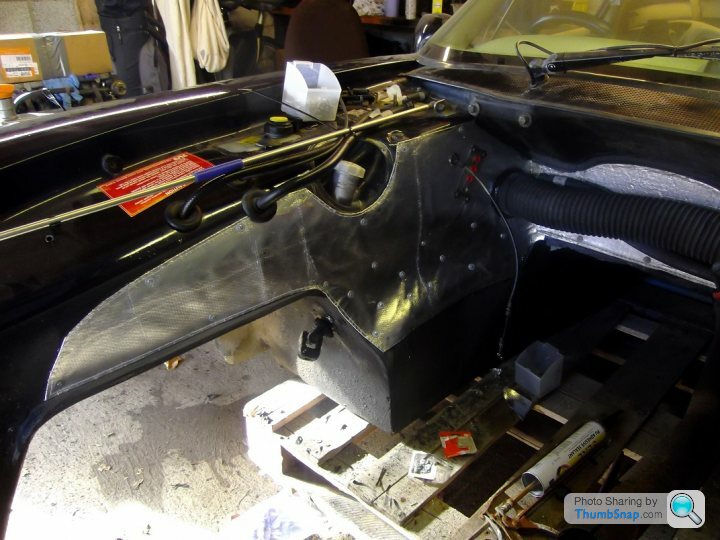
Today I fitted the new right hand heatshield.
That just leaves the GRP repair for tomorrow.
Next Friday's jobs are: Make up and fit a new left hand heatshield, wrap the left hand exhaust manifold.
Replace Clutch Master Cylinder - old one weeping along the actuator rod back to the clutch pedal.
Replace the engine bay heatshields
GRP repair to Left Hand outboard seat belt mount area of the body - I had to "encourage" the body past the bolt (which had sheared) during the body lift.
So, On Friday I replaced the clutch master cylinder and removed the old heatshields.
Yesterday I made up a new right hand heatshield - I am waiting for some more heatshield material to be delivered next Friday, so that I can do the left hand side.
As a bonus job I also wrapped the right hand exhaust manifold.
Don't worry, the tie-wraps will be replaced before refitting the manifold.
Today I fitted the new right hand heatshield.
That just leaves the GRP repair for tomorrow.
Next Friday's jobs are: Make up and fit a new left hand heatshield, wrap the left hand exhaust manifold.
[quote=j&ms]Where did you get the heat shield and how easy was it to cut, shape and edge.
[/quote]
I got it from APT in Lenwade, Norfolk. 01603 870990.
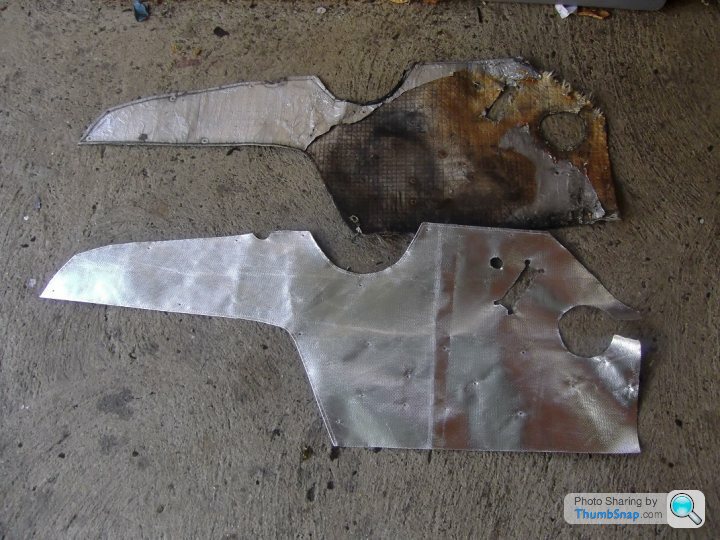
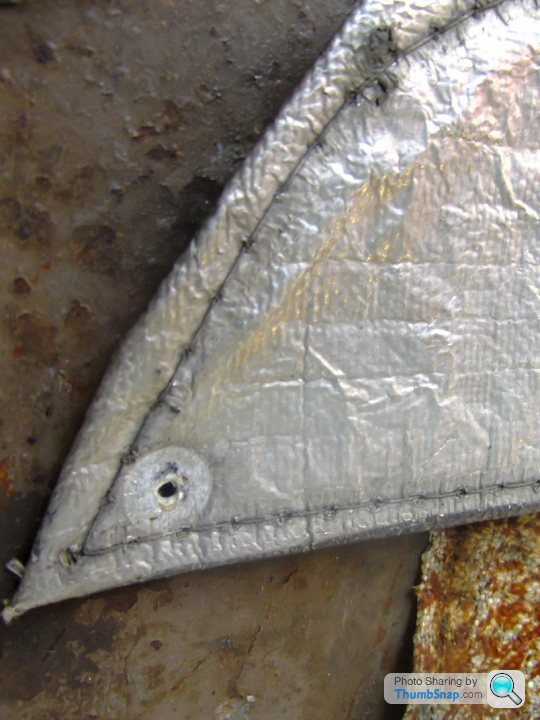
I used the old heatshield as a template, including marking for the rivet holes, then cut it to size with ordinary scissors - allowing for a hem the same as the original - then glued the hem first to make it easier for stitching by hand. To get a neat finish to the stitching I marked out the position for each stitch to match the original stitch length and distance from the edge of the material. I used a thin needle and the strongest thread I had to hand at the time.
Original stitching:
New stitching:
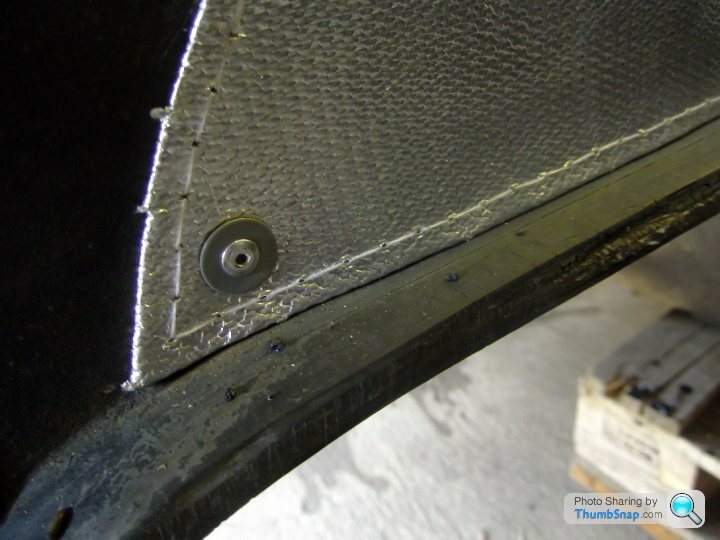
I am using relatively thin heatshielding material as I am also wrapping the exhaust manifolds.
[/quote]
I got it from APT in Lenwade, Norfolk. 01603 870990.
I used the old heatshield as a template, including marking for the rivet holes, then cut it to size with ordinary scissors - allowing for a hem the same as the original - then glued the hem first to make it easier for stitching by hand. To get a neat finish to the stitching I marked out the position for each stitch to match the original stitch length and distance from the edge of the material. I used a thin needle and the strongest thread I had to hand at the time.
Original stitching:
New stitching:
I am using relatively thin heatshielding material as I am also wrapping the exhaust manifolds.
Chuffmeister said:
How will that cotton stiching stand up to the heat of the manifolds? Is that what they used originally?
I don't know what they used originally but I could snap it by hand. It will probably stand up just as well as the original stitching. The stitching is purely cosmetic anyway since I glued the hem first and with wrapped exhaust manifolds it should see significantly less heat then the originals anyway.
Cokes said:
What paint did you use to paint your cleaned parts ?
I tried spray hammerite but found it so thin that it almost runs straight off.
Same here mate, the only way I could get a decent finish with it was lots of very thin coats, with about 20 mins flash off between coats and no more than 4 coats without leaving it for a week if it still required more attention.I tried spray hammerite but found it so thin that it almost runs straight off.
So, after doing the rear ARB brackets, for the other white parts I used brush on smoothrite - much quicker and easier - especially if the paint and the part are warmed up before applying the paint.
I take it you've finally got round to doing something on Kate then?


Top Tip:
I forgot to mention this at the weekend but: if you have a GKN diff and need to replace a drive shaft CV joint bolt, make sure that you order the correct part.
On mine, the inboard joint threads in the diff output flanges are a coarser thread than those in the wheel hub flange.
It may be the same on the BTR diff.


Gassing Station | Chimaera | Top of Page | What's New | My Stuff