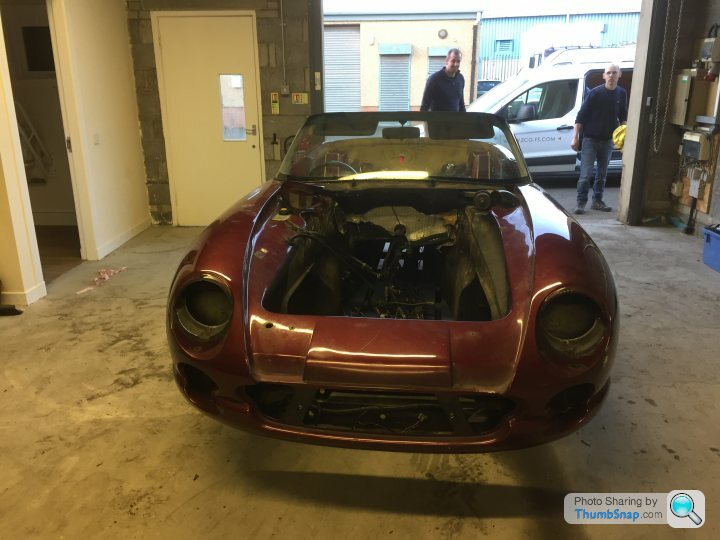
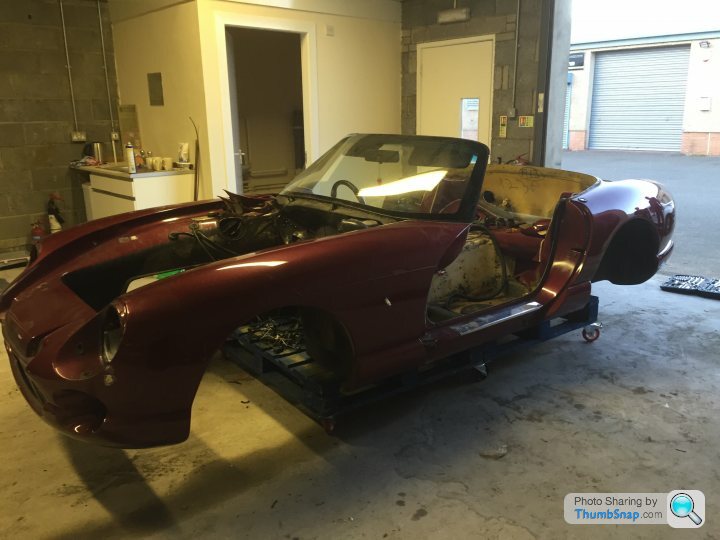
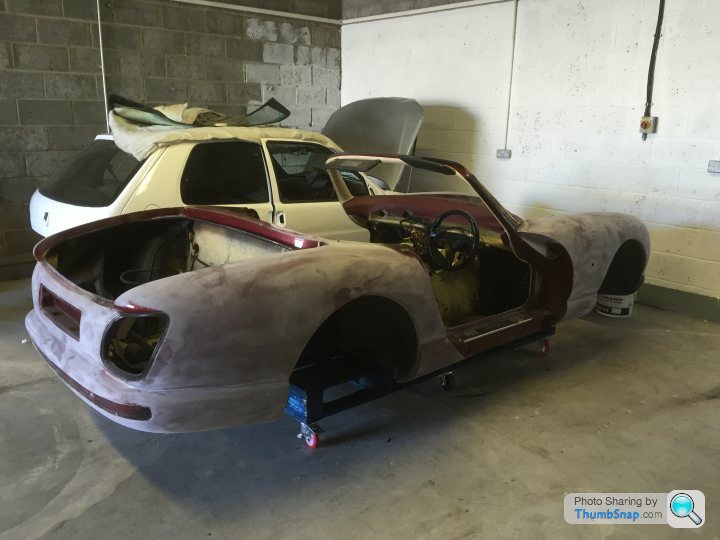
Undressing Kate, my Chim 430 resto.
Discussion


 |http://thumbsnap.com/aQYaC2D3[/url]
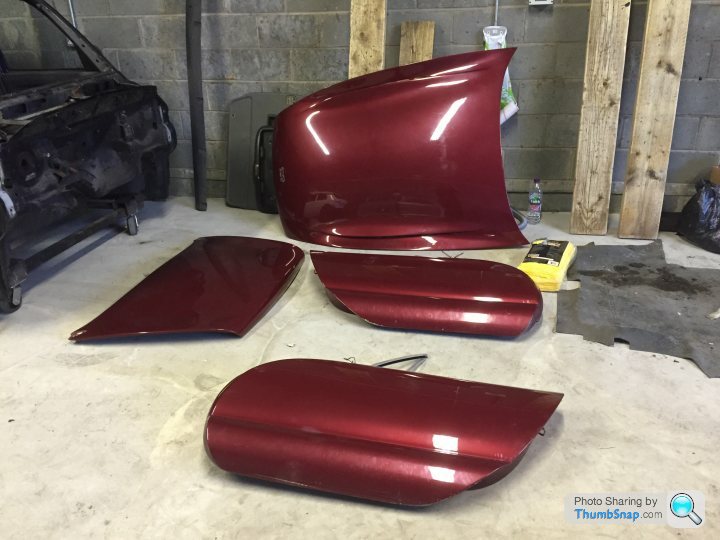
Hey Ged
On your own you could probably do it in a day but with help from Ollie we pretty much did it all in 3 hours.
Saying that, knowing what I know now and knowing how to take things apart we could do it a lot quicker.
I did break one of the wing mirror pillar/tripod things last night. We couldn't figure out an easy way to take them off.
The time schedule I'm hoping for,
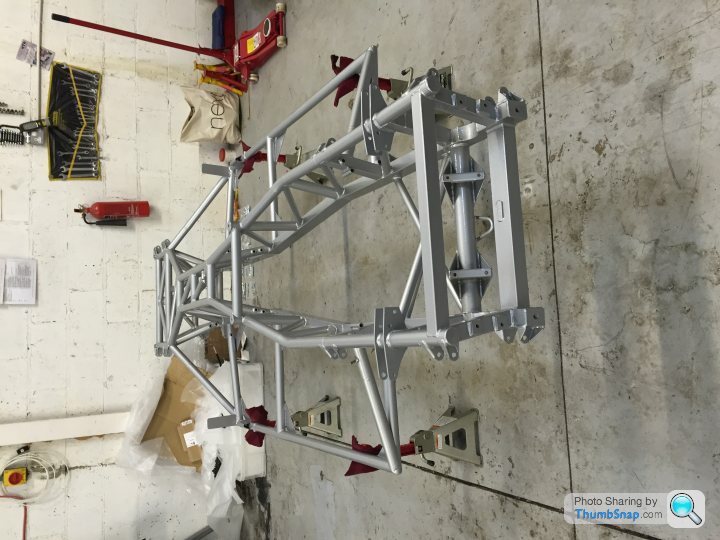
Chassis back next week and I'm hoping 2 weeks to rebuild it.
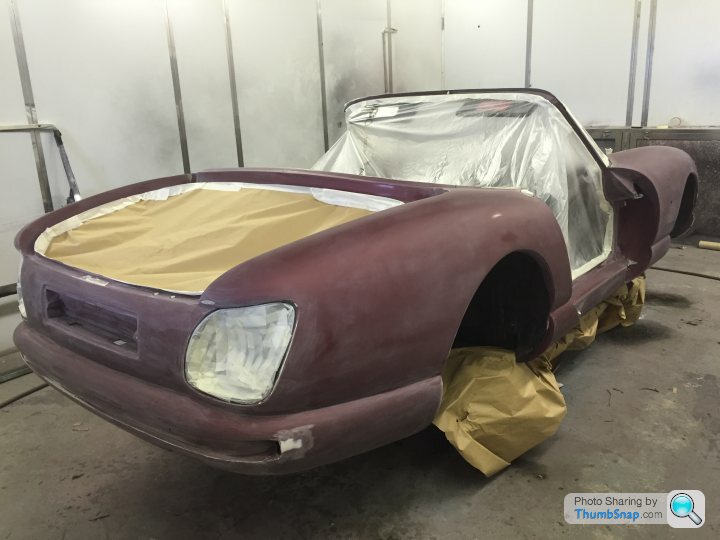
Body back from paint in 2 weeks, and with a chassis built, drop it back on.
2 more weeks to connect up electrics and bolt everything down.
All building to mid July to go for interior and roof.
All that going to plan, break in the rebuilt engine into August.
Get some use and check it over for any faults and fix anything before TVR run in late September before thinking about tucking her up for the winter.
So many things have to go right at so many junctions that it might be a long stretch but with the ongoing help from Mark, Ollie and Marcus it might just be possible.
Chassis back next week and I'm hoping 2 weeks to rebuild it.
Body back from paint in 2 weeks, and with a chassis built, drop it back on.
2 more weeks to connect up electrics and bolt everything down.
All building to mid July to go for interior and roof.
All that going to plan, break in the rebuilt engine into August.
Get some use and check it over for any faults and fix anything before TVR run in late September before thinking about tucking her up for the winter.
So many things have to go right at so many junctions that it might be a long stretch but with the ongoing help from Mark, Ollie and Marcus it might just be possible.
J400GED said:
Cokes said:
.....run in late September before thinking about tucking her up for the winter.....
Nooooooo! 
 You can't put it away for winter! That's the worst thing you can do.
 Man up and keep running it all year round.

Joking aside, she will still be taxed and insured but will live in the garage between runs for the winter instead of the driveway. (Garage/workshop is 10 minutes away from the house)
marcus1875 said:
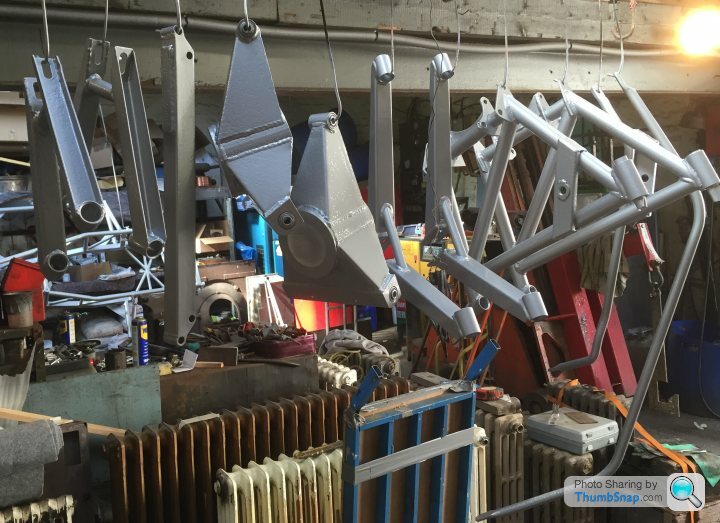
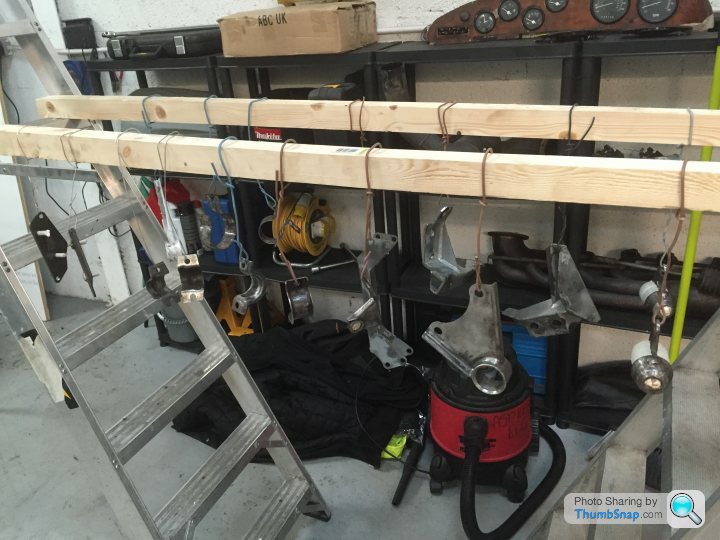
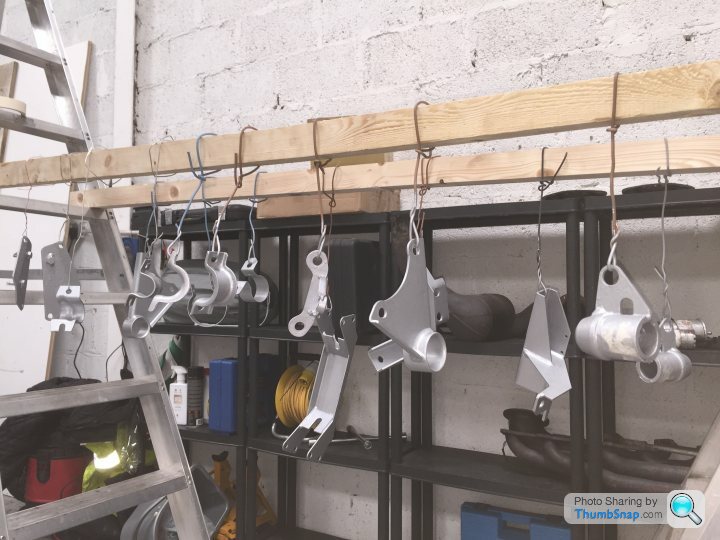
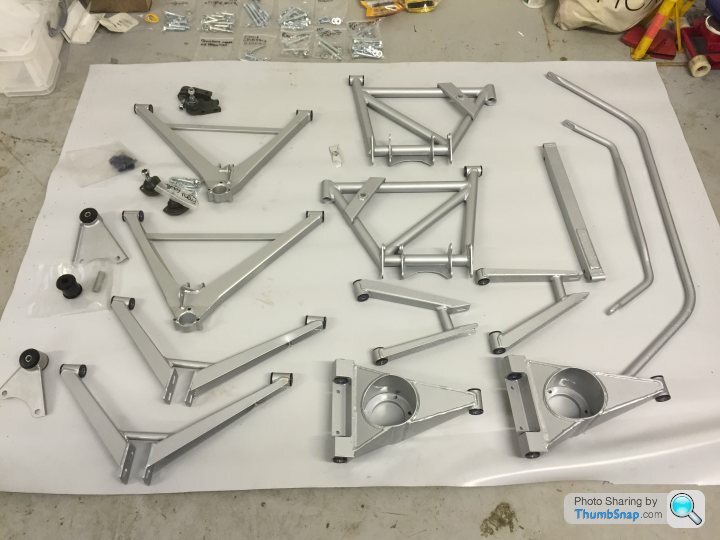
Those small bits look nice and clean!
Cheers mate 
They got another going over and first coat of paint last night. Possibly 2 more coats and they'll also be done.
67Fox said:
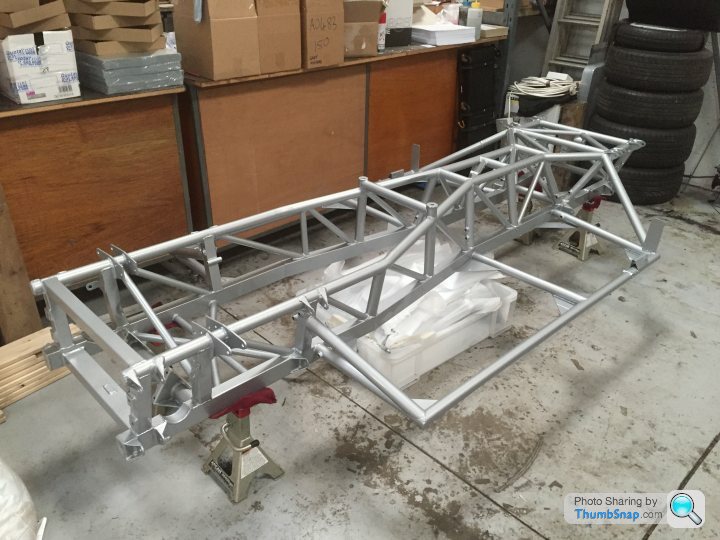
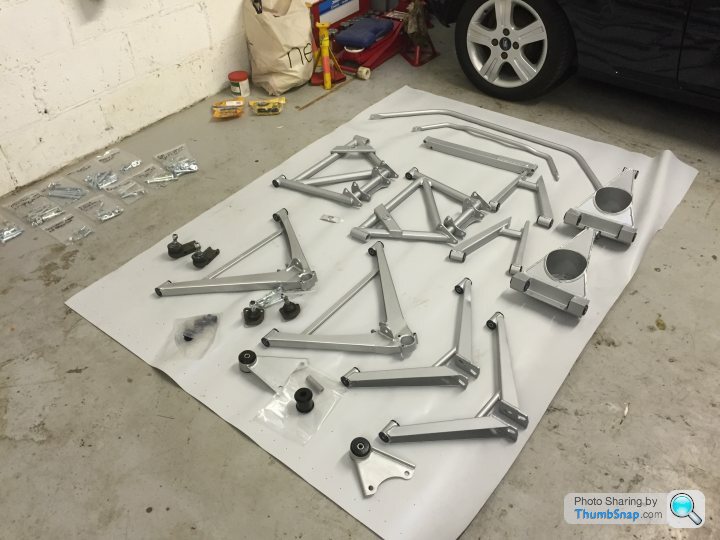
That chassis and small parts looks gooooooooddd. Really nice in silver.
Nice work by the way.
So next it will be :- ""Just put at all together like "IKEA".  "" OR "plug and pray" !!
Good luck anyway, just pulling you leg.
Thanks Fox Nice work by the way.
So next it will be :- ""Just put at all together like "IKEA"
. "" OR "plug and pray" !!Good luck anyway, just pulling you leg.
It was originally silver so just trying to stick to my plan of restoration to factory colours.
As for the build, I hope I don't have too many spare nuts, bolts and screws left at the end like my IKEA builds

I've tagged and taken notes and photos throughout the tear down process so should be fairly straight forward putting her back together again.

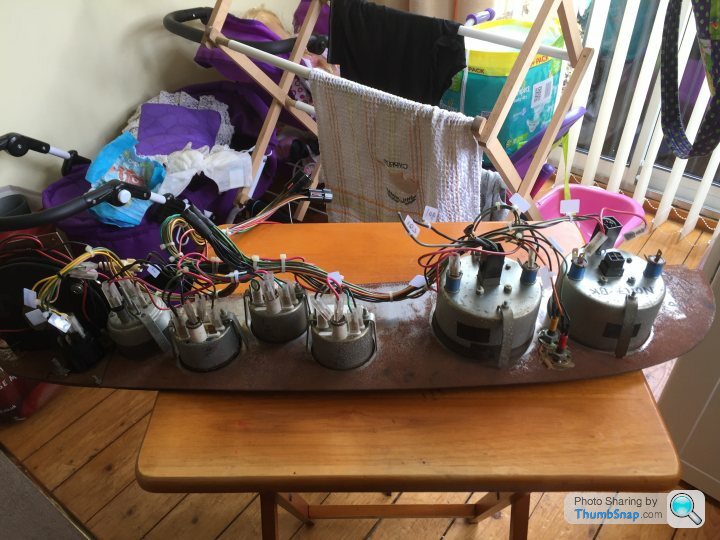
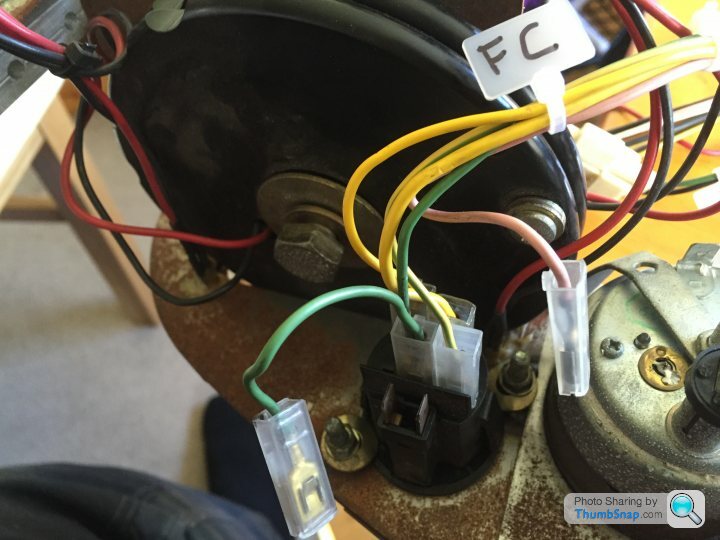
Today's task was to disconnect the dials.
Lots of random colours but I think I took enough notes.
Speedo
Missing ground on the lights
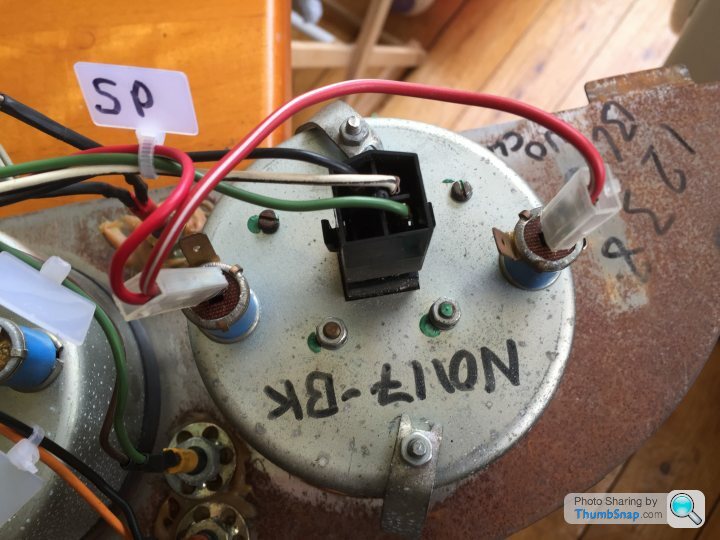
Tachometer
Missing ground on the lights, lots of random goings on with the main plug.

Oil Pressure
All ok.
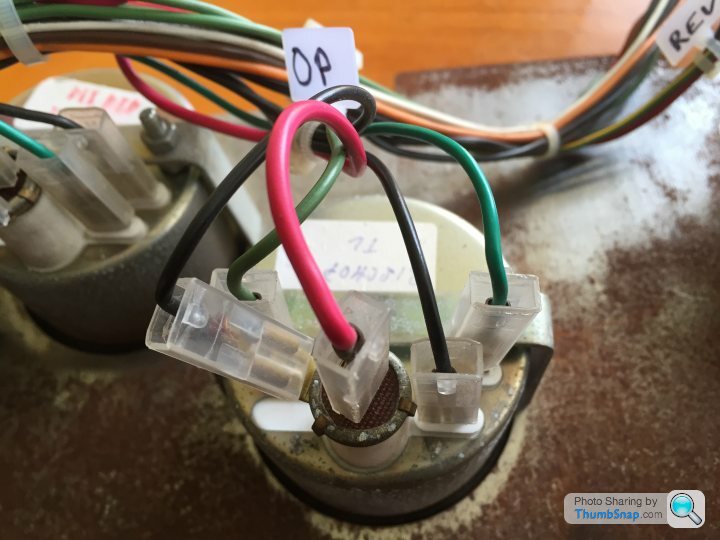
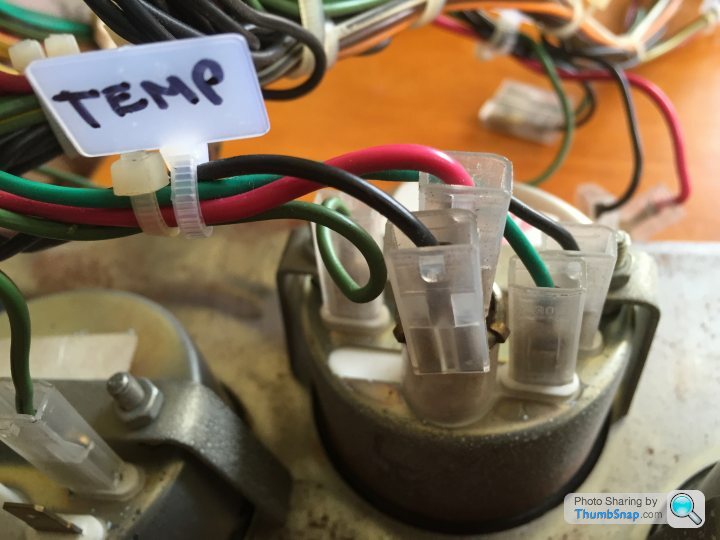
Temperature
All ok
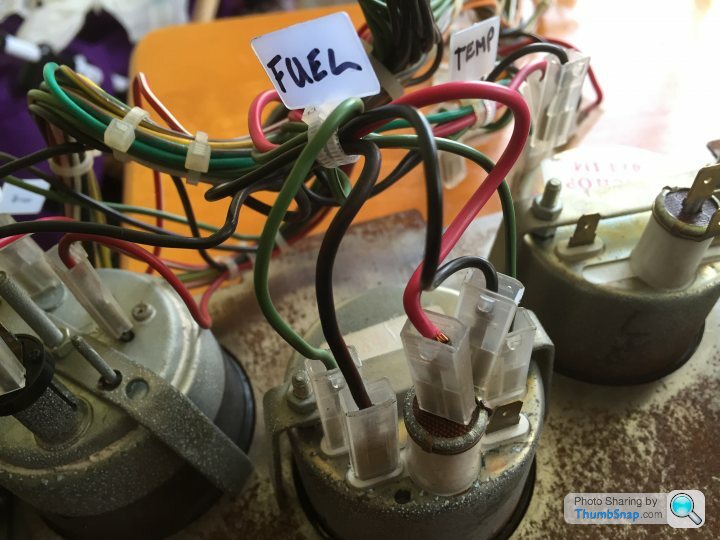
Fuel
Loose connection on light live
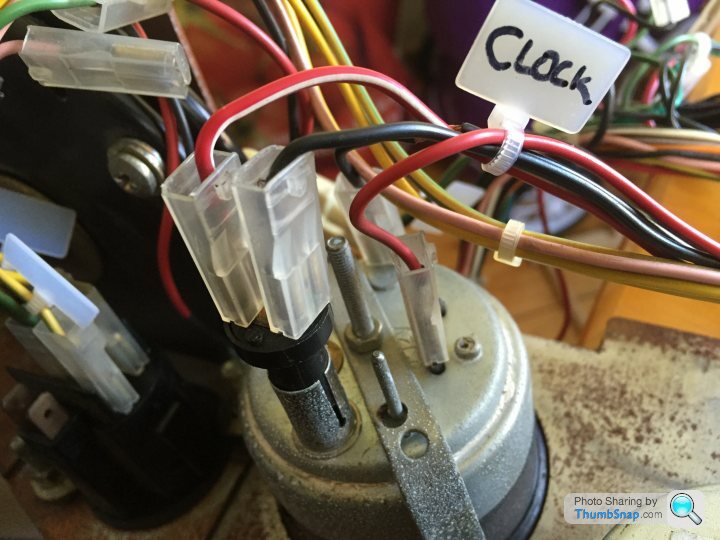
Clock
All ok
Heater fan controller
Pink and green disconnected and were tied back out the way.
Are these for the light or just spare ?
And finally, my scribblings.
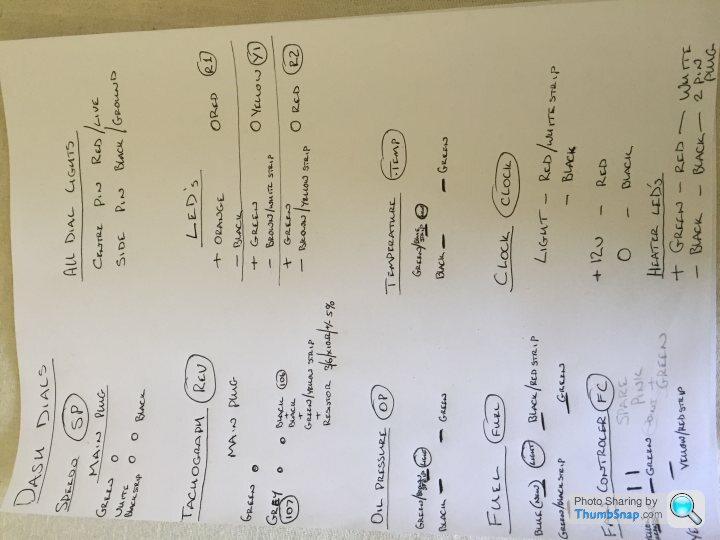
Lots of random colours but I think I took enough notes.
Speedo
Missing ground on the lights
Tachometer
Missing ground on the lights, lots of random goings on with the main plug.
Oil Pressure
All ok.
Temperature
All ok
Fuel
Loose connection on light live
Clock
All ok
Heater fan controller
Pink and green disconnected and were tied back out the way.
Are these for the light or just spare ?
And finally, my scribblings.
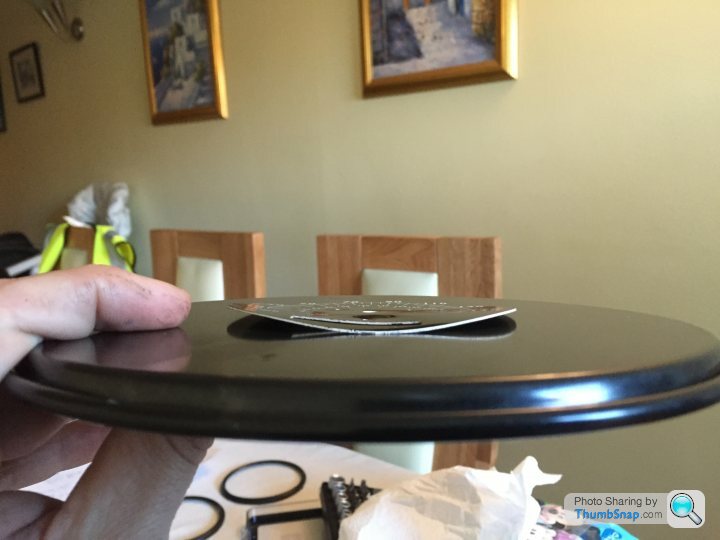
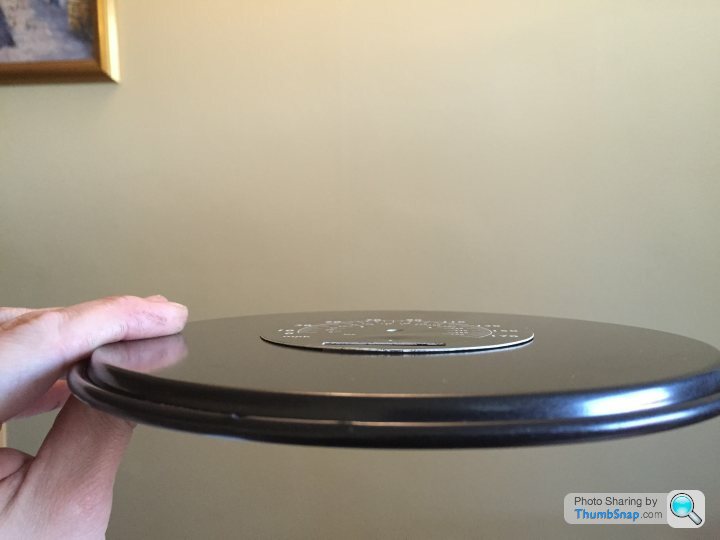
The dials are getting a change of scenery
Plus with 2 bases from the wife's baking tins and her hair dryer (shhh, don't tell her) I've managed to flatten the face which was very distorted. Also the clear ring round the dial that illuminates it had fallen into the gauge and so was giving no light at night to see the Rev counter.
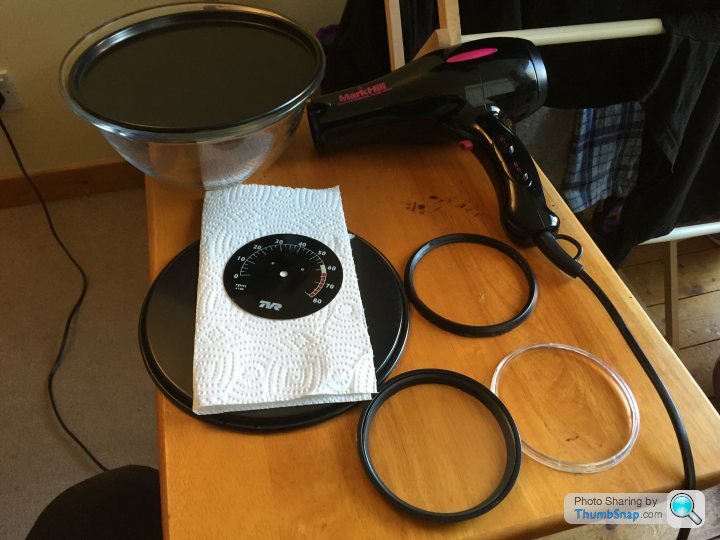
And while its out, it's clean and touch up paint where required.
Plus with 2 bases from the wife's baking tins and her hair dryer (shhh, don't tell her) I've managed to flatten the face which was very distorted. Also the clear ring round the dial that illuminates it had fallen into the gauge and so was giving no light at night to see the Rev counter.
And while its out, it's clean and touch up paint where required.


Hey Mark,
There is always time for lube
Lube that came in the kit from www.superflex.co.uk and my vice worked wonders and made the job a lot easier.
And hey James
If you're up this way soon give me a shout and come and see what's involved with a restoration
All the hand painted bits are "Direct to rust" Hammerite smooth silver.
As for the chassis, it has been a pain in the rear end trying to find the right people to do the job to my high standards but after along search and many people looking at it I found the right ones.
The welding was done by one of the guys from George Browns, a local engineering firm and the blasting and painting of the chassis and parts was by Henderson metal cleaning.
Edited by Cokes on Saturday 27th June 15:53


Gassing Station | Chimaera | Top of Page | What's New | My Stuff