Pro Street Style MGB GT
Discussion


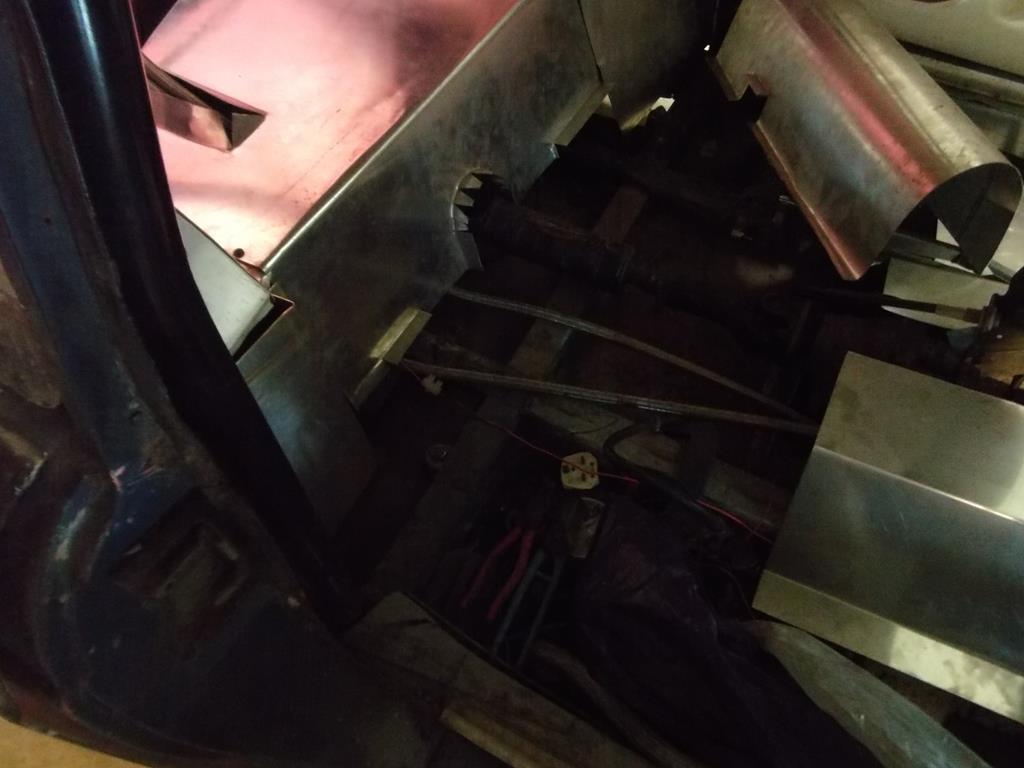
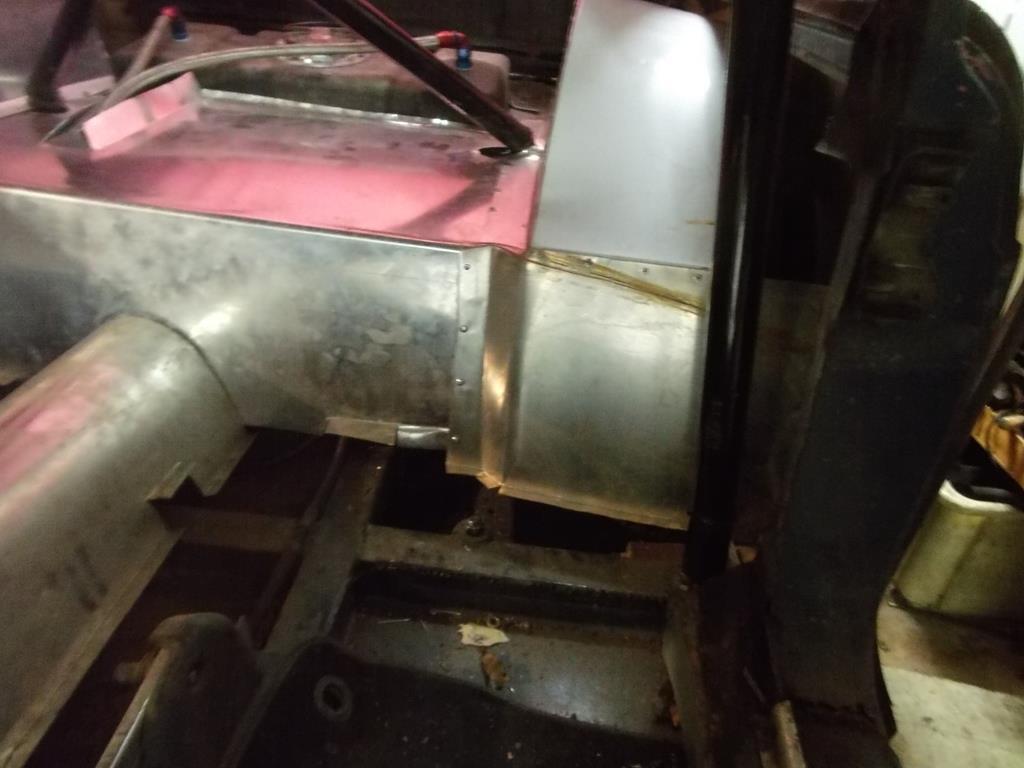
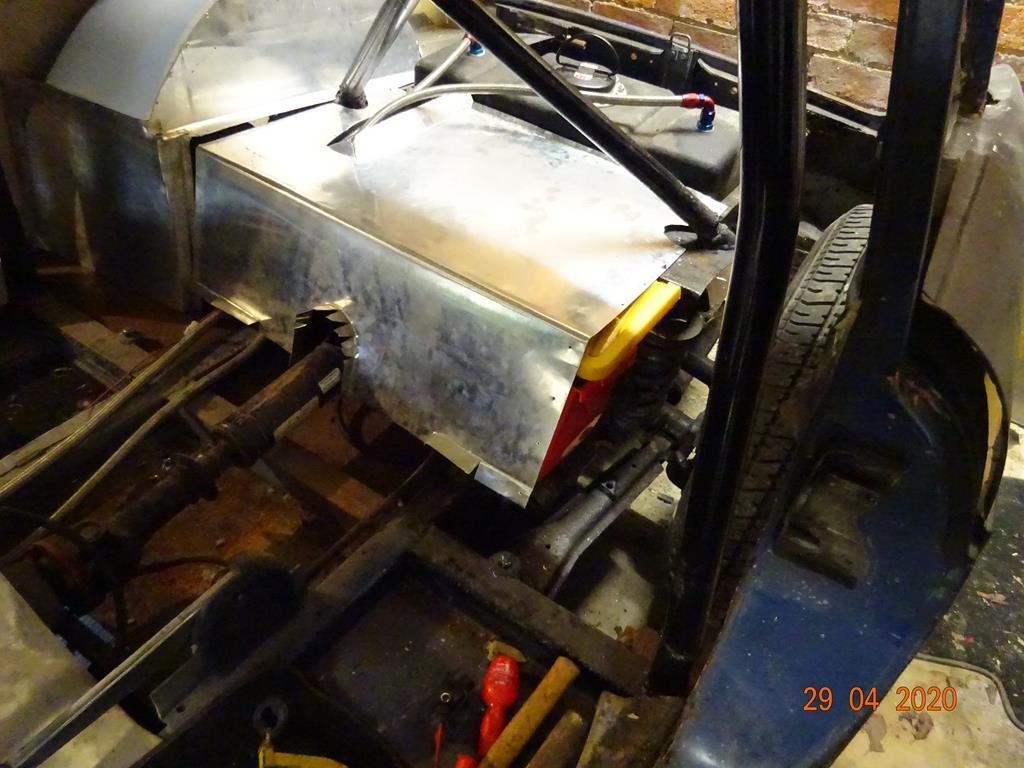
The drivers side wheel tub plate has been finished and fixed to the existing sheetwork. The small floor plate has been welded in place.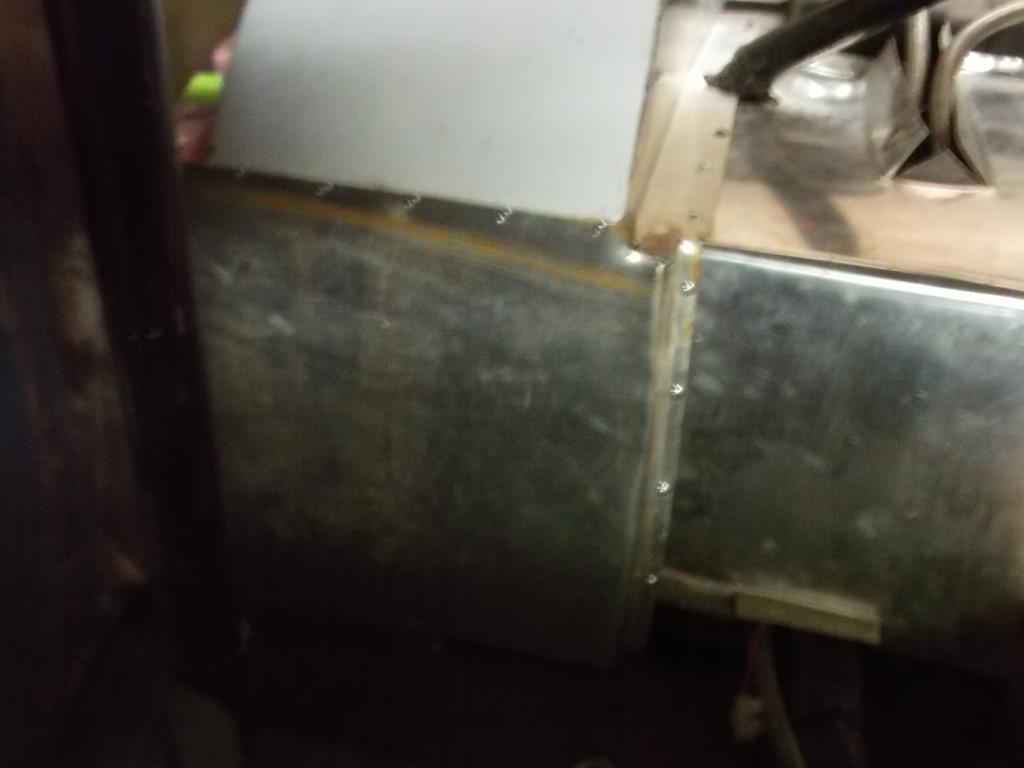
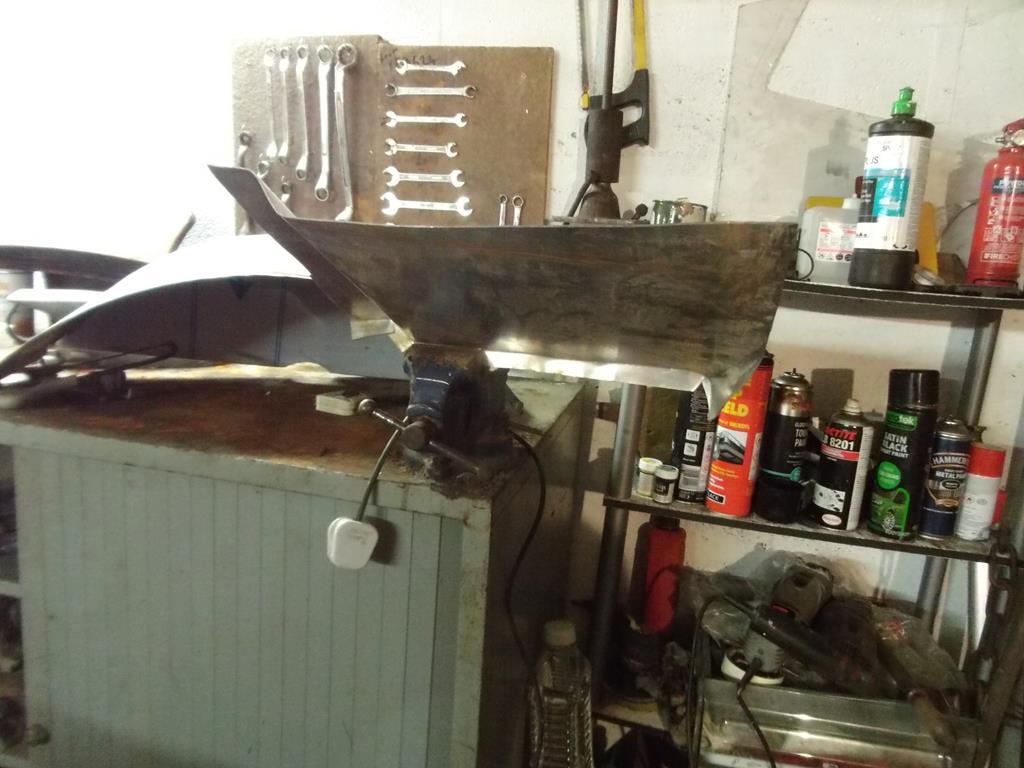
For those thinking that the bends are a bit crude, I am using fairly basic tooling.....a hammer and vise.
But I have also got the other side completed with just a floor section to fit and weld.(The odd diagonal marking on the sheet is just some staining which will clean off)
For those thinking that the bends are a bit crude, I am using fairly basic tooling.....a hammer and vise.
But I have also got the other side completed with just a floor section to fit and weld.(The odd diagonal marking on the sheet is just some staining which will clean off)
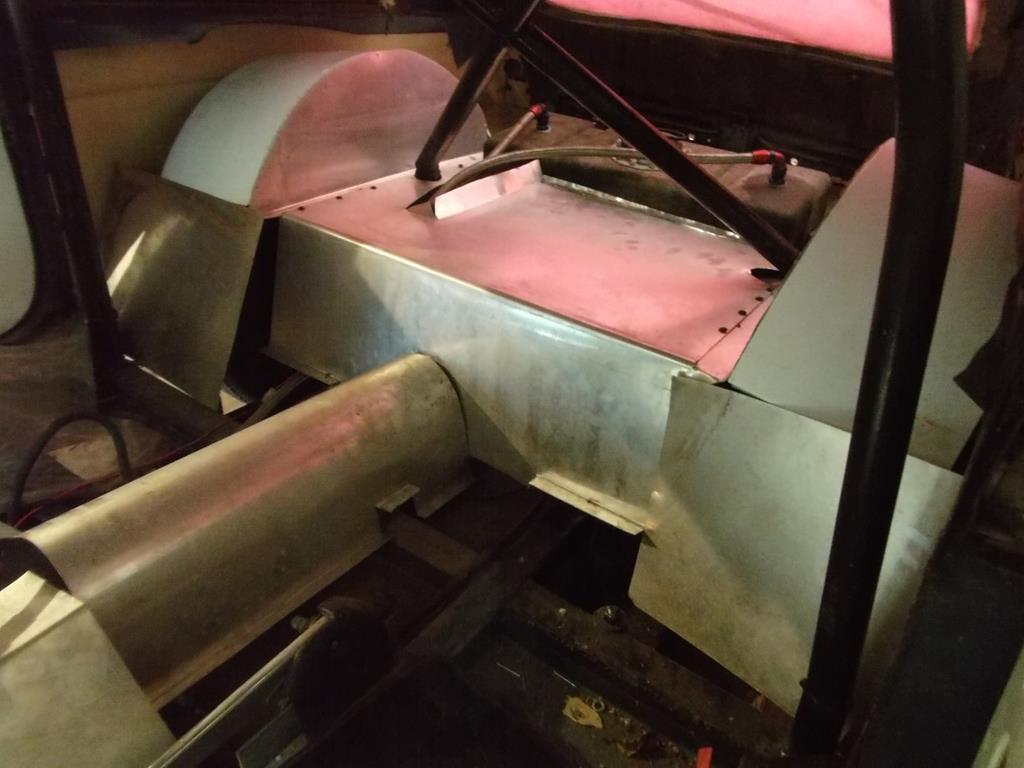
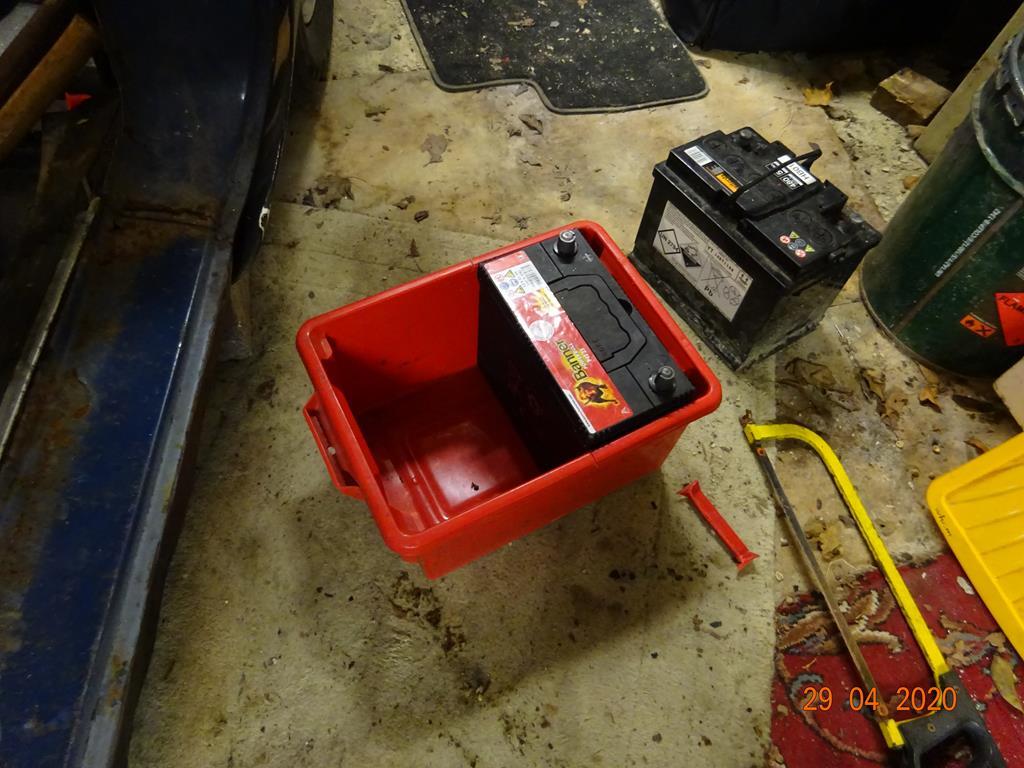
As I am waiting for my welding wire to be delivered I decided to look at the battery location options. Ideally I wanted to put it on the passenger side either beside the fuel tank behind the rear wheel (As it was on the Super B...good for traction) or just behind the passenger seat under the aluminium sheet metal around the IRS cage.
The rear location would need much more support structure, the other option didn't look a big enough space.....
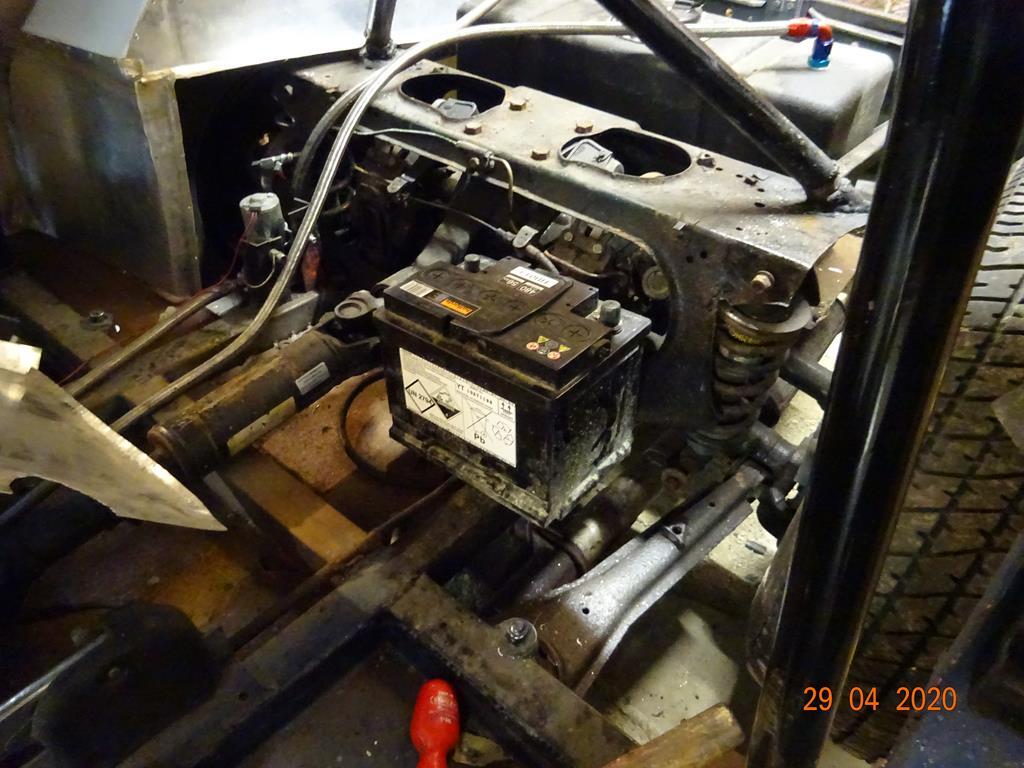
However the MX5 has a smaller battery
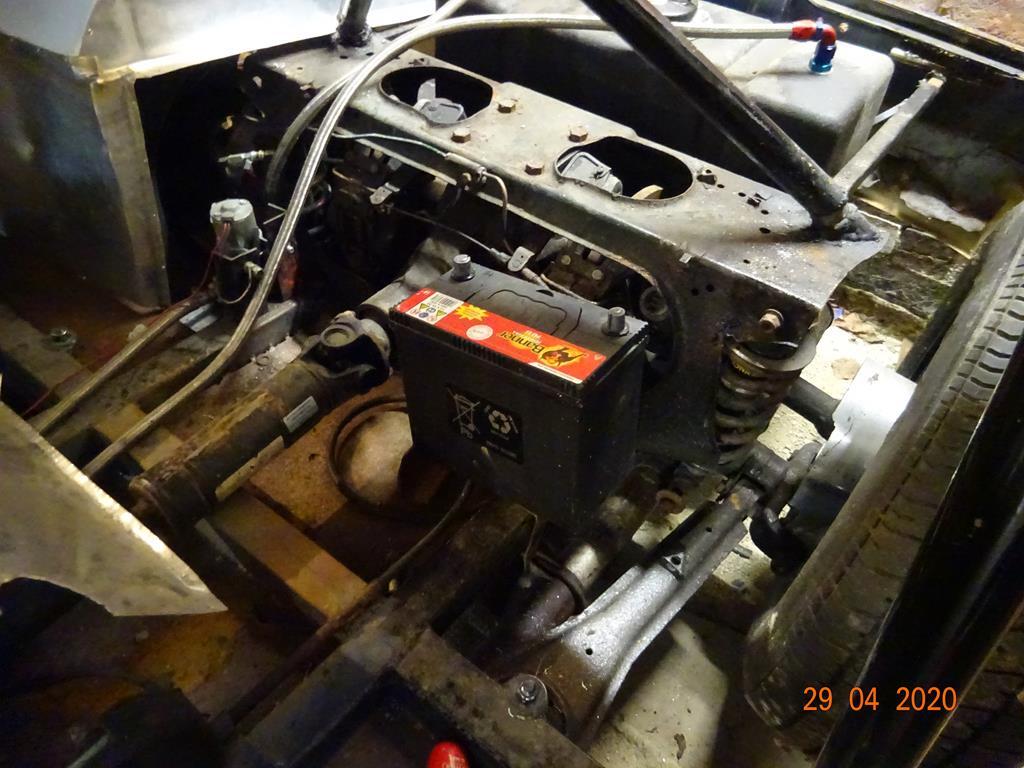
But it will need to be in a box.....preferably plastic
The rear location would need much more support structure, the other option didn't look a big enough space.....
However the MX5 has a smaller battery
But it will need to be in a box.....preferably plastic
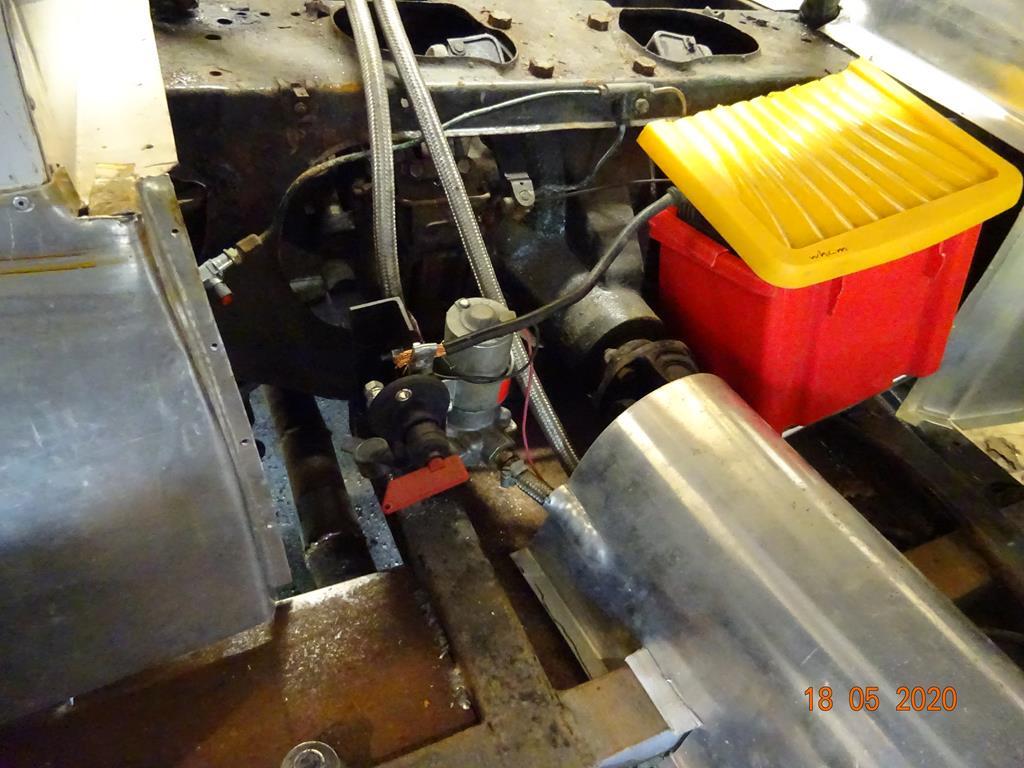
A bit of box cutting and it is a smaller box...... coming together nicely
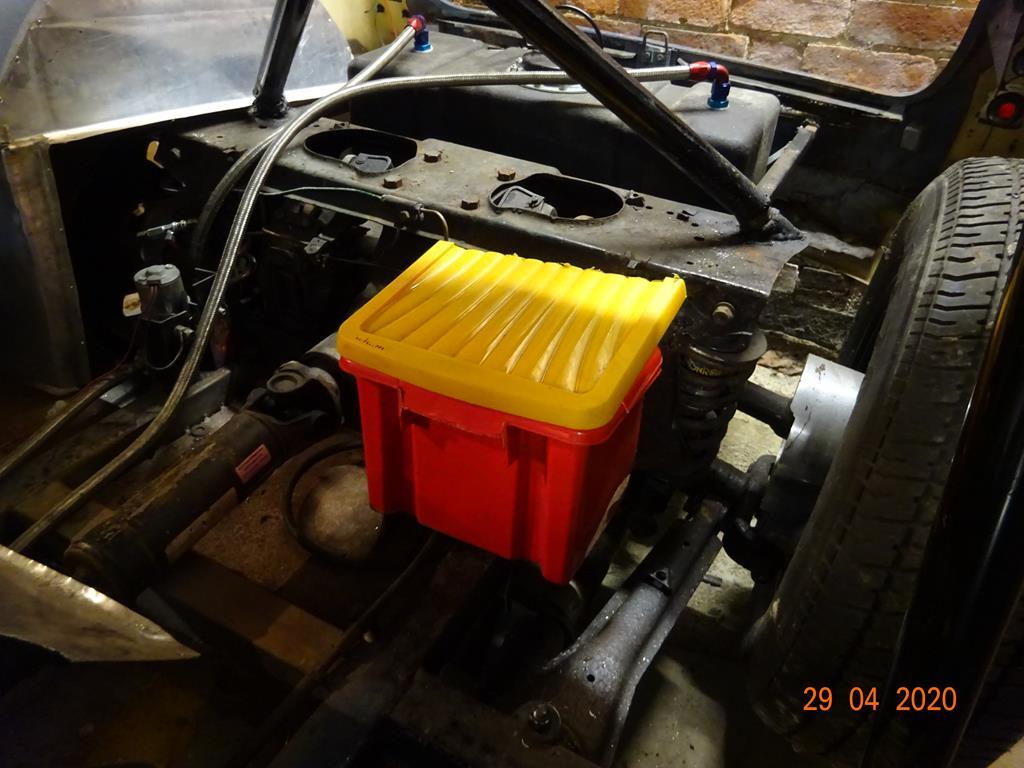
but does the shroud fit over it?
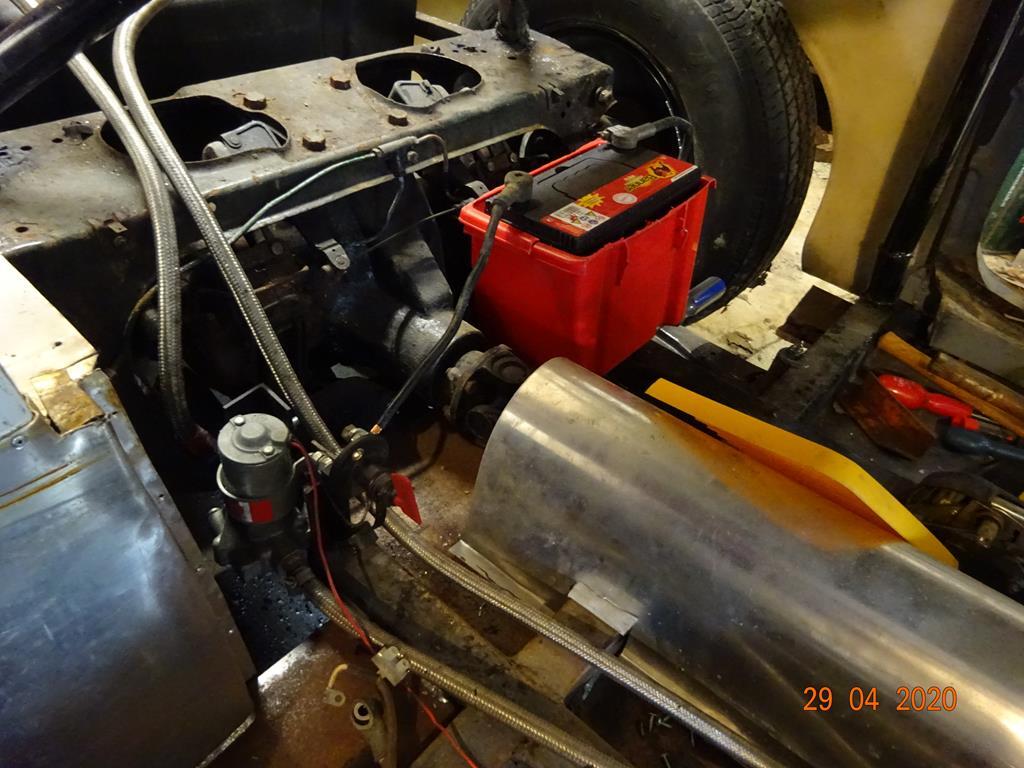
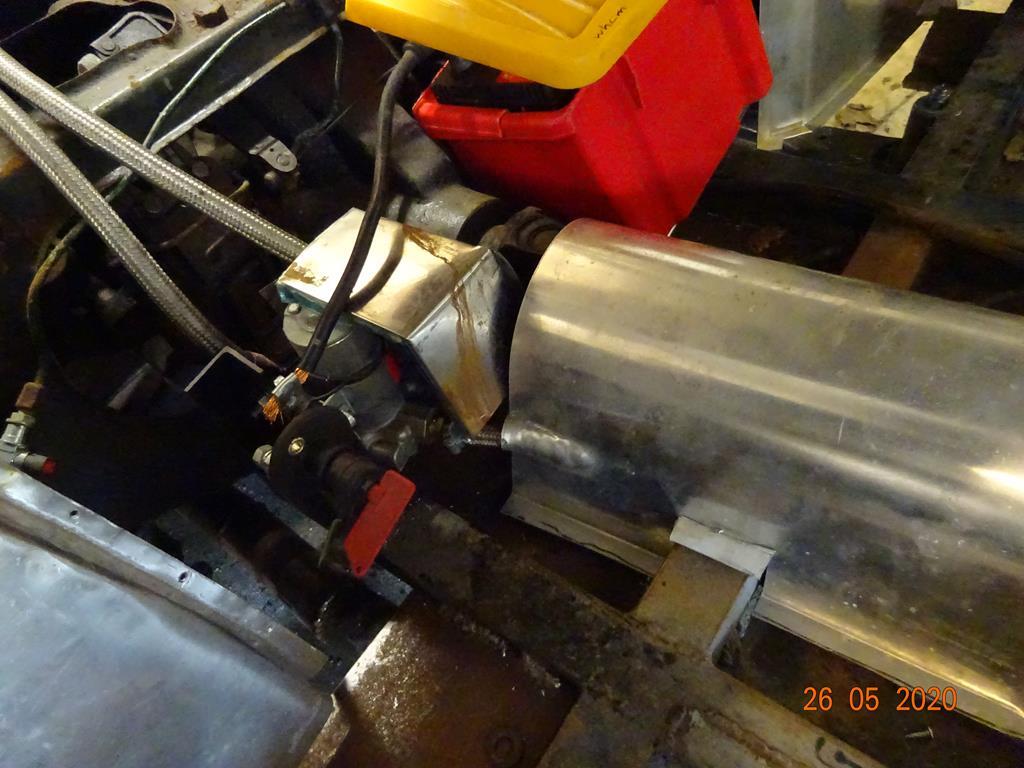
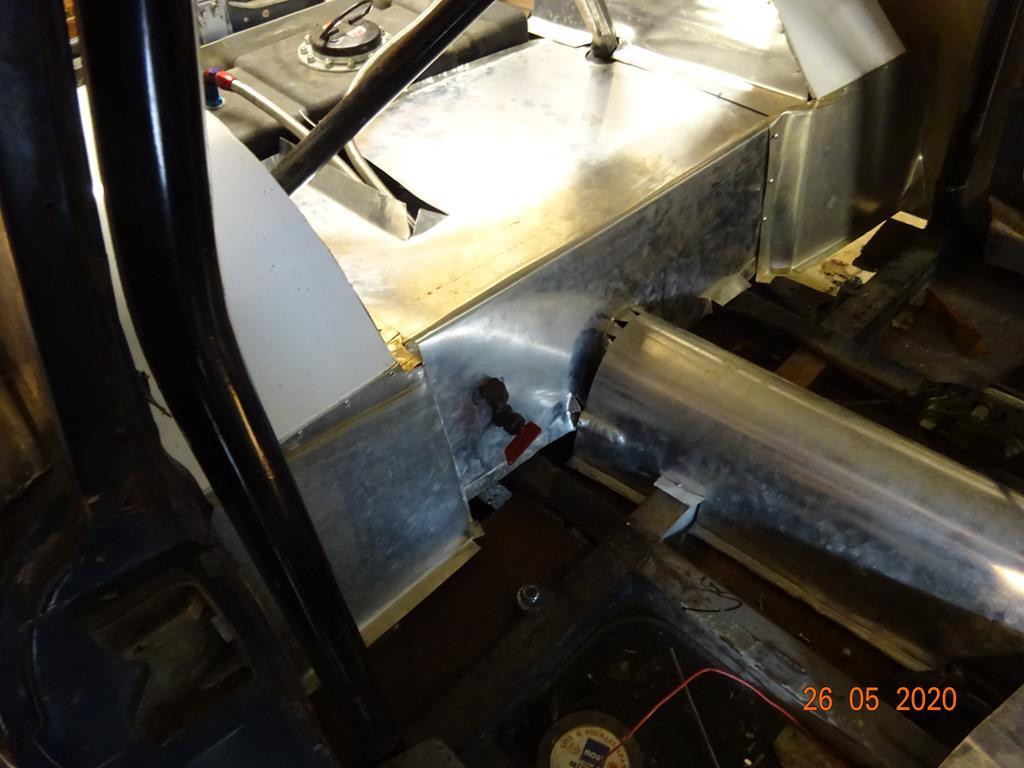
Just about and with a bit more "adjusting" it looks good. Then I tried possible battery leads. I had a battery isolator which I can mount in the car using the fuel pump bracket as a mounting point and it can project through the shroud.
but does the shroud fit over it?
Just about and with a bit more "adjusting" it looks good. Then I tried possible battery leads. I had a battery isolator which I can mount in the car using the fuel pump bracket as a mounting point and it can project through the shroud.
....Just you and I then Turn7.....
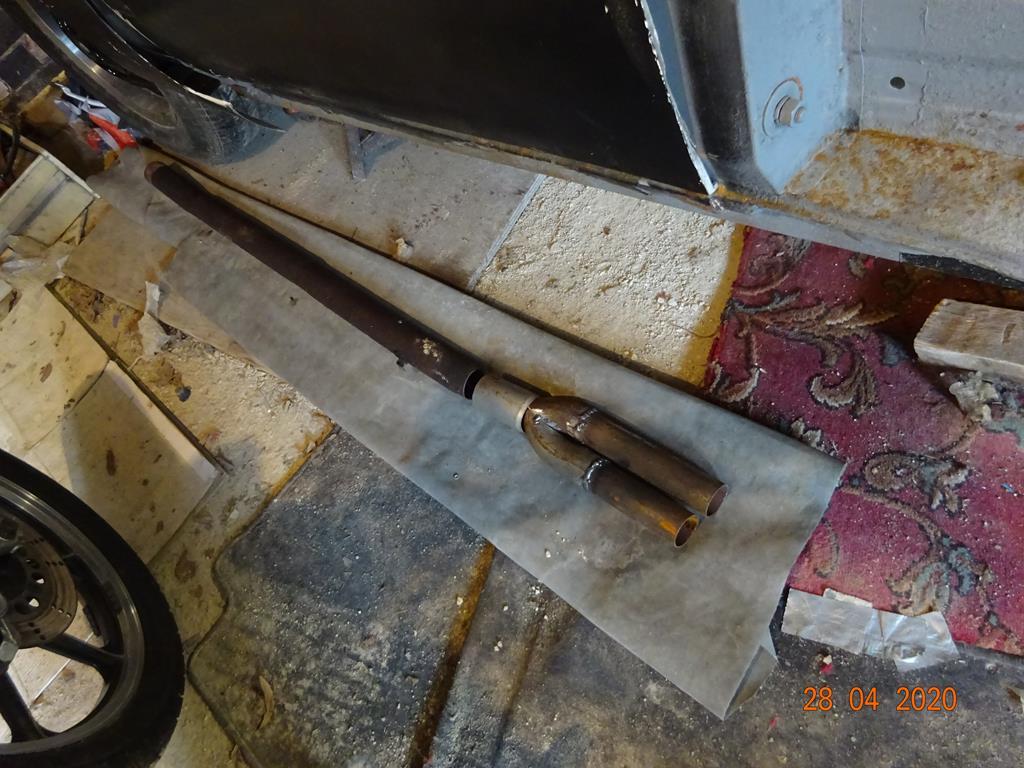
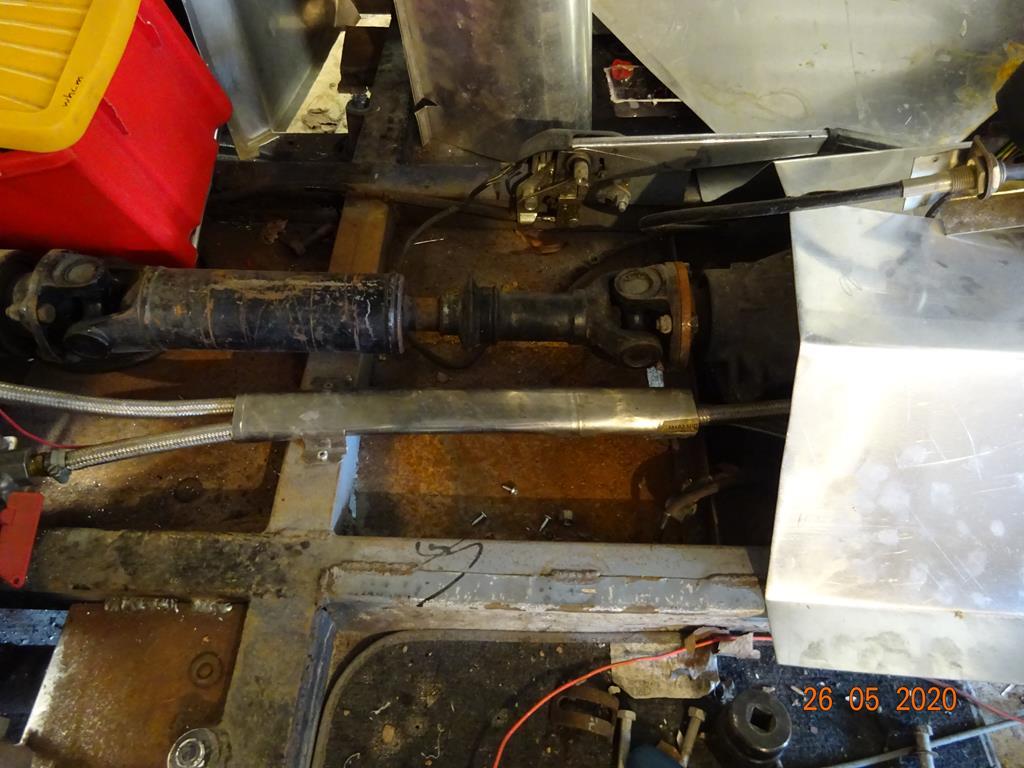
The welding wire arrived in the post and I was able to spend a couple of hours grovelling under the car on the dusty garage floor.... I was even able to get some welding done. The old XJ-S silencers and exhaust pipes have been re used. The silencers can be removed and replaced by straight pipes if I have the need for V12 sound! The final job is to make suitable mounting brackets for the system.
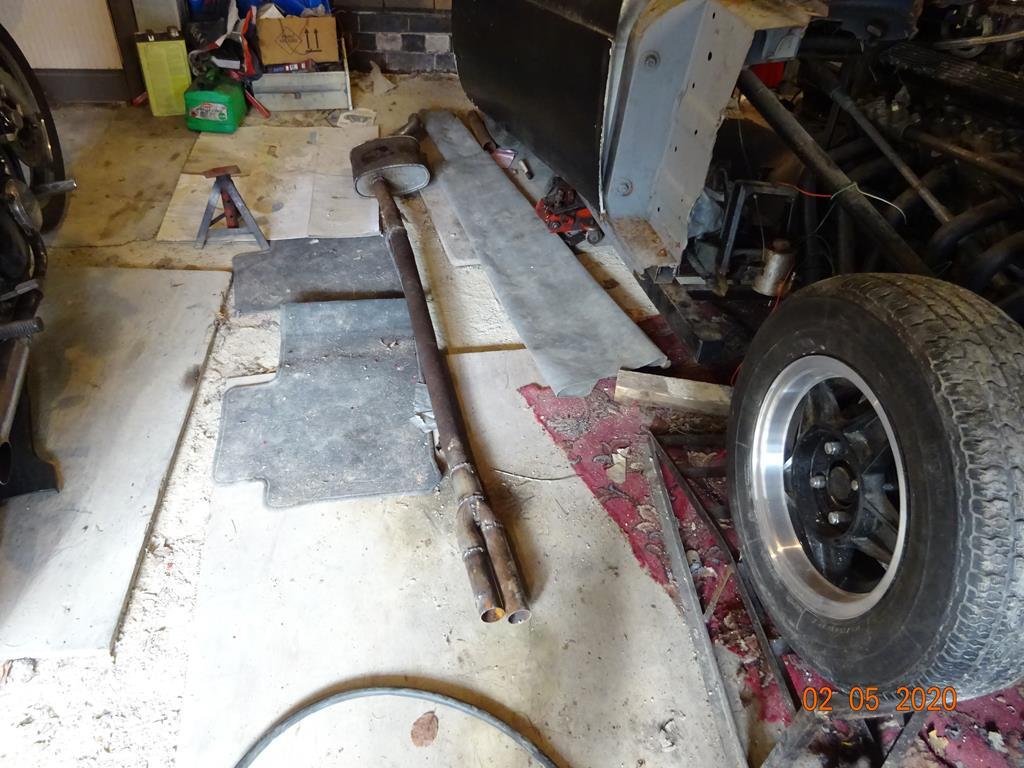
The welding wire arrived in the post and I was able to spend a couple of hours grovelling under the car on the dusty garage floor.... I was even able to get some welding done. The old XJ-S silencers and exhaust pipes have been re used. The silencers can be removed and replaced by straight pipes if I have the need for V12 sound! The final job is to make suitable mounting brackets for the system.
For Sooty and Turn7
Well I had a good 6 hours in the garage today....and despite lots of work there is very little progress...
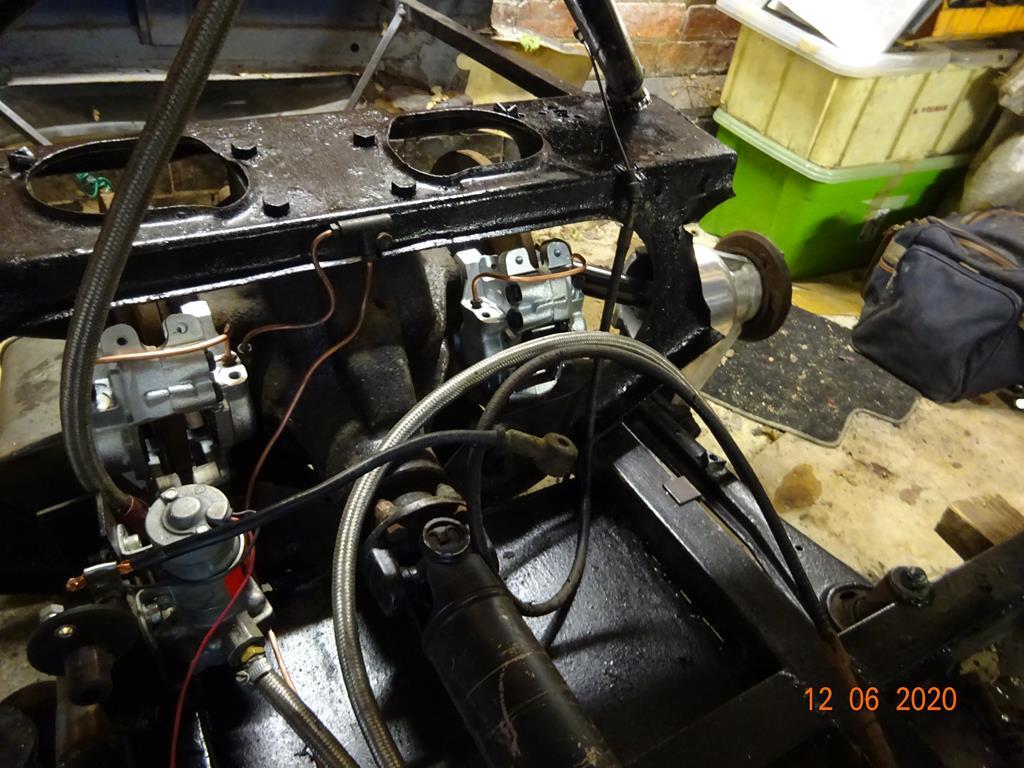
I wanted to run the throttle cable a bit more neatly and discovered it didn't open the carbs. I did some checking and found the centre carb on passenger side had a seized solid butterfly shaft, removed ram pipes to gently tap the butterflies. No way, so off it had to come. Fortunately with WD40, care, and persuasion - it eventually came free. Then put it all back together (2hr) and alter throttle cable run(15min). Decided to check motorbikecharge battery and fire up....runs on 3 out of 4. Plug out, clean, put back. Still doesn't fire.Swap plugs to check coil packs. Still same dead plug. Clean it and cook it on gas stove...replace still dead. Search old plugs stock...find a semi suitable new plug put it in and now back on all 4 (1.1/2 hours).
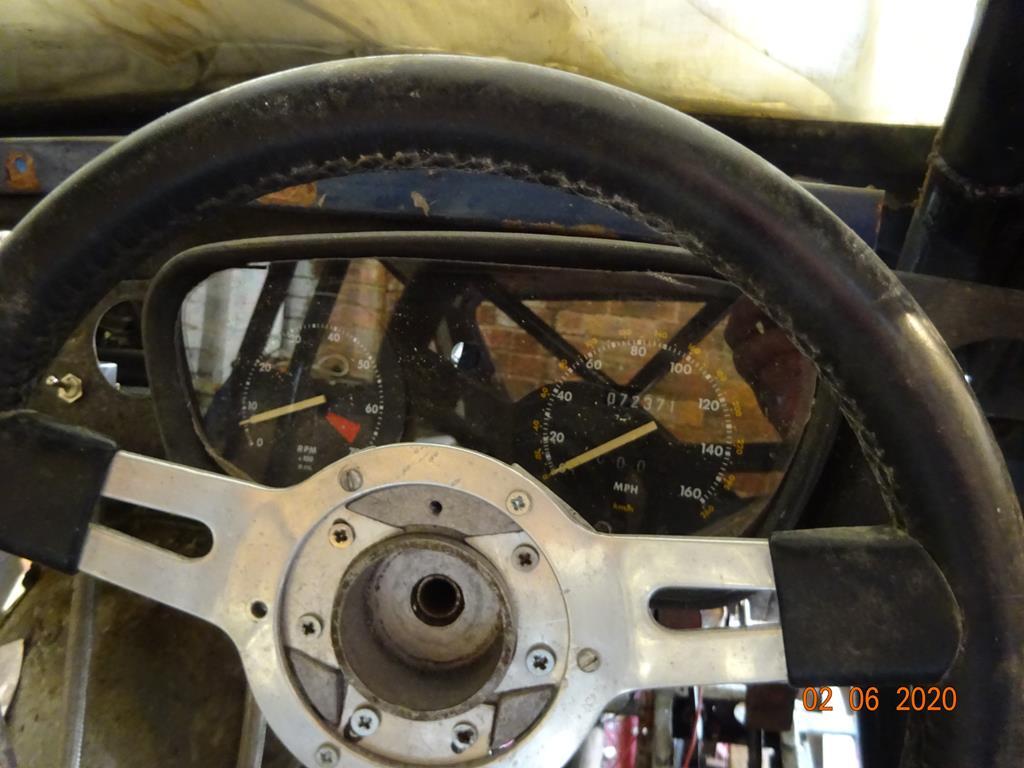
Back to BGT Need to make a new face cover for rev counter/Speedo housing (I did make one years ago but I think it blew away in the house move saga!). Cut out cardboard template. Need to drop steering column, need to take out dashboard to properly attach steering column as I had only put it temporarily in prior to move, find suitable size perspex offcut (2 hours). Repair drawer as too many bits had overloaded the cheapo 35 year old MDF unit.(30min)......
Well I had a good 6 hours in the garage today....and despite lots of work there is very little progress...
I wanted to run the throttle cable a bit more neatly and discovered it didn't open the carbs. I did some checking and found the centre carb on passenger side had a seized solid butterfly shaft, removed ram pipes to gently tap the butterflies. No way, so off it had to come. Fortunately with WD40, care, and persuasion - it eventually came free. Then put it all back together (2hr) and alter throttle cable run(15min). Decided to check motorbikecharge battery and fire up....runs on 3 out of 4. Plug out, clean, put back. Still doesn't fire.Swap plugs to check coil packs. Still same dead plug. Clean it and cook it on gas stove...replace still dead. Search old plugs stock...find a semi suitable new plug put it in and now back on all 4 (1.1/2 hours).
Back to BGT Need to make a new face cover for rev counter/Speedo housing (I did make one years ago but I think it blew away in the house move saga!). Cut out cardboard template. Need to drop steering column, need to take out dashboard to properly attach steering column as I had only put it temporarily in prior to move, find suitable size perspex offcut (2 hours). Repair drawer as too many bits had overloaded the cheapo 35 year old MDF unit.(30min)......
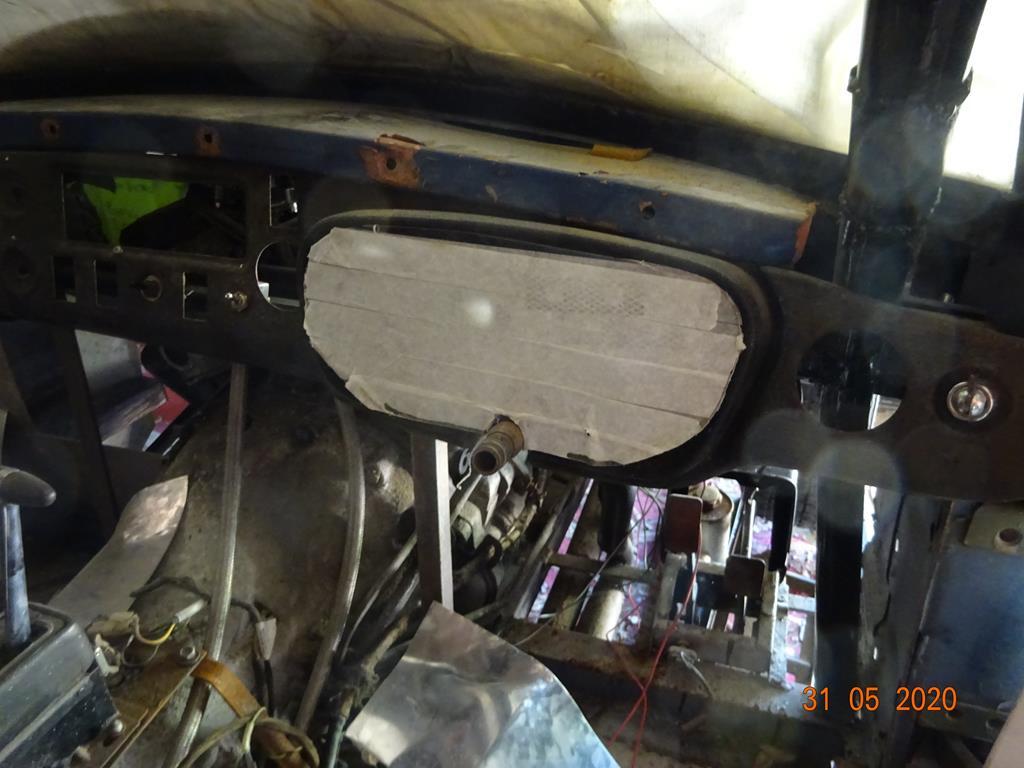
The panel face is just about finished.
Then I made up some brake pipes to the rear callipers.
and put in a little manual line-loc...... just in case!
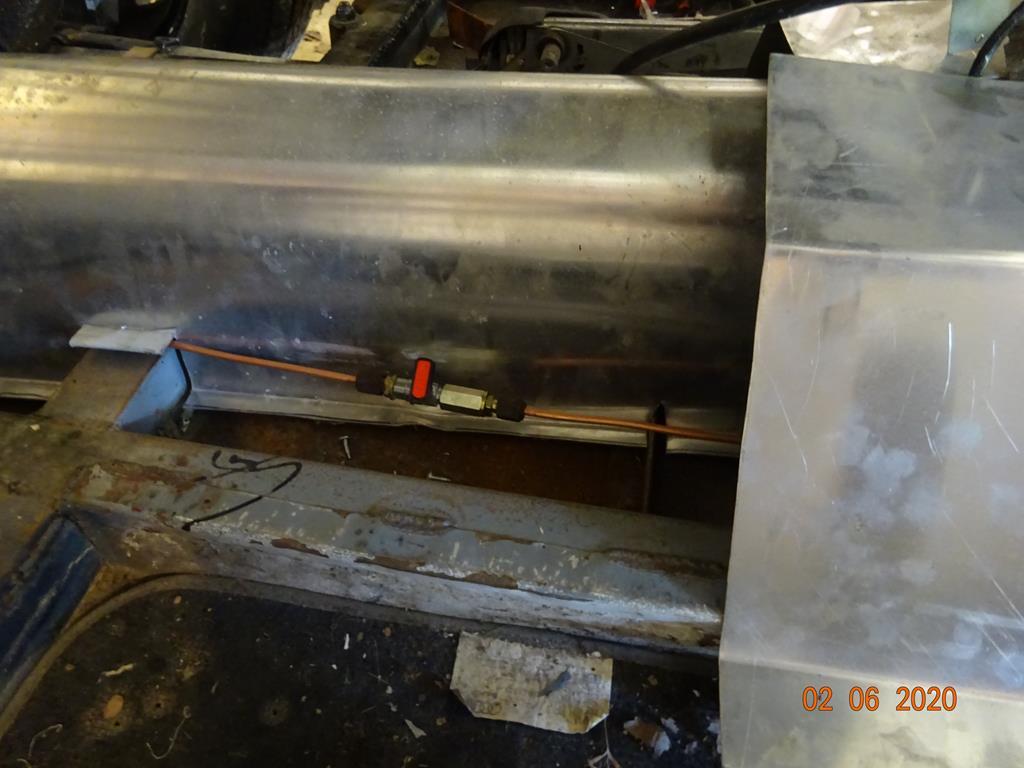
As everything had gone quite well I then connected to the brake master cylinder and got that pumping brake fluid. Then I tried opening the bleed valves on the rear callipers ........and have broken both of them!
Then I made up some brake pipes to the rear callipers.
and put in a little manual line-loc...... just in case!
As everything had gone quite well I then connected to the brake master cylinder and got that pumping brake fluid. Then I tried opening the bleed valves on the rear callipers ........and have broken both of them!
For we 4 readers!
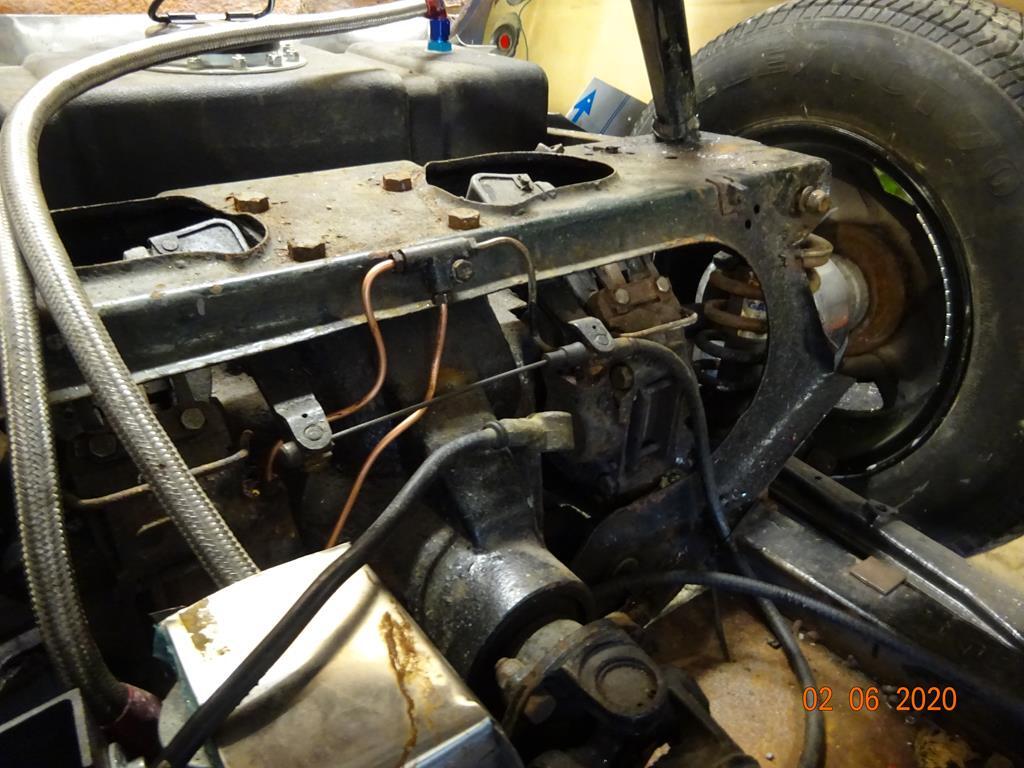
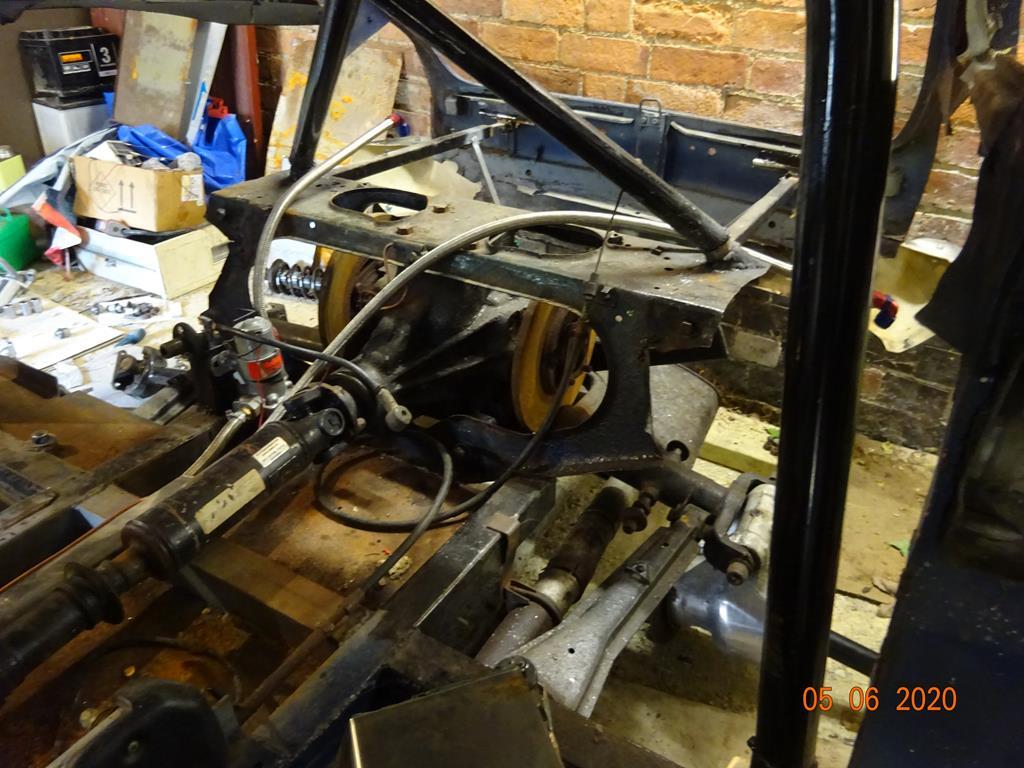
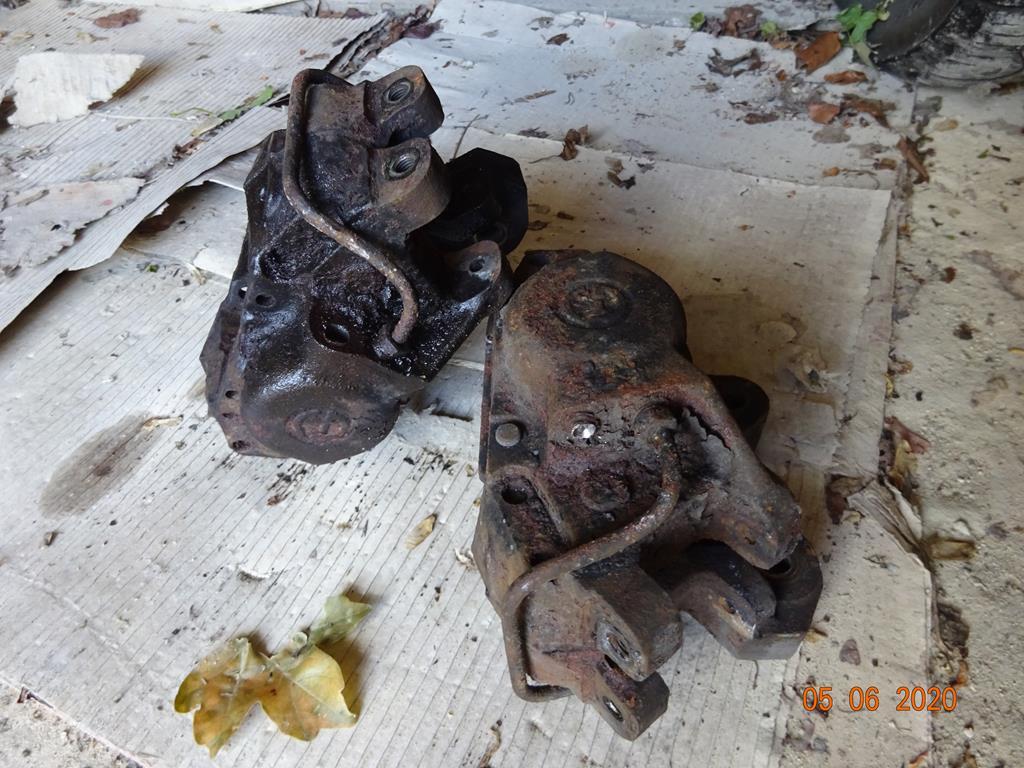
Well I have drilled out the broken bleed valve with progressively larger Left handed drills.....and it has not cleared out the old thread. So then I tried the other calliper...and broke the smallest drill. So then I decided to get both callipers out. Despite the Haynes book saying it just needed the hand brake section removing and calliper bolts undoing - it also needed the wheels removing, coil over removing, half shafts unbolting etc etc!!!
Then I looked up the price of replacement callipers....Plan B is to try and get mine repaired by recutting the bleed hole thread and getting an oversize bleed valve.
I had another go at sheared screw with the broken drill bit...it has now got Two broken drill bits stuck in! I spoke to a reconditioning Company and they can drill out and helicoil at quite a lot of money so I am spending a bit more and getting two new units.....Money spent on the BGT!!
Gassing Station | MG | Top of Page | What's New | My Stuff