Lund's MG Metro 1275 Engine Build
Discussion


minimatt1967 said:
erm are you of the thinking the 3.1 fd will give you super quick acceleration? If you wish for that you need either a 3.7 or 3.9 fd, the 3.1 is more a relaxed motorway cruiser and makes 3rd gear very long indeed, when my 30 had its 998 engine with Cooper head and stage 1 kit it would nearly pull off the end of the speedo in 3rd. But in a 1000 at least this made 4th somewhat frustratingly lacklustre, my friend has similarly spec'd (1293cc 276 cam ported head etc) car to my own, italian job mini with the 3.1 final drive but I have yet to make the comparison so I couldn't comment further.
I was thinking that yes, it seems I have got it the wrong way round! Thanks for clearing that up  3.44 it is!
 FWDRacer said:
If you have a standard Mk1 metro box it'll be running 3.44/1. In the unlikely event of you having a 3.1, there is good s/h money in the 3.1 diff if you chose not to use it. Don't bin it 
Personally with a tuned 1275 and 10" wheels I'd plump for using a 3.1 diff. The engine will have the legs to pull it and acceleration will still be more than adequate. It'll give you the best all round compromise (and that is excatly what a diff is - compromise!).
The 3.1 diff was the diff that came off the gearbox, which was attatched to a 998 A+ Metro Engine. Does this sound likely? Someone could have changed the diff.Personally with a tuned 1275 and 10" wheels I'd plump for using a 3.1 diff. The engine will have the legs to pull it and acceleration will still be more than adequate. It'll give you the best all round compromise (and that is excatly what a diff is - compromise!).
I proposed the question to Adrian Dodd and he seemed to think the 3.44.1 was the best way to go for the type of driving I'll be doing. I'm stuck between which diff to use! I could always change it at a later date if I choose to do so.
Thanks guys
FWDRacer said:
Mini_Lund said:
I'm stuck between which diff to use! I could always change it at a later date if I choose to do so.
You could but it is an engine out job. You'll be well p*ssed  You know me well! Ah bugger this, I'm going to use the 3.44.1 - Mr AC Dodd also said so
And as for the baulk rings, I'll buy the genuine Rover ones. Although, these seem to give up at 40,000miles ...
ETA:
FWDRacer said:
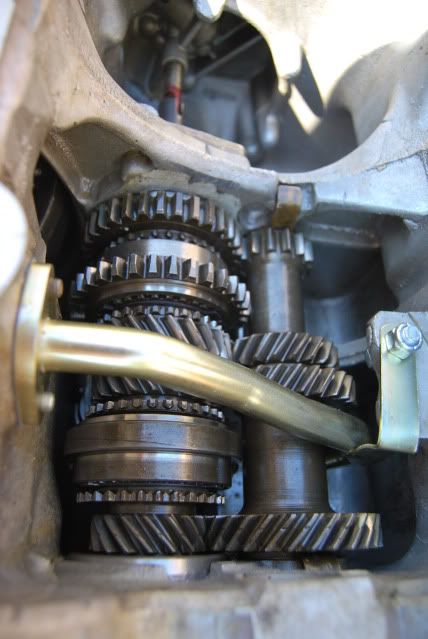
do a tooth count on the crwon wheel and pinion and then post it on this thread.
I think I counted 19 on the pinion and 59 on the crownwheel.MiniSpares Order;
Required Geabox and Diff Parts;
ADU7619 - ROLLER SINGLE TYPE FOR HOLDING 1ST MOTION SHA... 1
AAU1365 - ROLLER DOUBLE FOR MAINSHAFT IN GEARBOX,RHP GE... 1
22G2033 - BAULK RING GENUINE ROVER ... 4
13H9513 - NEEDLE ROLLER 1ST MOTION/LAYSHAFT 4 SYNC... 1
22G2583 - DIFFERENTIAL PIN GENUINE... 1
DAM6624 - PLANET GEAR IN DIFFERENTIAL... 2
DAM5071 - WASHER THRUST WITH LIP FOR PLANET GEAR,A PLUS... 2
- - -
Additional Parts;
GLP138 - OIL PUMP 1300 A PLUS SLOT DRIVE... 1
C-AHT54 - OIL PIPE HITECH CENTRAL PICKUP GEARBOX... 1
Order total: £242.21
Edited by Mini_Lund on Monday 20th April 19:55
minimatt1967 said:
59/19=3.10ish, sounds more like an 84 on 1000 engine to me, unless its one of the Metro 1.0 HLE 'economy' engines, I beleive these use the 3.1 final drive.
Funny you say that, Graham mentioned something about a HLE or HLS engine, as he was also rather puzzled. He had an old workshop manual with guides how to strip gearboxes/diffs and rebuild, in this book he has a list of diff's and what they were fitted to. He has many gearboxes in his house, from what I can gather he's rebuilding a different box to the one I gave him, I think its a Goldseal box he's rebuilding as it has a 3.44 diff and casing. We'll soon see!
minimadmotorman said:
Going from an 850 to a modded 1293 is going to totally transform your car.
I hope your ready for it
Yeah, I think I'll take it easy! To me it will be like a rocket going off, I'll have the better brakes to help stop and the experience of putting the power down from the 850. I'm expecting alot from this 1293, it has alot to live upto I hope your ready for it
minimadmotorman said:
Don't get me wrong. A 1275 mini isn't going to beat modern hot hatches but it instantly becomes a very fun little car.
When I first got an MG lump in my Jet Black I loved it. Now I'm building a turbo lump for my current mini with a projected output of above 150bhp.
Sounds brilliant, make a thread on here and update it.When I first got an MG lump in my Jet Black I loved it. Now I'm building a turbo lump for my current mini with a projected output of above 150bhp.
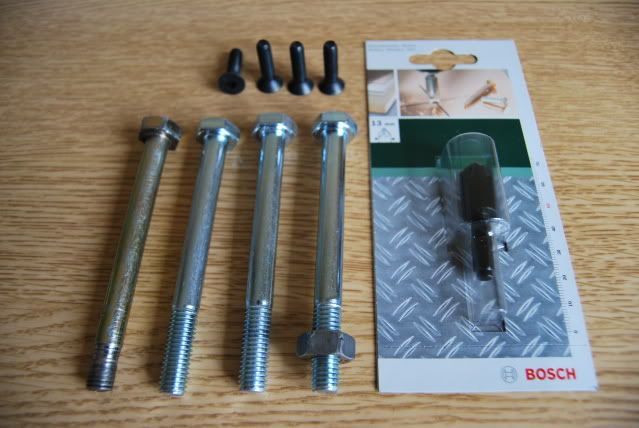
Oh and I got some heavy duty bolts to replace the ones that where eaten by the flywheel. I also bought the countersunk screws, I'll cut them down to size.
Tom

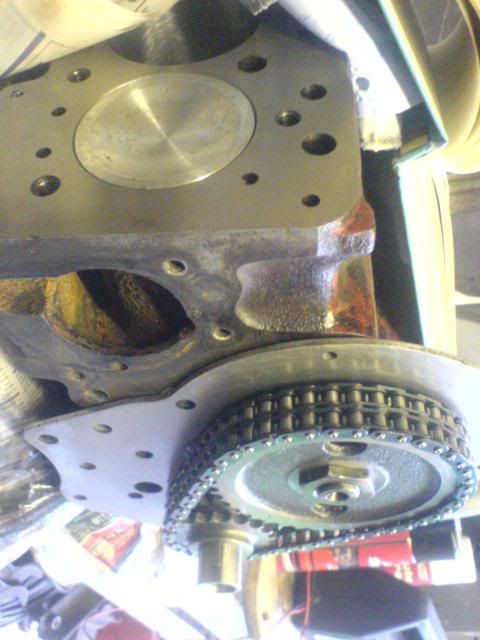
Guys, what would you say if I said my Cam Fouls one of my con-rods?
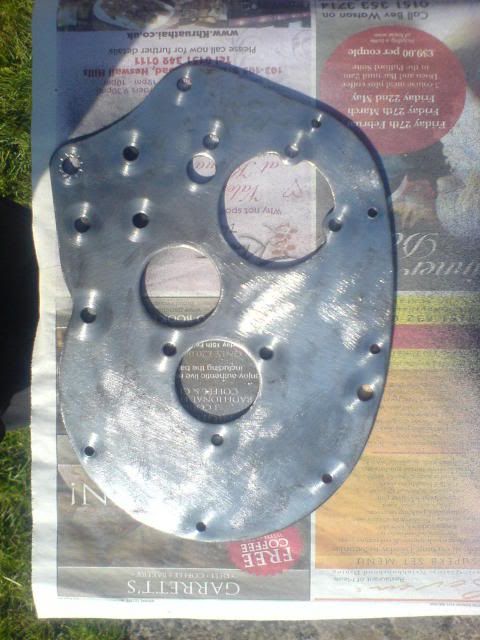
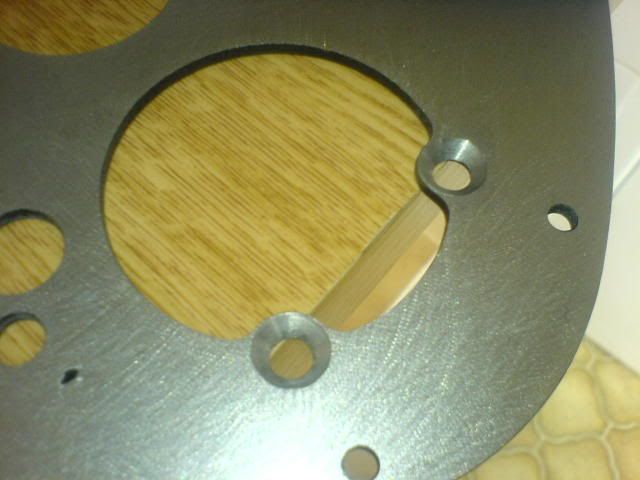
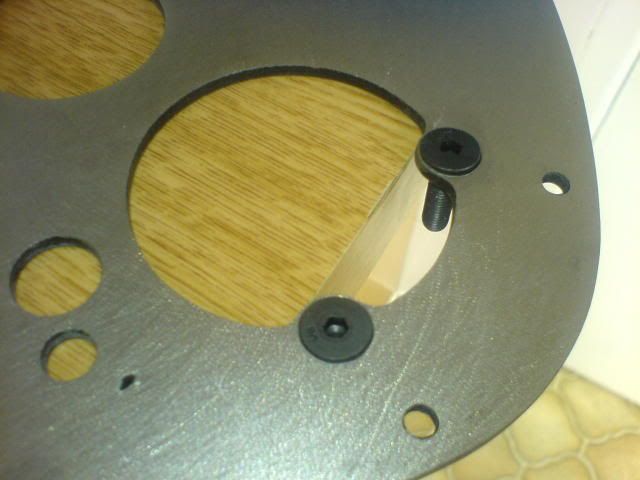
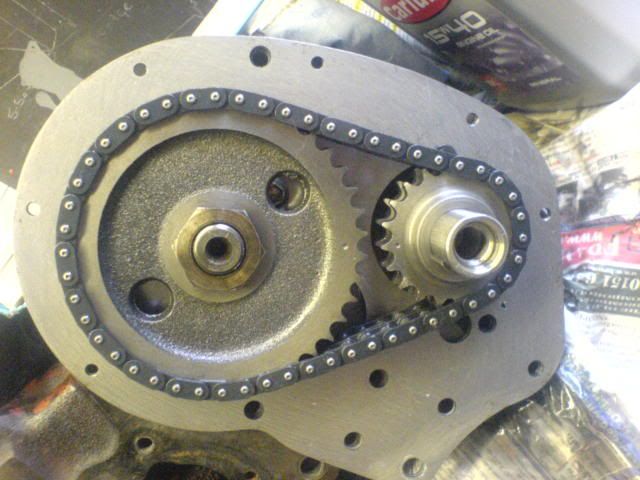
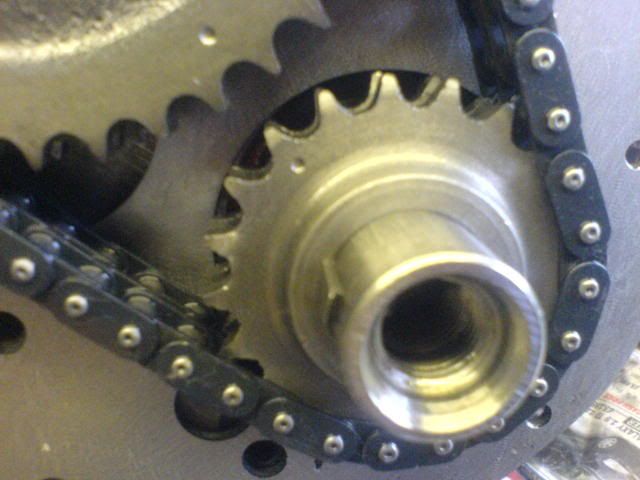
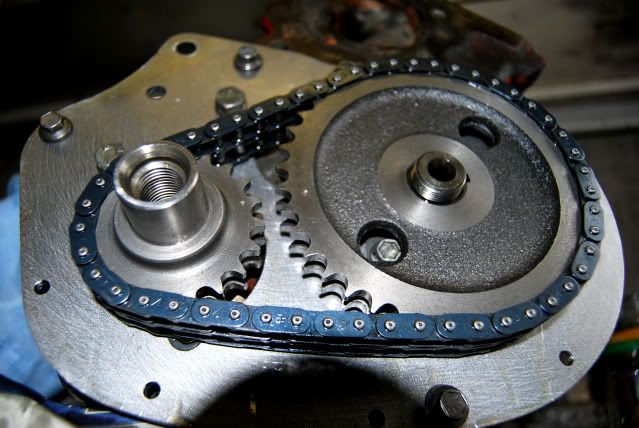
I part assembled the Duplex chain and used Loctite on the countersunk bolts;
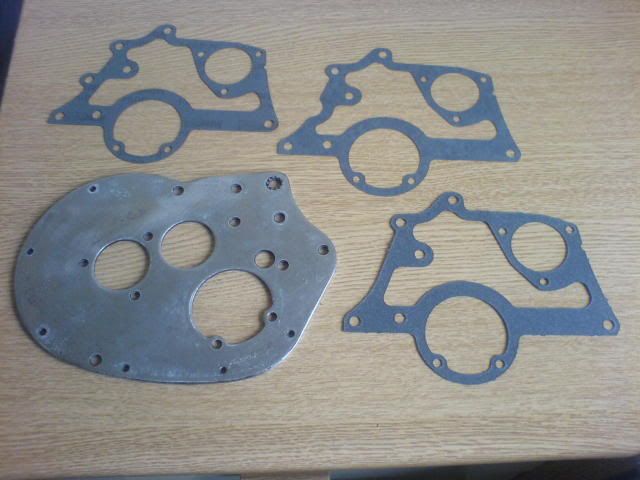
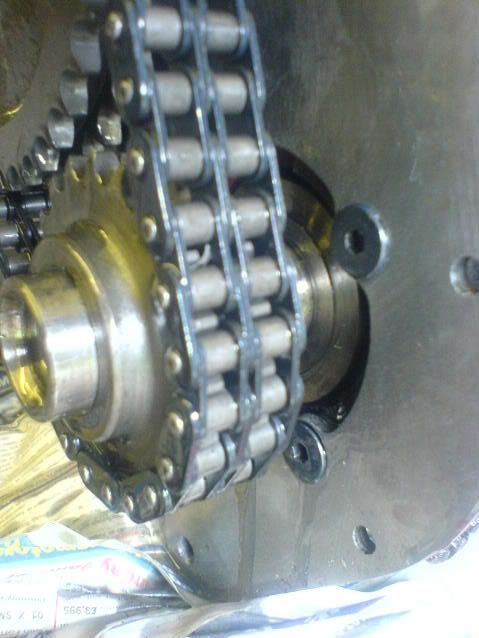
I'm a bit of a noob. I have now set up the timing chain correctly, with it at TDC and the cam at the 2'o clock position. However, not all of the bolts will fasten into the plate, i.e the front plate is aligned nicely for some bolts but the plate fouls the holes for some others. In other words, I'll have to crack the loctite and re-do it all yet again. This time I must get it right and all perfectly aligned. I bet British Leyland didnt even bother with perfect fitment.
I'm also not exactly working in the cleanest of environments. The garage door was open and a gust of wind blew s t everywhere
I figured I'm no good at anything, in particular so I'm off to the pub.
I part assembled the Duplex chain and used Loctite on the countersunk bolts;
I'm a bit of a noob.
I have now set up the timing chain correctly, with it at TDC and the cam at the 2'o clock position. However, not all of the bolts will fasten into the plate, i.e the front plate is aligned nicely for some bolts but the plate fouls the holes for some others. In other words, I'll have to crack the loctite and re-do it all yet again. This time I must get it right and all perfectly aligned. I bet British Leyland didnt even bother with perfect fitment. I'm also not exactly working in the cleanest of environments. The garage door was open and a gust of wind blew s
t everywhere I figured I'm no good at anything, in particular so I'm off to the pub.
Edited by Mini_Lund on Wednesday 6th May 20:48
dogfather said:
so hows it all going lund , no pics for a while whats the progress.
Its on hold for the moment, just received all of the gearbox parts, £240 for a box of what looks like sweet nothing.  However, I plan to sort the Hi-lo's on my rear suspension within the next few days. I'll let you know how I get on.
 Edited by Mini_Lund on Tuesday 19th May 23:23
guru_1071 said:
you want to watch those a plus flanged bolts that hold the triangle on. they will get hellish close to the wheel when its all nipped up - they are ever so tall.
id swop them for normal 1/4 bolts my self.
Hi Guru, I have checked for clearances & all seems close, but cleared. (Even the play in the timing chain clears). By triangle, do you mean that cam retainer tab? I havent Loctited these bolts but the counter-sunk bolts I have used Loctite. id swop them for normal 1/4 bolts my self.
Glad you have commented, will be phoning Harrogate tomorrow about some S-discs. These in particular, http://www.minispares.com/Product.aspx?ty=pb&p...
In order to stop the 1293! That kit includes the disk-shields. Are they really neccessary? I noticed the kit was sold-out yesterday, but today it appaears to be in stock.
Thanks, Tom
Not an update as such, but thinking out-loud.
This is the only way I'll remember, notes to self:
Oil pump bolts 11 Nm
Sump Plug 39Nm
Sump Screws 11Nm
Timing Cover, Short bolts 7Nm Long 17Nm
CAMSHAFT GEAR LOCKTAB C-AJJ3325
LOCKTAB CRANK PULLEY LATE TAM2020
DIFF OUTPUT SHAFT OIL SEAL ADU5738
CONE SPRING RUBBER ALL MINIS METRIC THREAD ONLY FAM3968
Edited by Mini_Lund on Tuesday 23 June 18:59
Edited by Mini_Lund on Tuesday 23 June 19:00
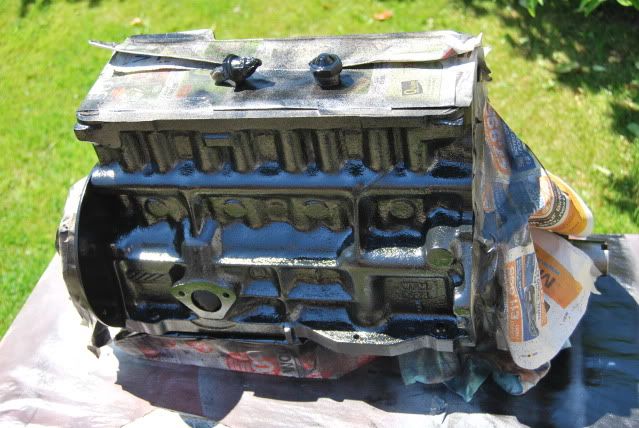
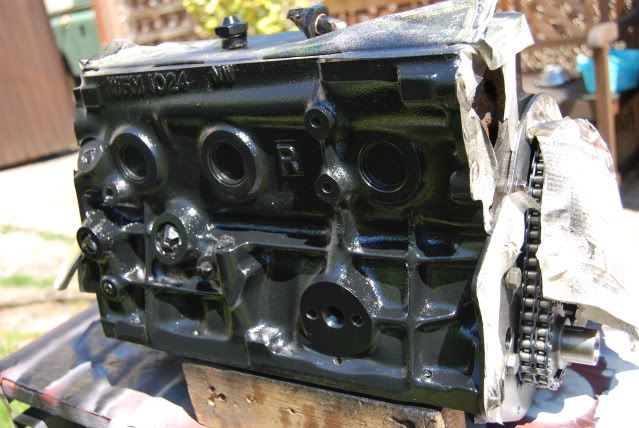
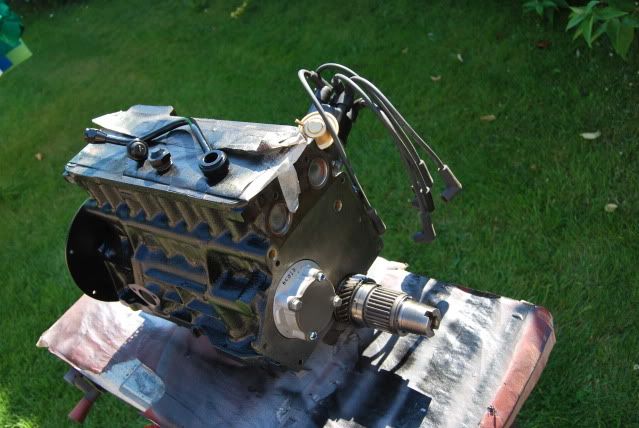
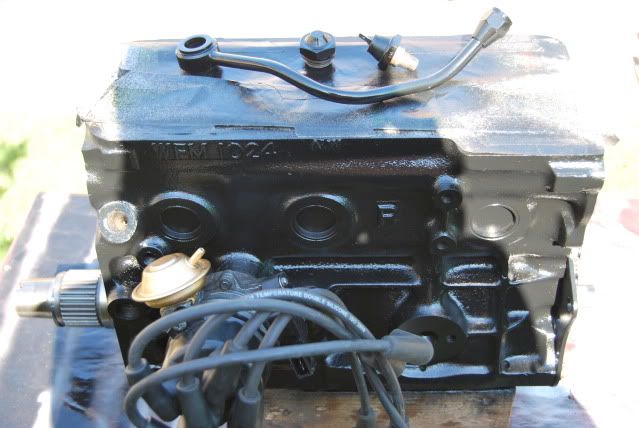
Fitted the oil pump today & also sprayed the engine block. Should I give the block a coat of clear lacquer, will it be more hard wearing? I sprayed topcoat gloss black enamel directly onto the engine block.
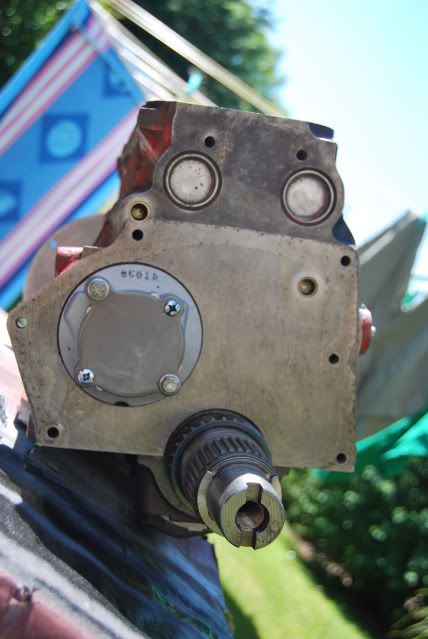
Fitted oil pump:
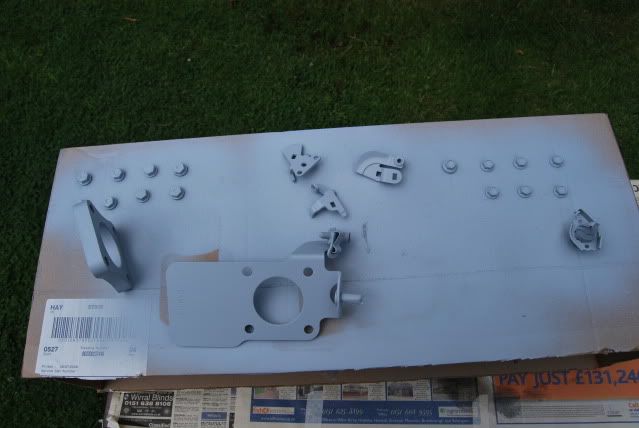
Paint preparation:
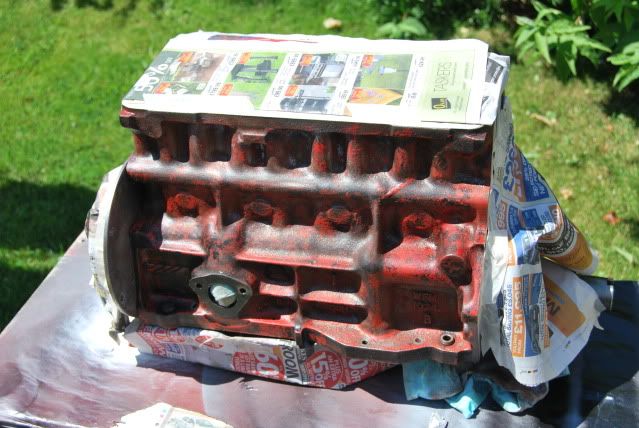
In paint:
I'll be spraying the gearbox in etch primer soon, then spraying it silver to match the flywheel housing.
Fitted oil pump:
Paint preparation:
In paint:
I'll be spraying the gearbox in etch primer soon, then spraying it silver to match the flywheel housing.
Edited by Mini_Lund on Wednesday 24th June 14:22

Small update guys n' gals.
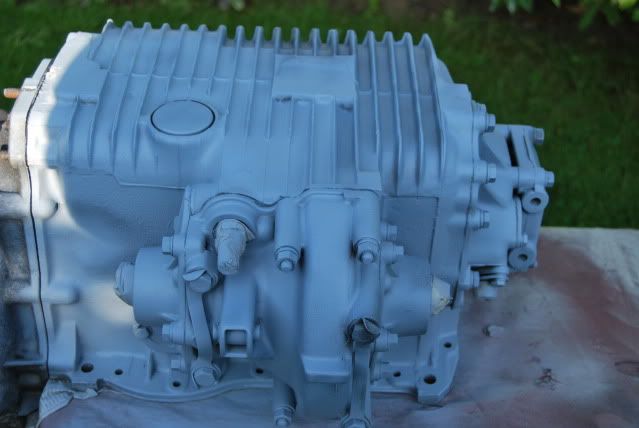
I have removed the gold paint as best I can from the gearbox ready for a coat of etch primer. I have since primered the gearbox ready for a few coats of silver to match the flywheel housing etc. I will then finish with 2 coats of lacquer.
All being well I will mate the gearbox with the engine within the next month or so. Next is to finish the cylinder head and put it on the block. I'm getting ever nearer to completion. I just want it in and done now.

I'm also currently underway with one of the more laborious tasks of the engine build, and thats cleaning all the nuts & bolts ready for paint.
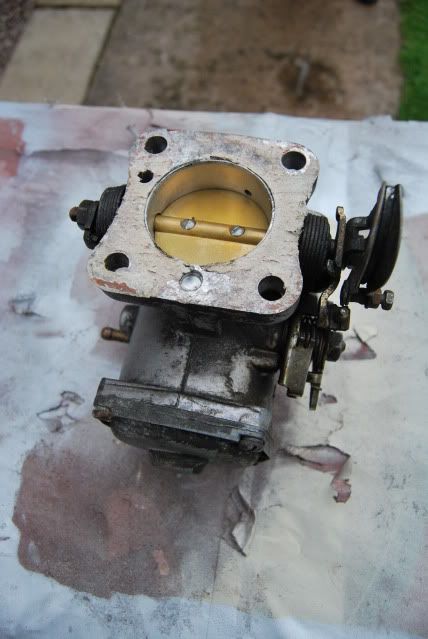
I have also started to clean and rebuild the carb. I am refurbishing the carb usig brake cleaner and a wire drill bit. I'll let you know how I get on.

Etch primer:
In Top Coat Silver:
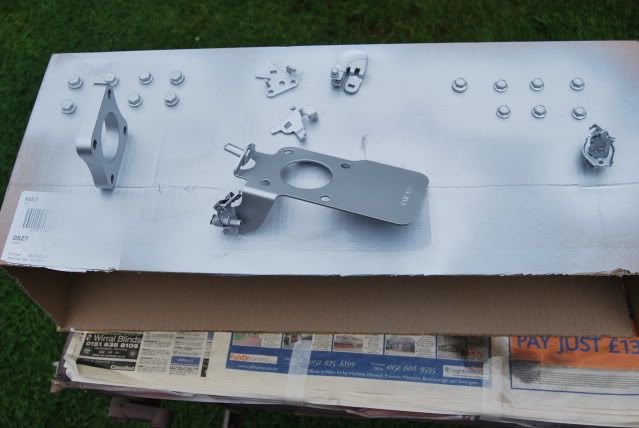
Some may think, why bother? It's all worth it in the end and will look really tidy and hopefully work well when complete!
Thanks, Tom
I have removed the gold paint as best I can from the gearbox ready for a coat of etch primer. I have since primered the gearbox ready for a few coats of silver to match the flywheel housing etc. I will then finish with 2 coats of lacquer.
All being well I will mate the gearbox with the engine within the next month or so. Next is to finish the cylinder head and put it on the block. I'm getting ever nearer to completion. I just want it in and done now.
I'm also currently underway with one of the more laborious tasks of the engine build, and thats cleaning all the nuts & bolts ready for paint.
I have also started to clean and rebuild the carb. I am refurbishing the carb usig brake cleaner and a wire drill bit. I'll let you know how I get on.
Etch primer:
In Top Coat Silver:
Some may think, why bother? It's all worth it in the end and will look really tidy and hopefully work well when complete!
Thanks, Tom
Gassing Station | Classic Minis | Top of Page | What's New | My Stuff