72 Mustang Mach1 restoration
Discussion


Fat Albert said:
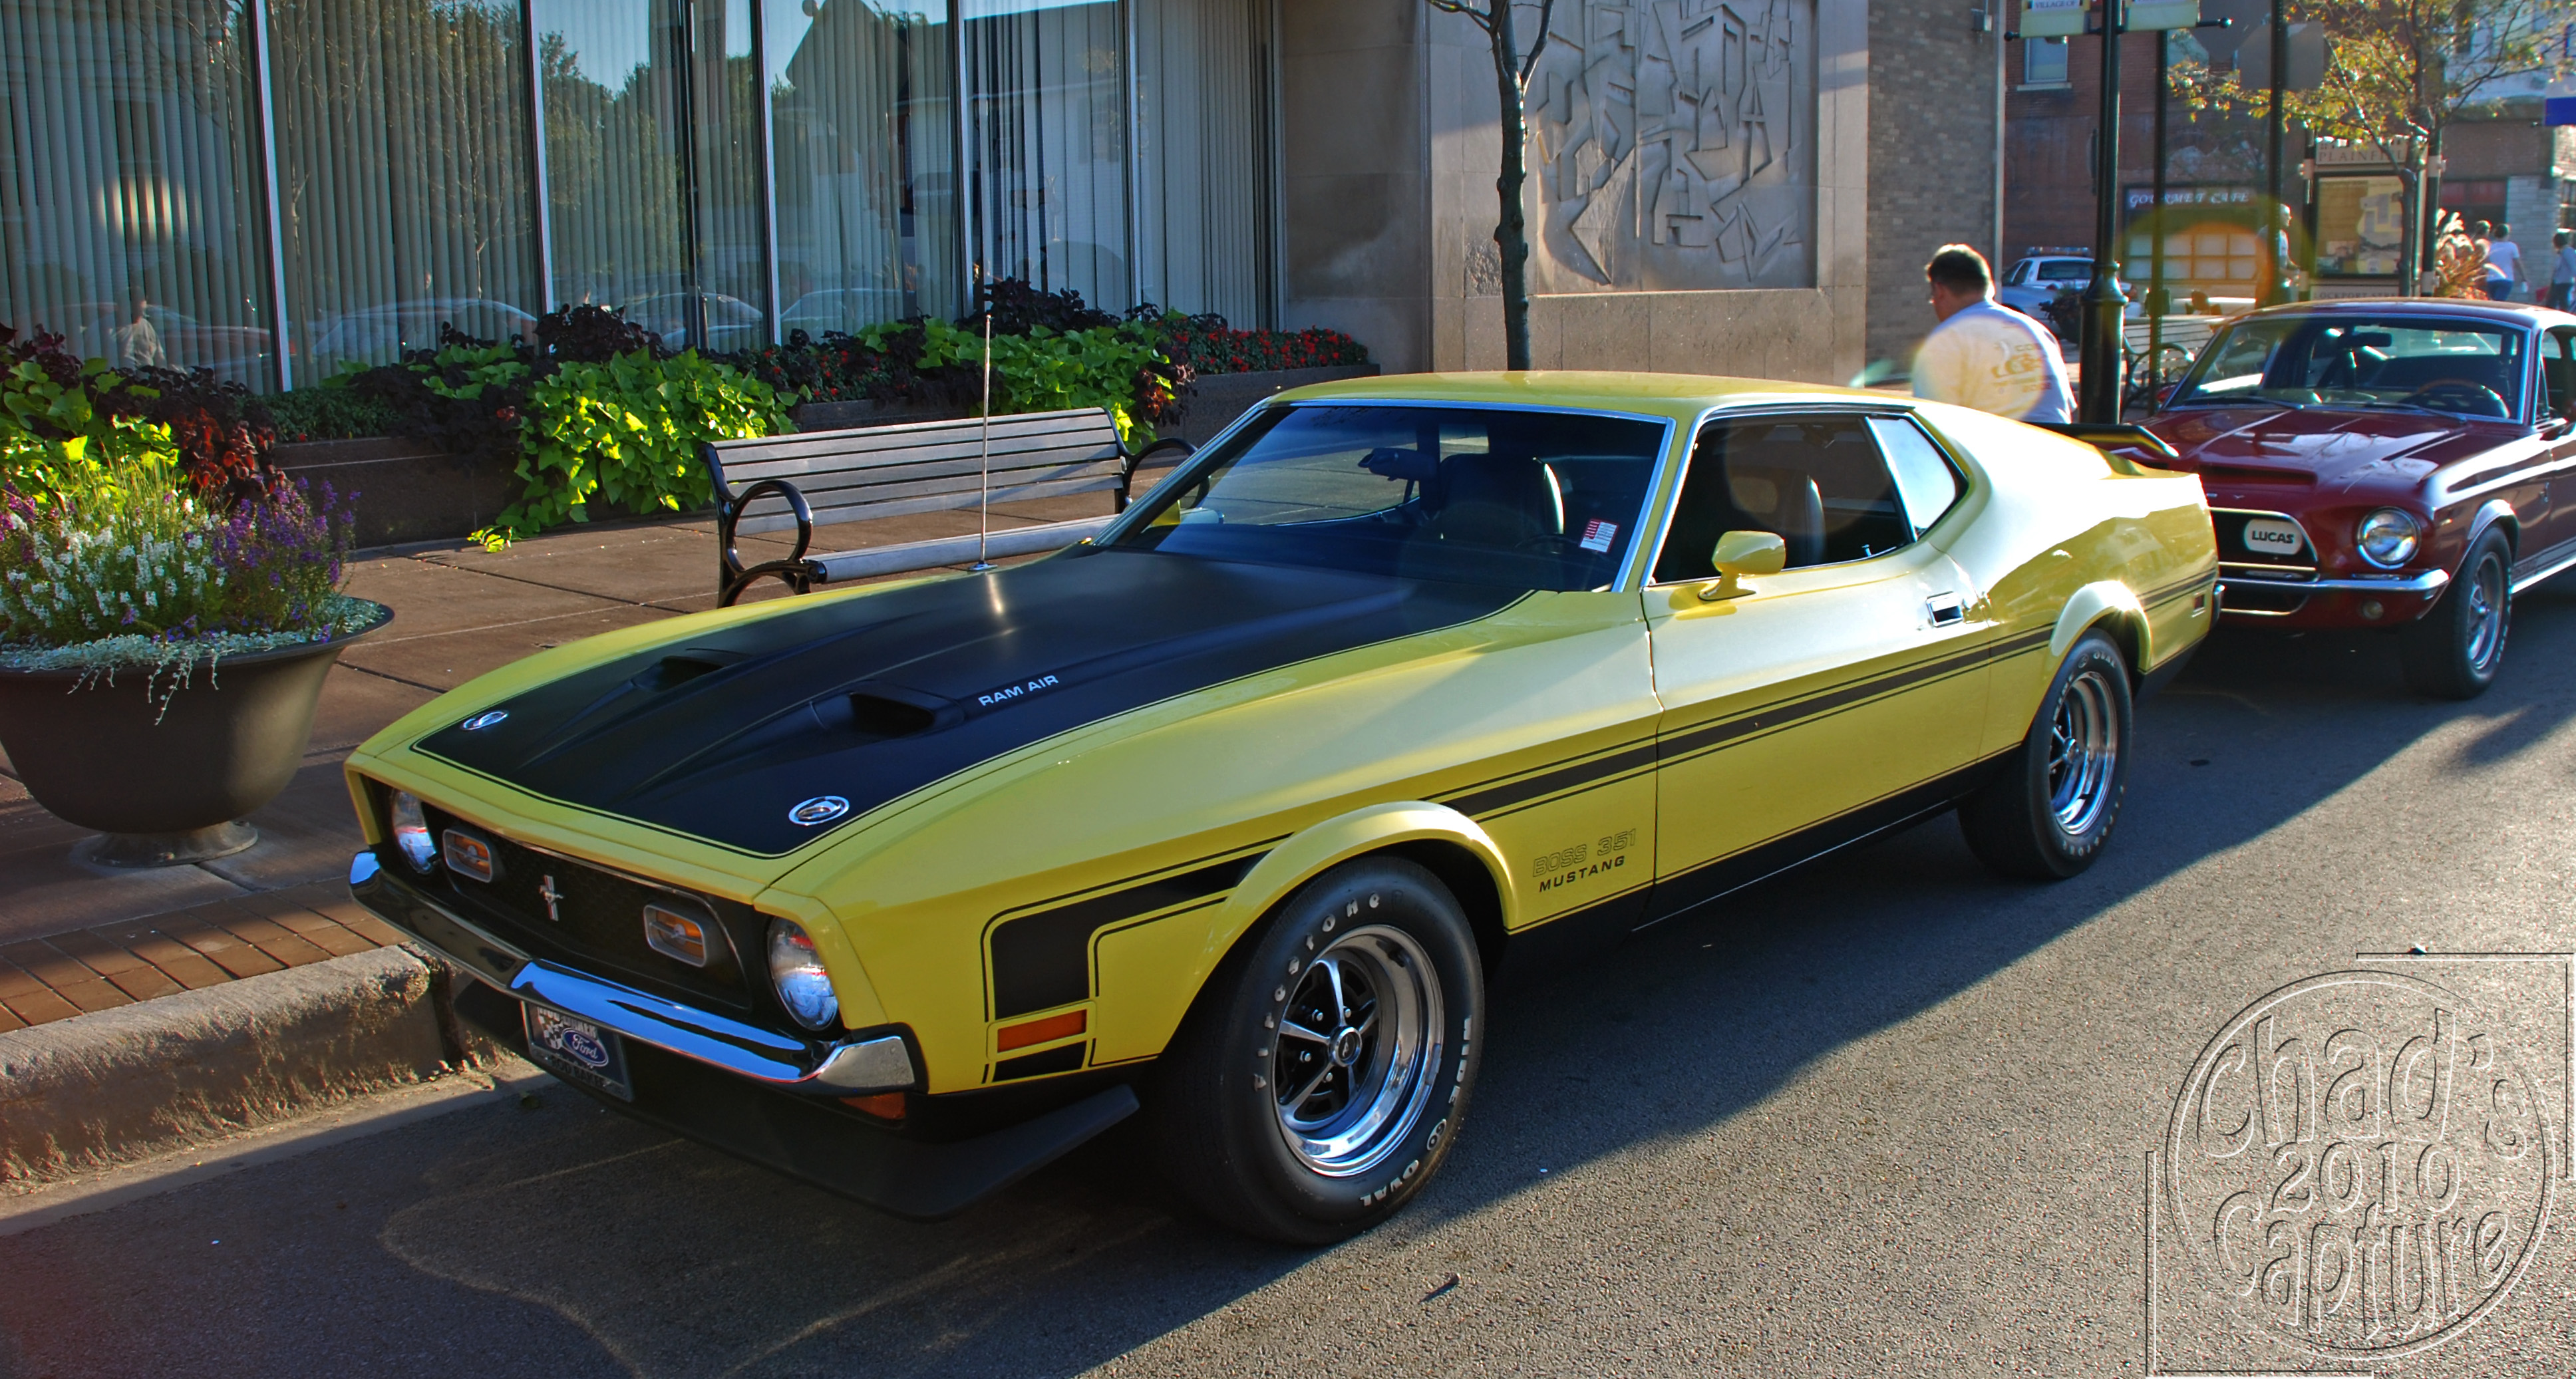
These have always been my favourite Muscle car, I saved up and bought the little Matchbox one as a lad (yellow with black bonnet, my son has it now)they are by far the best looking Mustang
Great work!
Thanks.Great work!
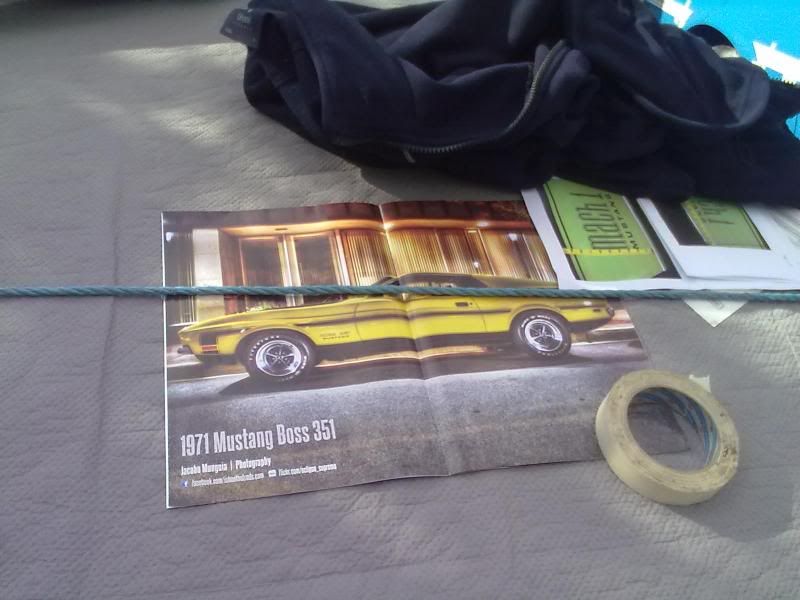
When I was doing my brickwork apprenticeship, many years ago and working on an extension I was talking about my favourite car and the owner of the house overheard me. A couple of days later they presented me with the same matchbox yellow mustang. It's modelled on a 351Boss. Slightly different from the Mach1, visually, with a chrome front bumper and square matt black paint design on the bonnet. Instead of the rear honeycombe panel the rear panel was painted matt black.
Under the bodywork it had a solid lifter Cleveland, rated at 330hp and 4 speed manual gearbox, staggered rear shocks, uprated anti roll bars and detroit locker rear axle.
All lights, front and rear, are now working. Front indicators are on their way from the U.S. as I post. Just need to fit relays for the head lights. I also have a small LED board to fit in each of the reverse lights to act as reverse and indicators. Made up by a fellow mustang owner.
Headlights for the first time in 24 years
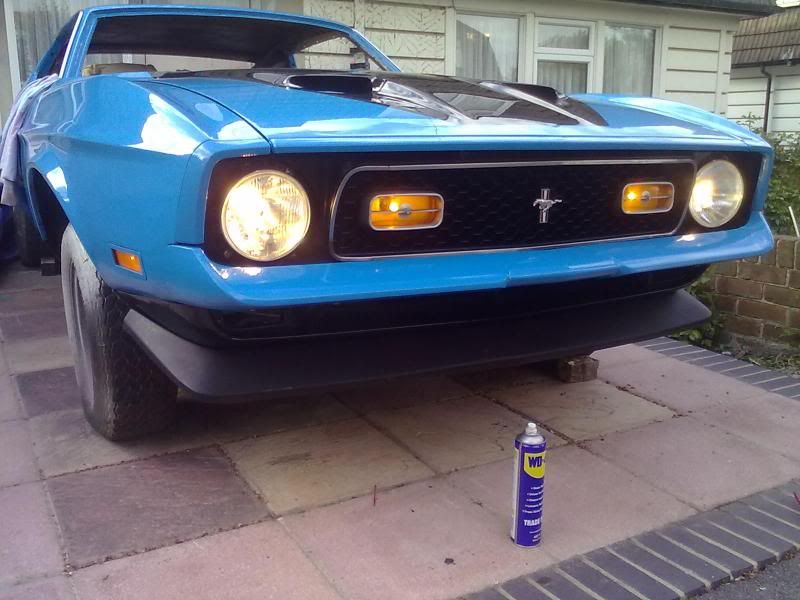
Headlights for the first time in 24 years
Edited by ZR1cliff on Thursday 23 May 20:22
Had another order of parts today, including the front indicators and rood lining insulation.
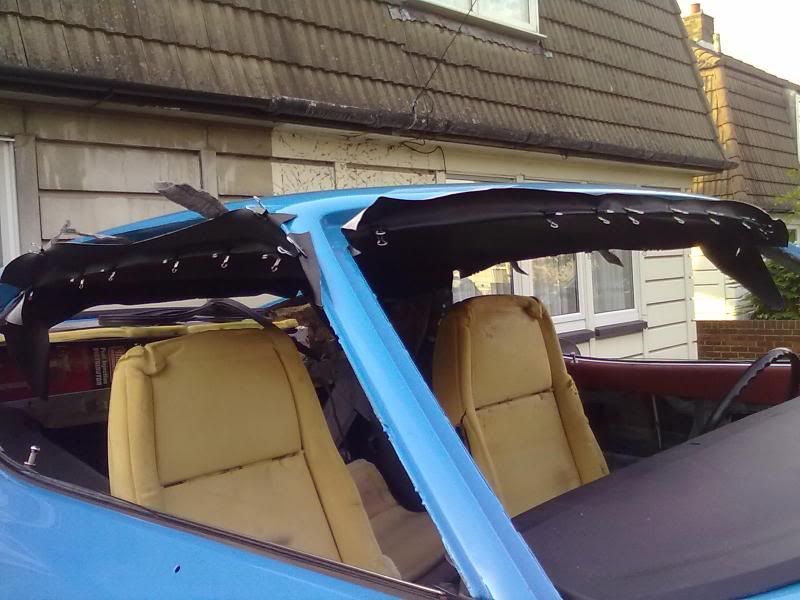
Also getting the roof lining ready to hang by hanging it up against the wall for all the folds to drop out. The old rods were taken out of the old lining and some were very rusty, needing a good sand down.
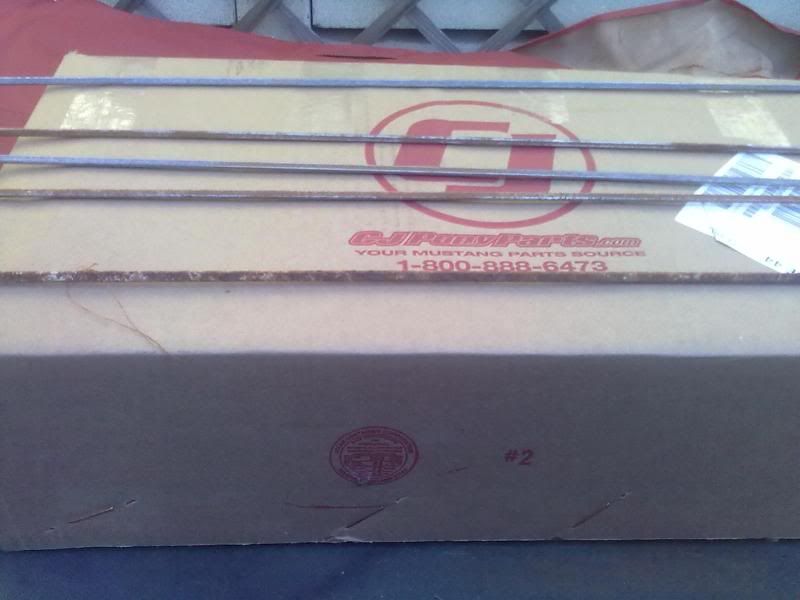
Once sanded they were painted with rust treatment, metal protection paint, from deco style

Also getting the roof lining ready to hang by hanging it up against the wall for all the folds to drop out. The old rods were taken out of the old lining and some were very rusty, needing a good sand down.
Once sanded they were painted with rust treatment, metal protection paint, from deco style
Edited by ZR1cliff on Tuesday 4th June 20:20
First mistake on doing the roof lining was just taking the rods out will nilly. I should have noted what holes they were originally in and as each rod is a different length, the position of the rod in the lining.
If this happens, it takes time shuffling the rods around trying them in all the holes, for proper alignment
Some tips,
1/ locate all screws in their holes. Saves trying to find the hole through the lining.
2/Mark the half way point on the front and rear window opening and also fold the lining in half, length ways, then mark with chalk the half way point. This will centre the new lining in the centre of the car.
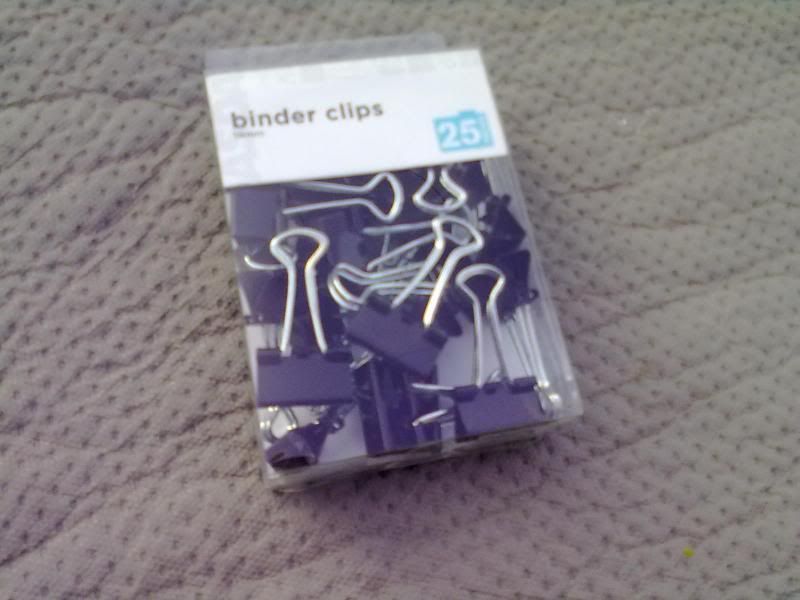
3/ Aquiring clips to help in the stretching of the lining is a help. I bought 50 clips from Asda for two quid.
4/ Lay out lining in the sun to help remove creases.
5/ Lay out the lining and centre rods in the appropriate lining sleeve, then cut the sleeve so rod end pokes through. Once all five are done (71-73's) start at the rear of the roof to install the first rod, taking care to install the two wires at rear of roof. Then locate the other rods.
Now you can start slowly stretching and clipping
I left it to settle over night then went out again tonight to improve what I had done, pulling and clipping it tighter.
Doing one section at a time I went round the corners, carefully removing excess and clipping again, then offering up interior trim to check things over. You start with loads of creases.
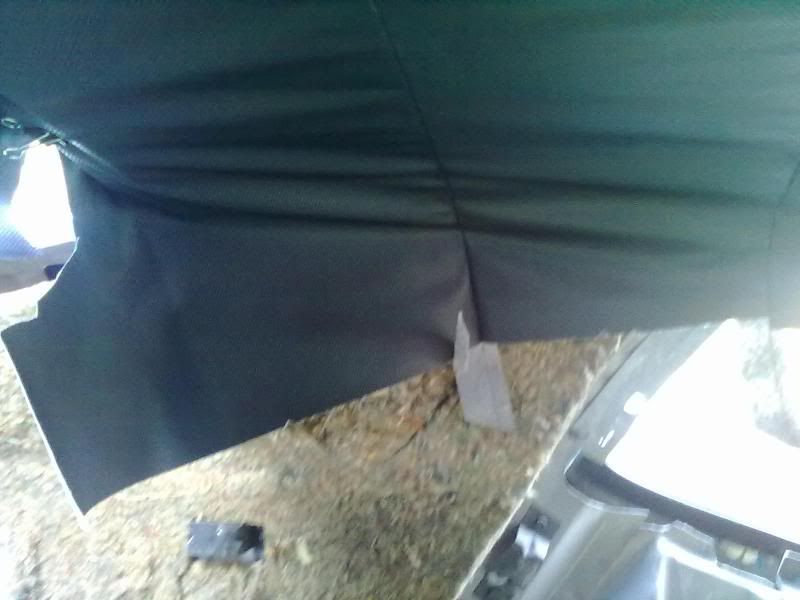
Eventually all the creases can be worked out and it ends up like this,
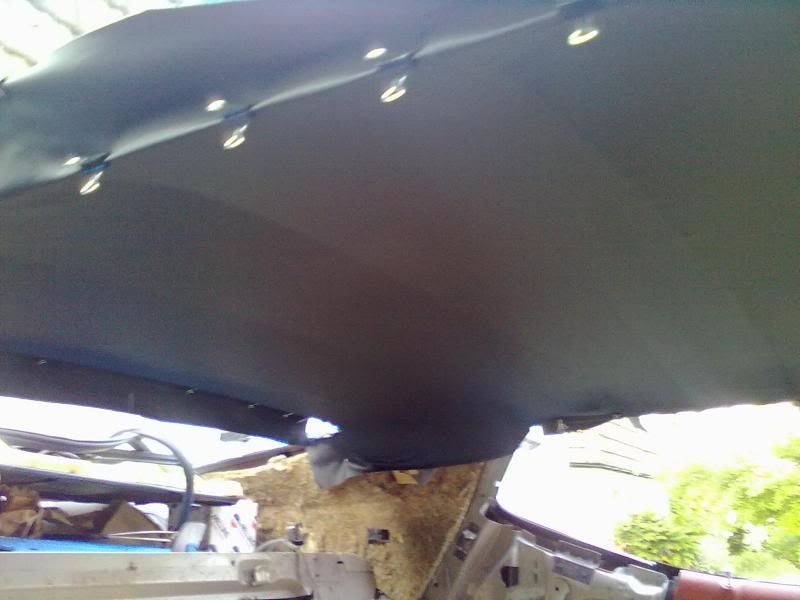
I'll now leave it over night again, then when it's warm tomorrow give it a final stretch and glue the edges. Keep the clips in place and trim all the excess off Sunday evening.
If this happens, it takes time shuffling the rods around trying them in all the holes, for proper alignment
Some tips,
1/ locate all screws in their holes. Saves trying to find the hole through the lining.
2/Mark the half way point on the front and rear window opening and also fold the lining in half, length ways, then mark with chalk the half way point. This will centre the new lining in the centre of the car.
3/ Aquiring clips to help in the stretching of the lining is a help. I bought 50 clips from Asda for two quid.
4/ Lay out lining in the sun to help remove creases.
5/ Lay out the lining and centre rods in the appropriate lining sleeve, then cut the sleeve so rod end pokes through. Once all five are done (71-73's) start at the rear of the roof to install the first rod, taking care to install the two wires at rear of roof. Then locate the other rods.
Now you can start slowly stretching and clipping
I left it to settle over night then went out again tonight to improve what I had done, pulling and clipping it tighter.
Doing one section at a time I went round the corners, carefully removing excess and clipping again, then offering up interior trim to check things over. You start with loads of creases.
Eventually all the creases can be worked out and it ends up like this,
I'll now leave it over night again, then when it's warm tomorrow give it a final stretch and glue the edges. Keep the clips in place and trim all the excess off Sunday evening.
Recently started to look at the stripes and fitting them. Never done this before and turned to youtube for some learning. Also used the MOCGB mag to guide me.
Have also been learning my new mobile camera and PC on how to transfer and post, what I thought I'd lost, photos.
Next was lining up the stripe kit on the car and phsyching myself up to peel and stick them. Starting with the boot kit first incase I made mistakes.
You can also use bits of tape to help line the stripes up, and tape to create hinges at one end of each stripe section.

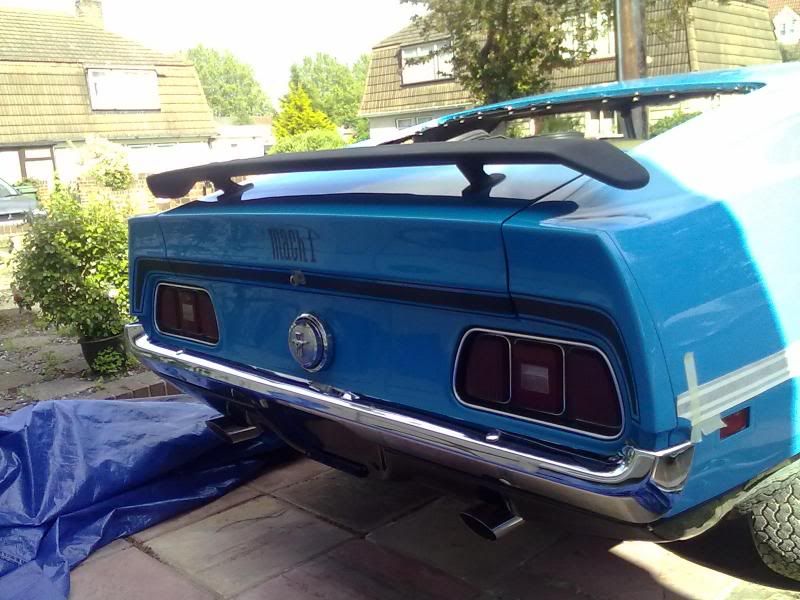
Stripes on, the Mach1 logo was then added
Hood decal was also added with the help of more tape.

I was glad I started on the boot stripes first as I learnt from a few small mistakes and they settled me into the job. They are slightly out of line so will re-do these at a later date.
Have also been learning my new mobile camera and PC on how to transfer and post, what I thought I'd lost, photos.
Next was lining up the stripe kit on the car and phsyching myself up to peel and stick them. Starting with the boot kit first incase I made mistakes.
You can also use bits of tape to help line the stripes up, and tape to create hinges at one end of each stripe section.
Stripes on, the Mach1 logo was then added
Hood decal was also added with the help of more tape.
I was glad I started on the boot stripes first as I learnt from a few small mistakes and they settled me into the job. They are slightly out of line so will re-do these at a later date.
Last few weeks have been very frustrating. I'm that close to starting the car, but I'm not too sure on the Electrics side of things. I had a deal with the garage - they would paint it and build the motor, then I would take it away and do the rest. No problem and all went to plan.
Fitting the loom, most things work all except the turning over at the key. As i'm limited knowledge of auto electrics, I contacted a mechanic, but after three attempts he failed to turn up, this went on over the course of a month and I finally gave up on him. Speaking to the person who referred him to me later, it turns out said mechanic has all the best intensions in the world, but has five kids and is on the rock & roll and doesn't need the money and will vacate the coach when he's ready.... Great!!
A couple of weeks ago I contacted another mechanic and he promised to come along last Saturday, but didn't show.
In the meantime I've stripped the steering column down and cleaned everything and WD40'd everything and BINGO, she now turns over on the key tonight....YES!!! MAJOR hurdle passed b-) All I need to do now is sort out the firing order and try and suss out what wires go from the loom to the ballast resistor, to coil, to distributor.
I will now start reading up on things and take the next steps to actually starting her. Fingers crossed and I'll have a video of her awakening after a 25 year sleep.
Update. The mechanic didn't turn up for a second time In the end a mate drove up from Camberley and once he wired in the coil and ballast resistor and checked the timing.............Nothing!!
No problem though, I set the timing out by 180%. Once corrected, around 19.00GMT, the engine fired into life for the first time in 25 years. I'd had the hump all day, yet in a blink there was the biggest smile going.
I've since changed the oil after approx two hours of use and have connected a few vacuum hoses for a nice quietish running noise. Have also bled the brakes and stopped any leaks, so they now work, as well as taken off the exhaust and sealed the joints.
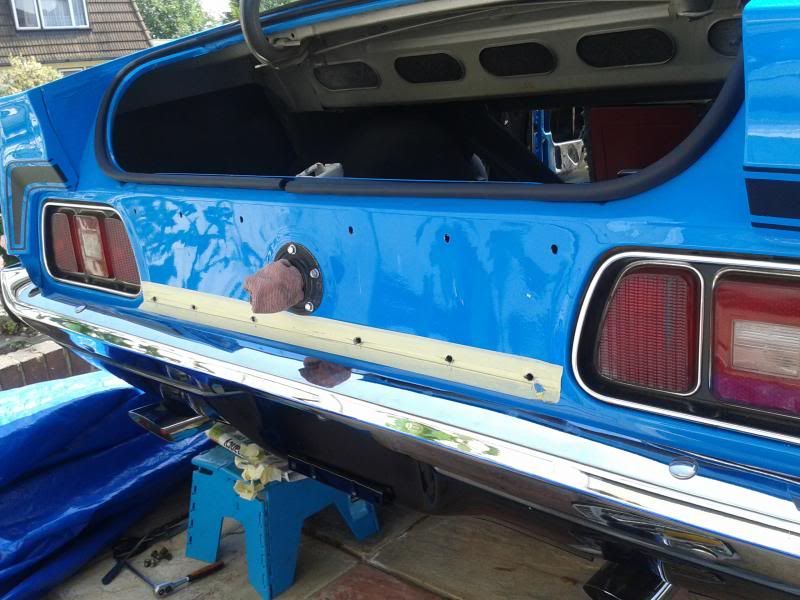
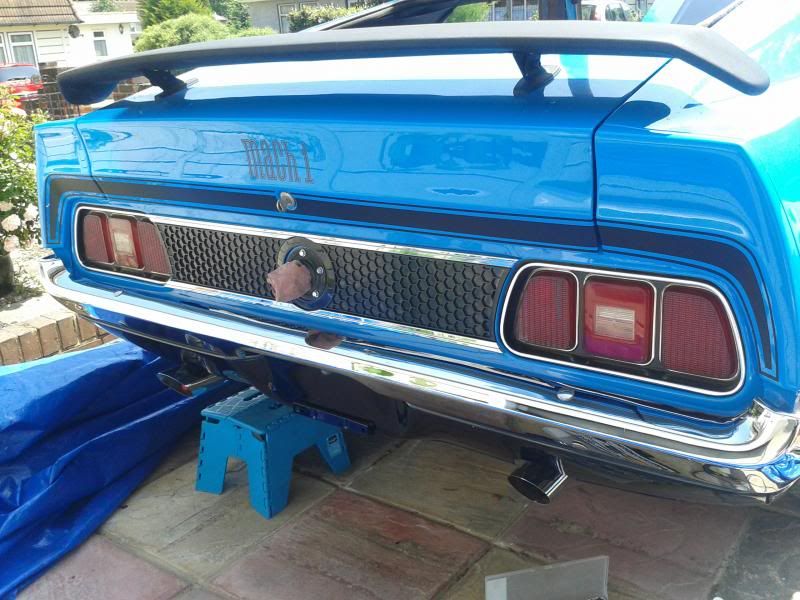
Rear honeycomb fascia is also on now.
In the end a mate drove up from Camberley and once he wired in the coil and ballast resistor and checked the timing.............Nothing!!No problem though, I set the timing out by 180%. Once corrected, around 19.00GMT, the engine fired into life for the first time in 25 years. I'd had the hump all day, yet in a blink there was the biggest smile going.
I've since changed the oil after approx two hours of use and have connected a few vacuum hoses for a nice quietish running noise. Have also bled the brakes and stopped any leaks, so they now work, as well as taken off the exhaust and sealed the joints.
Rear honeycomb fascia is also on now.
Edited by ZR1cliff on Friday 12th July 15:27

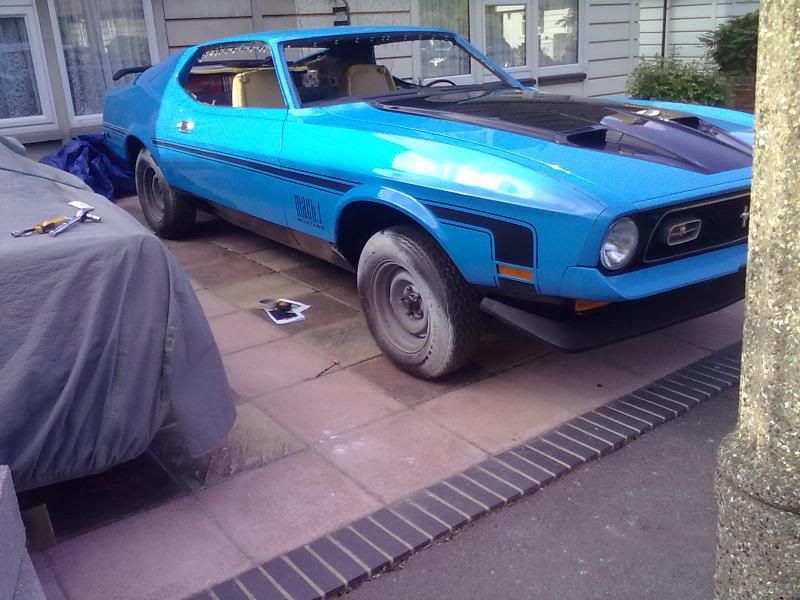
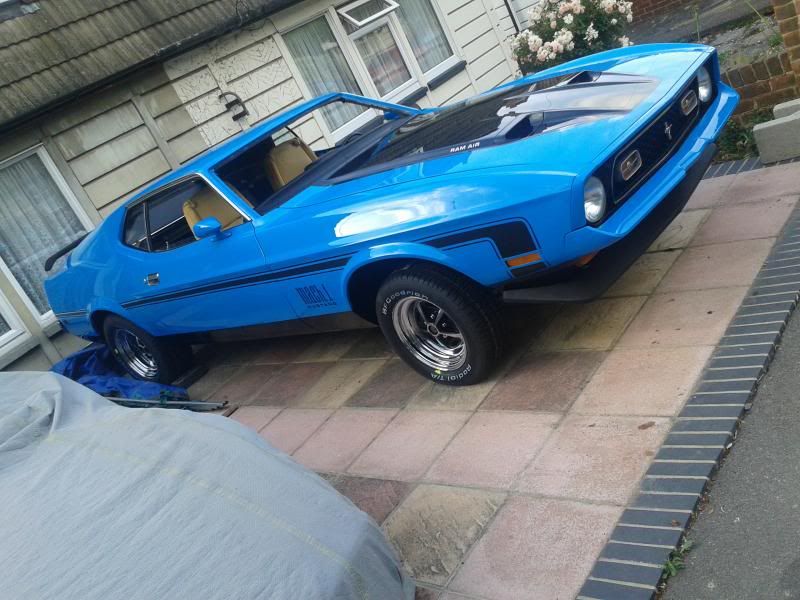
Today I was able to pick up the wheels and tyres from North hants tyres. They do a reasonable deal for a wheel and tyre combination. I went with 15x8 rears and 15x7 for the front.
Not too happy with the front and the way it sits up, so will wait till it settles before I take any action
Just the centre caps to get now.
Not too happy with the front and the way it sits up, so will wait till it settles before I take any action
Just the centre caps to get now.

Gassing Station | Mustangs | Top of Page | What's New | My Stuff