72 Mustang Mach1 restoration
Discussion


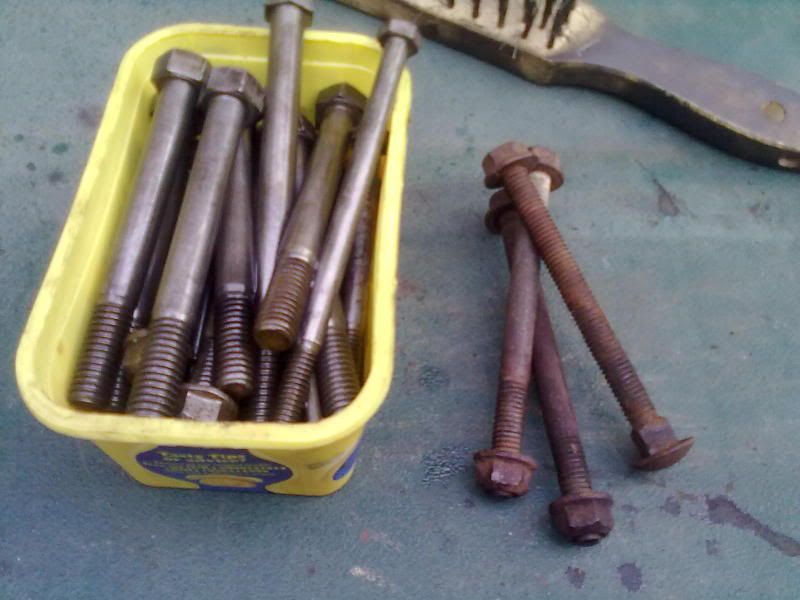
The boring part of a resto, cleaning up old rusty bolts...loads of them!
I've been using white vinegar and a wire brush, soaking them for a day or two then putting my elbow into it. Might go over them once more to get a better finish.
These are only a few of them - but it's a start.
Befores on the right, after treatment in the tub.
I've been using white vinegar and a wire brush, soaking them for a day or two then putting my elbow into it. Might go over them once more to get a better finish.
These are only a few of them - but it's a start.
Befores on the right, after treatment in the tub.
Edited by ZR1cliff on Sunday 7th October 20:59
One of the most irritating things that can go wrong with a car is the electrics. At 40 years old and been standing for decades with all possible rodents getting in under the dash I decided the loom needed looking at.
This was sent off to the States and a major overhaul with http://midlife66.com/harnesses/ who specialise in Fords and Mustang wiring looms. They cut out all add ons which allows you to start with a clean slate, electrically, once again. Shipping there and back took around a month and total cost was just shy of 300 quid.
Parts of the loom were in seperate bags with their own itemised installation instructions
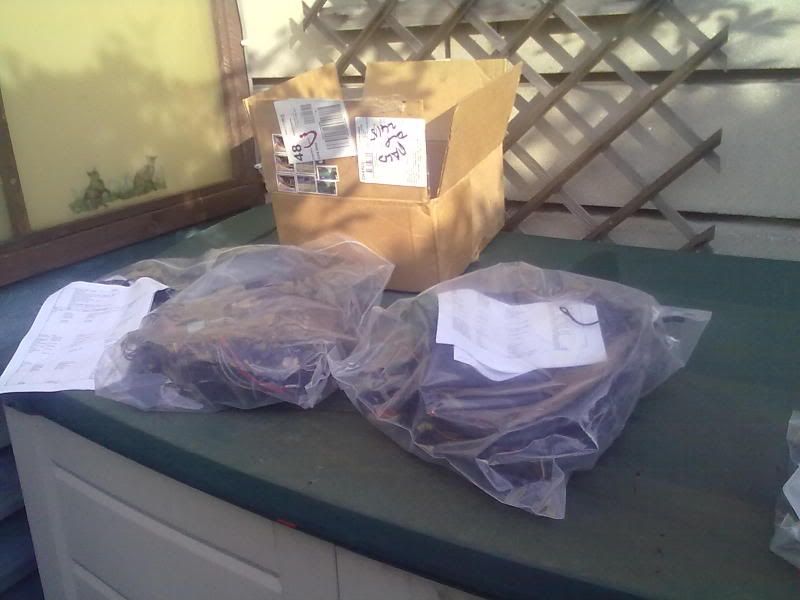
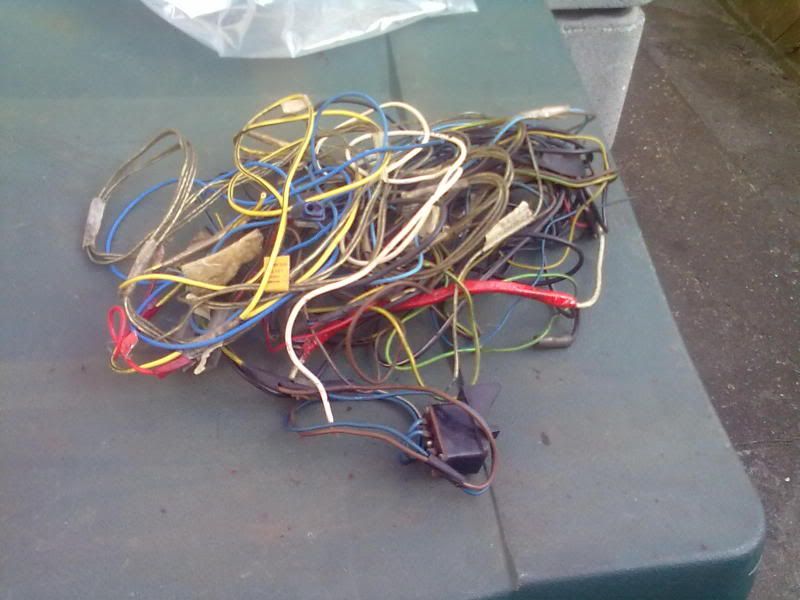
Also returned was all the cut out 'add ons' with naff DIY connectors.
This was sent off to the States and a major overhaul with http://midlife66.com/harnesses/ who specialise in Fords and Mustang wiring looms. They cut out all add ons which allows you to start with a clean slate, electrically, once again. Shipping there and back took around a month and total cost was just shy of 300 quid.
Parts of the loom were in seperate bags with their own itemised installation instructions
Also returned was all the cut out 'add ons' with naff DIY connectors.
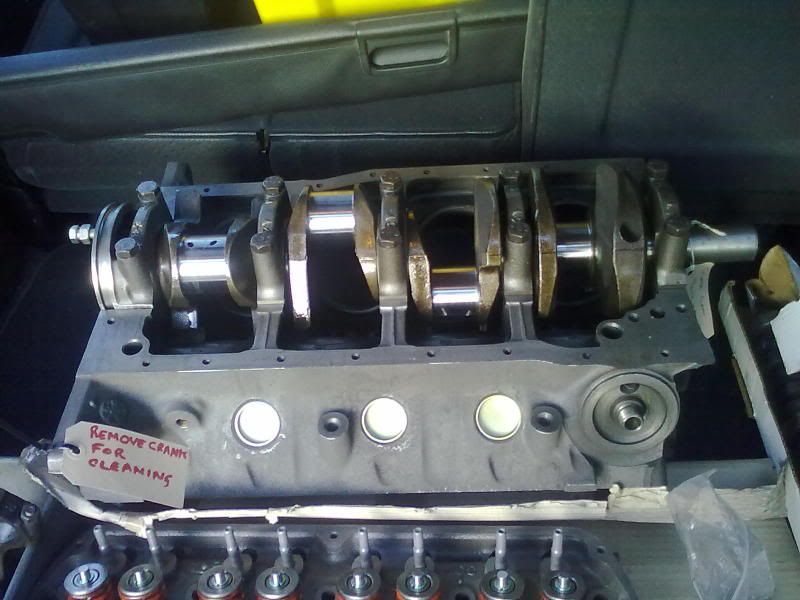
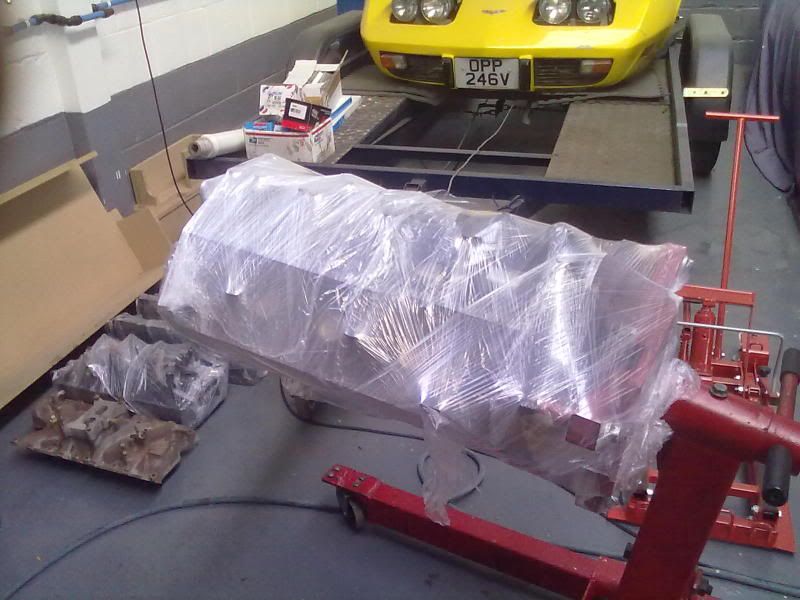
Picked up the engine tonight from the engineers. A 302 2V, that's only done just over 50.000 miles, had sat for the best part of a quarter of a century. Block and heads were cleaned and pressure tested. It also required a crank polish, bores honed and new cam bearings. The block was also checked for crank alignment. Heads were dismantled and overhauled which included a lead free conversion.

Edited by ZR1cliff on Tuesday 25th September 19:59
Dr G said:
Might seem unnecessary to some but I bet you that will save a hundred headaches at reassembly and greatly improve the reliability of the finished car.
Keep us updated, following with interest
Will do Dr G.Keep us updated, following with interest
Although the bodywork was ok, strangely anything electrical or mechanical had sweated and siezed. Even the light switch rod snapped in half when it was pulled. Needless to say I was concerned at what state the loom wires were in.
Engine and heads are in the workshop, as of today and wrapped up waiting while all the other parts are delivered. Should be starting assembly in the next couple of weeks after another good clean.
Another handy little tool is this internal coil spring compressor. This came with simple instructions and a can of common sense. Wasn't big money and should make the job of instaling the new suspension a lot easier.

Another handy little tool is this internal coil spring compressor. This came with simple instructions and a can of common sense. Wasn't big money and should make the job of instaling the new suspension a lot easier.
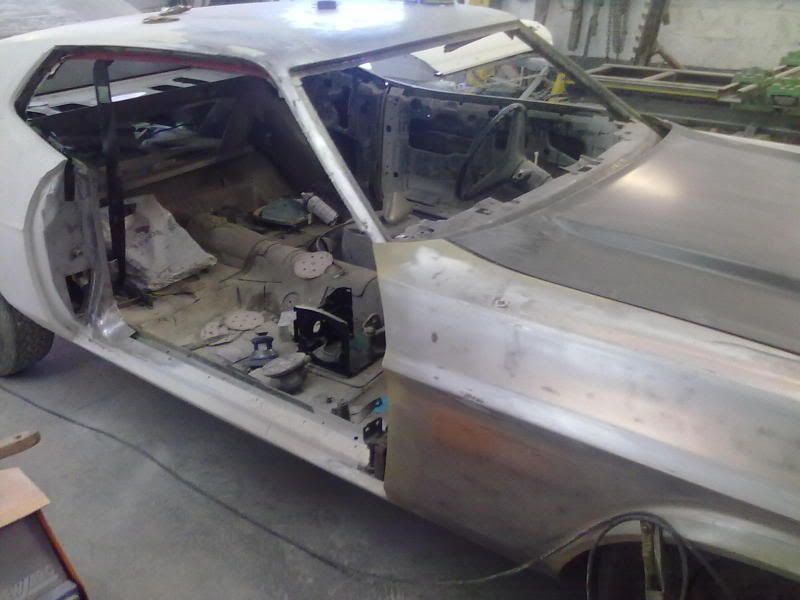
Feel like I'm right in the thick of it now, after going down the bodyshop today. They're getting stuck into the shell now, straitening panels and should be soon hanging all the panels.
Work is starting on the engine soon, as already mentioned, so I've been ordering more parts and taking them down to the build shop. I use CJ Pony parts for body and hard to get items and use Real Steel for all my engine parts. Both have been very good in their service. I ordered some engine parts from RS yesterday lunch time and they were being delivered to me late this morning.
I've been very surprised at how easy it was to get parts that I thought would be a struggle to locate, but RS have come up trumps almost every time, with the parts on the shelf.
One of the difficulties I'm having is matching up the ford engine blue. I bought some from ebay, thinking it was the later Ford engine blue, however when I matched it against the old engine parts and the new blue 'powered by ford' rocker covers it was too light. I have got hold of some paint that is a good match and when the engine is built and painted, all shoud be corrected.
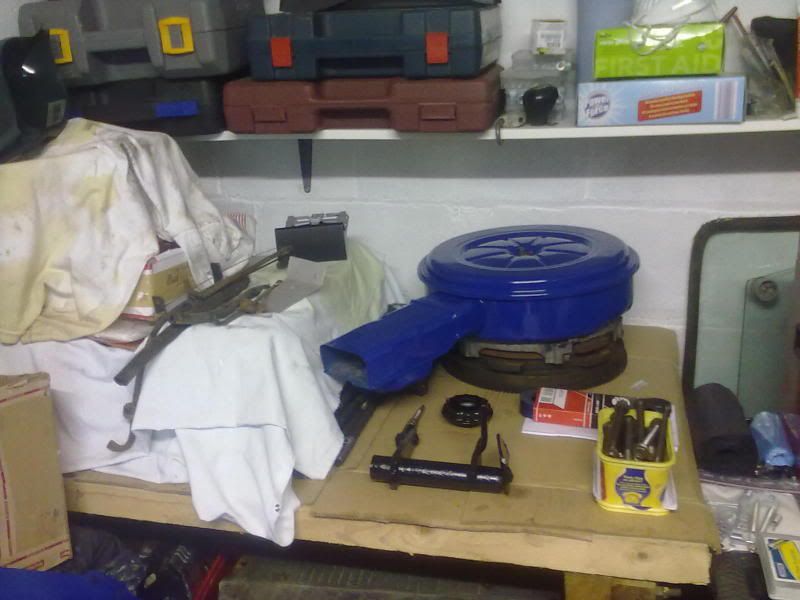
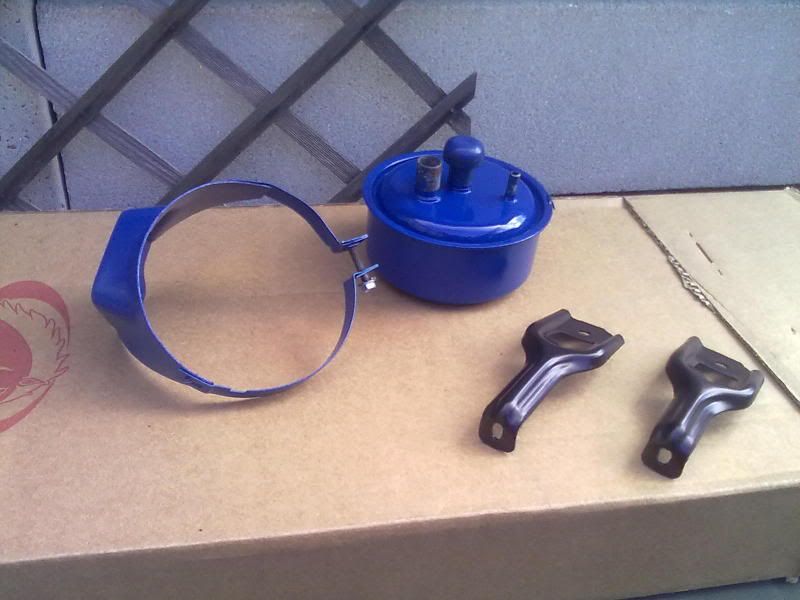
Some parts having been through a cleaning and painting process on the back bench. Reclaimed original bolts in a tub soaking in lube. The original air cleaner after having the dents in the snorkel straightened, then cleaned, undercoated and painted. Will wait to see how the colour matches with the engine before putting the factory Sticker on. The clutch equaliser bar cleaned and painted, awaiting bushings and springs ordered from CJ pony parts.
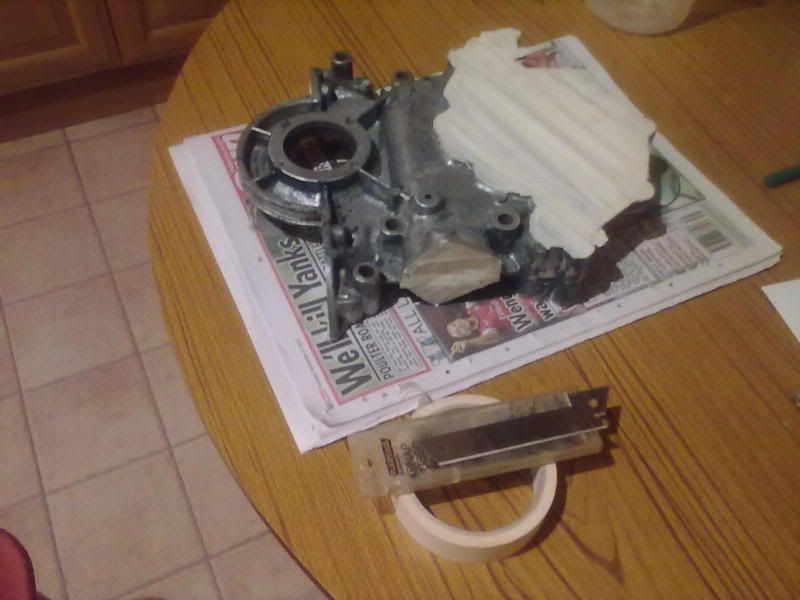
Also been cleaning up parts like this front cover.
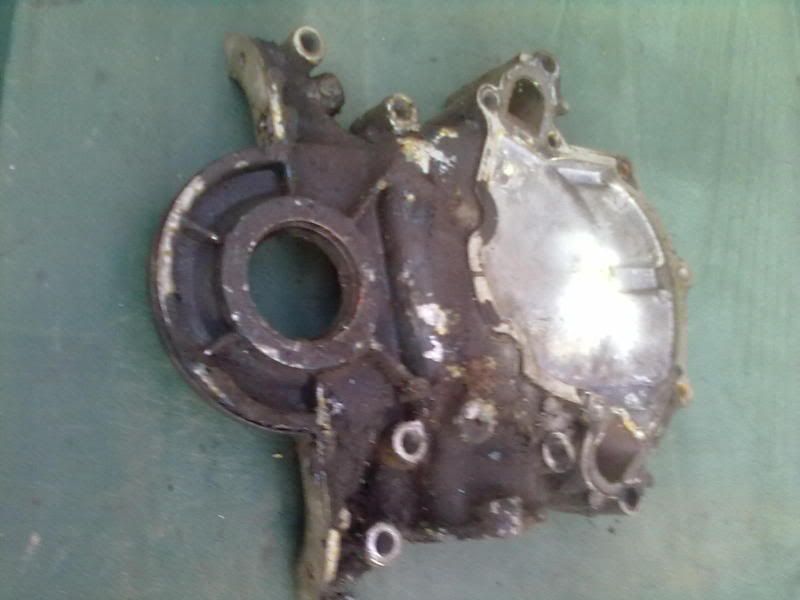
Cleaning the inside with engine cleaner.
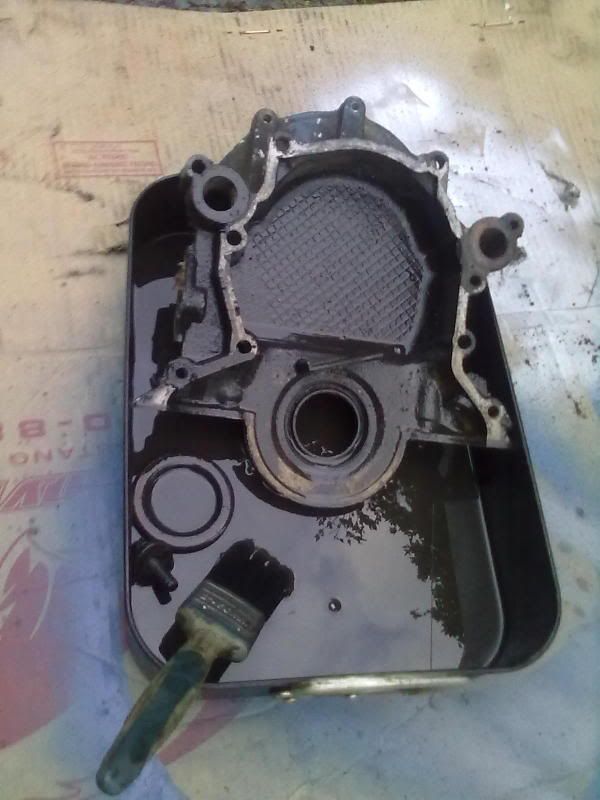
And masking up gasket surfaces before undercoating and top coat.
Work is starting on the engine soon, as already mentioned, so I've been ordering more parts and taking them down to the build shop. I use CJ Pony parts for body and hard to get items and use Real Steel for all my engine parts. Both have been very good in their service. I ordered some engine parts from RS yesterday lunch time and they were being delivered to me late this morning.
I've been very surprised at how easy it was to get parts that I thought would be a struggle to locate, but RS have come up trumps almost every time, with the parts on the shelf.
One of the difficulties I'm having is matching up the ford engine blue. I bought some from ebay, thinking it was the later Ford engine blue, however when I matched it against the old engine parts and the new blue 'powered by ford' rocker covers it was too light. I have got hold of some paint that is a good match and when the engine is built and painted, all shoud be corrected.
Some parts having been through a cleaning and painting process on the back bench. Reclaimed original bolts in a tub soaking in lube. The original air cleaner after having the dents in the snorkel straightened, then cleaned, undercoated and painted. Will wait to see how the colour matches with the engine before putting the factory Sticker on. The clutch equaliser bar cleaned and painted, awaiting bushings and springs ordered from CJ pony parts.
Also been cleaning up parts like this front cover.
Cleaning the inside with engine cleaner.
And masking up gasket surfaces before undercoating and top coat.
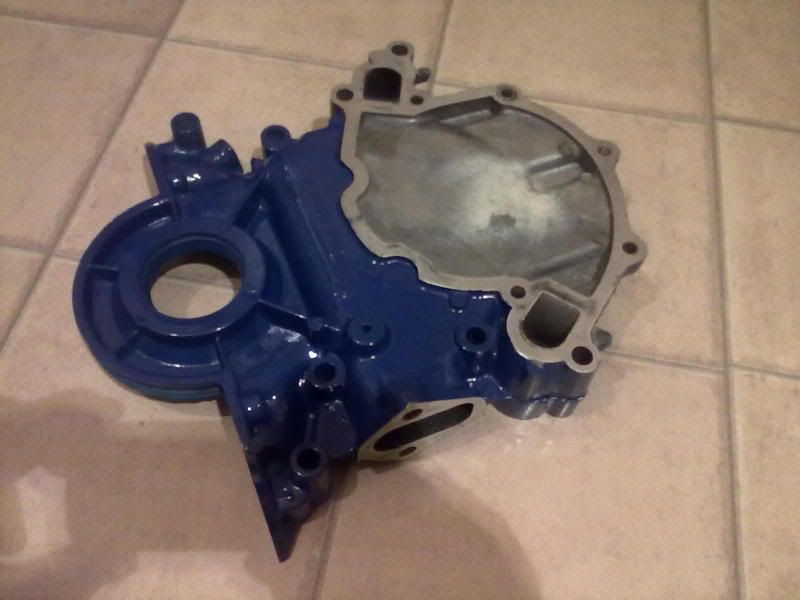
The last of 4 days holiday today, so I finished some of the parts including the front cover, that's got a new lease of life. I've tracked the new sump and it's due to be delivered on Monday so will take these items down to the engine builder Tuesday. Unfortunately on cleaning the sump, the corrosion had eaten a small hole through the bottom and it went straight into the scrap bin.
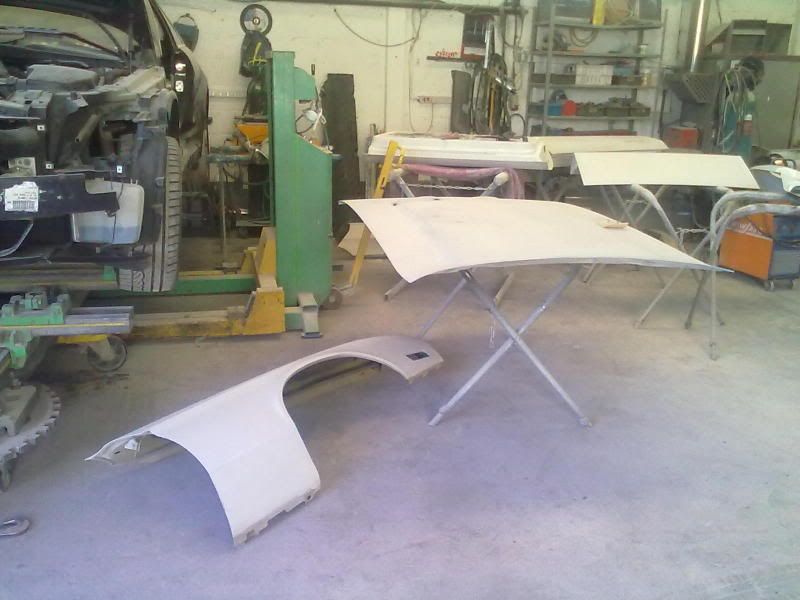
There's been some thorough work taking place on the shell and various panels are now under close scrutiny, after being taken back to bare metal.
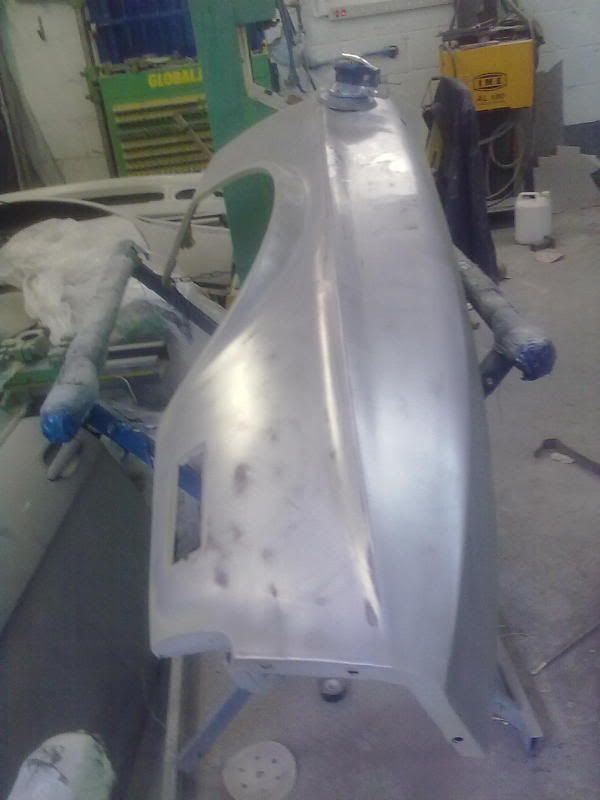
These cars were mass produced, so body quality wasn't the best when it came to getting the gaps right and annoying things like doors kicking out at the bottom, luckily something the car didn't suffer from before being stripped down.
There is still some more adjustments to be made, when they are all finally fitted.
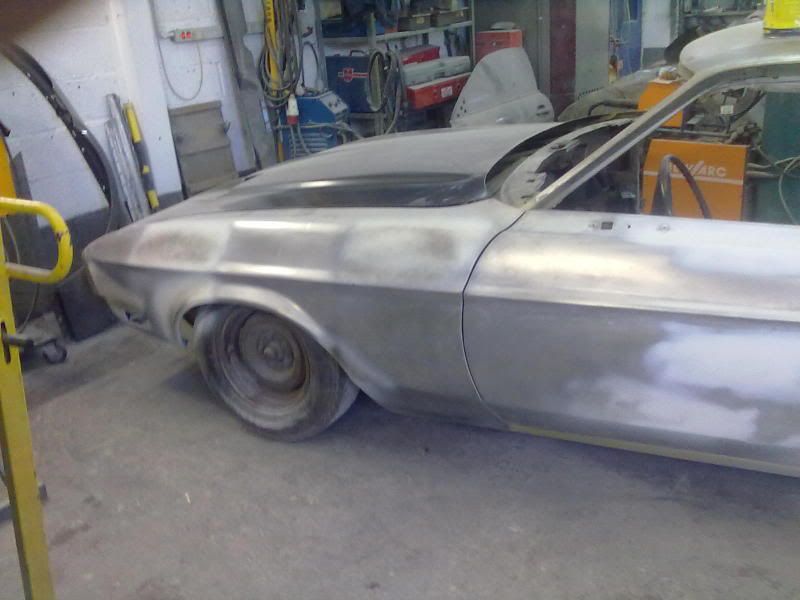
New bonnet has fitted better than I thought for an after market item.
This is my 'Target photo', the colour scheme of Grabber Blue with black 'Mach1' decals .Also the exact Magnum 500 wheels 15x8 rear and 15x7 fronts, although I'll be using Hankook white lettered tyres.

These cars were mass produced, so body quality wasn't the best when it came to getting the gaps right and annoying things like doors kicking out at the bottom, luckily something the car didn't suffer from before being stripped down.
There is still some more adjustments to be made, when they are all finally fitted.
New bonnet has fitted better than I thought for an after market item.
This is my 'Target photo', the colour scheme of Grabber Blue with black 'Mach1' decals .Also the exact Magnum 500 wheels 15x8 rear and 15x7 fronts, although I'll be using Hankook white lettered tyres.
Something of interest on Brake boosters that I've posted on another forum.
Been watching this thread with interest due to my 72 restoration. We need to kick start this thread as it appears there are not many Brake booster folk around and any small tit bits of imfo can help in salvaging old boosters, seeing as the originals seem hard to come by.
First of all I found this thread, as although I've purchased a new booster, my old one having sat for decades, I am still curious to know if the old one is up to scratch and can be used.
How to test your booster OFF the car
http://forums.vintage-mustang.com/vintage-mustang-...
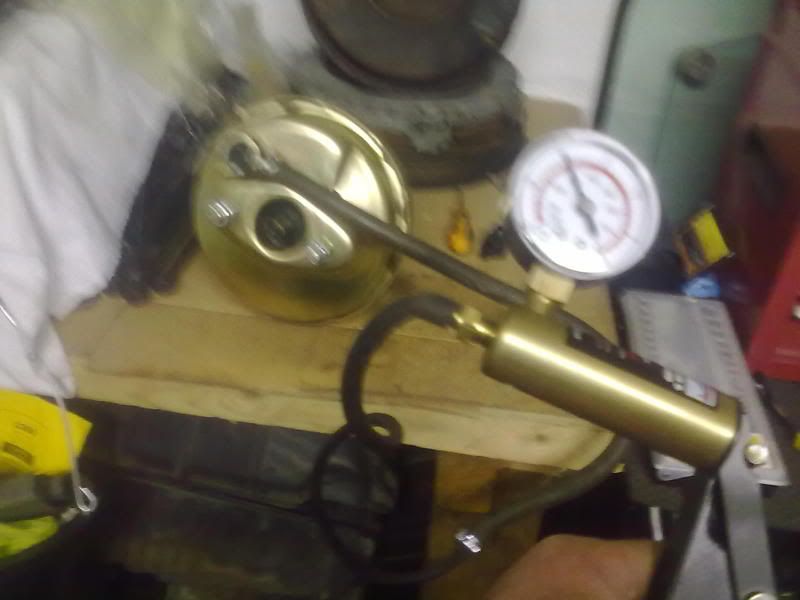
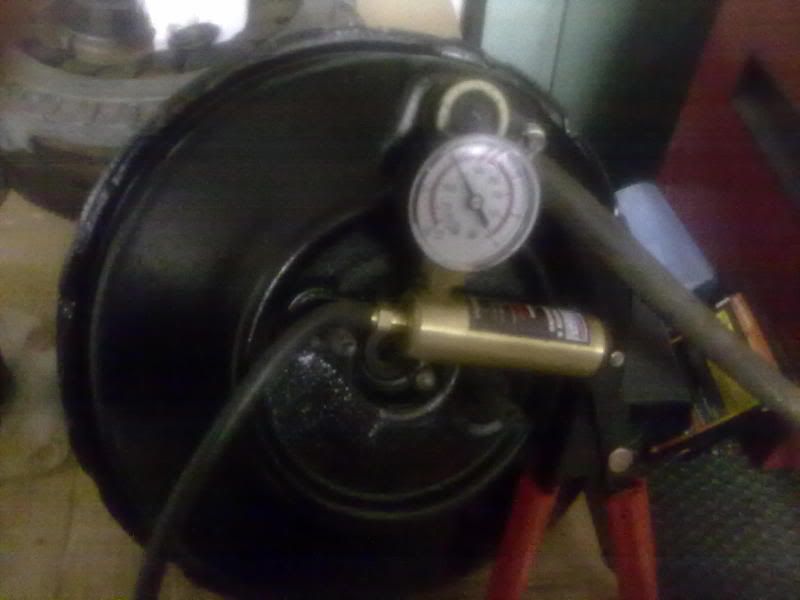
Then I carried out my own test conecting up a couple of hoses and using a Sealey Vacuum pump.
My new one, as you would expect, performed ok. It didn't take long to get up to 5" on the dial and I kept going to 20". The pressure held firm and only expelled air from the rear once I pushed in the plunger that attaches to the pedal rod in the car.
Apologies for poor quality pics, a case of not enough hands.
My old one didn't do too bad considering it's not new and hasn't been in use for 20 plus years. Again it didn't take long to get up to 5" on the vacuum dial. However it was a lot slower getting up to 15". Then the needle would very very slowly drop back. I emphasise 'Very very' as it was that slow. Again when I pushed in the plunger I had more or less the same effect as I had on the new booster.
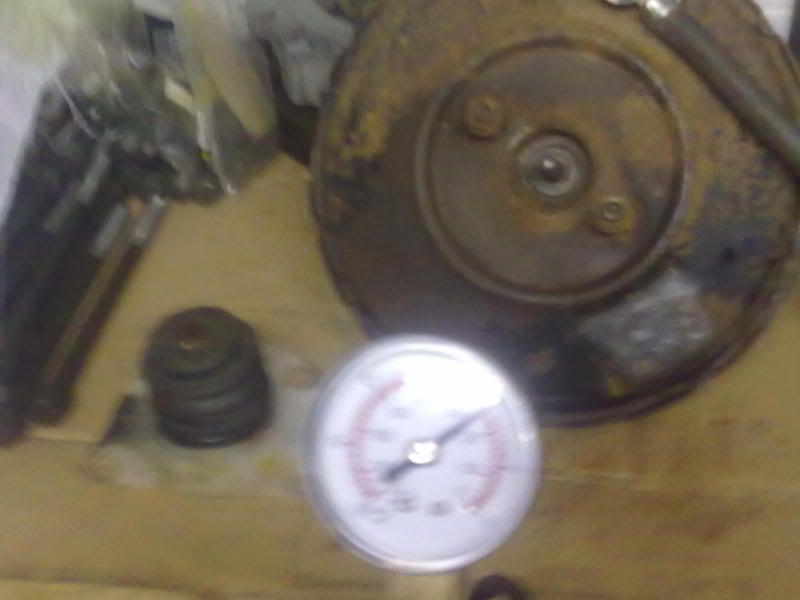
All associated rubber on the booster looks in good condition, as are all the rubber parts on the car, which is amazing considering the time the car has been sat. So I have no real reason to believe the diaphram inside the booster is perished.
Considering I was using a small hand held pump and these things are meant to work from the pressure of the engine, maybe the old one just needs connecting up to the car and given a good workout.
Please bear in mind I know absolutely naff all about brake boosters And if anyone can throw any more light on the subject, it would be welcome.
Been watching this thread with interest due to my 72 restoration. We need to kick start this thread as it appears there are not many Brake booster folk around and any small tit bits of imfo can help in salvaging old boosters, seeing as the originals seem hard to come by.
First of all I found this thread, as although I've purchased a new booster, my old one having sat for decades, I am still curious to know if the old one is up to scratch and can be used.
How to test your booster OFF the car
http://forums.vintage-mustang.com/vintage-mustang-...
Then I carried out my own test conecting up a couple of hoses and using a Sealey Vacuum pump.
My new one, as you would expect, performed ok. It didn't take long to get up to 5" on the dial and I kept going to 20". The pressure held firm and only expelled air from the rear once I pushed in the plunger that attaches to the pedal rod in the car.
Apologies for poor quality pics, a case of not enough hands.
My old one didn't do too bad considering it's not new and hasn't been in use for 20 plus years. Again it didn't take long to get up to 5" on the vacuum dial. However it was a lot slower getting up to 15". Then the needle would very very slowly drop back. I emphasise 'Very very' as it was that slow. Again when I pushed in the plunger I had more or less the same effect as I had on the new booster.
All associated rubber on the booster looks in good condition, as are all the rubber parts on the car, which is amazing considering the time the car has been sat. So I have no real reason to believe the diaphram inside the booster is perished.
Considering I was using a small hand held pump and these things are meant to work from the pressure of the engine, maybe the old one just needs connecting up to the car and given a good workout.
Please bear in mind I know absolutely naff all about brake boosters
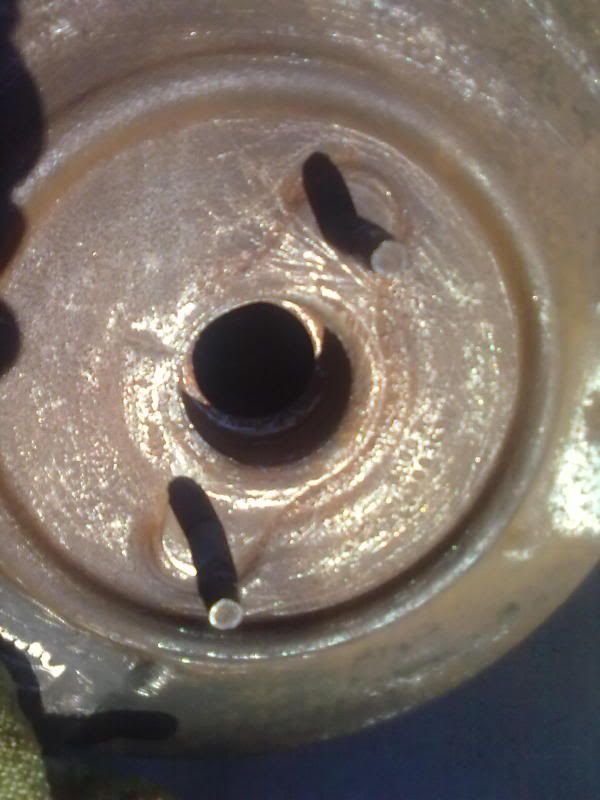
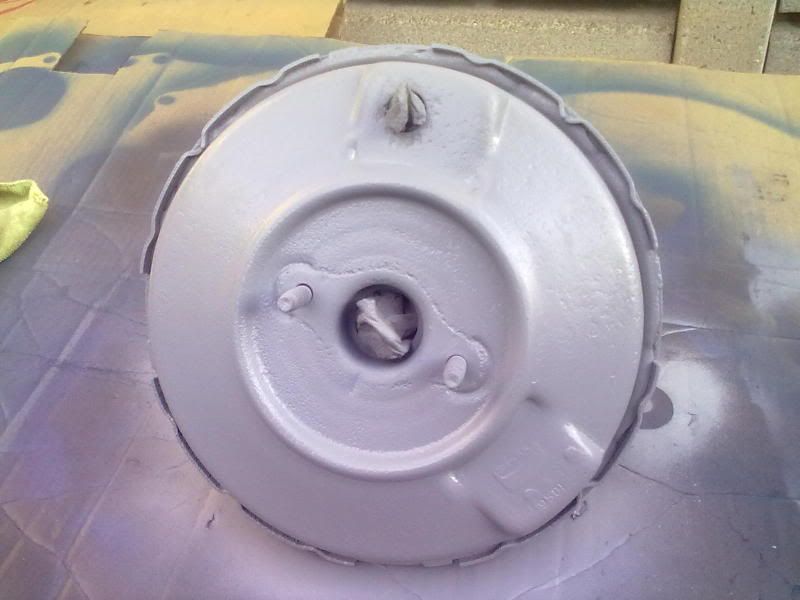
And if anyone can throw any more light on the subject, it would be welcome.I took the plunger out of the brake master cylinder side (it just pulls out) and on inspection from what I could see, shining a light inside, the interior looks like new. The plunger rubber is pulled over a small metal plate that helps the rubber to keep its shape. The rubber fits snugly around the plunger and also into the centre of the booster.
Once withdrawn, the seat in the booster cover that the rubber sits in was rusty and is likely to have affected the seal of the rubber, hence the slow drop in vacum. Taking a chance, I've elected to try and derust the cover and seat and paint. Then I'll clean up the plunger parts, put a bit of grease around the seat and reinstall the plunger to see If I can get a better vacuum test result.
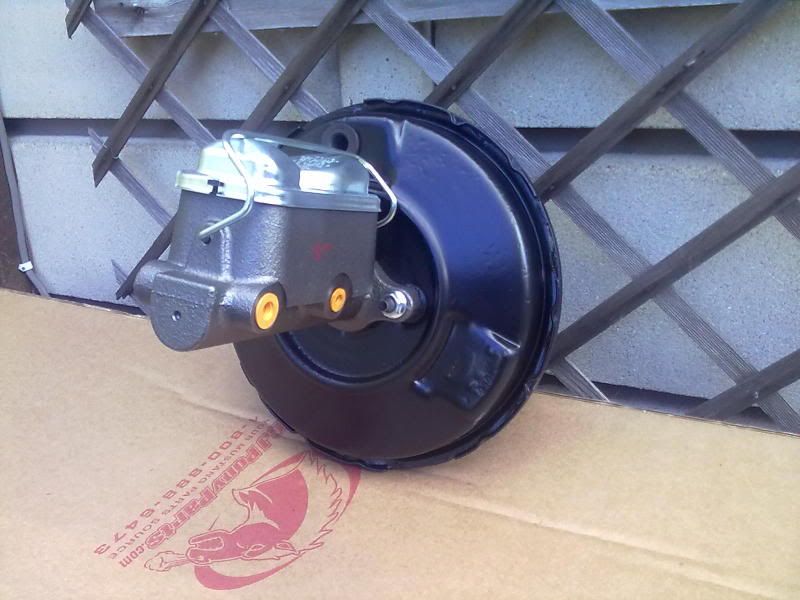
The booster was cleaned up as best as possible, it still has some pitting in places, however I've put it in primer for the time being. Once it has dried I'll give it another vacuum test.
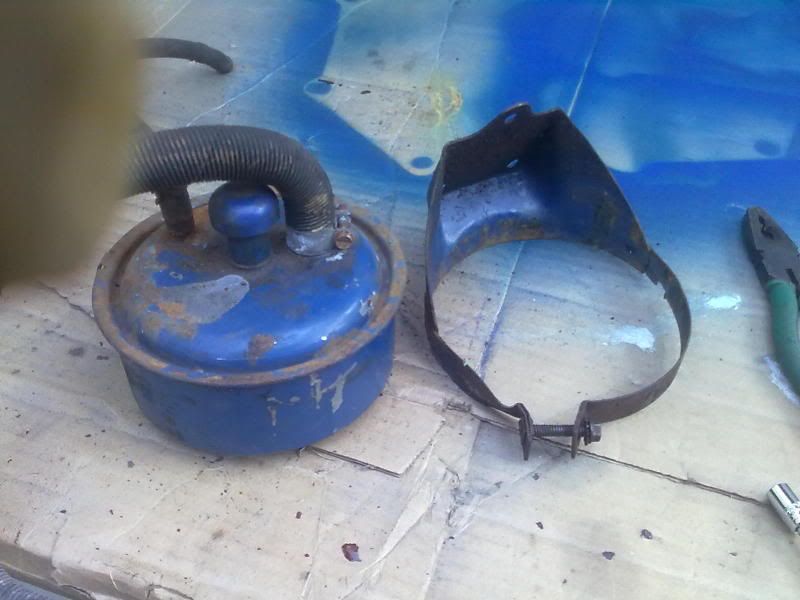
Another part that needs cleaning up and next on my list, is the carbon cannister. This takes the vapours from the fuel tank and also has a smaller pipe connected to the base of the carb
Taken from a mustang forum
they are not serviceable.
The fuel vapor canister has a blue cap on one of the large vents. this is not used.
The second largest vent Goes into the Air cleaner Base via a paper/foil tube, this provides the negative pressure in the vapor canister that pulls all the vapors out.
Then you have 2 smaller vents:
The smallest vent goes to the Fuel bowl vent on the original 4100, 4300 carburetor. this in conjunction with the larger vent pulls all the evaporating fuel out of the carburetor, it helps keep the carburetor dry from moisture condensation and reduces varnish build up. Similar to how a PCV works in the valve cover.
the slightly larger vent, goes to the Fuel tank via the Vapor Return line. this in conjunction with the larger vent pulls all the evaporating fuel and moisture out of the gas tank, and keep it dry, again like the PCV on the valve cover.
if you smell gas more then likely you have left one of the vents on the vapor canister disconnected. If you do not have the main tube going from the Vapor canister to the air intake base, then there is no negative pressure in the system when the the engine is running. in that case the vapor canister is just relieving pressure build up in the fuel tank as the fuel evaporates. or when the engine is running using fuel from the tank then it stops vacuum from forming inside the fuel tank. the vacuum that is pulled through the canister is very small. just slightly negative.
if the canister is not being used you need to leave at least one of the plugs open so the fuel tank does not implode from vacuum while the engine is running.
most people change the air cleaner base and the carburetor so they make the vapor canister less effective and since air is not pulled through it the fuel tends to varnish inside and clog the fuel vent line up. ( i had this issue my canister was disconnected and the fuel vapor return line was 100% clogged with fuel varnish and had to be replaced.)
if you shake the can and hear what sounds like BBs inside your fine, if you can blow through the 2 smaller hose attachments and there is no pressure build up then the canister is still good. if you pull off the blue cap on the larger tube and turn it over some of the carbon inside may spill out so don't do that.
that vapor canister is quite useful when its hooked up and working correctly. at the best the vapor line should be hooked up and the larger tube should go up to the intake before the Air Filter, to help pull out moisture from the fuel tank.
if not using the carburetor vent line, then you can safely plug that off.
Once withdrawn, the seat in the booster cover that the rubber sits in was rusty and is likely to have affected the seal of the rubber, hence the slow drop in vacum. Taking a chance, I've elected to try and derust the cover and seat and paint. Then I'll clean up the plunger parts, put a bit of grease around the seat and reinstall the plunger to see If I can get a better vacuum test result.
The booster was cleaned up as best as possible, it still has some pitting in places, however I've put it in primer for the time being. Once it has dried I'll give it another vacuum test.
Another part that needs cleaning up and next on my list, is the carbon cannister. This takes the vapours from the fuel tank and also has a smaller pipe connected to the base of the carb
Taken from a mustang forum
they are not serviceable.
The fuel vapor canister has a blue cap on one of the large vents. this is not used.
The second largest vent Goes into the Air cleaner Base via a paper/foil tube, this provides the negative pressure in the vapor canister that pulls all the vapors out.
Then you have 2 smaller vents:
The smallest vent goes to the Fuel bowl vent on the original 4100, 4300 carburetor. this in conjunction with the larger vent pulls all the evaporating fuel out of the carburetor, it helps keep the carburetor dry from moisture condensation and reduces varnish build up. Similar to how a PCV works in the valve cover.
the slightly larger vent, goes to the Fuel tank via the Vapor Return line. this in conjunction with the larger vent pulls all the evaporating fuel and moisture out of the gas tank, and keep it dry, again like the PCV on the valve cover.
if you smell gas more then likely you have left one of the vents on the vapor canister disconnected. If you do not have the main tube going from the Vapor canister to the air intake base, then there is no negative pressure in the system when the the engine is running. in that case the vapor canister is just relieving pressure build up in the fuel tank as the fuel evaporates. or when the engine is running using fuel from the tank then it stops vacuum from forming inside the fuel tank. the vacuum that is pulled through the canister is very small. just slightly negative.
if the canister is not being used you need to leave at least one of the plugs open so the fuel tank does not implode from vacuum while the engine is running.
most people change the air cleaner base and the carburetor so they make the vapor canister less effective and since air is not pulled through it the fuel tends to varnish inside and clog the fuel vent line up. ( i had this issue my canister was disconnected and the fuel vapor return line was 100% clogged with fuel varnish and had to be replaced.)
if you shake the can and hear what sounds like BBs inside your fine, if you can blow through the 2 smaller hose attachments and there is no pressure build up then the canister is still good. if you pull off the blue cap on the larger tube and turn it over some of the carbon inside may spill out so don't do that.
that vapor canister is quite useful when its hooked up and working correctly. at the best the vapor line should be hooked up and the larger tube should go up to the intake before the Air Filter, to help pull out moisture from the fuel tank.
if not using the carburetor vent line, then you can safely plug that off.
Edited by ZR1cliff on Sunday 7th October 21:05
Update on the 40 year old brake booster. After cleaning, painting and tidying the plunger and associated parts then putting a bit of grease on the seat for the rubber to seal against, I tried another vacuum test. This time I could pump it up to 20" on the guage and it held firm without any leaks. Dead chuffed, as this was an original hard to get item that I wanted to save.
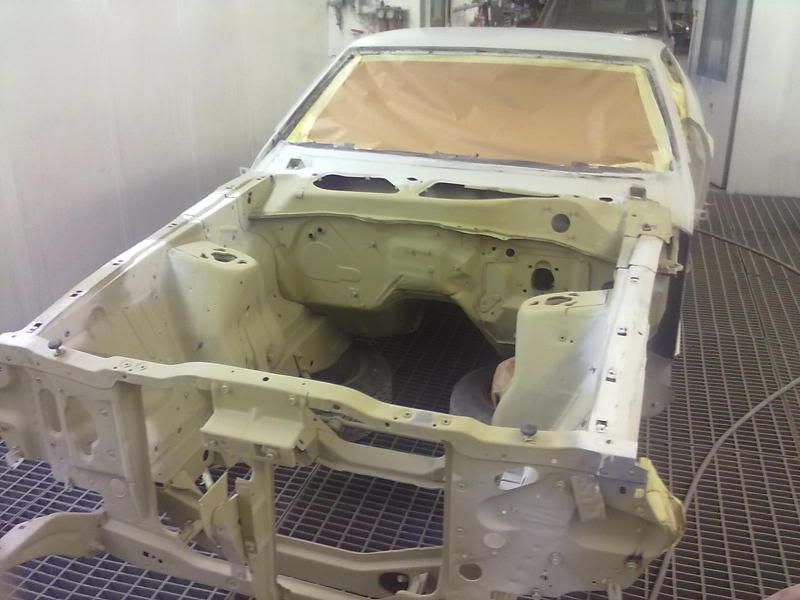
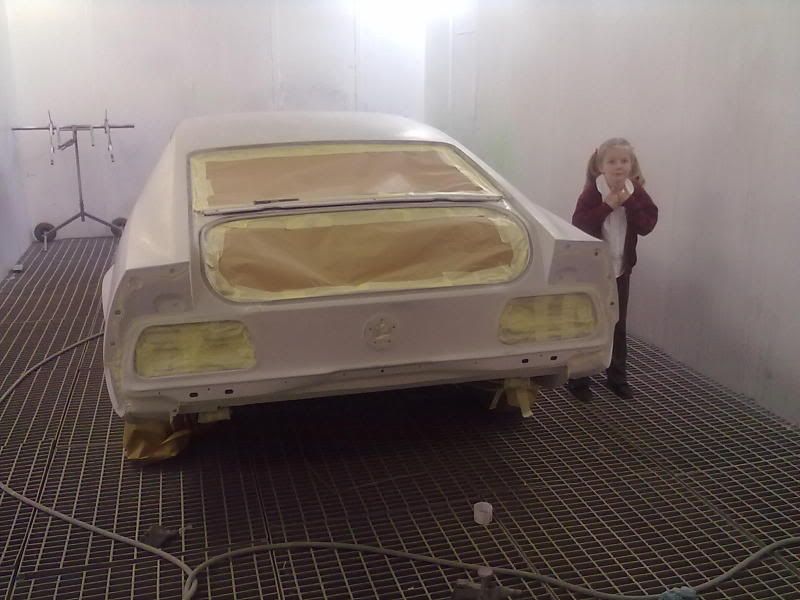
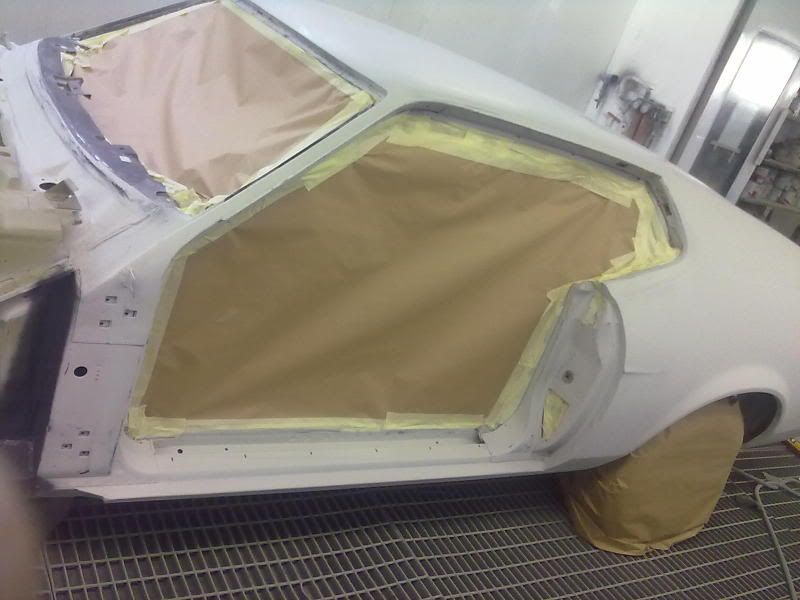
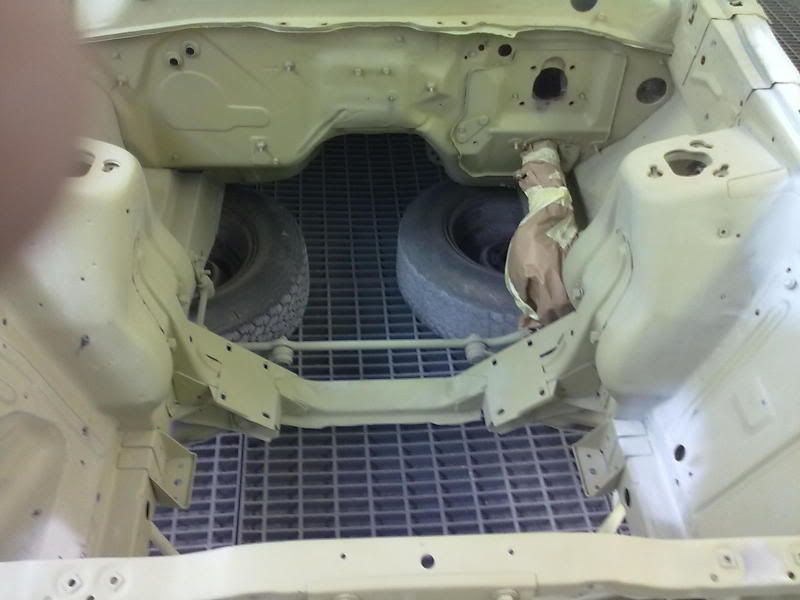
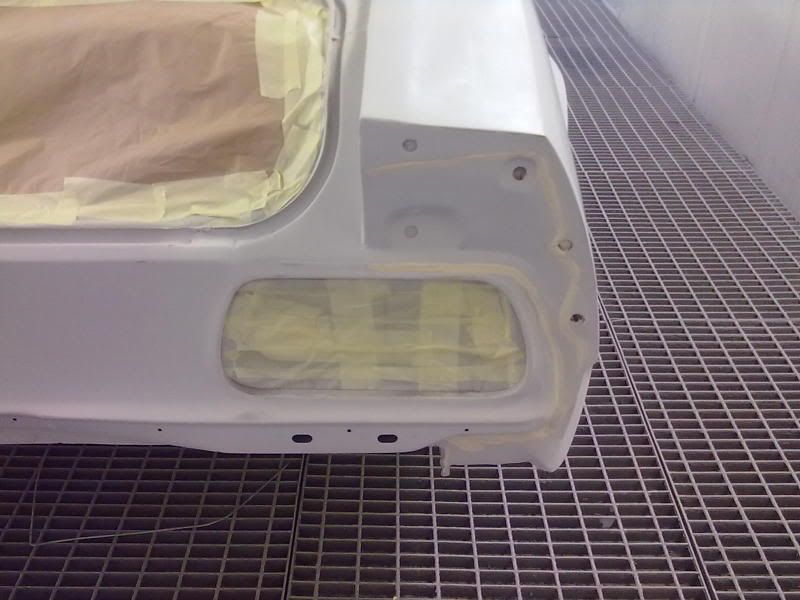
A trip down to the body shop today saw the Mach1 going through its final stages before the top coats of colour and lacquer go on next week. All the joints have been sealed. The shell will be painted first and the other panels will be painted off the car. I've also decided to paint the engine bay the same colour as the car, instead of the factory black, although the frame behind the grille and in front of the radiator will be painted black so there will be a break and the engine bay doesn't disturb the outside effect of the car with the bonnet closed.
tommy vercetti said:
argoose said:
Wow this should be stunning when finished mate!
+1Things like, remembering to make sure long screws go in the brake and fuel pipeline holes so I can locate the holes after the underseal paint goes on.
Also helps having an understanding partner, who helps out with things like taking down engine bay parts in time to catch the sprayers tomorrow morning.
Gassing Station | Mustangs | Top of Page | What's New | My Stuff