Photo editing assistance/guidance
Discussion


I know this has been done a million times, but I'm really struggling with this one.
I've edited three photos and done them all on to canvases and two have come out really well - However, there is one that, when printed, did not work well - the reason being the top left portion of the photo having a dark patch due to the backdrop that I failed to straighten out (for that shoot anyway). Typically this is a photo for the mother-in-law otherwise I'd probably accept it as it is.
This is the photo:

If you look on the top left, you can see what I mean. I can adjust the curves, but that affects the rest of the photo - I've tried in CS6, but I just don't know CS6 well enough to adjust and blend it properly.
I don't mind all the creases really, but that's subjective
Can anyone offer any guidance as to how I can fix this? I can provide the .NEF file if needed.
Thanks
JTW
I've edited three photos and done them all on to canvases and two have come out really well - However, there is one that, when printed, did not work well - the reason being the top left portion of the photo having a dark patch due to the backdrop that I failed to straighten out (for that shoot anyway). Typically this is a photo for the mother-in-law otherwise I'd probably accept it as it is.
This is the photo:
If you look on the top left, you can see what I mean. I can adjust the curves, but that affects the rest of the photo - I've tried in CS6, but I just don't know CS6 well enough to adjust and blend it properly.
I don't mind all the creases really, but that's subjective
Can anyone offer any guidance as to how I can fix this? I can provide the .NEF file if needed.
Thanks
JTW
james_tigerwoods said:
Thanks - You lost me after "up the exposure" though

Add an exposure adjustment layer and set that to +0.5 stop.
Then flatten the image and use the dodge tool - it looks a bit like a lollypop in the tools palette. There should be some settings appear in the top bar where you can select "highlights" and an exposure %age to apply. Then just brush over any grey areas that remain. Don't worry too much about brushing over the subjects, the affect on them should be fairly minimal.
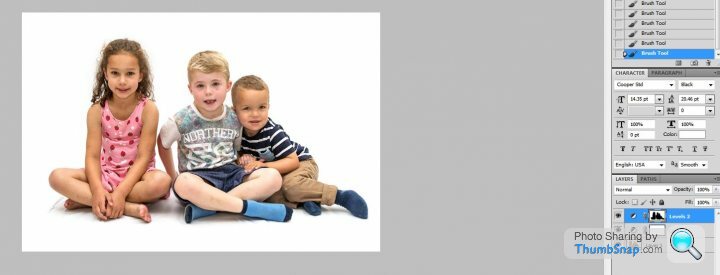
Upload the original and I will do it for you but, if you want to try yourself, my method would be as follows...
Stick a levels adjustment layer over the image. Use the white dropper to set the background near to the kids heads as white. Maybe drag the white slider across a touch depending on your preference. Put another Levels adjustment layer over the top of the previous one and now use the white dropper on the grey area you want to remove. You may need to move the white slider again... Basically you want it so you can't see the grey area any more and the background is totally white. Now select the brush tool and pure black. Draw in the mask over the kids.
You now have a pure white background and accurately exposed kids, and it's non destructive too.
You could of course just clone it out or cut the kids out and white the background etc.
Edited by MysteryLemon on Tuesday 18th November 14:52

Simpo Two said:
You've cooked his knees though... they were about right to start with.
There are many ways to skin this cat in PS.
There are many ways to skin this cat in PS.
 agreed, knees are a little over done in that version. I think the full res version I sent via email is better. I worked from the raw file to alter the exposure rather than the low res jpg above. (hope you don't mind me putting this here James_tigerwoods)
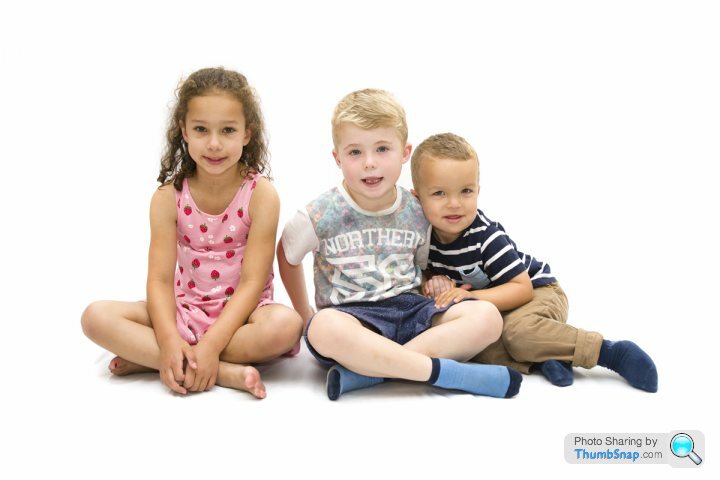
But yes, loads of ways you can go about it, all achieving the same result. Whatever works for you.
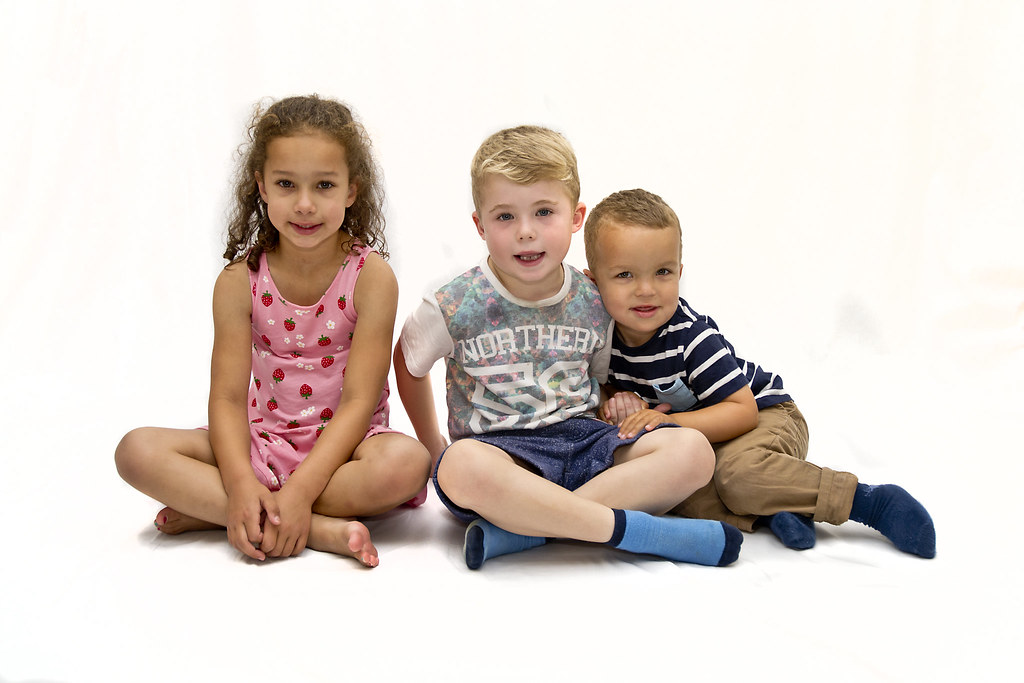
No, that's fine - Thanks both of you for removing that damned temporary tattoo which I only noticed AFTER the bloody photo shoot. The boy in the middle is my nephew and you've both done a good job at giving some colour to his (very pasty) skin
You've done a far better job at editing that I could have - my edits left the backdrop in and I need to learn how to do two things: Smooth it properly and then remove any blemishes as you have.
I've attempted to mask things off before, but my daughter's hair is infuriating in its maddening frizziness....
Thanks again
Gassing Station | Photography & Video | Top of Page | What's New | My Stuff