They Said it Couldn't be Done...
Discussion


A boring little job for today; new rubber mat to sit between the door card and the door.
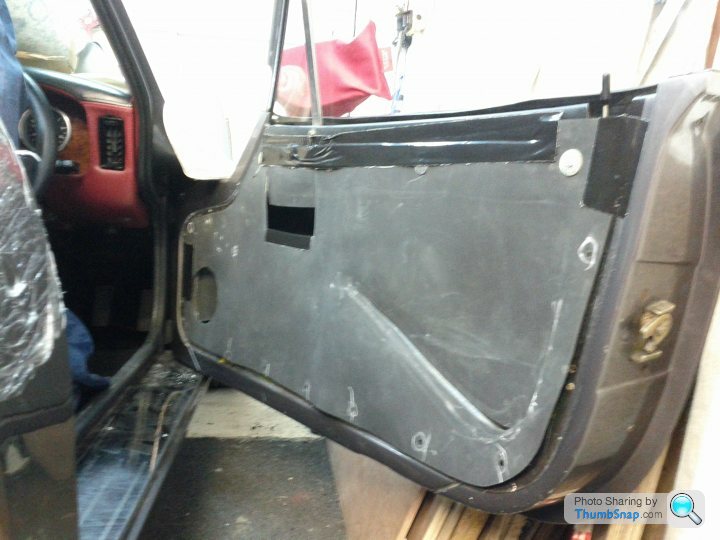
Boring but necessary.
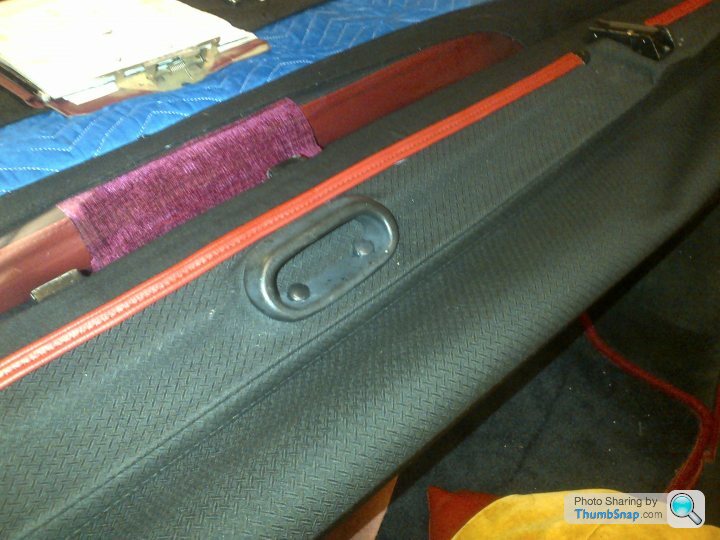
Here I'm trying out an idea to secure the bottom edge of the hood cover as an alternative to poppers. I'm thinking a strip of Velcro sewn to some hooding material and glued to this moulding.
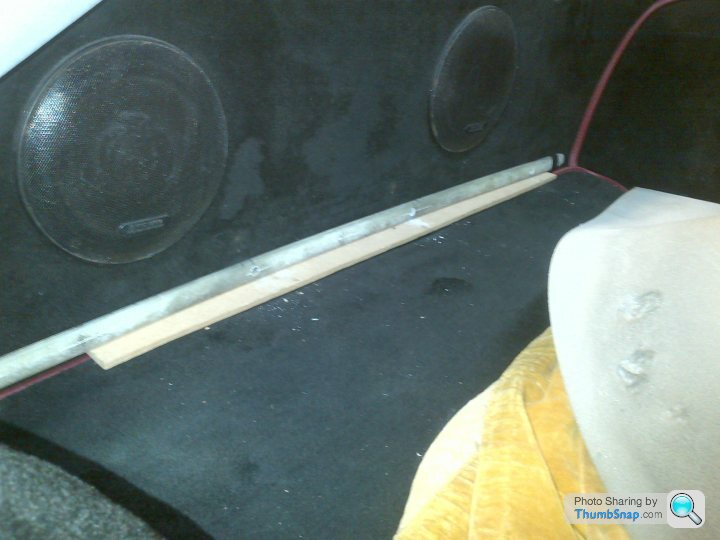
This should provide a nice tight seal at this point and stop the wind getting underneath the hood cover.
Boring but necessary.
Here I'm trying out an idea to secure the bottom edge of the hood cover as an alternative to poppers. I'm thinking a strip of Velcro sewn to some hooding material and glued to this moulding.
This should provide a nice tight seal at this point and stop the wind getting underneath the hood cover.
Don't know about "all" but there was one on mine originally. Not as well cut and trimmed as mine though  What the photos don't show are the little flaps which I left over the speaker and ash-tray cut-outs based on the theory that if any water runs down the inside of the door it will be deflected away from the cut-out.
What the photos don't show are the little flaps which I left over the speaker and ash-tray cut-outs based on the theory that if any water runs down the inside of the door it will be deflected away from the cut-out.Edited by v8s4me on Sunday 29th March 20:06
 those over-centre look familiar
Work in progress at the trimmers...
 |http://thumbsnap.com/3eKtPMSJ[/url][url]
 |http://thumbsnap.com/AGaoz6Cs[/url]
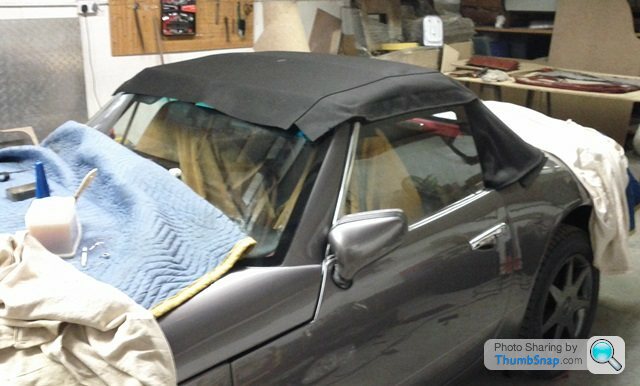
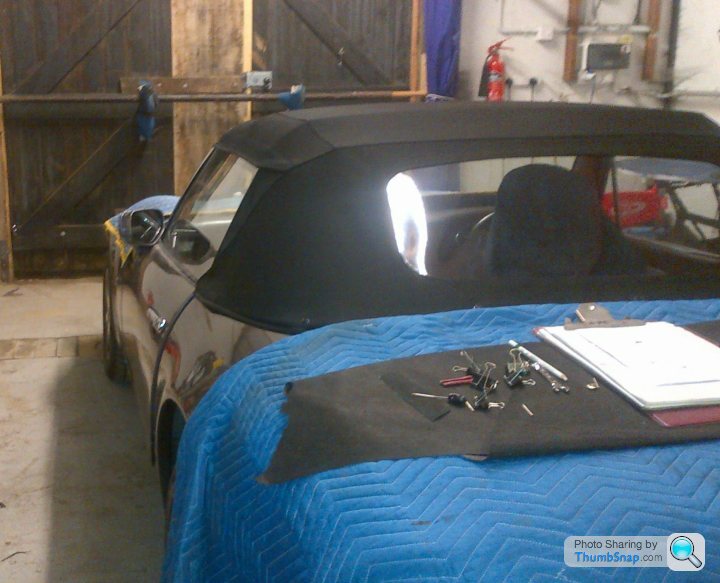
It's coming on nicely but slowly as there are lots of little decisions to be made and thought through before committing to cutting and fixing.
I'm not sure the photos show it, but it's looking "right" in terms of proportions and lines. Although the rear view is a little compromised at the moment [url]
[url]
|http://thumbsnap.com/3eKtPMSJ[/url][url]|http://thumbsnap.com/AGaoz6Cs[/url]It's coming on nicely but slowly as there are lots of little decisions to be made and thought through before committing to cutting and fixing.
I'm not sure the photos show it, but it's looking "right" in terms of proportions and lines. Although the rear view is a little compromised at the moment
[url]Edited by v8s4me on Saturday 25th April 12:13
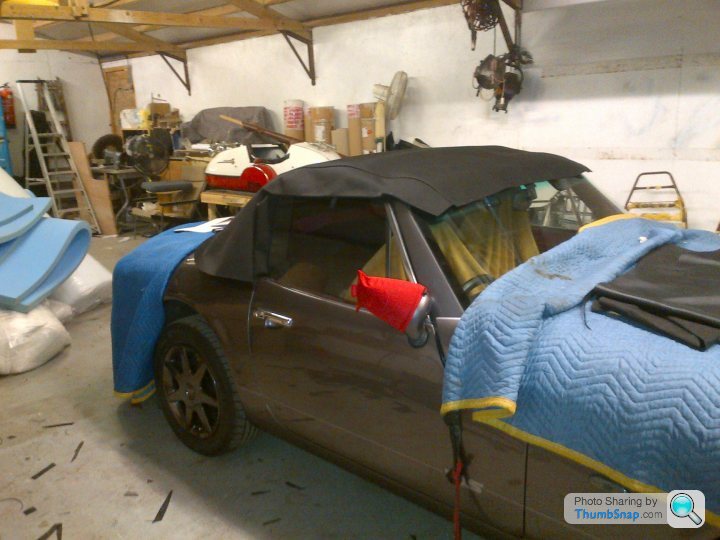
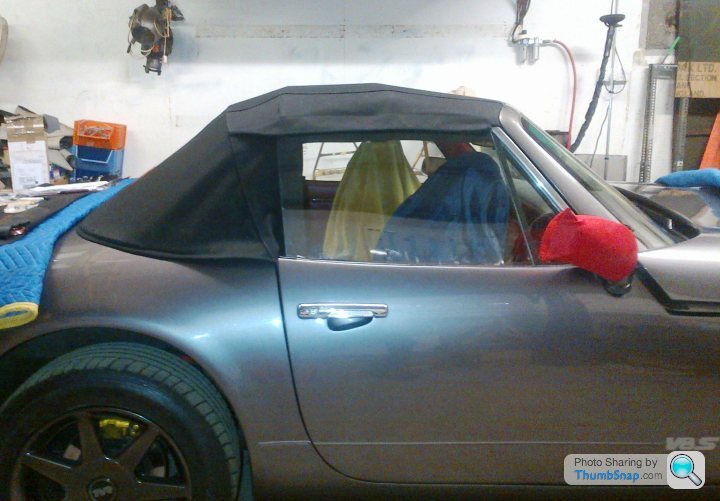
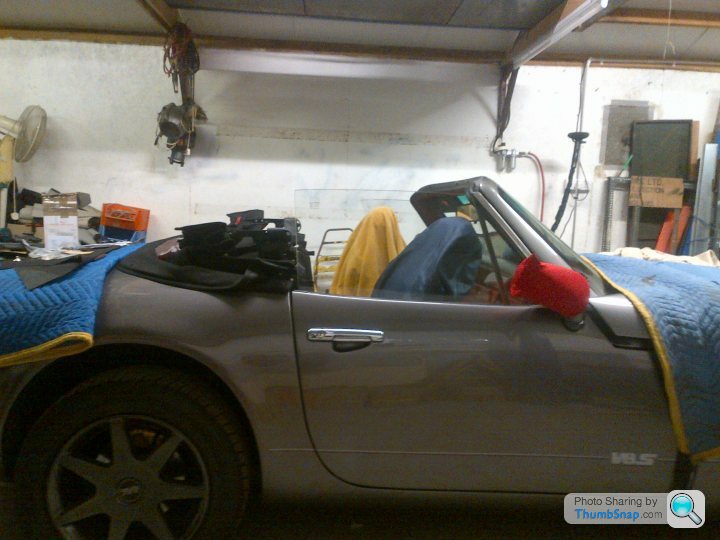
Here are some photos from the trimmer's shop today. As you can see, significant progress and you can now get a feel for what the finished job will look like.
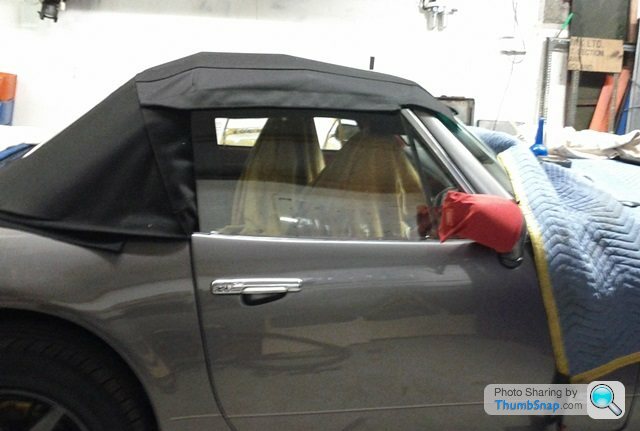
IMHO anyway, a nice low and smooth profile and I do like the way the window lookks and the slope to the rear of this part of the hood.
A bit more fiddling with the fit to get the creases out and we are nearly there. Well I hope so anyway seeing as we are off to Spa in two weeks
IMHO anyway, a nice low and smooth profile and I do like the way the window lookks and the slope to the rear of this part of the hood.
A bit more fiddling with the fit to get the creases out and we are nearly there.
Well I hope so anyway seeing as we are off to Spa in two weeks Thanks all  but we do still need to try this on the road to make sure it really is a practical proposition.
If it is, there is no reason why the conversion can't be done by others. Once you strip out all the failed experiments and dead ends the process is relatively simple compared to an engine/gearbox removal and re-install. Honestly! Like all prototyping, 90% of the work you do gets discarded.
but we do still need to try this on the road to make sure it really is a practical proposition.If it is, there is no reason why the conversion can't be done by others. Once you strip out all the failed experiments and dead ends the process is relatively simple compared to an engine/gearbox removal and re-install. Honestly! Like all prototyping, 90% of the work you do gets discarded.
The hood part of the job is finished! Here's a few photos to give you an idea of how it looks...
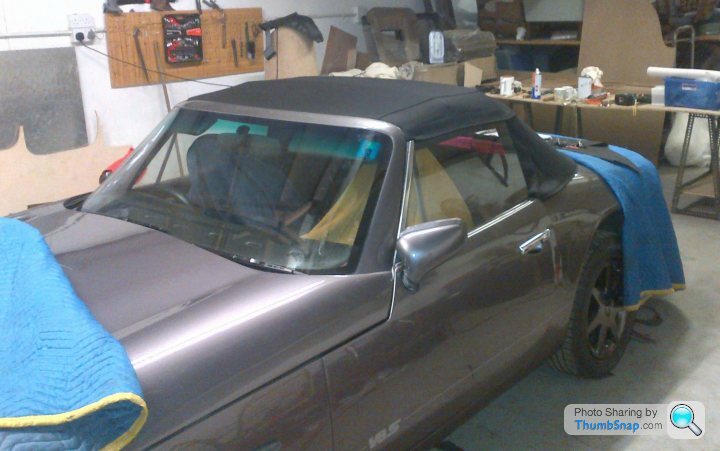
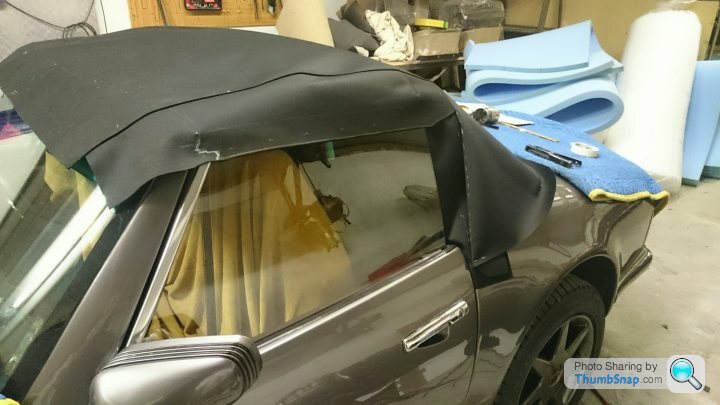
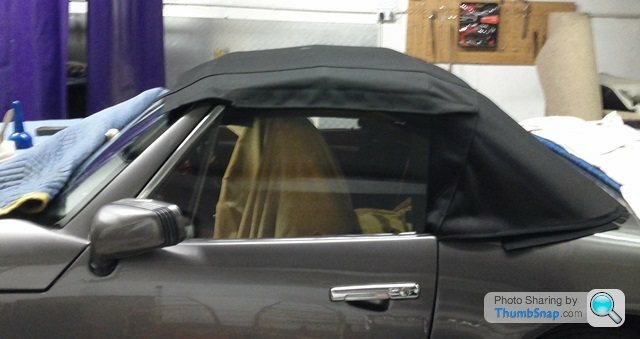
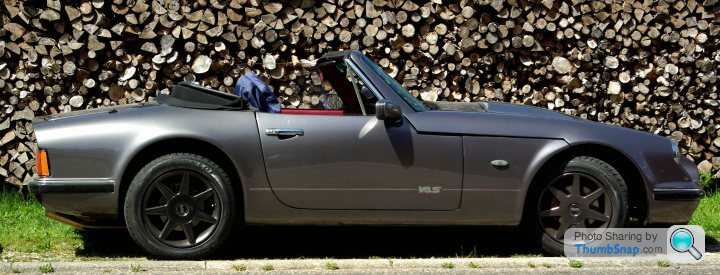
Nice lines I think...and I happy with the side on profile ....
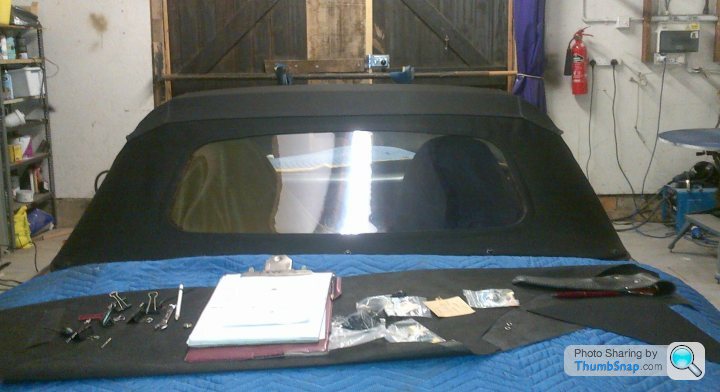
The rear window shape seems to have worked with the overall shape of the hood and car....
Looking down the side of the car, the curve of the hood seems to fit with the shape of the body and door window
The "head-lining" idea seems to have worked....
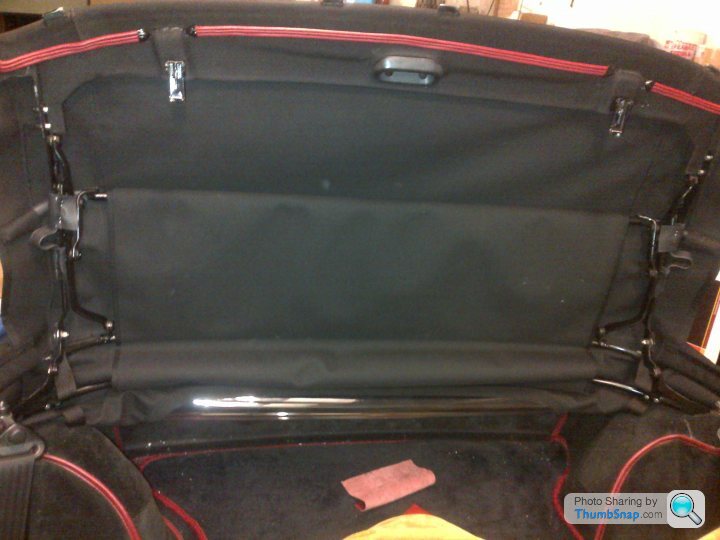
And Dave has done a nice detail job on the join between the two surfaces on the inside of the header rail...
Side on with the hood down will look better once the hood cover is on, but still lower than the original ....
So just the hood bag to finish now and little bit more fettling and, with a bit of luck, collect on Tuesday
Nice lines I think...and I happy with the side on profile ....
The rear window shape seems to have worked with the overall shape of the hood and car....
Looking down the side of the car, the curve of the hood seems to fit with the shape of the body and door window
The "head-lining" idea seems to have worked....
And Dave has done a nice detail job on the join between the two surfaces on the inside of the header rail...
Side on with the hood down will look better once the hood cover is on, but still lower than the original ....
So just the hood bag to finish now and little bit more fettling and, with a bit of luck, collect on Tuesday
Edited by v8s4me on Saturday 9th May 22:54
It' back!!! And looking great  No chance to take photos yet I'm afraid but on the run home it was nice and tight with no flapping or excessive wind noise. Not much nosier than the standard roof in fact. There was no lifting or "billowing" like you sometimes see with MGB hoods, even with both windows fully open. There are a couple of pinpoints of daylight showing where the door window frames meet the header rail on each side but if you look at your targas you'll see this is a problem area on the standard roof. TVR fixed it by gluing some short strips of rubber in the gap. I thought that by moulding the header corners in situ I would avoid this issue but clearly not.
Hopefully I'll be at the Bespoke open day on Saturday so if you're there you can have a good look.
I can't recommend Dave Joy (at Hukes Car Trimmers 01442 - 843144) too highly and those who know me know what a hyper-fussy, anal, nit-picking old git I am so it was great to come across someone who takes such pride in his work and prepared to go the extra mile to do a proper job.
Photos to follow asap.
No chance to take photos yet I'm afraid but on the run home it was nice and tight with no flapping or excessive wind noise. Not much nosier than the standard roof in fact. There was no lifting or "billowing" like you sometimes see with MGB hoods, even with both windows fully open. There are a couple of pinpoints of daylight showing where the door window frames meet the header rail on each side but if you look at your targas you'll see this is a problem area on the standard roof. TVR fixed it by gluing some short strips of rubber in the gap. I thought that by moulding the header corners in situ I would avoid this issue but clearly not.Hopefully I'll be at the Bespoke open day on Saturday so if you're there you can have a good look.
I can't recommend Dave Joy (at Hukes Car Trimmers 01442 - 843144) too highly and those who know me know what a hyper-fussy, anal, nit-picking old git I am so it was great to come across someone who takes such pride in his work and prepared to go the extra mile to do a proper job.
Photos to follow asap.
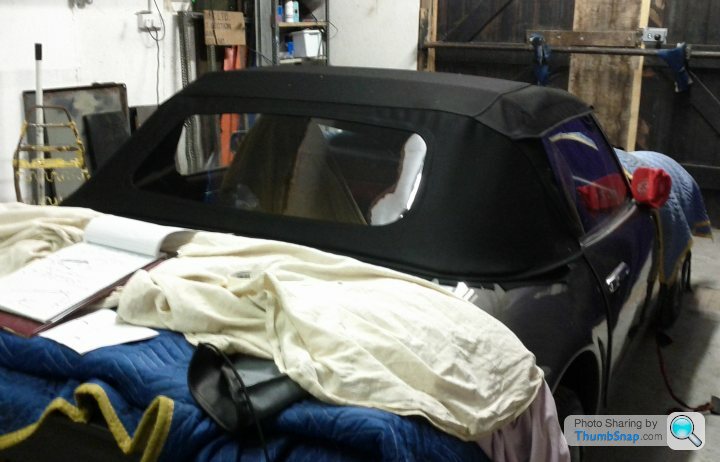
Here we are then. Before with roof down....
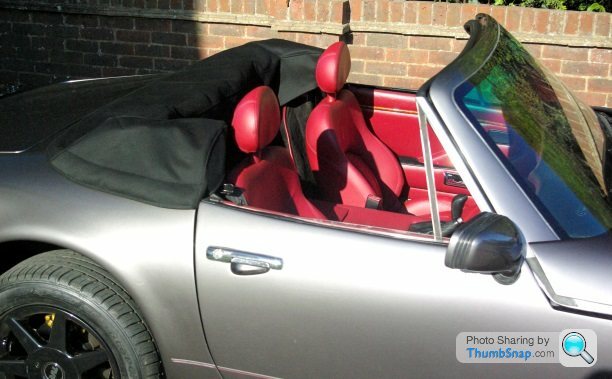
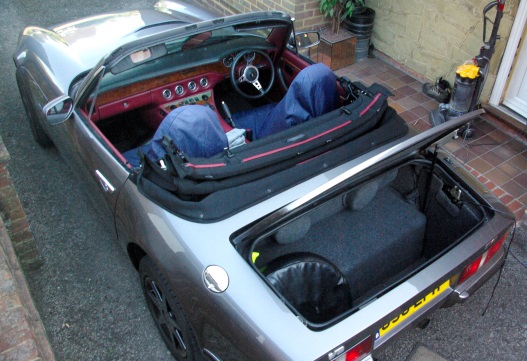
Now with the hood down...
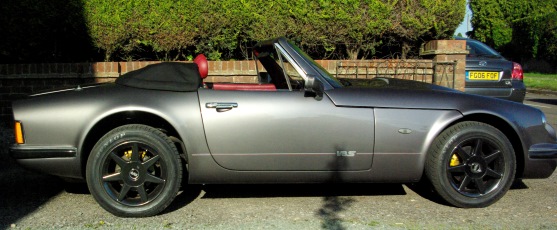
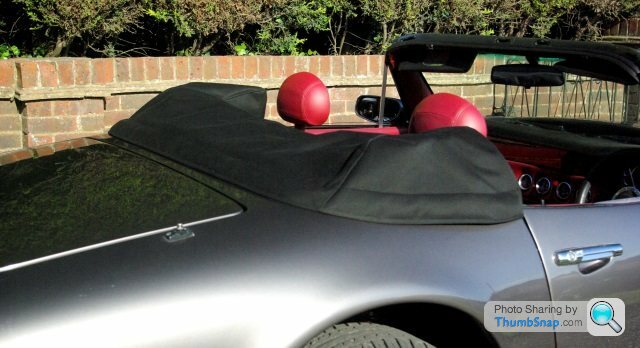
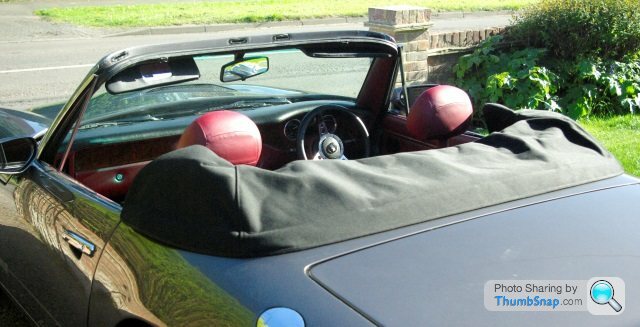
So not quite the super low profile I was hoping for when I dreamed this up but certainly no worse and, viewed from the rear, much lower and tidier. A few more views of the hood packed away...
And the payoff, hood down, empty boot
There will be the inevitable snagging eg I'm expecting a few drips in the top corners as mentioned above but that just happens with any prototype. There will be a solution.
Thanks to everyone on here for all your support and encouragement over the last 8 months
So now we know it can be done, who's next?
Now with the hood down...
So not quite the super low profile I was hoping for when I dreamed this up but certainly no worse and, viewed from the rear, much lower and tidier. A few more views of the hood packed away...
And the payoff, hood down, empty boot
There will be the inevitable snagging eg I'm expecting a few drips in the top corners as mentioned above but that just happens with any prototype. There will be a solution.
Thanks to everyone on here for all your support and encouragement over the last 8 months
So now we know it can be done, who's next?
Gassing Station | S Series | Top of Page | What's New | My Stuff