Repair and Rebuild Begins
Discussion


Sorry looking radiator. Too much damage to be economically repaired.
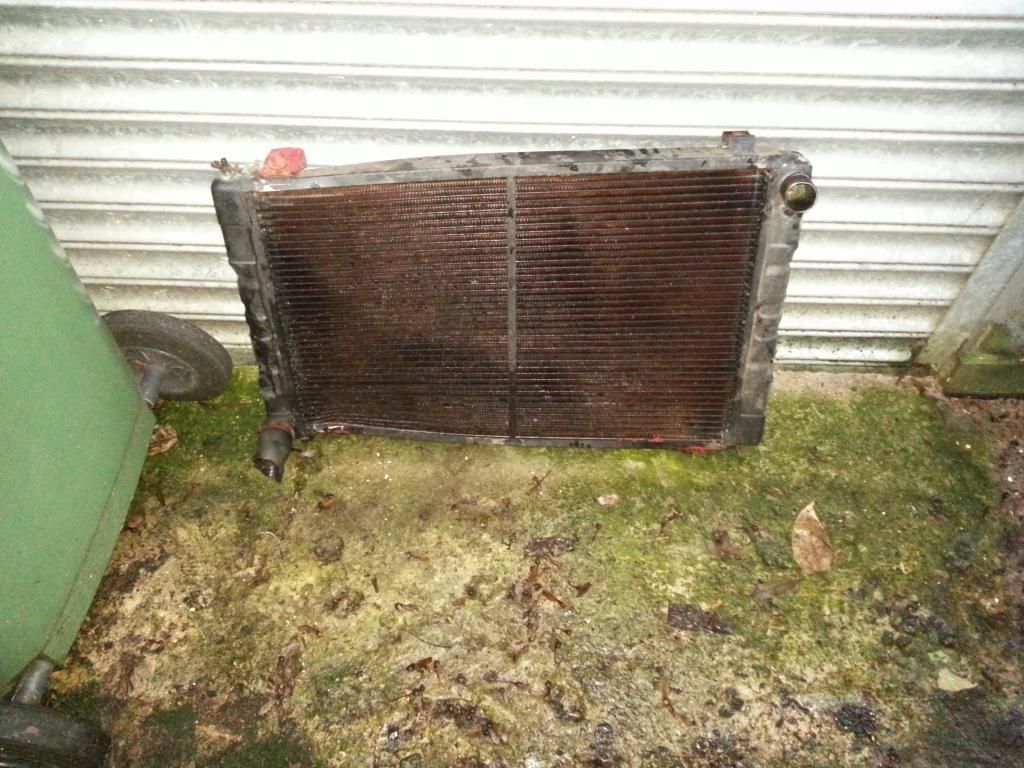
Tamora alloy one looks like a good fit.
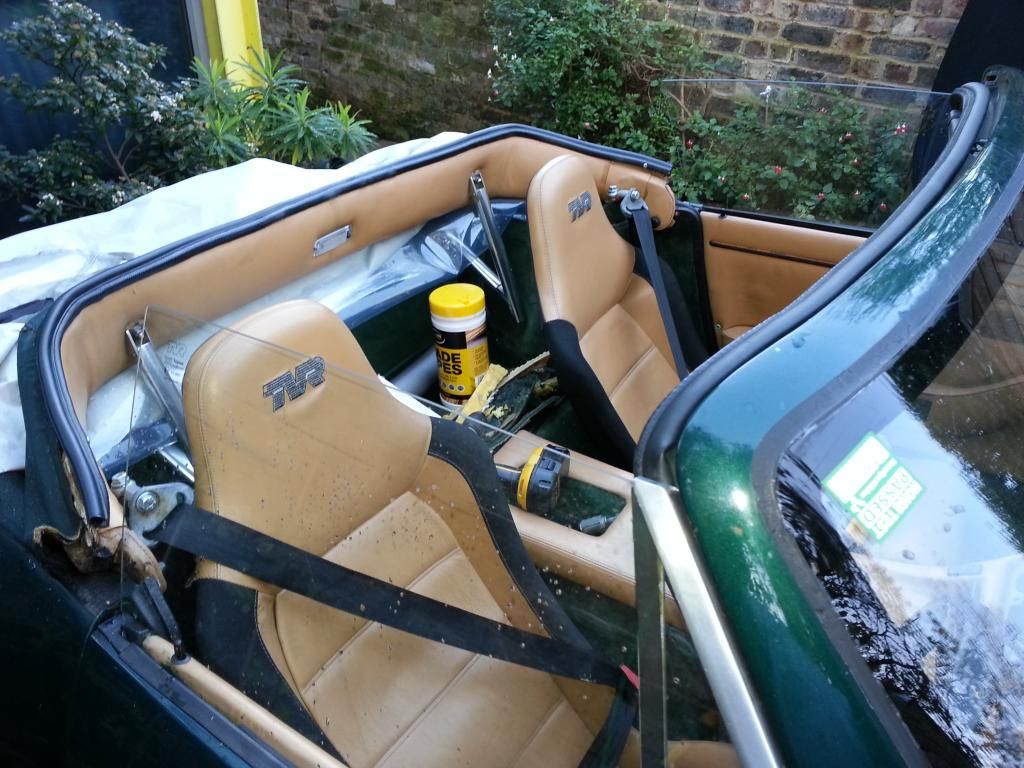
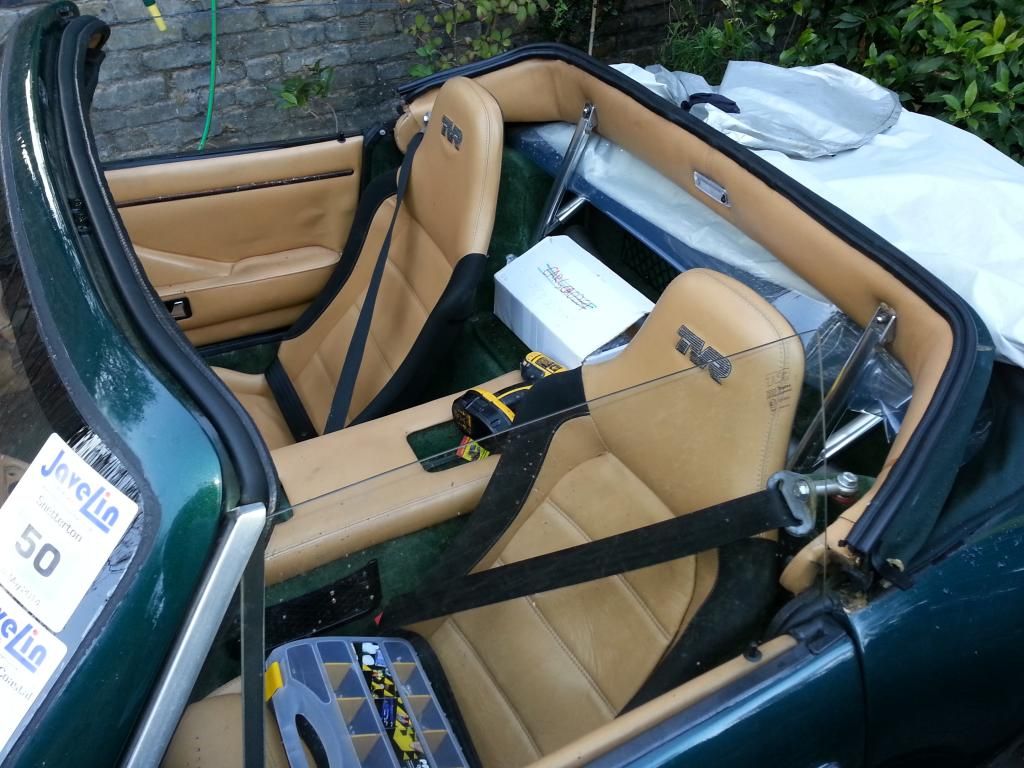
Fitted the Elise seats too. Passenger seat went in at an angle so that people can sit with their legs out straight rather than having one leg twisted or slightly bent.
Sprayed a load of bolts in the engine bay with plusgas ahead of next Saturday's jobs. Alternator, decat pipes and manifolds coming out.
Fixed the air filter directlyish to the throttle body. 150mm long, 60mm dia silicone hoses. Oil breather going to be rerouted to a catch tank.
Horns being moved.
A ShaunS3c swirlpot and expansion tank going in.
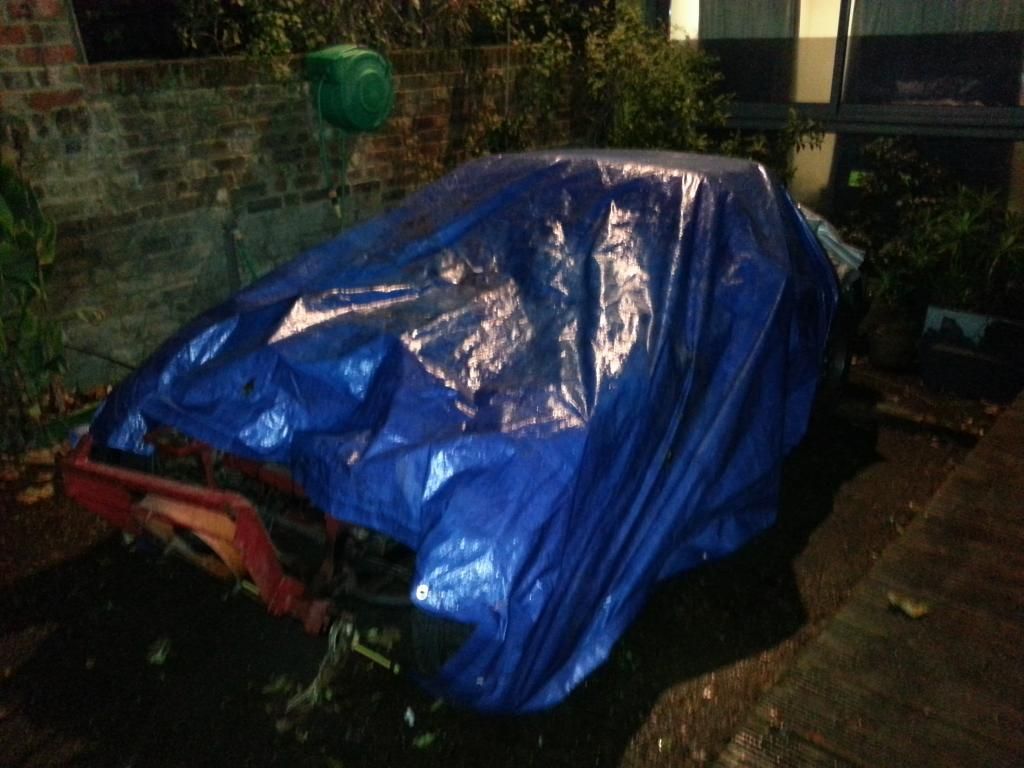
Tuck her up when the light went.

Tamora alloy one looks like a good fit.

Fitted the Elise seats too. Passenger seat went in at an angle so that people can sit with their legs out straight rather than having one leg twisted or slightly bent.


Sprayed a load of bolts in the engine bay with plusgas ahead of next Saturday's jobs. Alternator, decat pipes and manifolds coming out.
Fixed the air filter directlyish to the throttle body. 150mm long, 60mm dia silicone hoses. Oil breather going to be rerouted to a catch tank.
Horns being moved.
A ShaunS3c swirlpot and expansion tank going in.
Tuck her up when the light went.

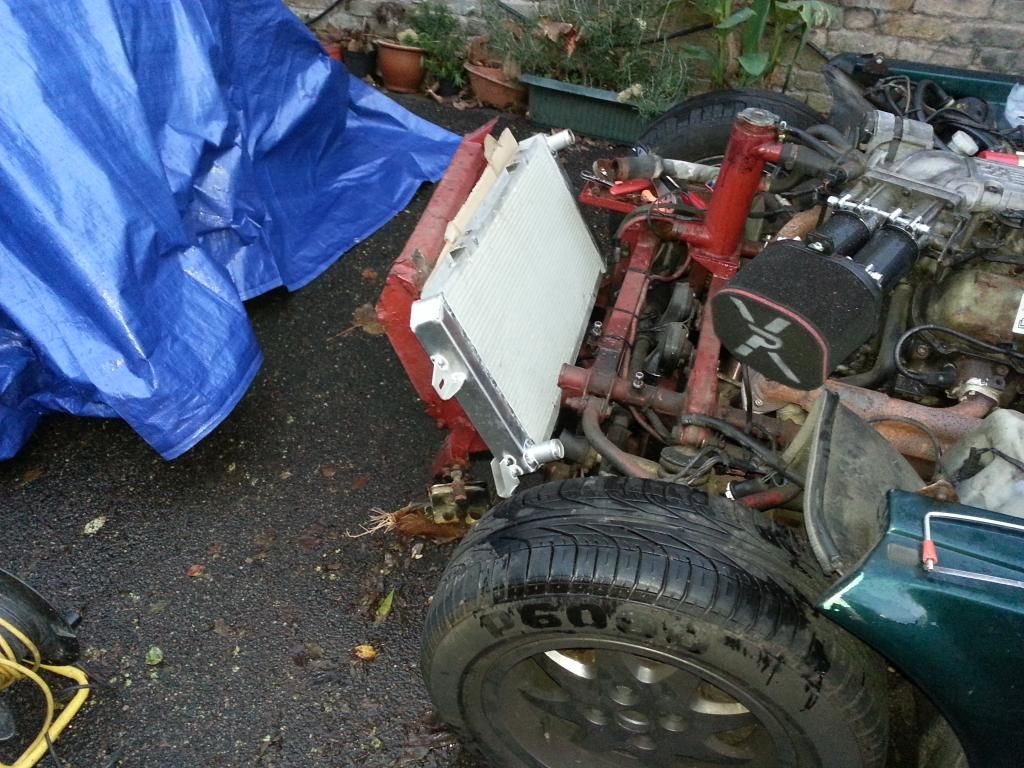
A bonus find, lower coolant pipe from the radiator is already stainless steel. Had bought a stainless top pipe from ACT and (mistakenly) a mild steel one from the classifieds.
Door mirrors are being replaced with something with integrated indicators. Headlamps are going to be 'different'.
Finally, the fresh air 'anacondas' are gone.
Door mirrors are being replaced with something with integrated indicators. Headlamps are going to be 'different'.
Finally, the fresh air 'anacondas' are gone.
I've had a bit of a gander and it looks like all the damage was absorbed by the rad and bonnet hinge frames.
When a few more bits are off - the brake servo and master cylinder are going to be swapped out too for a Ford KA set up - I'll get it up in the air and get a straight edge on the main rails.
Next available day is this Saturday (after the Sausage Meet). Hopefully have the remaining cooling system parts off, the alternator off, exhaust manifolds off and the carbon canister pipework identified.
Had a good afternoon working on Samy.
Photobucket not giving me access to the photos I took. I'll post them when the technology catches up.
Alternator and mount is off. De-cat pipes off. Exhaust manifolds off. One bolt needed some heat and gentle persuasion. No breakages though, so a tap and clean and the heads are ready for the refit.
Expansion tank also removed. Plenty of access once the altenator and tank are removed!
Had a deeper look and the main chassis and all appears well.
Manifolds, pipes and altenator bracket off for ceramic coating along with a spare set of manifolds for Tamy.
Got some bits to collect this week.
Next weekend I'm aiming to get the remaining cooling bits out. Mark up the bits that need cutting out. Strip down the doors. Mirrors off. Identify the carbon canister pipework and wires ready for striping out. Measuring up for moving the battery to the boot. Exposing the fuse board and relays for modding / rationalisation.
The weekend after I'll look at whipping off the rocker covers, checking the tapets and then spraying the covers.


mk1fan said:
Does anyone know if there is a reason for this hose to be routed like this. Does seem unnecessary for it to be so long and bend up to the upper hoses.
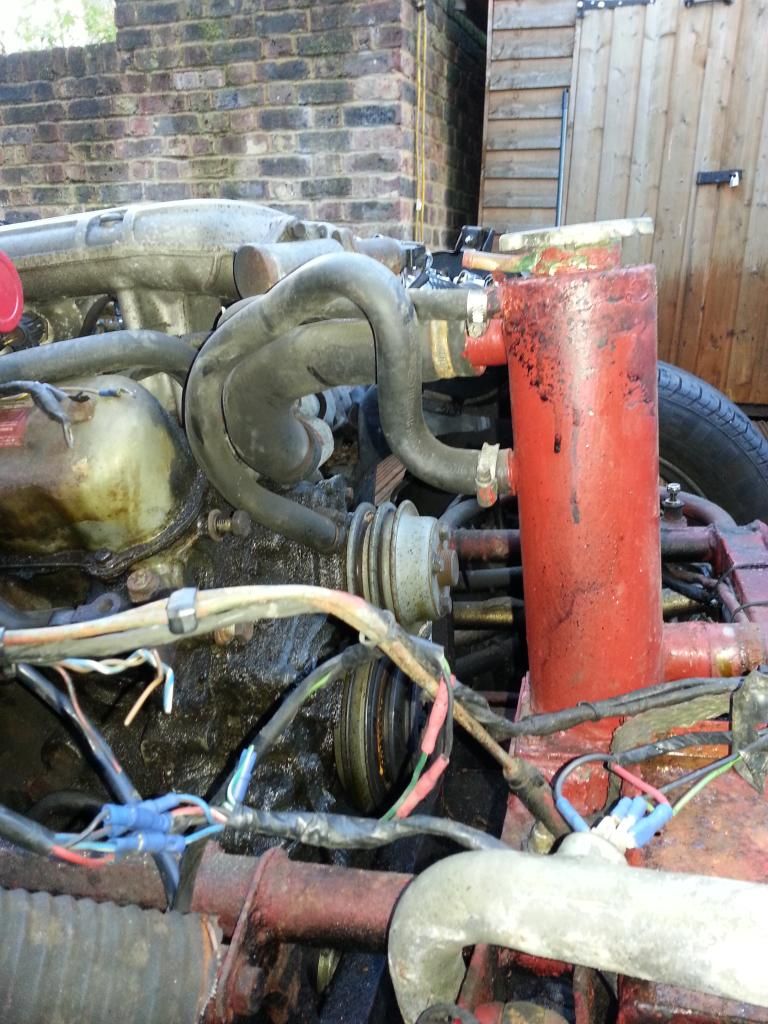
It's routed like that to clear the fan belt. Straight hose would do, but you would have to disconnect the coolant hose to change the belt. Not necessarily difficult but maybe a PITA if the belt breaks unexpectedly.
mk1fan said:
Does anyone know if there is a reason for this hose to be routed like this. Does seem unnecessary for it to be so long and bend up to the upper hoses.
It's routed like that to clear the fan belt. Straight hose would do, but you would have to disconnect the coolant hose to change the belt. Not necessarily difficult but maybe a PITA if the belt breaks unexpectedly.As Andrew says above, clears fan belt. I've gone for a short one and if you are quick you can detension the fan belt remove from pulleys then undo jubilee clip from swirl pot end of hose pull off remove fan belt and place hose back on swirl pot with loss of less than an egg cup of water. Not good as roadside if water is hot but fine for routine maintenance or planned belt changes
Ref your hockey sticks... are they the ones for your de-cated cat exhaust? as these will be different to "std" non-cat cars- Just a thought.
Ref the comment on the lack of bleed valve on the top of your Tam rad...my rad doesn't have one either...just need to disconnect the top hose to fill and again to re-bleed. Gets there in the end.
Ref the comment on the lack of bleed valve on the top of your Tam rad...my rad doesn't have one either...just need to disconnect the top hose to fill and again to re-bleed. Gets there in the end.
Gassing Station | S Series | Top of Page | What's New | My Stuff