Dash Removal and Re-vaneering
Discussion


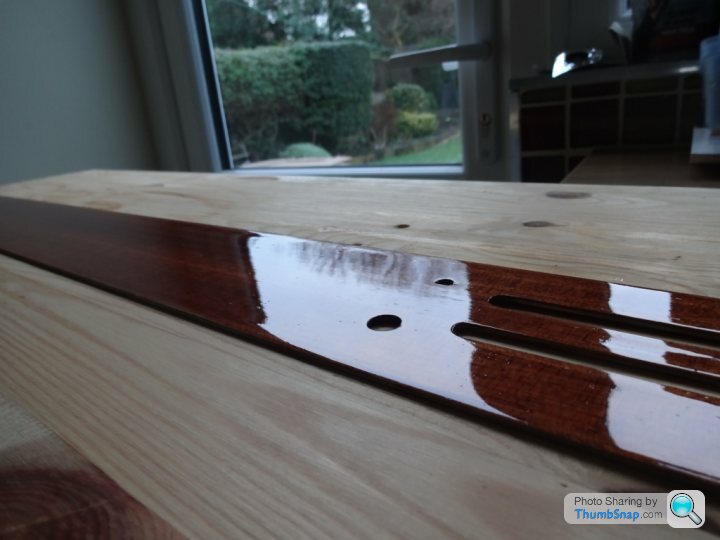
Getting there Joe. About 7 coats now. Couldn't get fine enough paper, so using 400 wet n dry which is working. I'm now obsessed about dust levels and air bubbles. Last coat was too many little flecks, so literally just done another coat. Looks good now. When dry I,ll post. Anymore flecks and it,ll mean it's in the varnish in which case I,ll thin it and strain it through Julie's tights! As I say, I'm getting obsessive!
Deeman said:
... Last coat was too many little flecks....
That's a flecking nuisance  are you sure they are flecks and not tiny air bubbles? If you've been wetting the wet & dry paper, could it be moisture trapped in the varnish? You should be able to get 1200 wet & dry so have a hunt around for that when you come to the later coats.
Deeman said:
... .. I'm getting obsessive!...
It's the only way to get a top job 

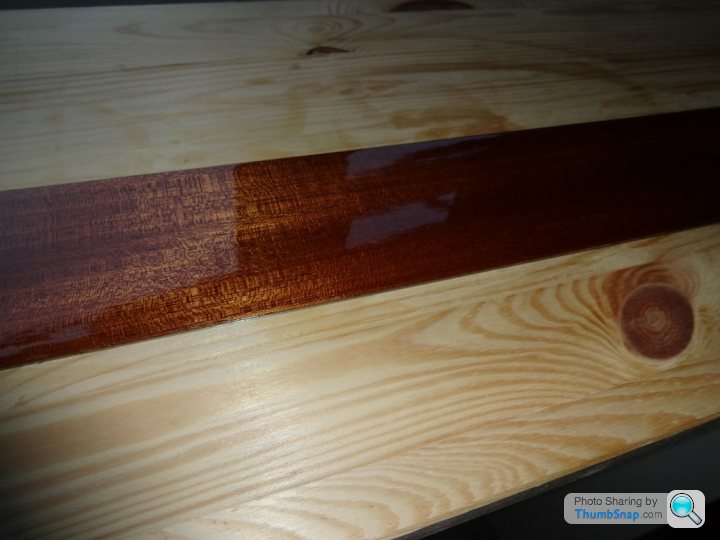


That's a really lovely job Pete! Taking the Grandmothers & eggs risk again, you're now at the point where you need to leave plenty of time between coats to ensure the varnish is thoroughly dry. It's all too easy at this stage, when you can see just how good it's going to look when finished, to rush and to run the risk of putting the next coat on before the last one has thoroughly gone off with the possibility that it reacts with the last coat and wrinkles. Keep the coats thin too and don't be tempted to go for a quick finish by putting a thicker one on. A quick finish never gives a satisfactory result
Stopping now might be a good idea. Why not take a week to think about it; there's no rush as it's too bloody cold to be out in the garage re-fitting it. Whatever you decide it looks amazing.
NB: Did remember to chamfer off the edges to make it an easy slide fit into the moulding?
Stopping now might be a good idea. Why not take a week to think about it; there's no rush as it's too bloody cold to be out in the garage re-fitting it. Whatever you decide it looks amazing.
NB: Did remember to chamfer off the edges to make it an easy slide fit into the moulding?
Edited by v8s4me on Monday 19th January 13:47
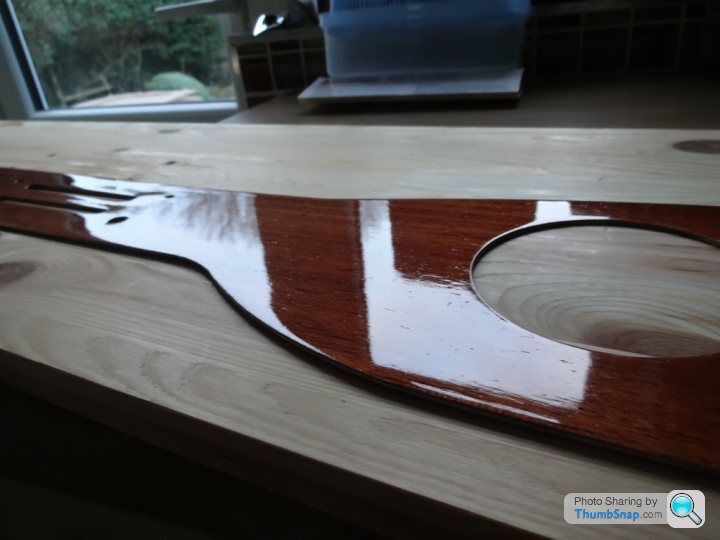
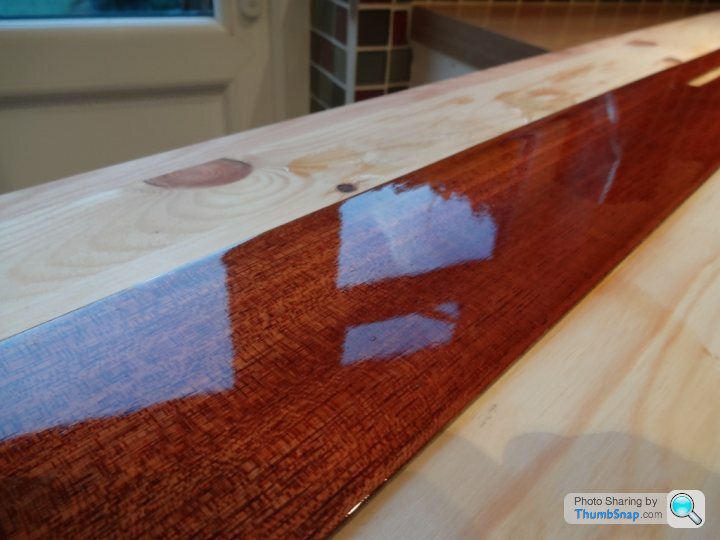
Thanks for all the positives Guys - plus all the quality advice as usual. For a Rookie, I must admit, I've really surprised myself with whats possible with a bit of home made graft and dedication. Joe - this is where it stops on this task. Weirdly (round here at least) there may be an EU ban on ultra fine sandpaper or wet N dry. In the end I found a piece of 4000 grade knocking about in my garage and had a go at the fine dust left in the last layer. This time, the dust has gone once and for all, and I have a finish probably as near as I could hope to get without being a professional. I don't think I can achieve any better with paintbrushes and a domestic tin of varnish! I'm well chuffed. 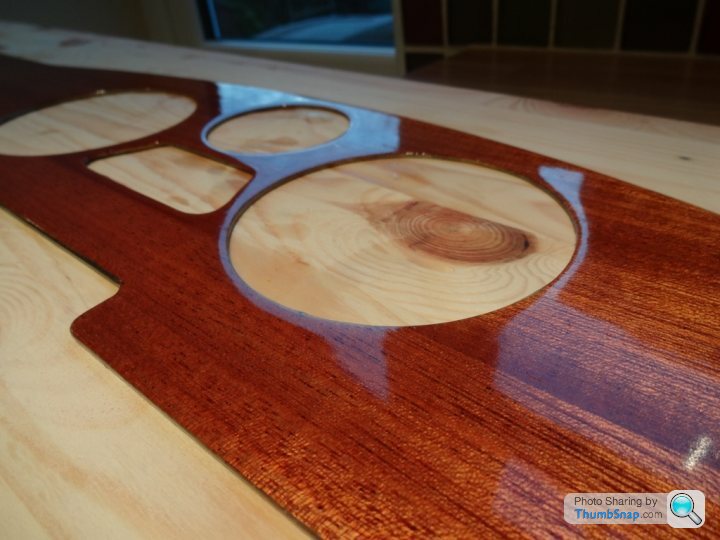
TVR-Stu said:
Deeman that really is looking good.
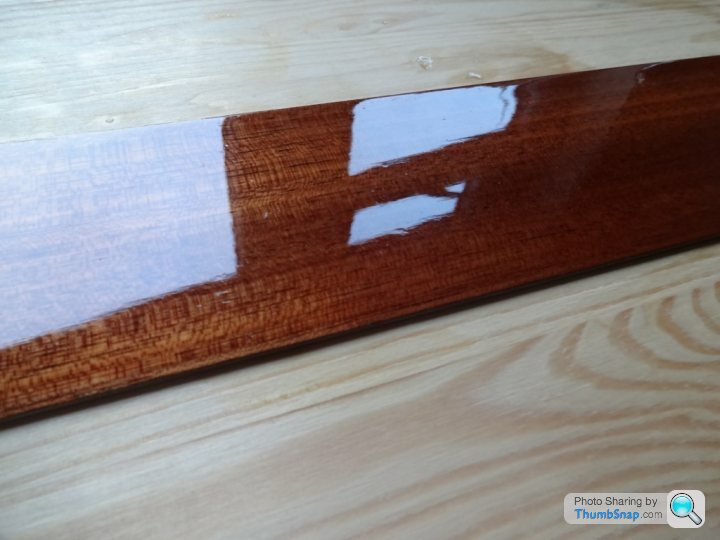
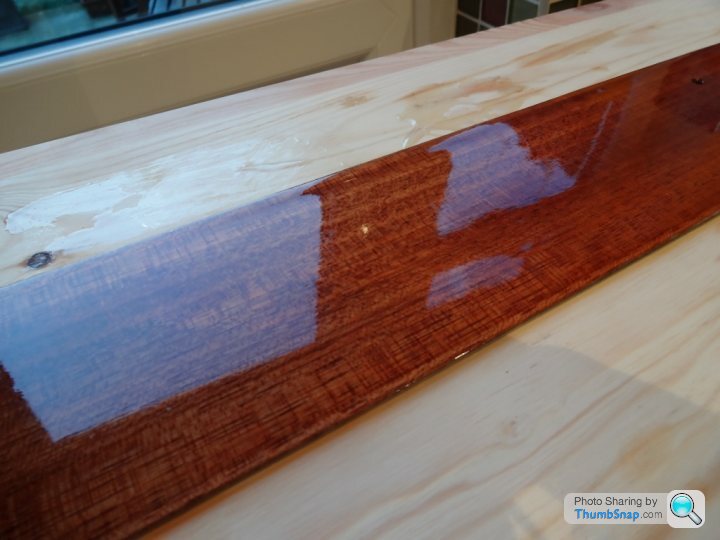
Do you mind me asking what lacquer/polish/varnish you are using? Is it a two part catalyst type or just air drying? It seems to be building up and filling the grain nicely. Top job
Hi TVR - Stu. No rocket science here. A tin of Rustins Yacht varnish, thinned back 30%. Air dried. Lots of patience and care. That's it. Do you mind me asking what lacquer/polish/varnish you are using? Is it a two part catalyst type or just air drying? It seems to be building up and filling the grain nicely. Top job
Gassing Station | S Series | Top of Page | What's New | My Stuff