Progress Update
Discussion


Evening all, been a while since I posted any update...
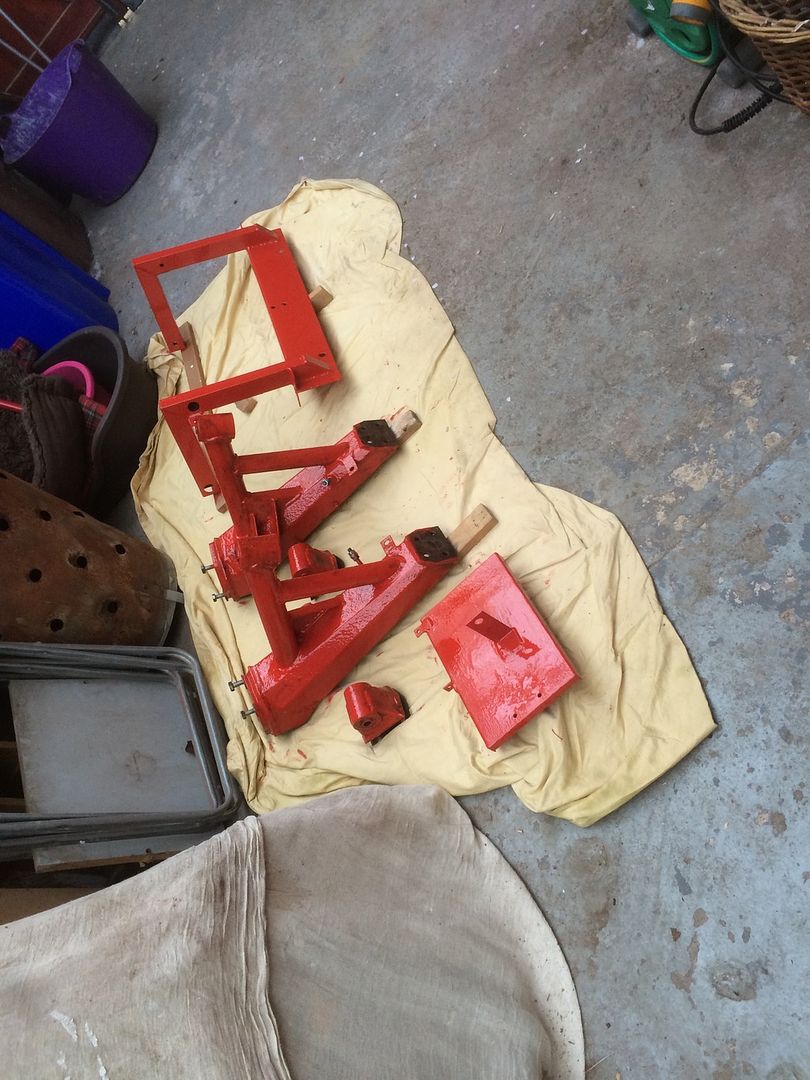
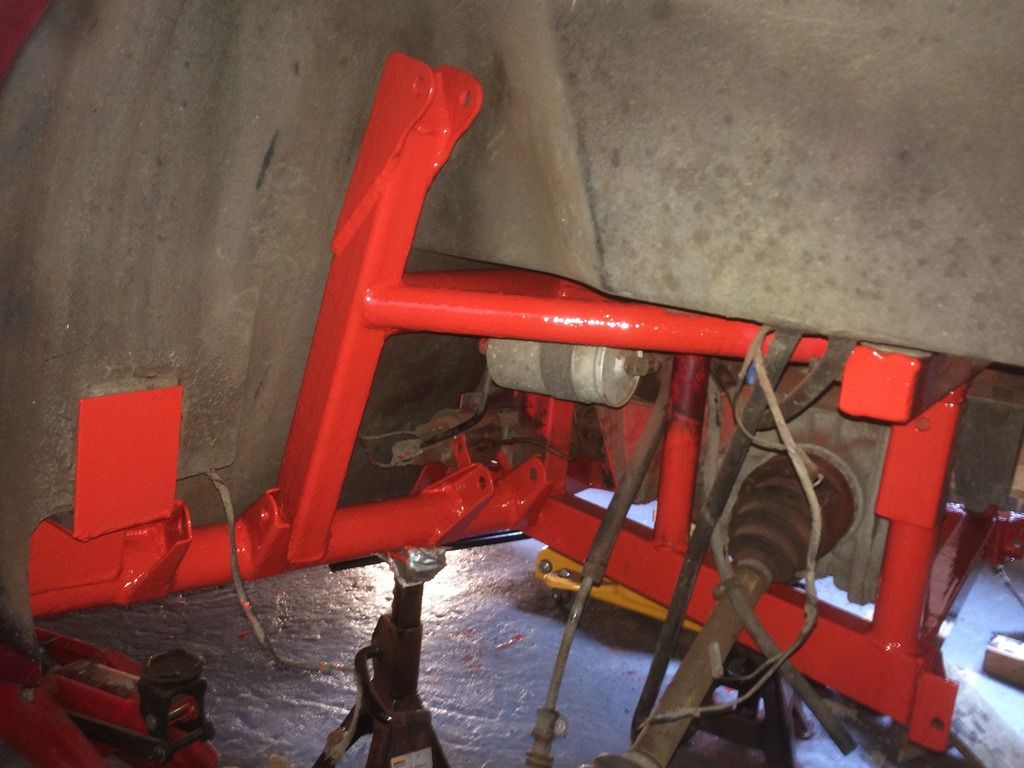
Front corners of outriggers all sorted, rear sorted but just need to replace the nearside tub/seatbelt mount.
Spent most of today painting.
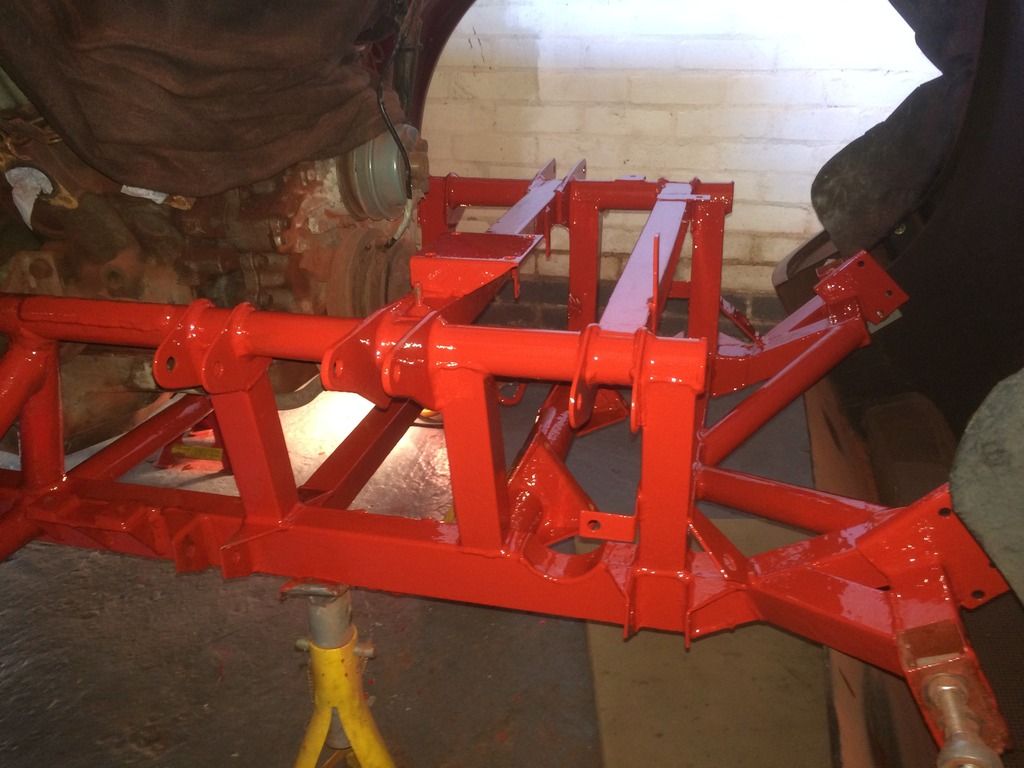
Once the welding's done, paint the back half, give it all another coat or two then drop the body. Can't wait to get the body back down and start fitting the pile of shiny new bits.
I wont be at Burghley tomorrow as I have too much to do, hope to be ready for S Club though, just
Front corners of outriggers all sorted, rear sorted but just need to replace the nearside tub/seatbelt mount.
Spent most of today painting.
Once the welding's done, paint the back half, give it all another coat or two then drop the body. Can't wait to get the body back down and start fitting the pile of shiny new bits.
I wont be at Burghley tomorrow as I have too much to do, hope to be ready for S Club though, just
Lawrie,
congrats on the work done so far and the painting, it looks very nice indeed.
I'm doing the same job at the momemnt on my S2 and I have a few questions.
In your opinion, what was the best way to take off the rust and get down to the bare metal ? Especially in the many corners and crevices.
- I've got about about 5 tools which I use (scraper, screwdriver, emery cloth, wire brush, angle grinder, etc.) and I'm constantly changing them, since after 5 mins. of using one tool, I'm not happy with its performance and I change to the next one

W.r.t. your previous posts, which paint did you go for in the end ?
Tim
congrats on the work done so far and the painting, it looks very nice indeed.
I'm doing the same job at the momemnt on my S2 and I have a few questions.
In your opinion, what was the best way to take off the rust and get down to the bare metal ? Especially in the many corners and crevices.
- I've got about about 5 tools which I use (scraper, screwdriver, emery cloth, wire brush, angle grinder, etc.) and I'm constantly changing them, since after 5 mins. of using one tool, I'm not happy with its performance and I change to the next one
W.r.t. your previous posts, which paint did you go for in the end ?
Tim
Hi Tim,
I wouldn't say there really is one tool, i've used everything mentioned above but found a dremel with wire brush and flap disc attachments to be very useful for the nooks and crannies. Get every type of paint removal tool for your drill and grinder.
It's hard dirty time consuming work and to be honest next time I'll be opting for body off and a full professional refurb. Even with the body lifted you can't get at everything.
Opted for rustoleum combi colour, didn't fancy the two pack stuff because i'm not particularly good at painting and didn't want to have the trouble of mixing correctly.
One more thing, don't have high expectations, it's never going to be perfect without a full blast and powder coat.
Lawrie

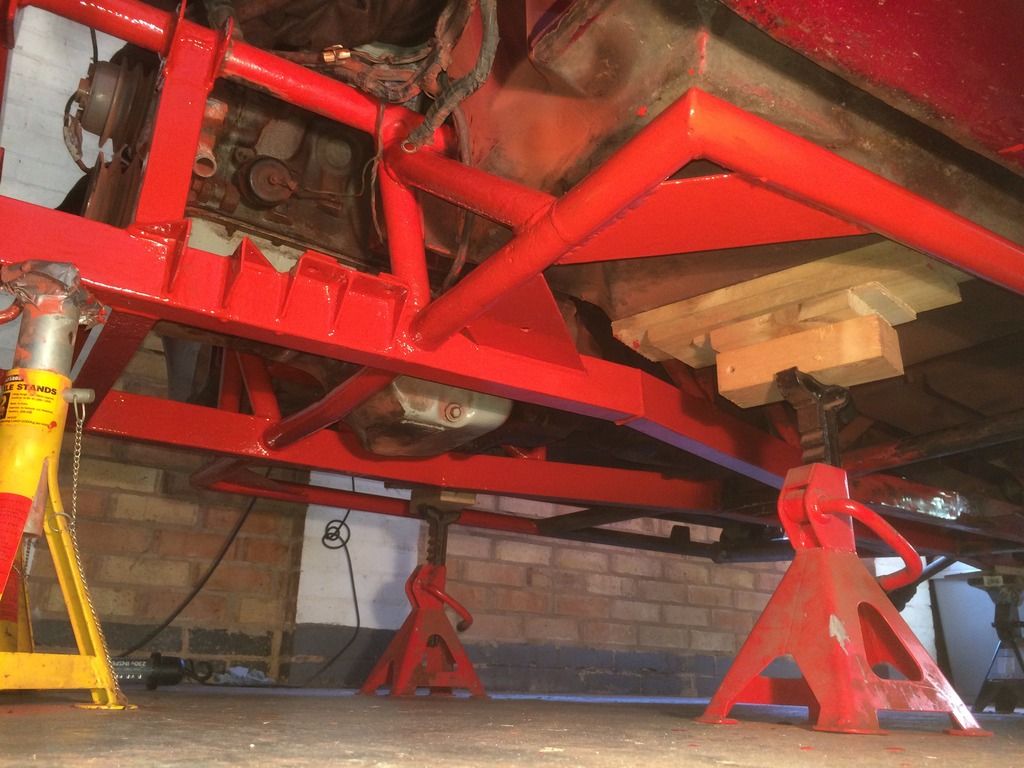
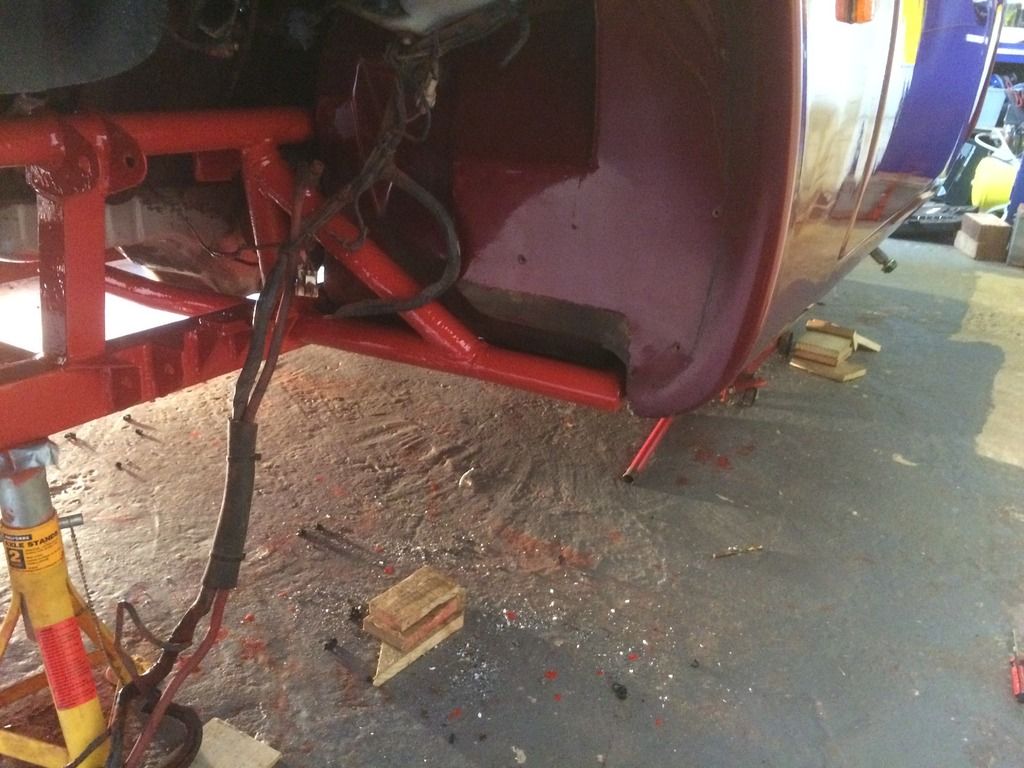
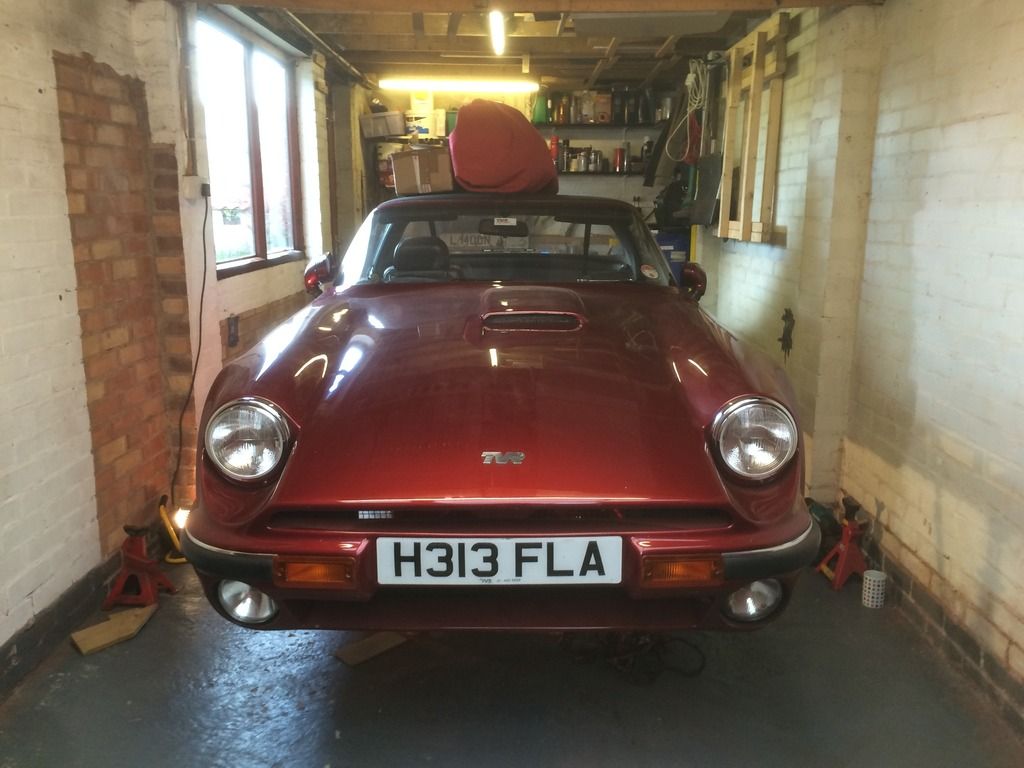
The body is down
Slight adjustment had to be made to the offside seatbelt mount but we didn't have anything good to go from in the first place so not too bad a result. Little bit more painting to do once axle stands are out the way and everything back where it should be.
Two problems...
When I did the lift, the bolts under the centre console were loose and I can't seem to get my replacements to grab anything, everything else has lined up perfectly, does anyone have any pictures of what they actually bolt into?
Secondly, my hoses from Stevsons don't fit anything but the front callipers and drums, which is a shame considering I sent mine for them to copy. Getting a bit pressed for time now, is there anything I can buy off the shelf? I'm taking a guess that the copper pipes have metric fittings and the callipers imperial or the other way round? Worst case I'll have to go with the copper pipes, callipers and drums at some point in the week.
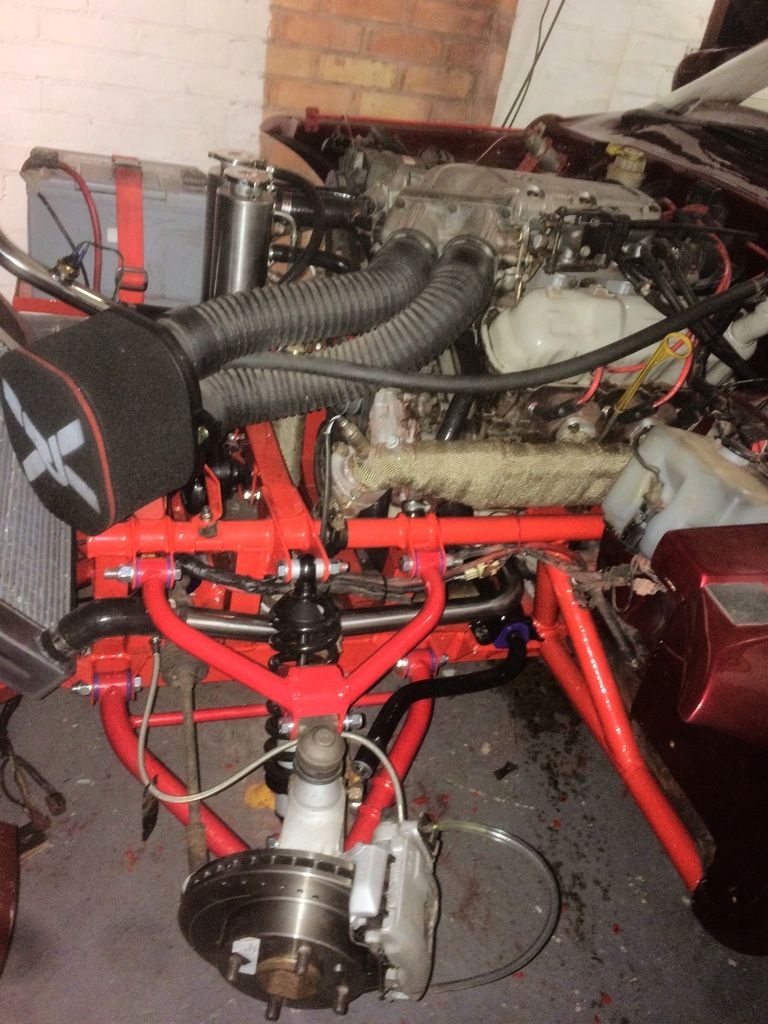
Been a bit busy this weekend, trying to get everything done in time for S club.
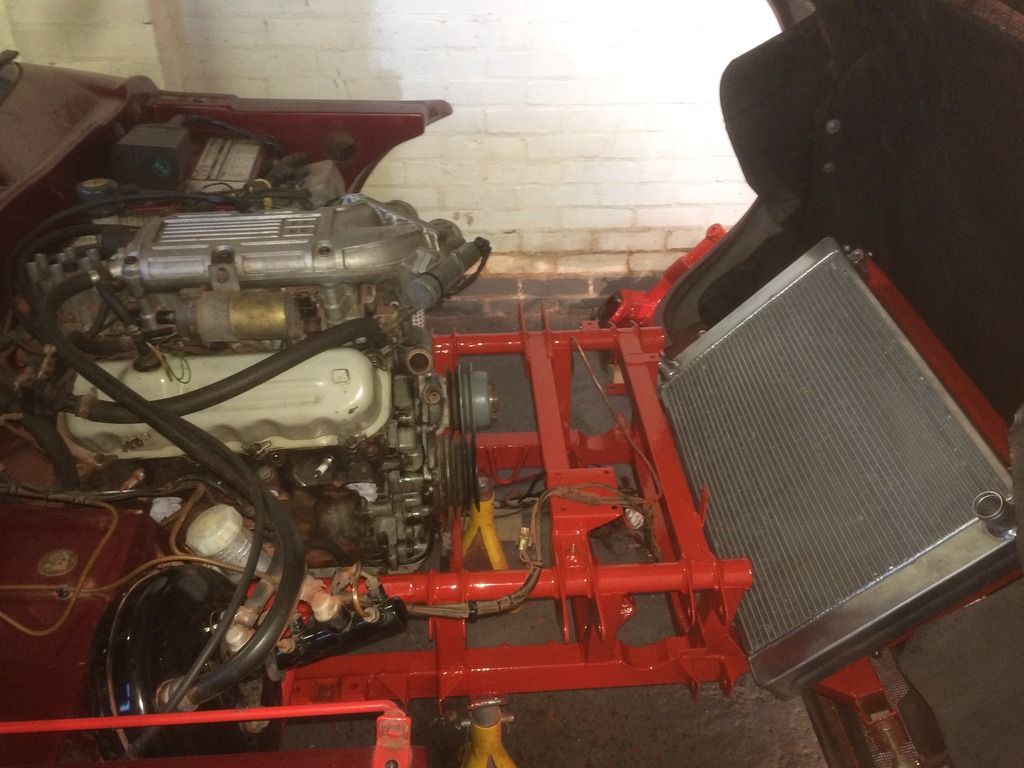
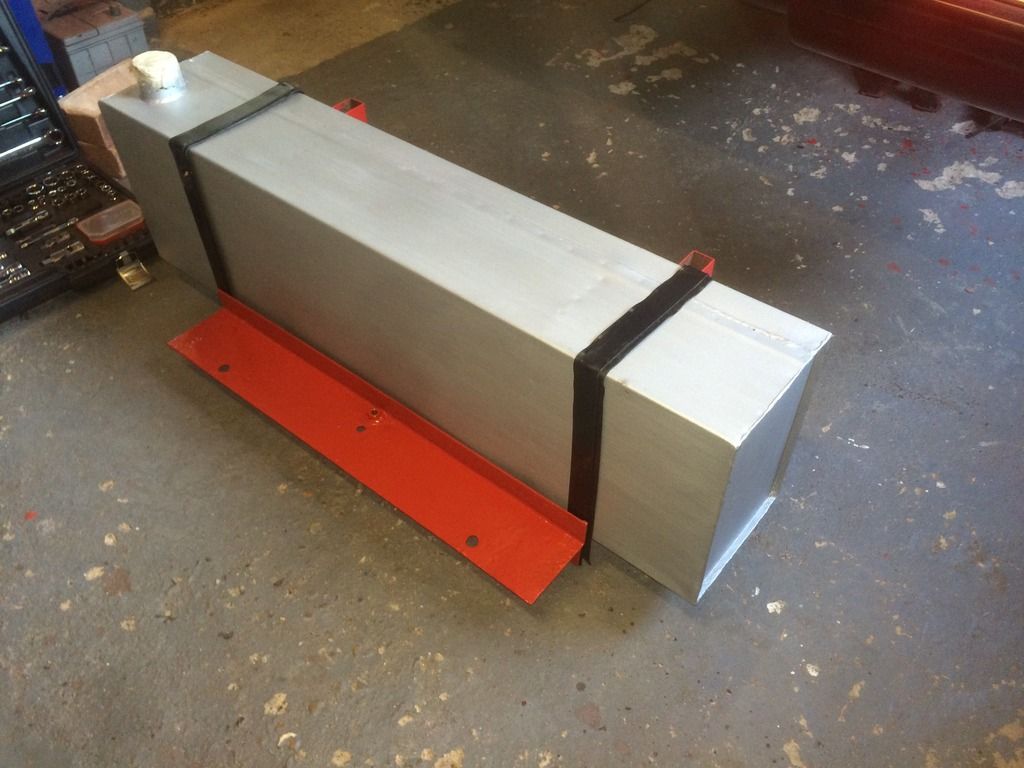
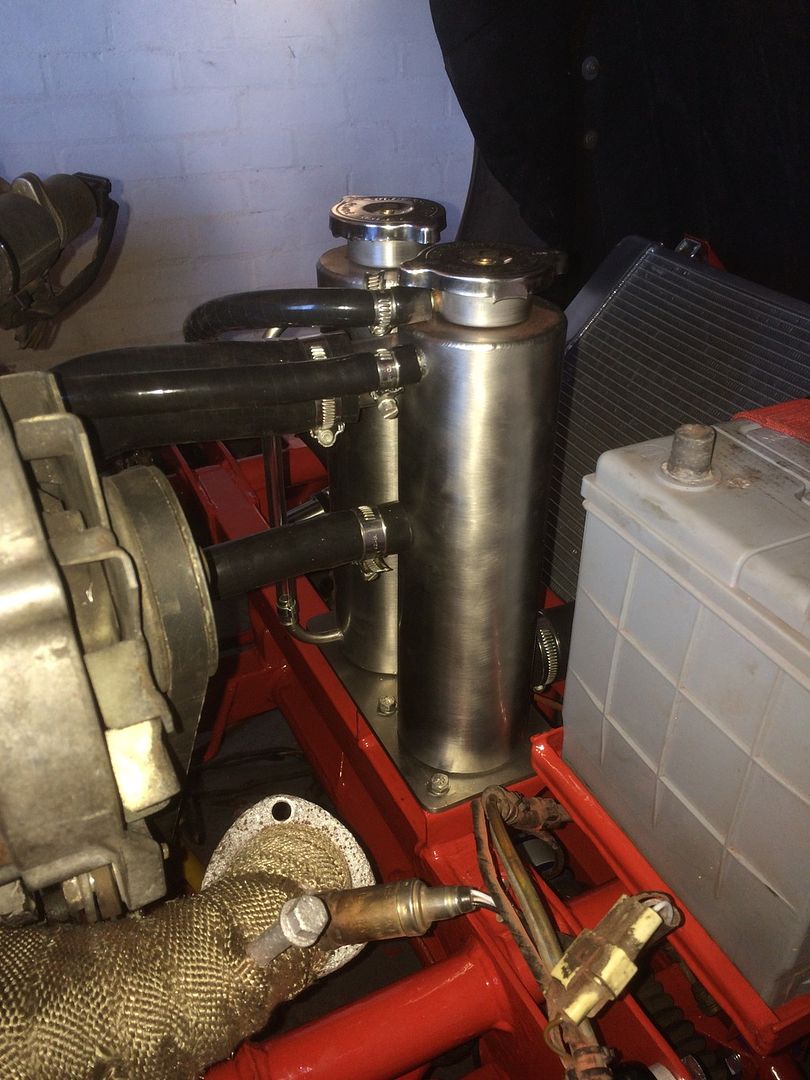
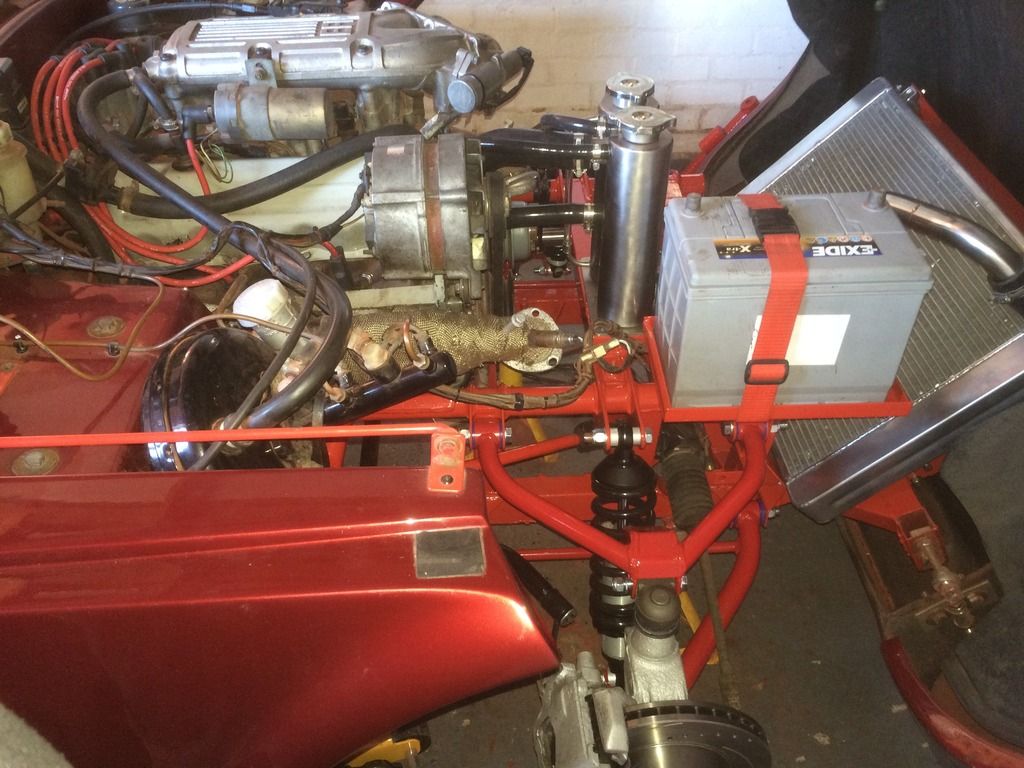
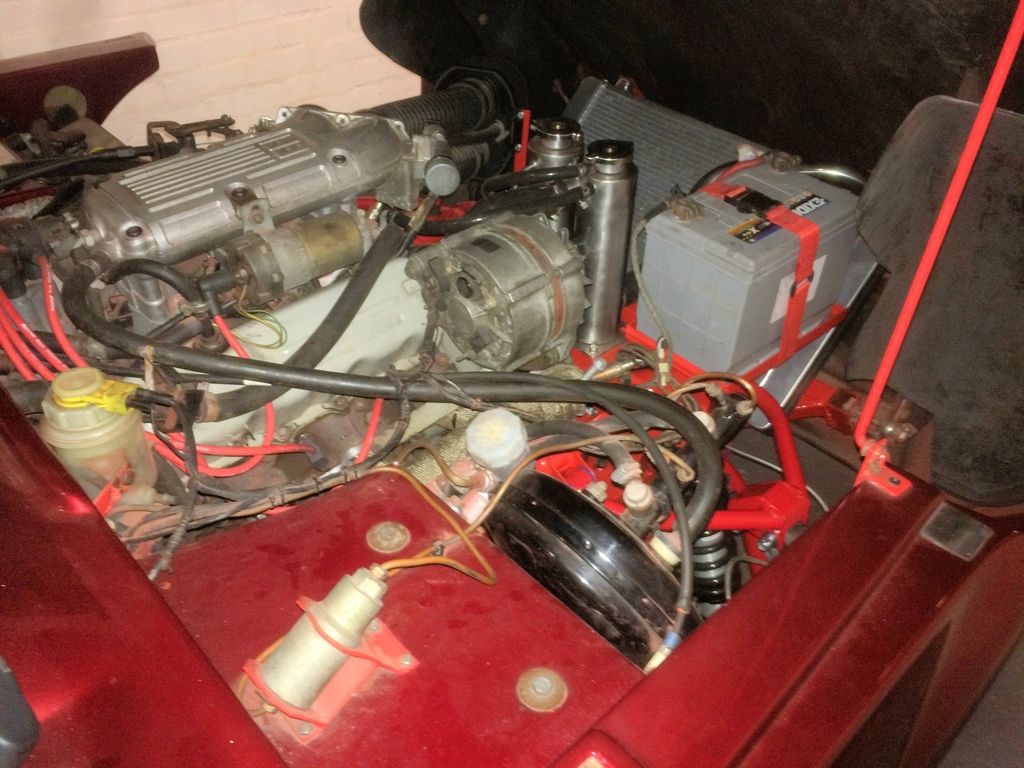
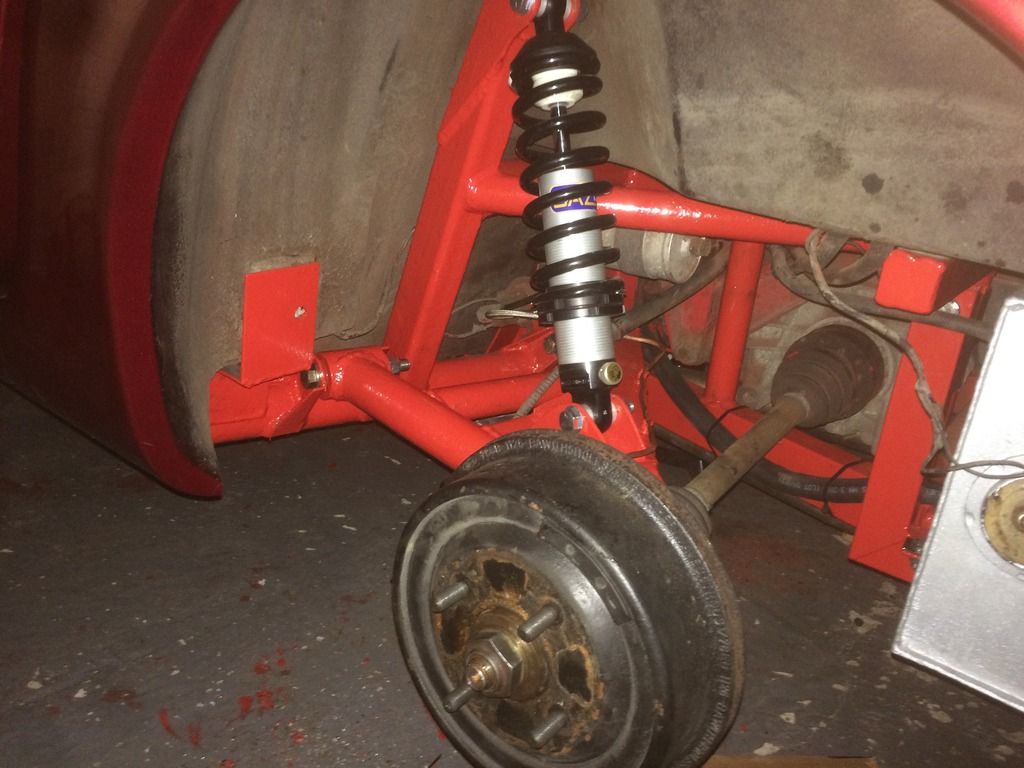
Steering rack in, front suspension all done but alignment, brakes on, all silicone hoses, shiny Shaun twin swirl pot and header, stainless coolant pipes, manifolds on, fuel tank in and piped up, body almost bolted down, done a bit more painting.
Fuel tank was a pain, had to jack up the rear to get it in, forgot I took it off after the body lift, then when I did get it in it had to come back out, the rubber I'd used for body mounting was too thick for under the tank, it wouldn't fit without lifting the body up slightly.
Swirl pot and header
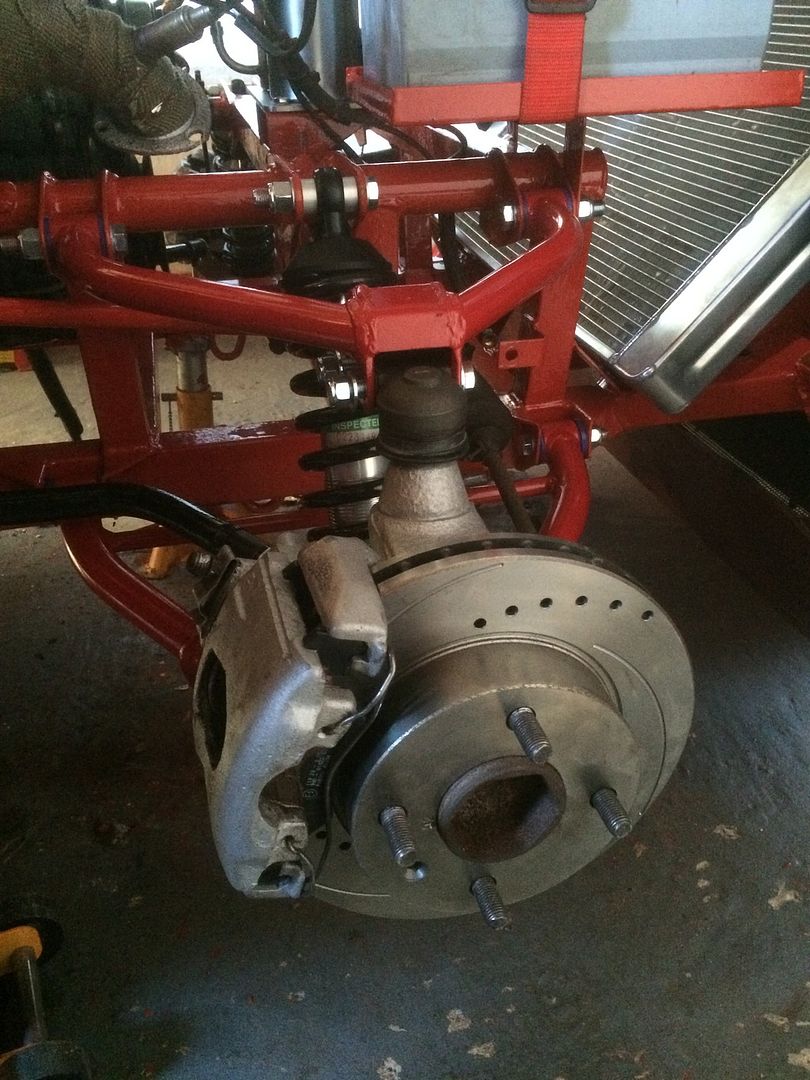
Only painted the callipers and uprights last night and the paint hadn't quite gone off, will touch up later.
A few things I had planned will have to wait, too many sunny days have passed.
Still plenty to do until drive time
Steering rack in, front suspension all done but alignment, brakes on, all silicone hoses, shiny Shaun twin swirl pot and header, stainless coolant pipes, manifolds on, fuel tank in and piped up, body almost bolted down, done a bit more painting.
Fuel tank was a pain, had to jack up the rear to get it in, forgot I took it off after the body lift, then when I did get it in it had to come back out, the rubber I'd used for body mounting was too thick for under the tank, it wouldn't fit without lifting the body up slightly.
Swirl pot and header
Only painted the callipers and uprights last night and the paint hadn't quite gone off, will touch up later.
A few things I had planned will have to wait, too many sunny days have passed.
Still plenty to do until drive time
Thanks for the comments!
Faffed about a bit getting handbrake back on tonight, having spent an hour on it, could probably do it in ten minutes next time round...
Rear section of exhaust is on, awaiting delivery of mikalor clips.
Started on routing cables to lights etc up front, removing the old crusty tape, the length of the cables makes no sense, loads doubling back on themselves. I'll do my best with a view to sorting it properly with new connectors at a later date, rome wasn't built in a day but it appears the wiring loom was.
Still no luck with centre console bolts landing, does anyone have a picture of what they should be bolting into? Thought to try longer bolts but heater pipes in way.
Lawrie
LawrieS said:
Been a bit busy this weekend, trying to get everything done in time for S club.
Steering rack in, front suspension all done but alignment, brakes on, all silicone hoses, shiny Shaun twin swirl pot and header, stainless coolant pipes, manifolds on, fuel tank in and piped up, body almost bolted down, done a bit more painting.
Those suspension bolts look a bit shiny, are they galvanised 8.8 grade or stainless? Stainless bolts are not really suitable for suspension.Steering rack in, front suspension all done but alignment, brakes on, all silicone hoses, shiny Shaun twin swirl pot and header, stainless coolant pipes, manifolds on, fuel tank in and piped up, body almost bolted down, done a bit more painting.
Rob.
LawrieS said:
Still no luck with centre console bolts landing, does anyone have a picture of what they should be bolting into?
Lawrie
This topic, pics from TVRGIT (always good info) :Lawrie
http://www.pistonheads.com/gassing/topic.asp?h=0&a...
http://www.andrewc.org.uk/tvrgit/bodylift.html
Edited by HvdWeerden on Wednesday 29th April 08:55
Griffinr said:
Those suspension bolts look a bit shiny, are they galvanised 8.8 grade or stainless? Stainless bolts are not really suitable for suspension.
Rob.
Thanks for the concern, they are galvanised 8.8 Rob.

Cheers for the links Han, never been good with the search facility.
Well, it's been a long week, but it's running and almost ready to go, chassis bolts in the boot and seatbelt reels and a quick tidy up of the interior and a few other minor bits then providing tracking works out well (tomorrow at 3pm) then a good scrub and it's good to go!
Gassing Station | S Series | Top of Page | What's New | My Stuff