S-Club Reserve Plan
Discussion


Hi Stewart,
The turnbuckles on Percy fabricated by Shaun are each 40mm long, made from 3/4" SS round bar, with spanner flats at each end if that:s any help.
I would consider Phillpot's suggestion of using rubber boots. They are used on rose-jointed linkages to critical pneumatic valves on railway rolling stock. When I worked on the trains, I was impressed by the level of protection they offer from grit, dirt and water ingress.
A bare rod end coated in grease would just be a grit magnet IMHO.
If you don't use the boots, better to keep it clean by wiping frequently and spraying with WD-40

I use antiroll slide bar clamps to attach the drop links on mine. They came from Merlin Motorsport but I expect there are plenty of alternatives. These attach to the thick part of the bar which means the bar is effectively shortened and stiffened; eliminating the rubber stiffens it up further. In theory the clamp can be moved along the bar to adjust the leverage, but in practice the clamp needs to be kept close to the end of the bar to keep the drop link geometry reasonable. I used good quality PTFE-lined rod-end bearings with boots to keep the muck out, and they are as new 100,000 miles later. There isn't much load on them as long as you dial out the preload, so they should last practically forever.

So cracked on with the small jobs.
Used some offcut of tube to stop the rear lamp clusters popping out during enthusiastic driving.
Then added an anaconda of my own.
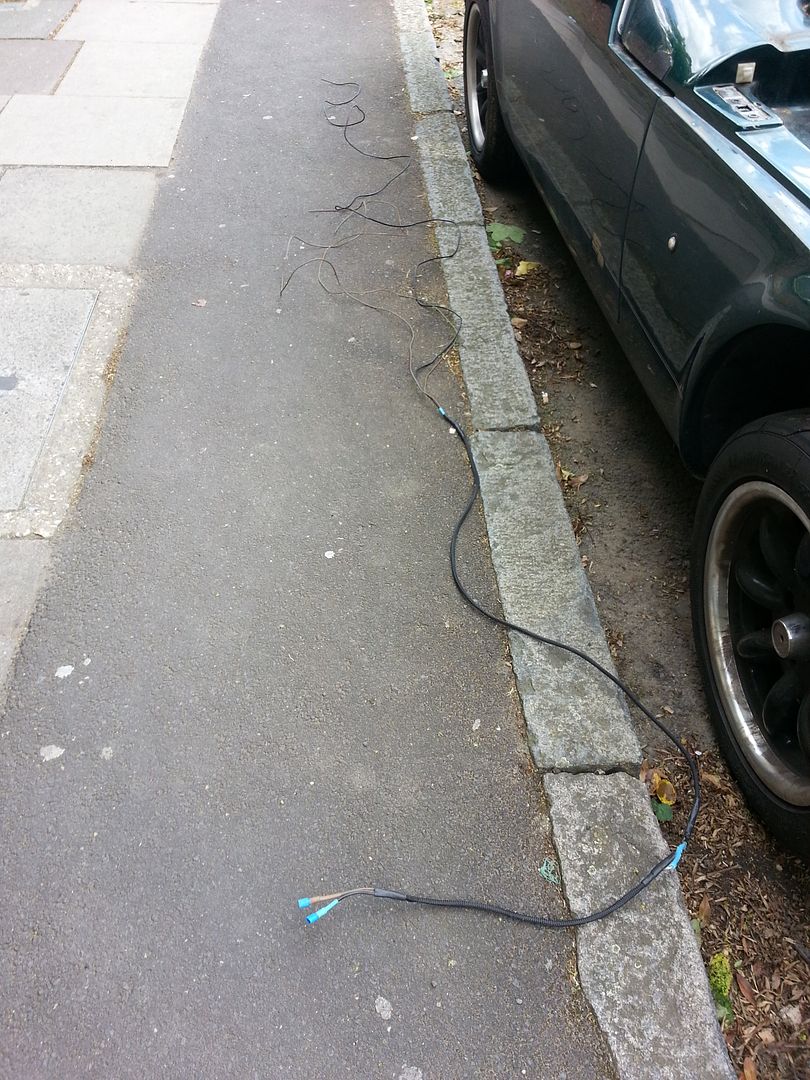
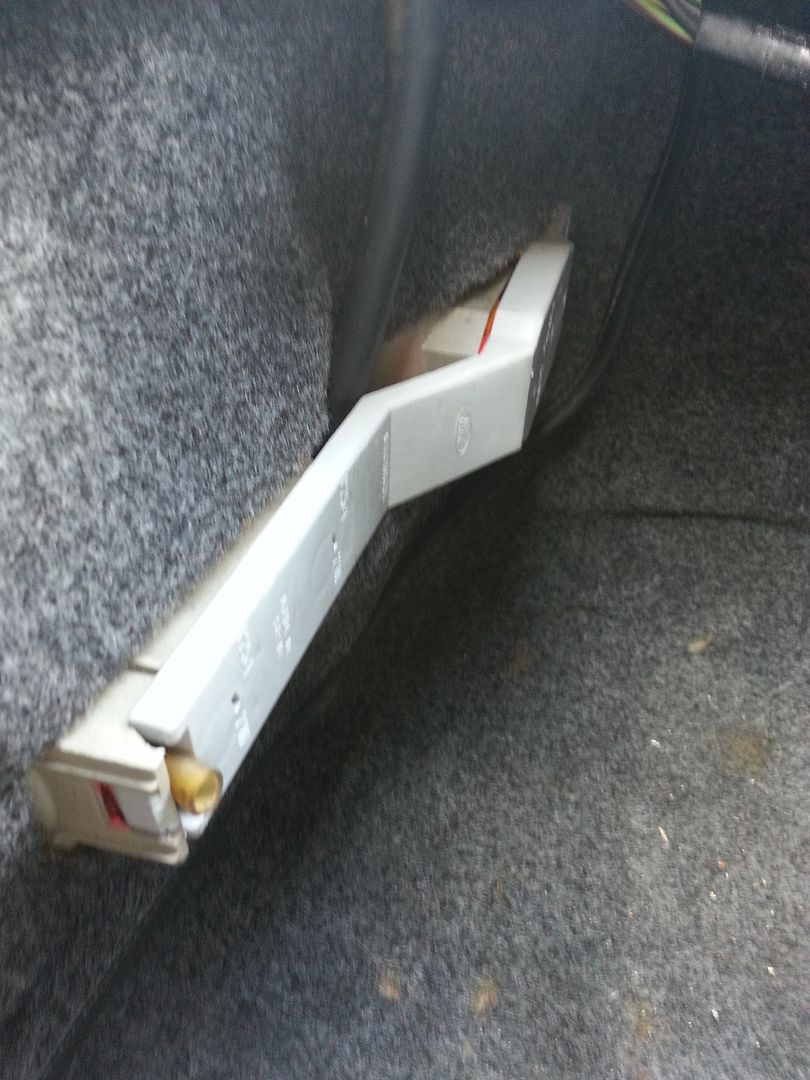
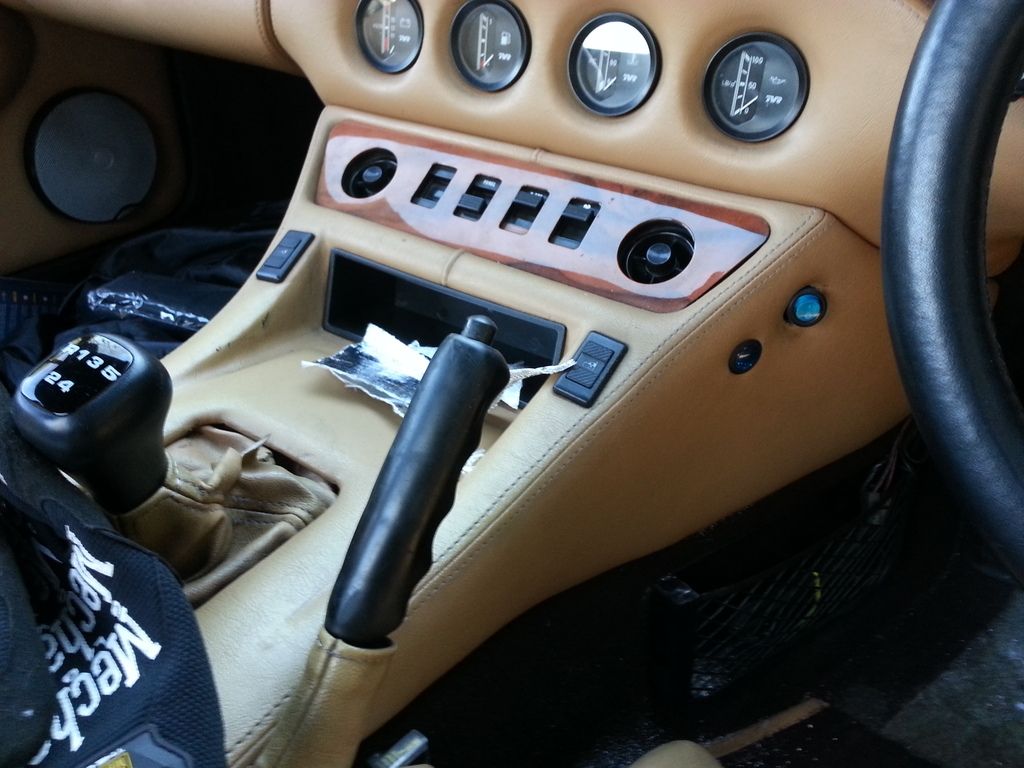
Stripped out the stereo and wired in the fan override switch - blue lights. Just the speakers in the doors to go. Interchanger removed from the boot so some more space.
Used some offcut of tube to stop the rear lamp clusters popping out during enthusiastic driving.

Then added an anaconda of my own.

Stripped out the stereo and wired in the fan override switch - blue lights. Just the speakers in the doors to go. Interchanger removed from the boot so some more space.


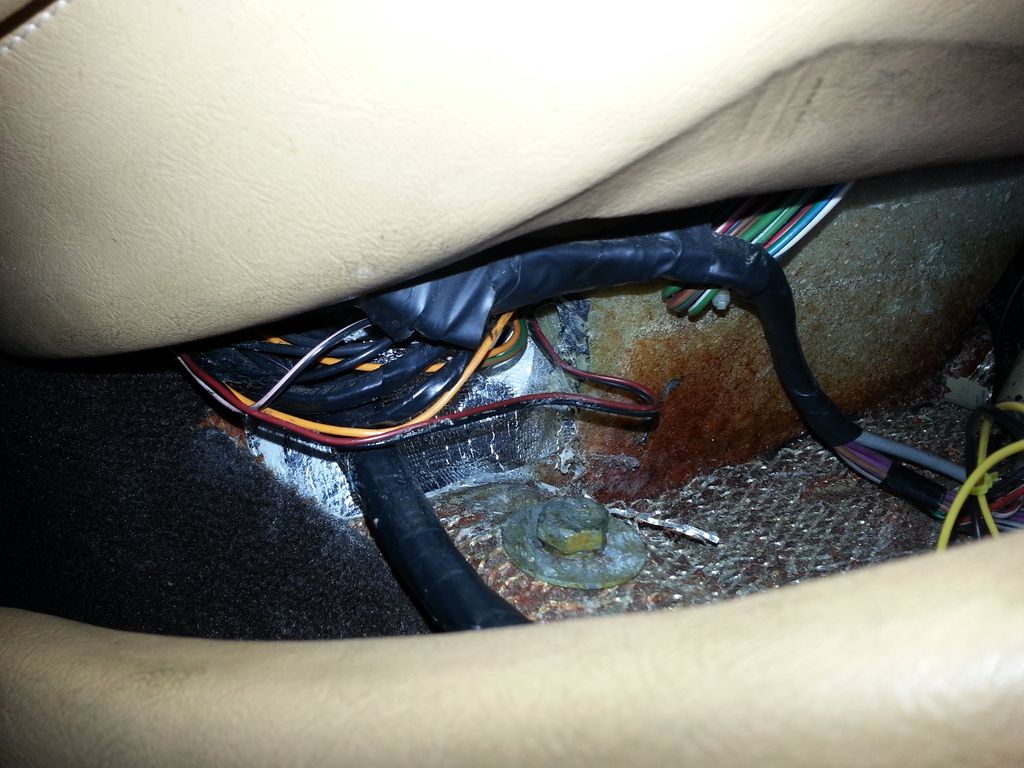
Then extracted the CD interchanger control cables before sealing up the bulkhead hole previously used by the fresh air supply pipe on the passenger side.
I used some heat shield in the engine bay and then built up the inside using off cuts. Glued up and should be air tight as well as flame resistant
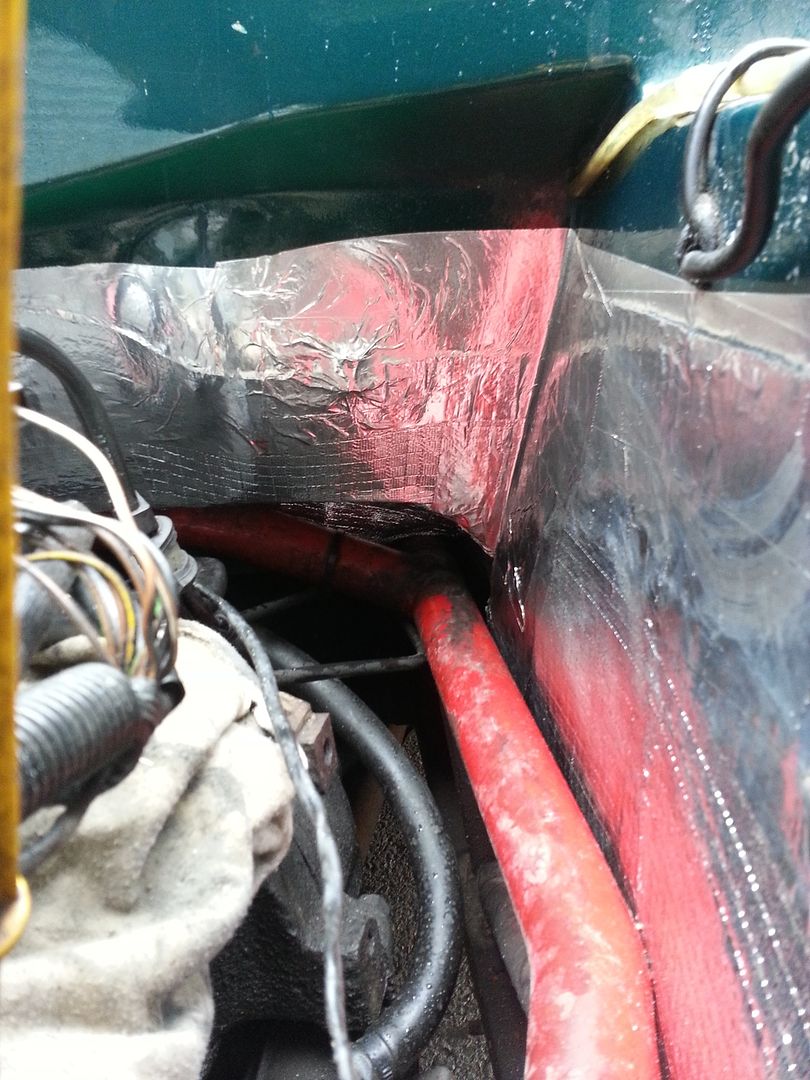
I used some heat shield in the engine bay and then built up the inside using off cuts. Glued up and should be air tight as well as flame resistant


So, Hethel trackday is this Sunday. The eagle-eyed amongst you will see that the heads are still not fitted, nor the ARB!
Well, I'm taking Friday off to build up to top end. Mr Zigazaga is lending a hand. So, if all goes well, should have the car running sweet and freshly flushed through on Friday evening. Test run on Saturday. Track on Sunday.
Well, I'm taking Friday off to build up to top end. Mr Zigazaga is lending a hand. So, if all goes well, should have the car running sweet and freshly flushed through on Friday evening. Test run on Saturday. Track on Sunday.
mk1fan said:
....I used some heat shield in the engine bay and then built up the inside using off cuts. Glued up and should be air tight as well as flame resistant
I'm also going to be doing this soon. How did you manage with the heat-shield around those bulky bulkhead ballast resistors on the driver's side ? I might take them out and bin them - is the dashboard light dimmer function really required (on sunny afternoons) ?
TVRees said:
I'm also going to be doing this soon. How did you manage with the heat-shield around those bulky bulkhead ballast resistors on the driver's side ?
I might take them out and bin them - is the dashboard light dimmer function really required (on sunny afternoons) ?
That is what I did, they only make the very dim lights even dimmerI might take them out and bin them - is the dashboard light dimmer function really required (on sunny afternoons) ?
Gassing Station | S Series | Top of Page | What's New | My Stuff