Winter Projects
Discussion


Thanks Tim, very helpful, especially the tip about the reassembly sequence.
Although "...and remove the bolts from the two bushes at steps 8 and 9." is the bit which is causing me dome difficulty, the trailing arm pivot bolt/bush, not the suspension one. I thought I might be able to waggle it up and down if I disconnected the damper, but the drive shaft is going to limit how much I can move it.
Although "...and remove the bolts from the two bushes at steps 8 and 9."
is the bit which is causing me dome difficulty, the trailing arm pivot bolt/bush, not the suspension one. I thought I might be able to waggle it up and down if I disconnected the damper, but the drive shaft is going to limit how much I can move it.magpies said:
soak with plusgas or similar, refit the nut 'til just fully on the threads, use an air ratchet and while the bolt is turning hit the end with the nut
Tried that but couldn't get the impact gun into the space to get purchase on the socket. Guess I need some sort of right-angle attachment.phillpot said:
Not really understanding what you'll gain from a few millimetres extra diameter? If the bias valve is doing its job you shouldn't be getting 100% from what you have ?...
The original TVR set-up had a 240mm front disc matched to a 253mm rear disc. I've got 260mm front discs now and find it fairly easy to out brake the front tyres (Dunlop Fast Response - so nothing wrong with those), so I'm trying to restore the 13mm back/front balance by increasing the rear discs to 273mm. Just a theory.

v8s4me said:
magpies said:
soak with plusgas or similar, refit the nut 'til just fully on the threads, use an air ratchet and while the bolt is turning hit the end with the nut
Tried that but couldn't get the impact gun into the space to get purchase on the socket. Guess I need some sort of right-angle attachment.

v8s4me said:
but if that doesn't work
It won't.v8s4me said:
then it looks like an angle-grinder job.
angle grinder with one of those very slim slitting discs and it'll be out in no time 


phillpot said:
v8s4me said:
but if that doesn't work
It won't.v8s4me said:
then it looks like an angle-grinder job.
angle grinder with one of those very slim slitting discs and it'll be out in no time 
phillpot said:
..It won't...angle grinder with one of those very slim and it'll be out in no time
I was 
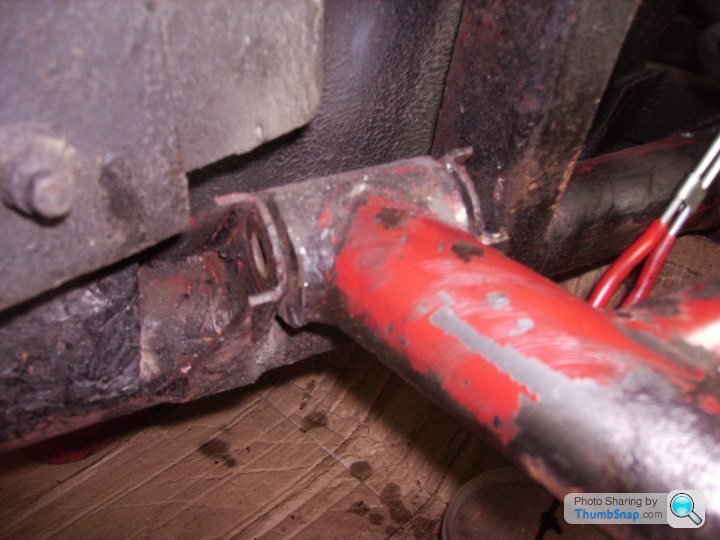
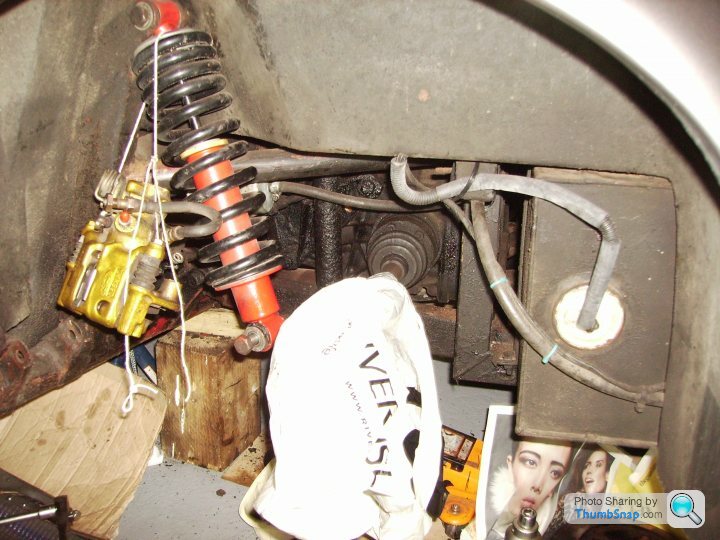
I'm struggling to get the flexible brake pipe off the bracket on the trailing arm.
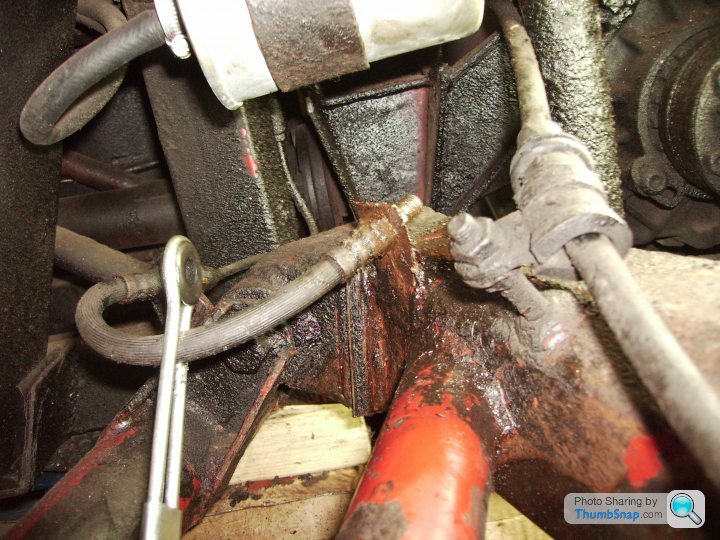
I may have to cut the pipe so do we know if these are available? Can I replace the whole length of pipe from the copper (see bracket on chassis) to the caliper?
Has anyone done this and do you know what the thread sizes are? If there was somewhere local I could just take the old parts in but I don't this I have any one near by.
v8s4me said:
I'm struggling to get the flexible brake pipe off the bracket on the trailing arm.
Have you put the grinder away?v8s4me said:
Can I replace the whole length of pipe from the copper (see bracket on chassis) to the caliper?
I did, with home assembled braided stainless.Threads should all be standard metric


Pay attention at the back.......
v8s4me said:
Can I replace the whole length of pipe from the copper (see bracket on chassis) to the caliper?
phillpot said:
I did, with home assembled braided stainless.
Not got a picture to hand but basically just follows the same route as the flex-metal-flex set up with the brackets chopped off and a couple of P clips insteadWell...as bas rd jobs go, this is right up there on the top ten basrd jobs list.
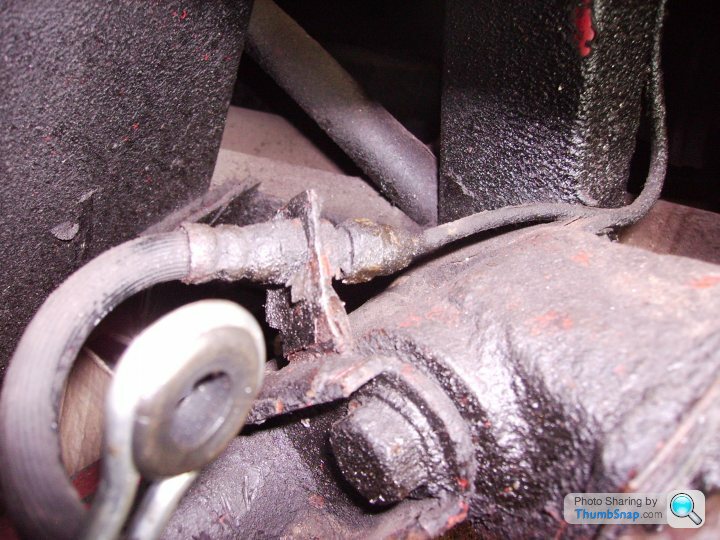
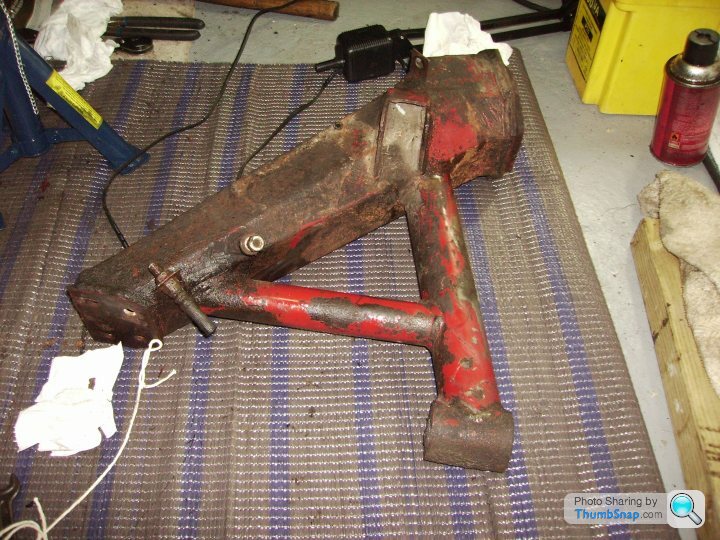
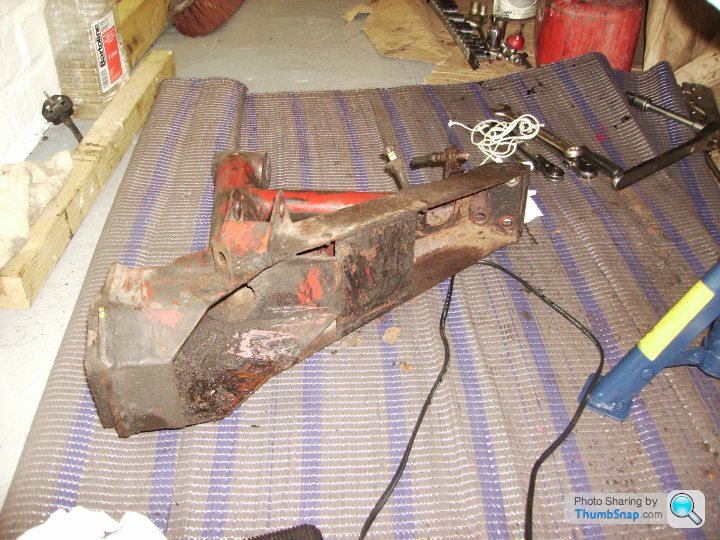
The metal was wafer thin around the hole, now a bigger hole and it look like I caught it just in time. But is is off and will now be sent to Adrian Venn to sort out.
Now to clean up the chassis ready for re-installing. Lets hope there's no more unpleasant surprises.
rd jobs go, this is right up there on the top ten basrd jobs list. The metal was wafer thin around the hole, now a bigger hole
and it look like I caught it just in time. But is is off and will now be sent to Adrian Venn to sort out.Now to clean up the chassis ready for re-installing. Lets hope there's no more unpleasant surprises.
Gassing Station | S Series | Top of Page | What's New | My Stuff