Pimp my Alternator!
Discussion


Well after S Club I realised I needed to add a bit o' bling to my car.
As V8 alternators go for about a tenner on ebay I decided I'd risk taking it to bits.
Edited to add - looking at the V6 alternator I reckon the principles applied here might be pretty similar, but do it at your own risk etc etc.
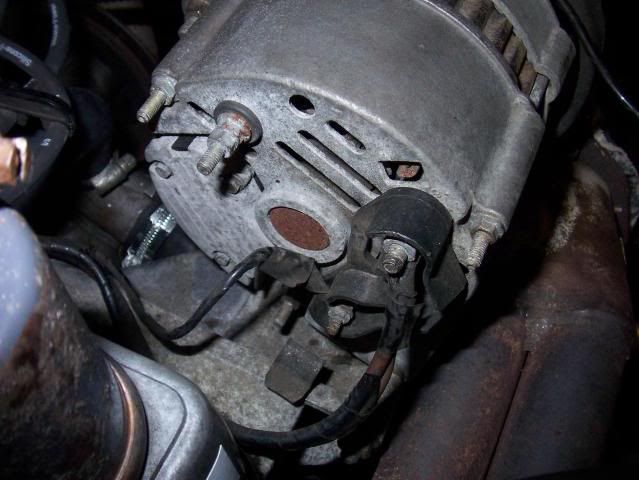
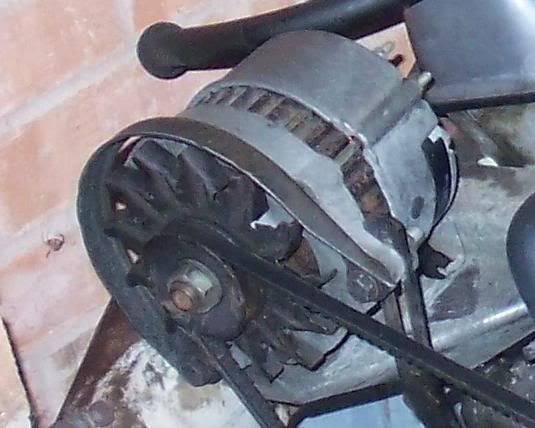
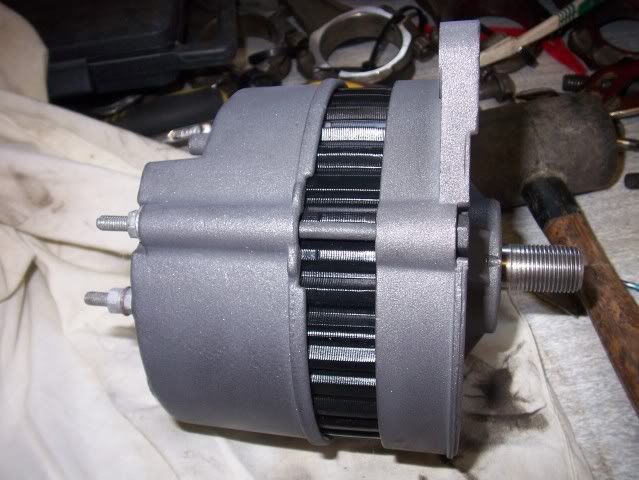
I turned this
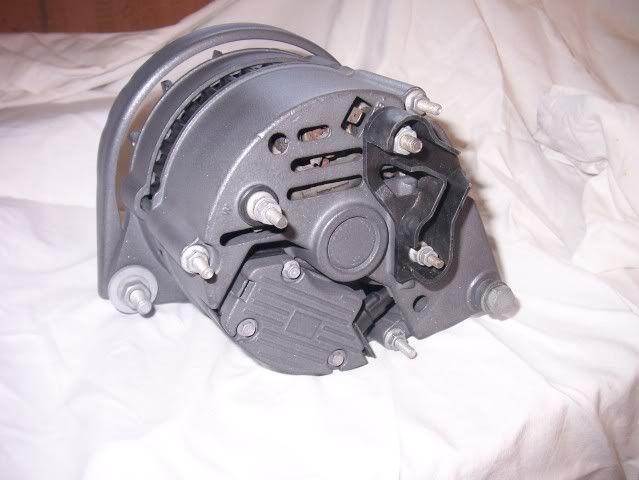
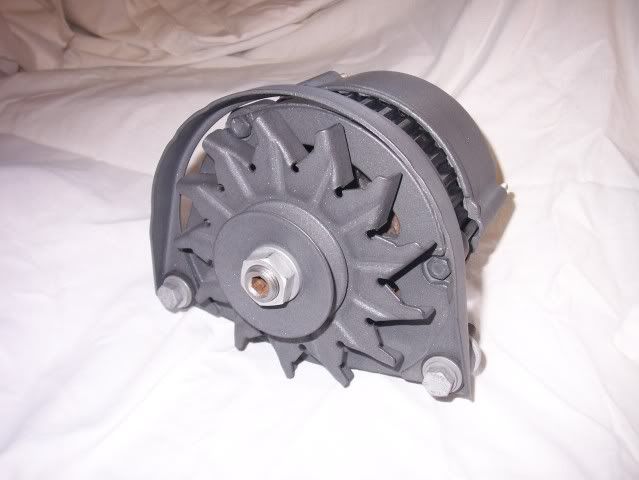
to this
Here's how.
I took the alternator apart to paint it and was amazed at just how easy it was.
Don't forget it was the V8 alternator (Lucas I think but it also says Magneti Marelli on the casing).
I think the V6 alternator is pretty simlar in terms of the principles used here.
These are actually reassembly pics used in reverse if that makes sense so they are of a nice clean alternator
I am no alternator expert so my description of the various parts may not be technically accurate.
Remove the regulator - remove the 3 bolts and lift it away.

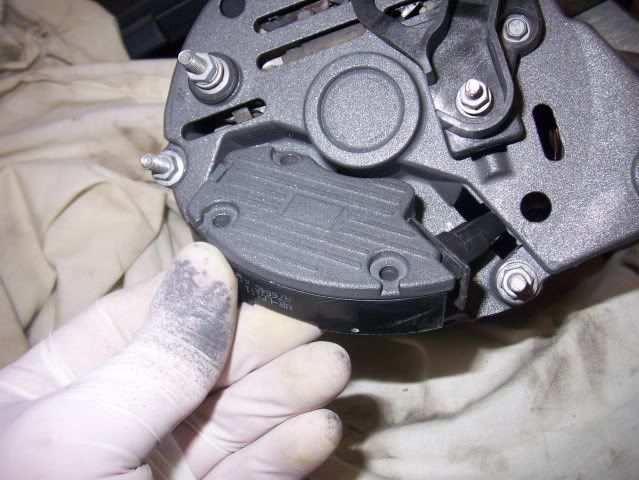
Lift it away carefully and detach the single wire.
You can see the brushes here.
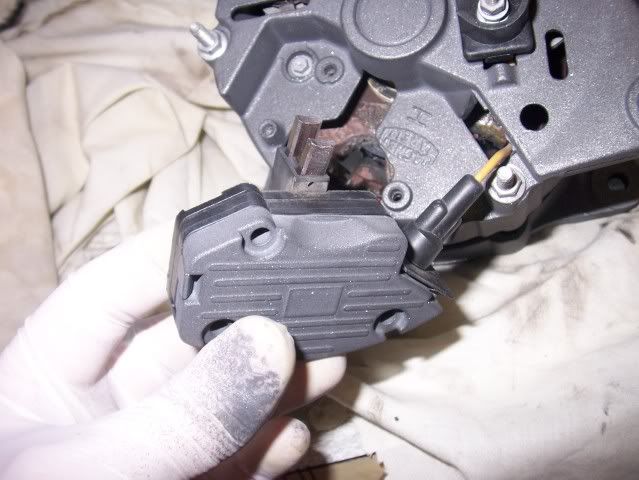
Note to paint this dont try to seperate the 2 halves - half metal half plastic.
They are attached together by some very short wires - if you pull it apart you'll break them - it can be eased apart just enough to get some masking tape in the right places.
You need to remove the pulley using a spanner and allen key - and its tight.

Once thats done remove the 3 bolts that pass front to back through the alternator.
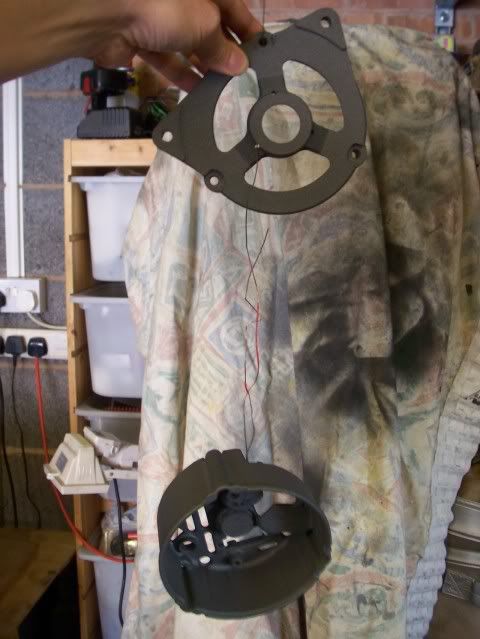
and remove the front
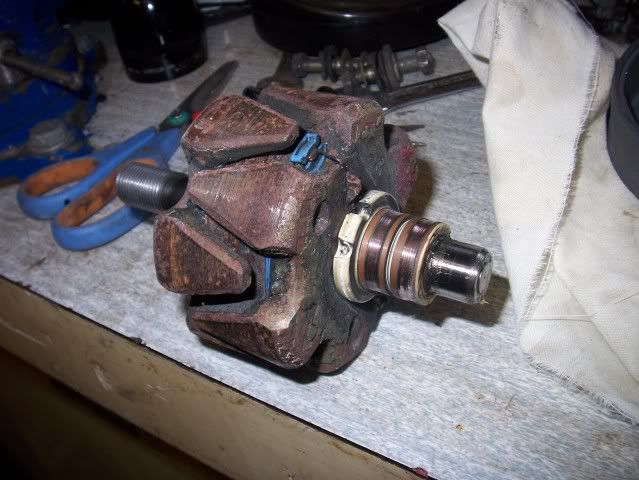
The central part of the alternator just lifts out
(I didn't do anything to this, I left it as it was, you can't see it when its back together)
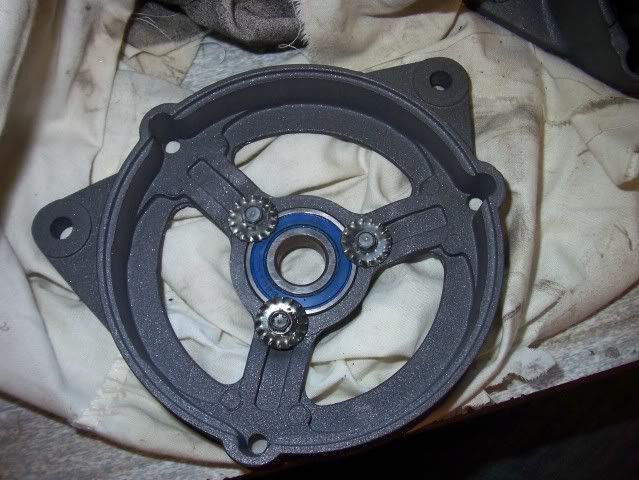
The front section has a bearing in it which came out fairly easily, remove the 3 bolts and gently tap it out.
(its a bit tougher to get back in if you get paint in here )
)
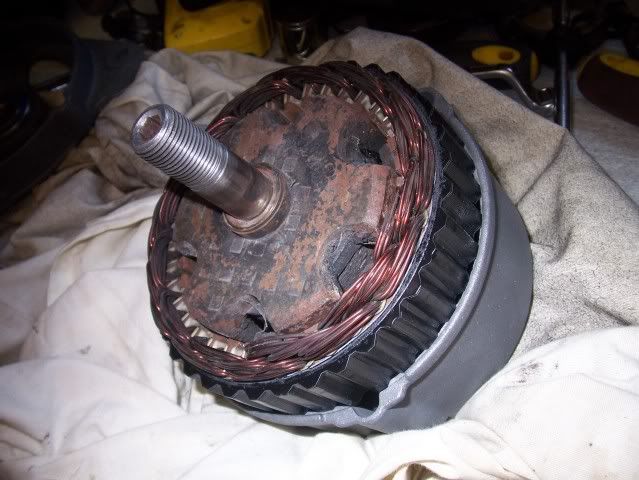
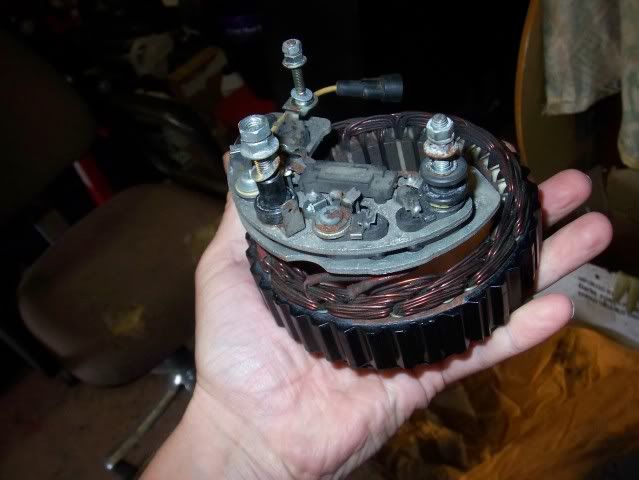
Then remove all of the remaining bolts and terminals at the back and the coil assembly just drops out.
I've put the nuts back on here so I know where they go.
I just wire brushed it then masked it off and painted the middle steel bit with some aerosol grey primer followed by black gloss.
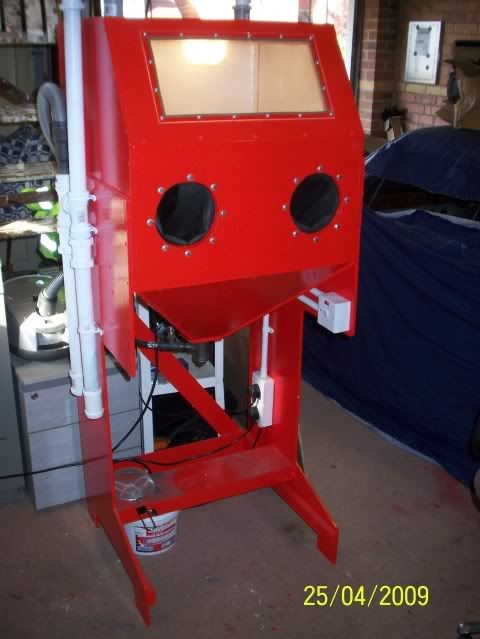
I then gritblasted the housing in my blast cabinet that I built a while back.
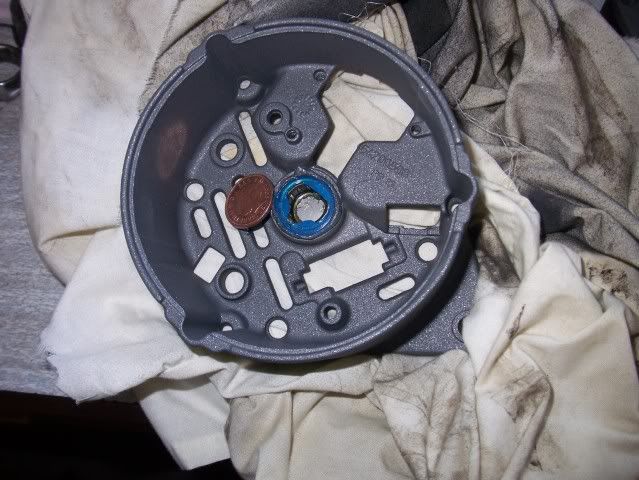
The problem with this is that the rear alternator housing has a roller bearing in it that won't come out.
I stuck a 2 pence over the bearing using blue gasket sealant - here's the pic after painting when I prised it off.
A quick spray of paint
Then its a case of putting it all back together - it really wasn't that hard and there weren't any real surprises - I thought there would be a few springs whizzing past my ears but it didn't happen.
Make sure the front to back relationship is correct - you can fit the 2 halves back together in any of 3 positions - if you get it wrong the mounts & belt tension bracket will be in the wrong position.
There's a finger guard that goes round the fan blades but its totally straightforward to remove so I haven't detailed that.
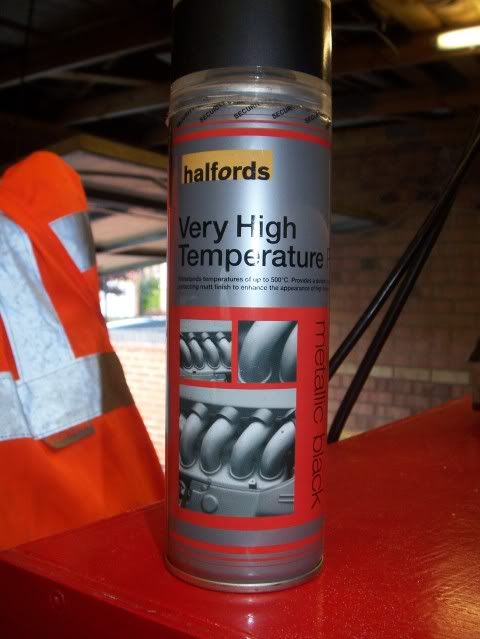
I painted it with Halfords high temp exhaust paint, its great for a bit of bling.
It covers brilliantly and is dry enough to handle carefully after half an hour.
It looks quite dull when you first spray it on but with only a tiny bit of buffing with a cloth it comes up really well. (More of a quick wipe than a buff - just right for me!).
As V8 alternators go for about a tenner on ebay I decided I'd risk taking it to bits.
Edited to add - looking at the V6 alternator I reckon the principles applied here might be pretty similar, but do it at your own risk etc etc.
I turned this
to this
Here's how.
I took the alternator apart to paint it and was amazed at just how easy it was.
Don't forget it was the V8 alternator (Lucas I think but it also says Magneti Marelli on the casing).
I think the V6 alternator is pretty simlar in terms of the principles used here.
These are actually reassembly pics used in reverse if that makes sense so they are of a nice clean alternator
I am no alternator expert so my description of the various parts may not be technically accurate.
Remove the regulator - remove the 3 bolts and lift it away.
Lift it away carefully and detach the single wire.
You can see the brushes here.
Note to paint this dont try to seperate the 2 halves - half metal half plastic.
They are attached together by some very short wires - if you pull it apart you'll break them - it can be eased apart just enough to get some masking tape in the right places.
You need to remove the pulley using a spanner and allen key - and its
tight.Once thats done remove the 3 bolts that pass front to back through the alternator.
and remove the front
The central part of the alternator just lifts out
(I didn't do anything to this, I left it as it was, you can't see it when its back together)
The front section has a bearing in it which came out fairly easily, remove the 3 bolts and gently tap it out.
(its a bit tougher to get back in if you get paint in here
)Then remove all of the remaining bolts and terminals at the back and the coil assembly just drops out.
I've put the nuts back on here so I know where they go.
I just wire brushed it then masked it off and painted the middle steel bit with some aerosol grey primer followed by black gloss.
I then gritblasted the housing in my blast cabinet that I built a while back.
The problem with this is that the rear alternator housing has a roller bearing in it that won't come out.
I stuck a 2 pence over the bearing using blue gasket sealant - here's the pic after painting when I prised it off.
A quick spray of paint
Then its a case of putting it all back together - it really wasn't that hard and there weren't any real surprises - I thought there would be a few springs whizzing past my ears but it didn't happen.
Make sure the front to back relationship is correct - you can fit the 2 halves back together in any of 3 positions - if you get it wrong the mounts & belt tension bracket will be in the wrong position.
There's a finger guard that goes round the fan blades but its totally straightforward to remove so I haven't detailed that.
I painted it with Halfords high temp exhaust paint, its great for a bit of bling.
It covers brilliantly and is dry enough to handle carefully after half an hour.
It looks quite dull when you first spray it on but with only a tiny bit of buffing with a cloth it comes up really well. (More of a quick wipe than a buff - just right for me!).
Edited by Barkychoc on Thursday 11th June 21:17
Gassing Station | S Series | Top of Page | What's New | My Stuff