johns wedge rebuild
Discussion


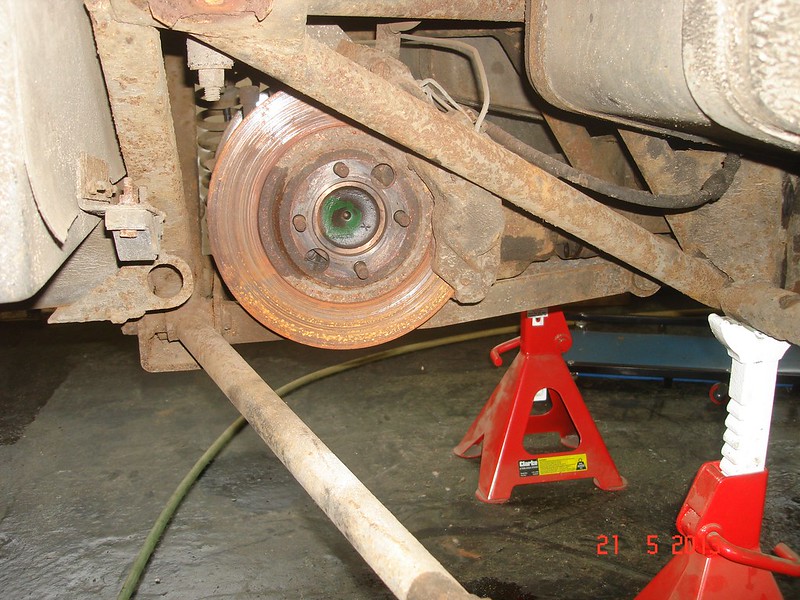
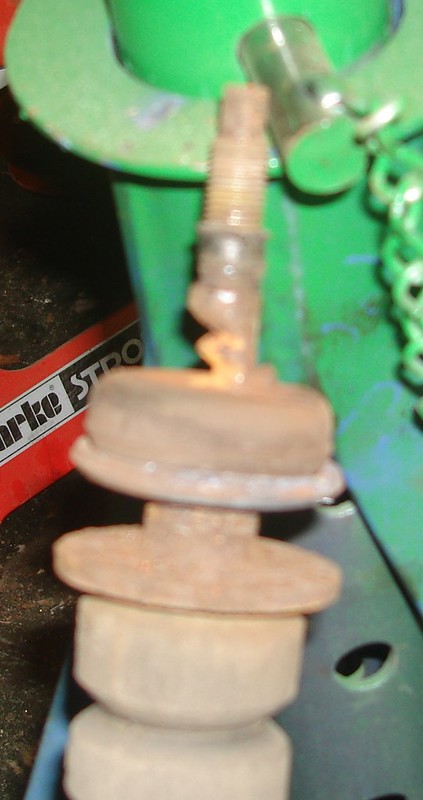
attacked the rear suspension on the wedge today wasnt to bad to get to bits i will replace the wheel bearings, ujs and bushes plus got a plan to replace the squidgy rubber bush on the trailing arm, the shocks will need to be replaced as well as the top fixing has been loose for some while and has cut into the mounting making it look more like a keyhole plus nearly worn through the shock rod.
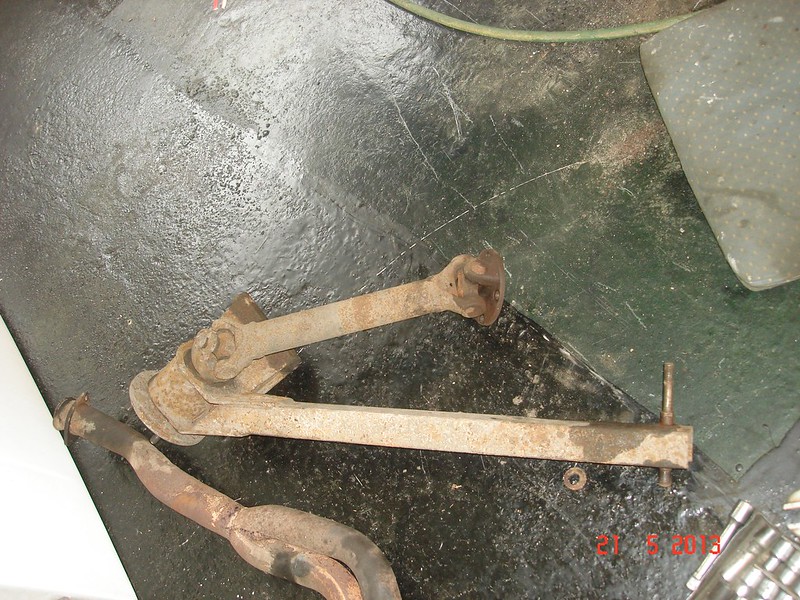

As part of the rebuild to my wedge i have now finished the design for the upgrade to the rear end basically it starts with a four bolt 20mm selfaligning ball race with triple seals to replace the rubber bush, the pin connecting the bearing to the trailing arm is threaded to allow a decent amount of adjustment to allow the toe in to be adjusted, the lower link is also having a left and right handed adjuster so camber can be adjusted without the need to fit or remove shims to the drive shft plus all this can be adjusted with the car on the ramp,pictures will follow as the build takes place will be a little while as have just had my pacemaker replaced.
John
John
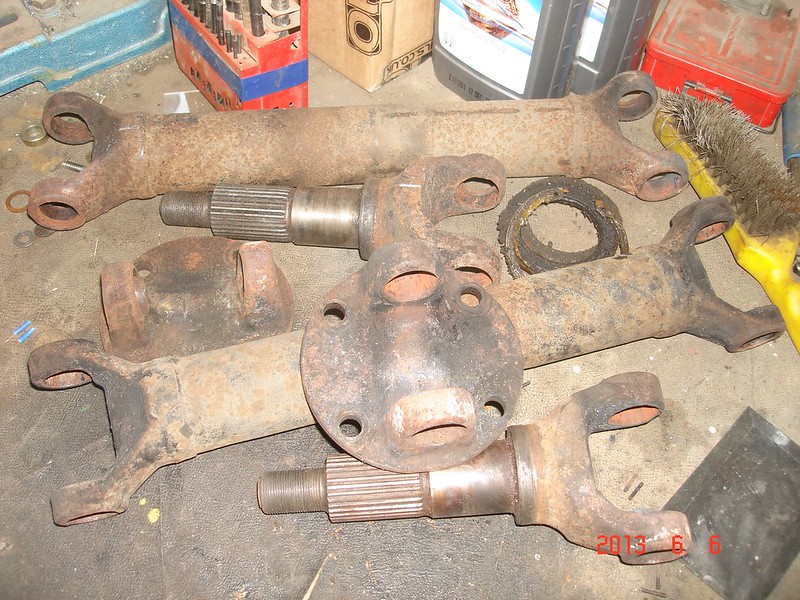
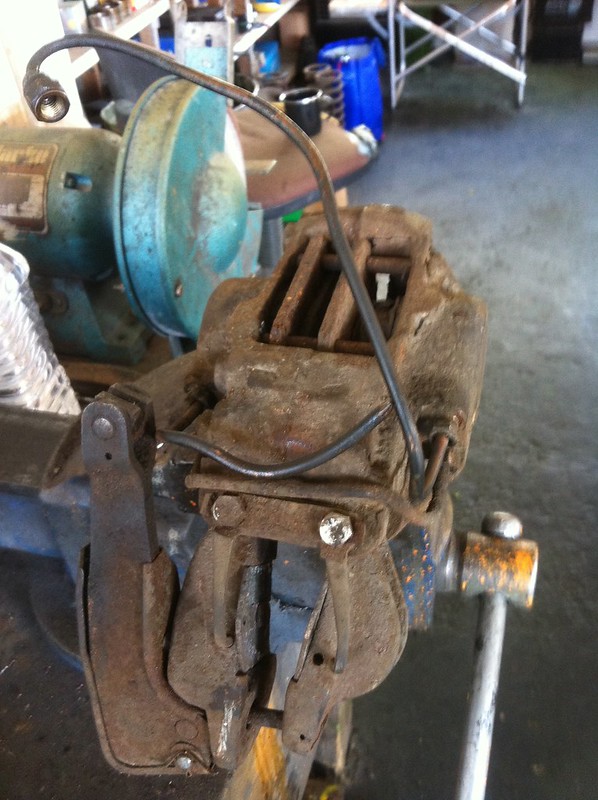
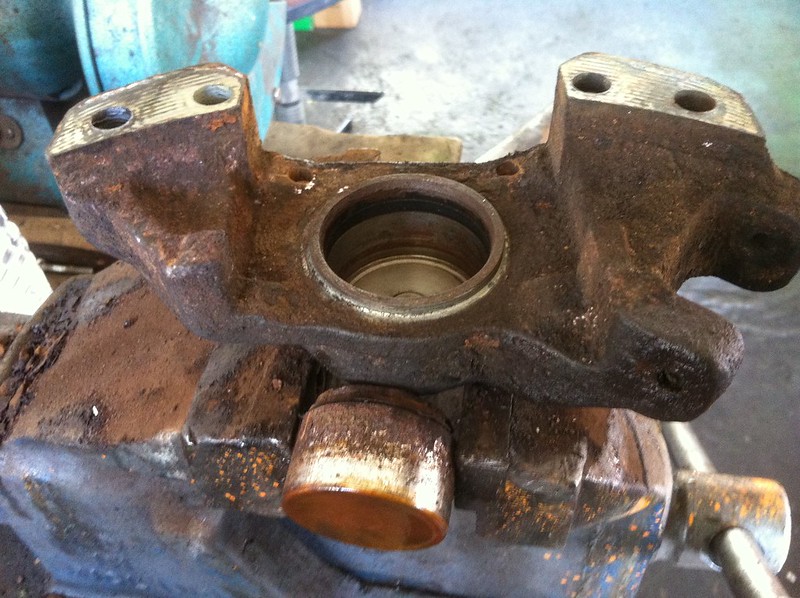
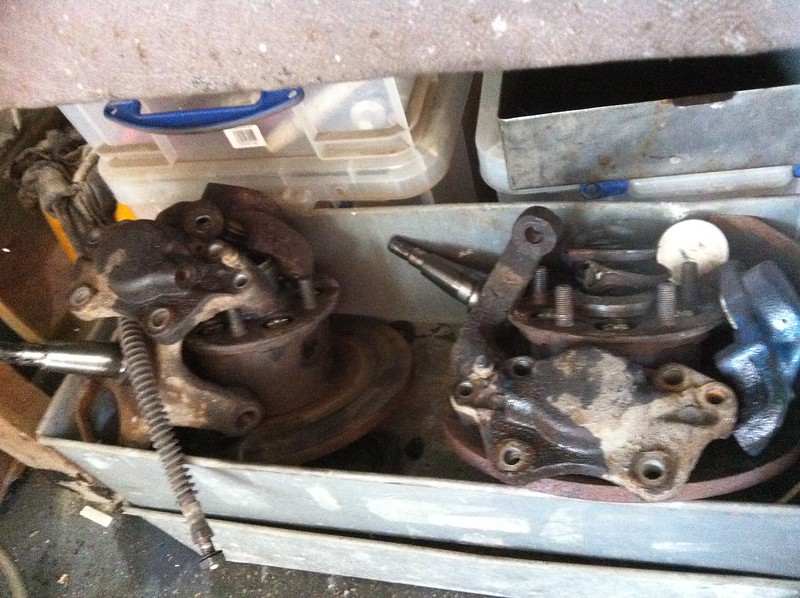
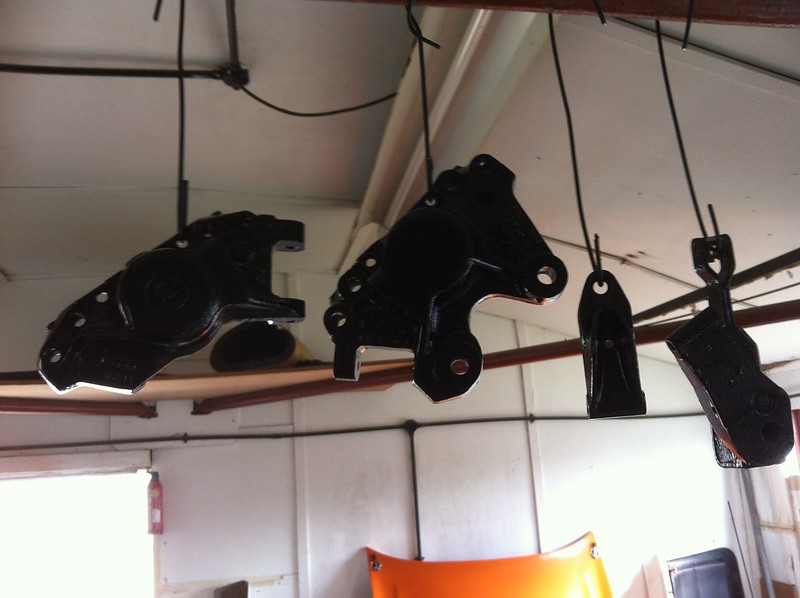
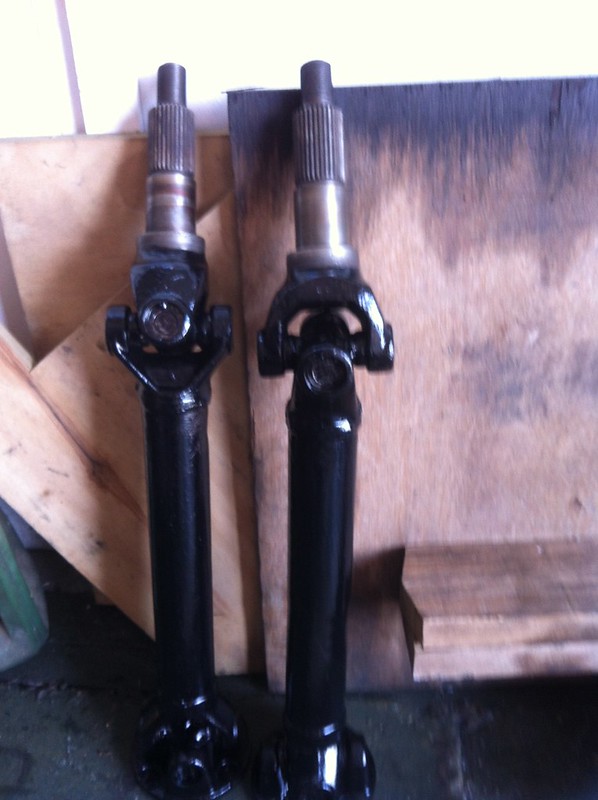
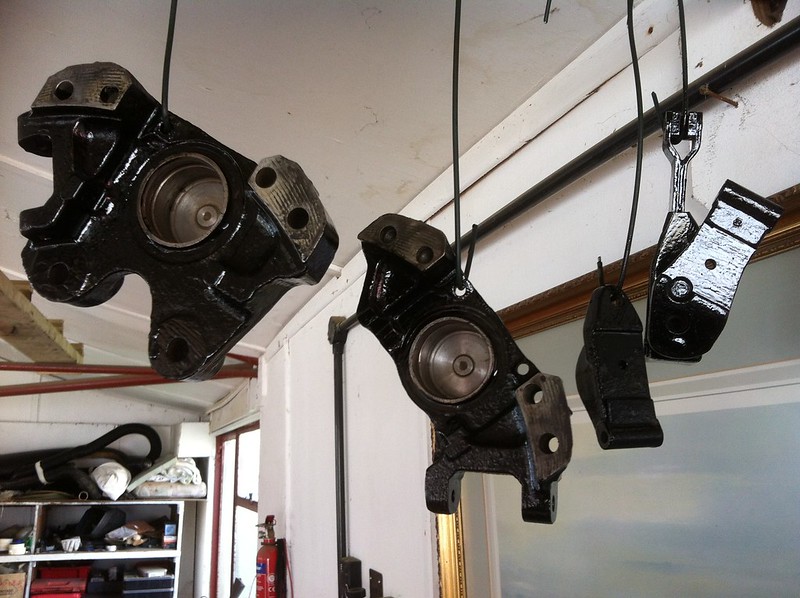
been at it today in earnest stripped all the brake callipers down and cleaned all the components to the rears and got them painted to say they where in a bit of a state would be an understatement and this car still has a valid mot, also got the front uprights stripped for cleaning bearings look good so will leave alone with new seals, not going to fit the backing plate to the front discs can't see the point must be better from the cooling point of view, also going to turn up my own stainless pistons for all the callipers should help keep the cost down.i got the drive shafts painted as well so rear end can go together soon.
john
john
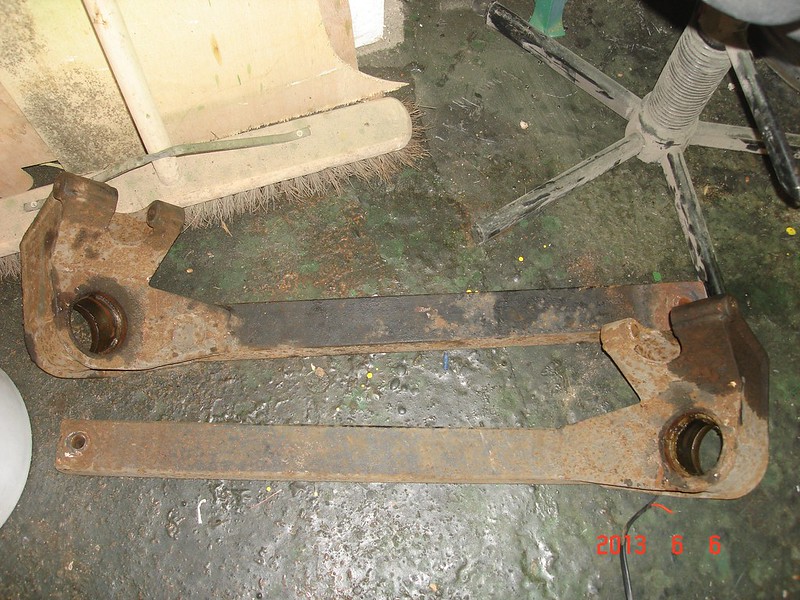
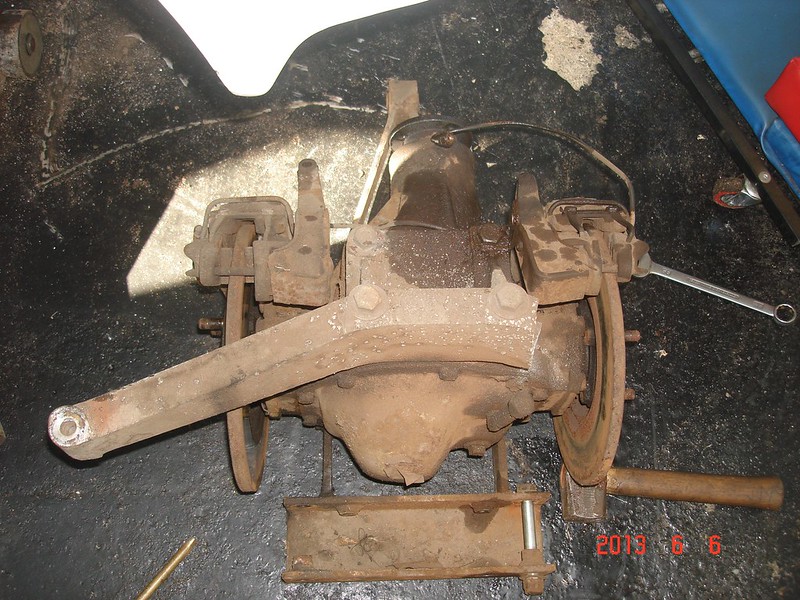
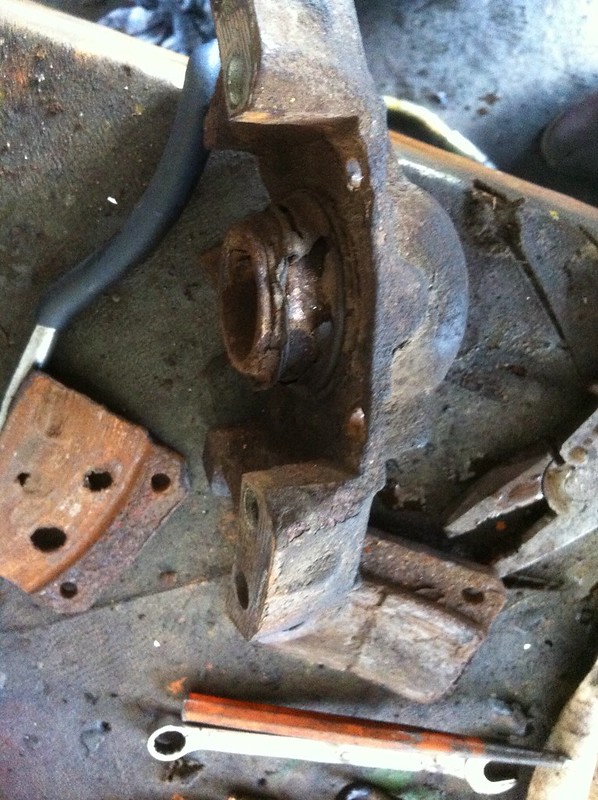
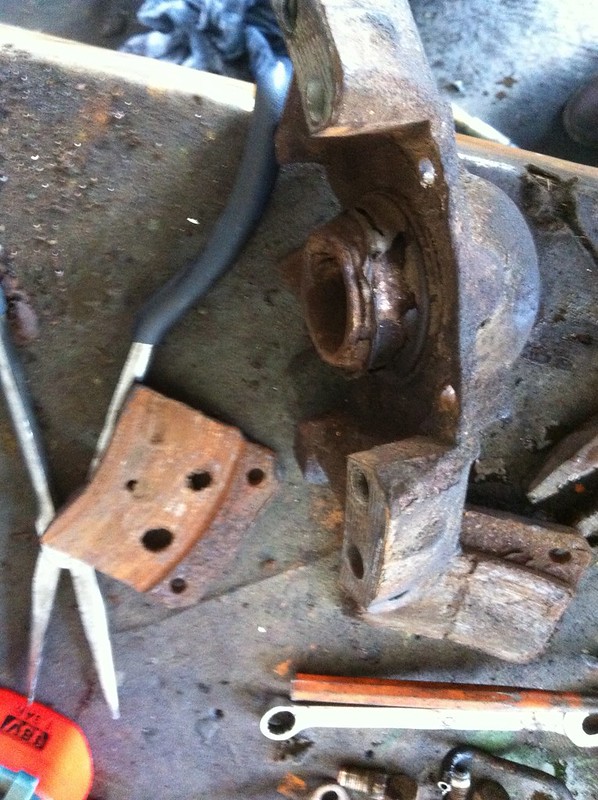
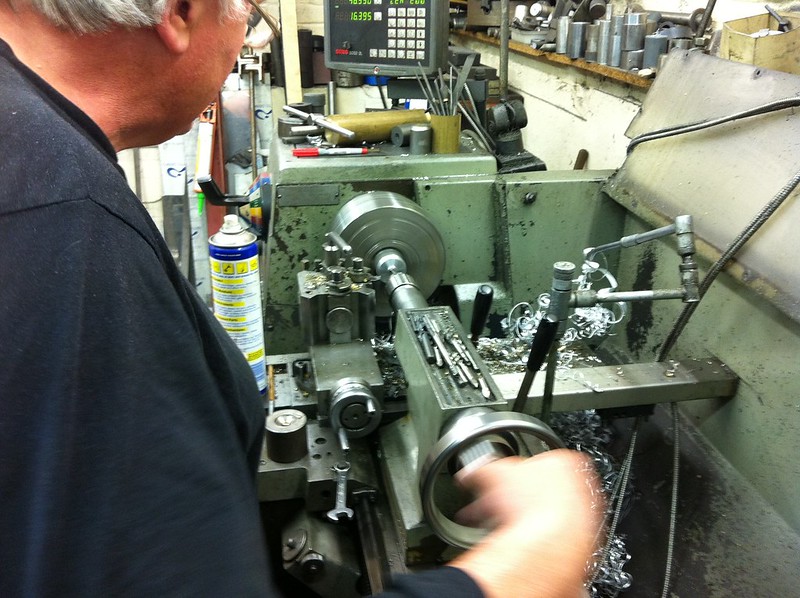
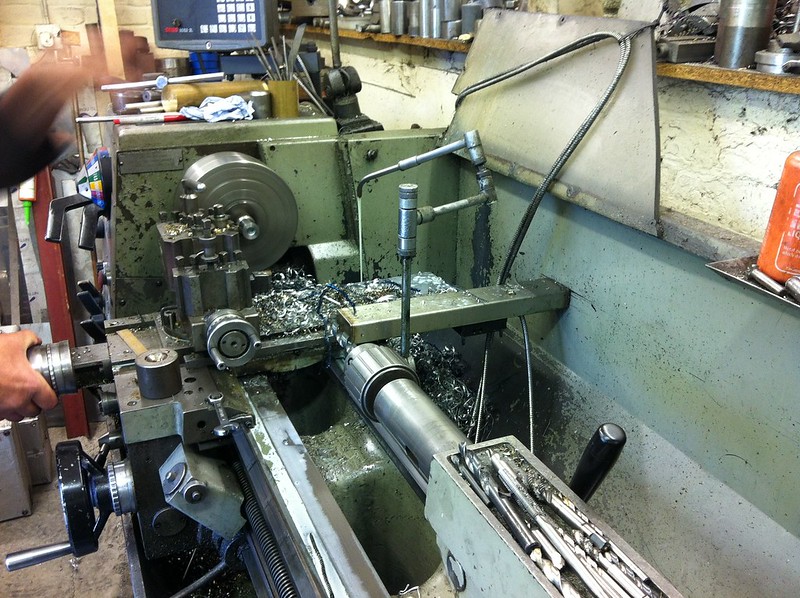
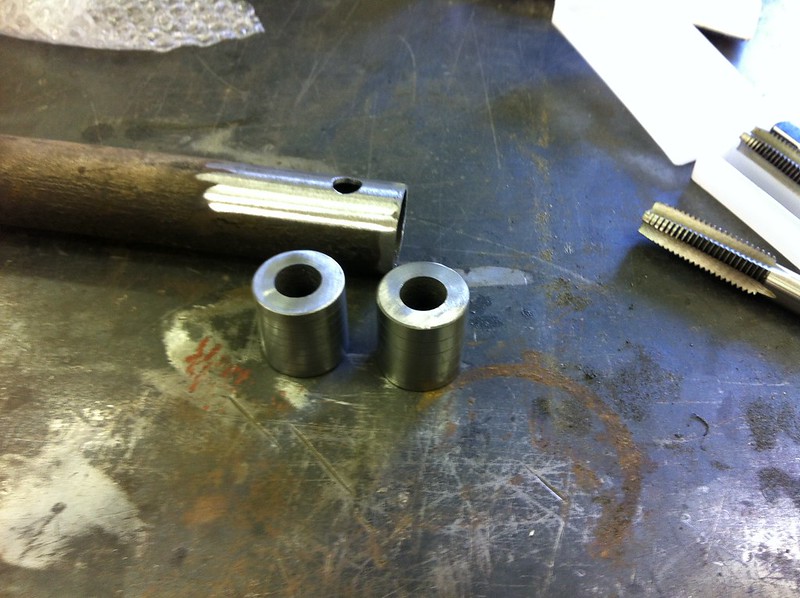
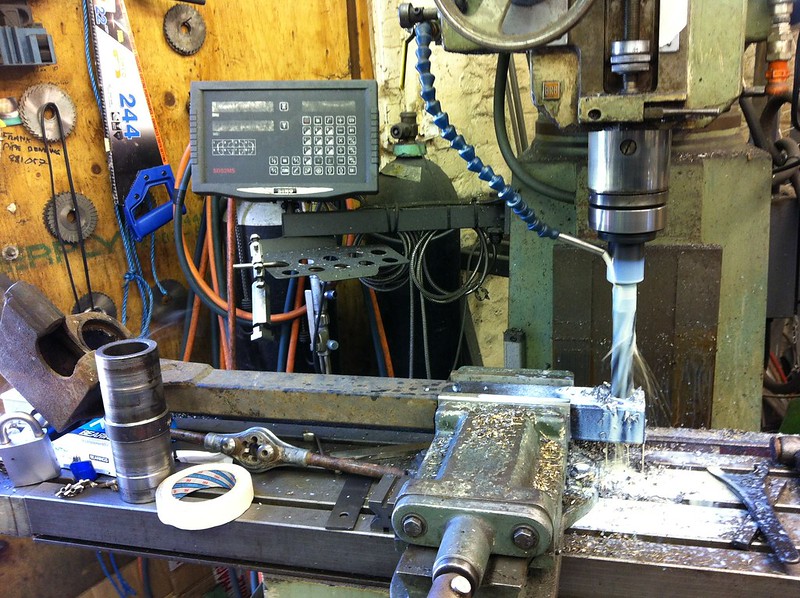
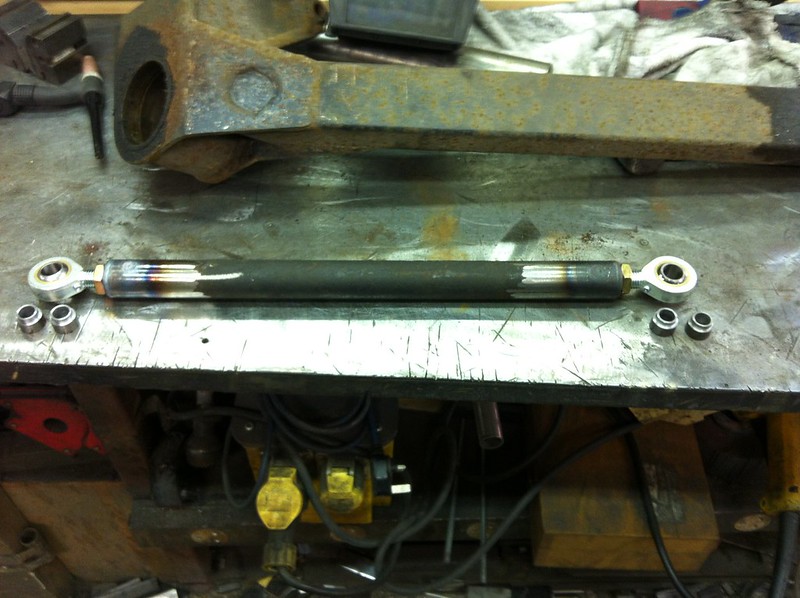
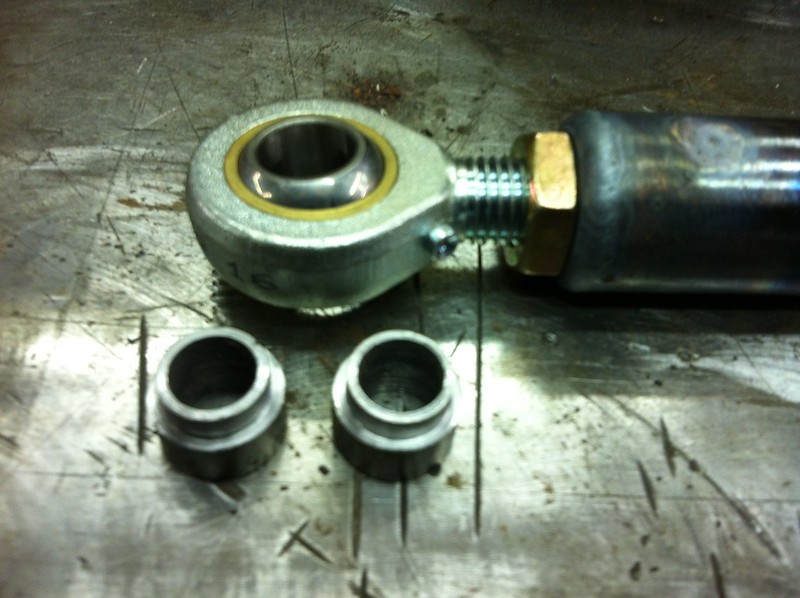
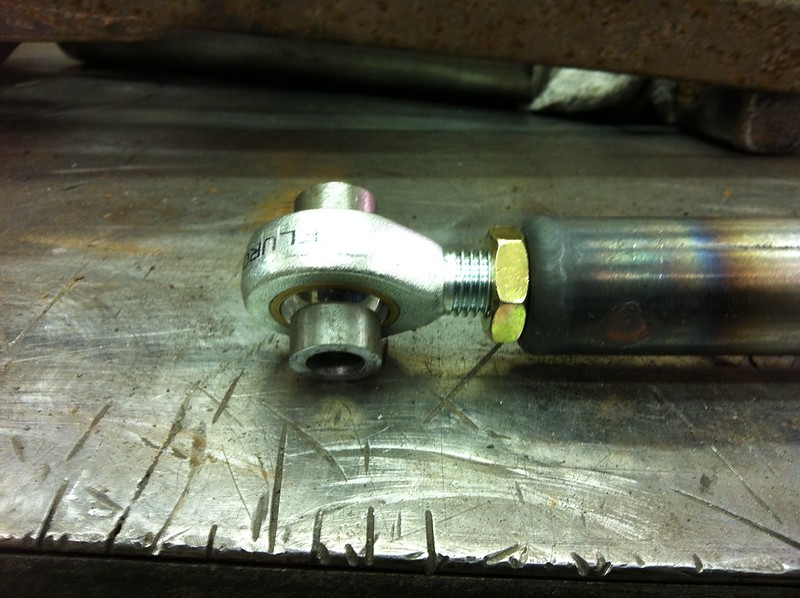
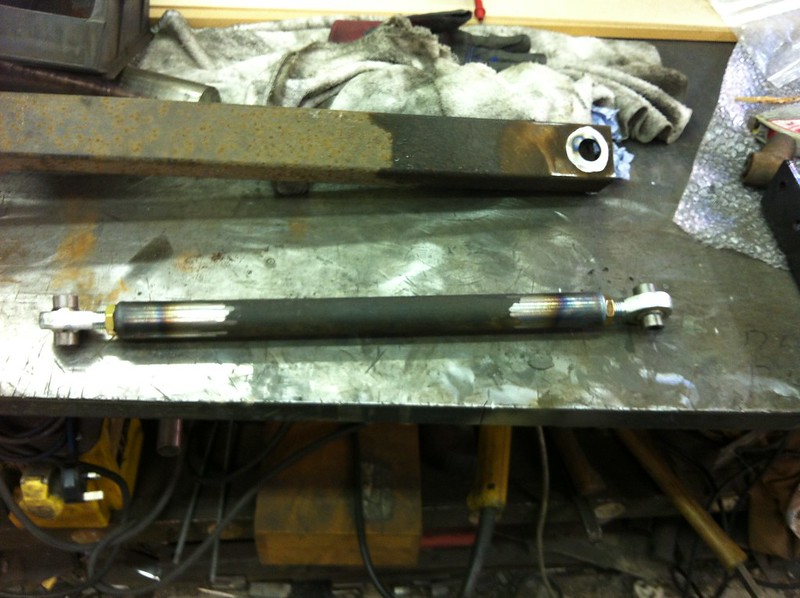
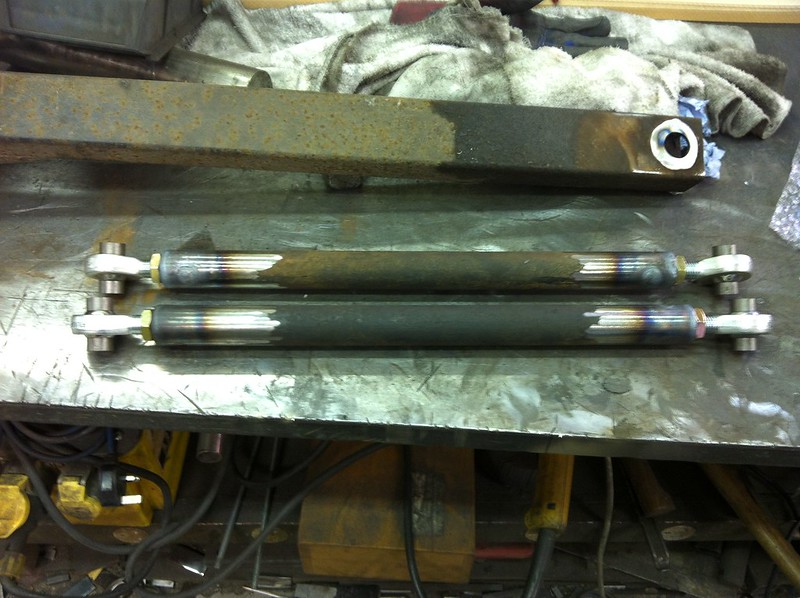
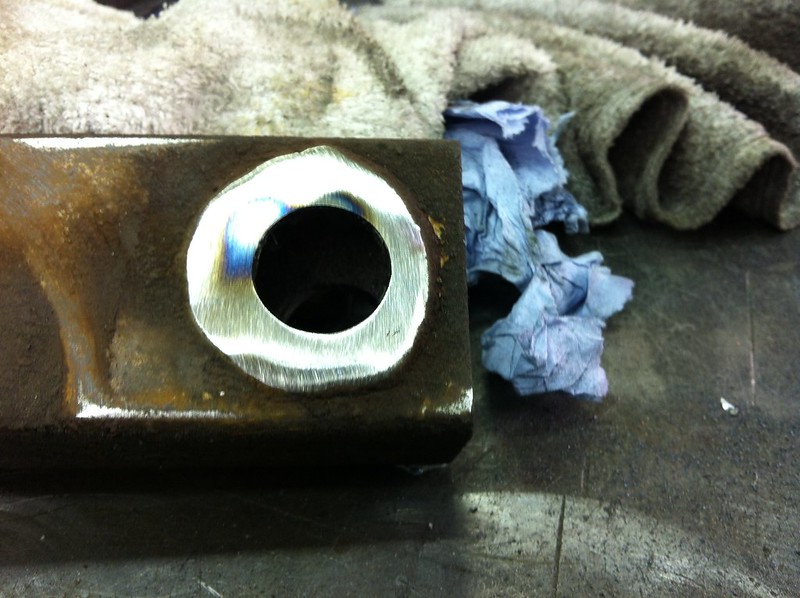
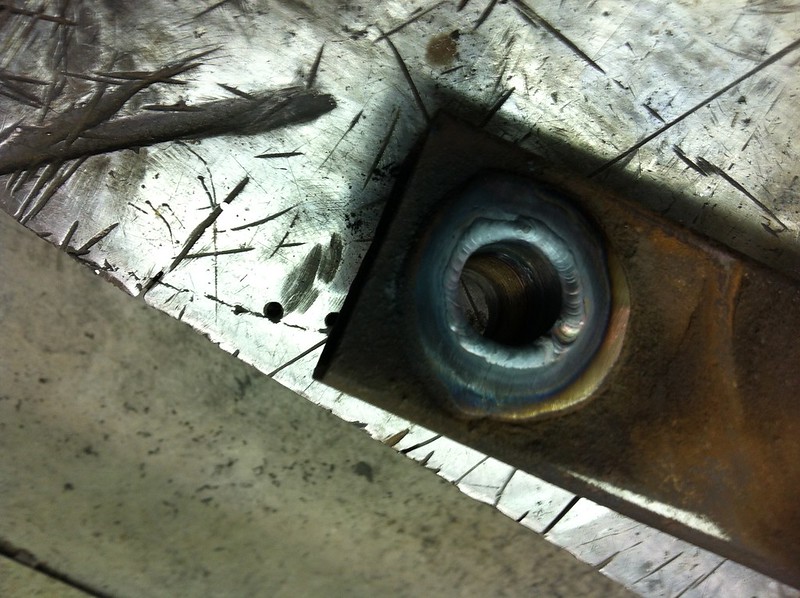
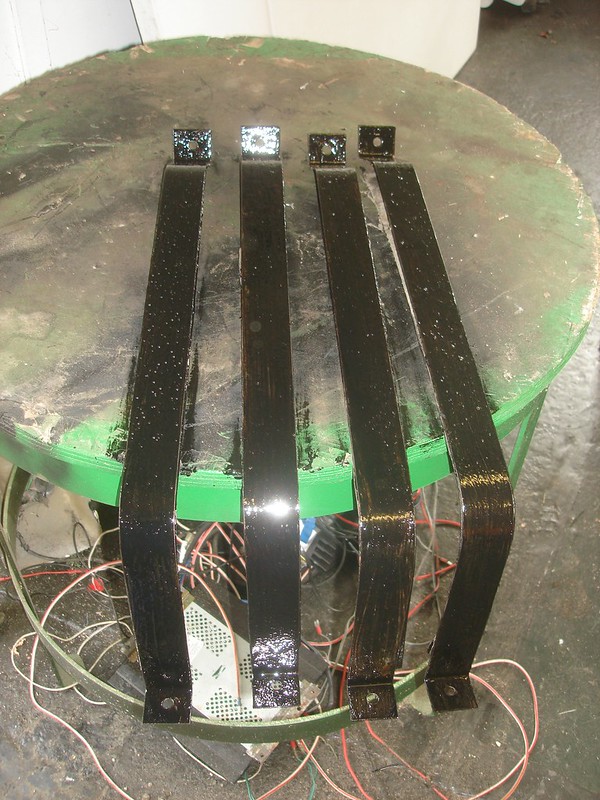
as promised the suspension mods are now coming to fruition, starting on the rear the diff has been overhauled as are the callipers hopefully make the new stainless pistons tuesday but much work has been done on the suspension itself, i am using a 20mm spherical bearing inplace of the big rubber bush for the trailing arm, the bottom bar ends have been replace with left and right hand rose joints to allow for instant and easy adjustment of camber angle, the new 20mm trailing arm mount will still be shimmed to get the correct toe in but with a massive bolt size and all one size should be simple to slide it out pop in a shim or remove one to get it just right the coilover will be adjustable so ride height again no problems, will post pics of it mocked up on the floor once it is painted but some construction pics to be going on with.
john

john
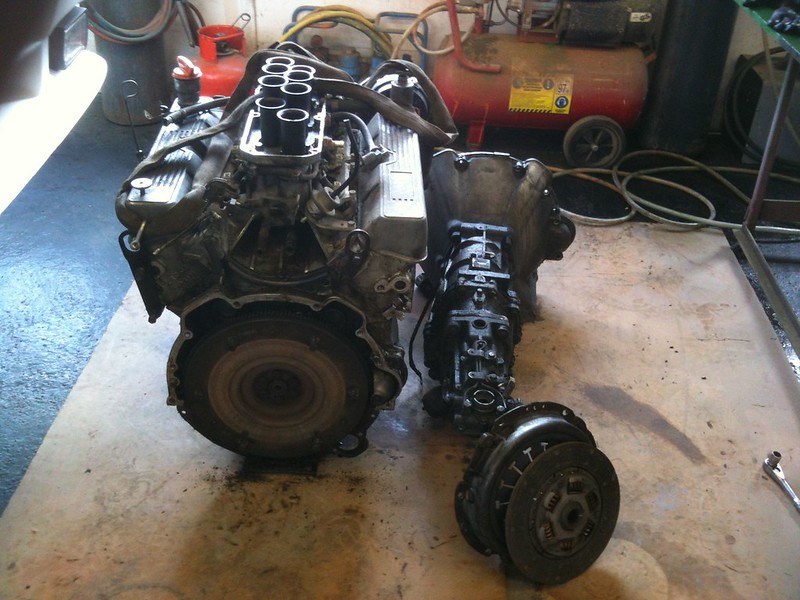
Some tidy work there John; your Colchester is a later model than mine, what's the mill?
Did you mark up the driveshafts to identify which way round and which coupling is which? Mine have centrepunch marks, presumably put there by the guy who assembled and balanced them. I continued the theme so that the hub flanges are identified to each stub axle so that any wear in the splines stays in the same place!
Did you mark up the driveshafts to identify which way round and which coupling is which? Mine have centrepunch marks, presumably put there by the guy who assembled and balanced them. I continued the theme so that the hub flanges are identified to each stub axle so that any wear in the splines stays in the same place!
This is a fascinating thread to watch, John.
I notice that you have separated the two halves of the brake callipers - I have never been brave enough to do that.
If you don't mind me asking; how will you prevent them leaking from the join after you bolt them together again?
Edit to add - ooops, I see now; the brake callipers have a pipe supply on both sides so the join should be dry - thanks.
Edited by Beauford on Monday 30th September 12:49
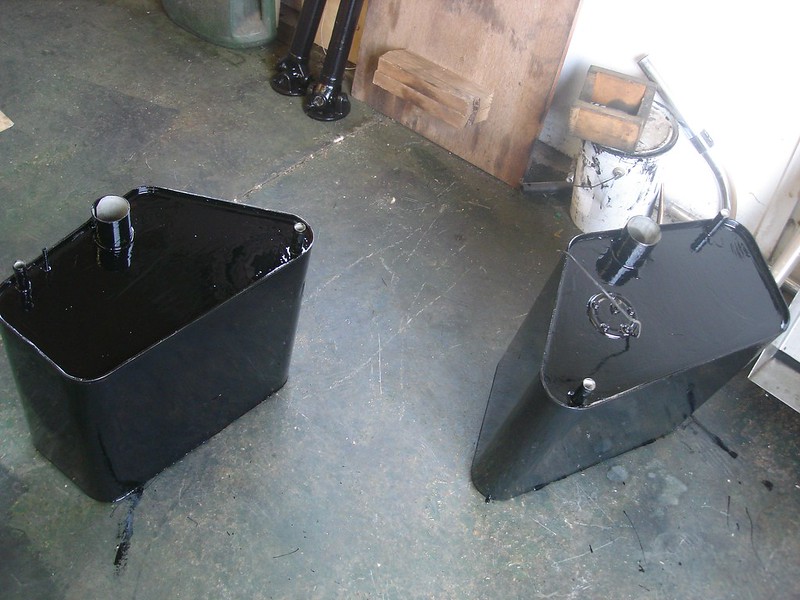
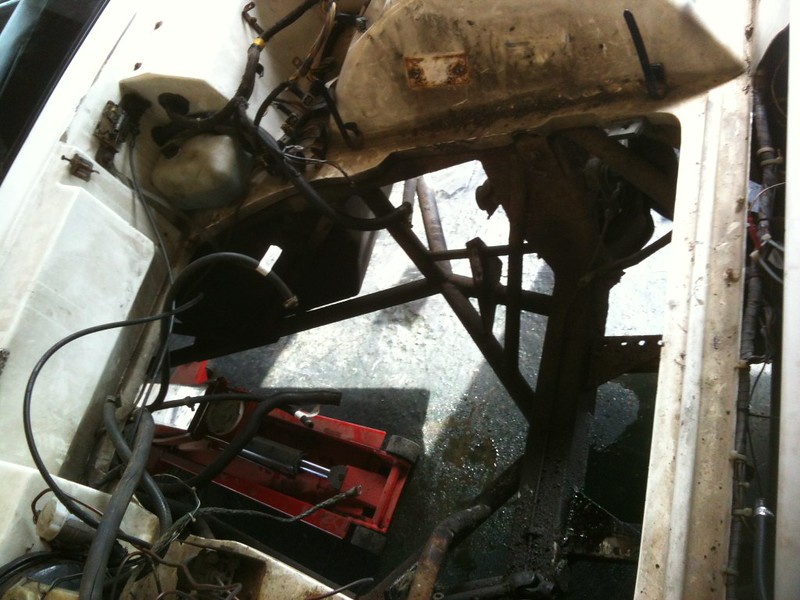
Hi Mate...Its all looking great, Can i ask when you said the vent pipe on the tank was it the breather next to the 2" filler collar?..As i had an issue with mine, The solder has become non-existent and i have had to use some pro-seal for a temporary fix..Could it be soldered with a soldering iron and some silver solder as its a mission to remove the tank?....Cheers...Ziga
Yes zig it was that one next to the filler i personally dont think a soldering iron would have sufficient heat reserve to heat up the tank and vent to melt the spelter i used a fairly large blowlamp with lots of compressed air running through to evacuate the petrol vapour to allow safe working,the tank is not to bad to get out if you cut the body out to allow the filler and vent to slide out towards the rear i then make up an ally replacement and rivet inplace after replacing the tank.
John
John

Gassing Station | Wedges | Top of Page | What's New | My Stuff