Chassis pawn (Picture heavy)
Discussion


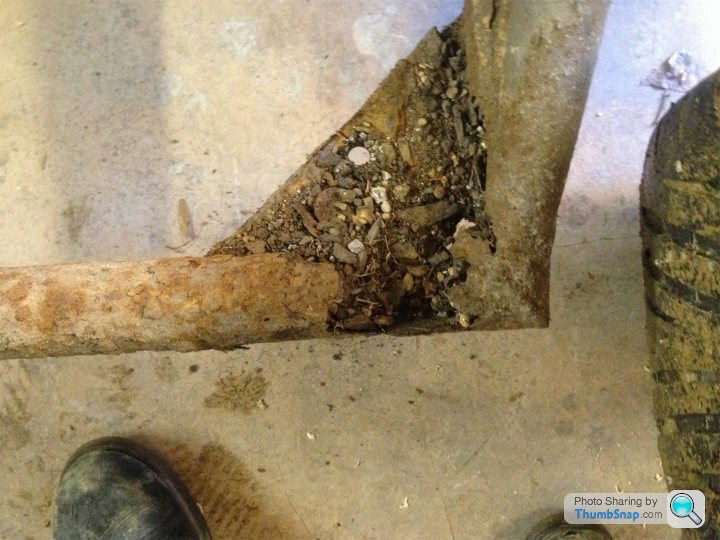
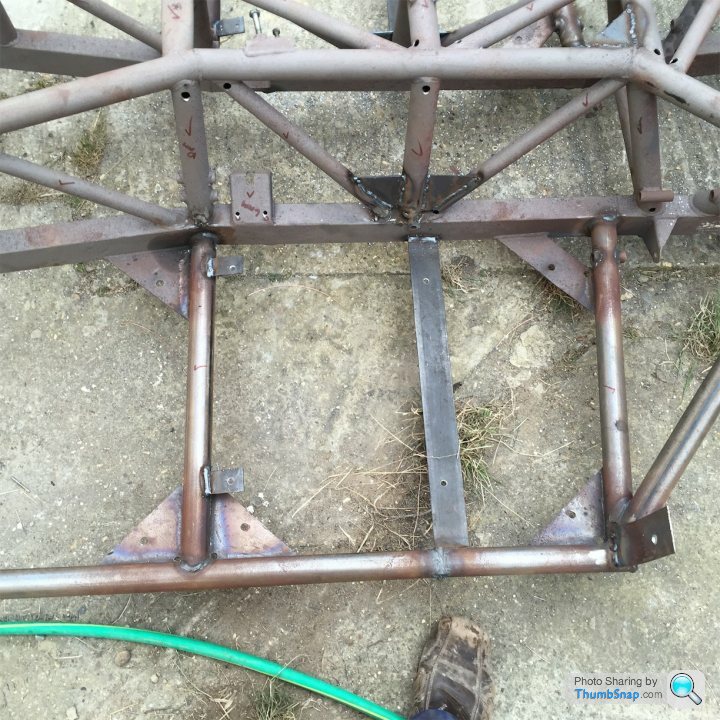
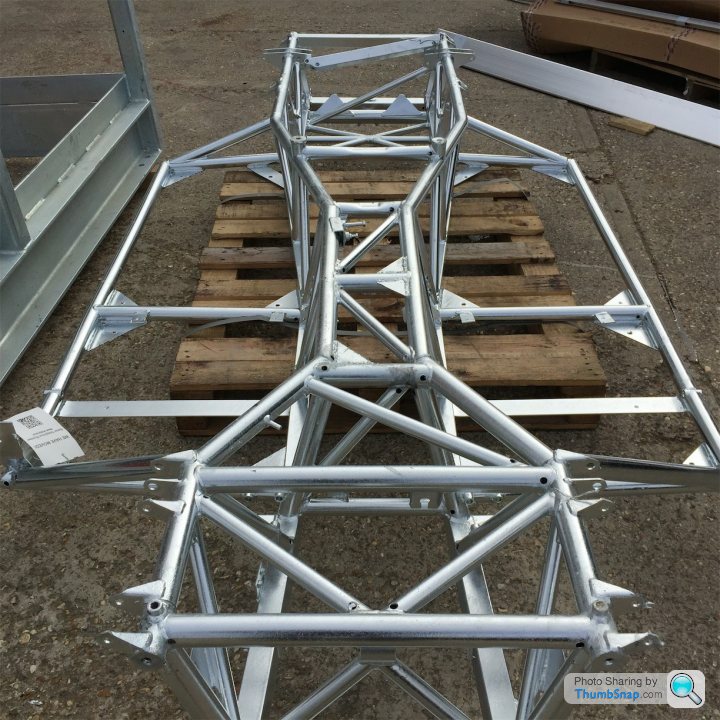
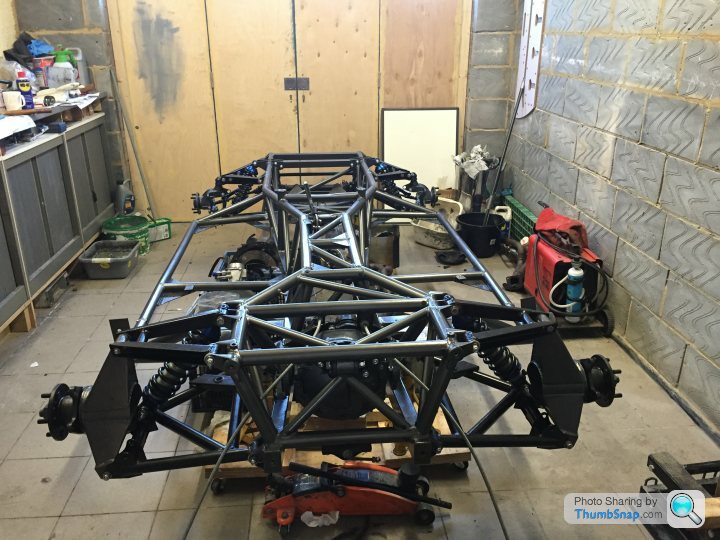
I decided to go for a belt and braces approach, so hot dip galvanising was on the cards.
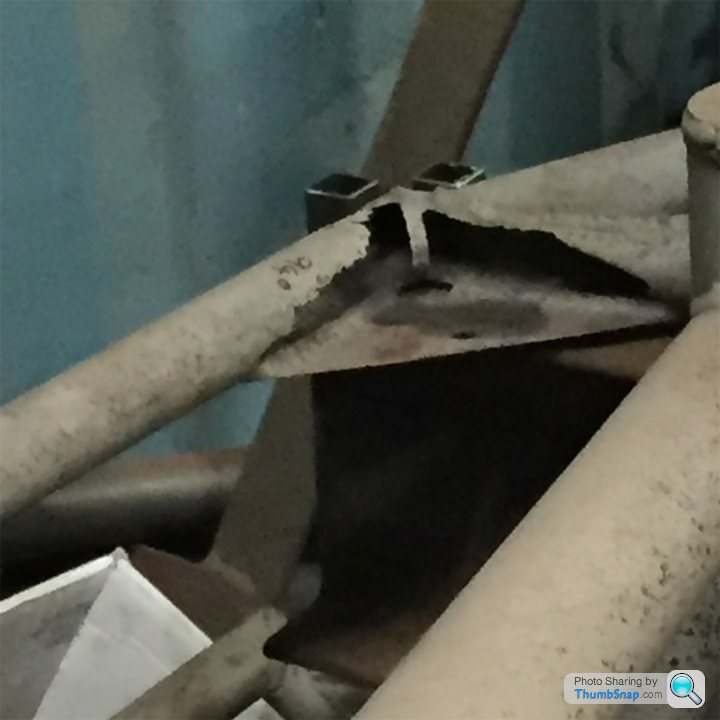
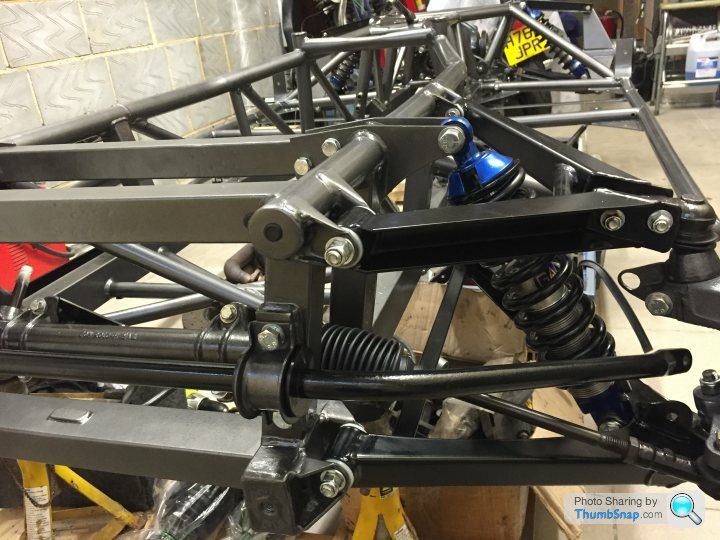
2 x 10mm holes were drilled in every tube.
whist i was on a roll, id never been comfortable with no seat support and bolting through GRP so added a bit of steel.
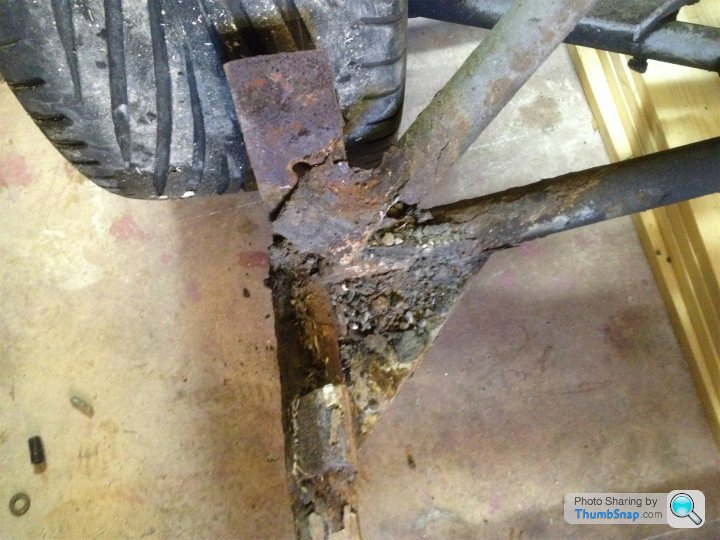
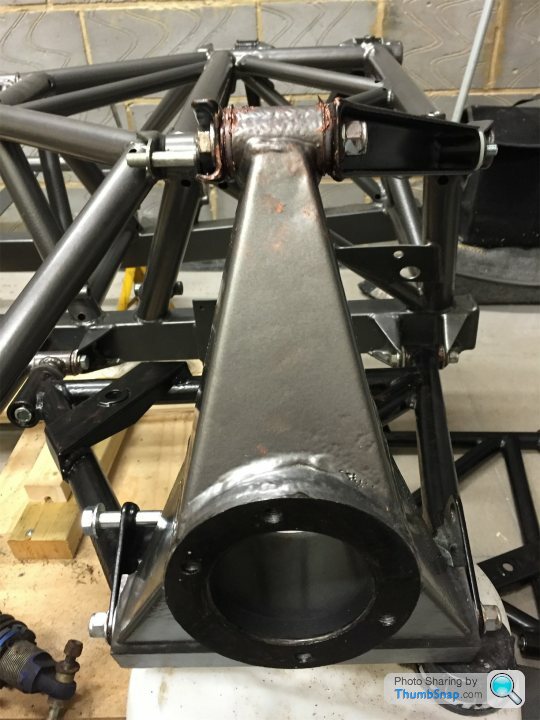
also thought some gussets would help around the diff area of the chassis, that was until my welder packed up.
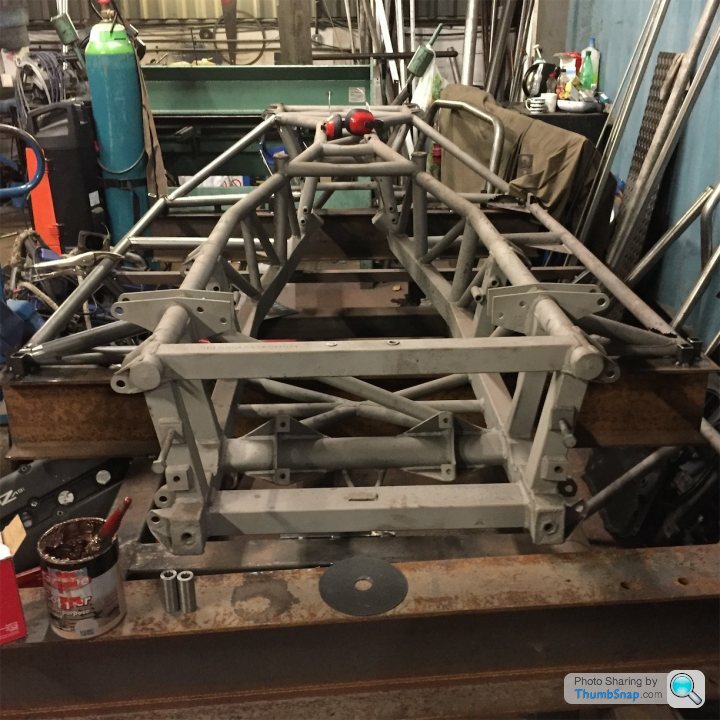
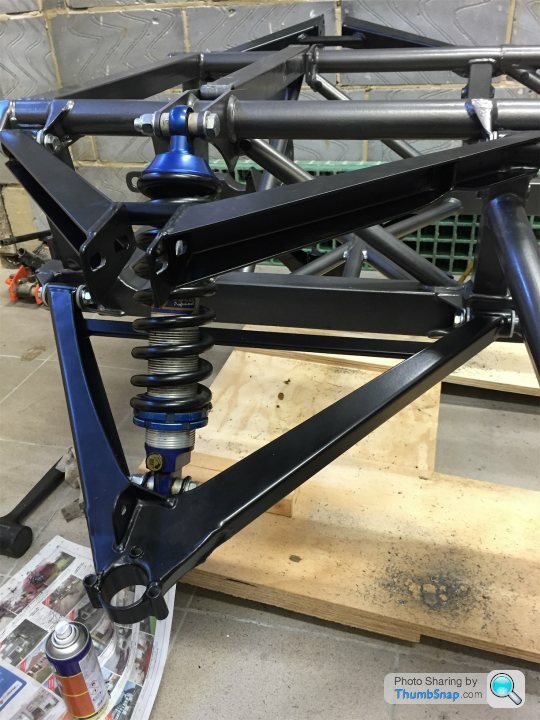
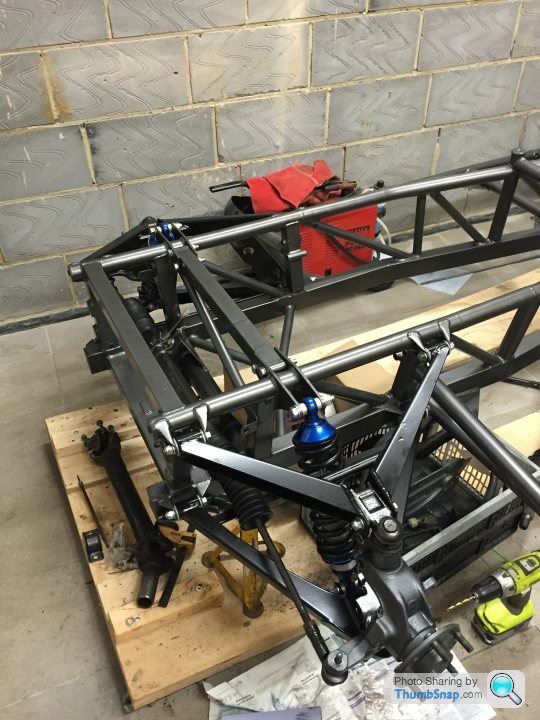
Then straight to the powder coaters for him to work his magic.
I chose gun metal grey and satin black
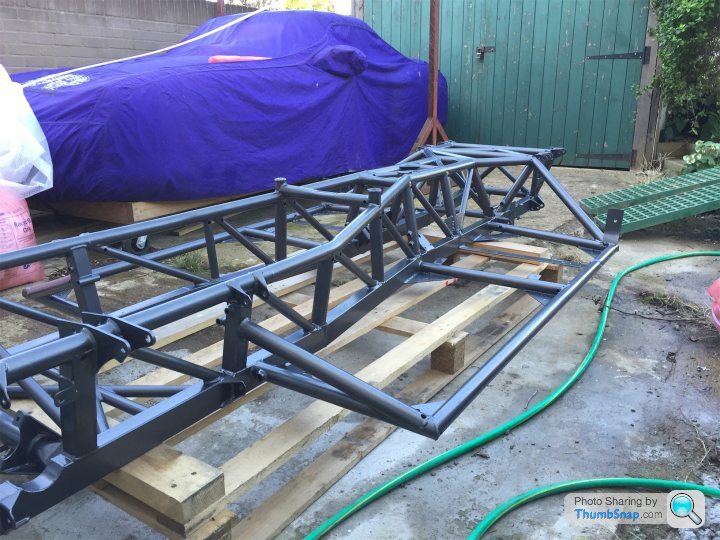
All the holes were capped using 9mm blanking grommets
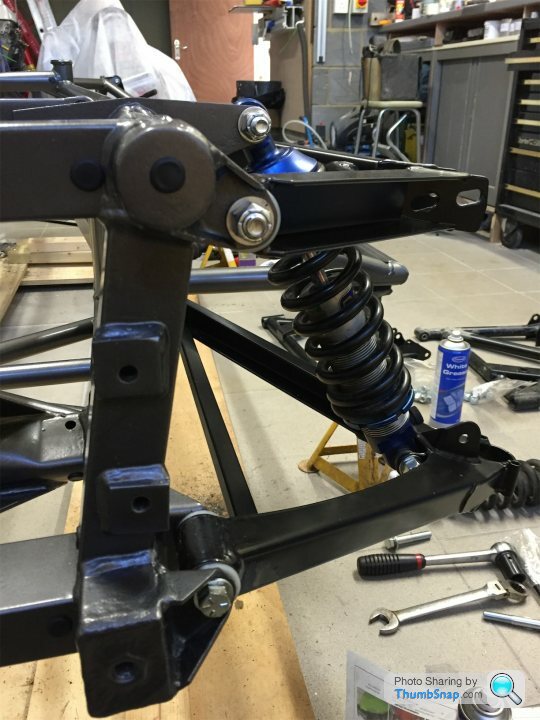
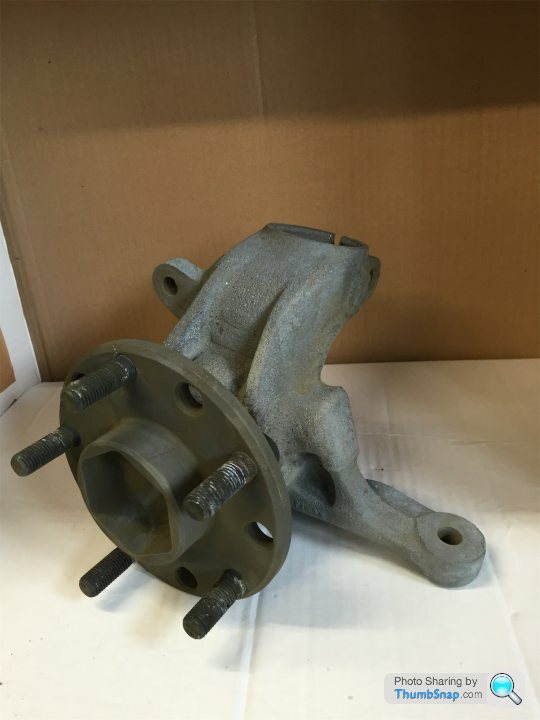
a bit of parts washing, acid etching the spraying.
and 85% phosphoric acid is a great de-rusting treatment.
i used an air brush with brake calliper paint to do the small bits.


2 x 10mm holes were drilled in every tube.
whist i was on a roll, id never been comfortable with no seat support and bolting through GRP so added a bit of steel.
also thought some gussets would help around the diff area of the chassis, that was until my welder packed up.
Then straight to the powder coaters for him to work his magic.
I chose gun metal grey and satin black
All the holes were capped using 9mm blanking grommets
a bit of parts washing, acid etching the spraying.
and 85% phosphoric acid is a great de-rusting treatment.
i used an air brush with brake calliper paint to do the small bits.
Edited by Discopotatoes on Tuesday 2nd August 16:47
Edited by Discopotatoes on Wednesday 3rd August 17:52
Edited by Discopotatoes on Sunday 19th February 20:29
ProjectChimaera said:
Nice work, mines away at the blasters and powder coaters at the moment. Looking forward to getting it back and putting it all back together! I've got a small smart repair gun which I may have a go at the smaller parts with, was the airbrush a pain to clean with that paint?
standard thinners was fineNow I am no structural engineer but all those 10mm holes in the chassis surely must affect the rigidity of it and create weak spots that may fracture as the chassis twists and flexes under hard acceleration and cornering which they do probably more than you would expect.
Not trying to be negative the chassis looks fabulous and will certainly not have any rust issues. But I personally would be cautious.
Hope I'm wrong
Chris
Not trying to be negative the chassis looks fabulous and will certainly not have any rust issues. But I personally would be cautious.
Hope I'm wrong
Chris
chris52 said:
Now I am no structural engineer but all those 10mm holes in the chassis surely must affect the rigidity of it and create weak spots that may fracture as the chassis twists and flexes under hard acceleration and cornering which they do probably more than you would expect.
Not trying to be negative the chassis looks fabulous and will certainly not have any rust issues. But I personally would be cautious.
Hope I'm wrong
Chris
Fair point, i did my research beforehand and due to the holes being near the welds and being round they don't create stress risers, and a rust free chassis has to be stronger than the one i was putting stupid horse power through. but only time will tellNot trying to be negative the chassis looks fabulous and will certainly not have any rust issues. But I personally would be cautious.
Hope I'm wrong
Chris
http://www.thesteelsupplyco.com/galvanized-vent-ho...
http://www.thesteelsupplyco.com/galvanized-vent-ho...
This may be a solution worth looking at I know the company is in the US but this would put the strength back into the chassis
Chris
http://www.thesteelsupplyco.com/galvanized-vent-ho...
This may be a solution worth looking at I know the company is in the US but this would put the strength back into the chassis
Chris
Edited by chris52 on Wednesday 3rd August 12:14


OleVix said:
good thread disco... I think I will hot zink spray mine before powdercoat... anyone tried that?
Firstly Disco fantastic work on your chassis. Whoever commented on 10mm holes weakening the chassis. My company have been putting holes in Aluminium Aircraft parts for over 60years to lighten them so l won't worry about your steel chassis getting any stress raisers for the next 50years
 .
.If cracks do apeer anywhere it's usually from welding around the the heat effected zones.
TVR's original powdercoat was extremely poor, it got better with the later cars.
There was no etching or priming of our chassis's so that's why they were rotten after 20 years!!!!.
Add some chassis outrigger guards front and back and the only components you will be replacing over time will be wishbones and their ancillaries, which are subject to wear and tear
Edited by portzi on Friday 16th September 06:44

OleVix said:
I think I will hot zink spray mine before powdercoat... anyone tried that?
Yes. A screening company showed me a gate post they'd coated 20 odd years ago, then painted. Over the years lorries/vans had scuffed against it and taken paint off it. Open to the elements it has not suffered any rust at all. It just looks like bare steel.That was good enough demo for me. He said you can paint anything over the top as it's only cosmetic. No need for further layers of protection using primers/paints. Did I listen though... Grey primer, red primer and then Hammerite (as I wanted something I can apply as a touch up whenever I want).
spikep said:
Very true Portzi, But the holes on aircraft are normally flared as well to increase strength. Av's rule!!
Quite right Richard Lightning holes are flared, but as the AC metal was only between 0.8mm & 1.6 mm thick,. Chassis steel is 1.6 mm min outrigger tubing, with main rails 3.2mm minimumGassing Station | Chimaera | Top of Page | What's New | My Stuff