Plasma cutters - easy to go to far
Discussion


iluvmercs said:
B'stard Child said:
OK just for you both the most recent update
There will be one or two lurkers following and enjoying the updates, too 

Darren
It's tucked away here rather than in the main readers cars section because I'd like to keep it local... That way if it fails my humiliation is also only local...
B'stard Child said:
Yeah I was being a bit cheeky really....
It's tucked away here rather than in the main readers cars section because I'd like to keep it local... That way if it fails my humiliation is also only local...
A local trait, our hopes are never high enough for much expectation and the resultant humiliation It's tucked away here rather than in the main readers cars section because I'd like to keep it local... That way if it fails my humiliation is also only local...

Keep on cuttin'!
Darren
iluvmercs said:
A local trait, our hopes are never high enough for much expectation and the resultant humiliation
NFN 
iluvmercs said:
Keep on cuttin'!
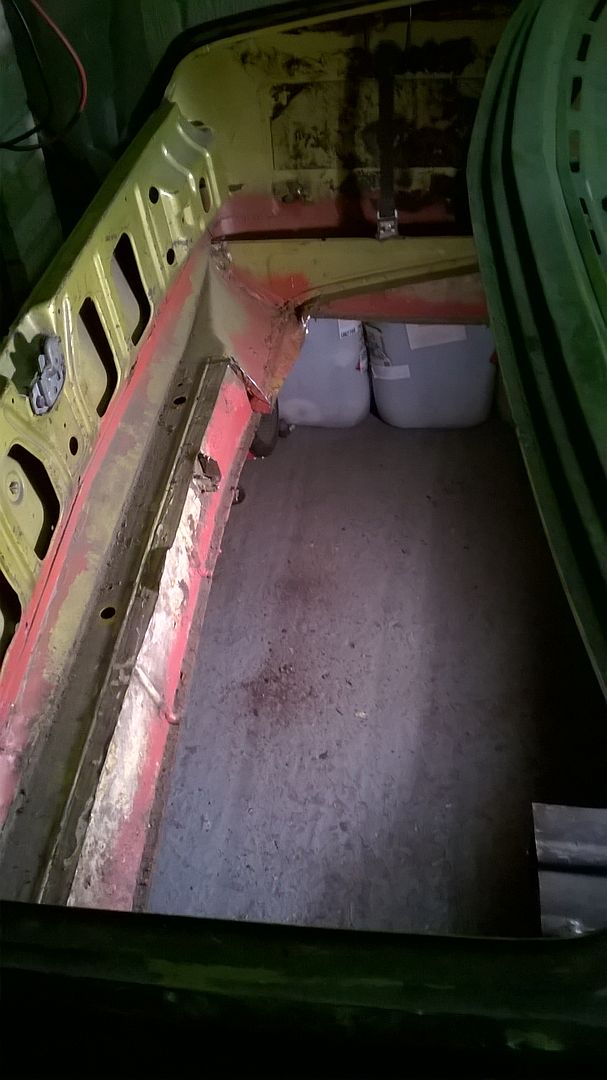
I'm dun cutting..... (for now)I have discovered (somewhat late to be any help for the astronauts that lost their lives) a replacement for the glue that couldn't keep the tiles stuck to a space shuttle, unfortunately you'll need to go back to Opel in 1972 for find the recipe - this stuff is super sticky and stuck fast - even where there is rust underneath it...........
A club member suggested thinners and as I don't paint anything yet I think I'll get some and see how that handles it!!!
Thinners is for winners......
Had to resort to painting it on, repeatedly and then after it had softened up, using a sharp wallpaper scrapped to lift the majority.
Then apply more thinners and follow up with scotchbrite again soaked in thiners
Hit the surface rust with a zip wheel followed by my last strip disc and I had a surface I could paint. So I did, two coats of primer and it looks so much better.
Painting now because I'm not going to be able to do it when the roll cage is in the way.
High as a kite now.........
Oh and I need to re-paint my garage floor as it appears that thinners is very good at bubbling floor paint...... Needed doing anyway once this project is done.
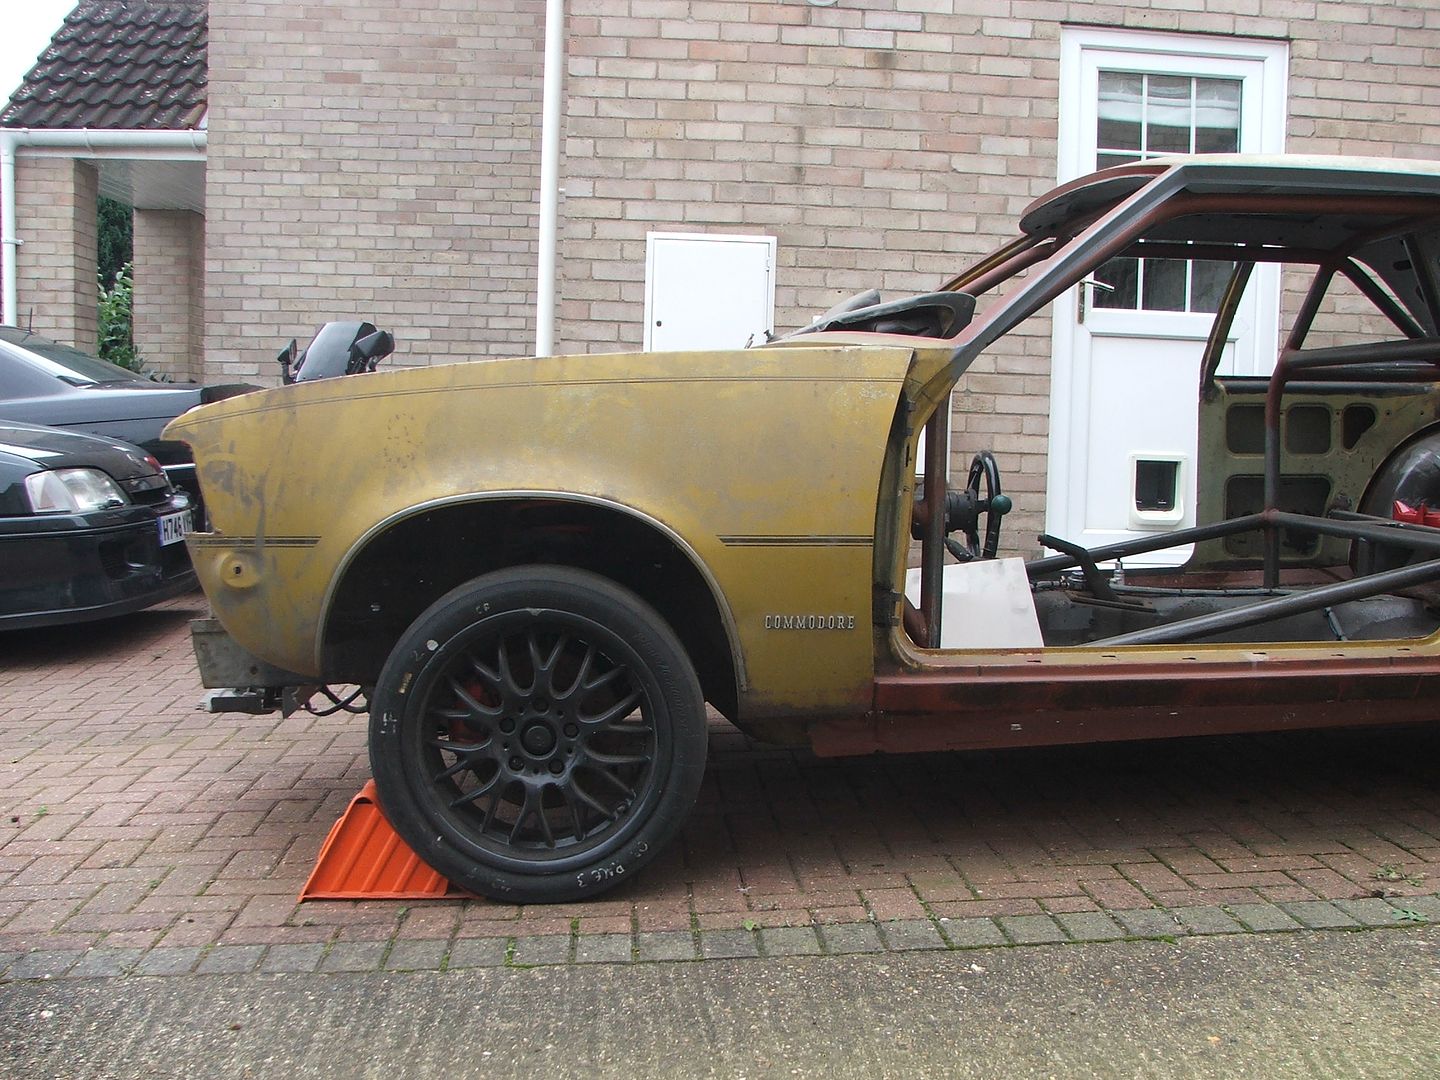
Poor lighting - crappy phone camera - not my best composition but I know you guys like pictures
Thinners is for winners......
Had to resort to painting it on, repeatedly and then after it had softened up, using a sharp wallpaper scrapped to lift the majority.
Then apply more thinners and follow up with scotchbrite again soaked in thiners
Hit the surface rust with a zip wheel followed by my last strip disc and I had a surface I could paint. So I did, two coats of primer and it looks so much better.
Painting now because I'm not going to be able to do it when the roll cage is in the way.
High as a kite now.........
Oh and I need to re-paint my garage floor as it appears that thinners is very good at bubbling floor paint...... Needed doing anyway once this project is done.
Poor lighting - crappy phone camera - not my best composition but I know you guys like pictures

I have made some progress (apologies for rubbish mobile pictures)
So it's sort of on
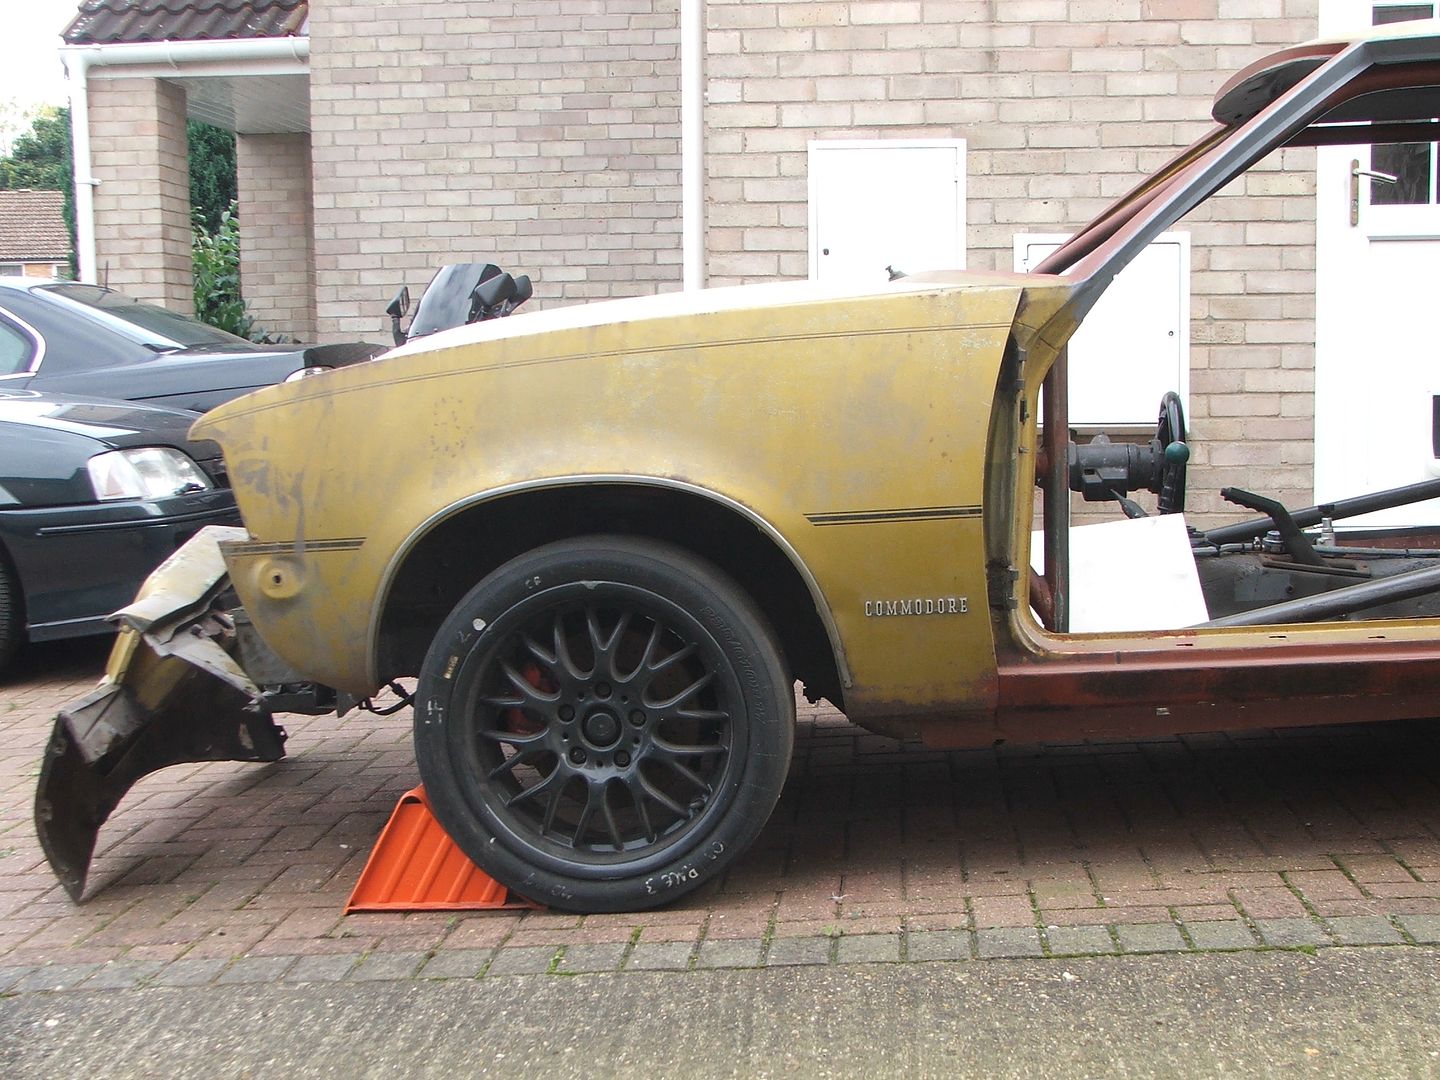
A bit high Sitting on the roll cage where it links the main cage to the turrets
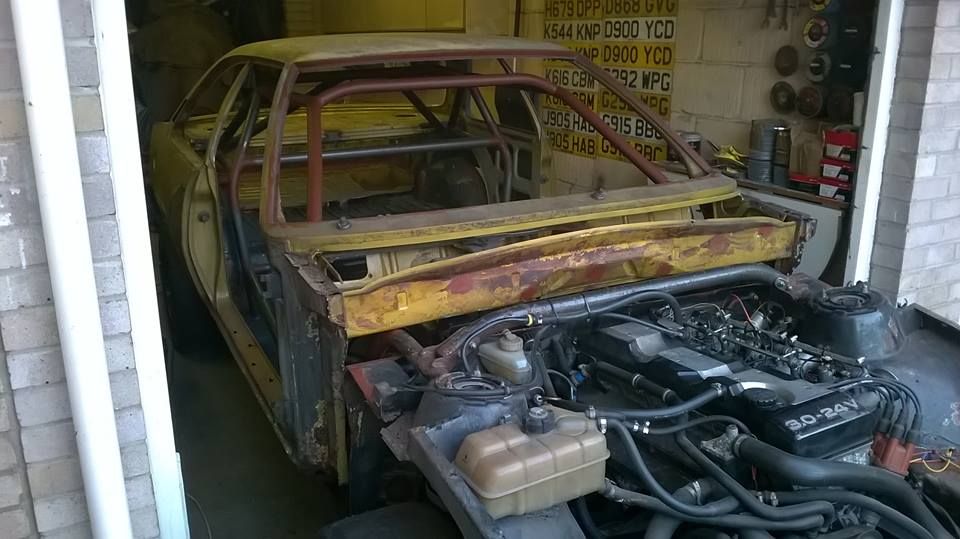
Sitting on the sills - sills on top of sills (not quite what I had in mind)
So I have some arch gap issues

Oh and the body needs to go three inches forwards
But it's progress right
Best bit for me is just before the winter both bits are in the garage and I have a winter to get it sorted
So it's sort of on

A bit high Sitting on the roll cage where it links the main cage to the turrets

Sitting on the sills - sills on top of sills (not quite what I had in mind)

So I have some arch gap issues

Oh and the body needs to go three inches forwards
But it's progress right
Best bit for me is just before the winter both bits are in the garage and I have a winter to get it sorted
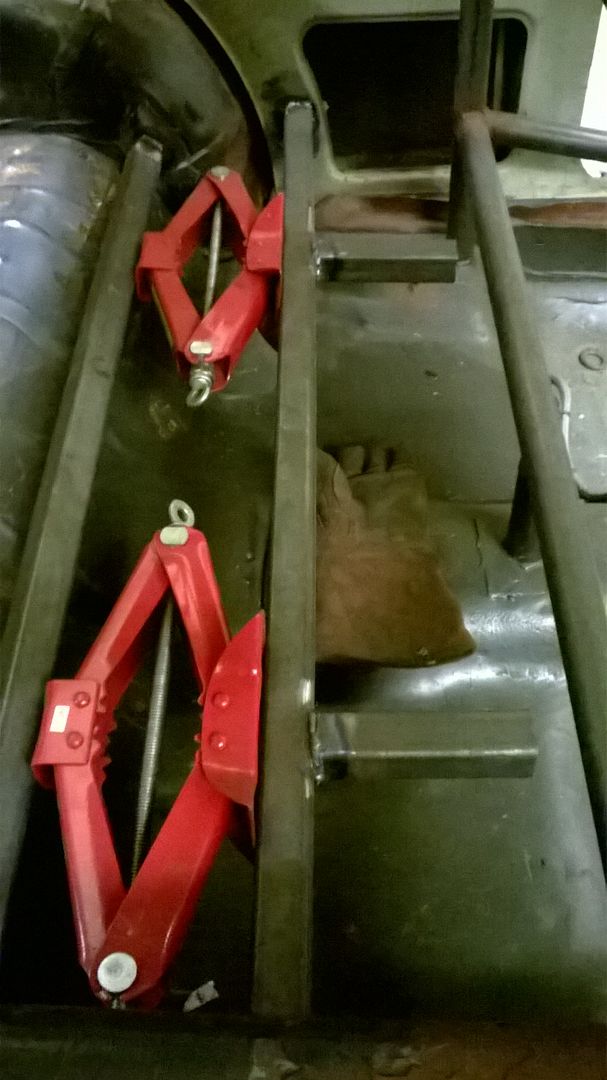
OK a suggestion from another forum I use regarding my up and down requirements (I really can't rely on my three first fitment helpers everytime it needs to go up or down) scissor jacks - great idea I thought - so I bought 4 new ones
Intention was to use two at the back and one or maybe 2 at the front depending on how well it worked out
So I mig'd in a 140mm 40x40 box section in across the back (I needed to consider that the body still needs to move forward 3 inches)
So then I thought I'll jack the back end and see what I need to do with the front
Hmmmm wasn't expecting that - the whole shell was lifting evenly front and rear with just the two rear scissors in use
Oh well carry on and see if it gets a bit tippy as I go higher - then I can almost certainly get away with just adding a bit of support/lifting capability at the front............
Or not...... I guess I've found the centre of effort!!!
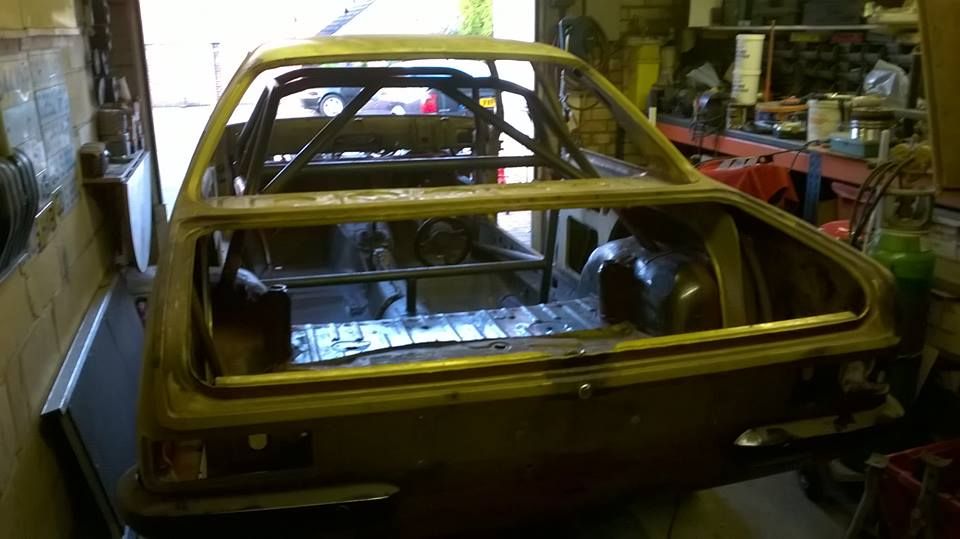
So I got one side of the floor pan folded up to allow the body to slide over and dropped it down

Needs to go down another 4 inches but it can't right now
- The parcel shelf is fouling the rear section of the cage
- The scuttle is fouling the front section of the cage
- The "boot floor" is fouling on the "boot floor"
So until I have both sides over the step I'm not cutting yet - space is a bit tight in the other side of the garage so I may well push it out and turn it round so I have better access
Intention was to use two at the back and one or maybe 2 at the front depending on how well it worked out
So I mig'd in a 140mm 40x40 box section in across the back (I needed to consider that the body still needs to move forward 3 inches)

So then I thought I'll jack the back end and see what I need to do with the front

Hmmmm wasn't expecting that - the whole shell was lifting evenly front and rear with just the two rear scissors in use
Oh well carry on and see if it gets a bit tippy as I go higher - then I can almost certainly get away with just adding a bit of support/lifting capability at the front............

Or not...... I guess I've found the centre of effort!!!
So I got one side of the floor pan folded up to allow the body to slide over and dropped it down

Needs to go down another 4 inches but it can't right now
- The parcel shelf is fouling the rear section of the cage
- The scuttle is fouling the front section of the cage
- The "boot floor" is fouling on the "boot floor"
So until I have both sides over the step I'm not cutting yet - space is a bit tight in the other side of the garage so I may well push it out and turn it round so I have better access
So where was I....................
Needs to go down another 4 inches but it can't right now
- The parcel shelf is fouling the rear section of the cage
- The scuttle is fouling the front section of the cage
- The "boot floor" is fouling on the "boot floor"
So until I have both sides over the step I'm not cutting yet - space is a bit tight in the other side of the garage so I may well push it out and turn it round so I have better access
Well I jacked up the back and dragged it across the garage to make some room and got stuck in before I hit my power tool curfew
Other side sill is now over - not all the way down but it's over and that's much better - arch gap has closed
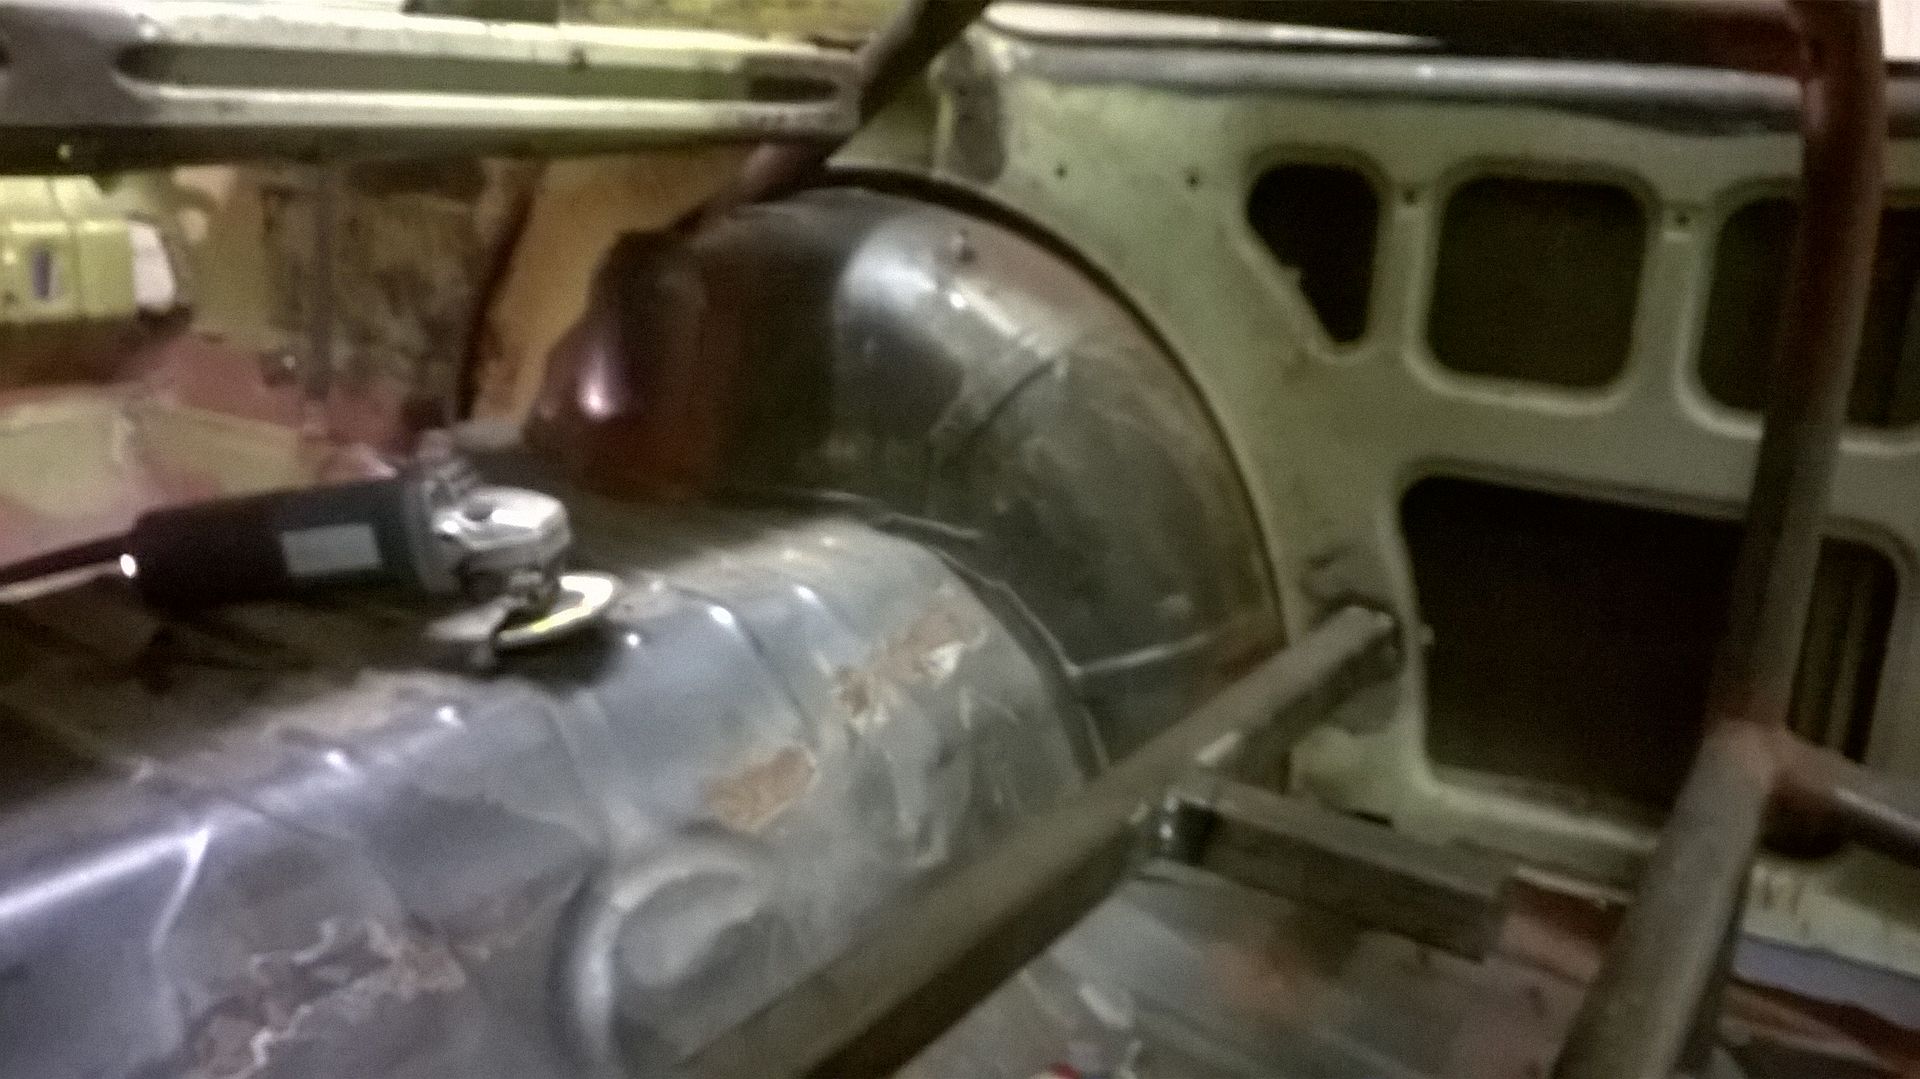
So Boot floor
Solution
Slightly drastic but I looked at my issues for a while and got the tank down and had a measure up - I have a bad memory of a wet track day where I spent a lot of time getting very wet and cold while I fixed an issue with a fuel pump and filter - the commodore boot floor if I left it would be 4 inches lower than the Monza floor level and I had an alloy fuel tank made to hang under the boot floor - a floor 4 inches lower and that's not gonna fit so better plan is build a new boot floor incorporating the tank, pump and filtration - oh and a swirl pot and lift pump wouldn't be a bad thing either.
Oh and once I got the other side down and the shell level I chopped a couple of chunks out of the parcel shelf and that got the arch gap down
So back end down - front end still sitting on the cage where it links to the turrets - I knew what was needed here
Now that's looking better - still a fair few inches to come down yet but it's going in the right direction
Needs to go down another 4 inches but it can't right now
- The parcel shelf is fouling the rear section of the cage
- The scuttle is fouling the front section of the cage
- The "boot floor" is fouling on the "boot floor"
So until I have both sides over the step I'm not cutting yet - space is a bit tight in the other side of the garage so I may well push it out and turn it round so I have better access
Well I jacked up the back and dragged it across the garage to make some room and got stuck in before I hit my power tool curfew
Other side sill is now over - not all the way down but it's over and that's much better - arch gap has closed

So Boot floor
Solution

Slightly drastic but I looked at my issues for a while and got the tank down and had a measure up - I have a bad memory of a wet track day where I spent a lot of time getting very wet and cold while I fixed an issue with a fuel pump and filter - the commodore boot floor if I left it would be 4 inches lower than the Monza floor level and I had an alloy fuel tank made to hang under the boot floor - a floor 4 inches lower and that's not gonna fit so better plan is build a new boot floor incorporating the tank, pump and filtration - oh and a swirl pot and lift pump wouldn't be a bad thing either.
Oh and once I got the other side down and the shell level I chopped a couple of chunks out of the parcel shelf and that got the arch gap down
So back end down - front end still sitting on the cage where it links to the turrets - I knew what was needed here

Now that's looking better - still a fair few inches to come down yet but it's going in the right direction

As one of your unreported lurkers I have tell you it's looking very promising there
I had a similar task set for myself a long time ago on the green Midget you've seen at the Marham track days
Rotted fibreglass back end stuck over rust gave me little choice but to hack it all off and apply the exterior of a second hand scrapper Sprite rather like the great job you are doing here
but no-where near as drastic
Coming along very nicely
Here's mine awaiting the stitch up back in the late eighties, still stuck up nicely now
I'm still going to be lurking, I'm enjoying it immensely
Bill
perdu said:
As one of your unreported lurkers I have tell you it's looking very promising there
Lurkers is fine - I don't expect a lot of comments here but it's mainly people I know or have met on PH runs or meets and I thought I'd share it here - If I wanted lots of comments (and some I wouldn't like I'm sure I'd have stuck it in members cars and probably only posted a couple of times before I gave it up as a bad ideaperdu said:
I had a similar task set for myself a long time ago on the green Midget you've seen at the Marham track days
Rotted fibreglass back end stuck over rust gave me little choice but to hack it all off and apply the exterior of a second hand scrapper Sprite rather like the great job you are doing here
but no-where near as drastic
Here's mine awaiting the stitch up back in the late eighties, still stuck up nicely now
You are kidding me - that's pretty drastic!!! I'm impressed Rotted fibreglass back end stuck over rust gave me little choice but to hack it all off and apply the exterior of a second hand scrapper Sprite rather like the great job you are doing here
but no-where near as drastic
Here's mine awaiting the stitch up back in the late eighties, still stuck up nicely now
perdu said:
Coming along very nicely I'm still going to be lurking, I'm enjoying it immensely
Bill
Well hopefully I can crack along nicely now and you can continue to enjoy the progress - nothing to report for tonight as it was the monthly Norfolk Mountain Rescue Club meeting - more progress tommorrowBill
Rather pleased to hear that Norfolk folk still take mountain rescue seriously Ian
Power to your collective elbows sir
That job on Lara the Midget seemed less difficult then than it might now
Which is why I'm enjoying your saga so much I think
(I wish I still had the muscle agility to do all that stuff, old age sucks. Big, NO massive, time)
perdu said:
Rather pleased to hear that Norfolk folk still take mountain rescue seriously Ian
Power to your collective elbows sir
And it's a nice pub with lovely barmaids who tolerate our "meetings and tactical discussions"

perdu said:
That job on Lara the Midget seemed less difficult then than it might now
Which is why I'm enjoying your saga so much I think
(I wish I still had the muscle agility to do all that stuff, old age sucks. Big, NO massive, time)
I'm now the wrong side of 50 and a couple of years back I was physically struggling a lot with working on a car (it "green thing" has somewhat frustrated me for a while and it's a love hate relationship) - more I struggled less I got done and the more frustrated I got and the less inclined I was to even try - I decided to just get stuck in and keep going until it was done and it started getting easier - more I did the easier it got.Which is why I'm enjoying your saga so much I think
(I wish I still had the muscle agility to do all that stuff, old age sucks. Big, NO massive, time)
I felt I had one more left in me and this was it......... When it's done I'd going to start the next last one in me..... And when that's done......
Oh it still hurts sometimes getting up off the floor but anything you do to make it so you don't have to be on the floor helps a heck of a lot but I realised that by doing less and less because it hurt it was hurting more whatever I did.....
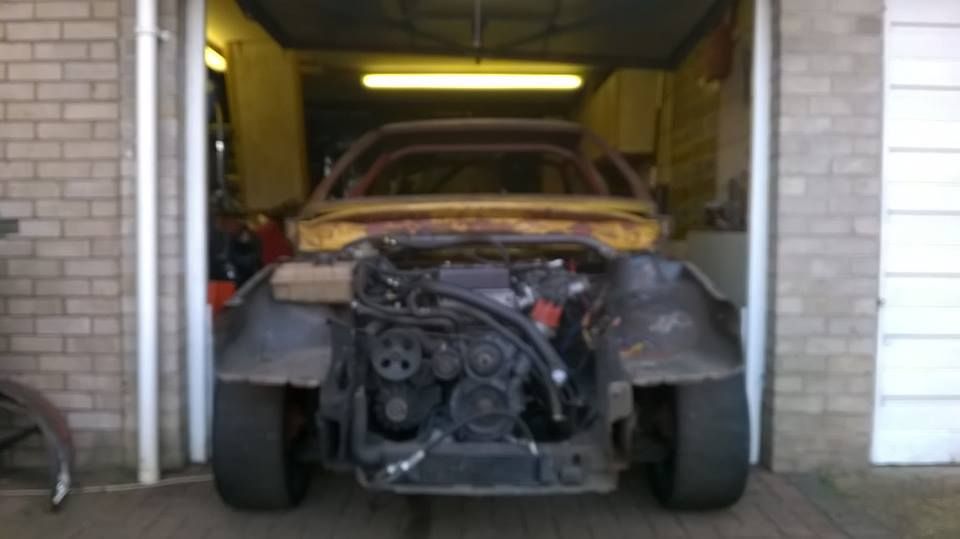
Well a bit more progress some highs and lows....... Oh and tonight's update is brought to you by the majority portrait government and has a further 4 years in office (bloody phone cameras)
So got an early start in the garage - Mrs BC was getting her hair done - no I couldn't notice the difference - yes she did ask (she does every time) and I'll never understand why this response is wrong - after all I cut a bit of steel out of a car I don't ask her if it looks better!!!
Sorry I wandered off topic back to the proper subject
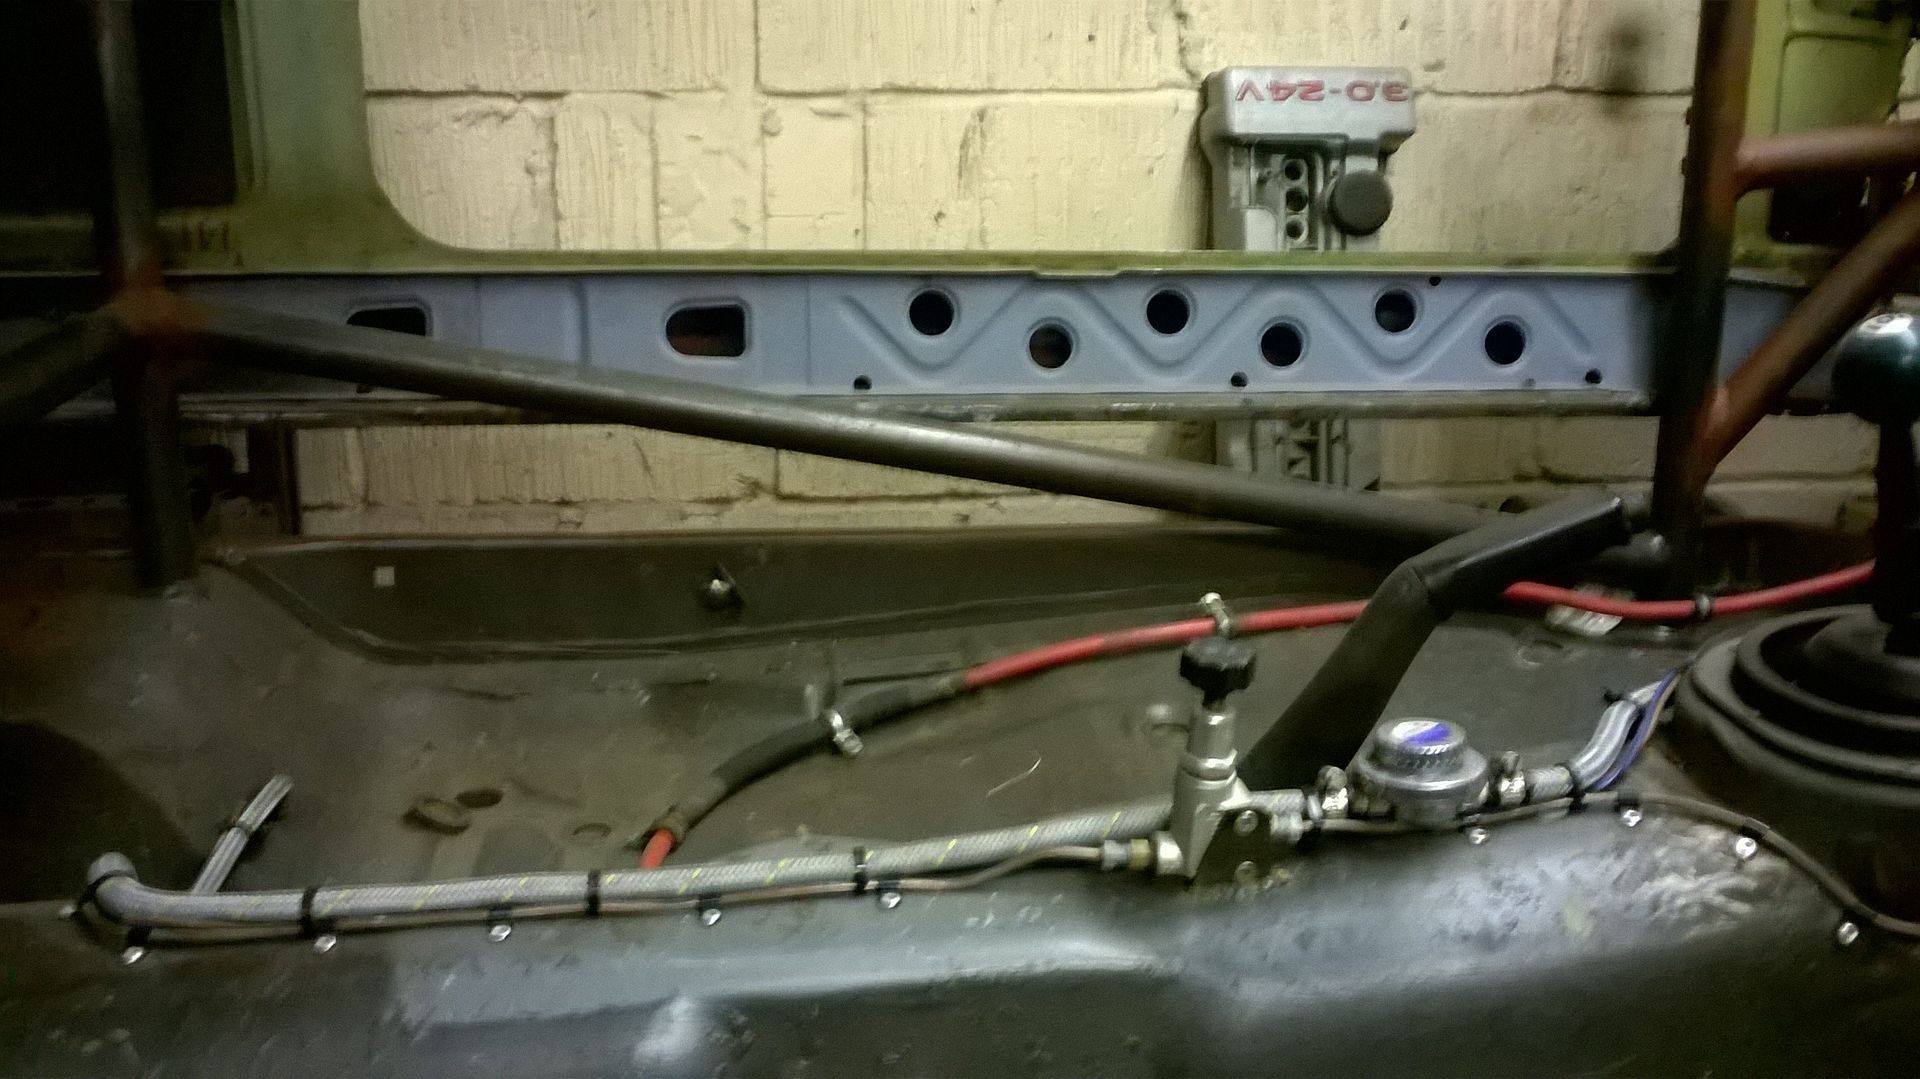
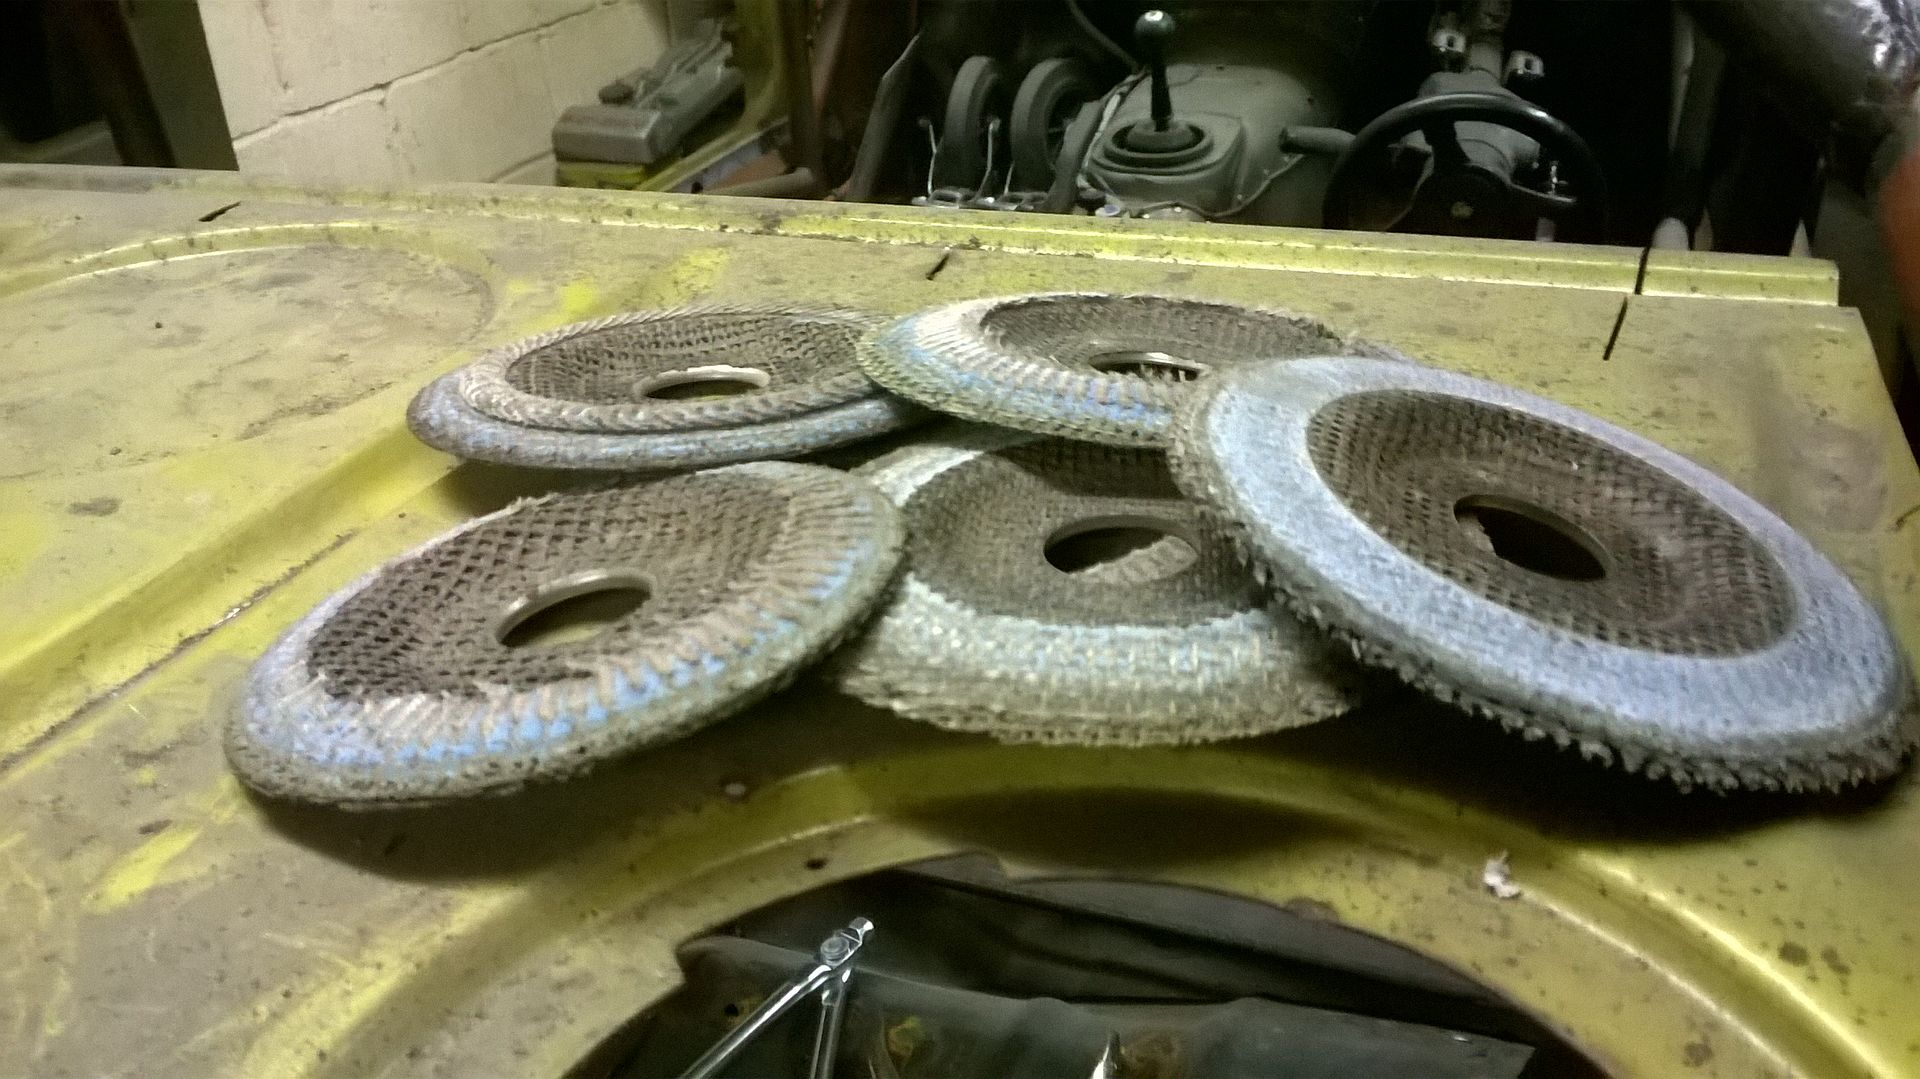
I cleaned up the boot floor edges
I do like to feel I got my money's worth out of flap discs
Then I fired up the plasma cutter and got rid of some small bits that were stopping movement
Then I cut a bit of box section and welded it in so I could use the scissor jacks in a different direction
Windy windy

Carpier picture but you get the idea
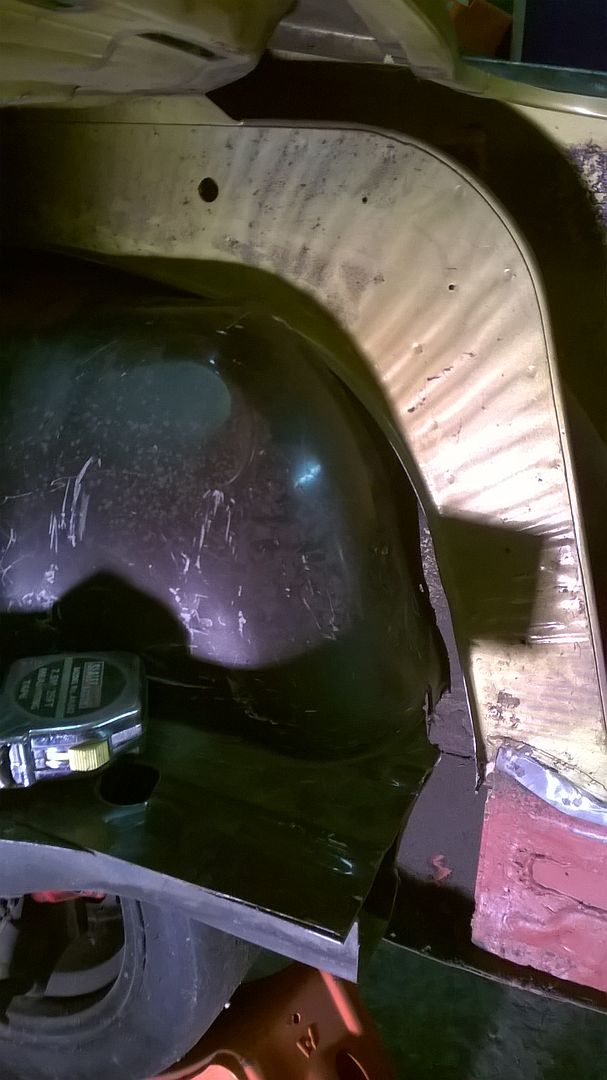
Now we are cooking with gas or maybe not - front of the rear wheel arch
Another carpy picture
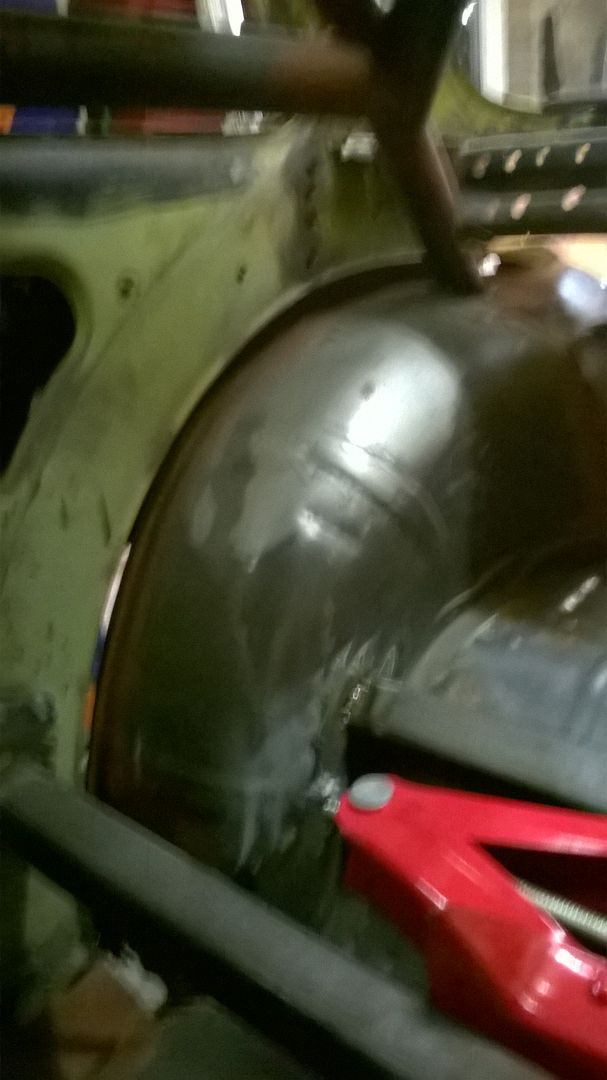
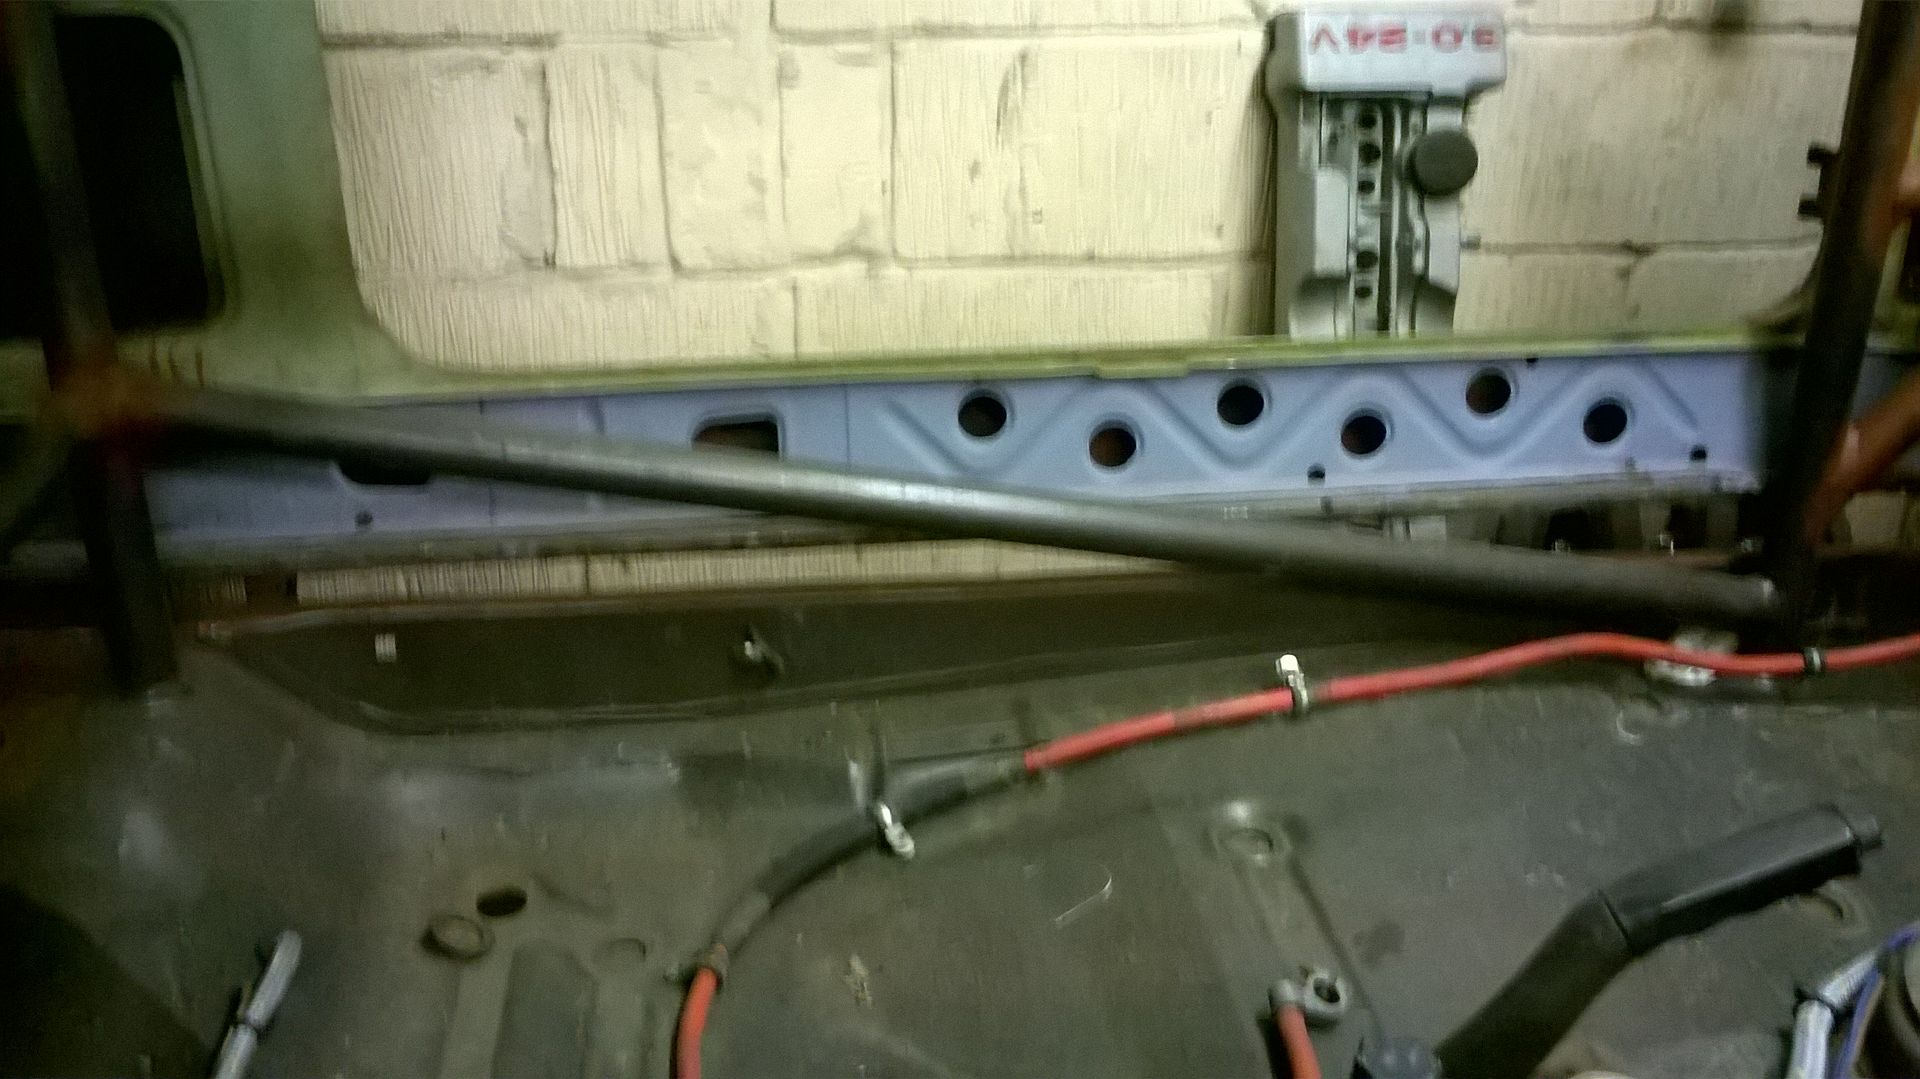
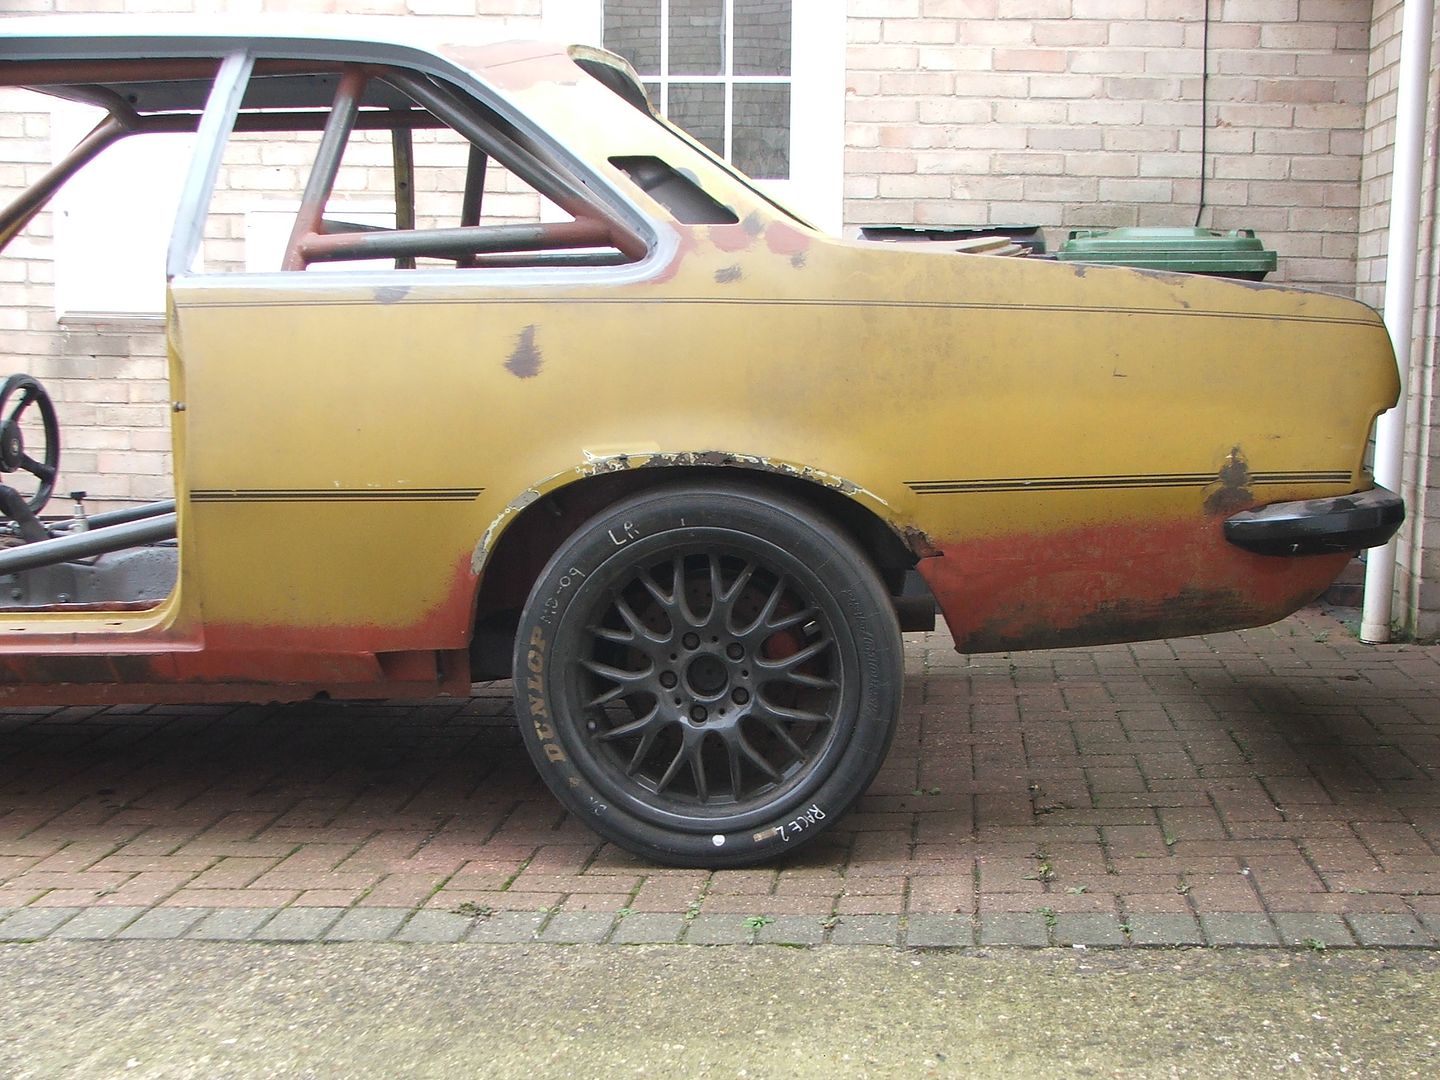
Much better however I was concerned by the increasing gap at the front (there is a very good reason for this)
Tried on a wing to see how the front wheel sits in the arch
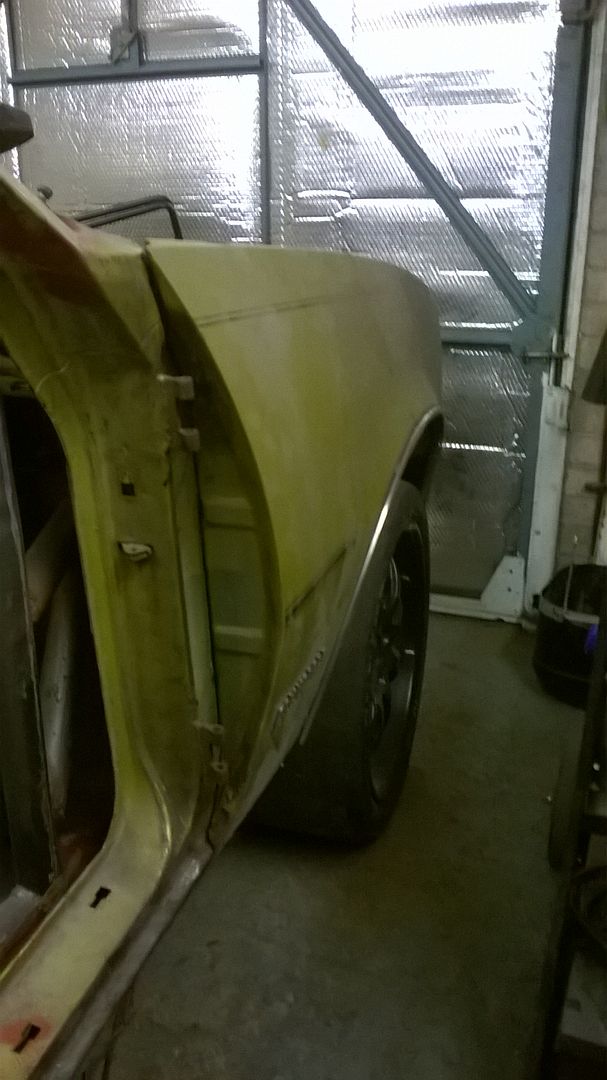
Err needs hitting with a big tree not a stick and I need wider alloys not fibreglass arches.......
Bulk head end - the picture becoming clearer
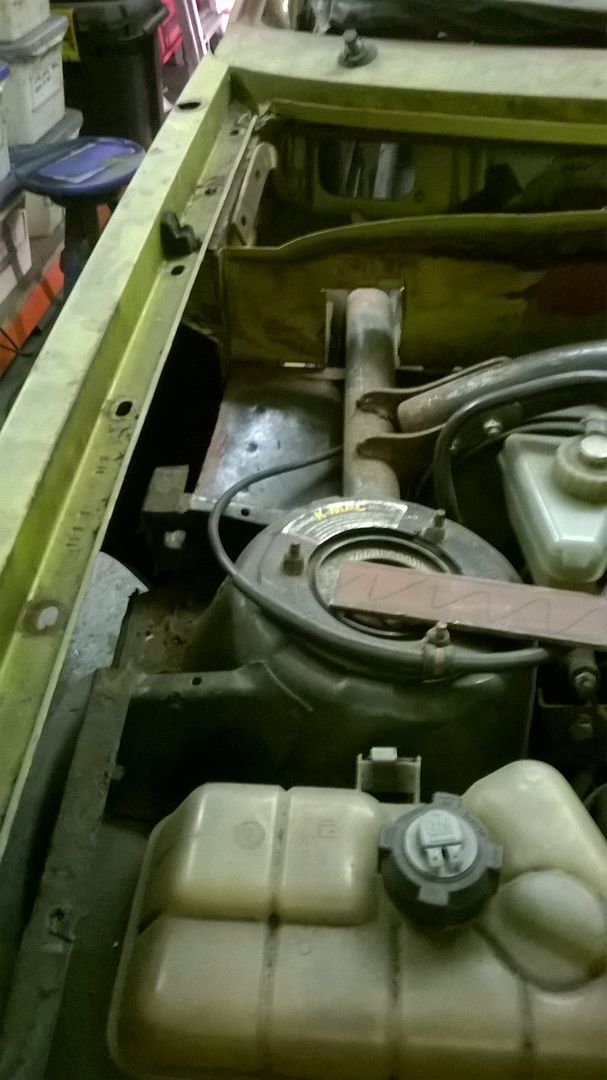
Really clear
The joint needs to be 2 inches lower!!! The Shell is too high at the front by 2 inches and if i can get it down it'll close the wheel arch gap bring the shell lower at the bulkhead and make the two sills run in parallel and maybe if I'm really lucky I can fit the dash in behind the front of the cage - cos right now it doesn't
So got an early start in the garage - Mrs BC was getting her hair done - no I couldn't notice the difference - yes she did ask (she does every time) and I'll never understand why this response is wrong - after all I cut a bit of steel out of a car I don't ask her if it looks better!!!
Sorry I wandered off topic back to the proper subject
I cleaned up the boot floor edges
I do like to feel I got my money's worth out of flap discs

Then I fired up the plasma cutter and got rid of some small bits that were stopping movement
Then I cut a bit of box section and welded it in so I could use the scissor jacks in a different direction

Windy windy

Carpier picture but you get the idea

Now we are cooking with gas or maybe not - front of the rear wheel arch

Another carpy picture

Much better however I was concerned by the increasing gap at the front (there is a very good reason for this)
Tried on a wing to see how the front wheel sits in the arch

Err needs hitting with a big tree not a stick and I need wider alloys not fibreglass arches.......
Bulk head end - the picture becoming clearer

Really clear

The joint needs to be 2 inches lower!!! The Shell is too high at the front by 2 inches and if i can get it down it'll close the wheel arch gap bring the shell lower at the bulkhead and make the two sills run in parallel and maybe if I'm really lucky I can fit the dash in behind the front of the cage - cos right now it doesn't
perdu said:
Are you still going to have enough turret top clearance once you drop the front?
Oh yes plenty of clearance thereperdu said:
If you are its looking good for 'a body on a chassis' situation some time very soon
It's getting closer - just not quite sure best way to resolve my current problem but I'm still thinking.I shall have another look at it tonight with a glass of wine - that way I won't be cutting anything till sat
Well rolling it out of the garage gave me the chance to see properly
Shell is too far forward
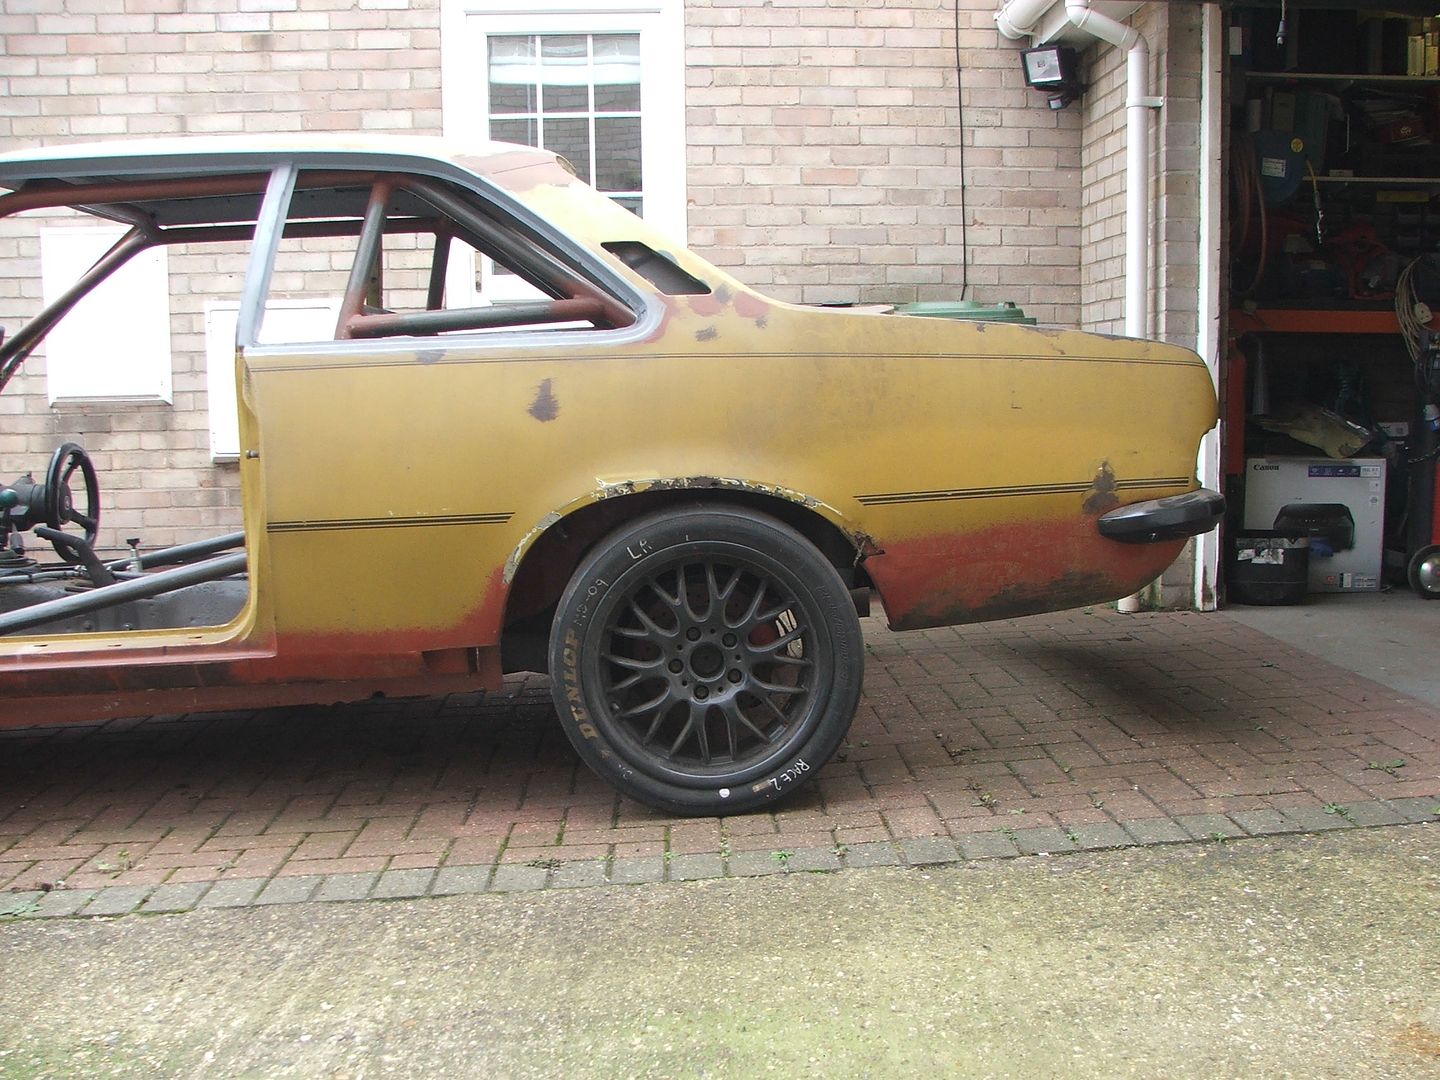
And as I already new not down enough at the front

Bonnet laid on to look a shuts
So push the shell back a bit and look at it again
It has dropped which is nice but it's still too high - I have plenty of clearance under the bonnet mind!!!
Shell is too far forward


And as I already new not down enough at the front

Bonnet laid on to look a shuts

So push the shell back a bit and look at it again


It has dropped which is nice but it's still too high - I have plenty of clearance under the bonnet mind!!!


I have a mixture of frustration and excitment
- The front end came down when the shell went back about 5mm
It stopped when it hit the top of the pedal box
- I removed the top section of the pedal box (need to fab something to replace that but right now it's not a priority)
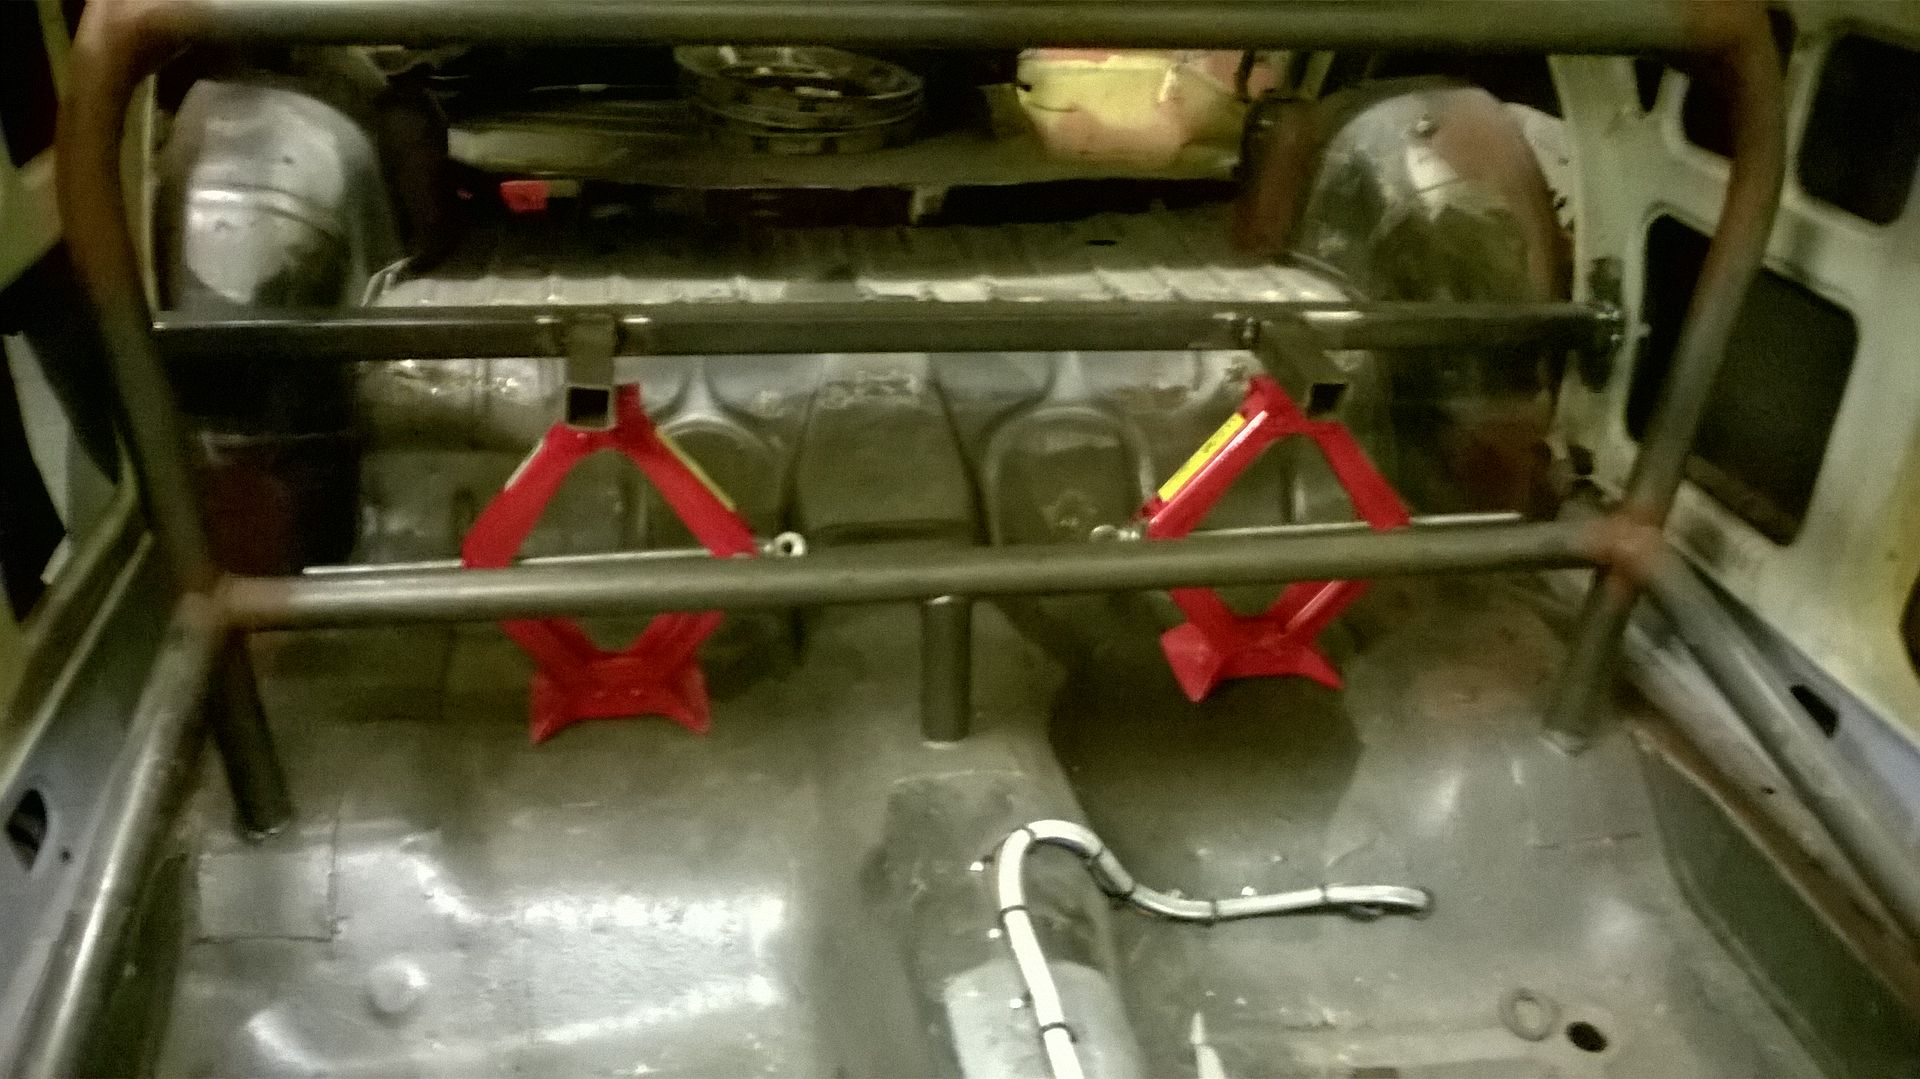
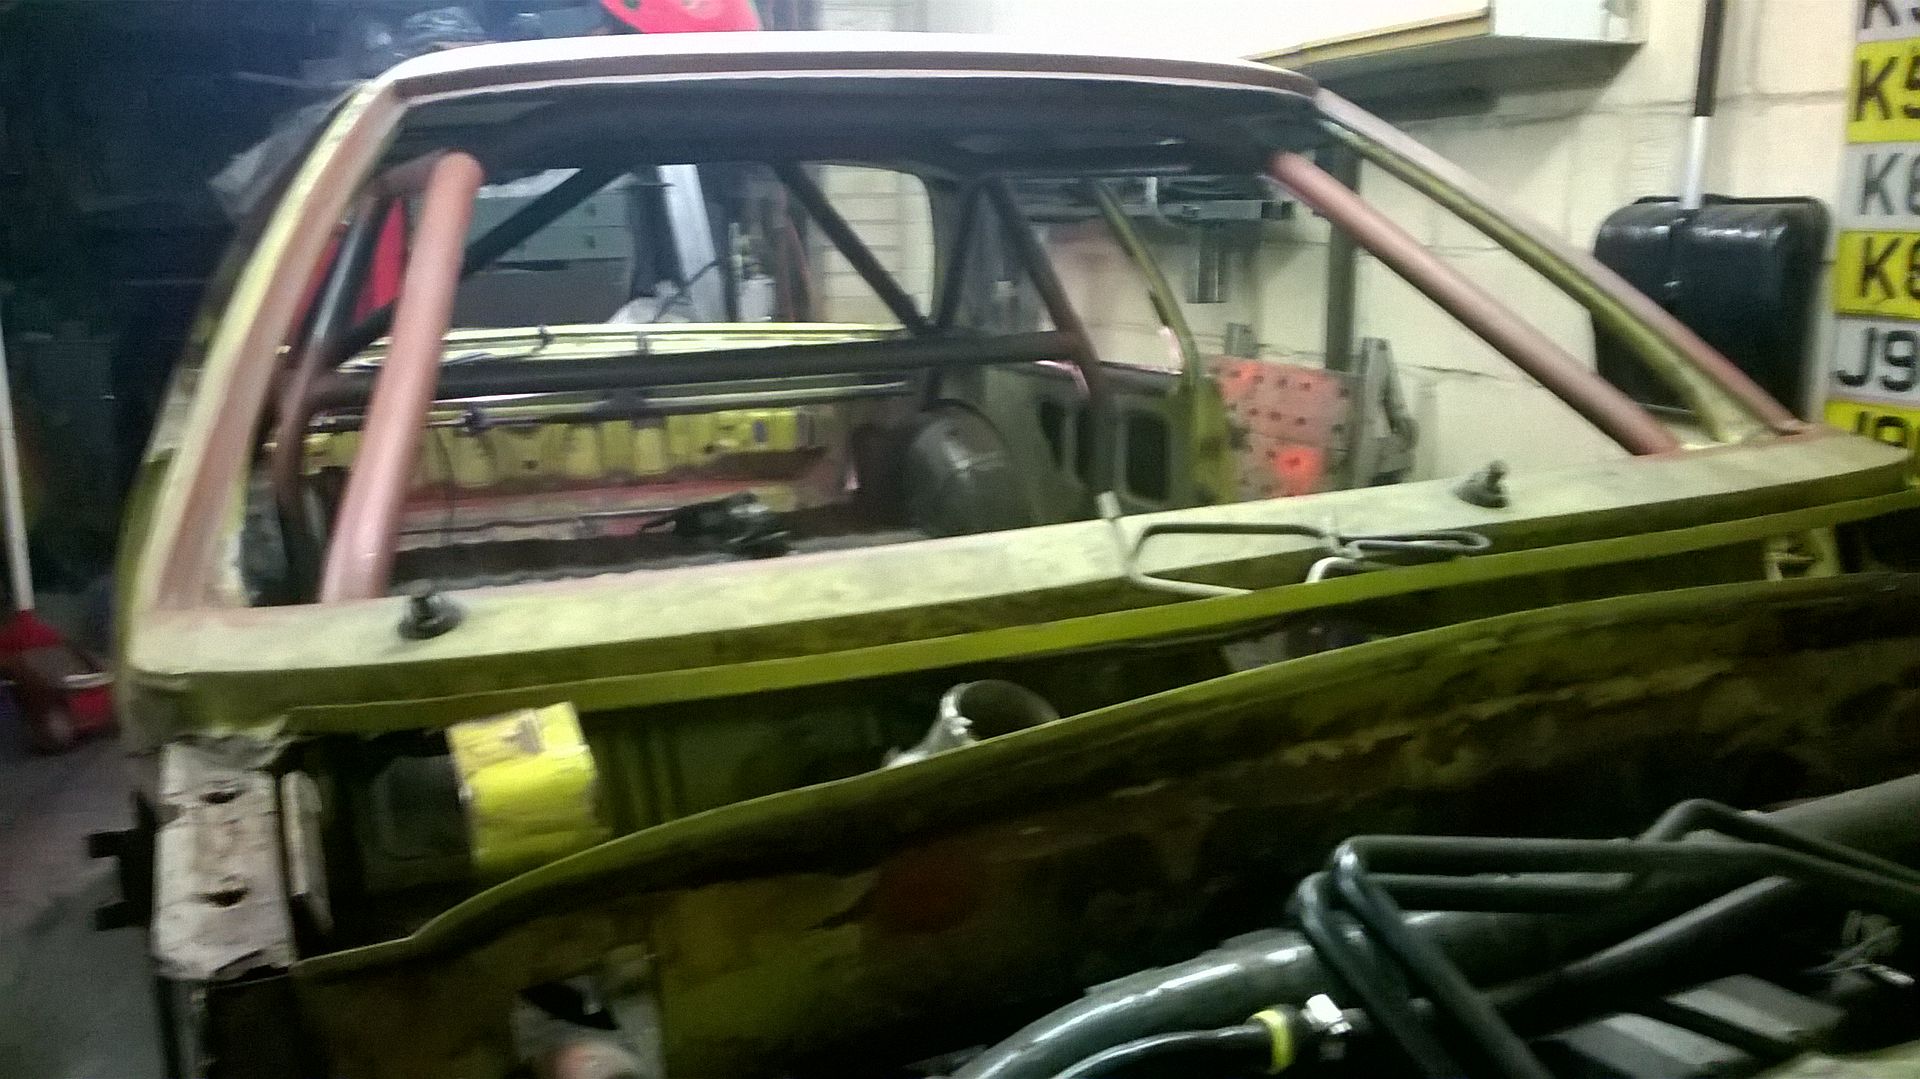
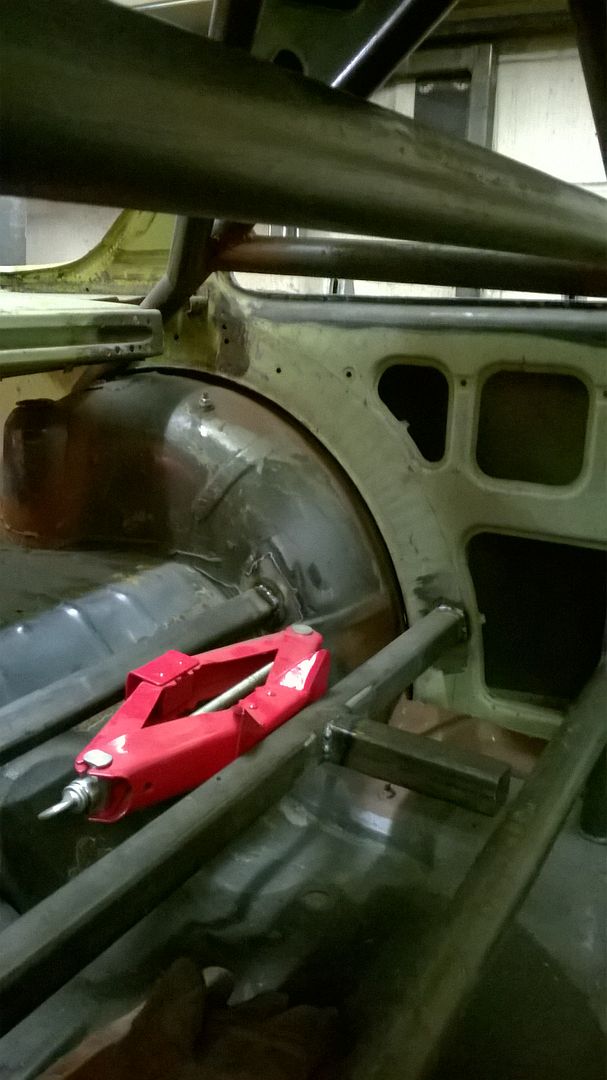
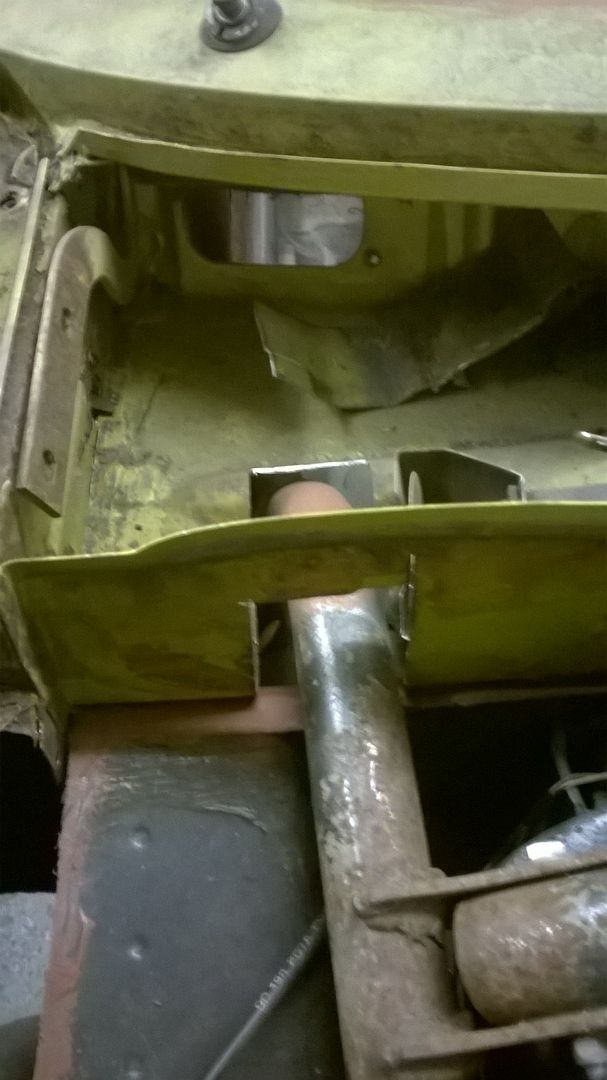
It dropped another 10mm but stopped when it hit the roll bar at the front of the cage
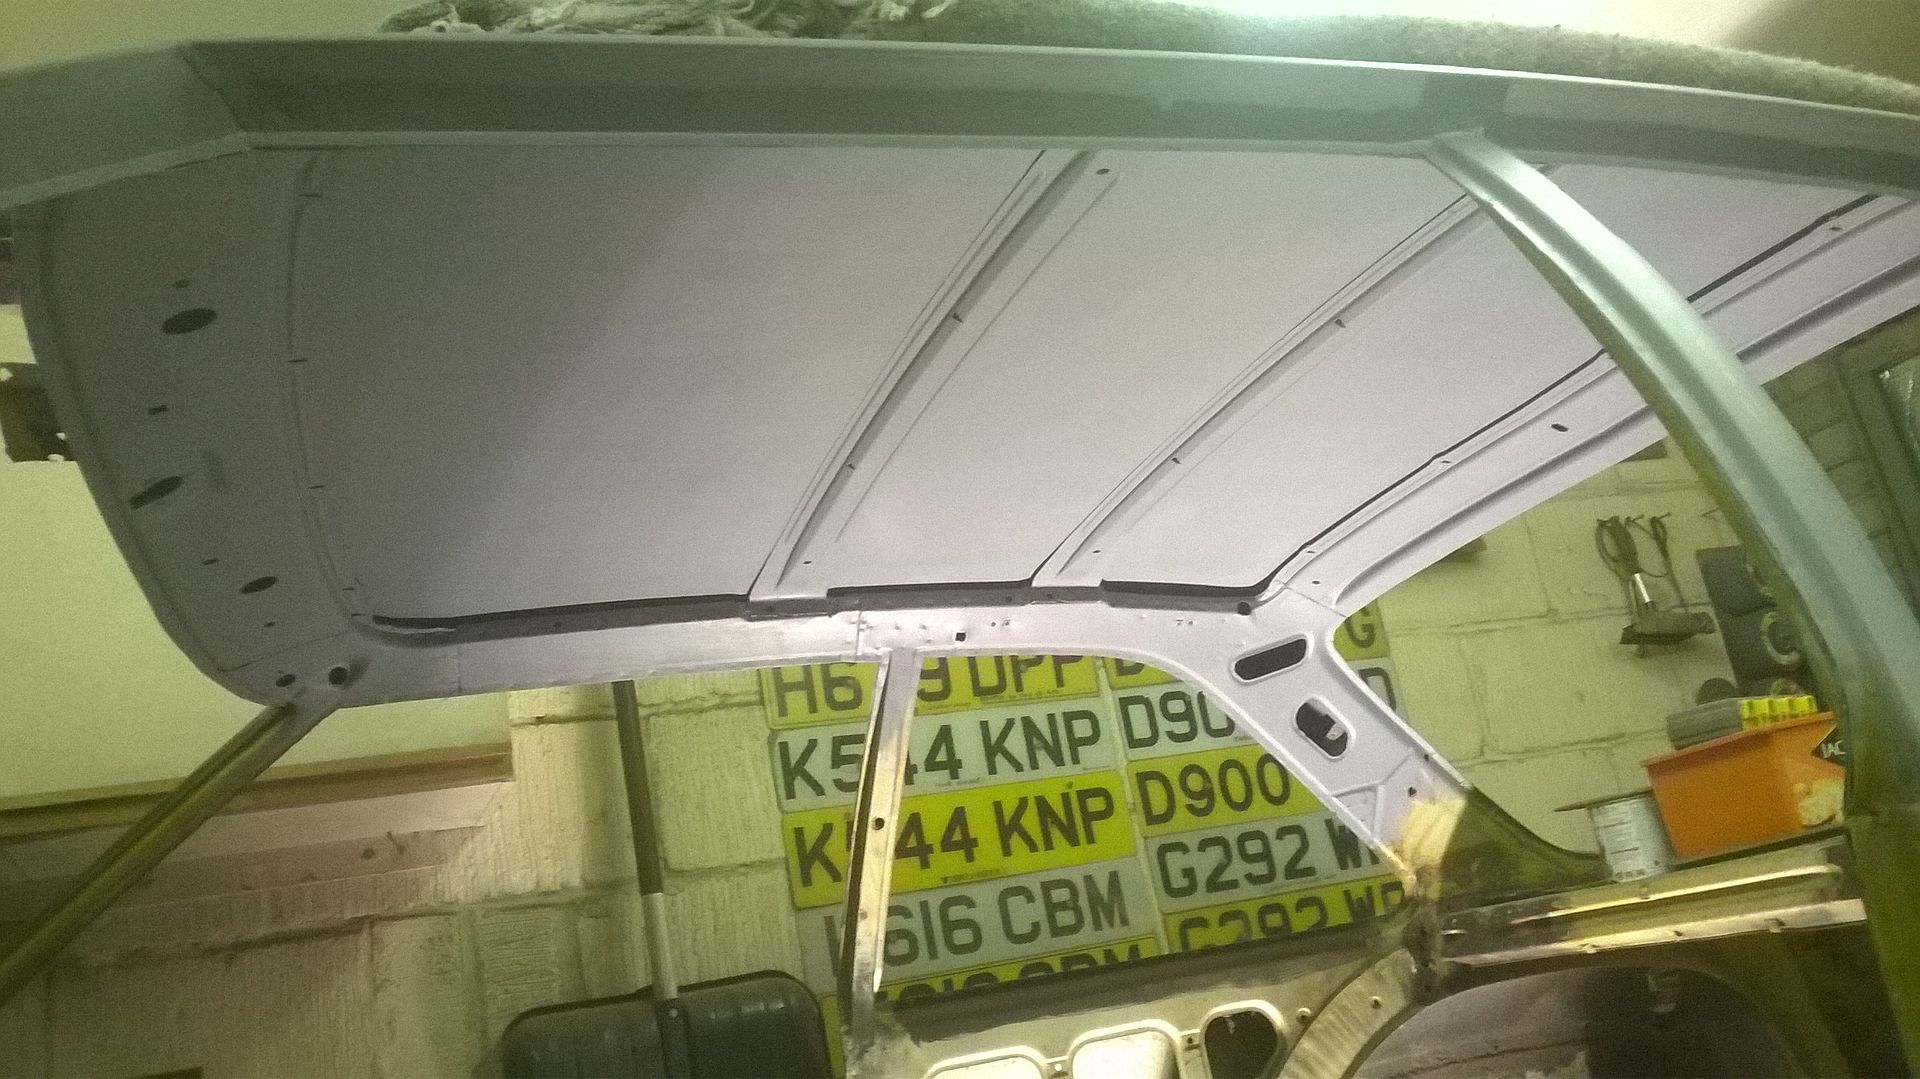
It's the one going from one side to the other in this picture
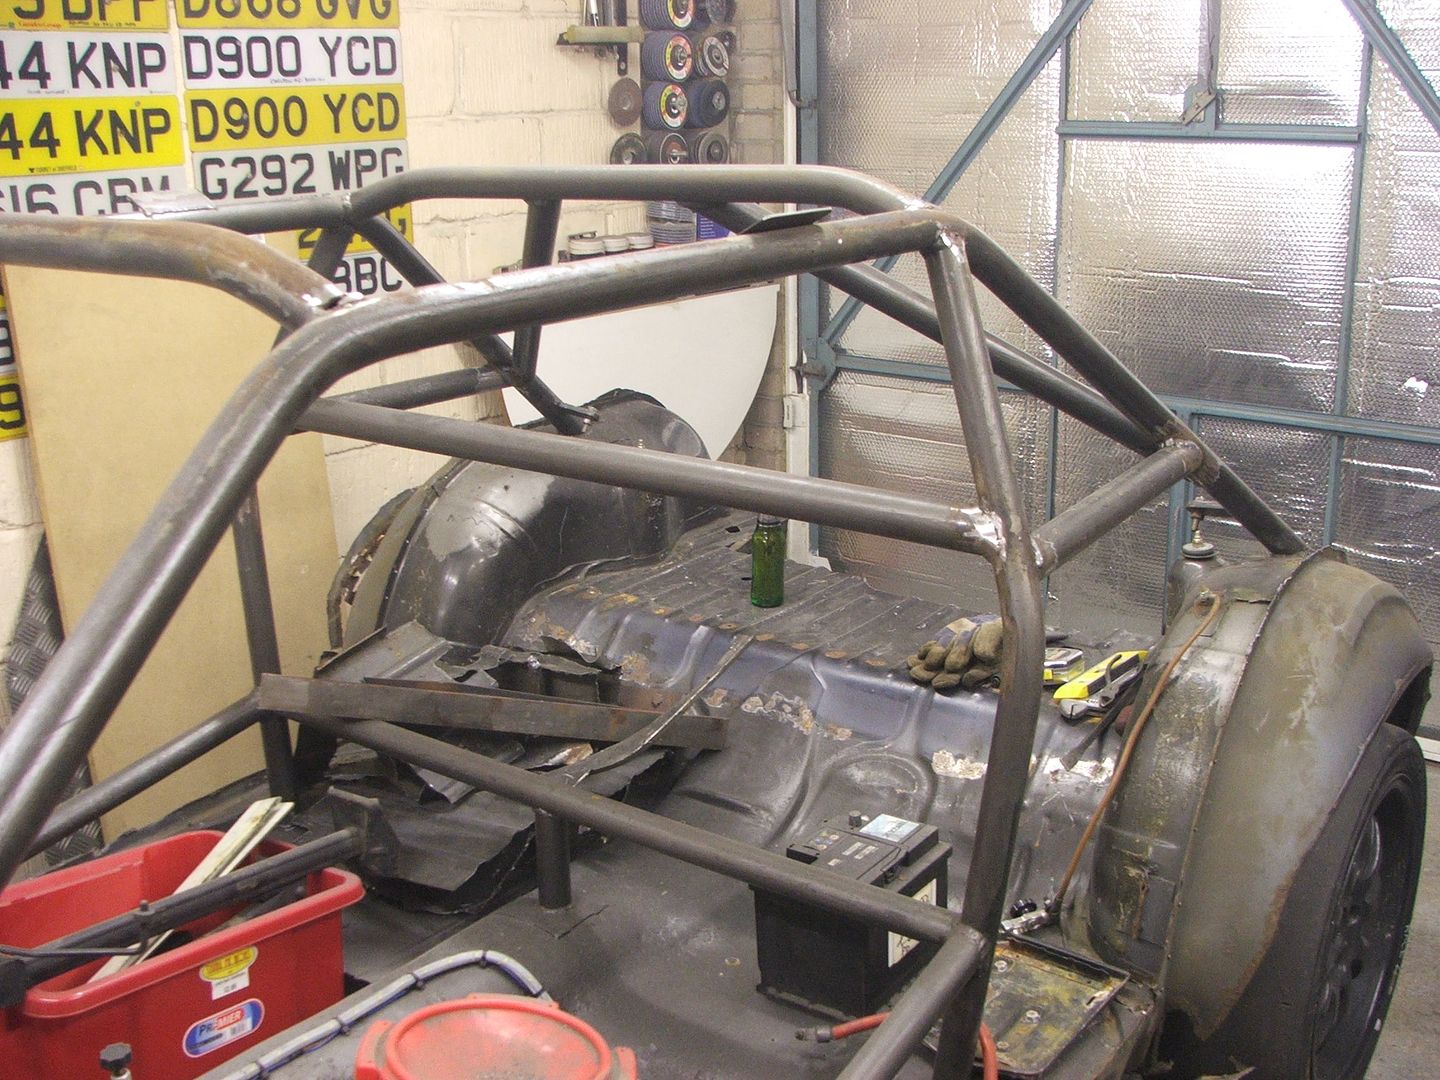
As you can see it has a cranked profile up across and down again - replacing this with a straight bar will allow maybe 20mm further drop but at that point the pedal box will once again come and spoil the party - I can fix that by recessing the scuttle to accomodate further drop) but once that's done I am really stuffed for any further drop.
The two sills are getting closer alignment wise (I think it's better than this right now but I haven't taken a recent picture - will do that later)
but I'm beginning to think that my original target point of the bottom of the two sills being aligned is both unrealistic and unachievable.....
- The front end came down when the shell went back about 5mm
It stopped when it hit the top of the pedal box
- I removed the top section of the pedal box (need to fab something to replace that but right now it's not a priority)
It dropped another 10mm but stopped when it hit the roll bar at the front of the cage
It's the one going from one side to the other in this picture

As you can see it has a cranked profile up across and down again - replacing this with a straight bar will allow maybe 20mm further drop but at that point the pedal box will once again come and spoil the party - I can fix that by recessing the scuttle to accomodate further drop) but once that's done I am really stuffed for any further drop.
The two sills are getting closer alignment wise (I think it's better than this right now but I haven't taken a recent picture - will do that later)
but I'm beginning to think that my original target point of the bottom of the two sills being aligned is both unrealistic and unachievable.....
Could you take the cross bar further forward, maybe just before the bend instead of after
And if you need the clearance maybe flatten the rear cross tube too
Looking at this you arent far off your ideal goal attitude
Level sills looks achievable to me
(Looking rather tasty with the front panel onboard)
And if you need the clearance maybe flatten the rear cross tube too
Looking at this you arent far off your ideal goal attitude
Level sills looks achievable to me
(Looking rather tasty with the front panel onboard)
Gassing Station | East Anglia | Top of Page | What's New | My Stuff