Plasma cutters - easy to go to far
Discussion


perdu said:
Could you take the cross bar further forward, maybe just before the bend instead of after
Further investigation - measurement has revealed if I make the front cross bar straight it just means the bend at the top (windscreen/roof) will his the roof very shortly after - so I've abandoned that idea as a lot of effort for no gainperdu said:
And if you need the clearance maybe flatten the rear cross tube too
Got lots of clearance above that one - the Monza had quite a slope on the roof line to blend with the very large rear hatch to that cross brace isn't causing me any issuesperdu said:
Looking at this you arent far off your ideal goal attitude
I'm pretty closeperdu said:
Level sills looks achievable to me
Level but not quite where I would have liked them but hey ho - it's not like I planned every aspect of this projectperdu said:
(Looking rather tasty with the front panel onboard) 
Made me smile when I'd got it on - looks like a proper car againIn other news
Well digging in my spares pile I had a Carlton Sill (well a section of one) still easily sourced (Albeit from Germany cos that's where you have to get most bits for what are actually Opels badged as Vauxhalls)
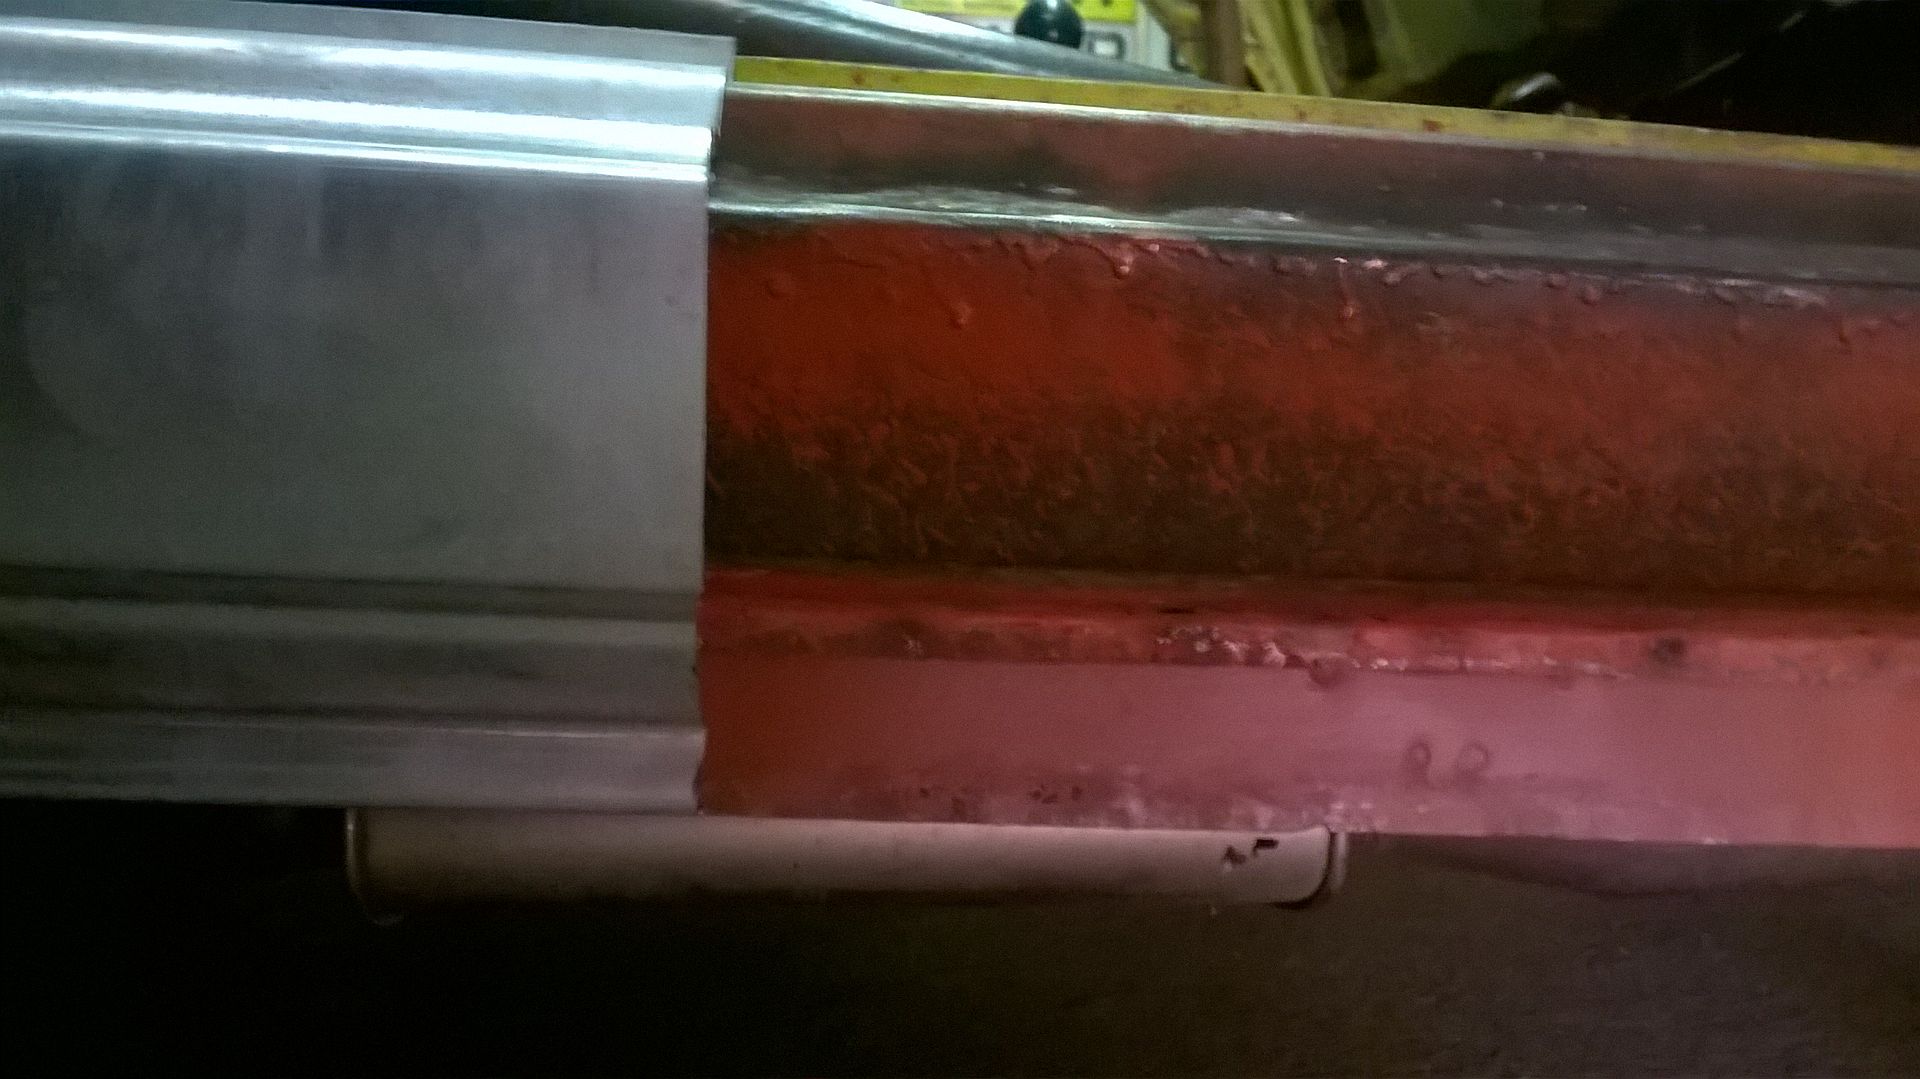
A quick bit of measuring up and it looks like the commodore middle sill fold will sit nicely with the flat section on the outer sill and they are long enough and also correctly shaped at the front wing end. Not really sure why I didn't think of looking at that before......
So for the rest of the evening I've been chopping
Front section of the scuttle removed - makes access nice and easy to stich the fire wall to the bottom of the scuttle

Pedal box has had some more chopping
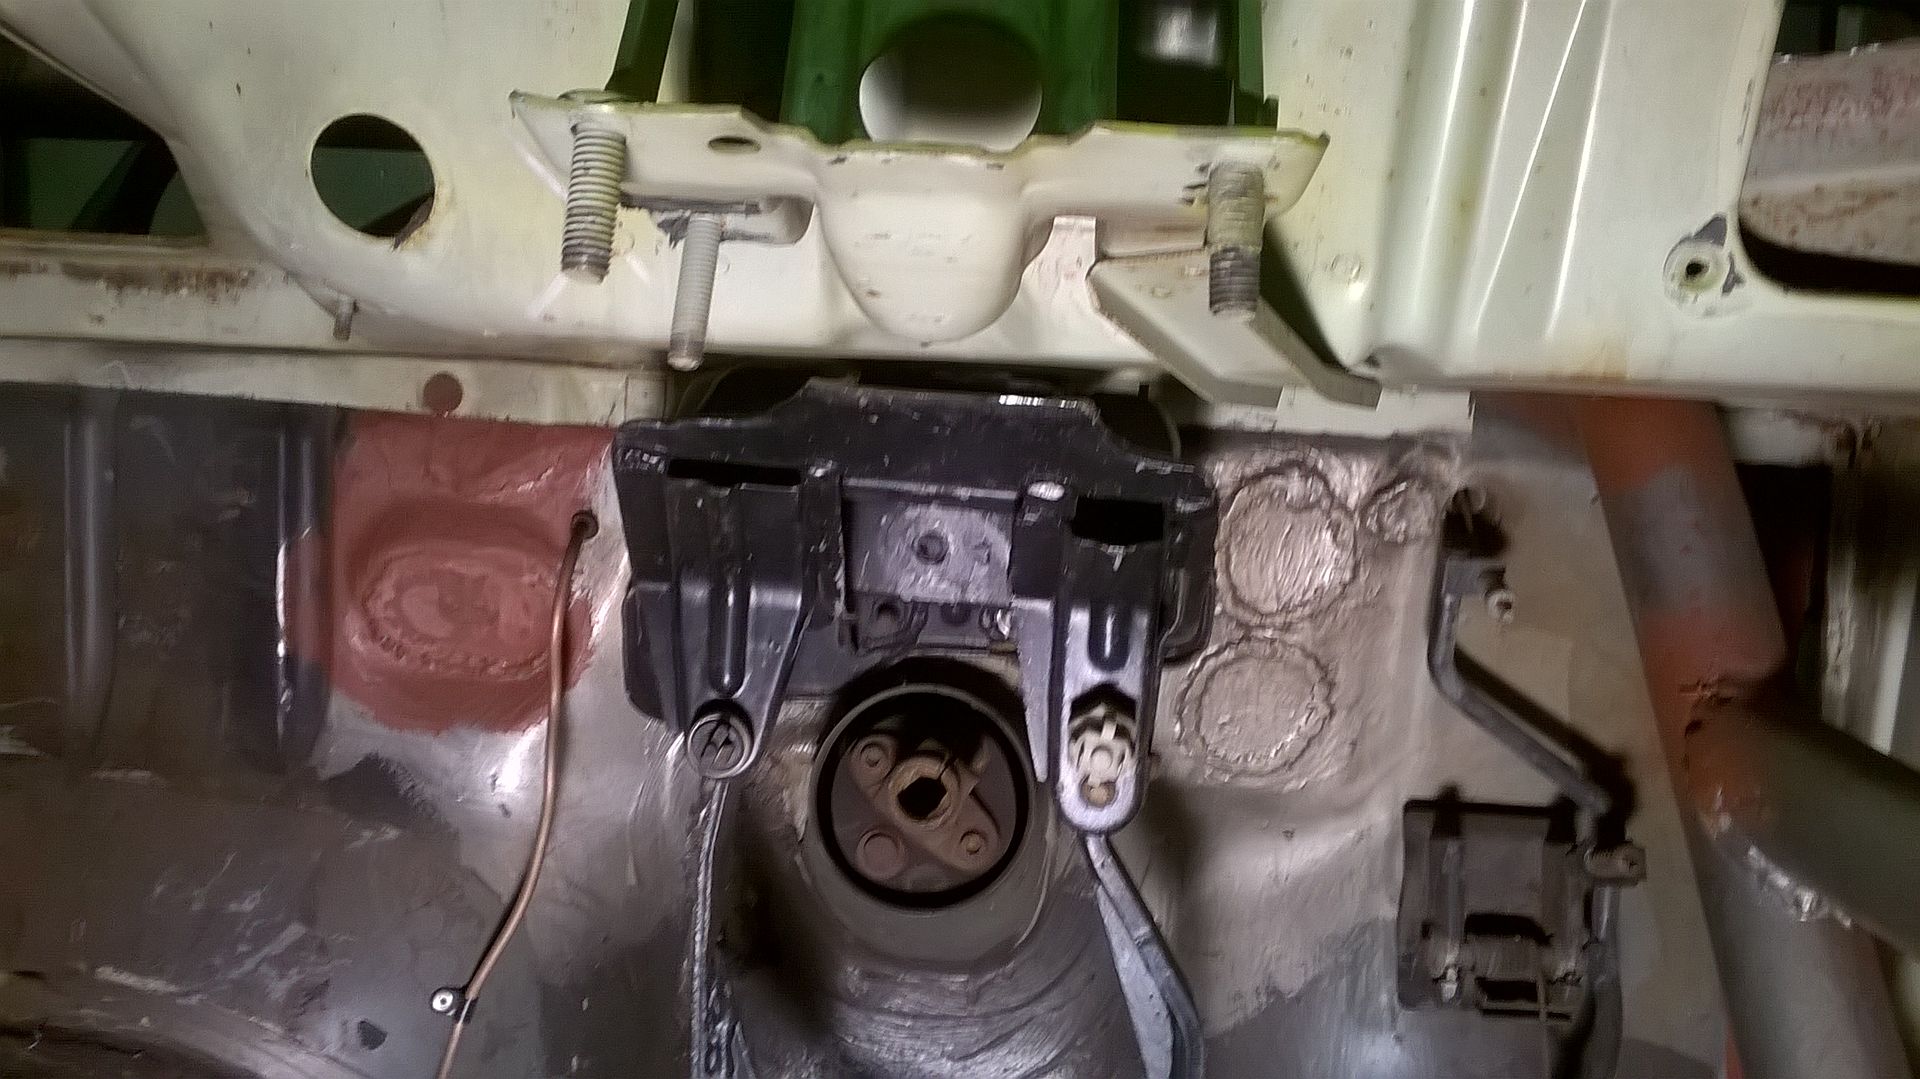
Still a few mill left however I have lost the Monza uppper fixing so I could have a lot of unwanted pedal box movement if I left it like that
Luckily the Commodore Pedal box whilst smaller and more boxy uses two fixings on the scuttle

So I can remake the top of the pedal box and fix thro those instead
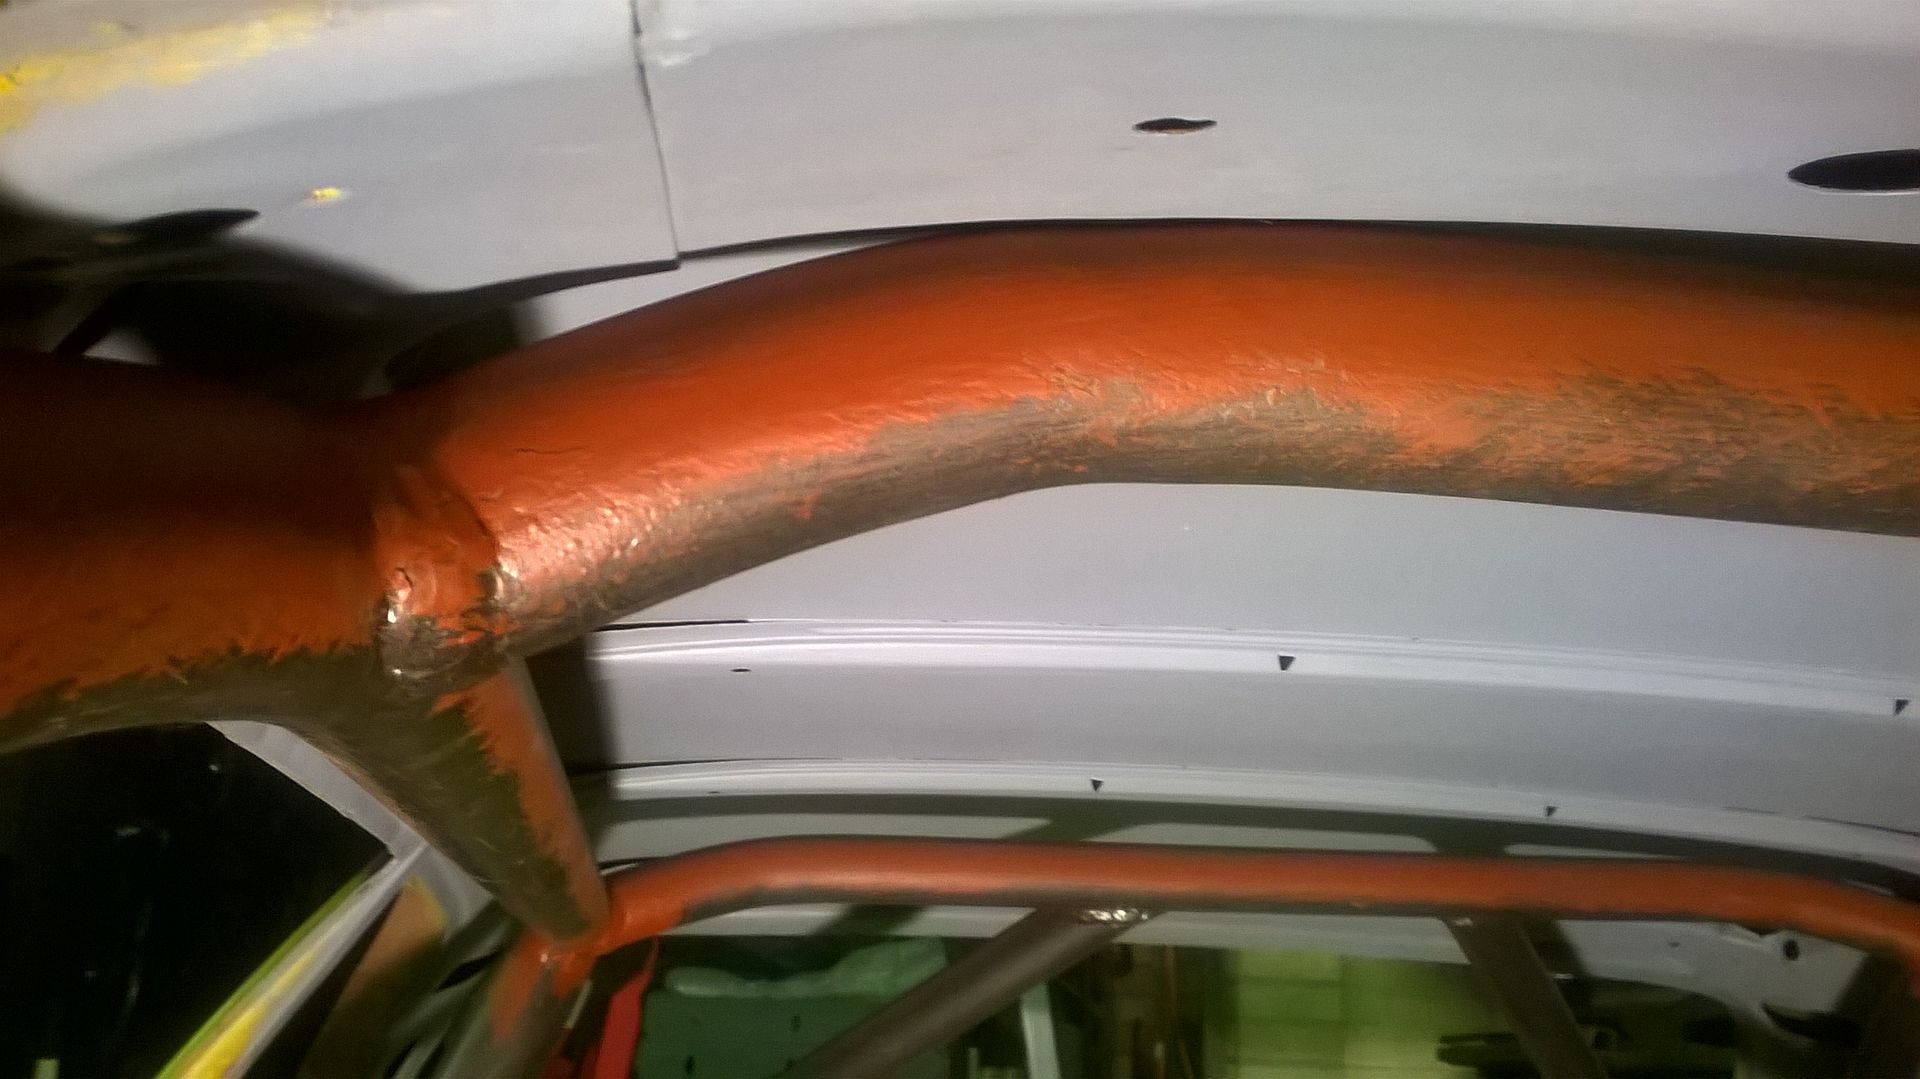
Anyway all that chopping means the front of the roll cage - bar at the top of the windscreen is now arguing with the roof so it's a low as it can go (well actually not quite but I'll cover that in a bit)
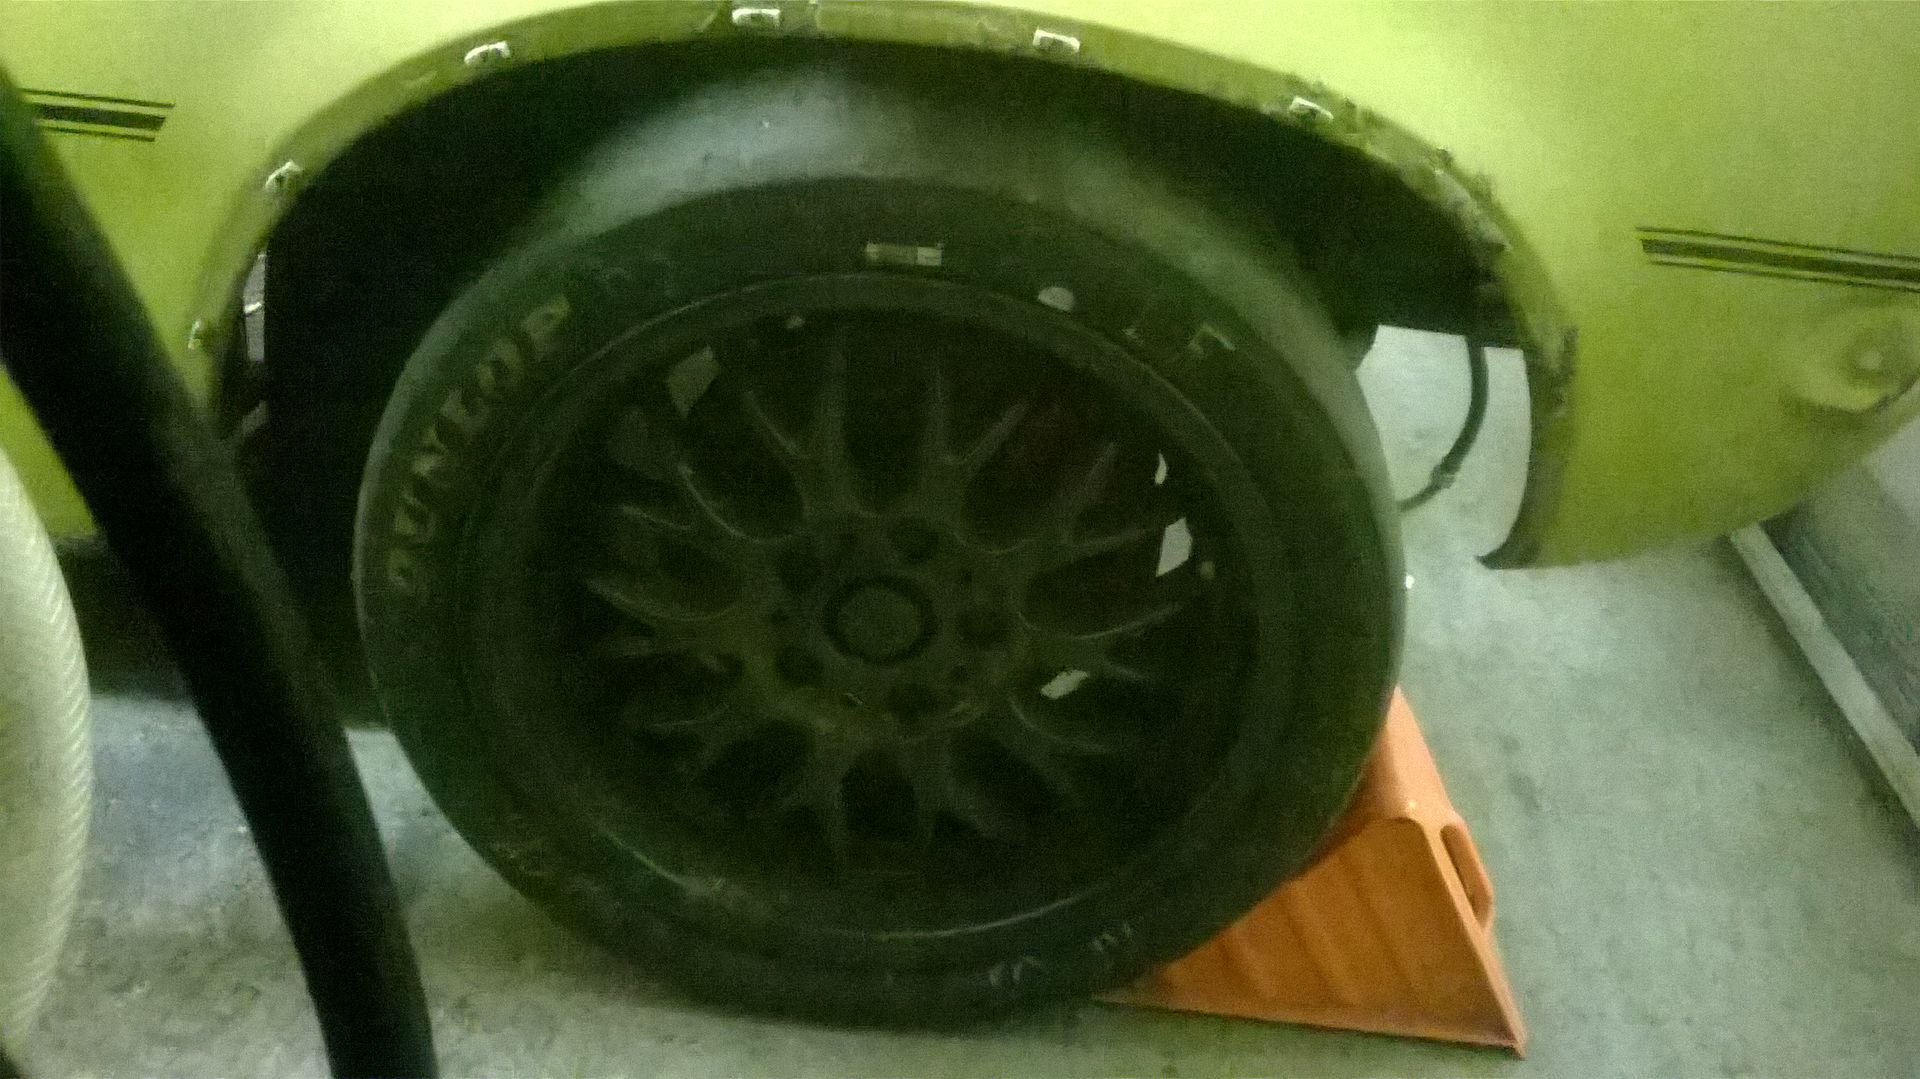
So to stop myself leaping in with the welder (and because I'd reached my noise curfew time I dragged one of 5 wheels (destined for this project) down from the loft and spent a pleasant few mins fitting the one wheel that still had a slightly oversize tyre.....
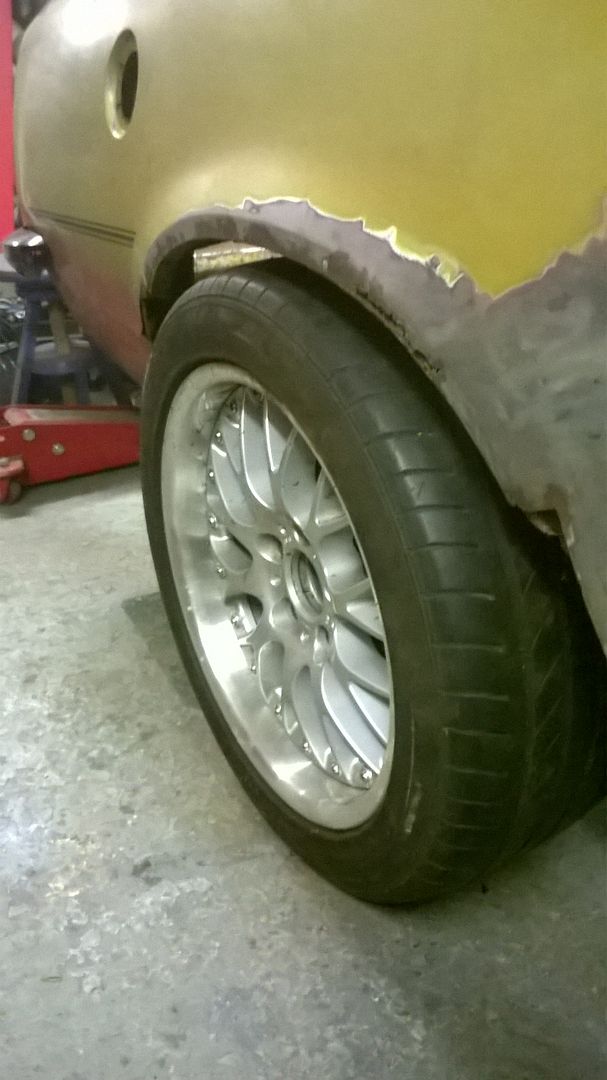
Yep I really do need arches on the rear - not silly large - just narrow box arches pit pictures of up earlier in the thread
Well digging in my spares pile I had a Carlton Sill (well a section of one) still easily sourced (Albeit from Germany cos that's where you have to get most bits for what are actually Opels badged as Vauxhalls)

A quick bit of measuring up and it looks like the commodore middle sill fold will sit nicely with the flat section on the outer sill and they are long enough and also correctly shaped at the front wing end. Not really sure why I didn't think of looking at that before......
So for the rest of the evening I've been chopping
Front section of the scuttle removed - makes access nice and easy to stich the fire wall to the bottom of the scuttle

Pedal box has had some more chopping

Still a few mill left however I have lost the Monza uppper fixing so I could have a lot of unwanted pedal box movement if I left it like that
Luckily the Commodore Pedal box whilst smaller and more boxy uses two fixings on the scuttle

So I can remake the top of the pedal box and fix thro those instead
Anyway all that chopping means the front of the roll cage - bar at the top of the windscreen is now arguing with the roof so it's a low as it can go (well actually not quite but I'll cover that in a bit)
So to stop myself leaping in with the welder (and because I'd reached my noise curfew time I dragged one of 5 wheels (destined for this project) down from the loft and spent a pleasant few mins fitting the one wheel that still had a slightly oversize tyre.....

Yep I really do need arches on the rear - not silly large - just narrow box arches pit pictures of up earlier in the thread
Hmmm appears I didn't post pictures of the arches...... Post Warning contains pictures of Commodores!!!
Better rectify that
So the Monza track is wider than the Commodore and I have another set of wheels destined for the project that are wider than currently fitted so an element of my plans was always going to give some issues - wheels and tyres poking out of the arches.
Now rolling arches is one way of resolving the issue but my rear arches aren't good and the fronts aren't much better so lets rule that one out
these have been a little more than rolled but I actually don't like the look - nothing I can put my finger on it just doesn't look right to me

If I had the god like fabrication skills I'd make my own in steel but I do not have those skills so that's out
I keep seeing pictures of Commodores with a "Steinmetz breitbau"
Have a nice std Commdore

OK not exactly std - it was the winner of the Willhire 24hr race in 1980 that was restored recently and should be going back on track as a classic racer... )I has more pics but lets save that for a rainy day)
anyway my calcs on the back of a postcard was telling me I was going to have an inch and a half of poke
and a "breitbau" would solve my problem


They have been done in various widths but the subtle one would be enough for me
The rears are just an arch extension

The fronts complete wings (which would be a bonus)

And they also have an option of a deeper front air dam

However it appears that they are made of unobtanium and I only found one set not fitted to a car (the pictures above) and the owner wants to fit them one day
So what I needed was an alternative and I went in search
I found these
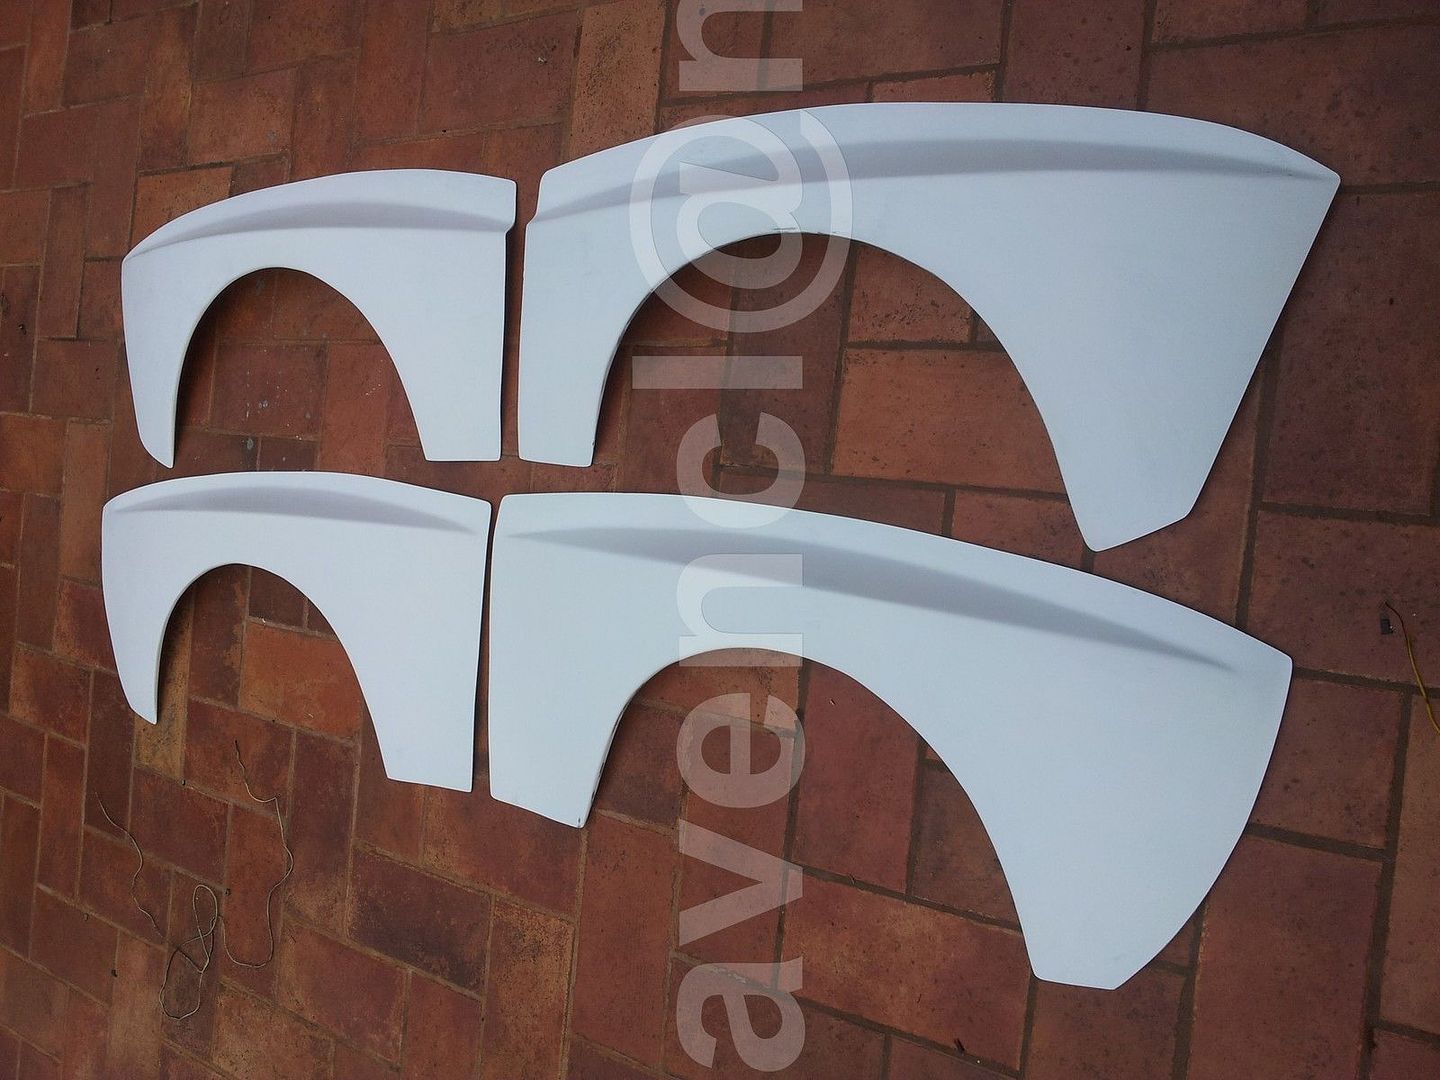
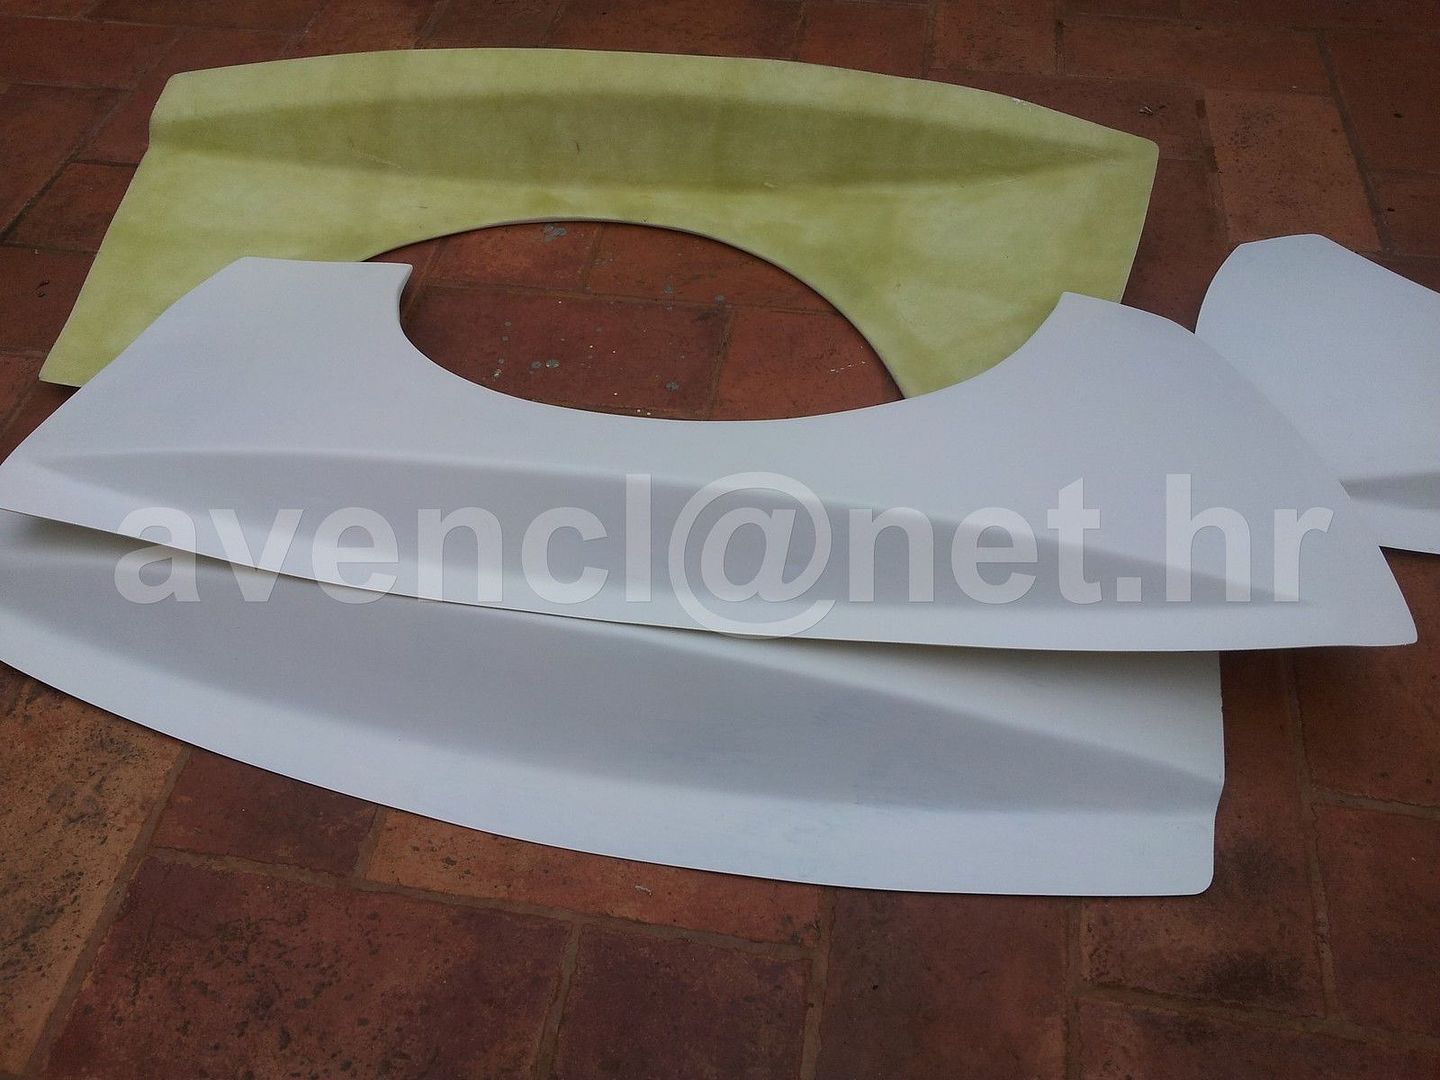
They come in two widths and it looks like the narrow ones would do what I need.
Oh and just I could use them to disguise the wheels not being the right place in the arches but I'd rather get that bit right first and then arches on....
Better rectify that
So the Monza track is wider than the Commodore and I have another set of wheels destined for the project that are wider than currently fitted so an element of my plans was always going to give some issues - wheels and tyres poking out of the arches.
Now rolling arches is one way of resolving the issue but my rear arches aren't good and the fronts aren't much better so lets rule that one out
these have been a little more than rolled but I actually don't like the look - nothing I can put my finger on it just doesn't look right to me
If I had the god like fabrication skills I'd make my own in steel but I do not have those skills so that's out
I keep seeing pictures of Commodores with a "Steinmetz breitbau"
Have a nice std Commdore

OK not exactly std - it was the winner of the Willhire 24hr race in 1980 that was restored recently and should be going back on track as a classic racer... )I has more pics but lets save that for a rainy day)
anyway my calcs on the back of a postcard was telling me I was going to have an inch and a half of poke
and a "breitbau" would solve my problem


They have been done in various widths but the subtle one would be enough for me
The rears are just an arch extension

The fronts complete wings (which would be a bonus)

And they also have an option of a deeper front air dam

However it appears that they are made of unobtanium and I only found one set not fitted to a car (the pictures above) and the owner wants to fit them one day
So what I needed was an alternative and I went in search
I found these


They come in two widths and it looks like the narrow ones would do what I need.
Oh and just I could use them to disguise the wheels not being the right place in the arches but I'd rather get that bit right first and then arches on....
They do look lots better than the rollyflares
But I hope you don't mind me mentioning it
That brown parcel tape might pull loose in a scrum
or a five miles per hour breeze
No seriously those new shaped flares look great, will you be fabbing the deeper front dam to go with them
onnards and uppards
b
But I hope you don't mind me mentioning it
That brown parcel tape might pull loose in a scrum
or a five miles per hour breeze
No seriously those new shaped flares look great, will you be fabbing the deeper front dam to go with them
onnards and uppards
b
perdu said:
They do look lots better than the rollyflares
I think so too - I went hunting for a lot of pictures of Commodore B's (& Rekord D's as they are really really similar and share a lot of parts) but best I don't clog up this thread with my inspiration 
A lot of cars have horribly rolled arches to squeeze in wider wheels and tyres - it looks OK but you know you have to run very stiff coils to get away with that - The Monza suspension is actually not that stiff and it likes to roll a little but handles well despite that - I tried stiffer springs and it wasn't as good and it was horrid to drive on the road.
Anyway where was I - ahh rolled arches - never gonna work for me so needed something else the breitbau steinmetz kit is rarer than rocking horse poo so finding a set was unlikely - so something similar was needed
perdu said:
But I hope you don't mind me mentioning it
That brown parcel tape might pull loose in a scrum
or a five miles per hour breeze
Yeah The guy in germany I borrowed the images from has had them taped on for probably 5 years - but that is as far as he's got!!! That brown parcel tape might pull loose in a scrum
or a five miles per hour breeze
perdu said:
No seriously those new shaped flares look great, will you be fabbing the deeper front dam to go with them
Now that's a whole different subject - The Commdore GSE cam with an add on air damWith (left) and without (right)

Which do you prefer?
I'll drop this one in here (plastic windows on a frameless door - now I know it's been done
 )
)
I have some video of that car...... it's rather rapid
perdu said:
onnards and uppards
b
I'm going for onwards but downwards is where I'm heading b
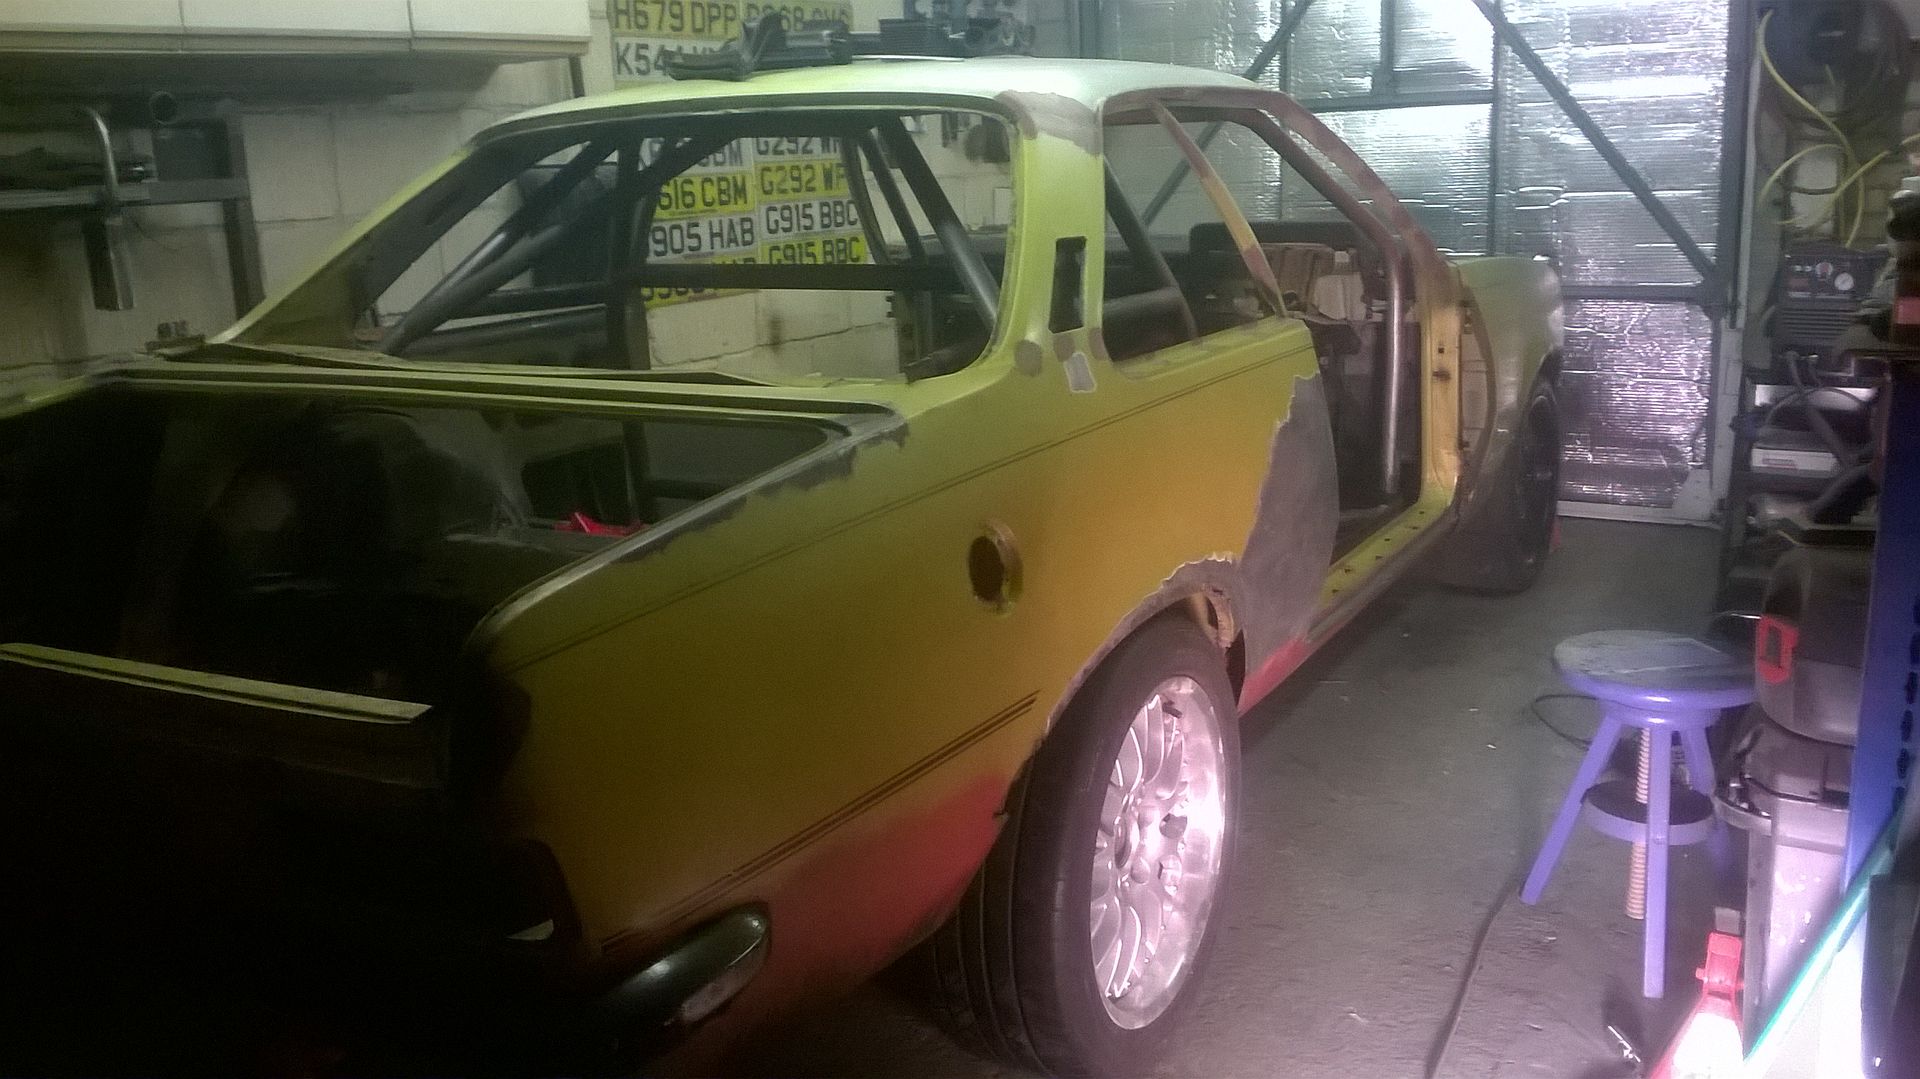
Right - I think I've got there - I won't know absolutely for sure until I roll it out of the garage in daylight but I like where I am
Pedal box got another chisel
Now the bulkhead looks right
The sills are pretty near parallel
The front wheel arch has 4 fingers front and rear and 3 on top
The roll cage is against the roof (both sides same place)
But actually none of that matters cos when I look at it in the confines of the garage it looks right (rubbish pic)
Pedal box got another chisel

Now the bulkhead looks right


The sills are pretty near parallel

The front wheel arch has 4 fingers front and rear and 3 on top

The roll cage is against the roof (both sides same place)

But actually none of that matters cos when I look at it in the confines of the garage it looks right (rubbish pic)

perdu said:
like likey like like
I do like the original lines, the designer nearly always has the look right after all
Finished work on time, picked up Mrs BC - on a missionI do like the original lines, the designer nearly always has the look right after all
Dragged it out before the light went


perdu said:
but as you might be going a tad quickly the dam would do it for me
I'd hate for you to drop off a corner just as I stagger up to it on Marham
(sills look good/right)
Yeah I'm happy with it - hope when the weight goes back in it drops a little moreI'd hate for you to drop off a corner just as I stagger up to it on Marham
(sills look good/right)
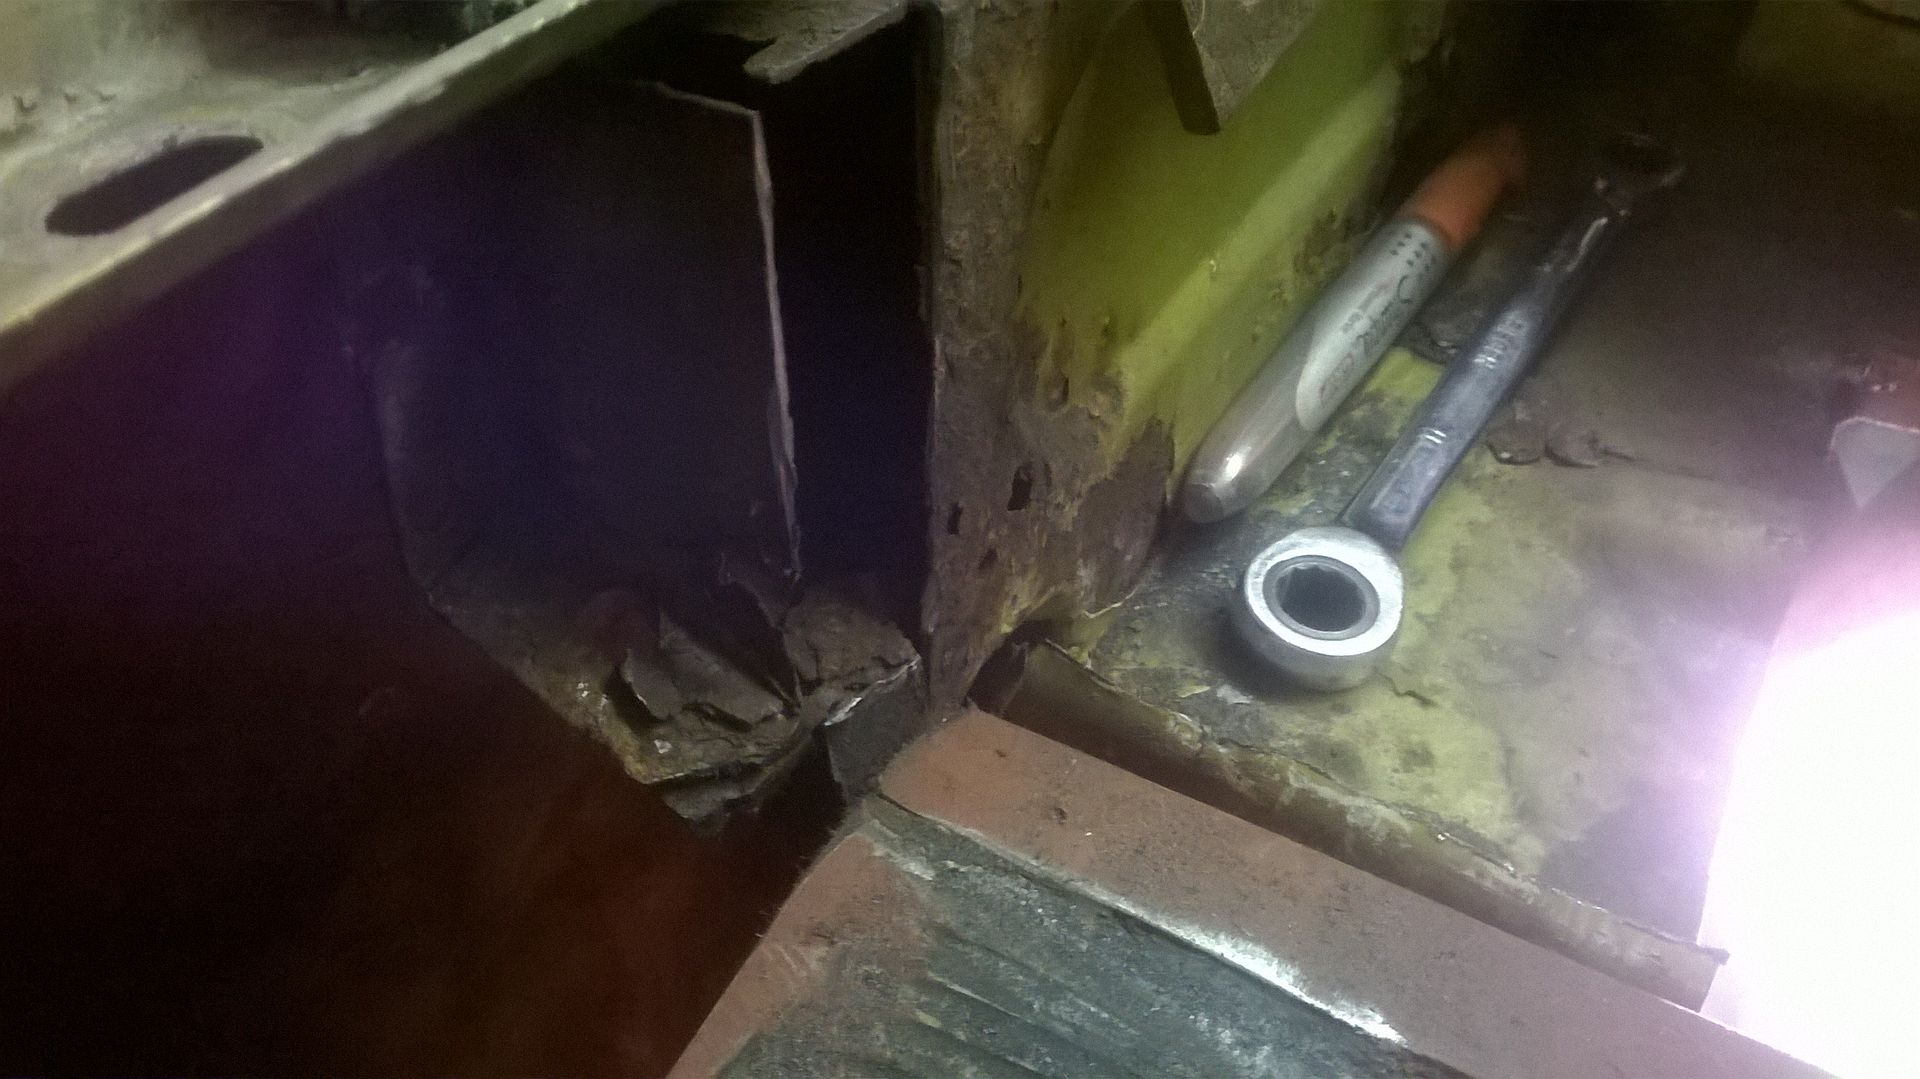
Right so this week - yes the whole damn week I've been trying to remove some grot/rust/rot in the rear panel underneath the rear lights inside the boot.
Back of the boot where the boot floor joins the rear panel - is 3 or possibly 4 layers of steel sandwich and when I cleaned it up I had some pin holes
Now in my experience pin holes frequently mean much worse lies behind
So I cut a few squares out - and then those squares in the main got bigger - yeah maybe a bit more would need to come out - I think I cut out 8 holes before I thought about it - I'd previously done a pretty rubbish repair on my Monza in exactly the same area (hmm technically this means I'm doing it again) so I'd realised that the best way to do it would be to cut it all out and then see what was needed
To get this far has taken me all week (Have I mentioned that before?)
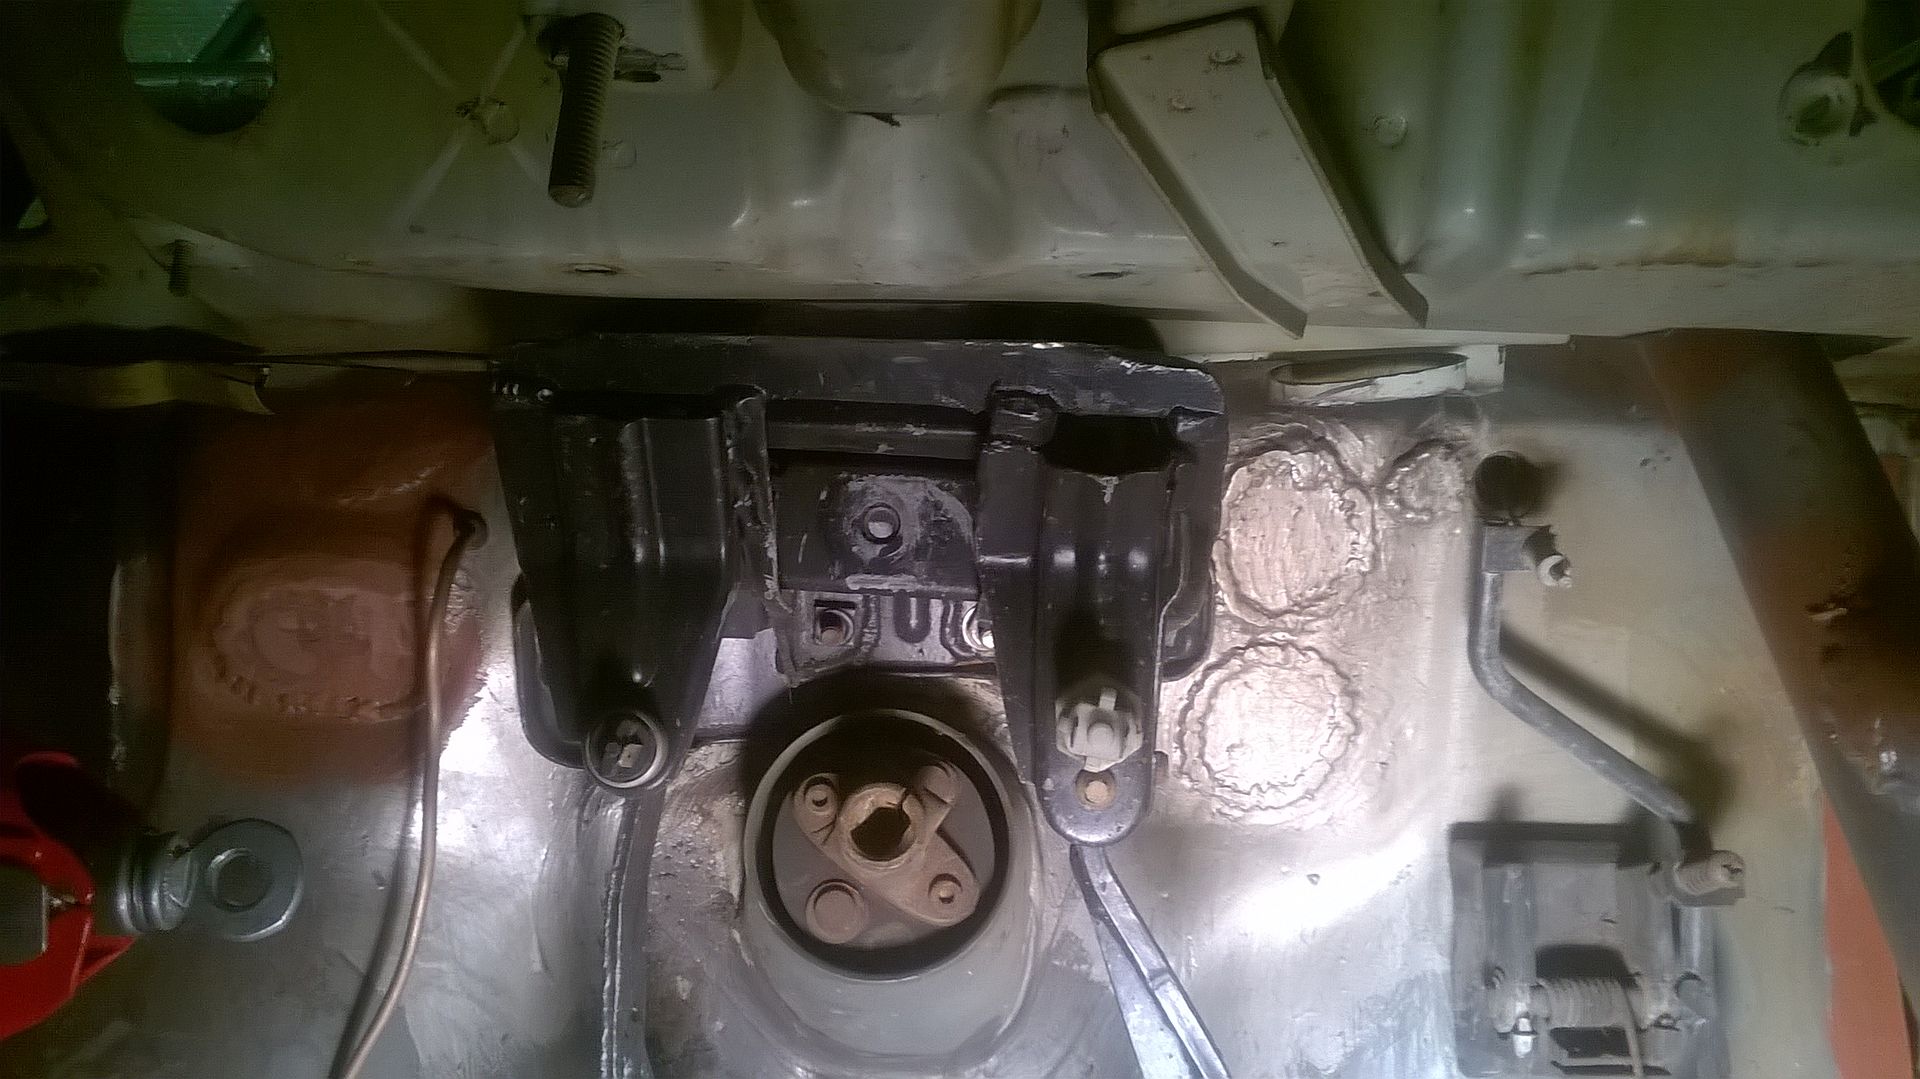
The drivers side tow point needed removal first - why? - Well I intend having a single central tow point - because Race Car........... And the other passenger side tow point - well that left the building with the boot floor and it wasn't coming back as I need to run the exhaust where the spare wheel well was.
So the Drivers side tow point that's a right little sandwich in itself and having ground off the fixings I pretty soon realised that it was a good job it was going as whilst the toe point itself was good it would have torn away the first time it was used
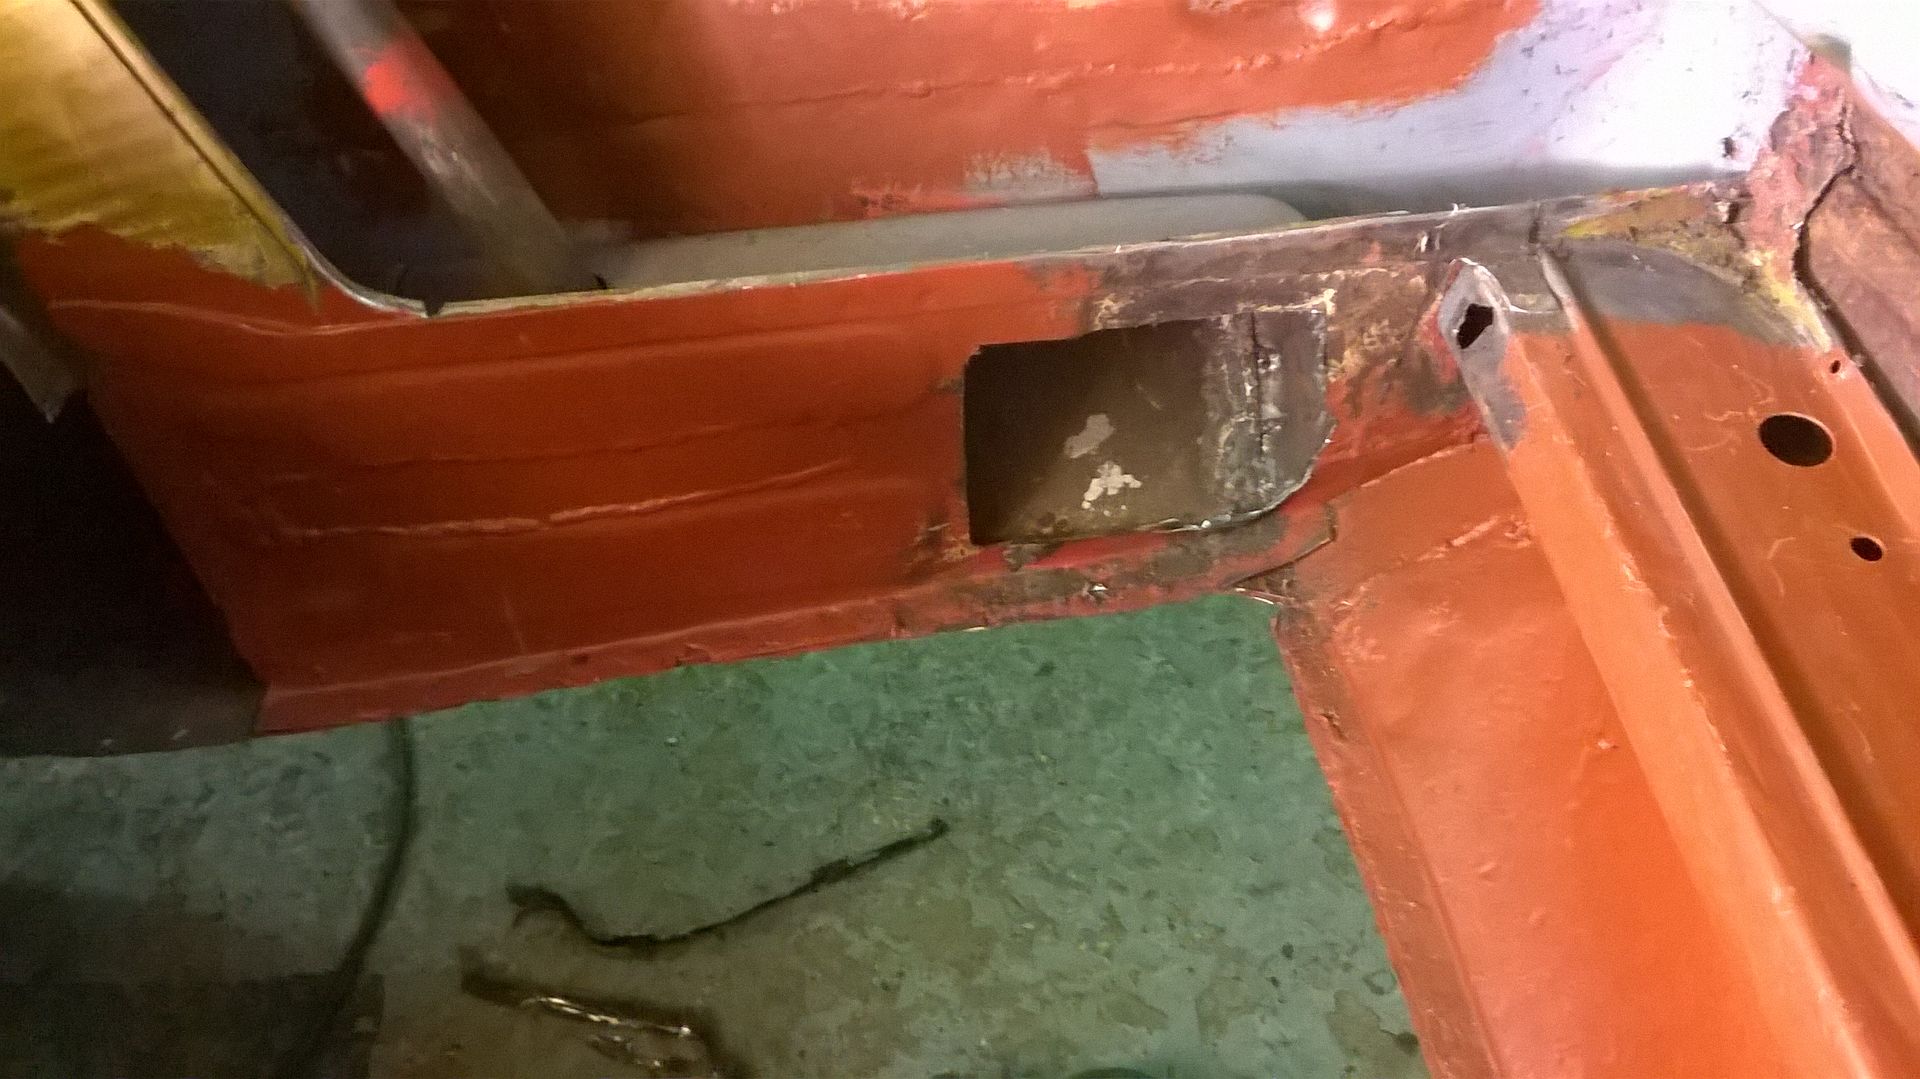
So I have a hole to fill - Patch number 1
So Drivers Side (Patch number 2 - technically it's two patches but as it's one hole I'm counting it as 1)
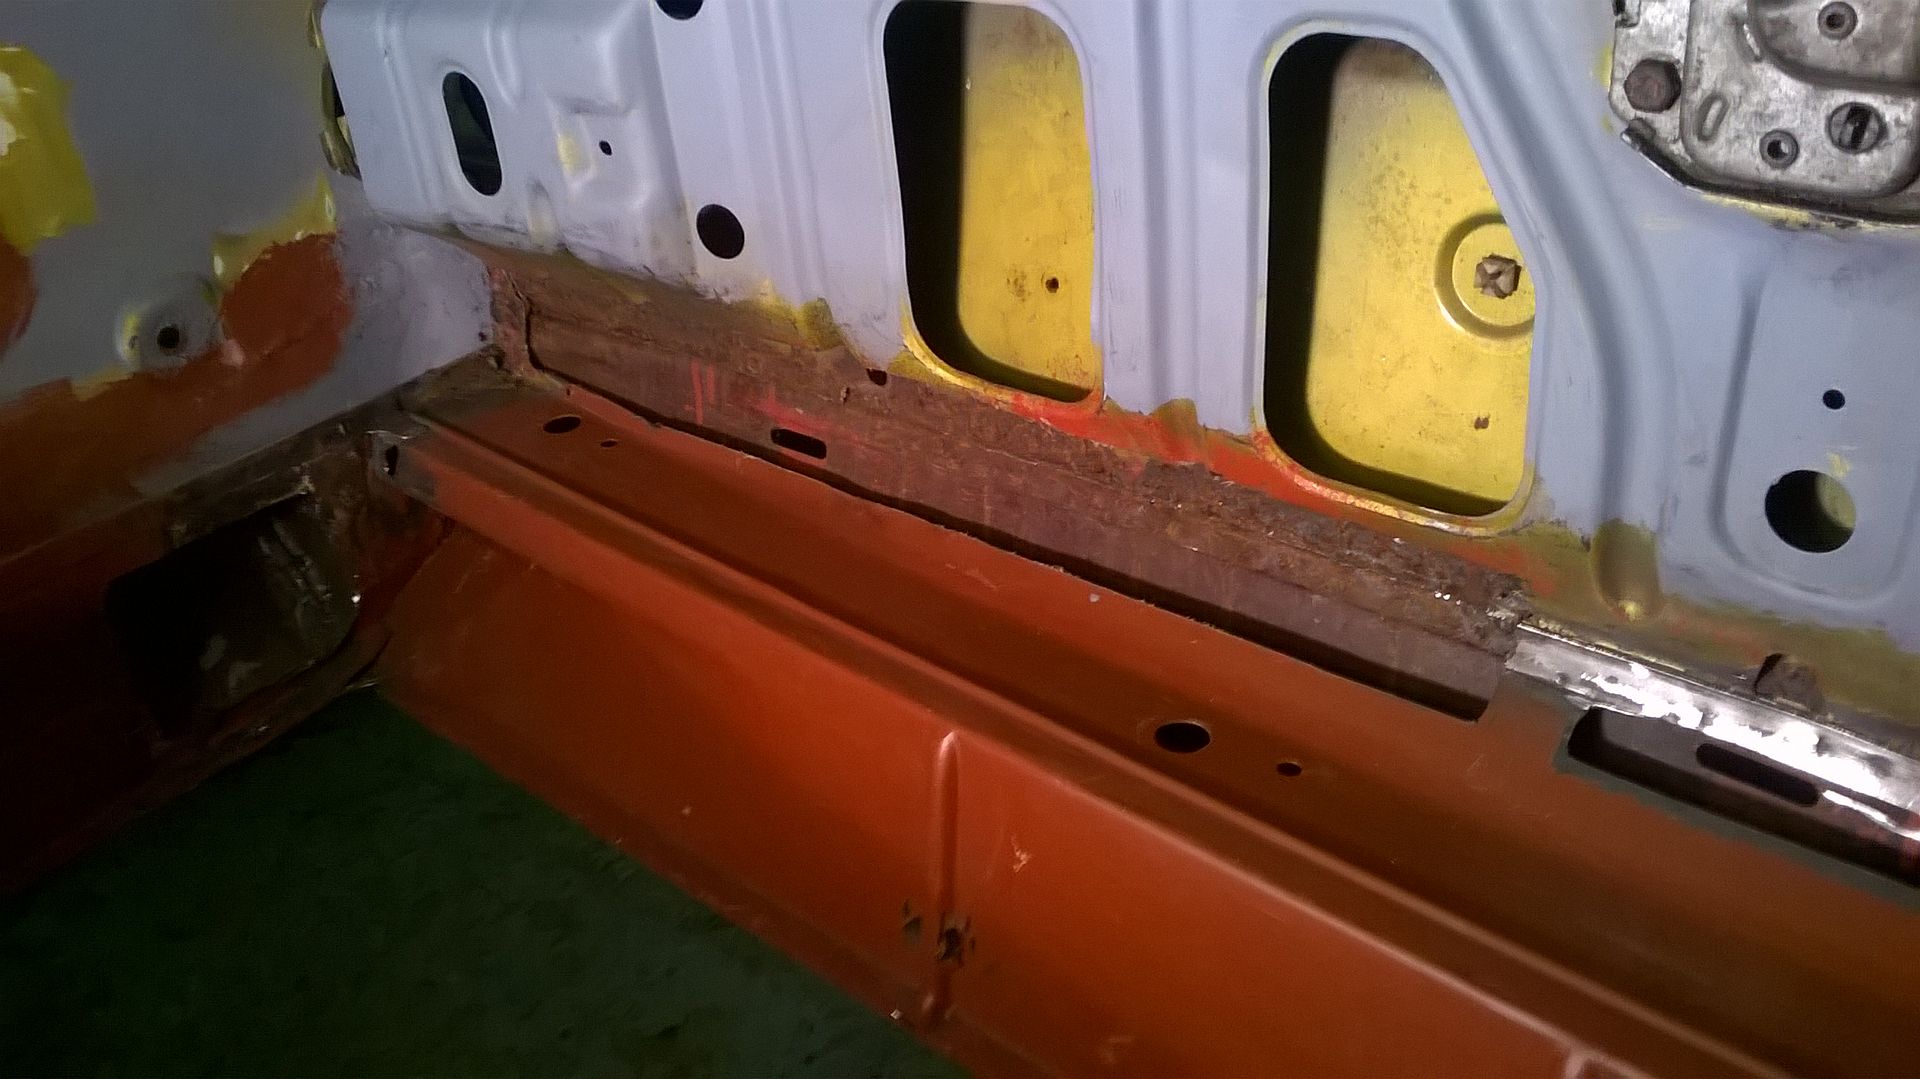
Middle (Patch number 3) This bit is actually really solid so it was just a pin hole or two
Passenger side (Patch number 4 - same rules as patch 2 apply)
So I need to re-make the inside edge of the rear panel so I kept a bit to act as a template (ish)
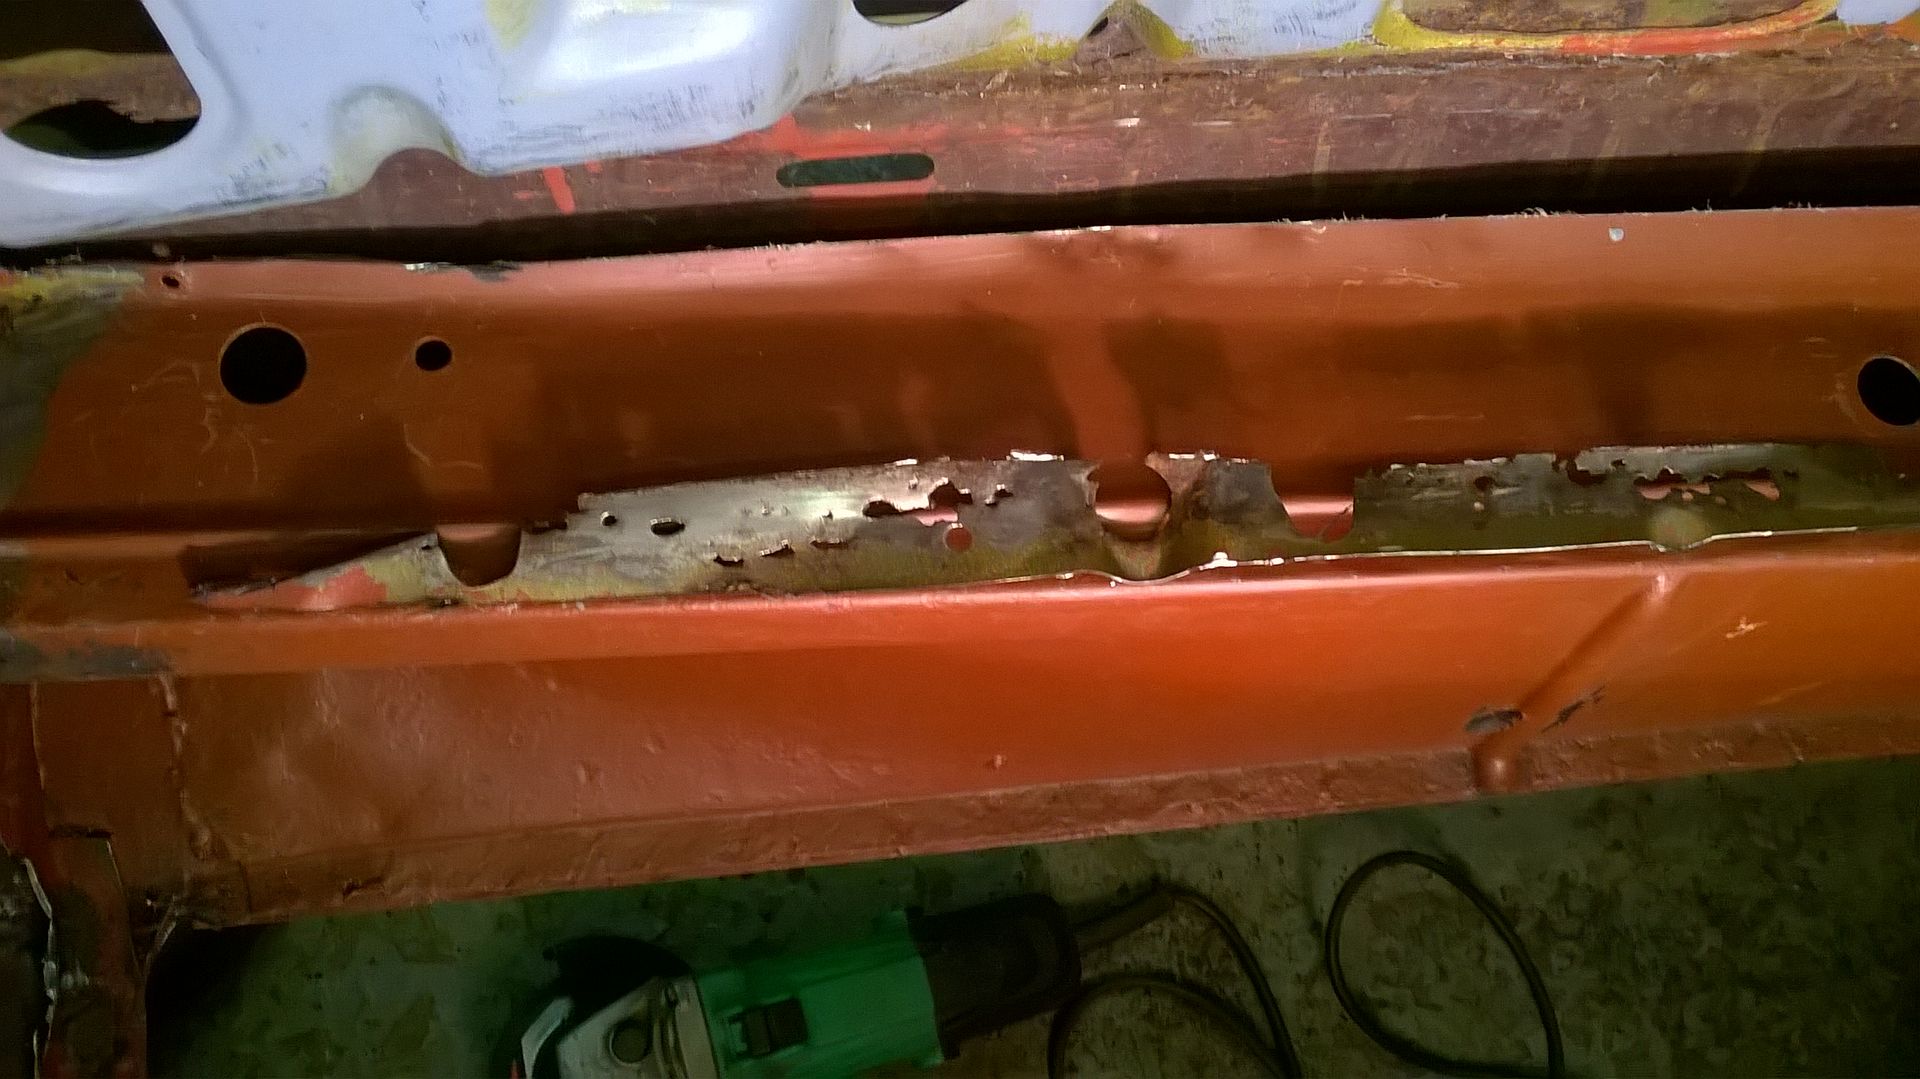
Yeah it was pretty frilly!!!
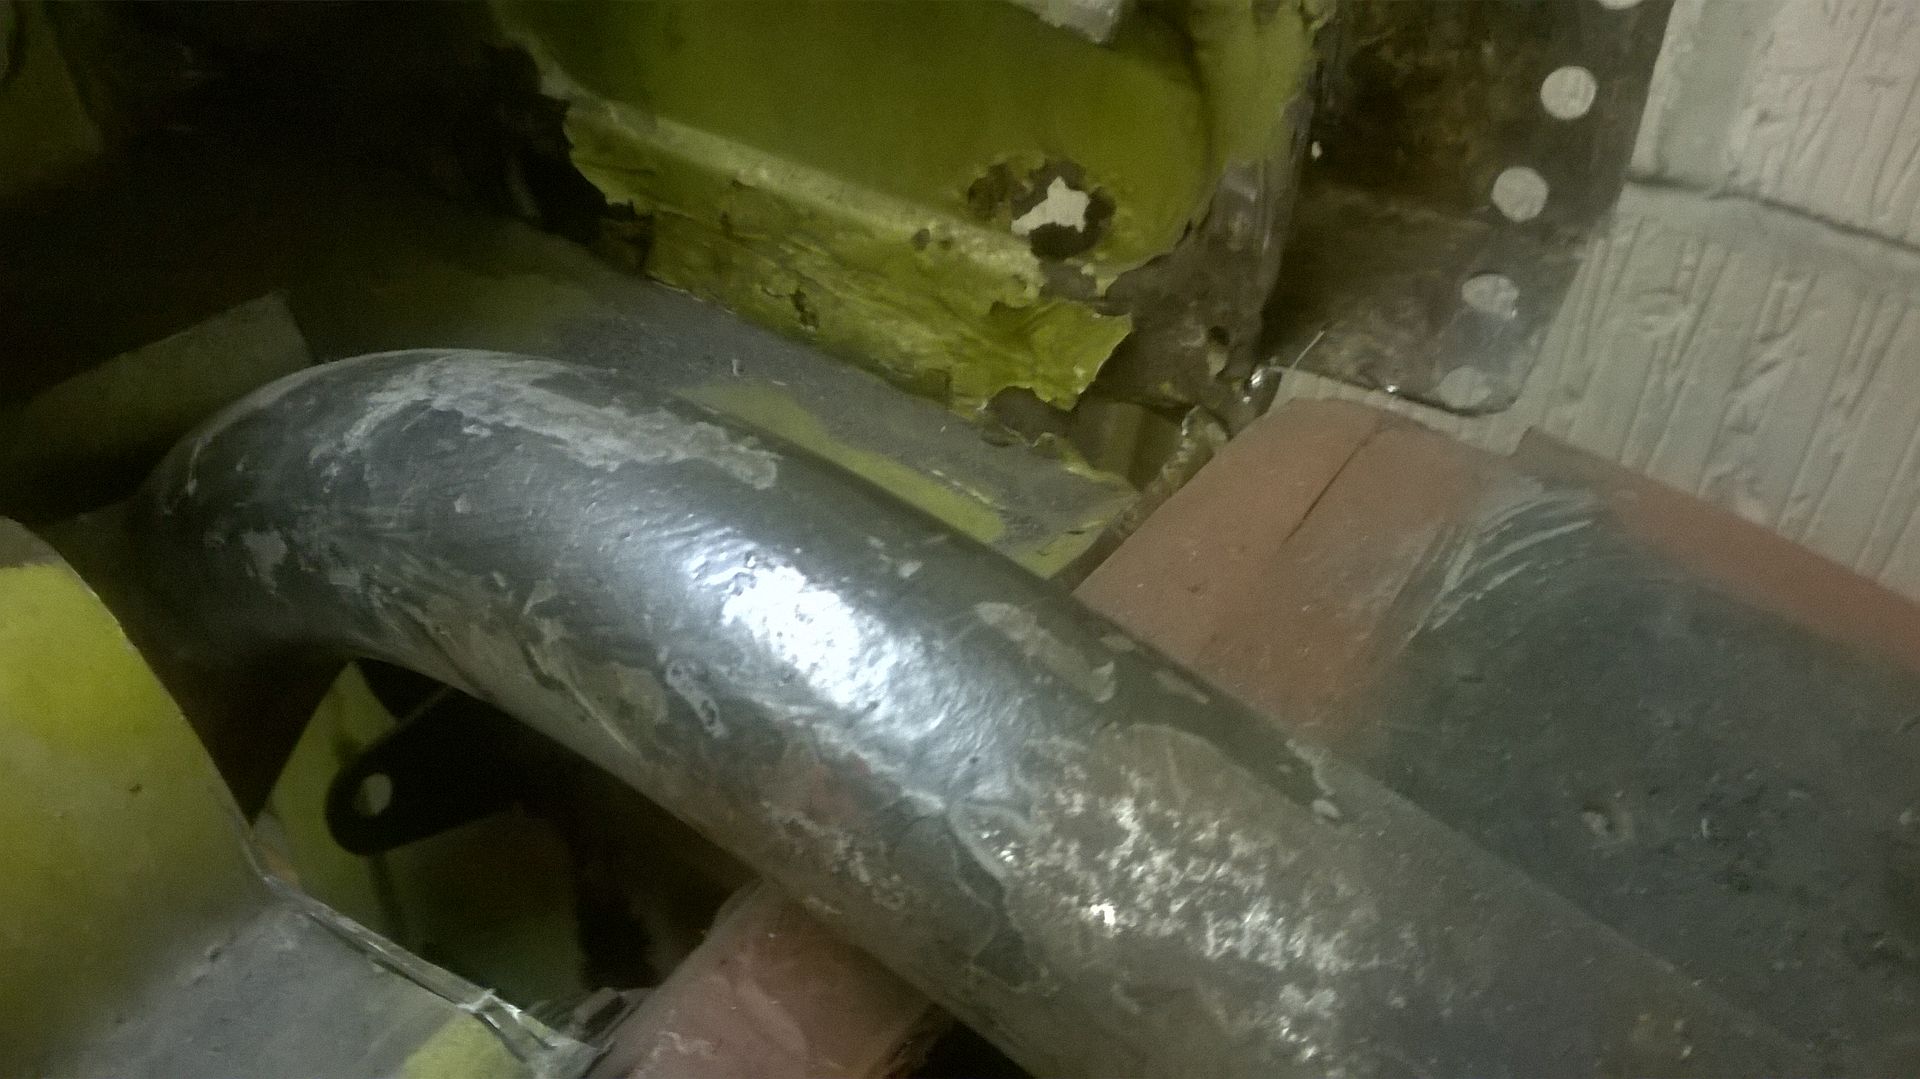
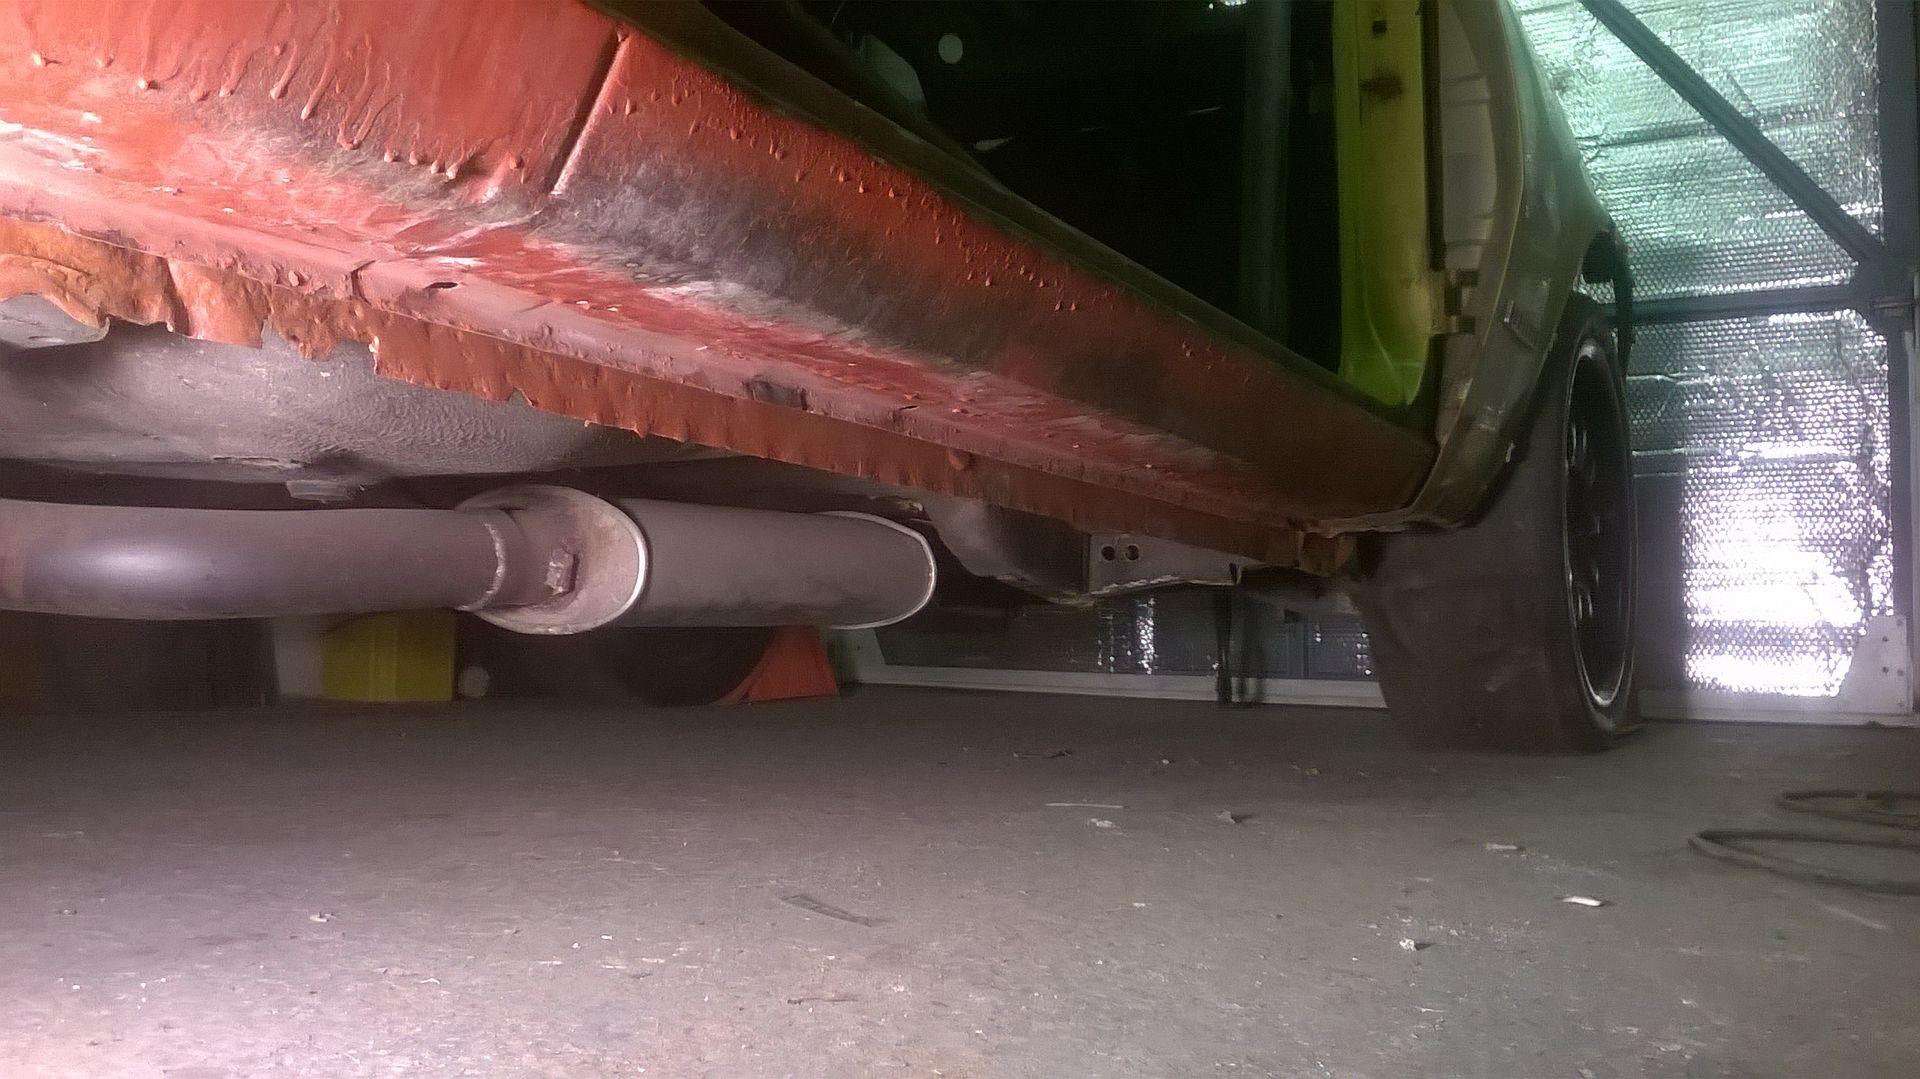
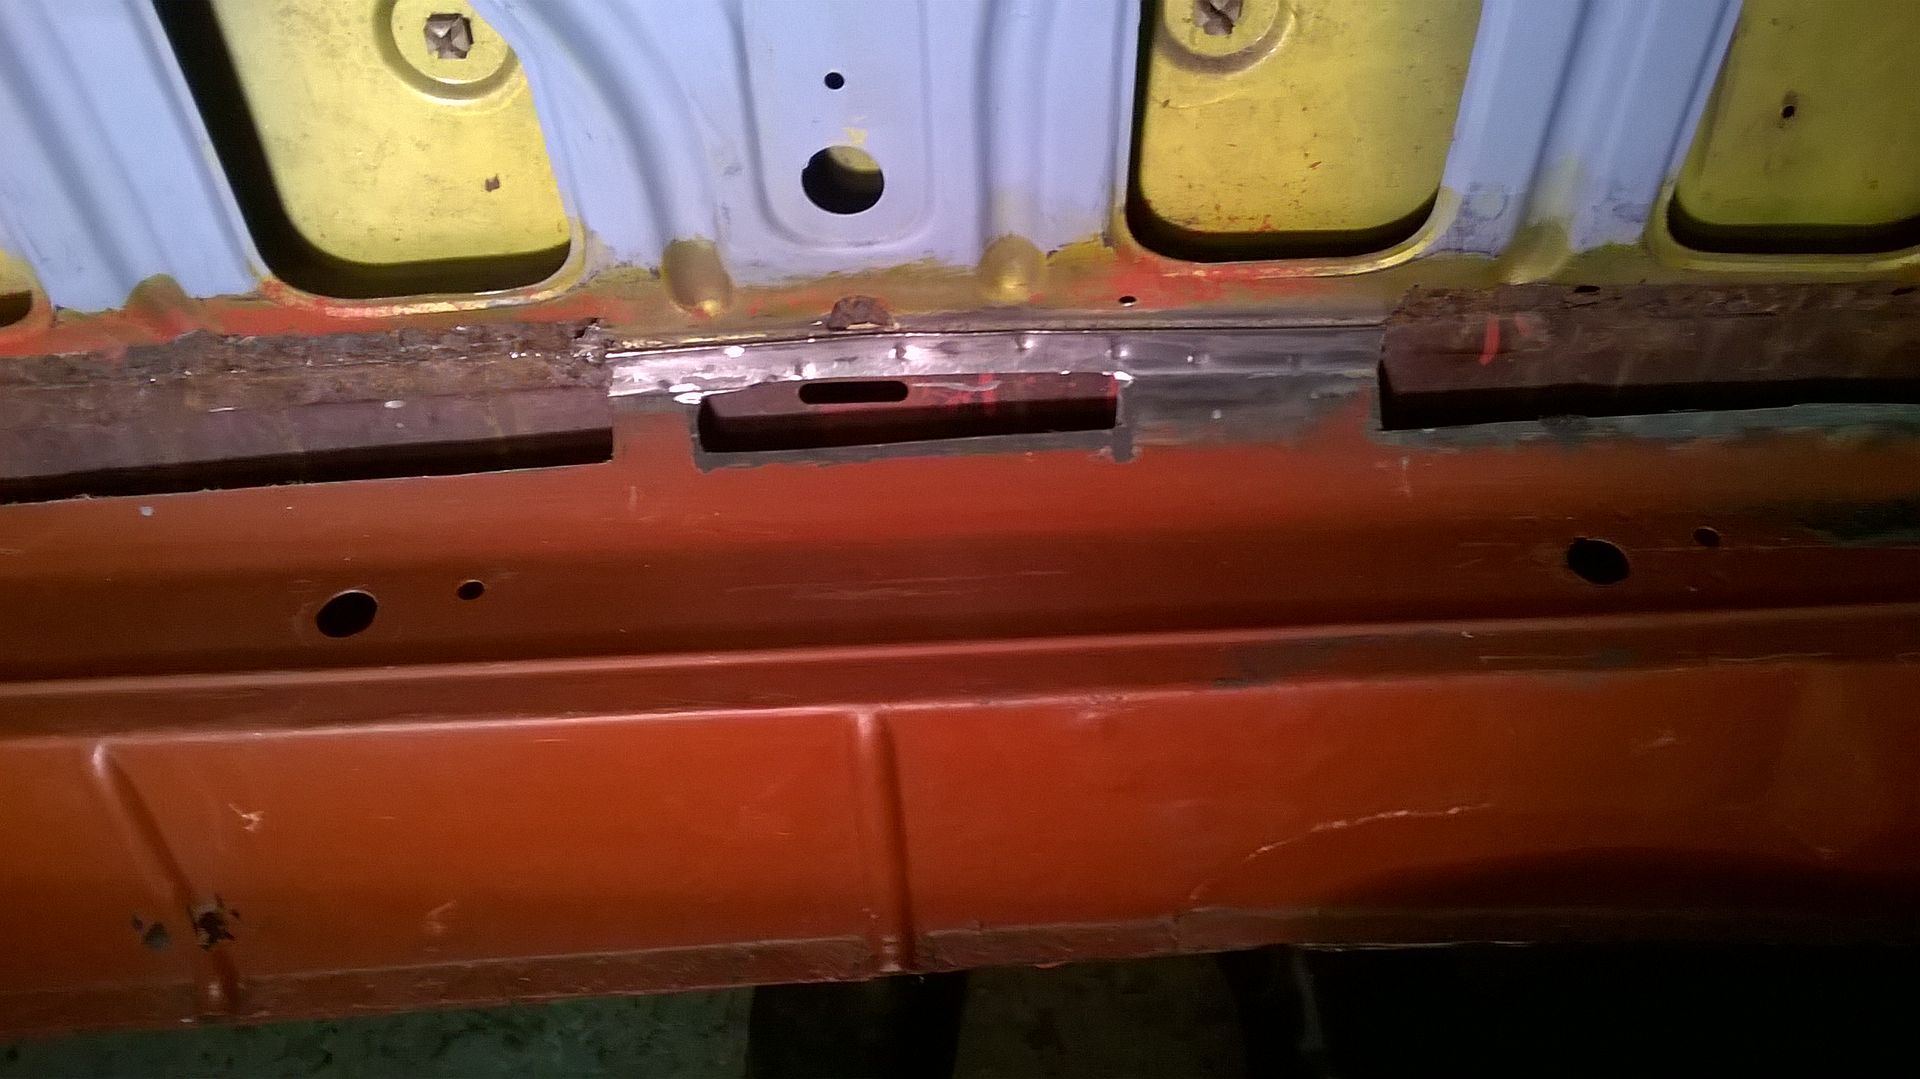
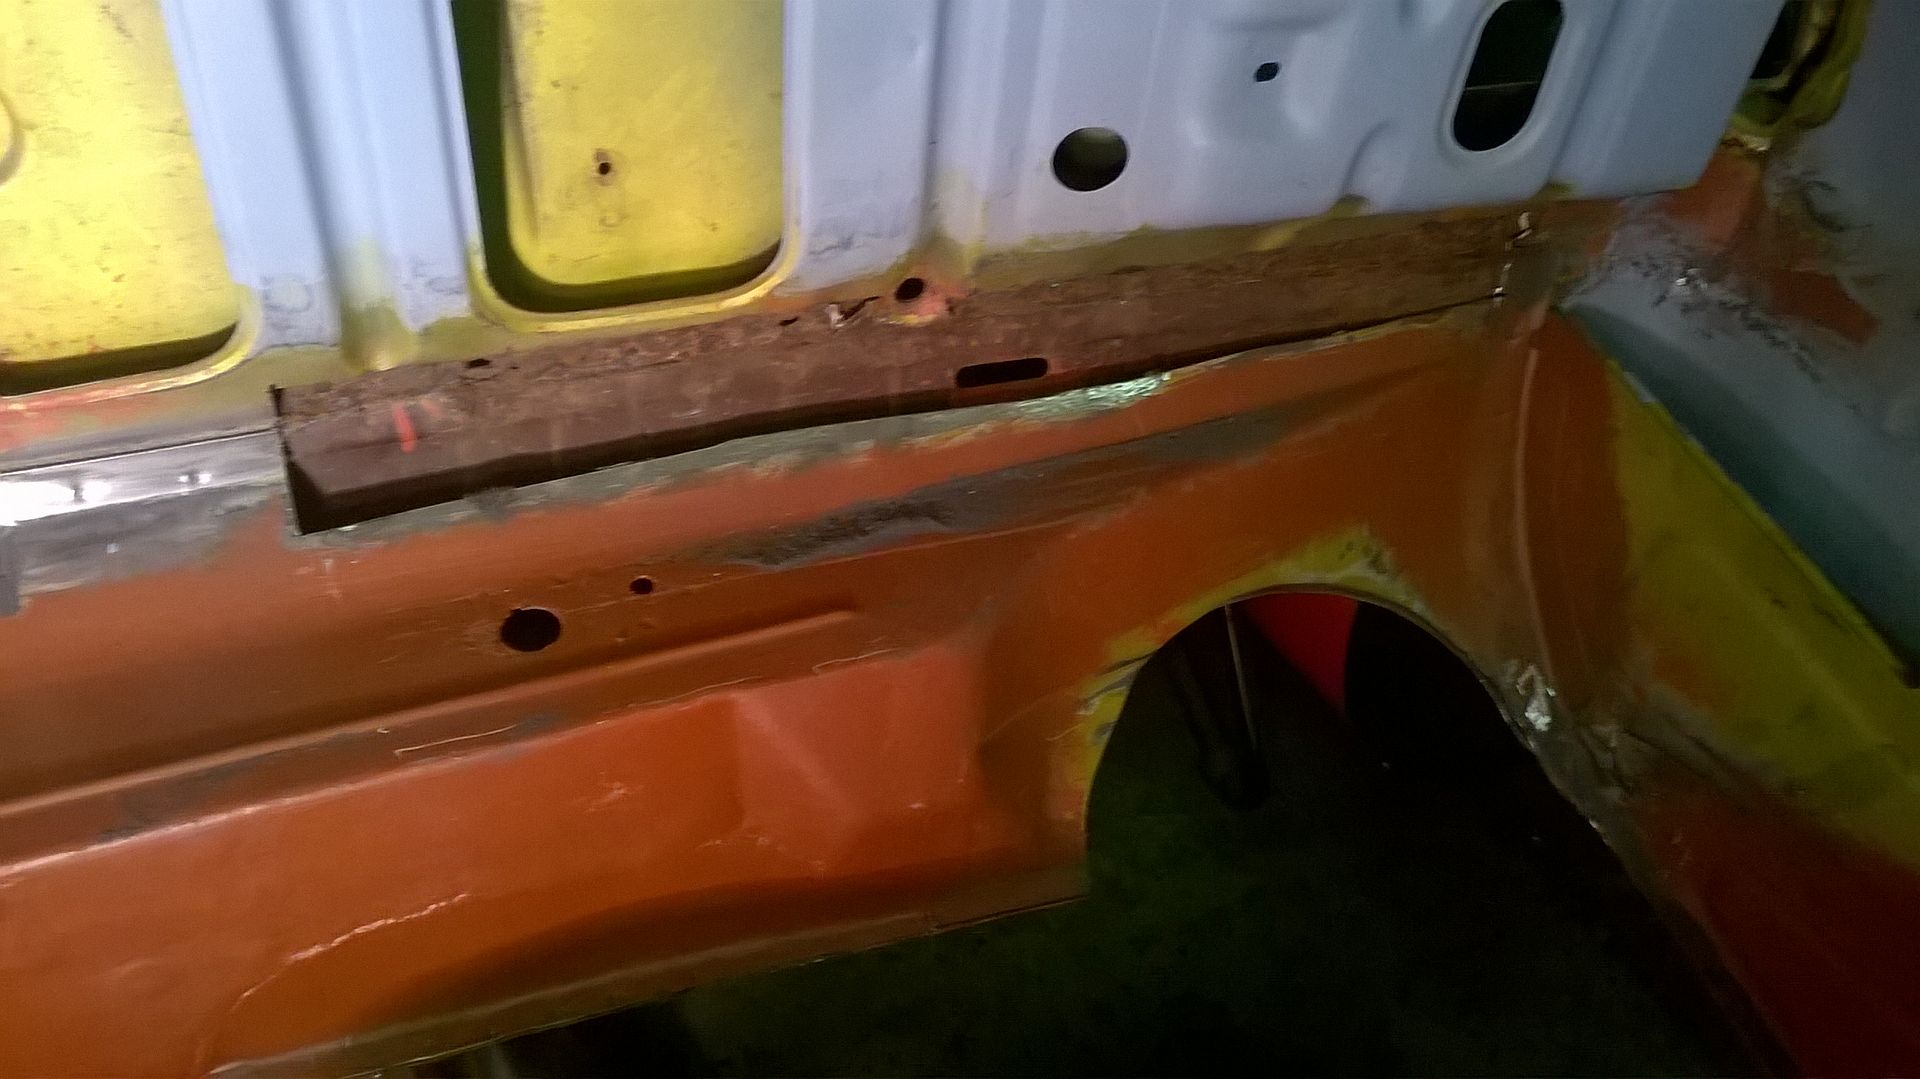
Err last of all - the eagle eyed amongst you will notice that I've done some other cutting to accept the rear silencer outlet but I have to join the two skins together so patch number 5
Annoyingly the silencer is too short and as I'm right on the borderline with the car noise wise on track days I'll throw a much bigger silencer in there and hopefully I'll make some noise testers happy (and for events with less noise restriction I'll make a straight pipe up to bolt in place)
This also means the Commodore is longer at the back and shorter at the front - I really do hope I've got the shell in the right place.........
Back of the boot where the boot floor joins the rear panel - is 3 or possibly 4 layers of steel sandwich and when I cleaned it up I had some pin holes
Now in my experience pin holes frequently mean much worse lies behind
So I cut a few squares out - and then those squares in the main got bigger - yeah maybe a bit more would need to come out - I think I cut out 8 holes before I thought about it - I'd previously done a pretty rubbish repair on my Monza in exactly the same area (hmm technically this means I'm doing it again) so I'd realised that the best way to do it would be to cut it all out and then see what was needed
To get this far has taken me all week (Have I mentioned that before?)
The drivers side tow point needed removal first - why? - Well I intend having a single central tow point - because Race Car........... And the other passenger side tow point - well that left the building with the boot floor and it wasn't coming back as I need to run the exhaust where the spare wheel well was.
So the Drivers side tow point that's a right little sandwich in itself and having ground off the fixings I pretty soon realised that it was a good job it was going as whilst the toe point itself was good it would have torn away the first time it was used

So I have a hole to fill - Patch number 1
So Drivers Side (Patch number 2 - technically it's two patches but as it's one hole I'm counting it as 1)

Middle (Patch number 3) This bit is actually really solid so it was just a pin hole or two

Passenger side (Patch number 4 - same rules as patch 2 apply)

So I need to re-make the inside edge of the rear panel so I kept a bit to act as a template (ish)

Yeah it was pretty frilly!!!
Err last of all - the eagle eyed amongst you will notice that I've done some other cutting to accept the rear silencer outlet but I have to join the two skins together so patch number 5
Annoyingly the silencer is too short and as I'm right on the borderline with the car noise wise on track days I'll throw a much bigger silencer in there and hopefully I'll make some noise testers happy (and for events with less noise restriction I'll make a straight pipe up to bolt in place)
This also means the Commodore is longer at the back and shorter at the front - I really do hope I've got the shell in the right place.........
perdu said:
Finished any of the patching yet?
(Yes I'm still lurking and enjoying this)
Been a few late nights at work getting in the way - then at the weekend I found the wind had tore all the gutter brackets out of the wall and the shower pump decided to shat itself......(Yes I'm still lurking and enjoying this)
So I've been making bugger all progress....
Gassing Station | East Anglia | Top of Page | What's New | My Stuff