Plasma cutters - easy to go to far
Discussion


perdu said:

Rather pleased to hear that Norfolk folk still take mountain rescue seriously Ian
Power to your collective elbows sir
And it's a nice pub with lovely barmaids who tolerate our "meetings and tactical discussions"

perdu said:
That job on Lara the Midget seemed less difficult then than it might now
Which is why I'm enjoying your saga so much I think
(I wish I still had the muscle agility to do all that stuff, old age sucks. Big, NO massive, time)
I'm now the wrong side of 50 and a couple of years back I was physically struggling a lot with working on a car (it "green thing" has somewhat frustrated me for a while and it's a love hate relationship) - more I struggled less I got done and the more frustrated I got and the less inclined I was to even try - I decided to just get stuck in and keep going until it was done and it started getting easier - more I did the easier it got.Which is why I'm enjoying your saga so much I think
(I wish I still had the muscle agility to do all that stuff, old age sucks. Big, NO massive, time)
I felt I had one more left in me and this was it......... When it's done I'd going to start the next last one in me..... And when that's done......
Oh it still hurts sometimes getting up off the floor but anything you do to make it so you don't have to be on the floor helps a heck of a lot but I realised that by doing less and less because it hurt it was hurting more whatever I did.....
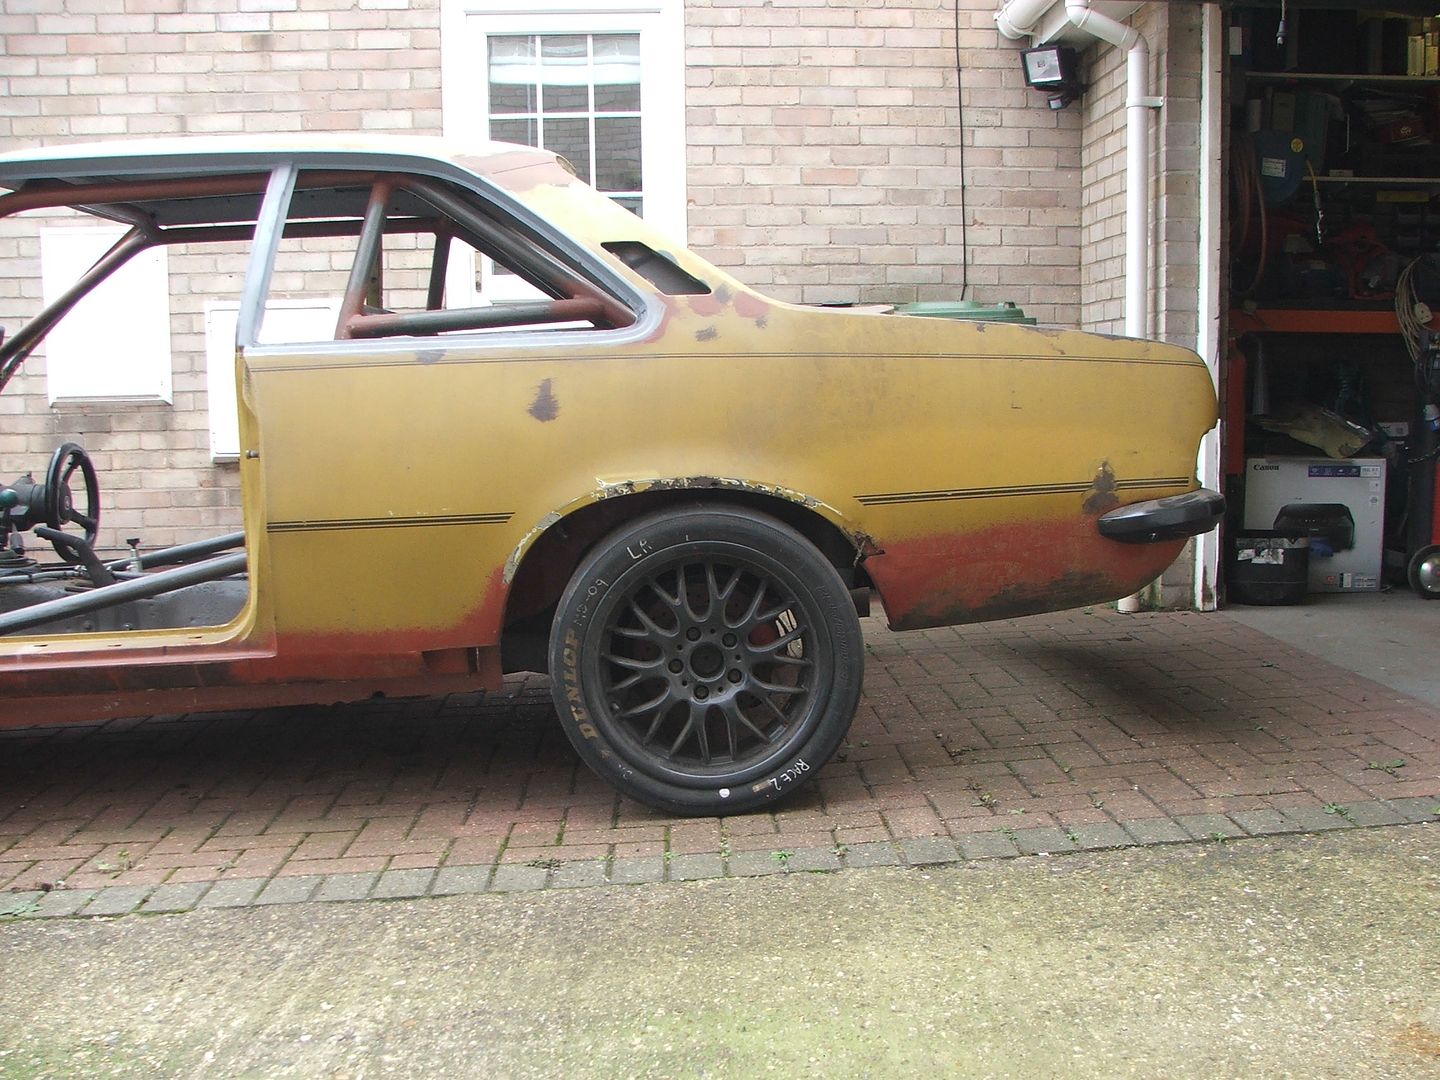
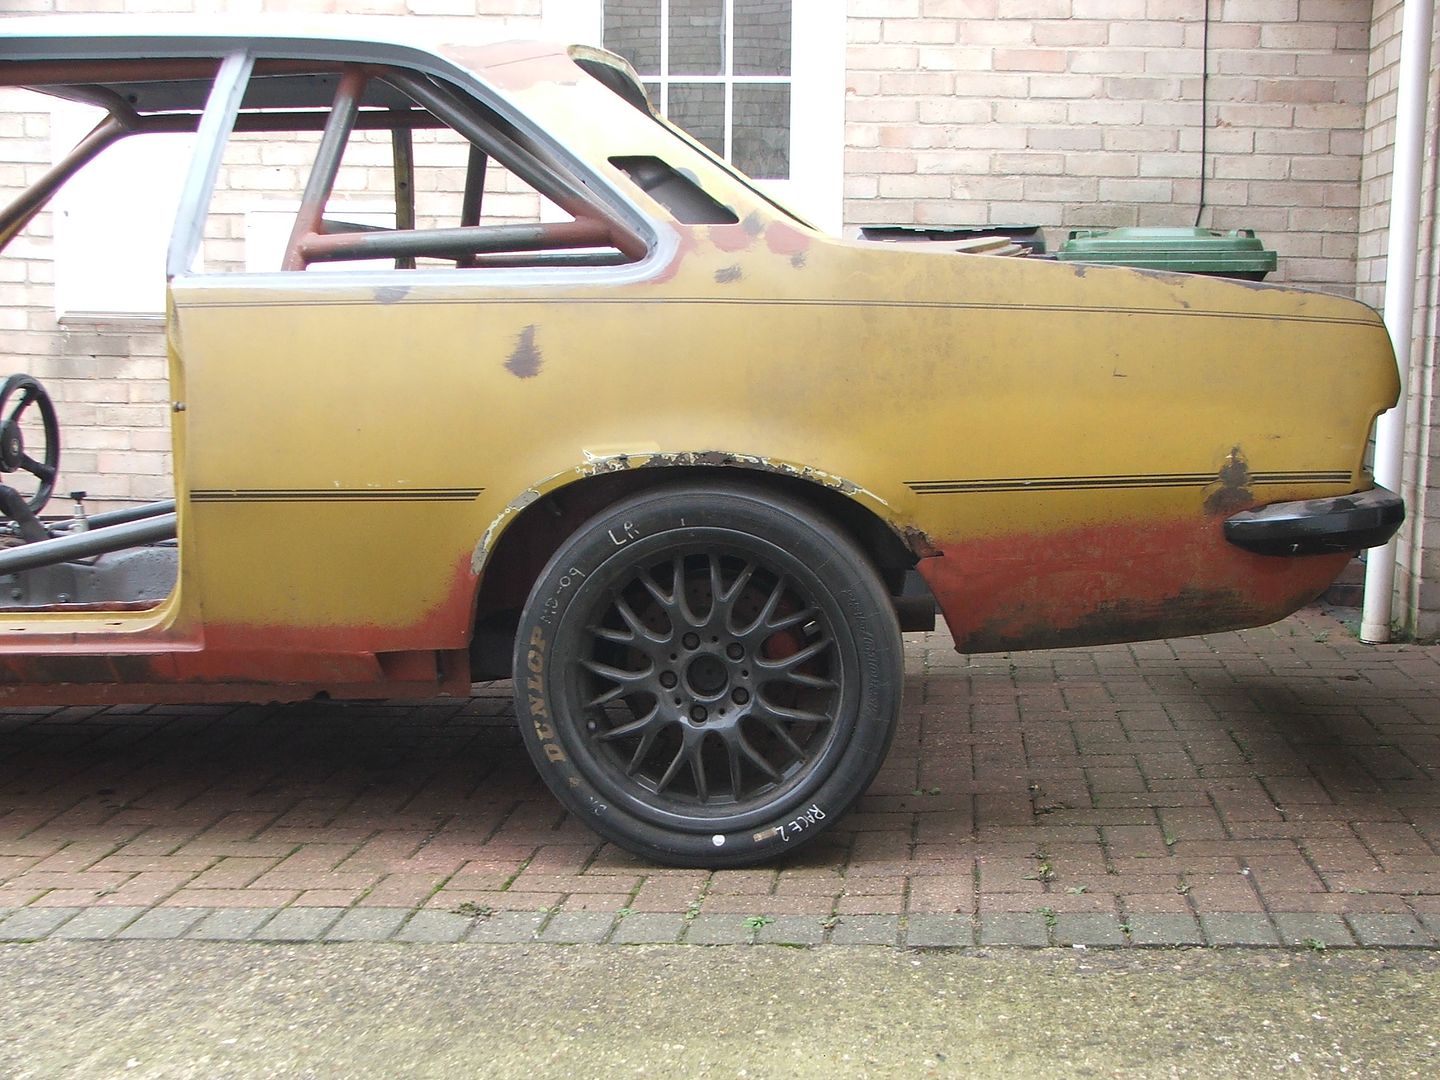
Well a bit more progress some highs and lows....... Oh and tonight's update is brought to you by the majority portrait government and has a further 4 years in office (bloody phone cameras)
So got an early start in the garage - Mrs BC was getting her hair done - no I couldn't notice the difference - yes she did ask (she does every time) and I'll never understand why this response is wrong - after all I cut a bit of steel out of a car I don't ask her if it looks better!!!
Sorry I wandered off topic back to the proper subject
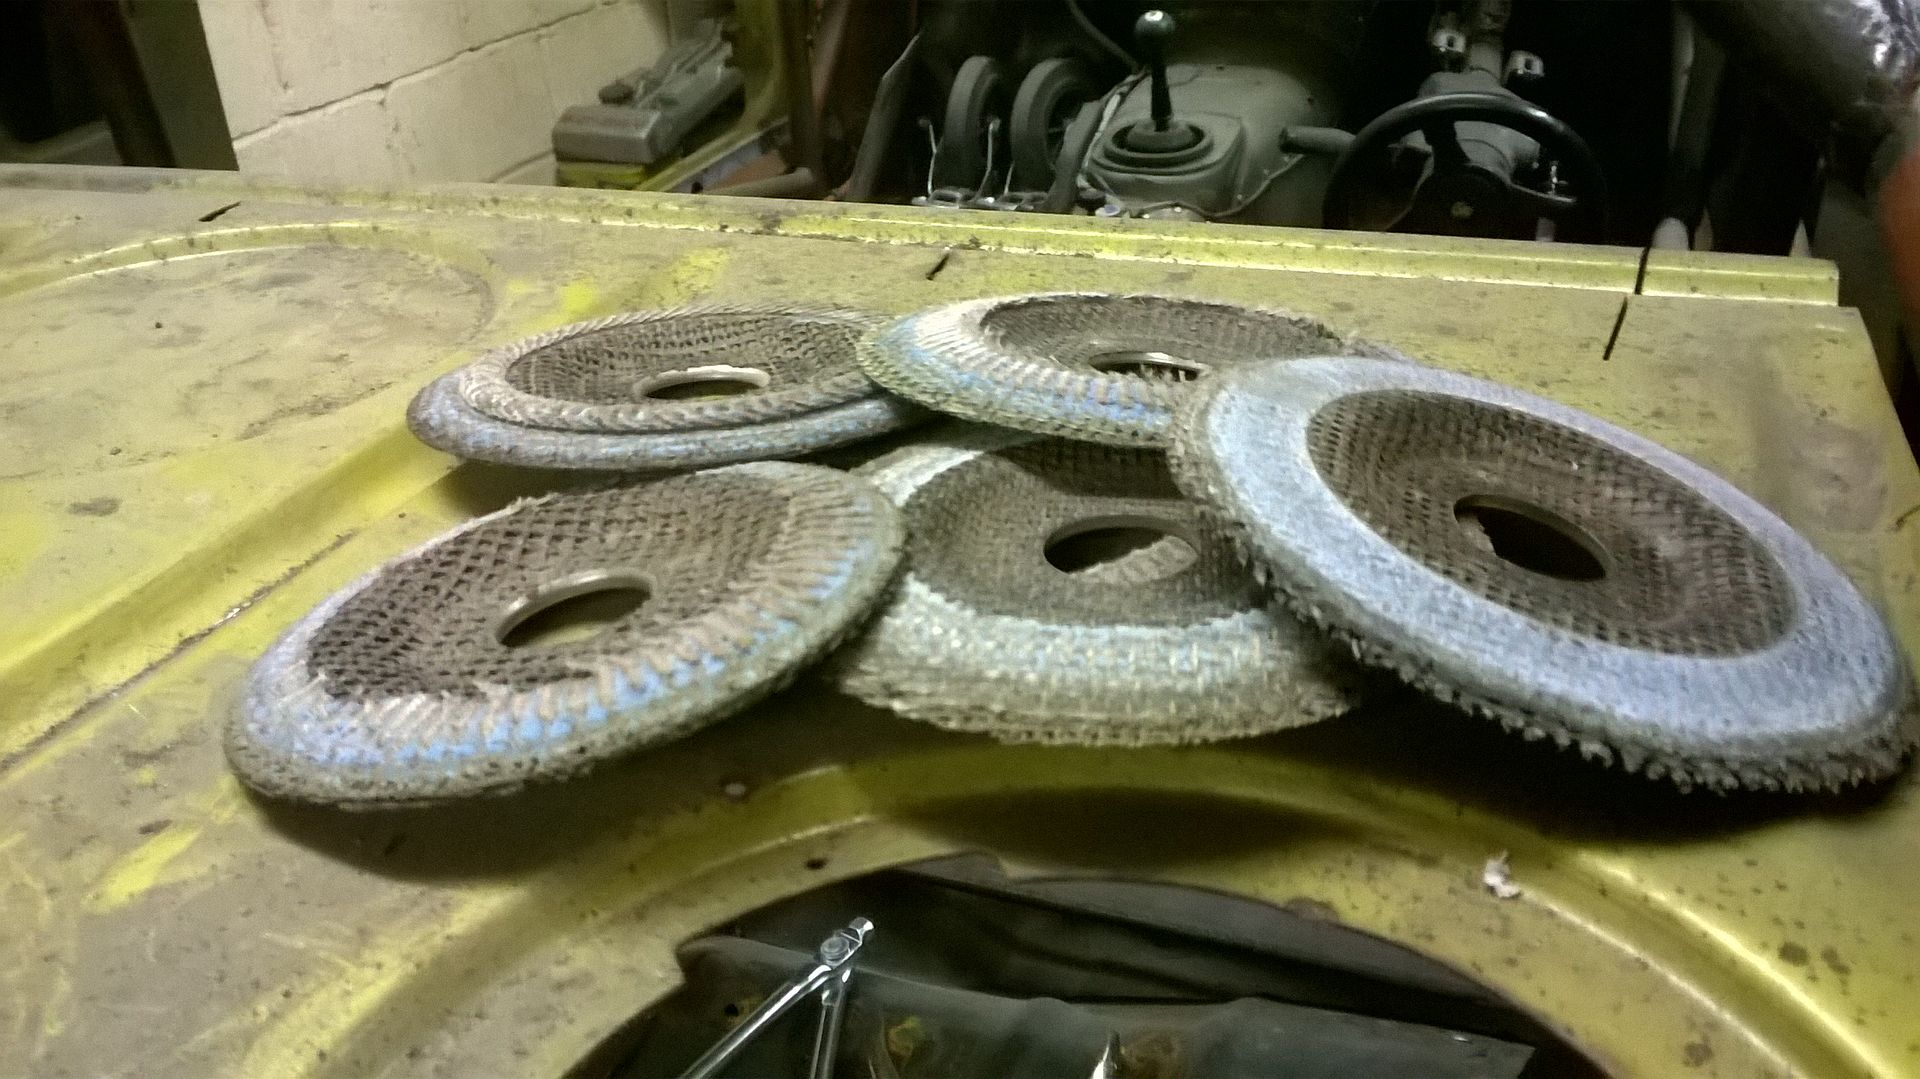
I cleaned up the boot floor edges
I do like to feel I got my money's worth out of flap discs
Then I fired up the plasma cutter and got rid of some small bits that were stopping movement
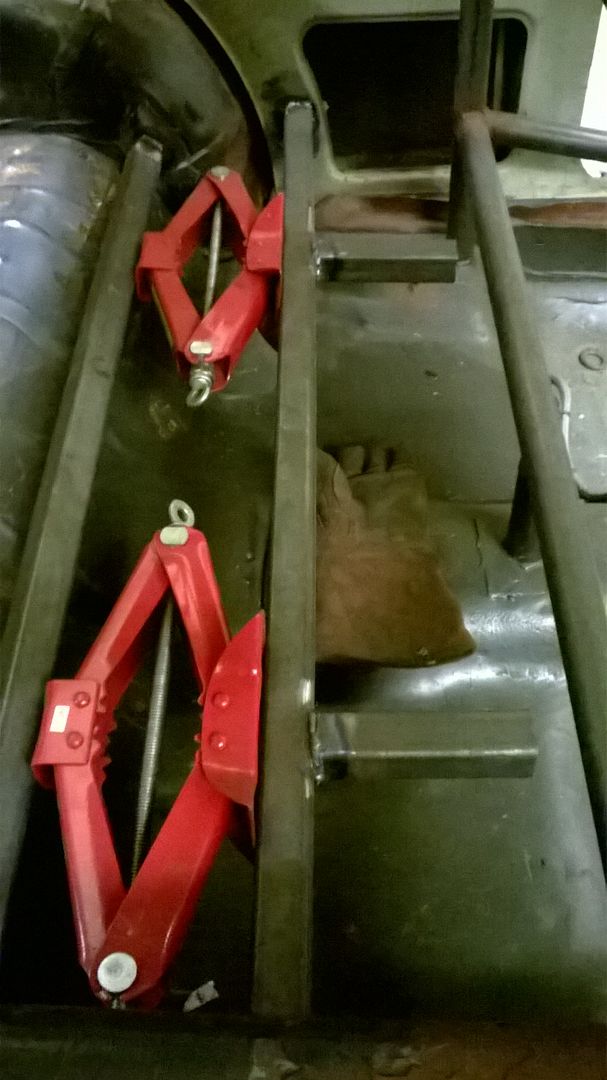
Then I cut a bit of box section and welded it in so I could use the scissor jacks in a different direction
Windy windy

Carpier picture but you get the idea
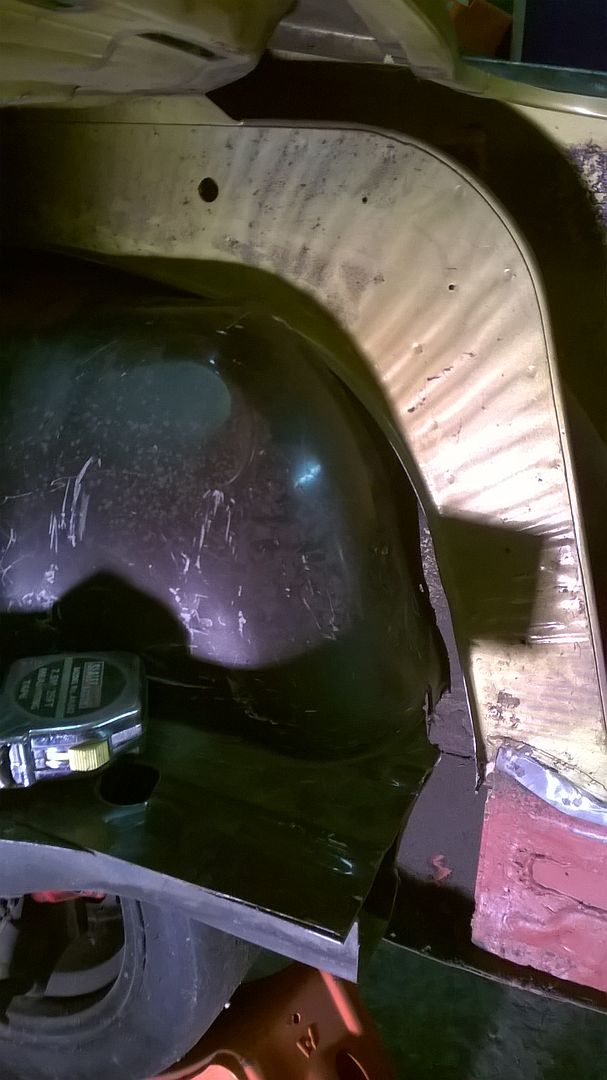
Now we are cooking with gas or maybe not - front of the rear wheel arch
Another carpy picture
Much better however I was concerned by the increasing gap at the front (there is a very good reason for this)
Tried on a wing to see how the front wheel sits in the arch
Err needs hitting with a big tree not a stick and I need wider alloys not fibreglass arches.......
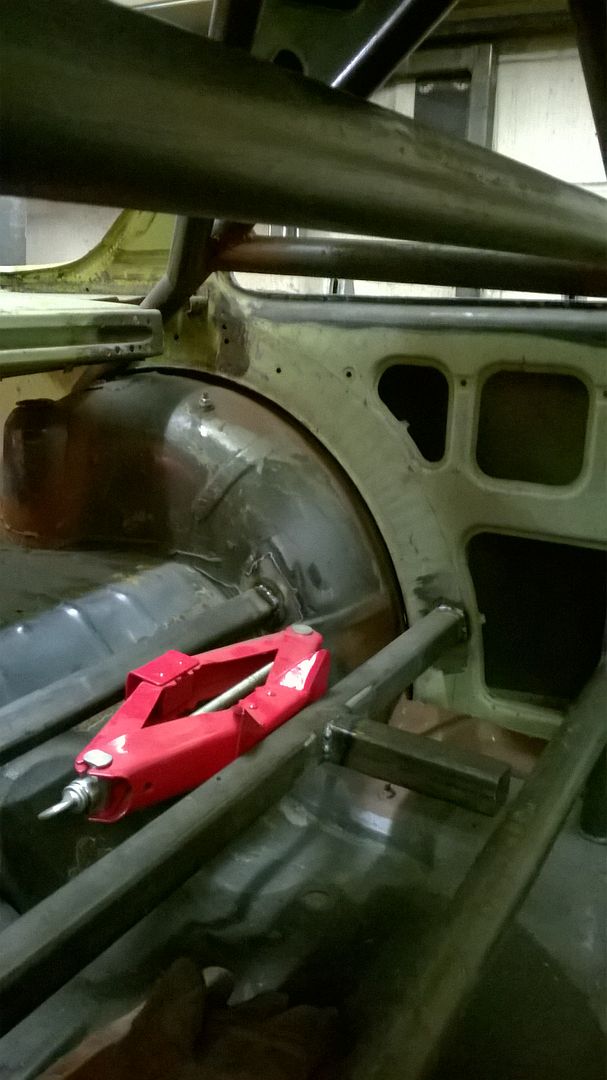
Bulk head end - the picture becoming clearer
Really clear
The joint needs to be 2 inches lower!!! The Shell is too high at the front by 2 inches and if i can get it down it'll close the wheel arch gap bring the shell lower at the bulkhead and make the two sills run in parallel and maybe if I'm really lucky I can fit the dash in behind the front of the cage - cos right now it doesn't
So got an early start in the garage - Mrs BC was getting her hair done - no I couldn't notice the difference - yes she did ask (she does every time) and I'll never understand why this response is wrong - after all I cut a bit of steel out of a car I don't ask her if it looks better!!!
Sorry I wandered off topic back to the proper subject
I cleaned up the boot floor edges
I do like to feel I got my money's worth out of flap discs

Then I fired up the plasma cutter and got rid of some small bits that were stopping movement
Then I cut a bit of box section and welded it in so I could use the scissor jacks in a different direction

Windy windy

Carpier picture but you get the idea

Now we are cooking with gas or maybe not - front of the rear wheel arch

Another carpy picture

Much better however I was concerned by the increasing gap at the front (there is a very good reason for this)
Tried on a wing to see how the front wheel sits in the arch

Err needs hitting with a big tree not a stick and I need wider alloys not fibreglass arches.......
Bulk head end - the picture becoming clearer

Really clear

The joint needs to be 2 inches lower!!! The Shell is too high at the front by 2 inches and if i can get it down it'll close the wheel arch gap bring the shell lower at the bulkhead and make the two sills run in parallel and maybe if I'm really lucky I can fit the dash in behind the front of the cage - cos right now it doesn't
perdu said:
Are you still going to have enough turret top clearance once you drop the front?
Oh yes plenty of clearance thereperdu said:
If you are its looking good for 'a body on a chassis' situation some time very soon
It's getting closer - just not quite sure best way to resolve my current problem but I'm still thinking.I shall have another look at it tonight with a glass of wine - that way I won't be cutting anything till sat
Well rolling it out of the garage gave me the chance to see properly
Shell is too far forward
And as I already new not down enough at the front

Bonnet laid on to look a shuts
So push the shell back a bit and look at it again
It has dropped which is nice but it's still too high - I have plenty of clearance under the bonnet mind!!!
Shell is too far forward


And as I already new not down enough at the front

Bonnet laid on to look a shuts

So push the shell back a bit and look at it again


It has dropped which is nice but it's still too high - I have plenty of clearance under the bonnet mind!!!


I have a mixture of frustration and excitment
- The front end came down when the shell went back about 5mm
It stopped when it hit the top of the pedal box
- I removed the top section of the pedal box (need to fab something to replace that but right now it's not a priority)
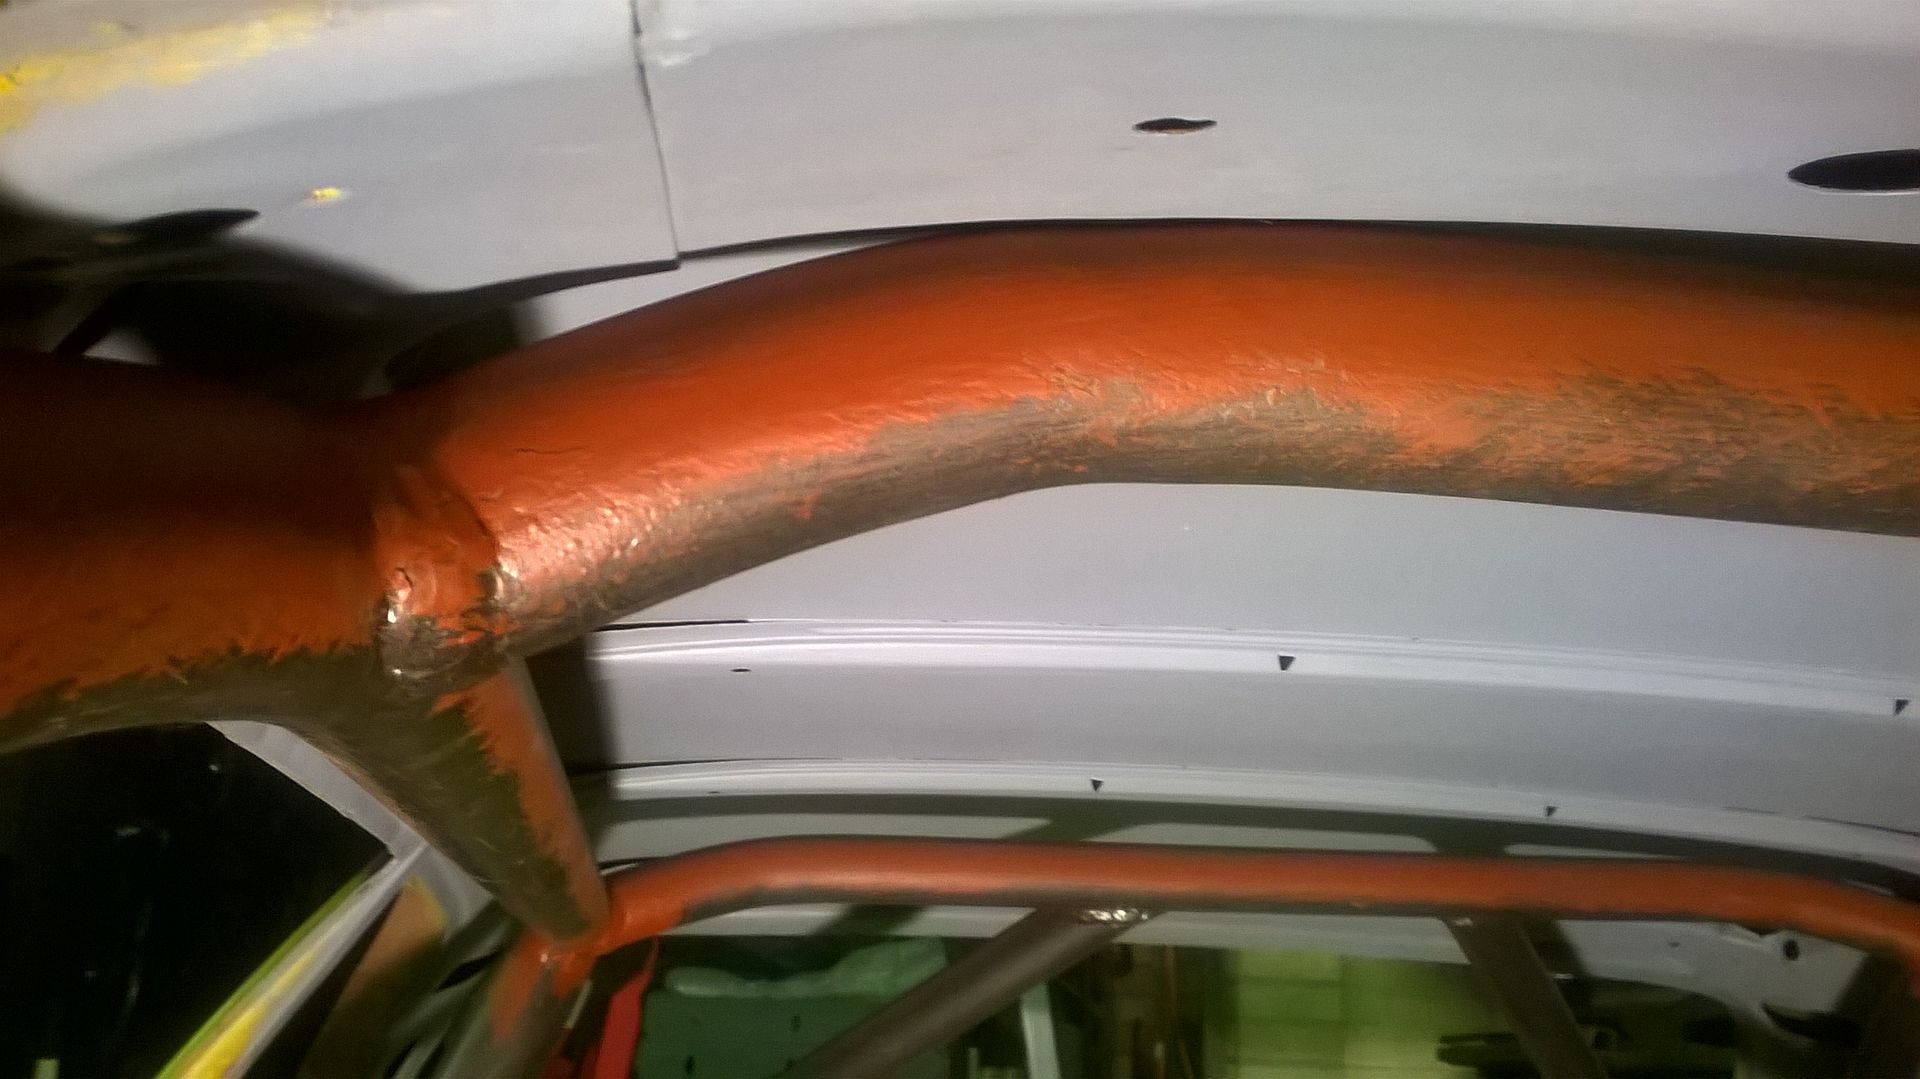
It dropped another 10mm but stopped when it hit the roll bar at the front of the cage
It's the one going from one side to the other in this picture
As you can see it has a cranked profile up across and down again - replacing this with a straight bar will allow maybe 20mm further drop but at that point the pedal box will once again come and spoil the party - I can fix that by recessing the scuttle to accomodate further drop) but once that's done I am really stuffed for any further drop.
The two sills are getting closer alignment wise (I think it's better than this right now but I haven't taken a recent picture - will do that later)
but I'm beginning to think that my original target point of the bottom of the two sills being aligned is both unrealistic and unachievable.....
- The front end came down when the shell went back about 5mm
It stopped when it hit the top of the pedal box
- I removed the top section of the pedal box (need to fab something to replace that but right now it's not a priority)
It dropped another 10mm but stopped when it hit the roll bar at the front of the cage
It's the one going from one side to the other in this picture

As you can see it has a cranked profile up across and down again - replacing this with a straight bar will allow maybe 20mm further drop but at that point the pedal box will once again come and spoil the party - I can fix that by recessing the scuttle to accomodate further drop) but once that's done I am really stuffed for any further drop.
The two sills are getting closer alignment wise (I think it's better than this right now but I haven't taken a recent picture - will do that later)
but I'm beginning to think that my original target point of the bottom of the two sills being aligned is both unrealistic and unachievable.....
perdu said:
Could you take the cross bar further forward, maybe just before the bend instead of after
Further investigation - measurement has revealed if I make the front cross bar straight it just means the bend at the top (windscreen/roof) will his the roof very shortly after - so I've abandoned that idea as a lot of effort for no gainperdu said:
And if you need the clearance maybe flatten the rear cross tube too
Got lots of clearance above that one - the Monza had quite a slope on the roof line to blend with the very large rear hatch to that cross brace isn't causing me any issuesperdu said:
Looking at this you arent far off your ideal goal attitude
I'm pretty closeperdu said:
Level sills looks achievable to me
Level but not quite where I would have liked them but hey ho - it's not like I planned every aspect of this projectperdu said:
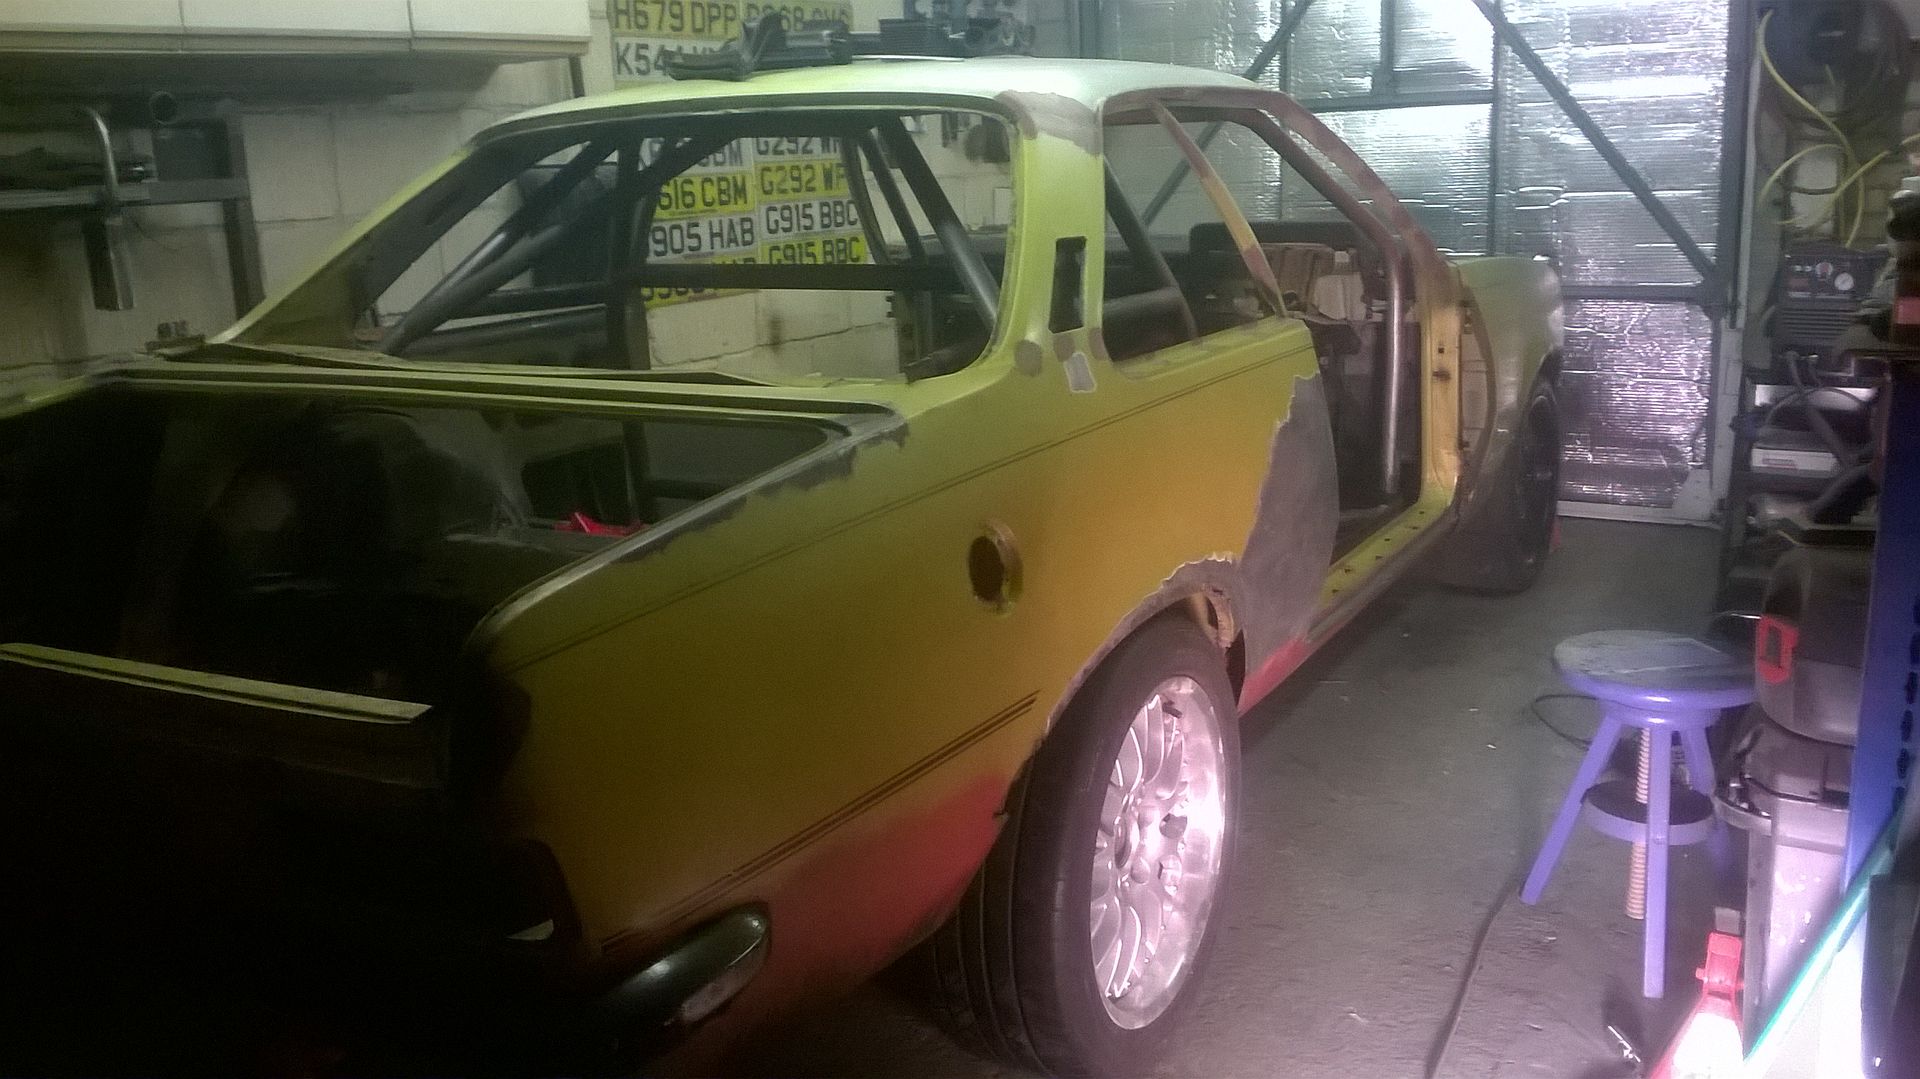
(Looking rather tasty with the front panel onboard)
Made me smile when I'd got it on - looks like a proper car againIn other news
Well digging in my spares pile I had a Carlton Sill (well a section of one) still easily sourced (Albeit from Germany cos that's where you have to get most bits for what are actually Opels badged as Vauxhalls)
A quick bit of measuring up and it looks like the commodore middle sill fold will sit nicely with the flat section on the outer sill and they are long enough and also correctly shaped at the front wing end. Not really sure why I didn't think of looking at that before......
So for the rest of the evening I've been chopping
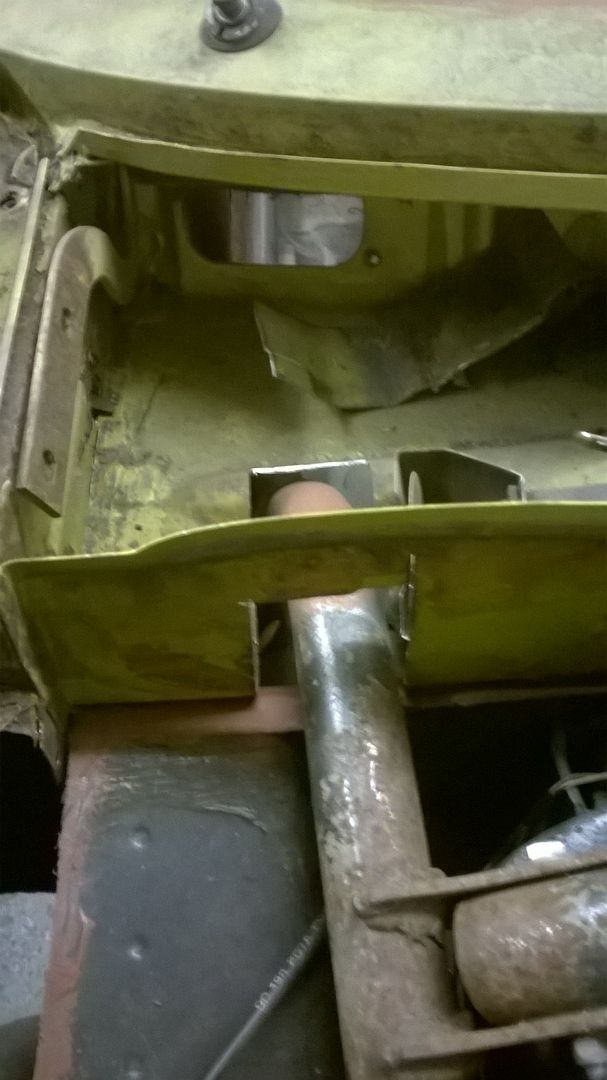
Front section of the scuttle removed - makes access nice and easy to stich the fire wall to the bottom of the scuttle

Pedal box has had some more chopping
Still a few mill left however I have lost the Monza uppper fixing so I could have a lot of unwanted pedal box movement if I left it like that
Luckily the Commodore Pedal box whilst smaller and more boxy uses two fixings on the scuttle

So I can remake the top of the pedal box and fix thro those instead
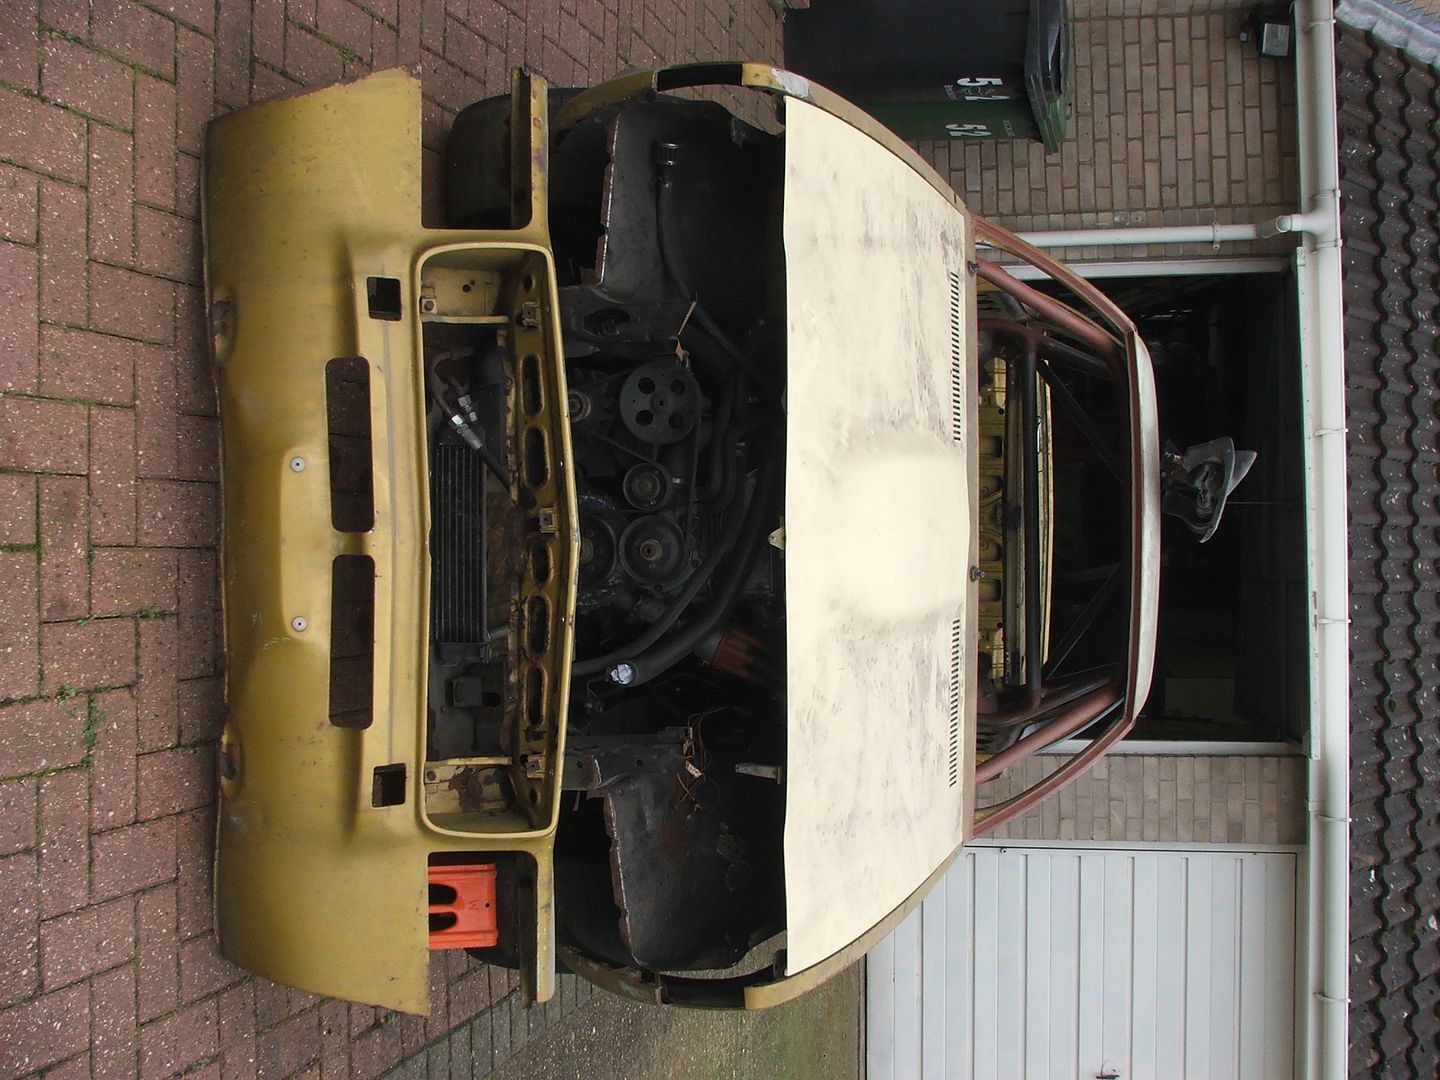
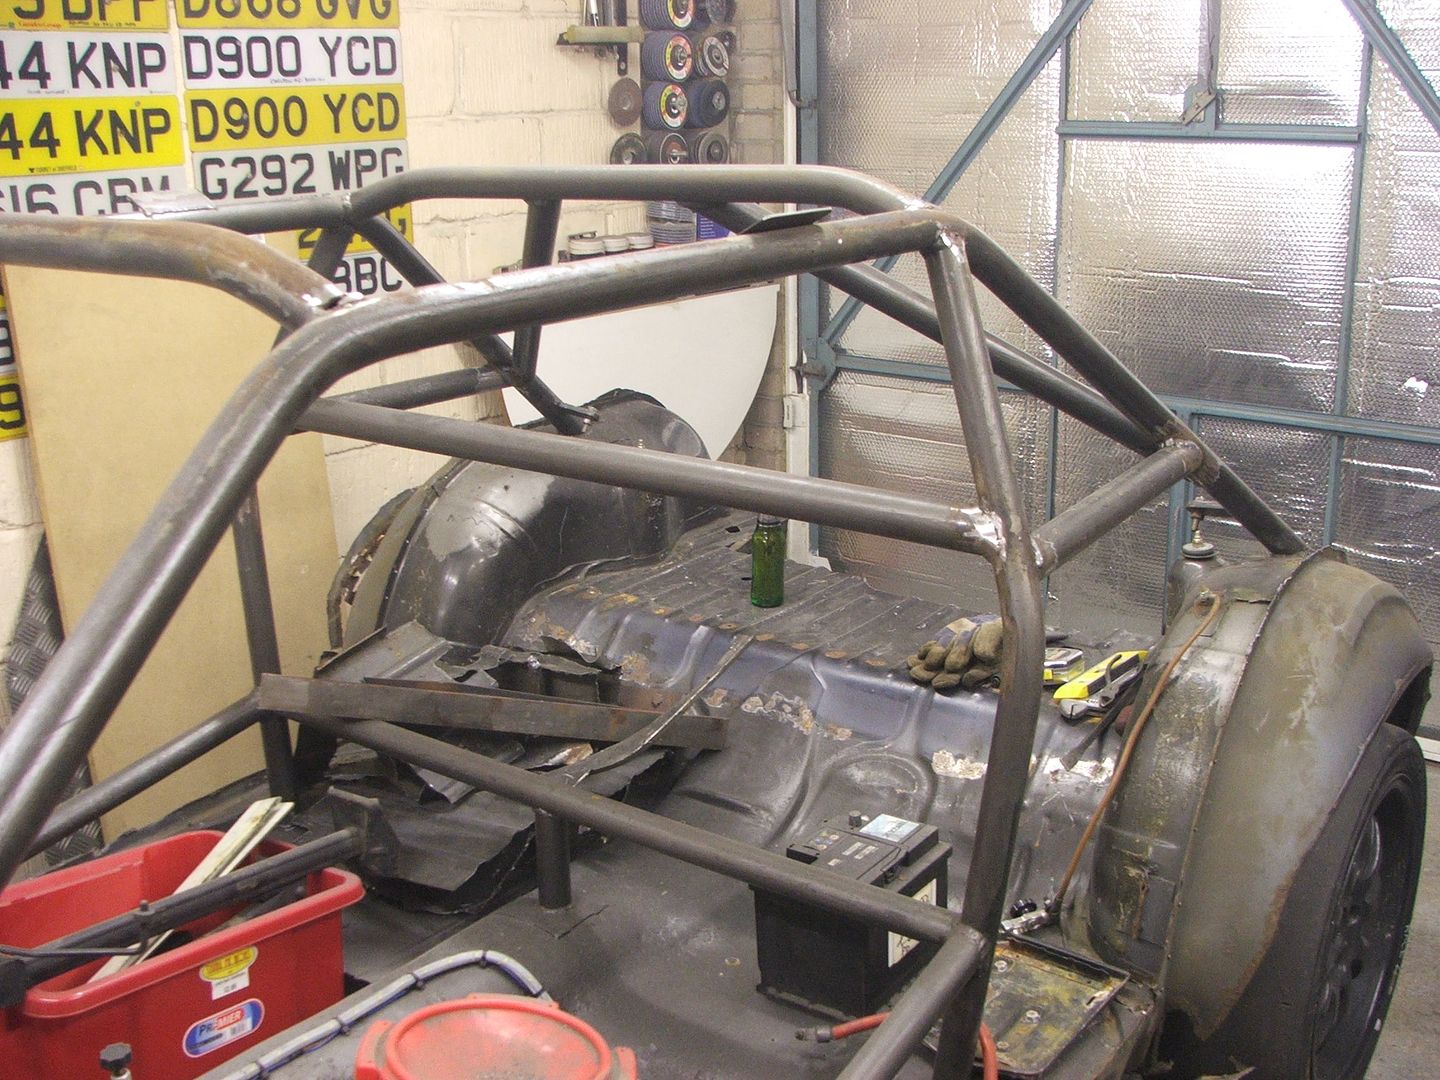
Anyway all that chopping means the front of the roll cage - bar at the top of the windscreen is now arguing with the roof so it's a low as it can go (well actually not quite but I'll cover that in a bit)
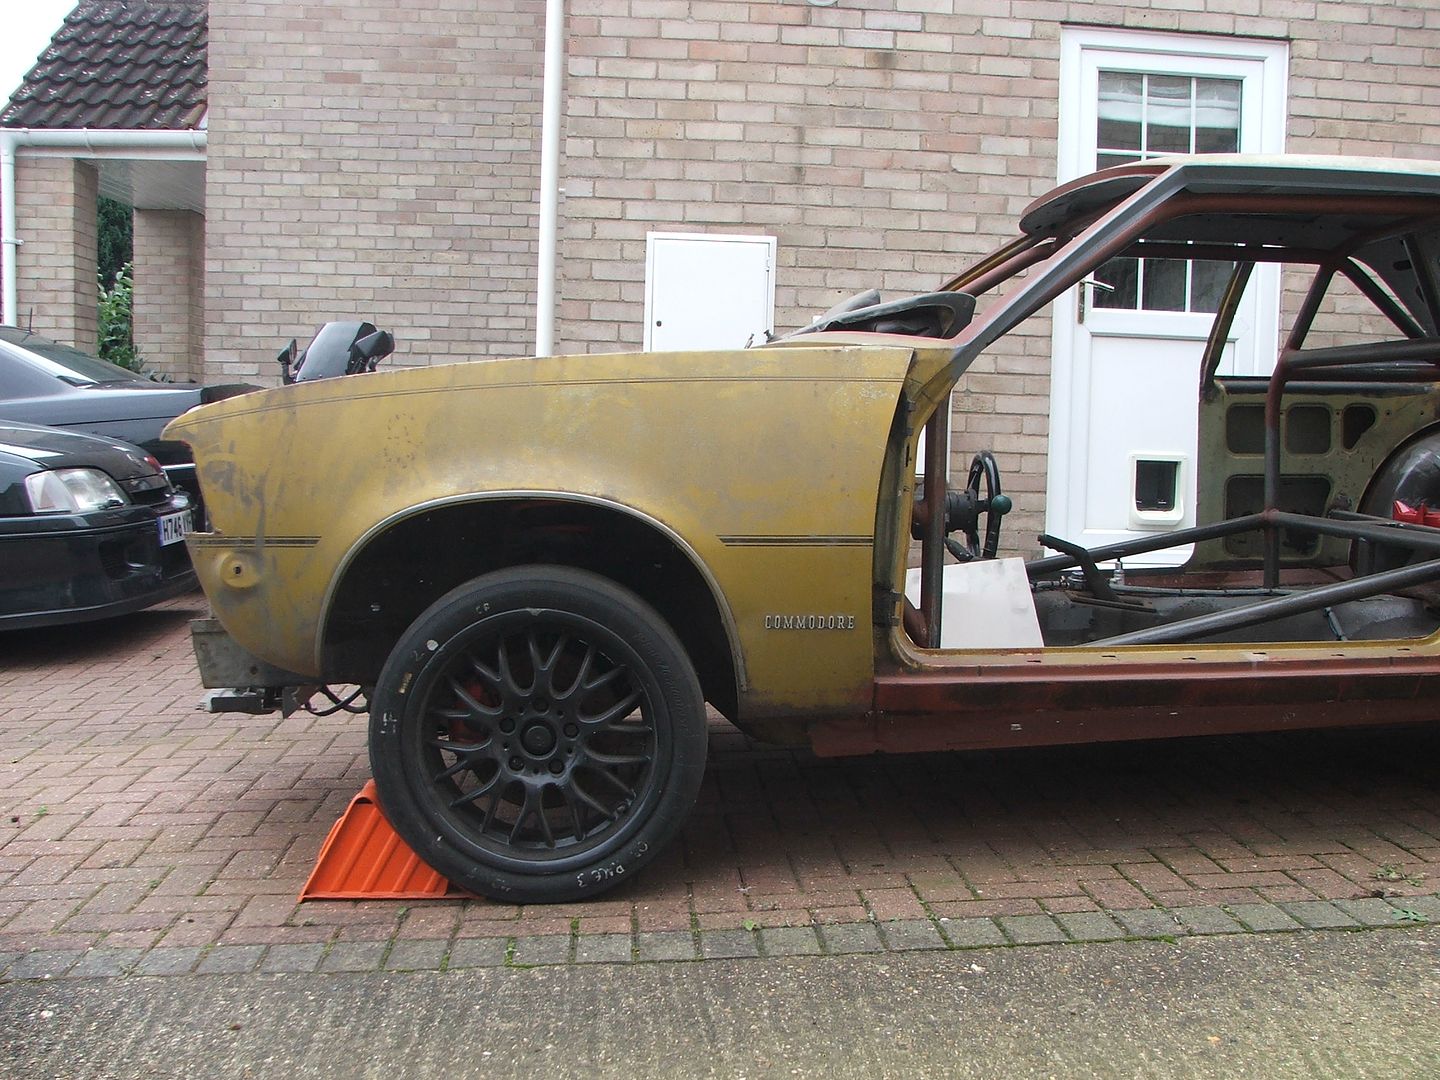
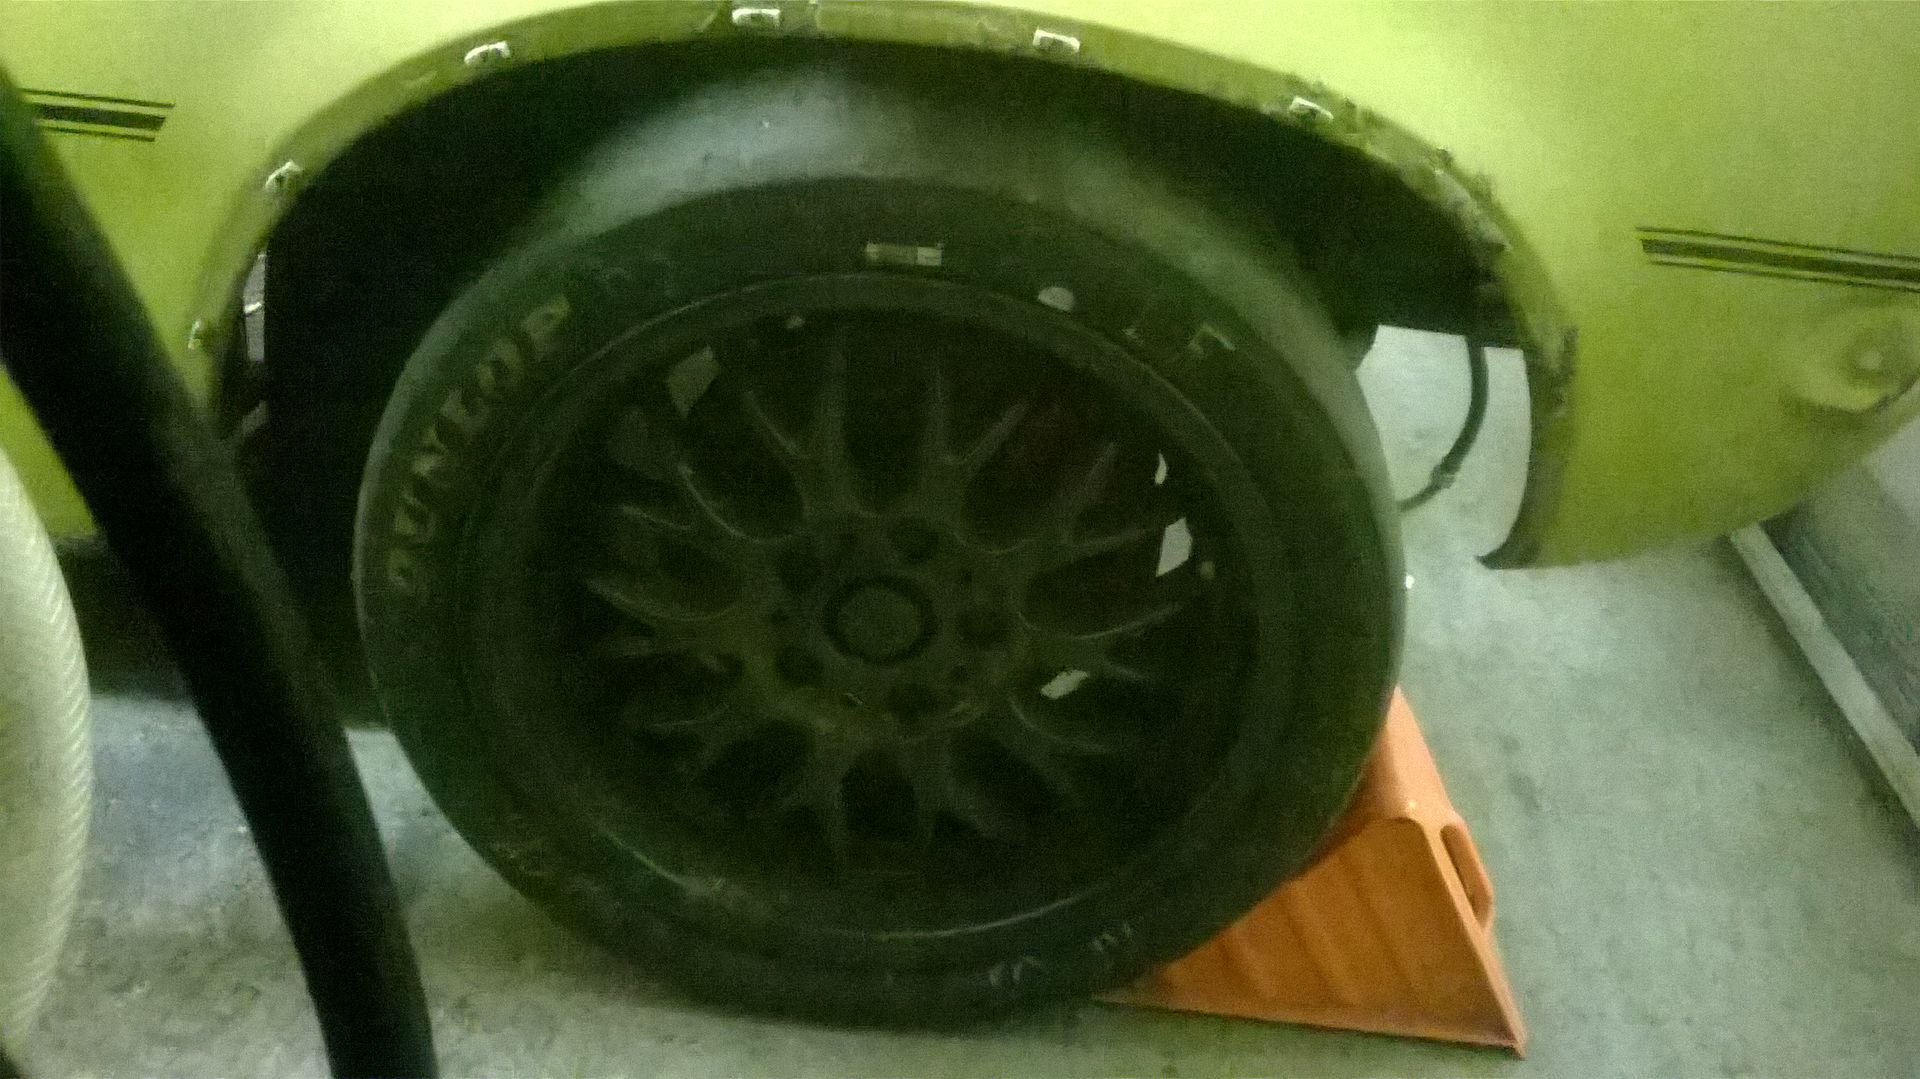
So to stop myself leaping in with the welder (and because I'd reached my noise curfew time I dragged one of 5 wheels (destined for this project) down from the loft and spent a pleasant few mins fitting the one wheel that still had a slightly oversize tyre.....
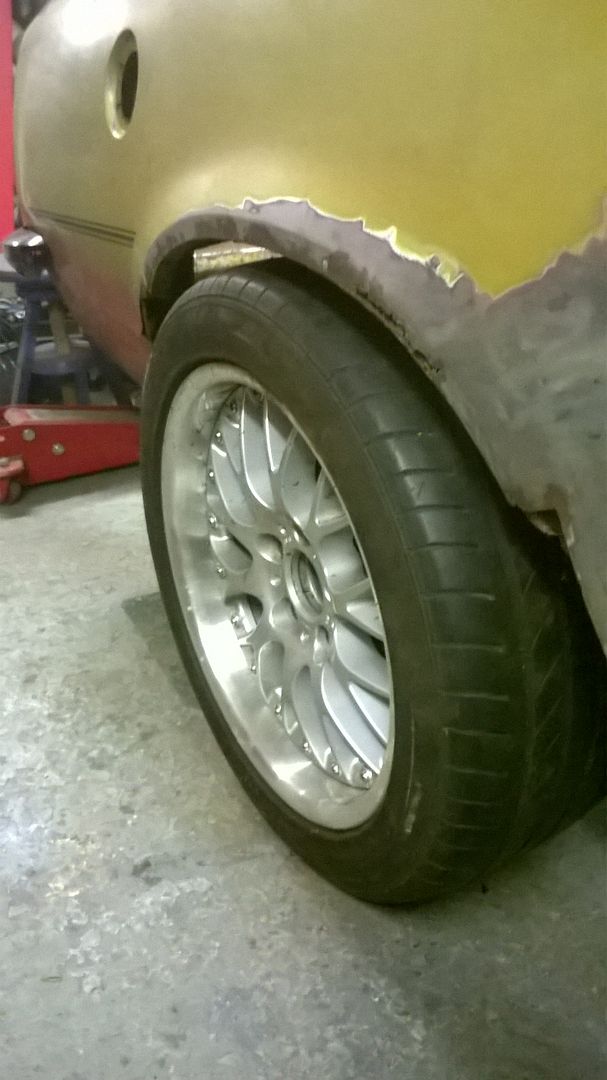
Yep I really do need arches on the rear - not silly large - just narrow box arches pit pictures of up earlier in the thread
Well digging in my spares pile I had a Carlton Sill (well a section of one) still easily sourced (Albeit from Germany cos that's where you have to get most bits for what are actually Opels badged as Vauxhalls)

A quick bit of measuring up and it looks like the commodore middle sill fold will sit nicely with the flat section on the outer sill and they are long enough and also correctly shaped at the front wing end. Not really sure why I didn't think of looking at that before......
So for the rest of the evening I've been chopping
Front section of the scuttle removed - makes access nice and easy to stich the fire wall to the bottom of the scuttle

Pedal box has had some more chopping

Still a few mill left however I have lost the Monza uppper fixing so I could have a lot of unwanted pedal box movement if I left it like that
Luckily the Commodore Pedal box whilst smaller and more boxy uses two fixings on the scuttle

So I can remake the top of the pedal box and fix thro those instead
Anyway all that chopping means the front of the roll cage - bar at the top of the windscreen is now arguing with the roof so it's a low as it can go (well actually not quite but I'll cover that in a bit)
So to stop myself leaping in with the welder (and because I'd reached my noise curfew time I dragged one of 5 wheels (destined for this project) down from the loft and spent a pleasant few mins fitting the one wheel that still had a slightly oversize tyre.....

Yep I really do need arches on the rear - not silly large - just narrow box arches pit pictures of up earlier in the thread
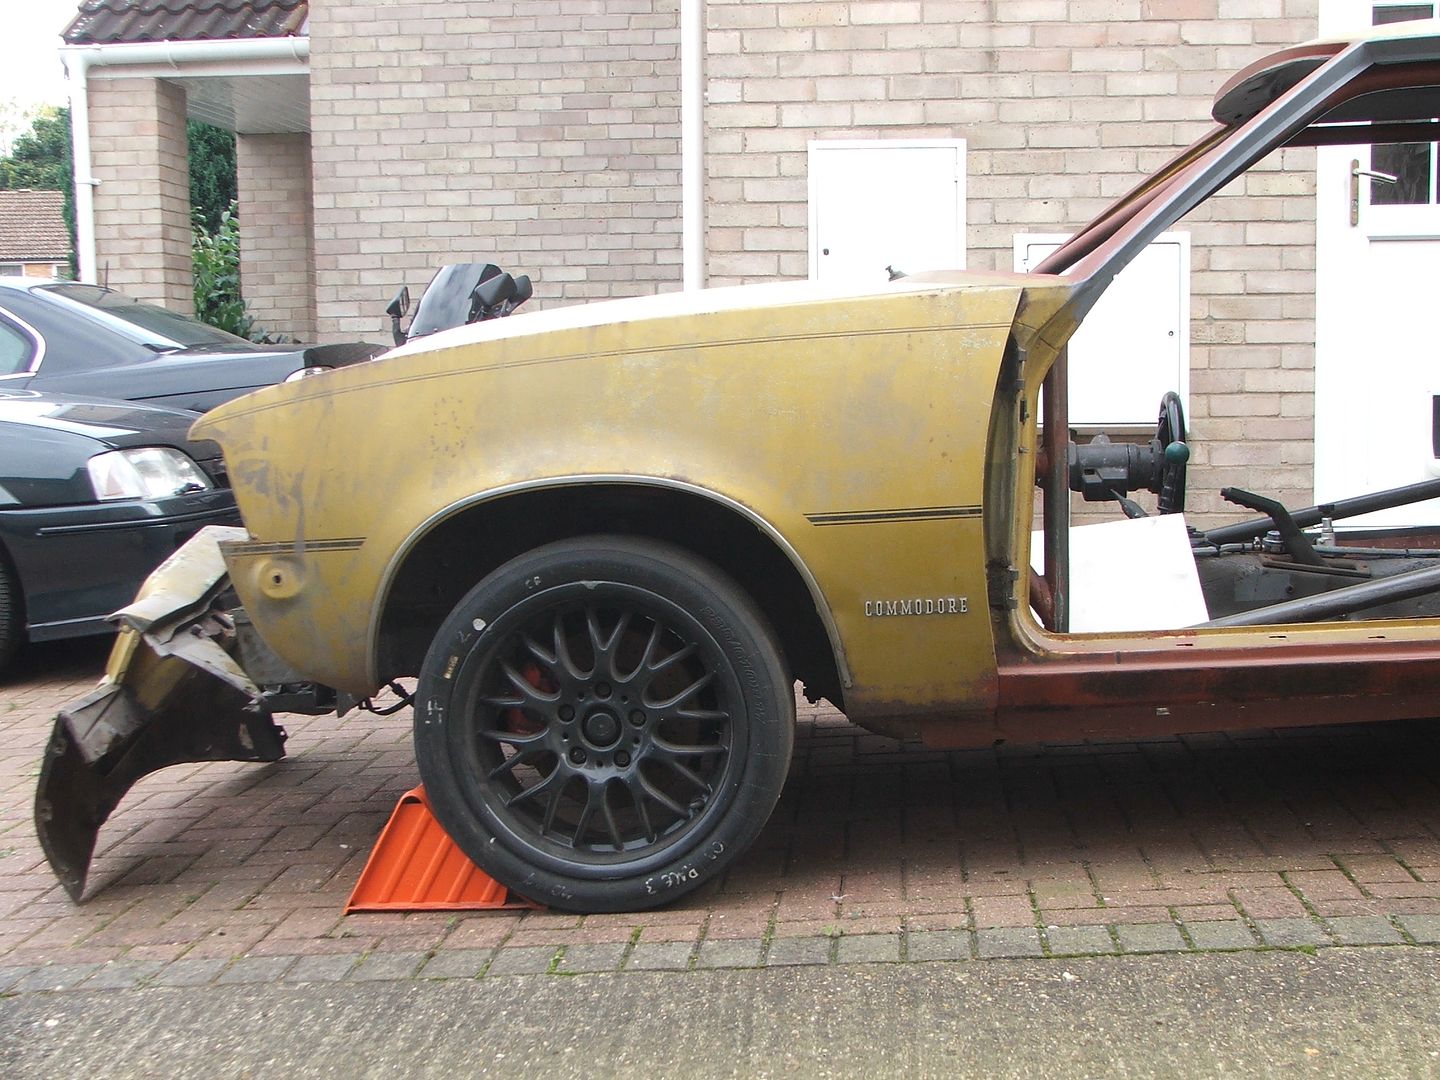
Hmmm appears I didn't post pictures of the arches...... Post Warning contains pictures of Commodores!!!
Better rectify that
So the Monza track is wider than the Commodore and I have another set of wheels destined for the project that are wider than currently fitted so an element of my plans was always going to give some issues - wheels and tyres poking out of the arches.
Now rolling arches is one way of resolving the issue but my rear arches aren't good and the fronts aren't much better so lets rule that one out
these have been a little more than rolled but I actually don't like the look - nothing I can put my finger on it just doesn't look right to me

If I had the god like fabrication skills I'd make my own in steel but I do not have those skills so that's out
I keep seeing pictures of Commodores with a "Steinmetz breitbau"
Have a nice std Commdore

OK not exactly std - it was the winner of the Willhire 24hr race in 1980 that was restored recently and should be going back on track as a classic racer... )I has more pics but lets save that for a rainy day)
anyway my calcs on the back of a postcard was telling me I was going to have an inch and a half of poke
and a "breitbau" would solve my problem


They have been done in various widths but the subtle one would be enough for me
The rears are just an arch extension

The fronts complete wings (which would be a bonus)

And they also have an option of a deeper front air dam

However it appears that they are made of unobtanium and I only found one set not fitted to a car (the pictures above) and the owner wants to fit them one day
So what I needed was an alternative and I went in search
I found these
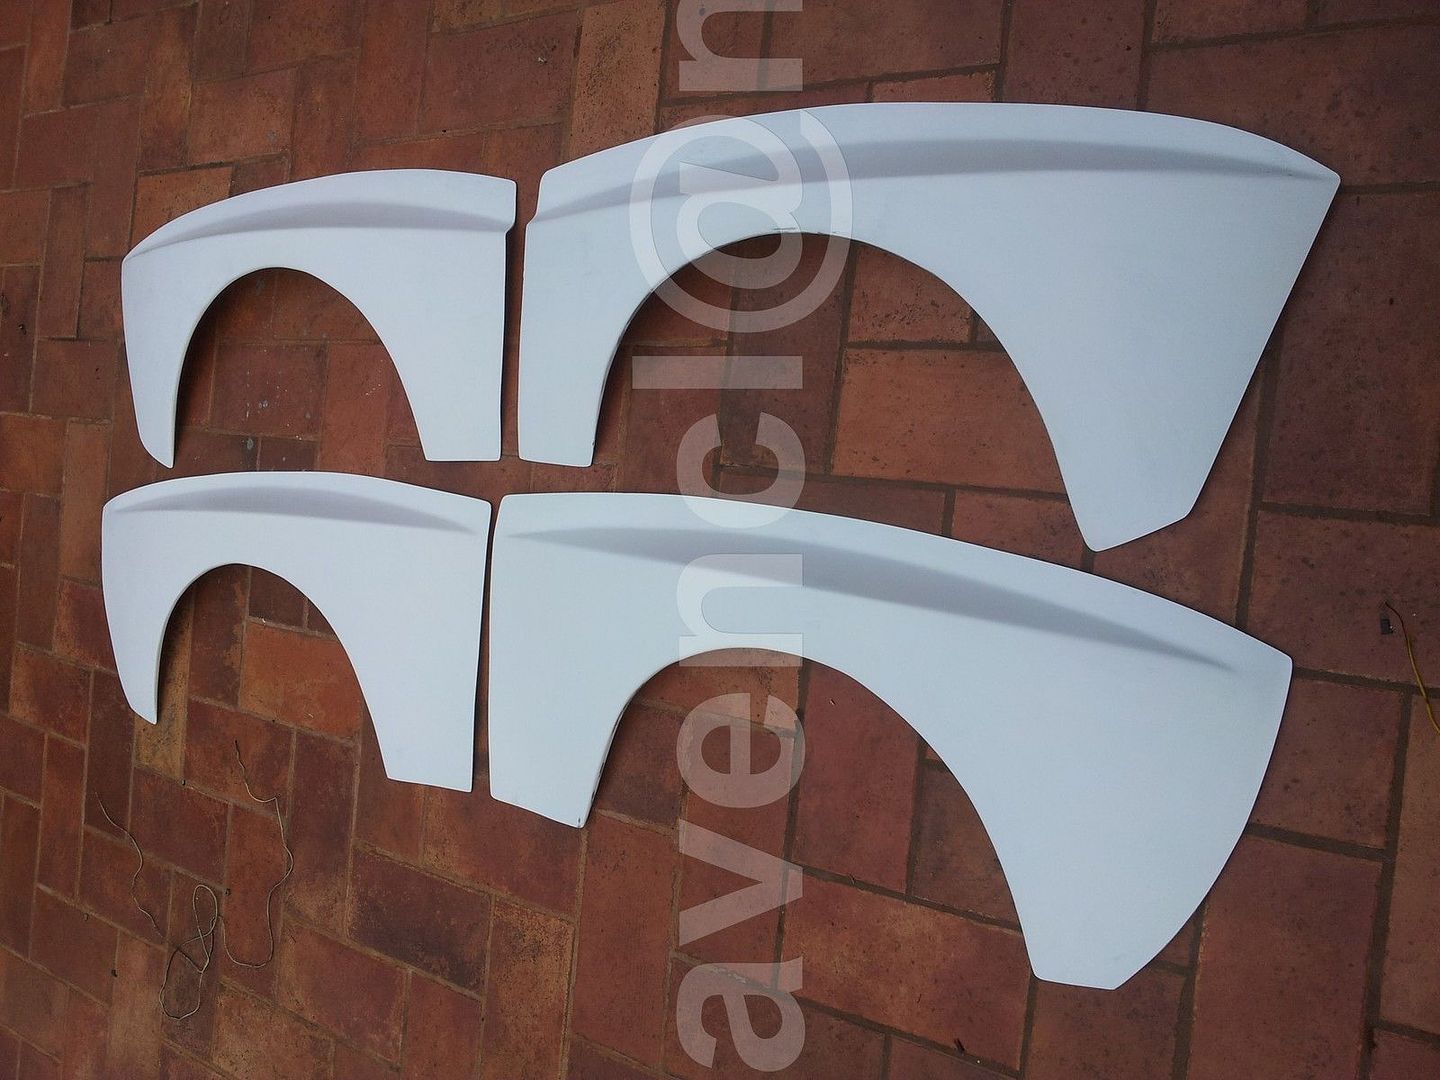
They come in two widths and it looks like the narrow ones would do what I need.
Oh and just I could use them to disguise the wheels not being the right place in the arches but I'd rather get that bit right first and then arches on....
Better rectify that
So the Monza track is wider than the Commodore and I have another set of wheels destined for the project that are wider than currently fitted so an element of my plans was always going to give some issues - wheels and tyres poking out of the arches.
Now rolling arches is one way of resolving the issue but my rear arches aren't good and the fronts aren't much better so lets rule that one out
these have been a little more than rolled but I actually don't like the look - nothing I can put my finger on it just doesn't look right to me
If I had the god like fabrication skills I'd make my own in steel but I do not have those skills so that's out
I keep seeing pictures of Commodores with a "Steinmetz breitbau"
Have a nice std Commdore

OK not exactly std - it was the winner of the Willhire 24hr race in 1980 that was restored recently and should be going back on track as a classic racer... )I has more pics but lets save that for a rainy day)
anyway my calcs on the back of a postcard was telling me I was going to have an inch and a half of poke
and a "breitbau" would solve my problem


They have been done in various widths but the subtle one would be enough for me
The rears are just an arch extension

The fronts complete wings (which would be a bonus)

And they also have an option of a deeper front air dam

However it appears that they are made of unobtanium and I only found one set not fitted to a car (the pictures above) and the owner wants to fit them one day
So what I needed was an alternative and I went in search
I found these


They come in two widths and it looks like the narrow ones would do what I need.
Oh and just I could use them to disguise the wheels not being the right place in the arches but I'd rather get that bit right first and then arches on....
perdu said:
They do look lots better than the rollyflares
I think so too - I went hunting for a lot of pictures of Commodore B's (& Rekord D's as they are really really similar and share a lot of parts) but best I don't clog up this thread with my inspiration A lot of cars have horribly rolled arches to squeeze in wider wheels and tyres - it looks OK but you know you have to run very stiff coils to get away with that - The Monza suspension is actually not that stiff and it likes to roll a little but handles well despite that - I tried stiffer springs and it wasn't as good and it was horrid to drive on the road.
Anyway where was I - ahh rolled arches - never gonna work for me so needed something else the breitbau steinmetz kit is rarer than rocking horse poo so finding a set was unlikely - so something similar was needed
perdu said:
But I hope you don't mind me mentioning it
That brown parcel tape might pull loose in a scrum
or a five miles per hour breeze
Yeah The guy in germany I borrowed the images from has had them taped on for probably 5 years - but that is as far as he's got!!! That brown parcel tape might pull loose in a scrum
or a five miles per hour breeze
perdu said:
No seriously those new shaped flares look great, will you be fabbing the deeper front dam to go with them
Now that's a whole different subject - The Commdore GSE cam with an add on air damWith (left) and without (right)

Which do you prefer?
I'll drop this one in here (plastic windows on a frameless door - now I know it's been done
 )
)
I have some video of that car...... it's rather rapid
perdu said:
onnards and uppards
b
I'm going for onwards but downwards is where I'm heading b
Right - I think I've got there - I won't know absolutely for sure until I roll it out of the garage in daylight but I like where I am
Pedal box got another chisel
Now the bulkhead looks right
The sills are pretty near parallel
The front wheel arch has 4 fingers front and rear and 3 on top
The roll cage is against the roof (both sides same place)
But actually none of that matters cos when I look at it in the confines of the garage it looks right (rubbish pic)
Pedal box got another chisel

Now the bulkhead looks right


The sills are pretty near parallel

The front wheel arch has 4 fingers front and rear and 3 on top

The roll cage is against the roof (both sides same place)

But actually none of that matters cos when I look at it in the confines of the garage it looks right (rubbish pic)

perdu said:
like likey like like
I do like the original lines, the designer nearly always has the look right after all
Finished work on time, picked up Mrs BC - on a missionI do like the original lines, the designer nearly always has the look right after all
Dragged it out before the light went


perdu said:
but as you might be going a tad quickly the dam would do it for me
I'd hate for you to drop off a corner just as I stagger up to it on Marham
(sills look good/right)
Yeah I'm happy with it - hope when the weight goes back in it drops a little moreI'd hate for you to drop off a corner just as I stagger up to it on Marham
(sills look good/right)
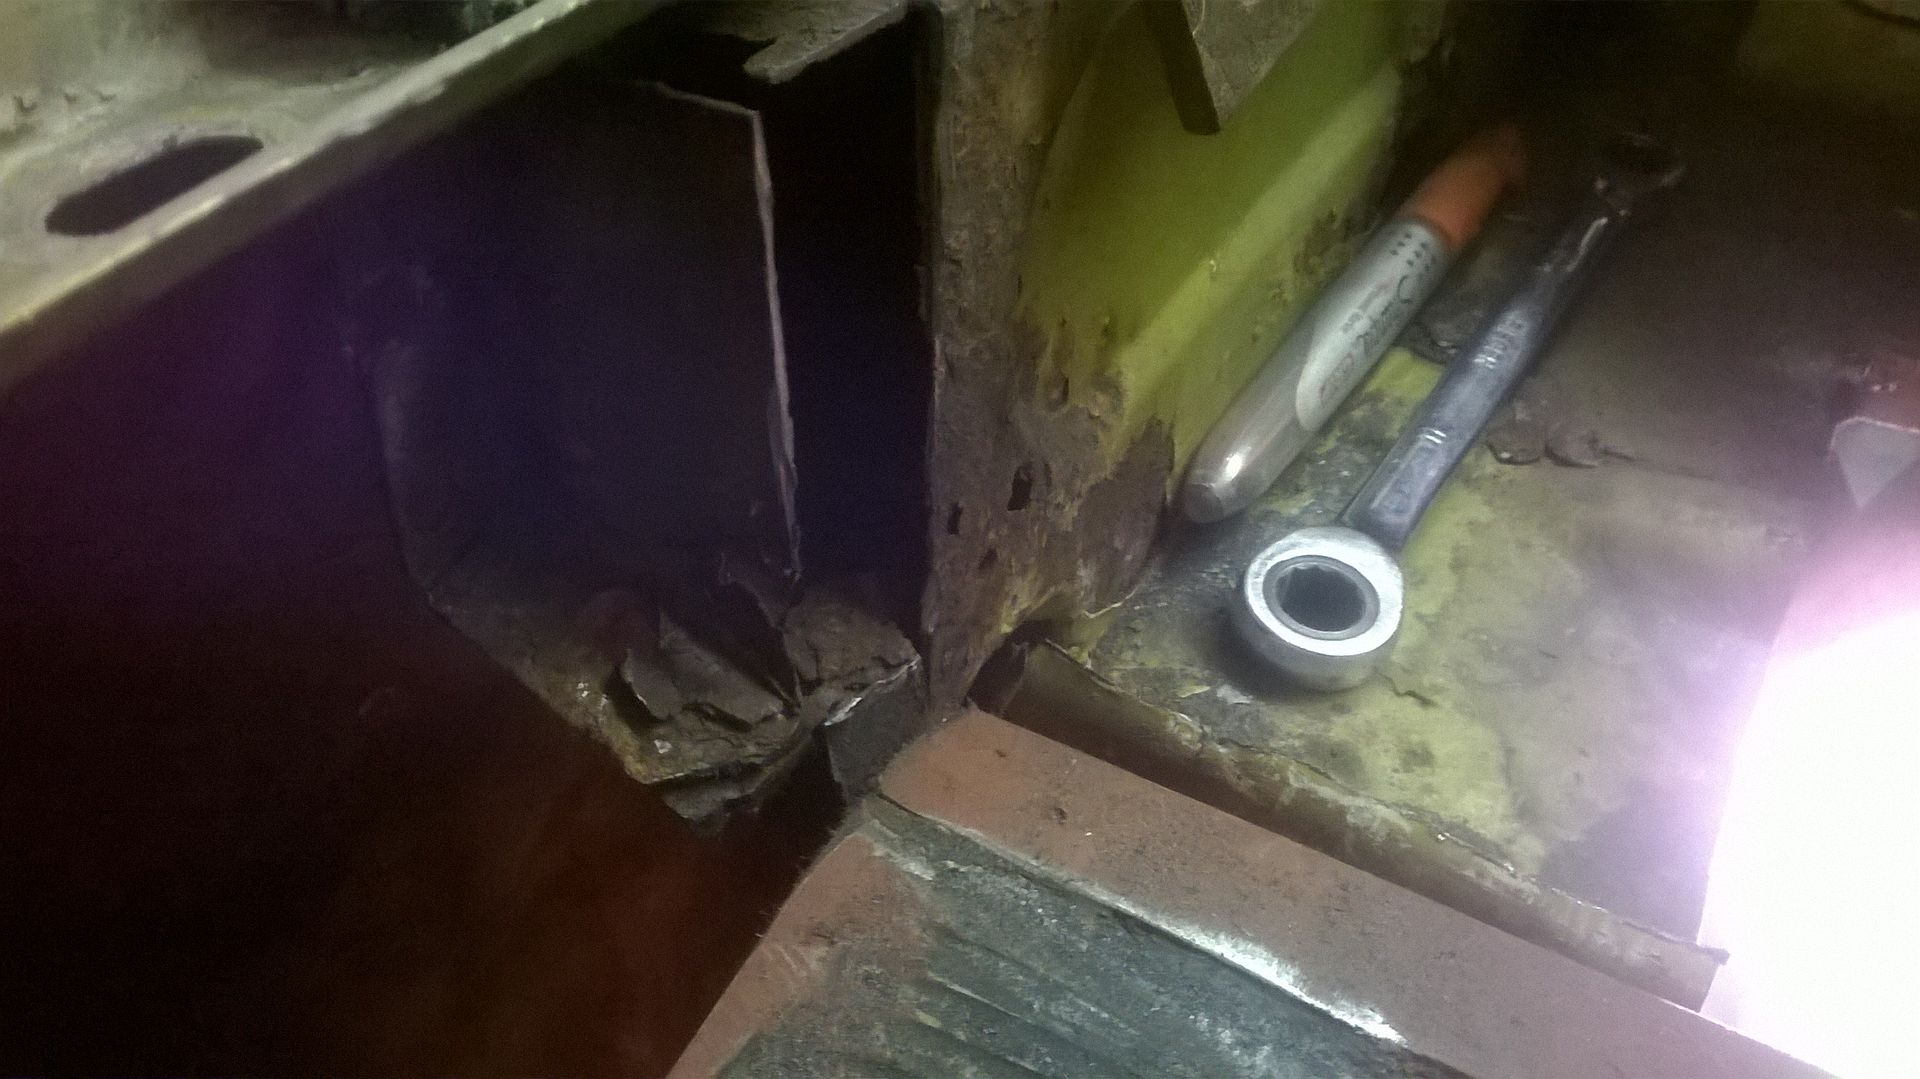
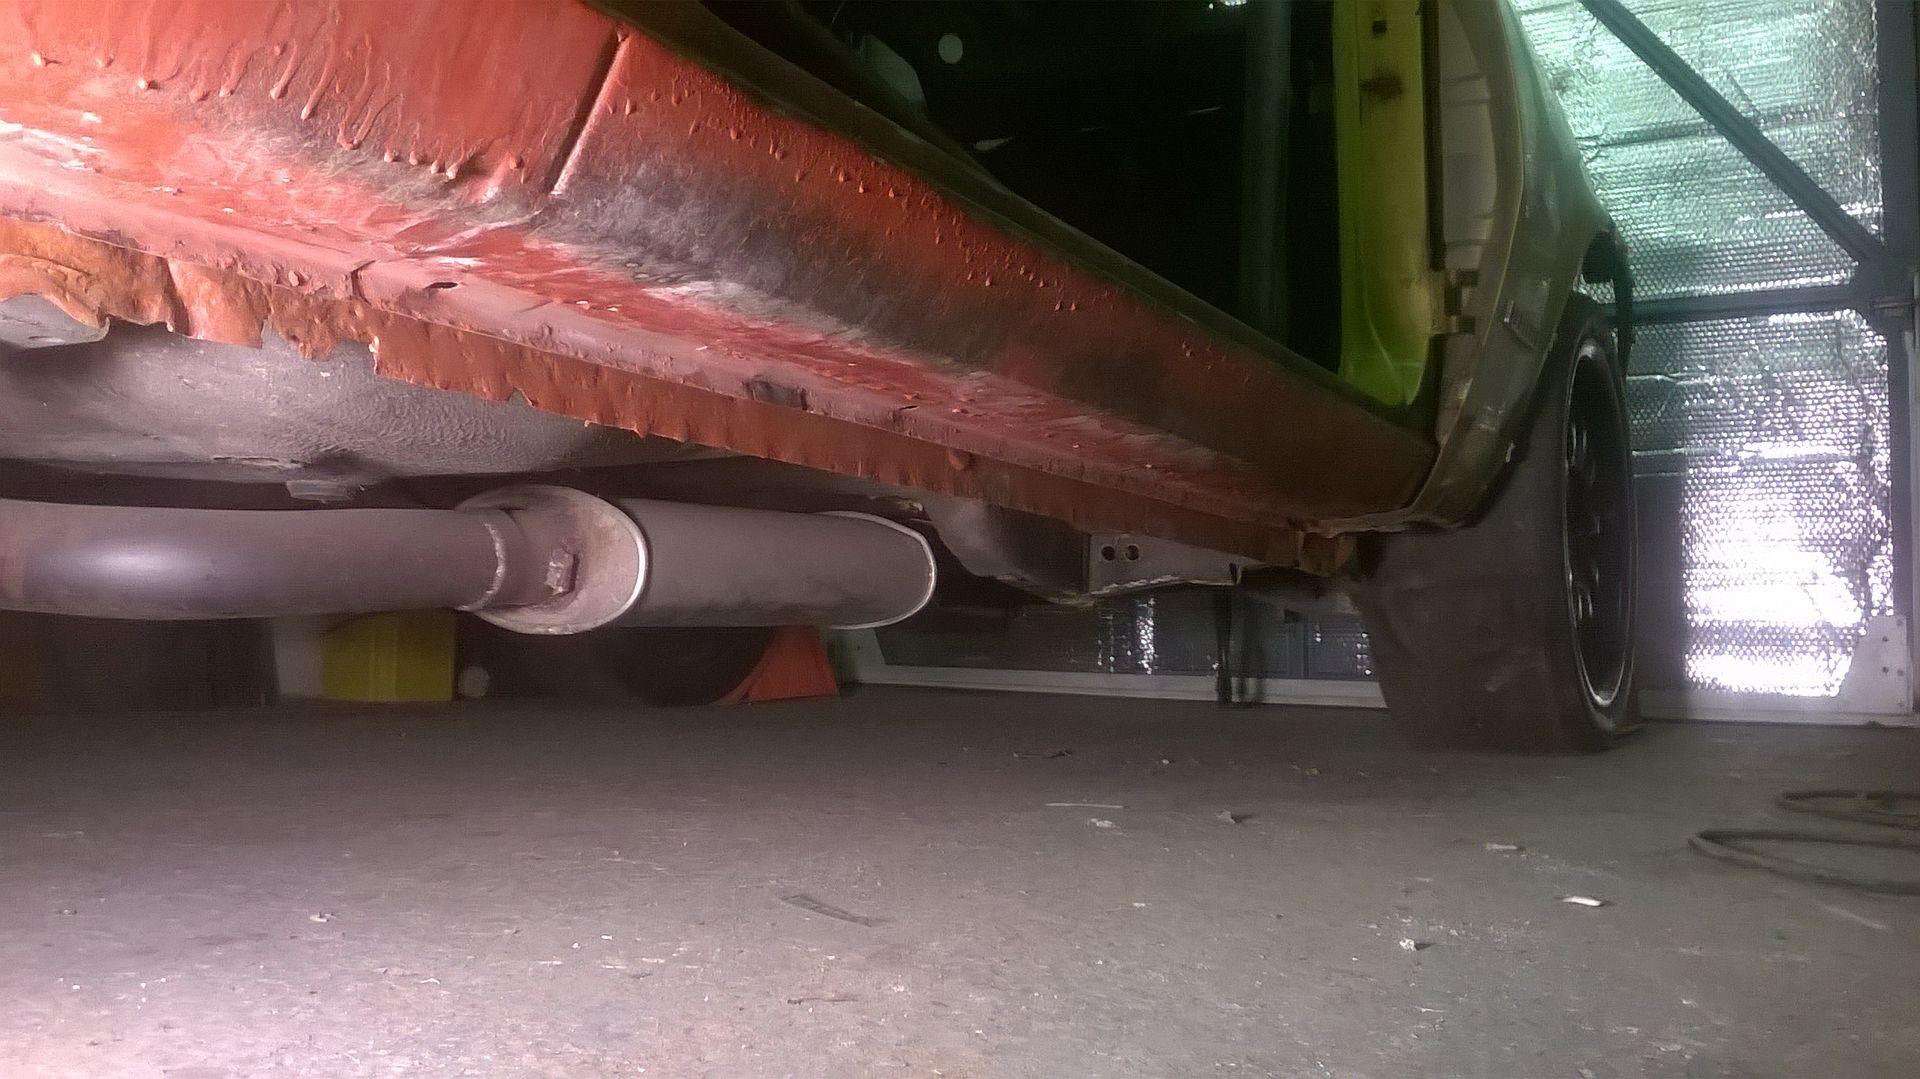
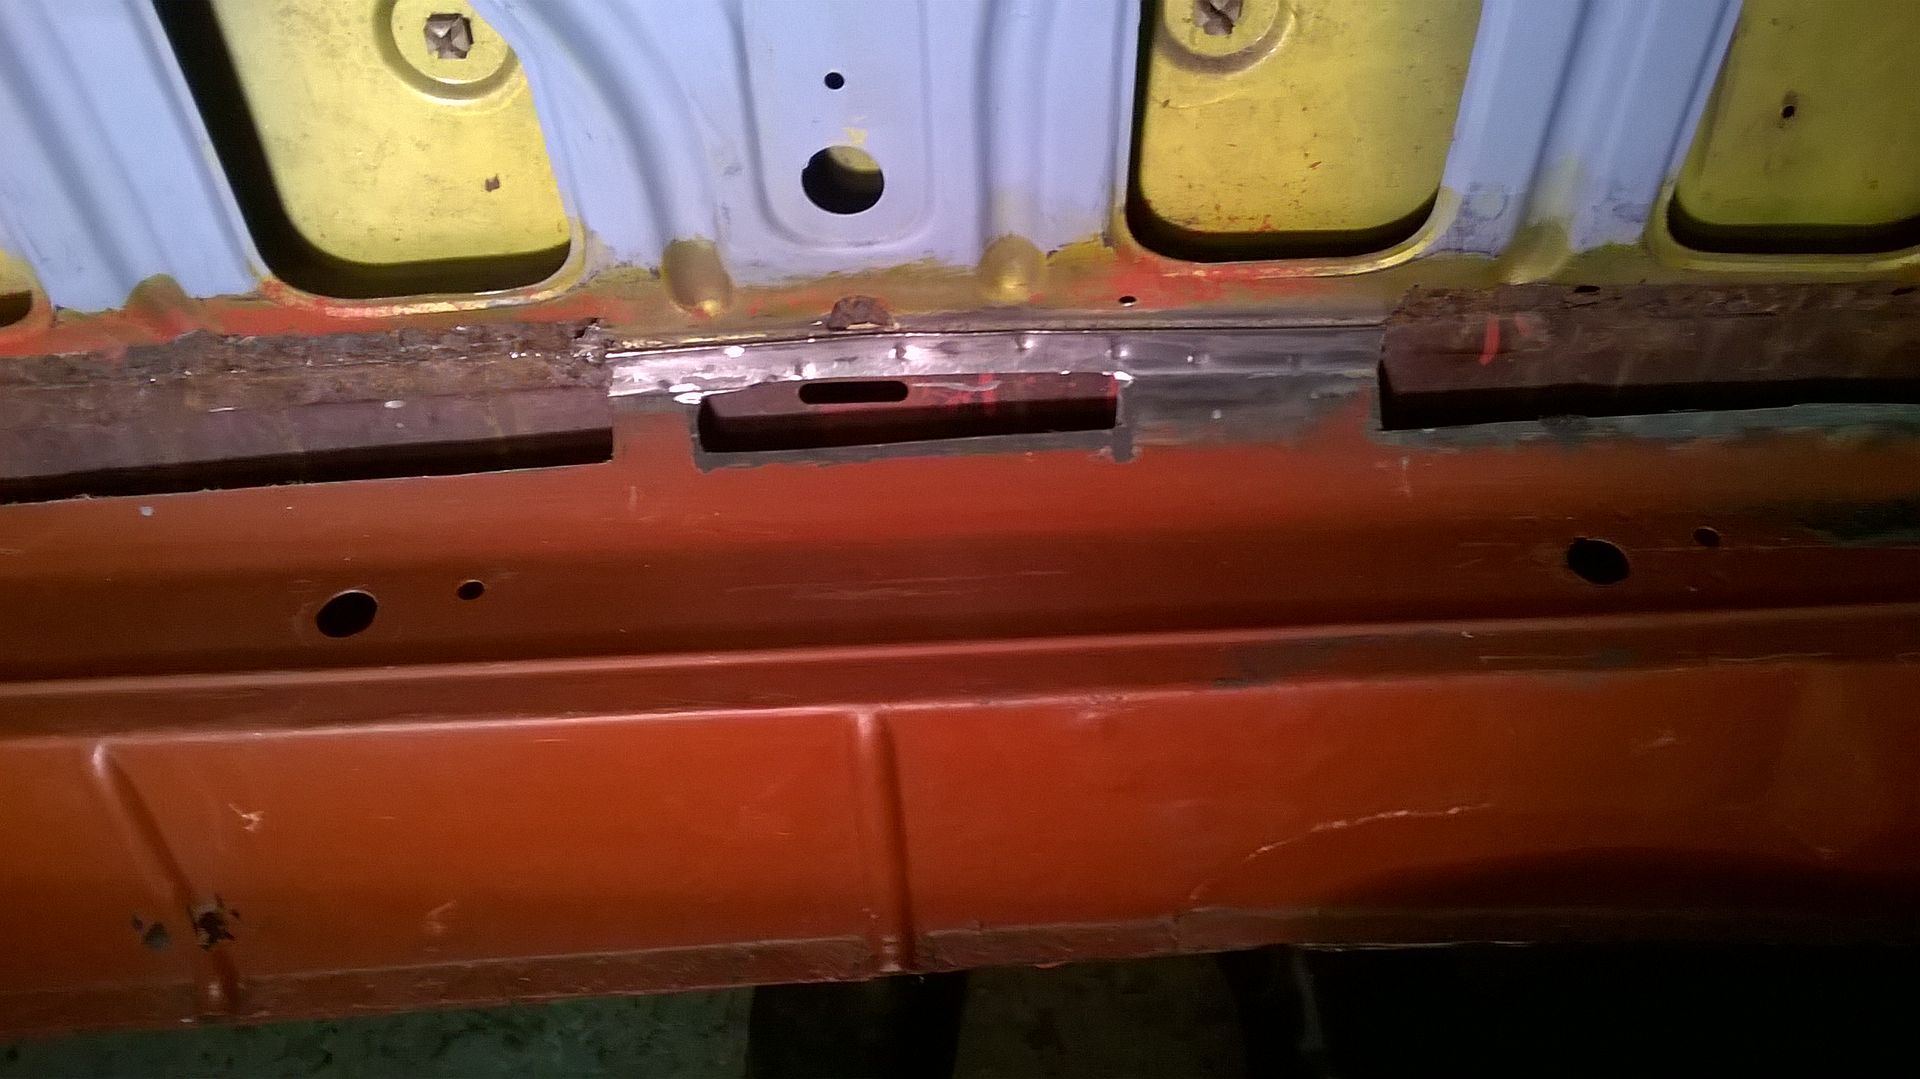
Right so this week - yes the whole damn week I've been trying to remove some grot/rust/rot in the rear panel underneath the rear lights inside the boot.
Back of the boot where the boot floor joins the rear panel - is 3 or possibly 4 layers of steel sandwich and when I cleaned it up I had some pin holes
Now in my experience pin holes frequently mean much worse lies behind
So I cut a few squares out - and then those squares in the main got bigger - yeah maybe a bit more would need to come out - I think I cut out 8 holes before I thought about it - I'd previously done a pretty rubbish repair on my Monza in exactly the same area (hmm technically this means I'm doing it again) so I'd realised that the best way to do it would be to cut it all out and then see what was needed
To get this far has taken me all week (Have I mentioned that before?)
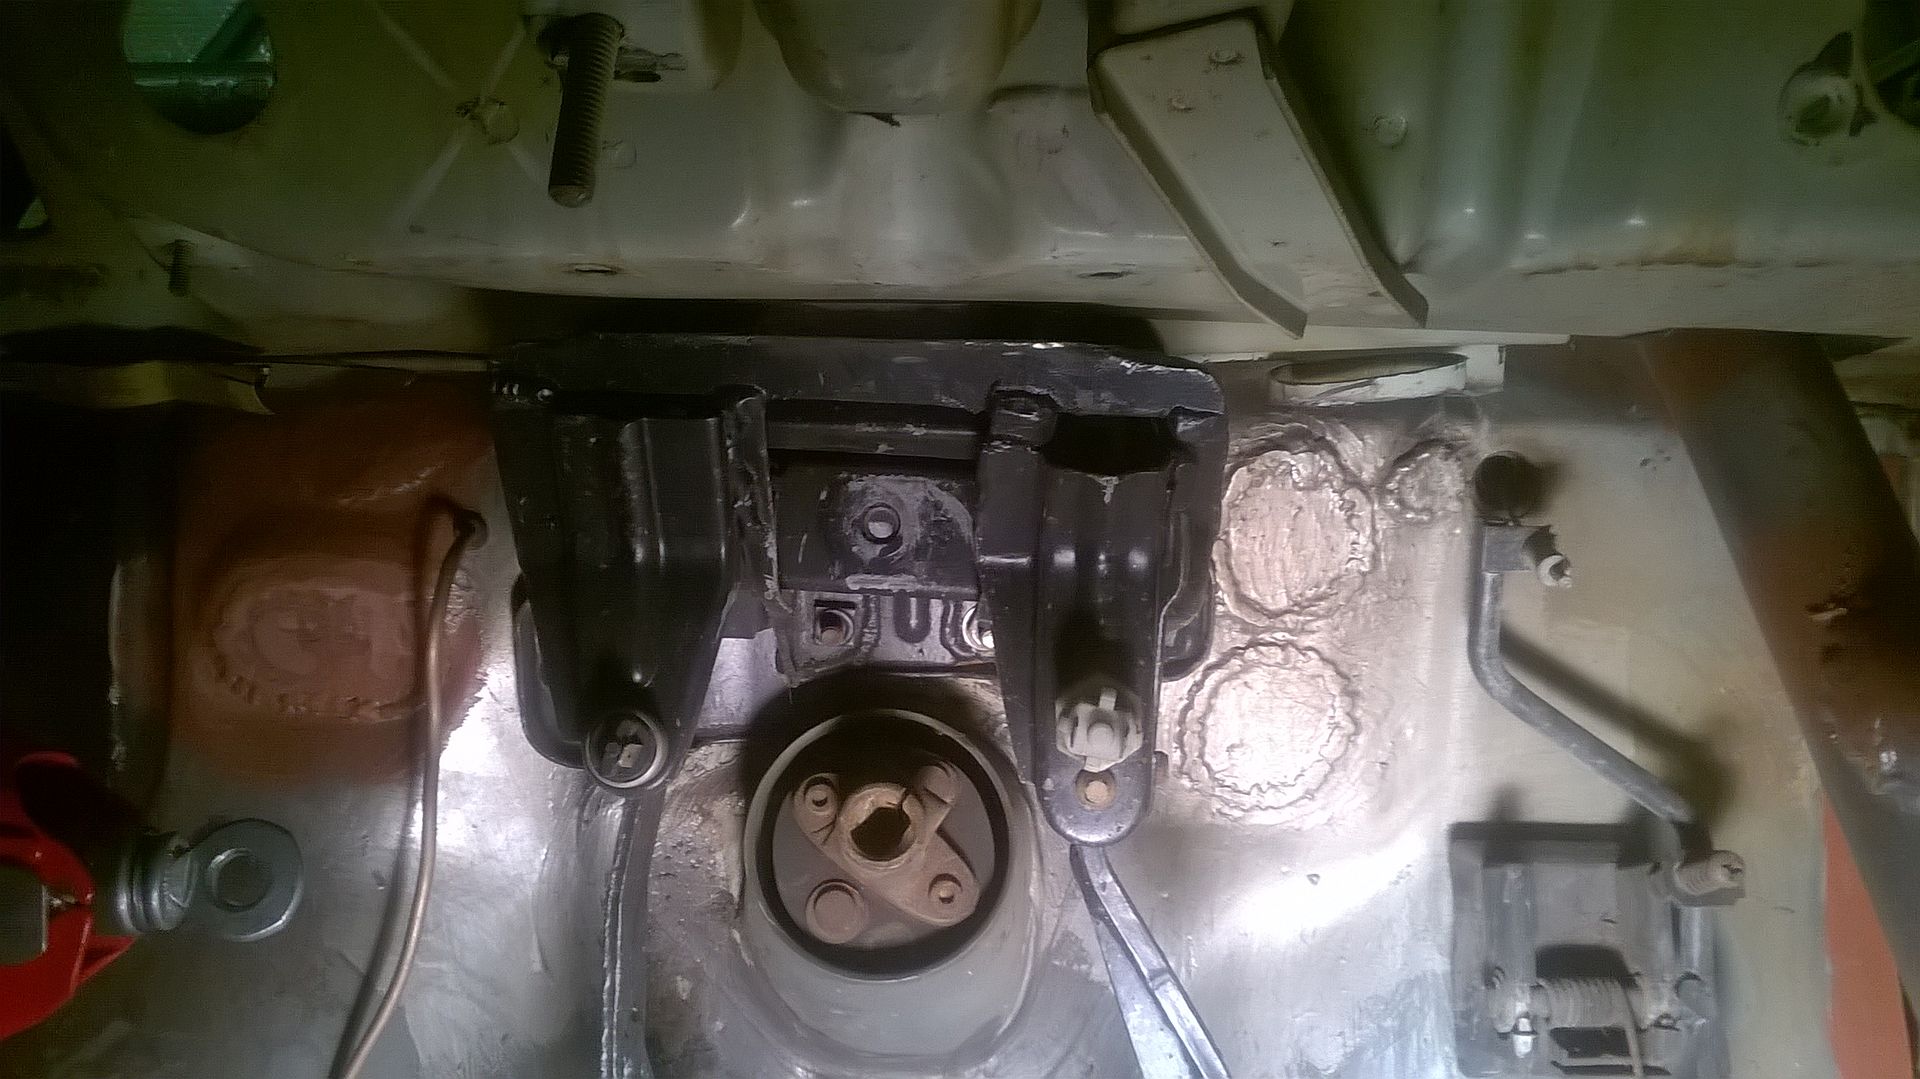
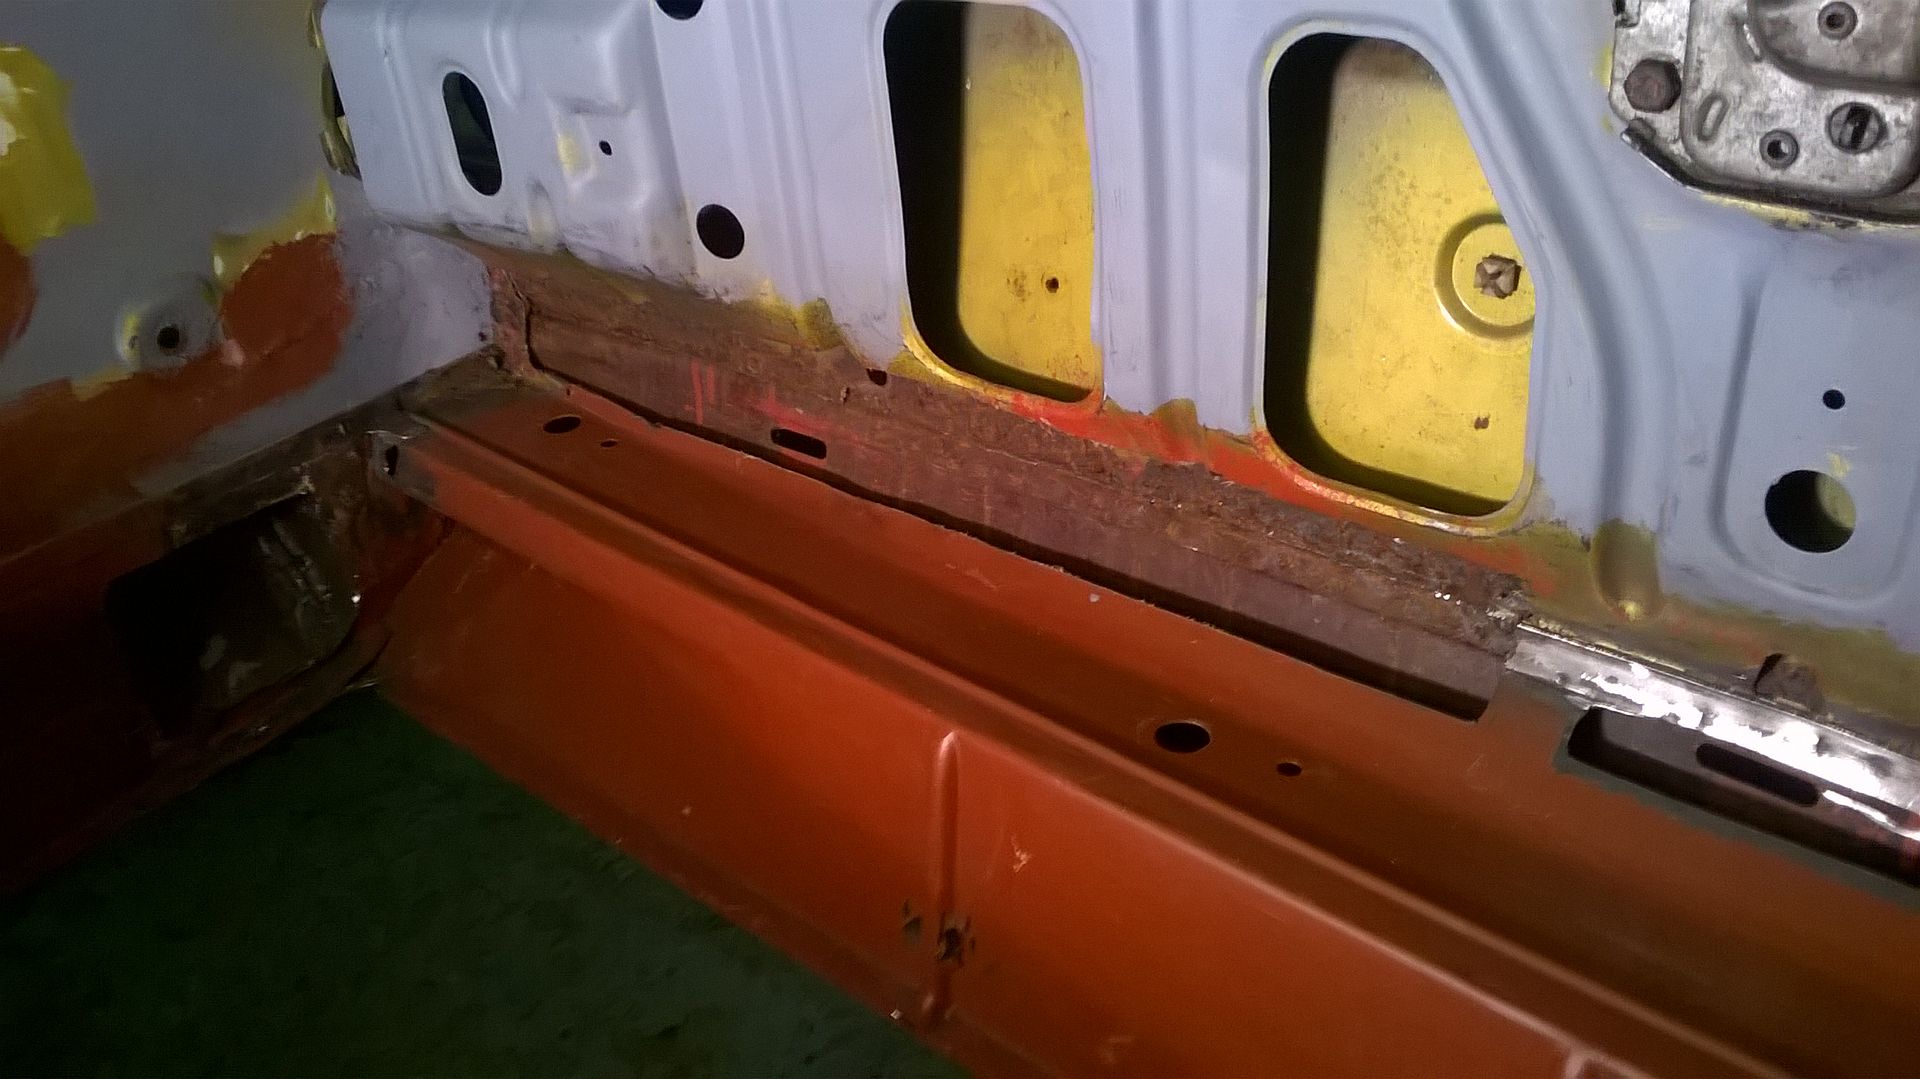
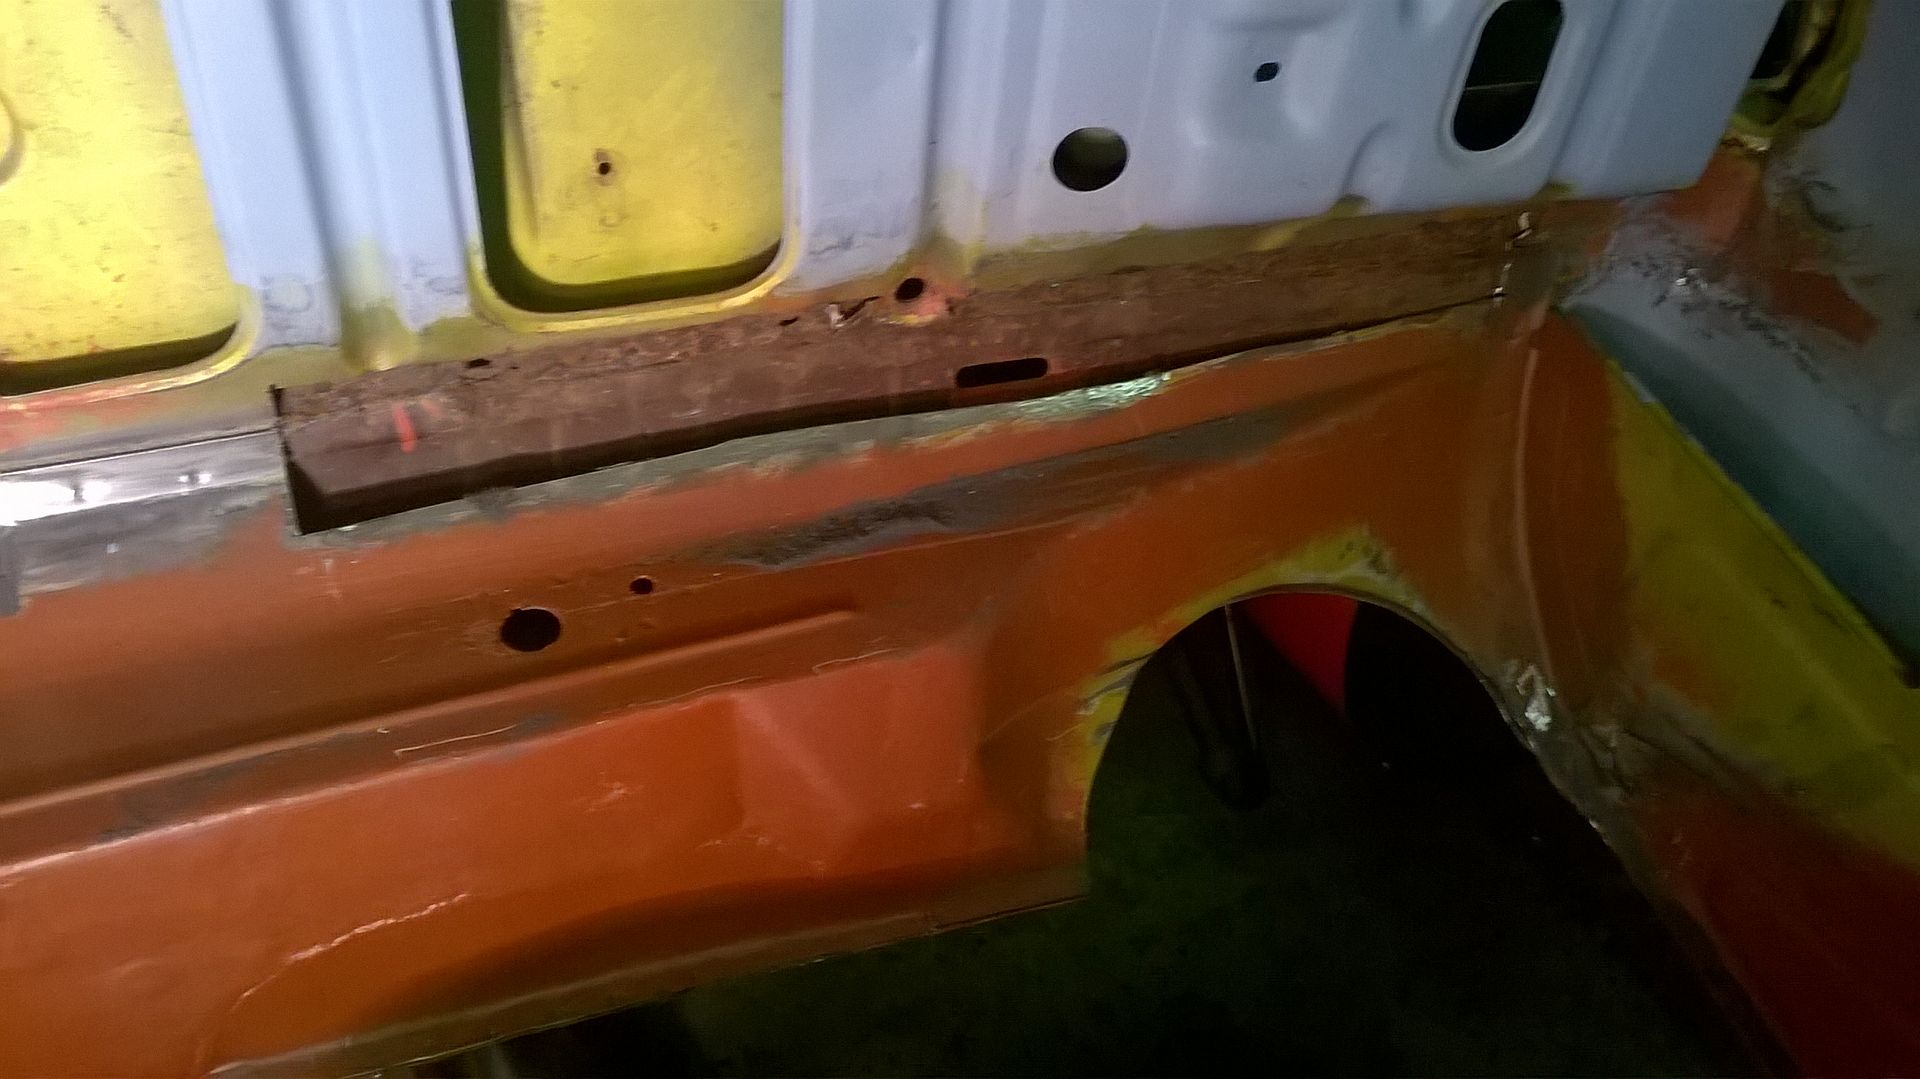
The drivers side tow point needed removal first - why? - Well I intend having a single central tow point - because Race Car........... And the other passenger side tow point - well that left the building with the boot floor and it wasn't coming back as I need to run the exhaust where the spare wheel well was.
So the Drivers side tow point that's a right little sandwich in itself and having ground off the fixings I pretty soon realised that it was a good job it was going as whilst the toe point itself was good it would have torn away the first time it was used
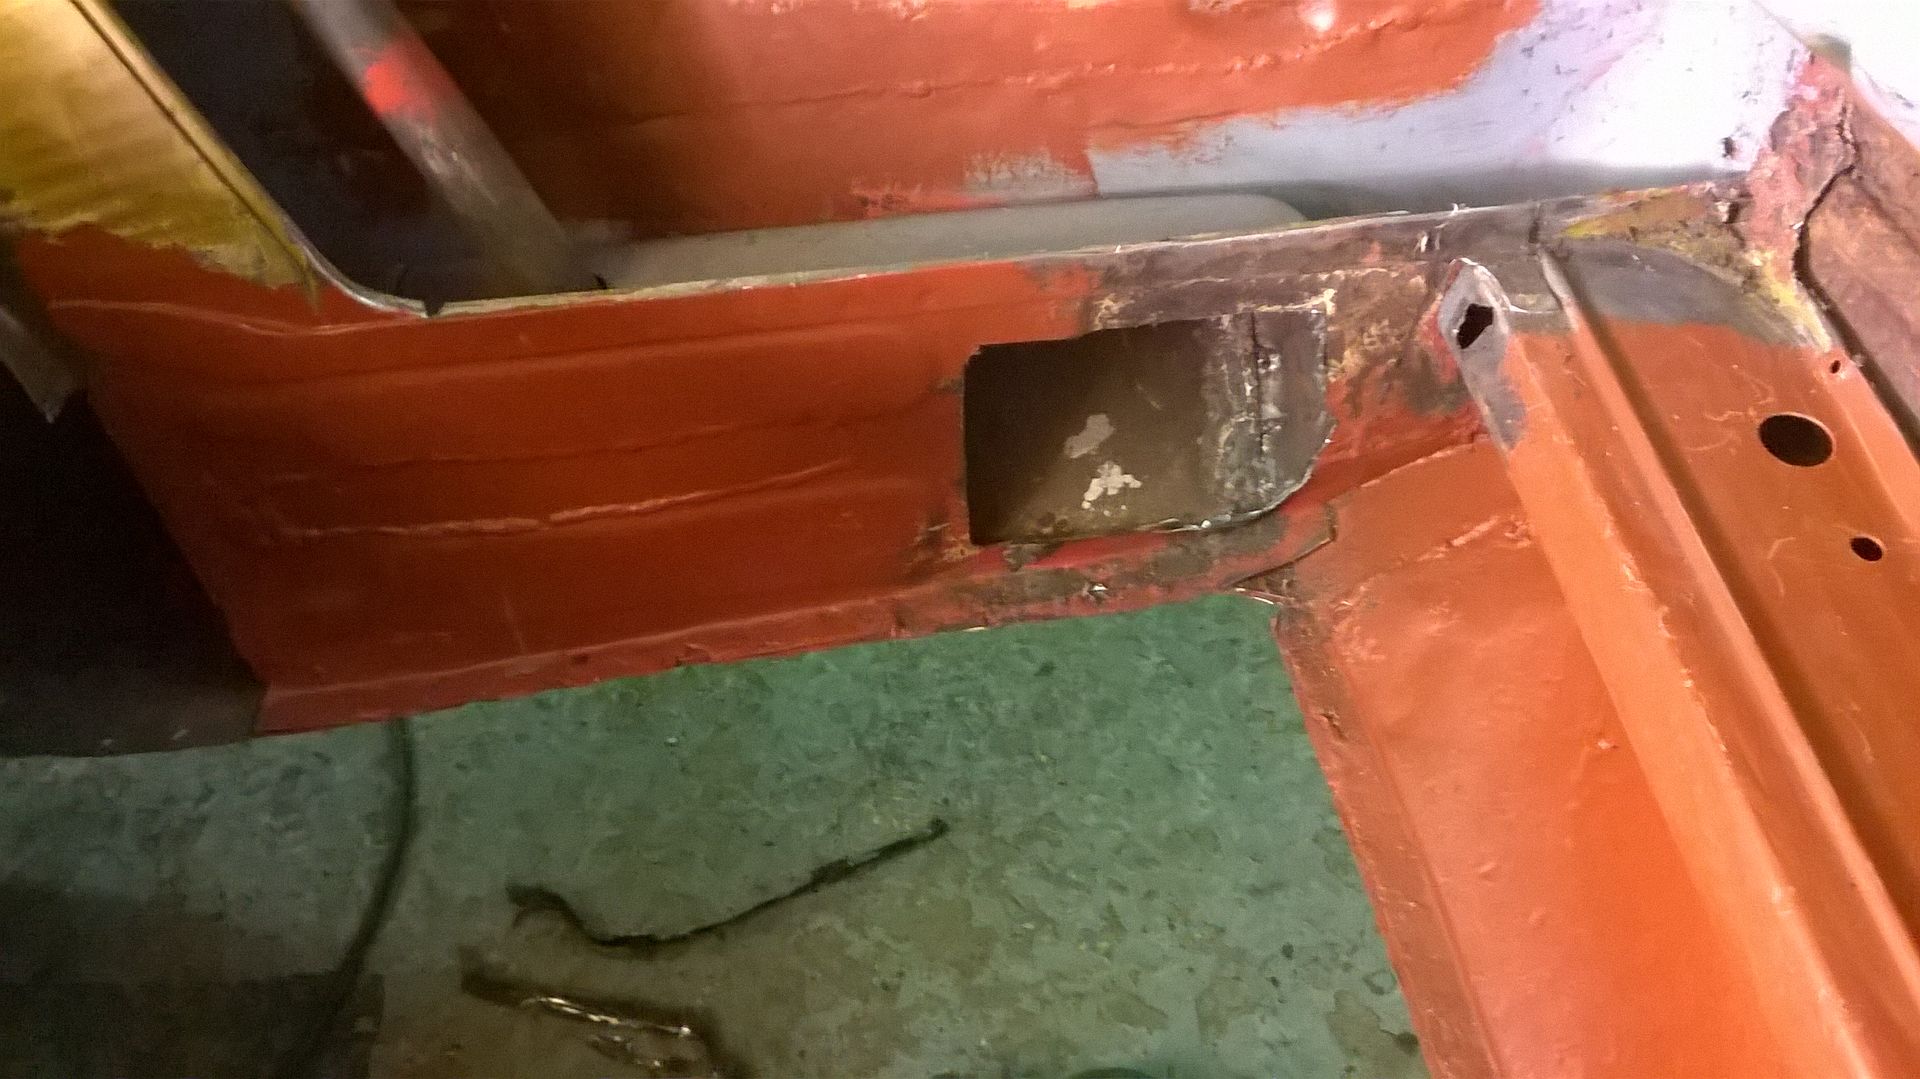
So I have a hole to fill - Patch number 1
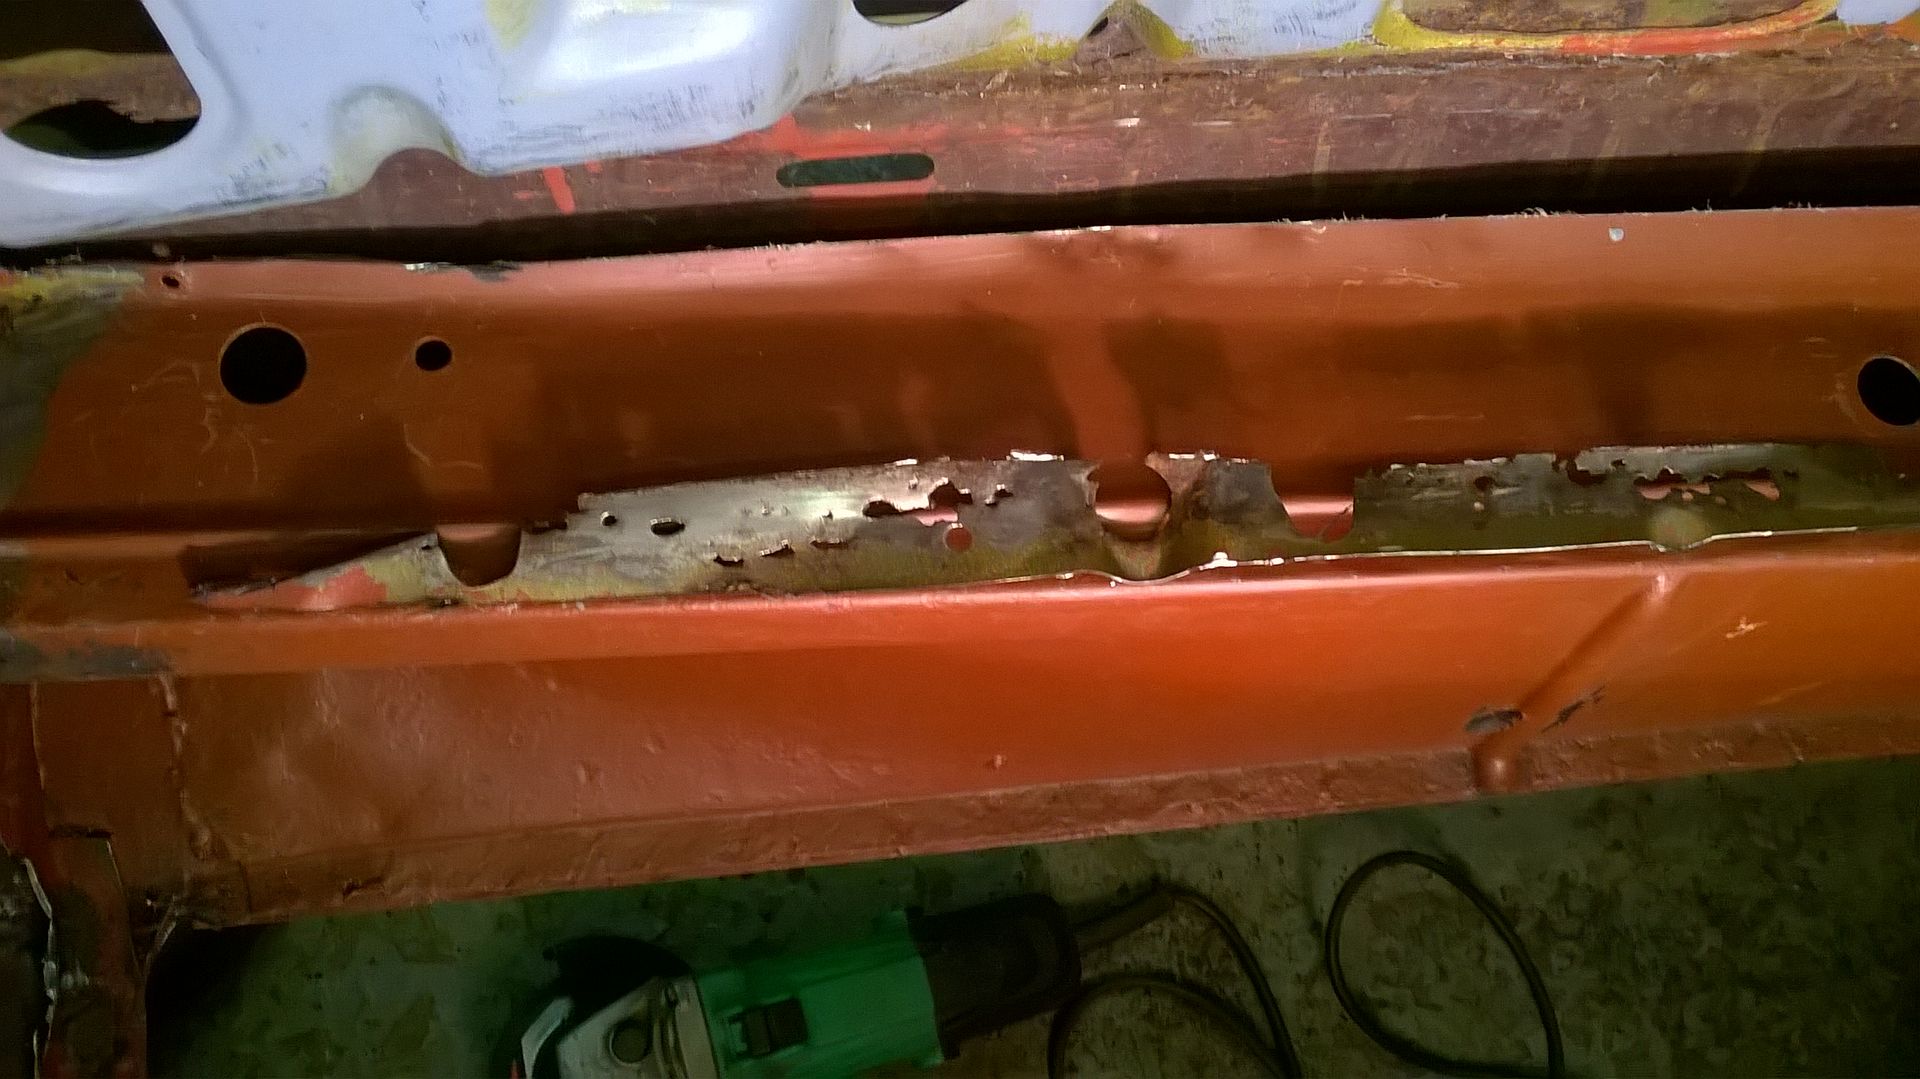
So Drivers Side (Patch number 2 - technically it's two patches but as it's one hole I'm counting it as 1)
Middle (Patch number 3) This bit is actually really solid so it was just a pin hole or two
Passenger side (Patch number 4 - same rules as patch 2 apply)
So I need to re-make the inside edge of the rear panel so I kept a bit to act as a template (ish)
Yeah it was pretty frilly!!!
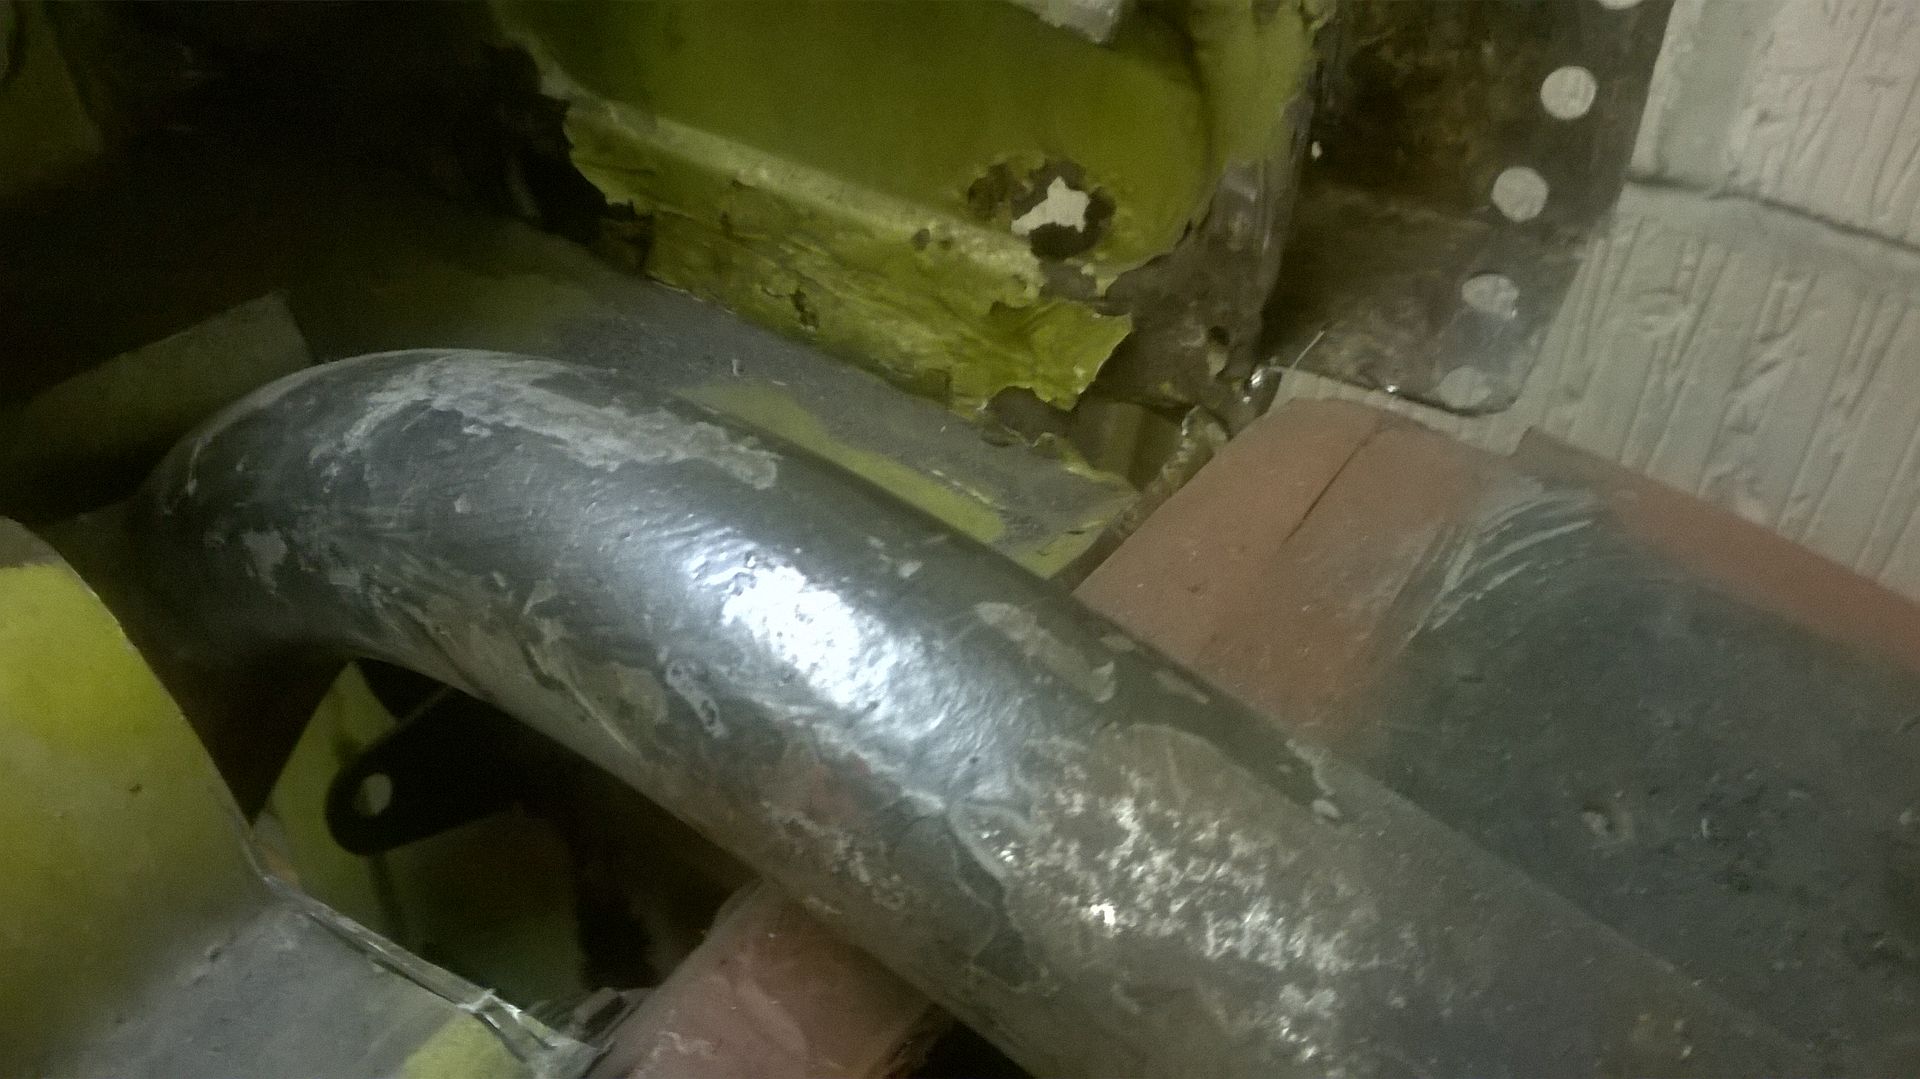
Err last of all - the eagle eyed amongst you will notice that I've done some other cutting to accept the rear silencer outlet but I have to join the two skins together so patch number 5
Annoyingly the silencer is too short and as I'm right on the borderline with the car noise wise on track days I'll throw a much bigger silencer in there and hopefully I'll make some noise testers happy (and for events with less noise restriction I'll make a straight pipe up to bolt in place)
This also means the Commodore is longer at the back and shorter at the front - I really do hope I've got the shell in the right place.........
Back of the boot where the boot floor joins the rear panel - is 3 or possibly 4 layers of steel sandwich and when I cleaned it up I had some pin holes
Now in my experience pin holes frequently mean much worse lies behind
So I cut a few squares out - and then those squares in the main got bigger - yeah maybe a bit more would need to come out - I think I cut out 8 holes before I thought about it - I'd previously done a pretty rubbish repair on my Monza in exactly the same area (hmm technically this means I'm doing it again) so I'd realised that the best way to do it would be to cut it all out and then see what was needed
To get this far has taken me all week (Have I mentioned that before?)
The drivers side tow point needed removal first - why? - Well I intend having a single central tow point - because Race Car........... And the other passenger side tow point - well that left the building with the boot floor and it wasn't coming back as I need to run the exhaust where the spare wheel well was.
So the Drivers side tow point that's a right little sandwich in itself and having ground off the fixings I pretty soon realised that it was a good job it was going as whilst the toe point itself was good it would have torn away the first time it was used

So I have a hole to fill - Patch number 1
So Drivers Side (Patch number 2 - technically it's two patches but as it's one hole I'm counting it as 1)

Middle (Patch number 3) This bit is actually really solid so it was just a pin hole or two

Passenger side (Patch number 4 - same rules as patch 2 apply)

So I need to re-make the inside edge of the rear panel so I kept a bit to act as a template (ish)

Yeah it was pretty frilly!!!
Err last of all - the eagle eyed amongst you will notice that I've done some other cutting to accept the rear silencer outlet but I have to join the two skins together so patch number 5
Annoyingly the silencer is too short and as I'm right on the borderline with the car noise wise on track days I'll throw a much bigger silencer in there and hopefully I'll make some noise testers happy (and for events with less noise restriction I'll make a straight pipe up to bolt in place)
This also means the Commodore is longer at the back and shorter at the front - I really do hope I've got the shell in the right place.........
perdu said:
Finished any of the patching yet?
(Yes I'm still lurking and enjoying this)
Been a few late nights at work getting in the way - then at the weekend I found the wind had tore all the gutter brackets out of the wall and the shower pump decided to shat itself......(Yes I'm still lurking and enjoying this)
So I've been making bugger all progress....
Gassing Station | East Anglia | Top of Page | What's New | My Stuff