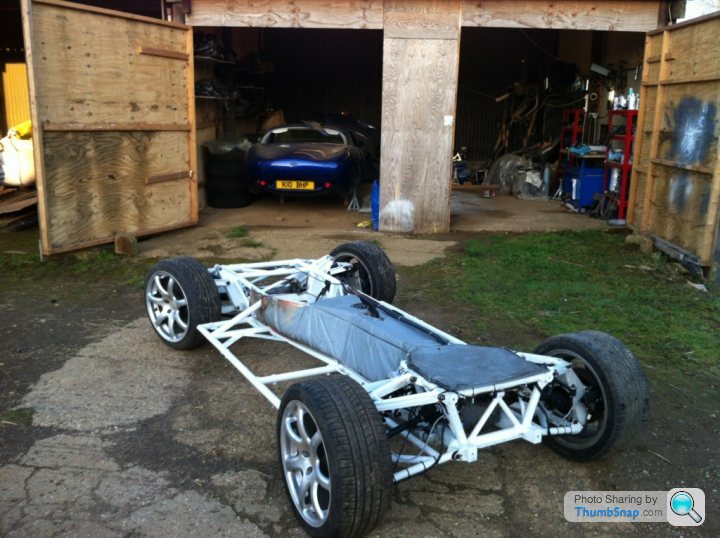
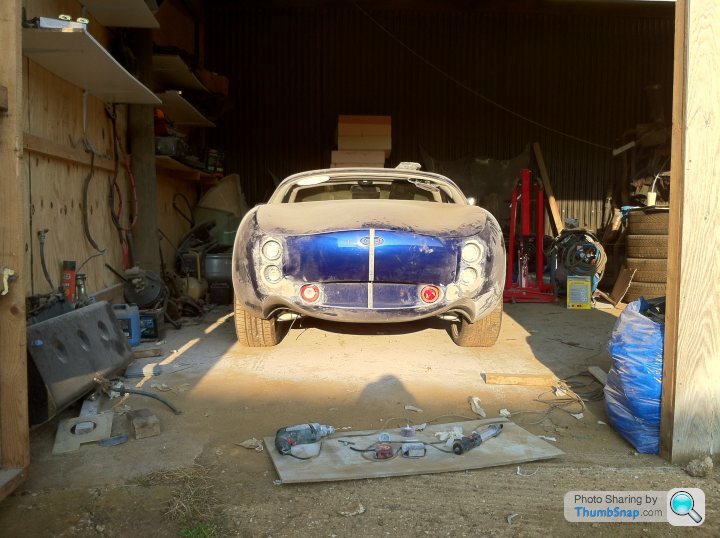
Dissassembly of Tuscan is complete... what now????
Discussion


Come to a bit of a halt with lack of funds. Need to sell my e46 m3 convertible, but not having much luck. Have dropped it from 10k to 9,250 today but fear their value has dropped even more than that. Any ideas?
http://www.pistonheads.com/sales/3831050.htm
http://www.pistonheads.com/sales/3831050.htm
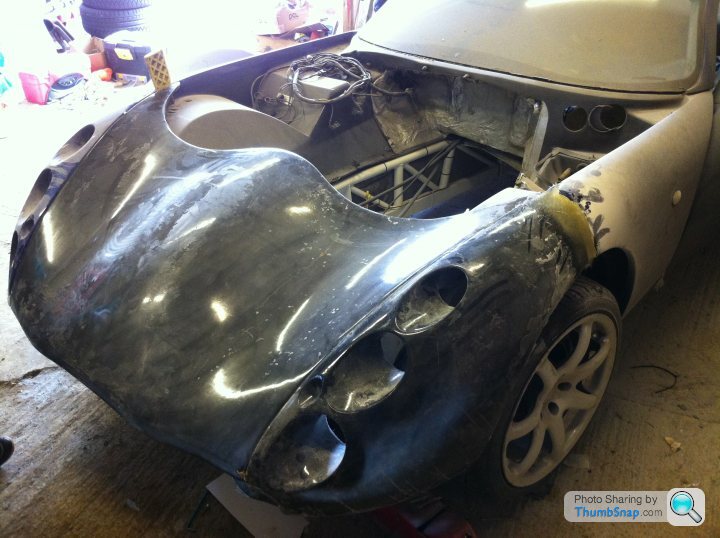
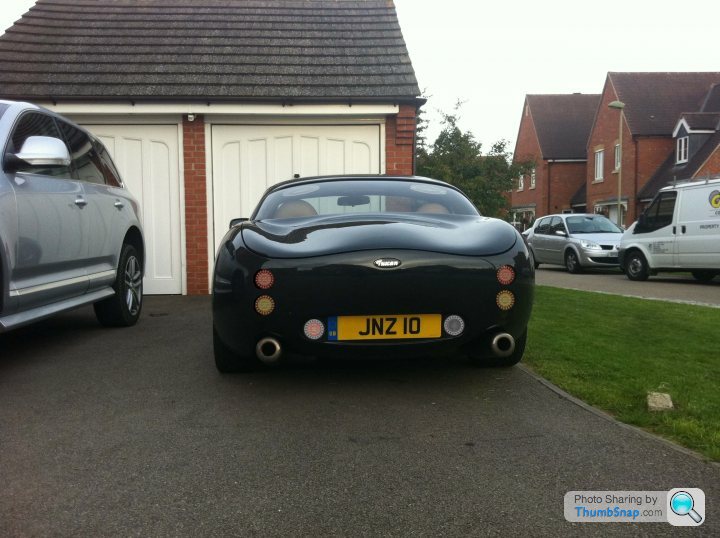
Things are moving forward on the body side. Plasticman has been round and started working his magic. He's chopped the big bonnet and fitted some hinges. The front end is almost done and I have now been thinking about updating the rear a little by the use of LED tail lights.

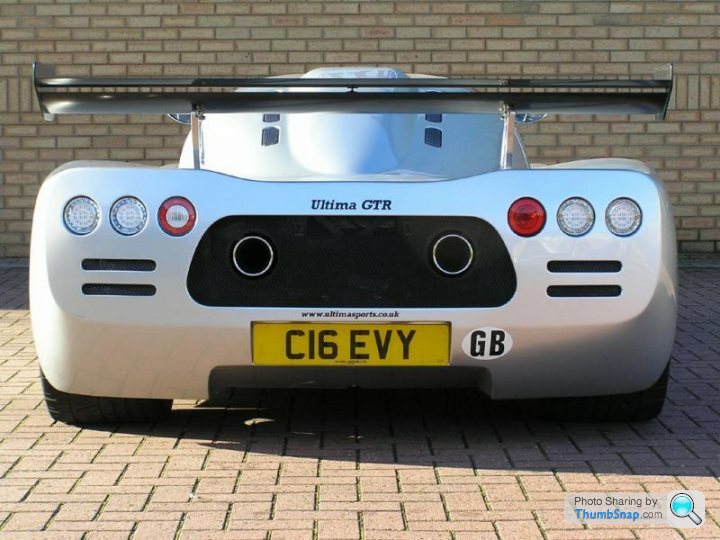
I bought some ULO lights (as fitted to the latest Ultima) and have been playing around with positioning.
http://www.ulo.de/en/product/universal-tail-stop-l...
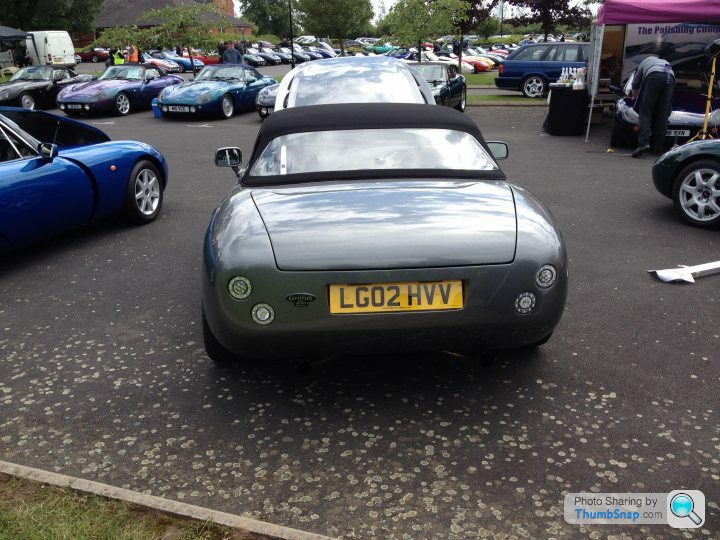
Looks to me that TVR got it about right with the S. You can't go plonking them on anywhere. It would make the rear look unbalanced. (p.s. these are Photoshop images, hence the poor alignment;) They also show the illuminated colour. They will be silver when I'm not braking or indicating!)
Any opinions???

I bought some ULO lights (as fitted to the latest Ultima) and have been playing around with positioning.
http://www.ulo.de/en/product/universal-tail-stop-l...
Looks to me that TVR got it about right with the S. You can't go plonking them on anywhere. It would make the rear look unbalanced. (p.s. these are Photoshop images, hence the poor alignment;) They also show the illuminated colour. They will be silver when I'm not braking or indicating!)
Any opinions???
Edited by MPETT on Sunday 24th June 17:53

 disation. They do say imitation is the best form of flattery!
 portzi said:
The defusher manufactured and fitted by Willow sportscars on Jason's tuscan looks great and would look the business on yours, just be careful with the spoiler as I saw a hidious one on a blue tuscan at Gaydon on a car club meet, and it looked S _ IT.
Mark
Hi Mark,Mark
Do you have any photos of the spoiler at Gaydon? I was going to fit a mounting that allows spoilers of different heights to be fitted.
eff eff said:
I know its not a tuscan but I like these
Those are the SVC lighs which are separates that I don't think look quite as nice/well finished as the Ultima/ULO ones I've bought. The ULOs have more LEDs and a dome clear lens from edge to edge and only £270 for the 6!Edited by MPETT on Tuesday 26th June 07:52
DJR 7 said:
For safety you could be really clever and turn the Tuscan badge into a smoked brake lights .....
Really like the look you've achieved but I'd be worried with the lights being so low.
D
They are in the same place as the standard lights! But I agree they could be missed/not seen. I agree with everyone re the benefits of a 3rd brake light in between the indicators.Really like the look you've achieved but I'd be worried with the lights being so low.
D
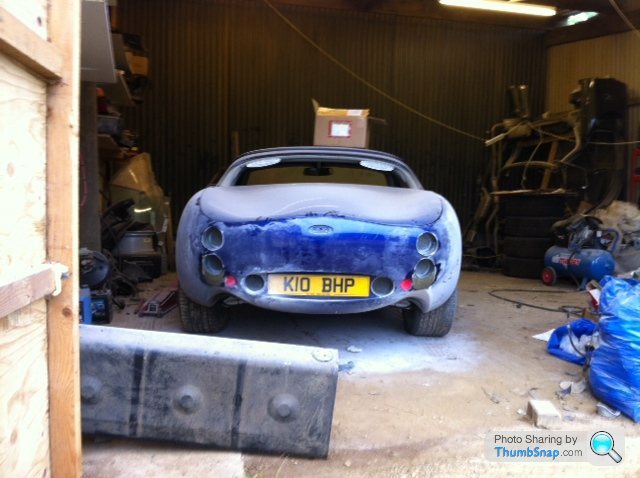
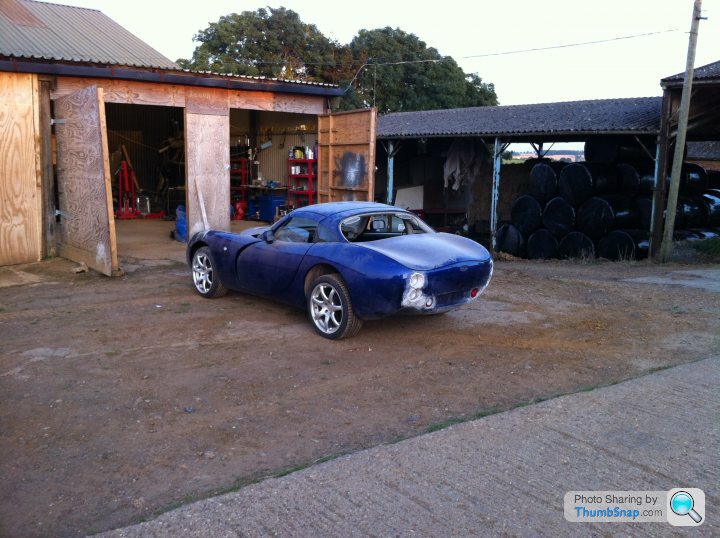
My Pal Plasticman has almost finished the body mods! Just a small tweak to get the lights pointing straight backwards instead of outwards (otherwise it would look cock-eyed) and the removal of the reflectors, because the reverse and fog light assemblies have reflectors built into them.
The intent:
The work in progress:
Then its onto the electrics. Getting the basics working after 2 years+ of inactivity! I seem to remember one can use a special electrical contacts paste to help make a better connection. Any pointers guys?
I'm going to try to apply some mobile device integration. I'll have a decent bluetooth hands free head unit, but I'm going to provide a dock for an iPad for music, sat nav info, track day data and other apps.
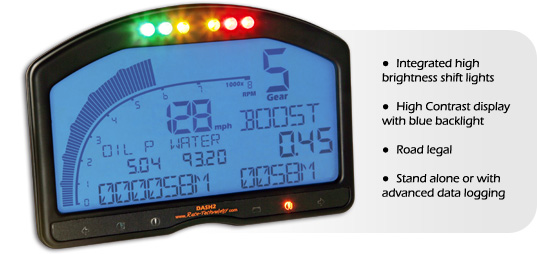
I'm also going to fit something like this to replace the slow and unreliable cluster:
http://www.motec.com/displayscdl3trackkits/display...
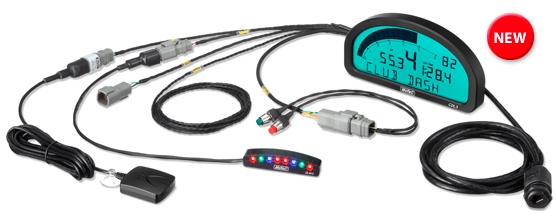
http://www.race-technology.com/dash2_2_31.html
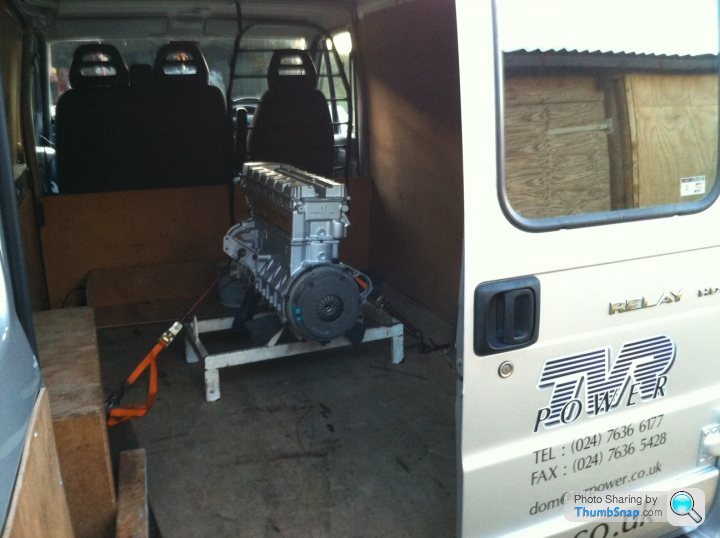
Whilst I'm playing with the electronics, I'll be sending the engine and gearbox off to be upgraded by Dom at TVR Power (??Powers Performance??) to convert to a 4.3 and a new clutch assembly and hydrolic cylinders.
The intent:
The work in progress:
Then its onto the electrics. Getting the basics working after 2 years+ of inactivity!
I seem to remember one can use a special electrical contacts paste to help make a better connection. Any pointers guys?I'm going to try to apply some mobile device integration. I'll have a decent bluetooth hands free head unit, but I'm going to provide a dock for an iPad for music, sat nav info, track day data and other apps.
I'm also going to fit something like this to replace the slow and unreliable cluster:
http://www.motec.com/displayscdl3trackkits/display...
http://www.race-technology.com/dash2_2_31.html
Whilst I'm playing with the electronics, I'll be sending the engine and gearbox off to be upgraded by Dom at TVR Power (??Powers Performance??) to convert to a 4.3 and a new clutch assembly and hydrolic cylinders.
Almost there with the fitting and shaping of the pods. Its amazing how your eye can pick up the smallest difference. One light was misaligned by 5mm and it was so obvious. Its now all sorted and I think I'll leave it to the body shop experts to give the body the final skim. They'll get it sorted 10x faster than I can.
Its now time to bolt the body to the chassis and start plugging everything in to the wiring loom to see what works and what doesn't.
Martin
Edited by MPETT on Sunday 12th August 22:03

Basil Brush said:
TBH I probably wouldn't have had them frenched in as far. I think they'd look better flush with the body work to not interrupt the curve so much. Also preferred the photoshop with subtle colouring of the lights rather than all white.
I have the option to bring them out towards the curve of the body by putting spacers behind the lights. This is something I've considered. It would make it look more "S" like.I'll try that, take a photo and paste on some colour where there is currently filler showing.
Well, the TVR POWER 4.3 has been delivered and now its time to get on with the reassembly process.
I managed to get hold of a new and improved thermal blanket, so off came the body again (only a 3" lift this time) and out came the old and in with the new one.
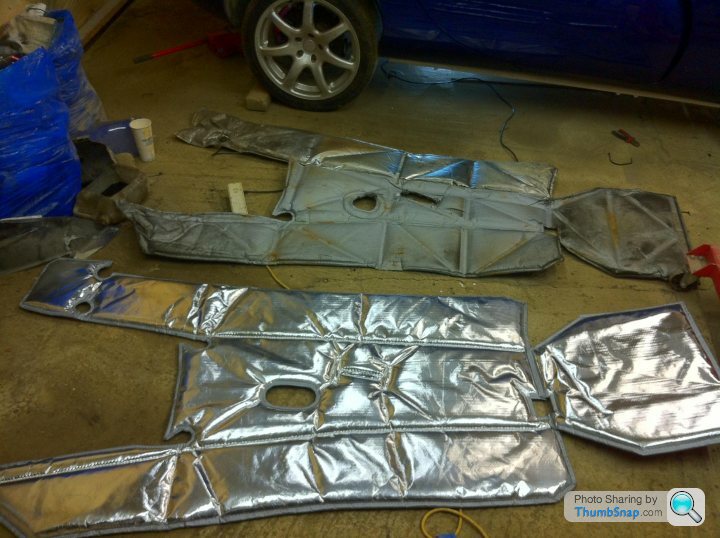
This should keep the wife's feet cool in the summer!
Only got the exhaust heat shield to fit and the gearbox/exhaust manifold to assemeble onto the engine, then its time to put the engine in!!!
I managed to get hold of a new and improved thermal blanket, so off came the body again (only a 3" lift this time) and out came the old and in with the new one.
This should keep the wife's feet cool in the summer!
Only got the exhaust heat shield to fit and the gearbox/exhaust manifold to assemeble onto the engine, then its time to put the engine in!!!
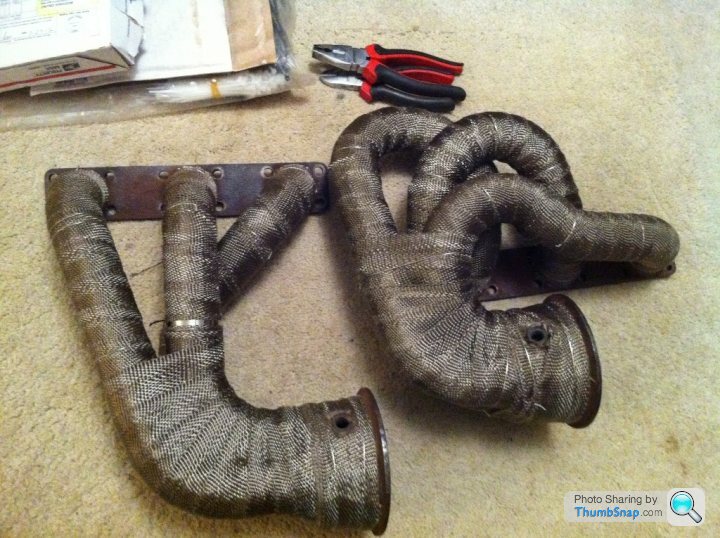
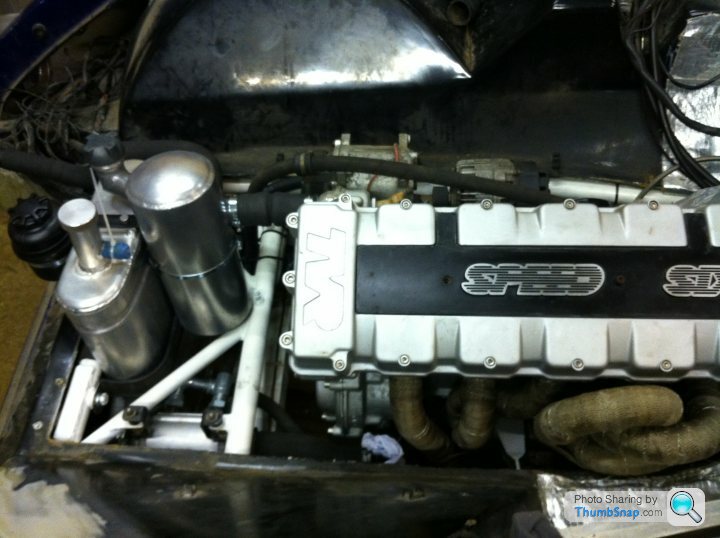
Got me Exhausts all wrapped up. Used the lava wrap stuff. Got it from the US at quite a good price! No itchy hands with this stuff! I've got some left over, so I figured I'd wrap some of the cats housing and downpipes till I run out of wrap.
This plus the new thermal blanket and the bulkhead heat shield I bought should do the trick for keeping cabin/under bonnet temps down.
This plus the new thermal blanket and the bulkhead heat shield I bought should do the trick for keeping cabin/under bonnet temps down.
Edited by MPETT on Sunday 14th October 11:10
Bazil: The cats had been removed already, but there was no heat shield, as in later cars.
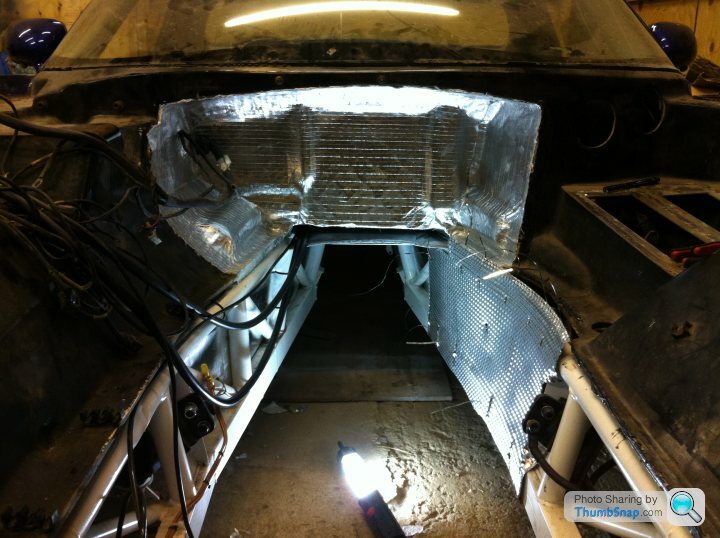
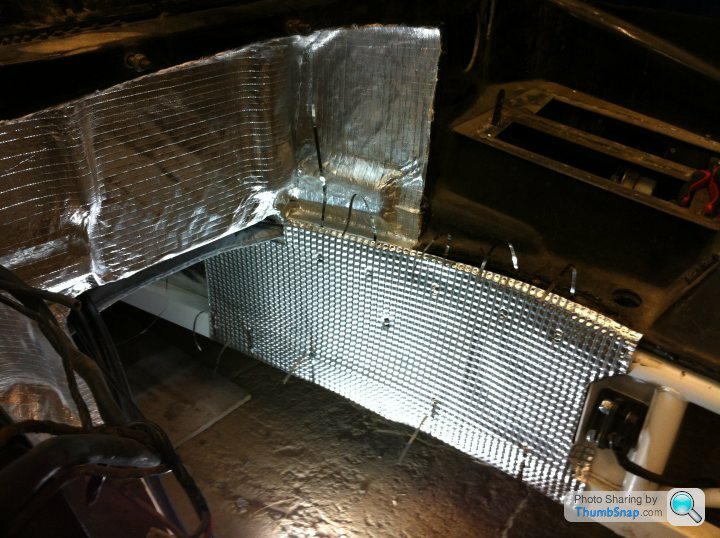
I spent the weekend refitting the heat protection. Removing the old stuff is a nasty job. I'd advise that anyone else doing this job should wear a long sleave shirt and mouth/nose portection. Lost of little fibres were flying all over the place!
I'm fairly please with the end result (had to leave before I trimmed the metal cable ties). My only concern is that the original heat protection was a lot thicker (had more glass fibre wadding between bulkhead and reflective coating). I'm hoping that the stuff I have is of a better quality and therefore will perform overall better. If not I could always cut some venting ducts in the scuttle panel below the screen.
My engine mount heat protection treatment. Uses the flexible heat resistant material/fabric I used on the bulkhead and cut a slit in it, then ticked it round the mount. I then used a small bit of the aluminium heat shield, cut a slit in that and pushed that onto the mount. Hopfully there won't be any nasty vibrations from the 2 aluminium shields touching each other as I've bent them away from each other.
Fabric shield
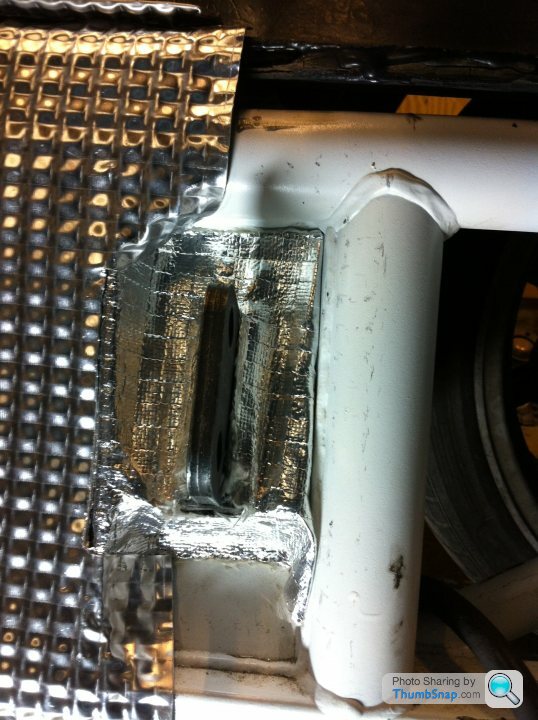
Aluminium heat shield:
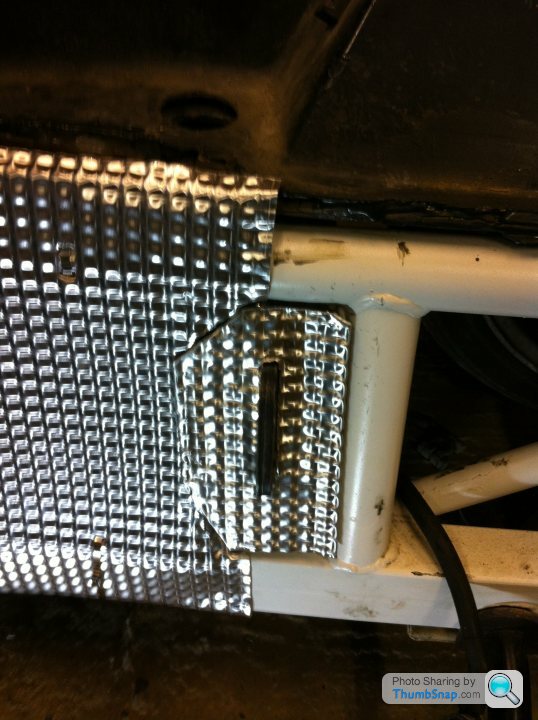
p.s. I got bought double the amount I needed!! So, if you haven't got a heat shield and you'd like the same set up I've created, drop m a line
Fabric shield
Aluminium heat shield:
p.s. I got bought double the amount I needed!! So, if you haven't got a heat shield and you'd like the same set up I've created, drop m a line
Engine now has its exhausts manifolds, the water pipe that feeds the A/C unit, the bell housing and gearbox bolted on. Having eyed up the engine bay without anything installed,(header tank etc..), I'm guessing that I'll be able to get everything in by going over the front. If you have any experience suggesting this won't work, please let me know!
Just got one last job prior to the engine going in, and that's connecting the brakes and clutch pipe to the union in the bottom of the foot well. I had to bought a new one because one of the brake unions was so badly corroded in, part of its sheer'd off.

One thing Dom mentioned, was that the gearbox gets very hot and could probably do with a cooler fitted (most people have a special gear stick fitted that doesn't conduct heat very well).
Looking at the proximity of the exhaust the engine/gearbox, I'm not surprised at all. There is only about 7mm between the cat and the block and the exhaust runs alongside the gearbox.
As can be seen in the photos, I've wrapped the cats and am now considering what shielding might be a good idea for the gearbox. Having been contacted by the second owner of this car and been told the gearsick got very hot, I'm assuming the gearstick is not the upgraded one. The obvious thing would be to change the gearstick, but I think as an additional improvement, the gearbox should be given its own shielding so that it is not heated up beyond its normal operating temps. This could well be the case with the wrap on the mainifold causing the heat to be dissipated further downstream of the exhaust.
Just got one last job prior to the engine going in, and that's connecting the brakes and clutch pipe to the union in the bottom of the foot well. I had to bought a new one because one of the brake unions was so badly corroded in, part of its sheer'd off.
One thing Dom mentioned, was that the gearbox gets very hot and could probably do with a cooler fitted (most people have a special gear stick fitted that doesn't conduct heat very well).
Looking at the proximity of the exhaust the engine/gearbox, I'm not surprised at all. There is only about 7mm between the cat and the block and the exhaust runs alongside the gearbox.
As can be seen in the photos, I've wrapped the cats and am now considering what shielding might be a good idea for the gearbox. Having been contacted by the second owner of this car and been told the gearsick got very hot, I'm assuming the gearstick is not the upgraded one. The obvious thing would be to change the gearstick, but I think as an additional improvement, the gearbox should be given its own shielding so that it is not heated up beyond its normal operating temps. This could well be the case with the wrap on the mainifold causing the heat to be dissipated further downstream of the exhaust.
Edited by MPETT on Monday 29th October 14:26
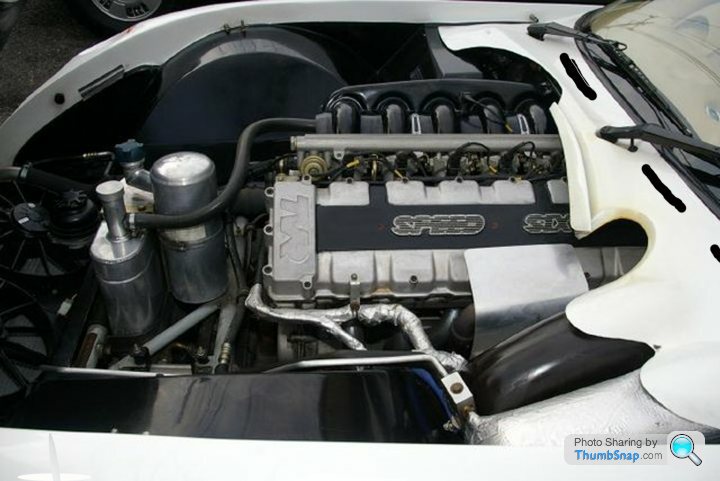
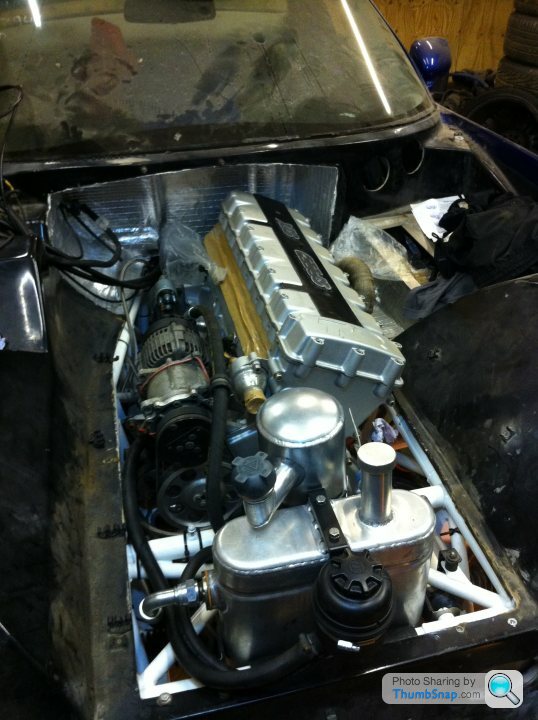
The engine is in!!!!! Whoop whoop whoop!
Over the top, a small tilt sideways and its on it's mounts Didn't even need to put the car on axle stands! Just had to drill a new hole for the adjustable arm on the crane to give me an extra 8cm to get the engine onto the engine mounts without the crane clashing with the front of the body structure/glass fibre.

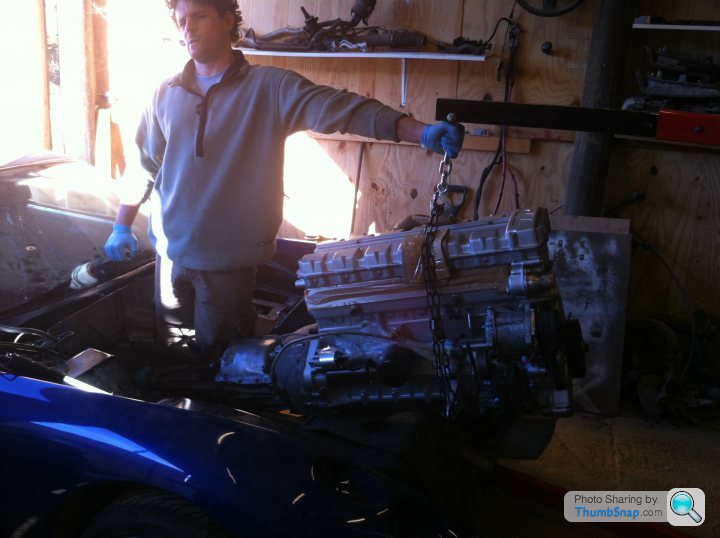
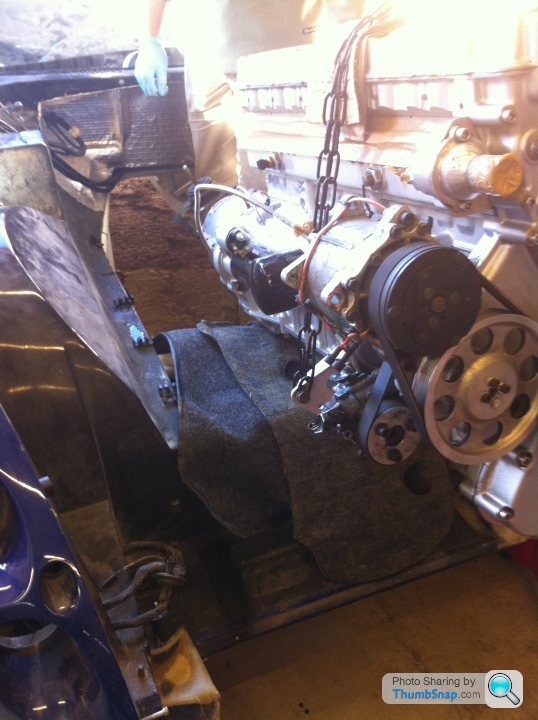
More pics to come.
Over the top, a small tilt sideways and its on it's mounts Didn't even need to put the car on axle stands! Just had to drill a new hole for the adjustable arm on the crane to give me an extra 8cm to get the engine onto the engine mounts without the crane clashing with the front of the body structure/glass fibre.
More pics to come.
A few updates on prgress:
Engine in, gearbox mounted, prop connected, cooling pipes in, oil pipes in, steering rack connected to bottom shaft of steering column, chassis wxoiled (on the top of the outriggers, underside will be done when the car is on a 2 post lift), fuel tank in and brake pipes connected.
I've taken the first week in jan off so that I can make some good progress, hopefully get to a stage where the engine can be turned over for the first time.
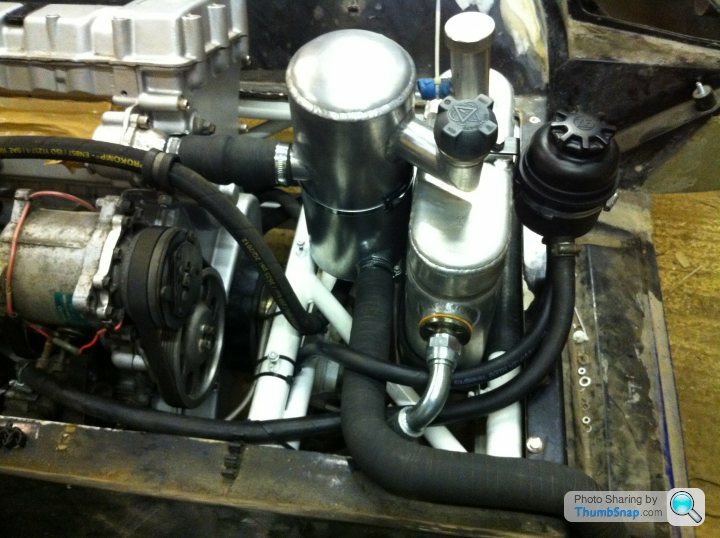
Gassing Station | General TVR Stuff & Gossip | Top of Page | What's New | My Stuff