Diy dent repair
Discussion


Mrs has managed to hit the 206 on rear arch panel, I've had quotes with the cheapest body shop repair coming in at £250 to fill and paint, the cats worth about £500 max so I think it's better to have a go myself and improve it, I've managed to fill most the dent tonight, I think I need some filler glaze as I have small imperfections in the filler,
So will get this tomorrow, any tips guys in nth filling and sanding also painting, I will be getting aerosol colour and 2k primer (I have a decent max) with blending also can you help with any tips
So will get this tomorrow, any tips guys in nth filling and sanding also painting, I will be getting aerosol colour and 2k primer (I have a decent max) with blending also can you help with any tips


Looking good.
Don't forget to guide coat & wetflat the primer - I use 1000 wet&dry.
Scuff the rest of the area you intend to paint - bearing in mind the edge of the clear must go beyond the colour - usually easier to work to a panel line, either edge or a swage line & lose the edge on the line. If going to a line look up 'backtaping'.
Apply the colour coat in coats as directed on the can or Technical Data Sheets until coverage is achieved.
Apply the clear as directed on the can. I use a spraygun & usually two coats is sufficient.
Allow to fully cure.
Wetflat any nibs of excess texture with fine wet&dry - 2000 grit.
Polish with compound such as Farecla G3 being especially careful on the edges of the repair.
As far as the match of colour is concerned you may need to find a motor factor that mixes paint AND puts it into aerosol form to do a match to your car. Peugeot silvers, esp Aluminium Grey can be a PITA due to the number of different shades so fuel filler flap may need to be removed & taken in.
Thanks
Unfortunately i haven't got a local motor factors handy so I've ordered from paints4u, so hope this will be ok,
Another thing is the rear wheel arch panel is almost the length of the car with no swage lines to spray too
Example
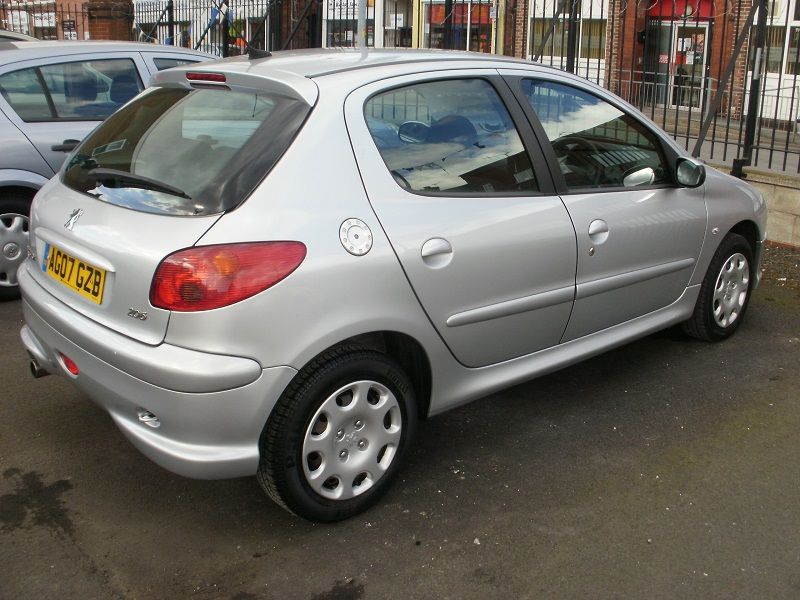
So I guess il have to try feather the paint out from the repair into the current paintwork ? My repair is under the rear lamp almost the length of it
What should I key the area with ? 1500?
Edited by chriz1 on Tuesday 28th June 22:23
Edited by chriz1 on Tuesday 28th June 22:23
Blend the colour out on the curve of the fuel filler area. Extend the clearcoat 4 to 5 inches past the colour.
Backtape to control the edge of the clear & to avoid going to the top of the panel. After applying the final coat of clear & while it is still wet remove the backtape & lightly spray the clearcoat edge with fadeout blender (Using a spraygun I just use neat Universal thinner) to melt the edge. DON'T go mad or it WILL sag or run. Nice thing about silver is losing the edge of the clear is easy, backtaping means you get an edge but it isn't a built-up one.
To scuff the area incl beyond where the clear will finish I use 1500 w&d used wet - although 2000 might be better.
ETA To blend colour out draw the gun away from the panel as you get to the original painted area. Easier to show than to describe but if you look at these clips you can see that the main colour area is over the primer & the blend area has less paint applied.
https://www.youtube.com/watch?v=KuB6chd702E
https://www.youtube.com/watch?v=hl5UG4GwcEk
Edited by paintman on Wednesday 29th June 18:49
I normally just use 1500 used wet for small areas. You want a uniform matt appearance over area to be painted & that includes the area just beyond that to be clear coated. Anything shiny is likely to see paint/clear peeling later as the paint has nothing to grip onto.
If you use something that's too coarse you might find that polishing out the clear coat blend area peels back the edge of the clear.
Scotchpads are best used with a flatting compound (I've got that as well - Farecla G Matt).
ETA. Don't forget to degrease the area that you're going to paint on, panelwipe or similar.
Edited by paintman on Wednesday 29th June 20:01

Gassing Station | Bodywork & Detailing | Top of Page | What's New | My Stuff