Respray of a die-cast model
Discussion


Have you looked at using Tamiya aerosol colours?
I used their Mica Blue last year on my Sauber, the colour depth is amazing and flake size is so small you can't see the flakes, just "where they are".
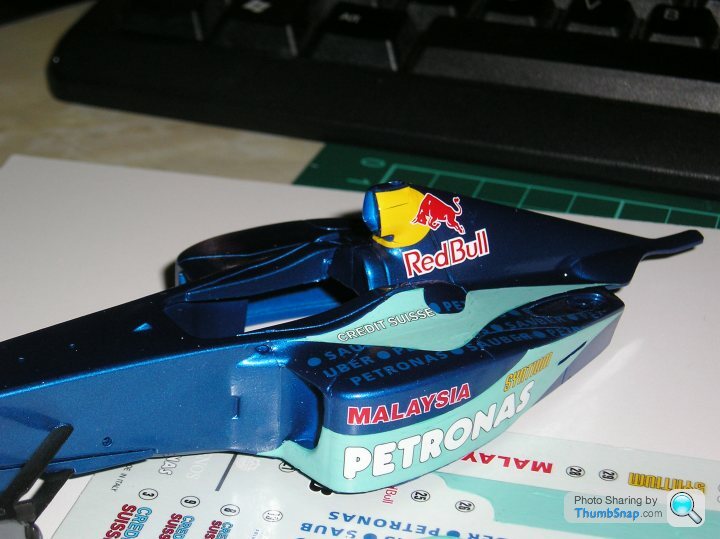
Other dark blue colours were seen on the shelf when I bought this.
I decanted it and applied it with my airbrush.
(And later found that it sprayed with just as much delicacy from the can. Nice paint.)
Anyway, worth a look in your local model shop.
b
I used their Mica Blue last year on my Sauber, the colour depth is amazing and flake size is so small you can't see the flakes, just "where they are".
Other dark blue colours were seen on the shelf when I bought this.
I decanted it and applied it with my airbrush.
(And later found that it sprayed with just as much delicacy from the can. Nice paint.)
Anyway, worth a look in your local model shop.
b
The answer was staring me, almost literally, in the face. BMW montreal blue.
Not delighted with my paint work, needs a little polish to bring it to its best I think. Too much paint on there, too.
Can anyone suggest where I can get a sheet of 1/18 Ferrari transfers/decals for road cars please?
Not delighted with my paint work, needs a little polish to bring it to its best I think. Too much paint on there, too.
Can anyone suggest where I can get a sheet of 1/18 Ferrari transfers/decals for road cars please?
For next time and for anyone else ....
http://www.hiroboy.com/catalog/product_info.php?cP...
Decals here:
http://www.ebay.co.uk/itm/1-18-1-12-1-24-1-20-1-43...
maybe worth getting these at the same time
http://www.ebay.co.uk/itm/1-18-1-12-1-24-1-20-1-43...
You can also buy inket waterslide decal paper and print your own.
http://www.hiroboy.com/catalog/product_info.php?cP...
Decals here:
http://www.ebay.co.uk/itm/1-18-1-12-1-24-1-20-1-43...
maybe worth getting these at the same time
http://www.ebay.co.uk/itm/1-18-1-12-1-24-1-20-1-43...
You can also buy inket waterslide decal paper and print your own.
Edited by sgrimshaw on Sunday 29th July 04:03
ferrisbueller said:
Thanks for those.
Do you know where I can get the paper and the templates please?
Paper is available on ebay or from here:Do you know where I can get the paper and the templates please?
http://www.craftycomputerpaper.co.uk/default.aspx
Lots of info on that site too.
You'll have to google for the images.
No idea how good the paper actually is .. although the results on that site look pretty good.
SV8Predator said:
There is certainly no need to remove the original finish.
Just make sure you have prepared it correctly for the new finish.
Using a paint stripper leads to problems if the stripper is not fully removed from every microscopic crevice before applying the new primer.
I've just started receiving parts for this enormous 1:8 scale Nissan GT-R model from Eaglemoss: http://gtr-collection.com/Just make sure you have prepared it correctly for the new finish.
Using a paint stripper leads to problems if the stripper is not fully removed from every microscopic crevice before applying the new primer.
As the completed model will weigh over 10kg (!) I assume the body panels are all going to be metal, the front bumper certainly is.

The thing is, I hate silver! Got a lovely 1:12 AutoArt GT-R in silver, but only because they don't do Gun Metallic (my GT-R's colour).
So for this 1:8 monster, I want to custom paint it Midnight Purple, the colour of my old R33 GT-R V-spec (AKA Godzilla 1).
But I'm loathe to dip all the parts in paint stripper. Can I get away with just a light rub down of the outer surfaces and a spray can of Halfords primer? Or even better, just primer on the pristine painted surface?
And the big question is, where I can get a good quality spray can of Nissan Skyline GT-R Midnight Purple?
And what if some panels turn out to be plastic? Wouldn't car paint just melt plastic?
The trouble with most factory paint finishes on large scale models is that is looks like the model has just been dipped into the paint. This creates a very rounded, very soft finish to the model, it in effect takes away all the crisp detail and in a lot of cases erases cast in detail such as handles etc. This is why I always advise fully stripping, as applying more paint over the top just adds to the issue. The other issue is that you don't know what the original paint is, so applying another paint on top could cause issues with paint reaction. You'd definitely be stripping it all off then.
Car paint does not necessarily eat plastic either. I use Halfords primer on my models, both metal and plastic without issue. I also airbrush car paints on plastic models without issue.
Car paint does not necessarily eat plastic either. I use Halfords primer on my models, both metal and plastic without issue. I also airbrush car paints on plastic models without issue.
I'm not after the ultimate museum quality finish, just a decent-looking colour change.
And I haven't done any model-building since my teenage years and my attention span (and time available) is a tiny fraction of what it was, so the easier the process the better.
I just think it's too good an opportunity to pass up seeing as the kit is being delivered in component parts anyway.
Chances are, I'm going to get a spare bumper to practise with, so I will see how it looks just spraying primer straight onto it.
As fine as you can get, so very lightly with 1200 grade wet and dry (if no scotch pads are available), I wouldn't go coarser than that. Make sure to thoroughly clean it afterwards as well. The aim is to create a key for the primer, rather than to remove what is there.
Moving on, you'll need to decide how you are going to tackle the detail work that is already applied to the more, so things like the window surrounds etc. You can either ignore and reapply later, or try and preserve it from the start (and then probably reapply some of it later). Tamiya masking tape and PVA glue are two good tools for this.
I will reiterate again about the thickness of paint. You need to be applying very very light layers of all coats to avoid the end result looking like a blob with no detail.
ferrisbueller said:
I'm at it again. First effort has stood the test of time OK, though could probably benefit from a minor re-do.
Having a go at a Motor Max NSX this time. I never have the balls to have a go at a Kyosho, Autoart or similar!
I wouldnt either on a £150 AutoArt car.Having a go at a Motor Max NSX this time. I never have the balls to have a go at a Kyosho, Autoart or similar!
I painted my Otto resin Focus RS from the original blue to Ford Frozen White, which was the most expensive car I've bought to paint.
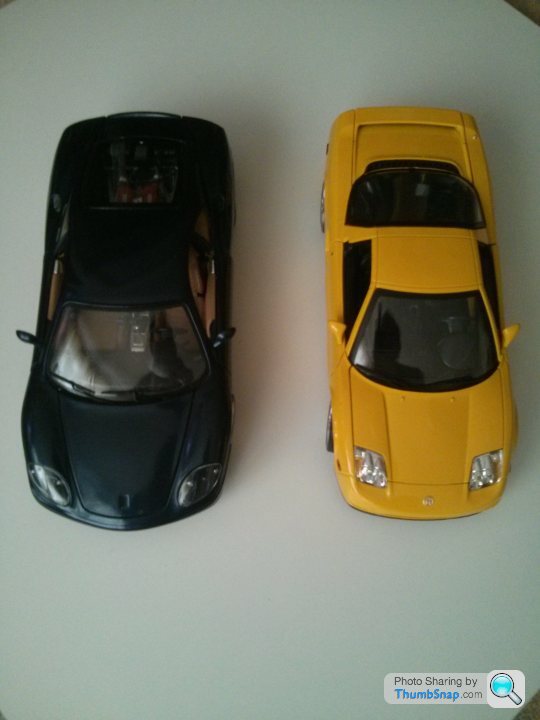
Going to try and take the original Motor Max model which looks like this:
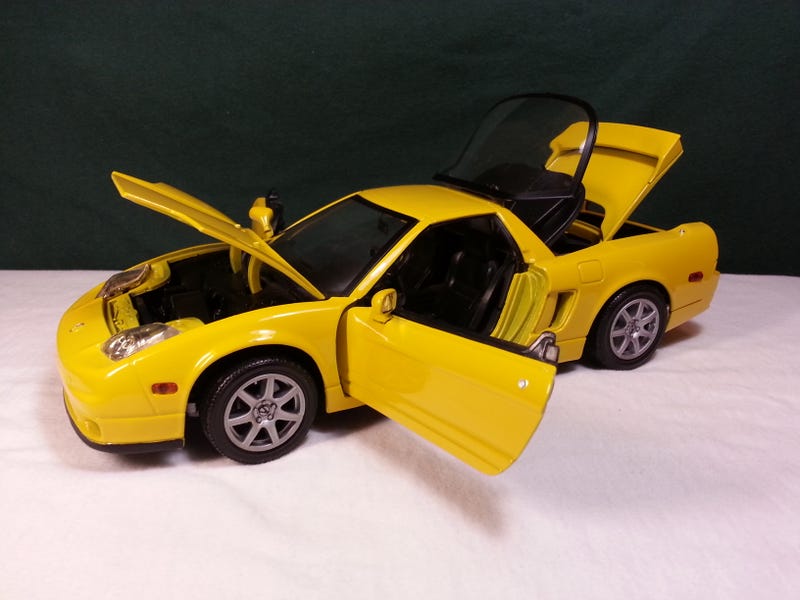
And make it look like this:

Actually quite impressed by the Motor Max, which I picked up at a boot sale. It's well put together and, unlike the Kyosho models, the ride height is almost right. It also has springs in the "suspension" which I'll be able to trim to lower the car to a realistic height. Only Autoart have ever got that aspect of the NSX right on their models.
And make it look like this:
Actually quite impressed by the Motor Max, which I picked up at a boot sale. It's well put together and, unlike the Kyosho models, the ride height is almost right. It also has springs in the "suspension" which I'll be able to trim to lower the car to a realistic height. Only Autoart have ever got that aspect of the NSX right on their models.
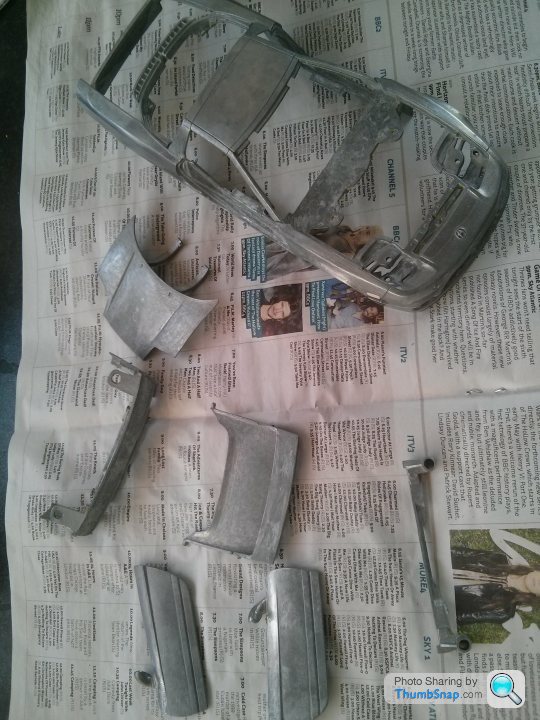
Got the model stripped down. A couple of stubborn bits required patient removal where rivets had been rounded off over plastics but it wasn't so bad.
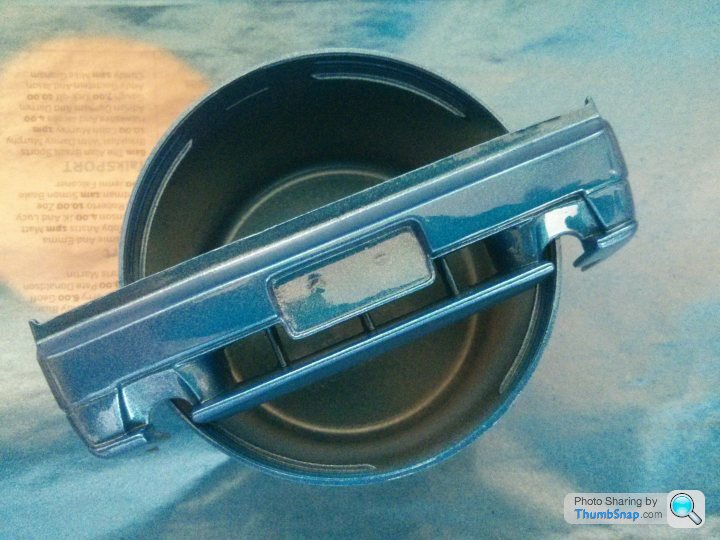
So, equipped with B&Q's finest paint stripper and a Tesco basics roasting tin, the stripping will begin. Long Beach Blue isn't available off the shelf and a custom mixed tin is nearly 20 quid, which is hard to justify so I stood in front of the paint rack in Halfords, phone in hand, and googled images of each similar blue in turn until I got close-ish to the image of the NSX I had for comparison.
I've got some filler in the garage. Probably a decade old but it may still be useful, fingers crossed.
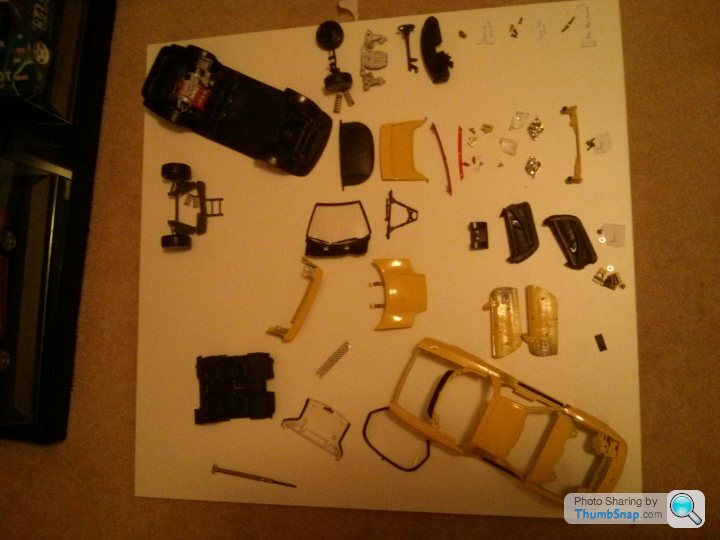
From tear down, to strip down. Using aforementioned B&Q paint stripper was a longer job than old-school Nitromors. It says much that the latter came packaged with warnings akin to weapons grade uranium, the former by all accounts is practically safe to bathe in.
However, after much dipping, scraping washing and sanding, the job was done.
I bought some P38 to fill the side marker recesses and also had a go at filling gaping chasms between the door and the wing mirror.
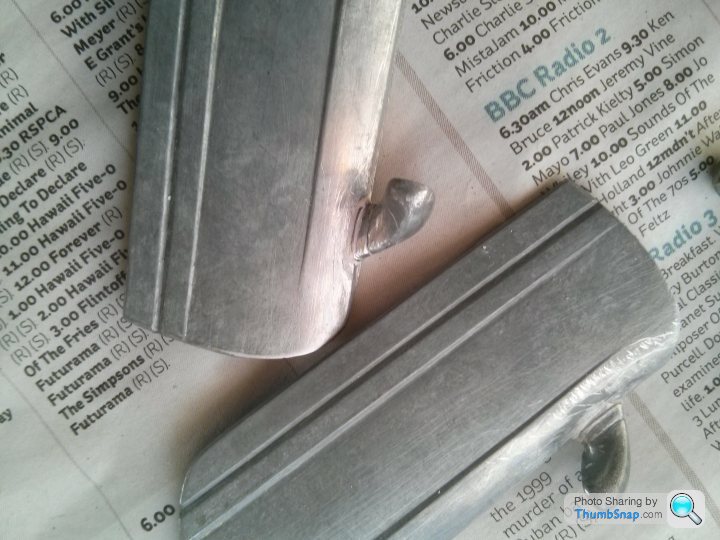
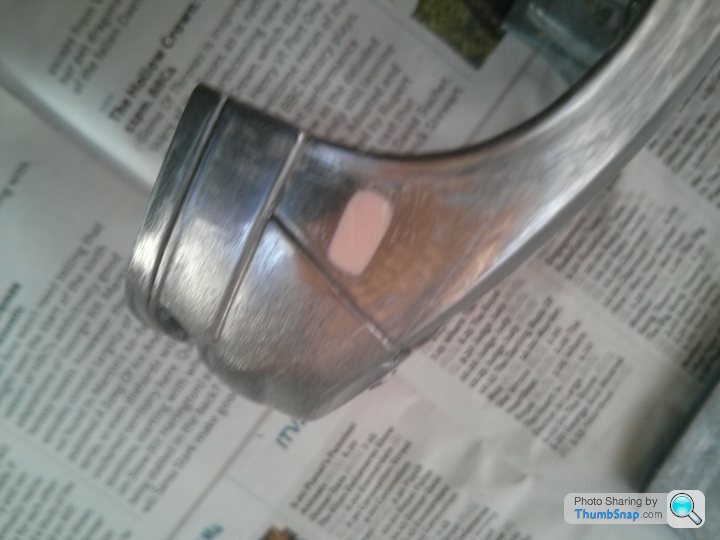
All looked OK until I got the primer on it, which revealed a few imperfections and bubbles in the filler and also that it wasn't as good a job as I'd have liked. I looked at it and pondered just cracking on. Then I thought, what would the Dr do? (Chuck it in a bucket of brake fluid and start again!). I decided on a half-way house and stripped back the primer and smoothed over the filler before priming the affected sites again (3 of the 4).
Primed, wet sanded and dried, I then applied a thin coat of the final colour. Long Beach Blue isn't available off the shelf. £20 for a specific mixed batch is too much, so I've got a Nissan
Met Blue. It's going to take several coats to get the depth in the colour though it's not as washed out as it looks here. Hopefully, i'll be able to do it whilst retaining the detail in the casting, which is pretty decent to be fair.
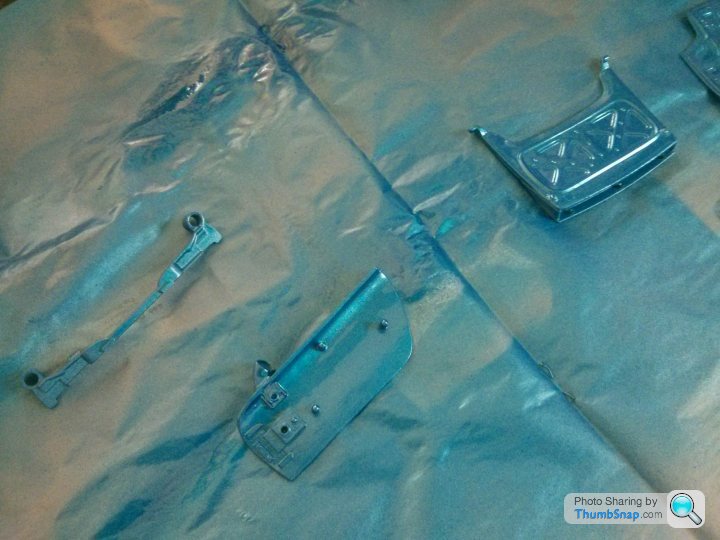
A few coats to finish the colour, a few careful mods to colour the badge and a couple of details then I'll need to figure out how to do the black spoiler on the front bumper, plus the intakes.
However, after much dipping, scraping washing and sanding, the job was done.
I bought some P38 to fill the side marker recesses and also had a go at filling gaping chasms between the door and the wing mirror.
All looked OK until I got the primer on it, which revealed a few imperfections and bubbles in the filler and also that it wasn't as good a job as I'd have liked. I looked at it and pondered just cracking on. Then I thought, what would the Dr do? (Chuck it in a bucket of brake fluid and start again!). I decided on a half-way house and stripped back the primer and smoothed over the filler before priming the affected sites again (3 of the 4).
Primed, wet sanded and dried, I then applied a thin coat of the final colour. Long Beach Blue isn't available off the shelf. £20 for a specific mixed batch is too much, so I've got a Nissan
Met Blue. It's going to take several coats to get the depth in the colour though it's not as washed out as it looks here. Hopefully, i'll be able to do it whilst retaining the detail in the casting, which is pretty decent to be fair.
A few coats to finish the colour, a few careful mods to colour the badge and a couple of details then I'll need to figure out how to do the black spoiler on the front bumper, plus the intakes.
Edited by ferrisbueller on Wednesday 27th April 23:40
Gassing Station | Scale Models | Top of Page | What's New | My Stuff