1:72 Tornado GR4, Dambusters70th Anniversary
Discussion


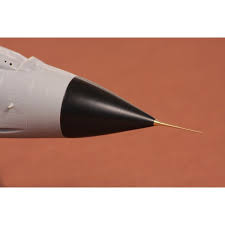
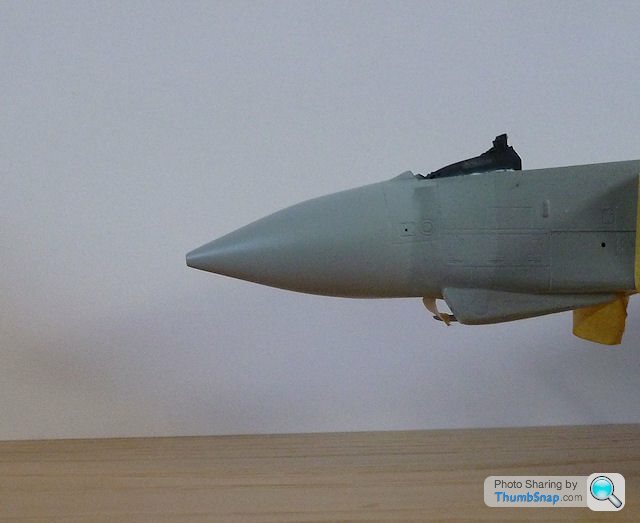
I ended up ordering an SBS resin nose - I wasn't 100% with the one I re-profiled. Luckily the original nose snapped off with a clean break. This is the new one; looks like I'll now have a spare brass pitot tube too:
So while it arrives I've been filling the various gaps between parts and re-scribing the panel detail that was lost (or not there in the first place). The forward fuselage on this kit is strange because it has good surface detail on the top and sides, but very poorly defined detail underneath. It isn't uncommon on kits to see surface detail refined in the areas the eye is drawn to (like the nose of an aircraft), but this one seems to have taken it to an extreme. Even more puzzling is the fact that the rear fuselage has excellent detail underneath. Anyway, I filled the fuselage joins and what was left of the panel lines, and re-scribed all-new ones:
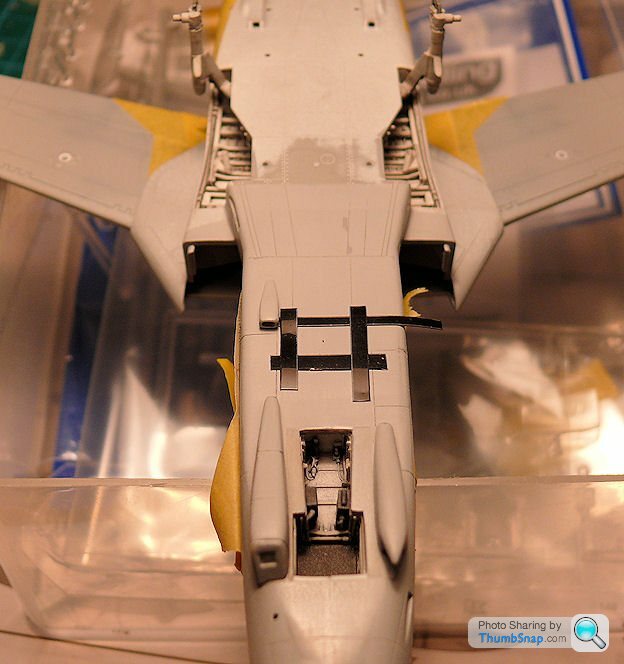
The top of the intakes is also very vague, again with the lines partially formed or missing:

So I filled in what was there, and again re-scribed the whole lot on both sides:

You can also see on that test-fit picture that the IFR pipe fairing touches the intake. I will have to carefully sand the fairing back to give a bit of a gap. the ridges and bumps on the paint are where I've masked the cockpit etc. while applying guide coats. It will all disappear before final painting.
Yes, it looks a mess in the photos, but once it's had a final flatting and a coat of grey it will look acceptable again. Re-scribing lost detail is not a job I like very much, but it does make a difference.
So while it arrives I've been filling the various gaps between parts and re-scribing the panel detail that was lost (or not there in the first place). The forward fuselage on this kit is strange because it has good surface detail on the top and sides, but very poorly defined detail underneath. It isn't uncommon on kits to see surface detail refined in the areas the eye is drawn to (like the nose of an aircraft), but this one seems to have taken it to an extreme. Even more puzzling is the fact that the rear fuselage has excellent detail underneath. Anyway, I filled the fuselage joins and what was left of the panel lines, and re-scribed all-new ones:
The top of the intakes is also very vague, again with the lines partially formed or missing:
So I filled in what was there, and again re-scribed the whole lot on both sides:
You can also see on that test-fit picture that the IFR pipe fairing touches the intake. I will have to carefully sand the fairing back to give a bit of a gap. the ridges and bumps on the paint are where I've masked the cockpit etc. while applying guide coats. It will all disappear before final painting.
Yes, it looks a mess in the photos, but once it's had a final flatting and a coat of grey it will look acceptable again. Re-scribing lost detail is not a job I like very much, but it does make a difference.
So most of the re-scribing is done. Just waiting for the nose and to fit the windscreen and I can get it painted.
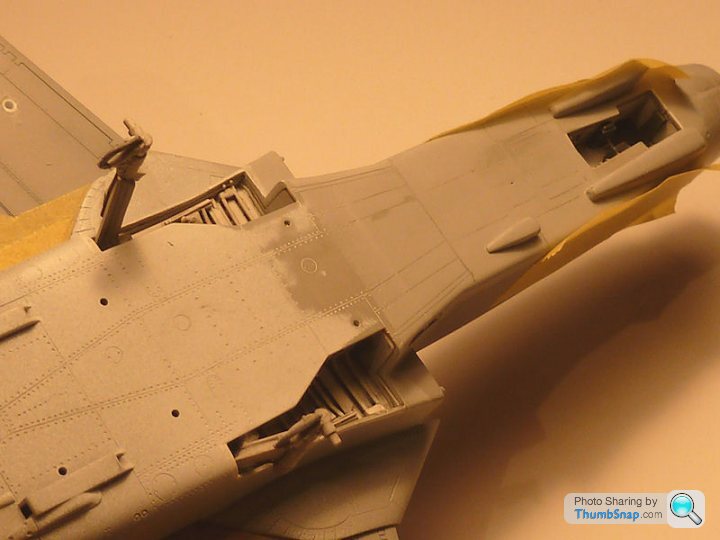
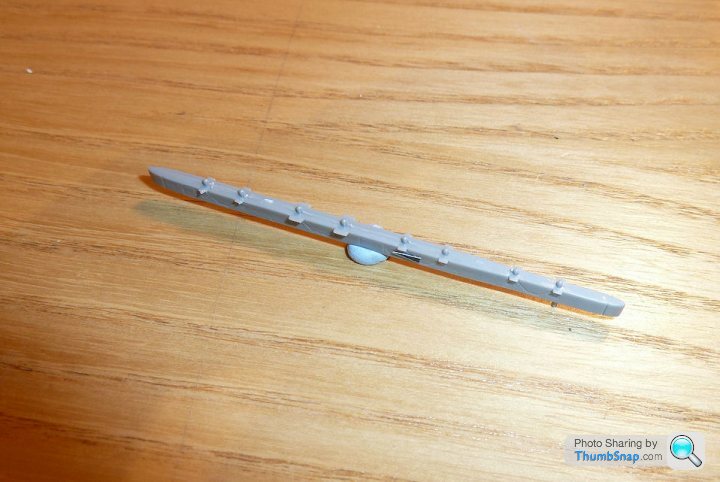
I think this one is going to fight all the way; I noticed that the shoulder rails were way off a good fit on the fuselage:
It must just be the way the kit is - the forward fuselage was a pretty good fit (it's not bend downwards) and in any case there is a large gap at the rear of the rail too.
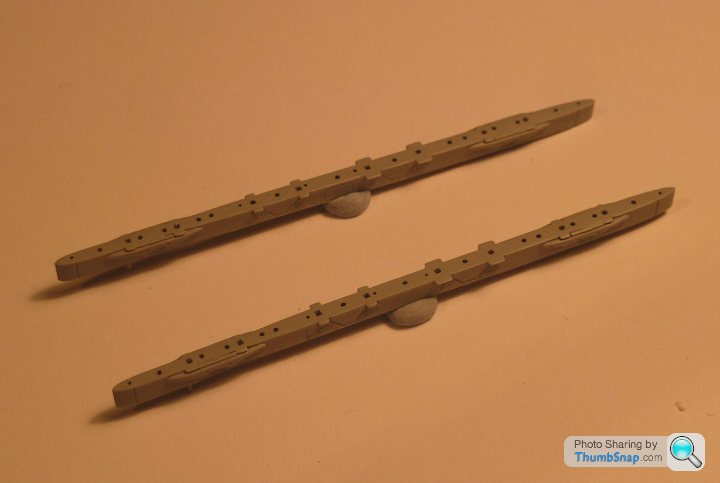
The rails themselves do have quite a bit of detail that need adding to their undersides, mainly square and round pockets.
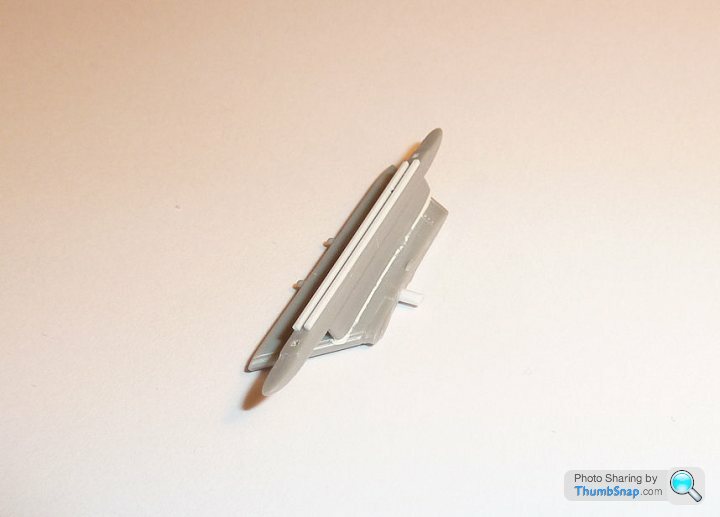
Also fitted the misile rail to the port inner wing pylon (the only one fitted on this aircraft at the time of the flypast), and that needed quite a bit of filling too. It also needs some detail added to the face:

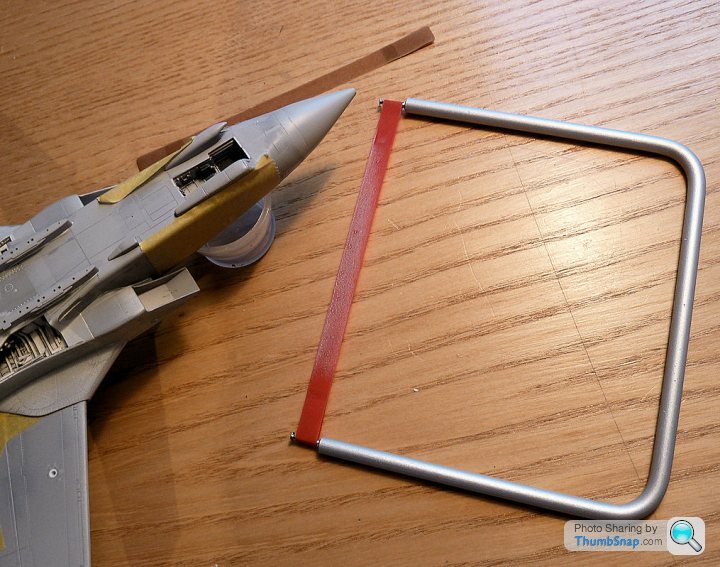
Much to my surprise, my son has obviously been taking careful note of my modelling endeavours; for Christmas he made me this "not finished model holder" out of some polystyrene and a bog roll tube:
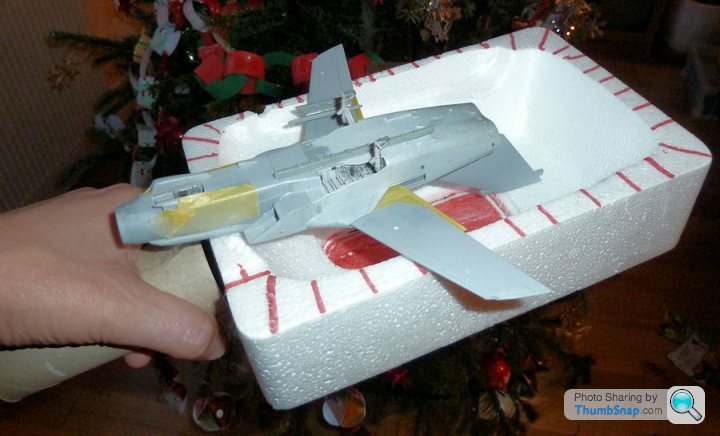
It's surprisingly handy for holding not finished models.
I also got a few modelling books for Christmas:
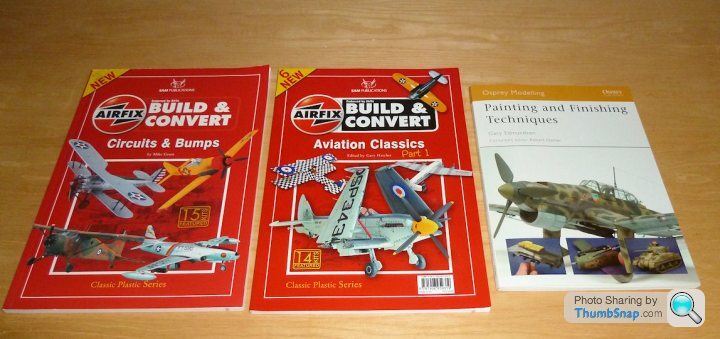
They are all great books, for different reasons. the Osprey Painting and Finishing one is very slick and is full of great tips and techniques. The other two (the Build and Convert" series) you have to be a bit careful with. The ones by Mike Grant are excellent - loads of great ideas for improving old kits, although his love of black-ink panel lines ruins his work in many cases IMO. The other books in the series, i.e. the ones "Edited by...." contain models built by various people, many of which are hilariously bad. Once you've got over the shock of a published book containing such appalling work, it's quite funny to read how much effort has apparently gone into the stuff that's in there. You can learn a lot about how not to build models, although I guess that wasn't the pont of the books. Ow, I am terrible...
I think this one is going to fight all the way; I noticed that the shoulder rails were way off a good fit on the fuselage:
It must just be the way the kit is - the forward fuselage was a pretty good fit (it's not bend downwards) and in any case there is a large gap at the rear of the rail too.
The rails themselves do have quite a bit of detail that need adding to their undersides, mainly square and round pockets.
Also fitted the misile rail to the port inner wing pylon (the only one fitted on this aircraft at the time of the flypast), and that needed quite a bit of filling too. It also needs some detail added to the face:
Much to my surprise, my son has obviously been taking careful note of my modelling endeavours; for Christmas he made me this "not finished model holder" out of some polystyrene and a bog roll tube:
It's surprisingly handy for holding not finished models.
I also got a few modelling books for Christmas:
They are all great books, for different reasons. the Osprey Painting and Finishing one is very slick and is full of great tips and techniques. The other two (the Build and Convert" series) you have to be a bit careful with. The ones by Mike Grant are excellent - loads of great ideas for improving old kits, although his love of black-ink panel lines ruins his work in many cases IMO. The other books in the series, i.e. the ones "Edited by...." contain models built by various people, many of which are hilariously bad. Once you've got over the shock of a published book containing such appalling work, it's quite funny to read how much effort has apparently gone into the stuff that's in there. You can learn a lot about how not to build models, although I guess that wasn't the pont of the books. Ow, I am terrible...
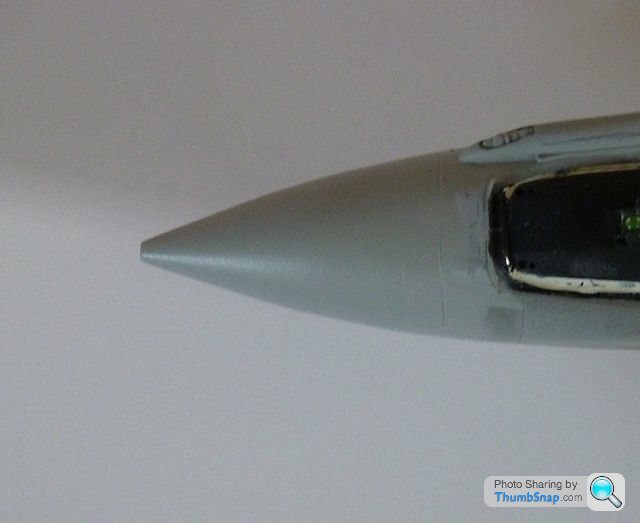
The SBS nose arrived today, just needed the resin casting head sawing off:

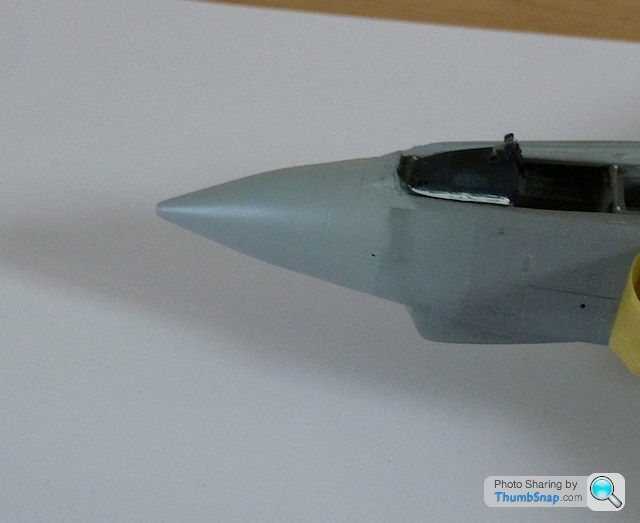
Here it is compared with my reprofiled nose (middle) and a spare original:

I think the biggest difference is at the interface with the fuselage - it's more tangential. TBH I shuold have just used the kit nose, the difference is tiny, and I would never haev noticed any error.
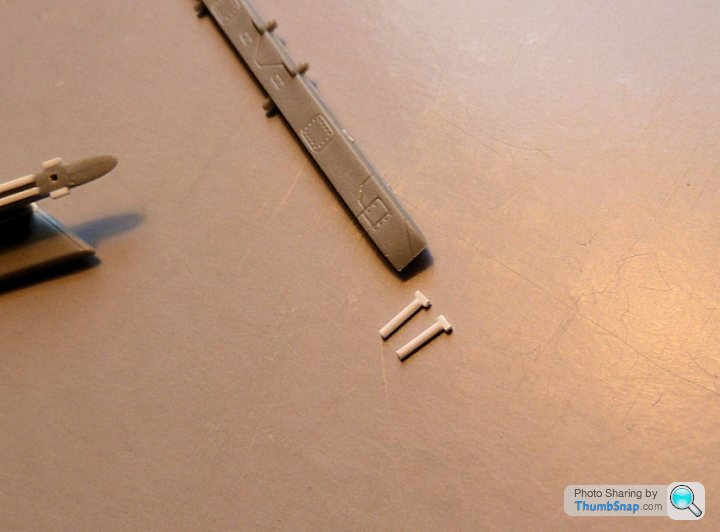
Also made a start marking the pockets under the shoulder rails. I'll hollow them out before attaching to the fuselage and filling the gaps.

The other daft thing is that the wing seals are wrong if you have the wings extended - they have a massive gap where the wing root would fit. I've made some new ones which I'll sand to a precise profile once the fuselage is painted. I cut off the rear portions of the seals and filled the remaining cut outs with plastic rod. These parts are not fabric, so will be attached now, filled and painted fuselage colour:
Here it is compared with my reprofiled nose (middle) and a spare original:
I think the biggest difference is at the interface with the fuselage - it's more tangential. TBH I shuold have just used the kit nose, the difference is tiny, and I would never haev noticed any error.
Also made a start marking the pockets under the shoulder rails. I'll hollow them out before attaching to the fuselage and filling the gaps.
The other daft thing is that the wing seals are wrong if you have the wings extended - they have a massive gap where the wing root would fit. I've made some new ones which I'll sand to a precise profile once the fuselage is painted. I cut off the rear portions of the seals and filled the remaining cut outs with plastic rod. These parts are not fabric, so will be attached now, filled and painted fuselage colour:
perdu said:
Did the brass new pitot come with it doc?
Or will you still be able to reuse the old new one
Old?
New?
you know what I mean
You get a brass pitot tube and AoA probes with the resin nose. So I've got them duplicated. I'm sure I'll end up building another Tornado at some point - I've got a couple in the stash.Or will you still be able to reuse the old new one
Old?
New?
you know what I mean
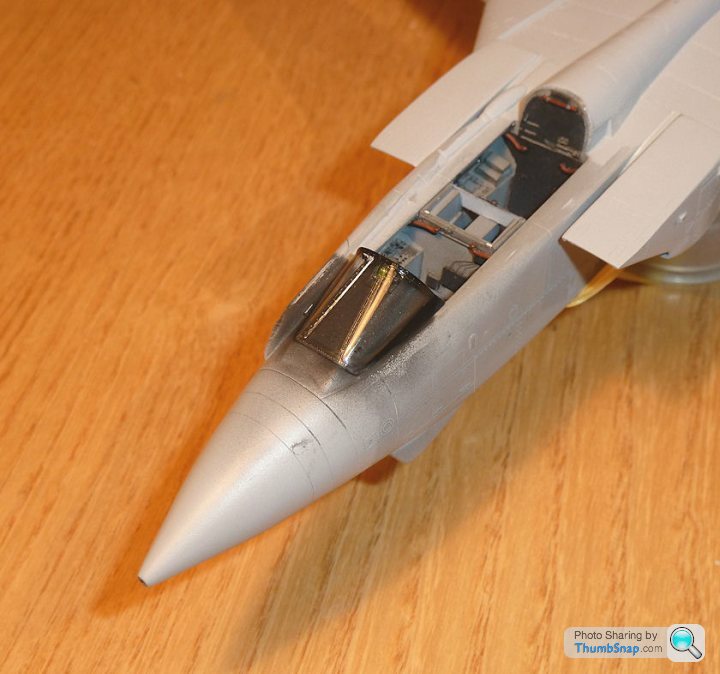
The nose is proving to be a nightmare - I wish I'd just used the kit version. From what people said, it was way off, but I think the fact is that once painted, you'd be hard pressed to tell the original from this resin version. The tangency of the nose to fuselage interface is all over the place. At least it's giving me a chance to use my new flexi file, which is ideal for this kind of stuff:
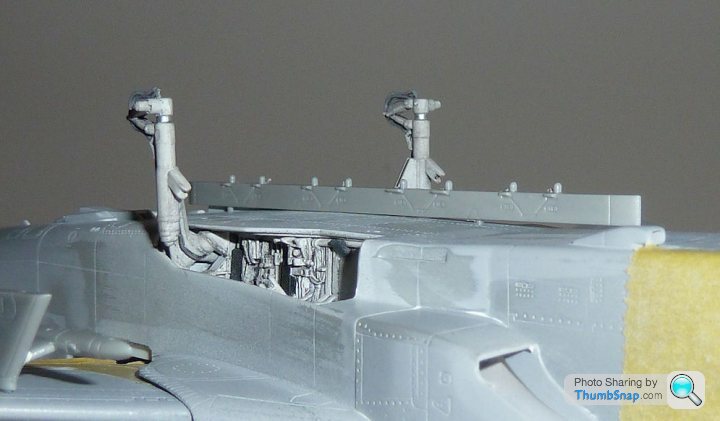
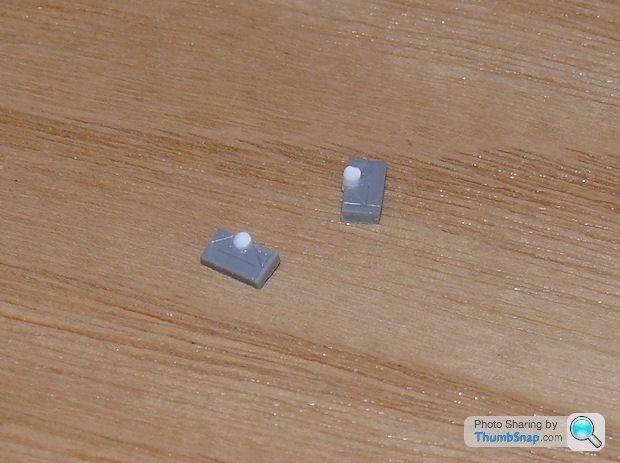
Also thought I'd make a start on the rose joint type things at the back of the shoulder rails. Again, not perfect, but when finished they will at least suggest that something is there:
Also thought I'd make a start on the rose joint type things at the back of the shoulder rails. Again, not perfect, but when finished they will at least suggest that something is there:
I often think your striving for perfection causes you more problems than it is worth.
Everybody has their own take on how much extra work they feel they need to put into their model builds. I sometimes think that your approach, whilst producing top rate models, does not always satisfy you.
Or am I wrong in thinking you seem to never really be pleased with what you have done?
Everybody has their own take on how much extra work they feel they need to put into their model builds. I sometimes think that your approach, whilst producing top rate models, does not always satisfy you.
Or am I wrong in thinking you seem to never really be pleased with what you have done?
Eric Mc said:
I often think your striving for perfection causes you more problems than it is worth.
Everybody has their own take on how much extra work they feel they need to put into their model builds. I sometimes think that your approach, whilst producing top rate models, does not always satisfy you.
Or am I wrong in thinking you seem to never really be pleased with what you have done?
Sometimes the trouble is worth it, sometimes it isn't. Unless I'd tried the resin nose, I wouldn't have known, so there we go. I'll sort it and hopefully the painting will go OK. At the end of the day, when I complete a model I usually know that I couldn't have done it much better, and that's where the satisfaction comes for me. IMO this Revell Tornado isn't a particularly good kit even considering it's age, and it's taking more work to get it close to what I want. Everybody has their own take on how much extra work they feel they need to put into their model builds. I sometimes think that your approach, whilst producing top rate models, does not always satisfy you.
Or am I wrong in thinking you seem to never really be pleased with what you have done?
My intention is to concentrate on a few decent kits that don't need any extra work, hence the Tamiya Zero and Eduard Hellcat in the stash.

jamieduff1981 said:
It looks good to me Doc. Something I can't help but notice when around aeroplanes is that hardly anything fits properly, and nothing is quite the shape it is supposed to be. I think you're too hard on yourself for what it's worth. 
P.S. I like your son's unfinished model holder
Ta- I think the nose is OK, in fact I think I was trying to make it what my interpretation of how it should look, rather than how it actually looks (which is slightly odd depending on angle).P.S. I like your son's unfinished model holder
I agree about the fit of panels etc., on a lot of older aircraft, although obviously at 1:72 a 0.5mm error equates to a 36mm error on the real thing. I think the smaller the scale the more critical things become - to a degree.


Gassing Station | Scale Models | Top of Page | What's New | My Stuff