1:72 Tornado GR4, Dambusters70th Anniversary
Discussion


jamieduff1981 said:
Milliput has worked well there.
I did this on a 1/8 scale Gloster Meteor I built (well it's awaiting paint - but I started it 6 years ago - children happened and r/c building stopped) like you using a home made vacuum box and the oven.
90% of the trial and error went in to getting the bottom 10% of the canopy to conform to the mould. You may already be planning to but I'd recommend filing/sanding the bottom of the mould sheer.
Yep, there's a thread on BM about this - I'm wondering whether to file the raised edge off all the way around to leave 3mm or so of flat 'land' for the plastic to run out onto. I'm guessing it won't conform to the sharp corner as it is, and will leave the trimmed canopy with a slightly flared edge all around.I did this on a 1/8 scale Gloster Meteor I built (well it's awaiting paint - but I started it 6 years ago - children happened and r/c building stopped) like you using a home made vacuum box and the oven.
90% of the trial and error went in to getting the bottom 10% of the canopy to conform to the mould. You may already be planning to but I'd recommend filing/sanding the bottom of the mould sheer.
The biggest problem was always going to be the canopy hinge cover extensions at the rear.
jamieduff1981 said:
With nothing to gain from stretching in to the corner the plastic will stretch to the shortest path from tangent to tangent.
I'd suggest the flat land would be most helpful.
Maybe for crash moulding, but surely the vacuum should pull it into any concave surfaces, it's the minimum bend radius of the plastic that I assume will be the problem?I'd suggest the flat land would be most helpful.
mcdjl said:
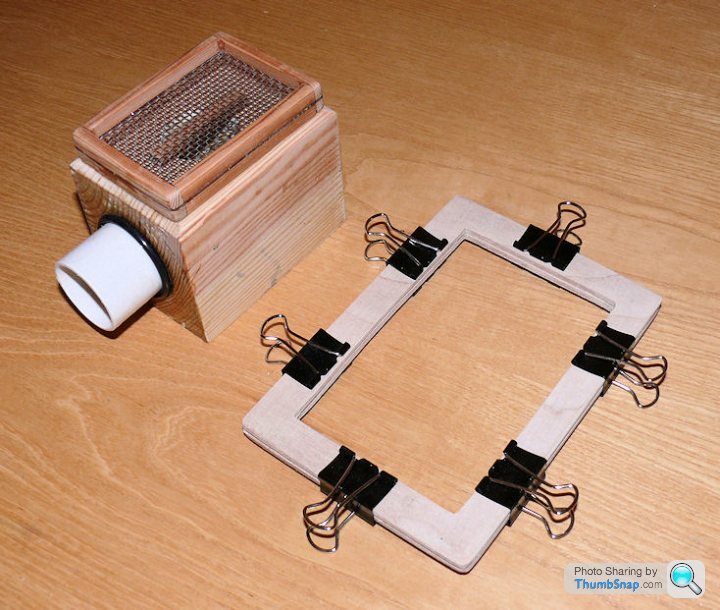
Will the raised edges around the vacuum box cause you problems? The plastic will have to stretch down into that, rather than just up over your mould which sounds like a recipe for deformation.
You need some kind of edge for the plastic to form an initial seal around to initiate the process. The plastic will be just below it's melting point so will stretch, and to a degree, flow around the plug. The top of the plug will end up a few mm above the rim of the box, so it shouldn't be a problem. The real issue is keeping the plastic hot enough to complete the process without cooling and stiffening too much. I'm thinking of putting the box on the open top door of our double oven (switched on) and heating the plastic in the fan oven below, then quickly transfer the plastic. The PET-G apparently has a working range of 120-190 deg.C, so hopefully if I set the oven to 180, I won't lose 60 degrees during the transfer/forming process.Playing a heat gun over it while vacc'ing down may help. I suspect the room temp air that will be being pulled past the plastic will cool it quite quickly.
You may also get to a point where the plastic has vacc'ed down over the plug and sealed off the more intricate areas which I suspect is what is being alluded to in earlier posts?
You may also get to a point where the plastic has vacc'ed down over the plug and sealed off the more intricate areas which I suspect is what is being alluded to in earlier posts?
its many years since I did vacuum moulding but the proper kit had a 'grill' like element to heat the plastic with. That might be a bit quicker than baking it! I know what you mean about needing a seal, that one just looks a bit deep for the area/height of the plug to me....still its easier to take a bit off than add it on if it comes to that!
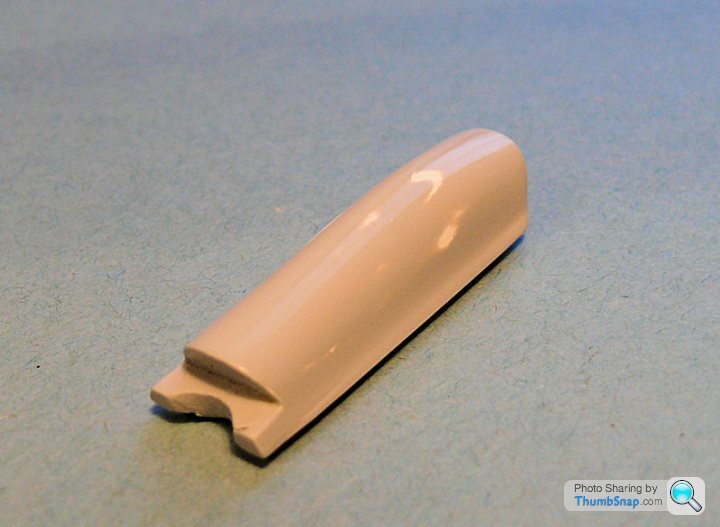
So all the peripheral steps are gone, and it's stuck to a plastic stip base. Still needs some angular features removing from the hinge area:
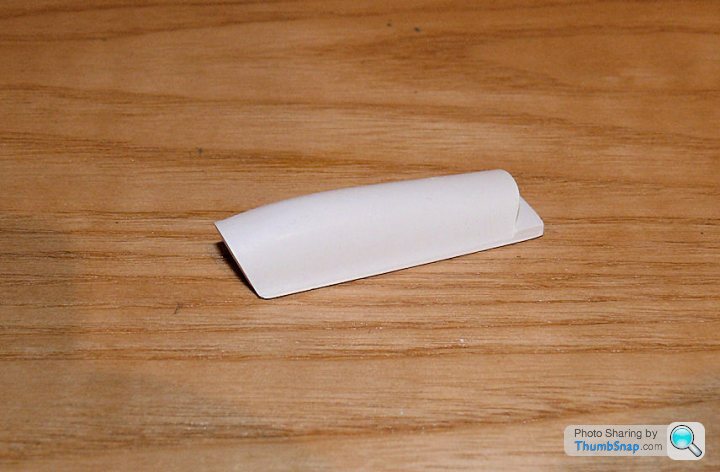
Currently got a coat of Surfacer 1200 brushed on it, which will be flatted back tomorrow before a final coat of, maybe Tamiya Fine Surface Primer polished with T-Cut?
Currently got a coat of Surfacer 1200 brushed on it, which will be flatted back tomorrow before a final coat of, maybe Tamiya Fine Surface Primer polished with T-Cut?
dr_gn said:
jamieduff1981 said:
With nothing to gain from stretching in to the corner the plastic will stretch to the shortest path from tangent to tangent.
I'd suggest the flat land would be most helpful.
Maybe for crash moulding, but surely the vacuum should pull it into any concave surfaces, it's the minimum bend radius of the plastic that I assume will be the problem?I'd suggest the flat land would be most helpful.
That said the mould looks like it'll work now.
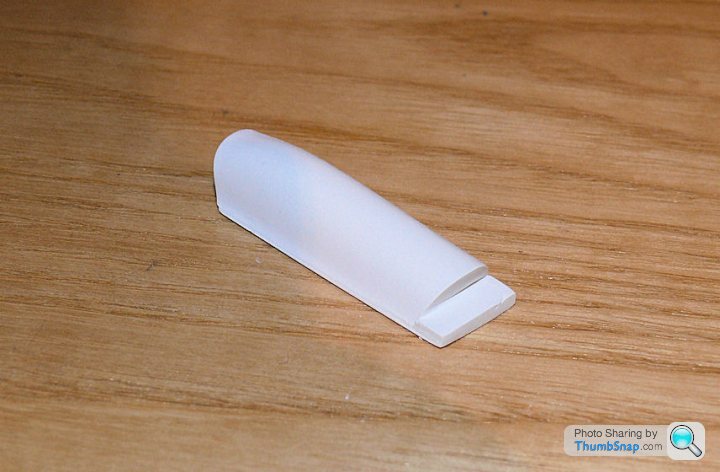
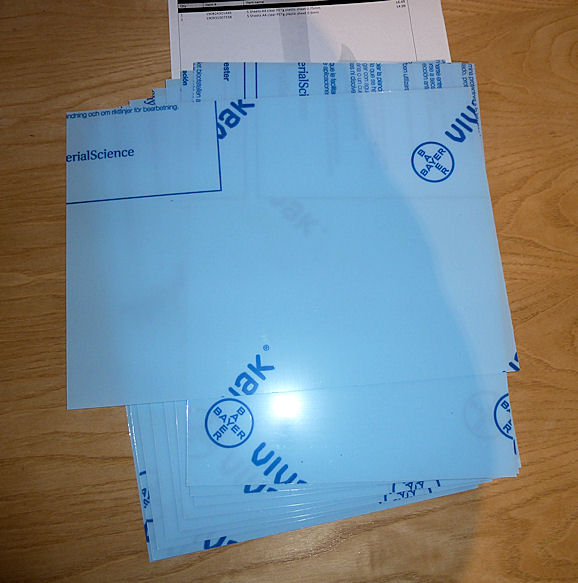
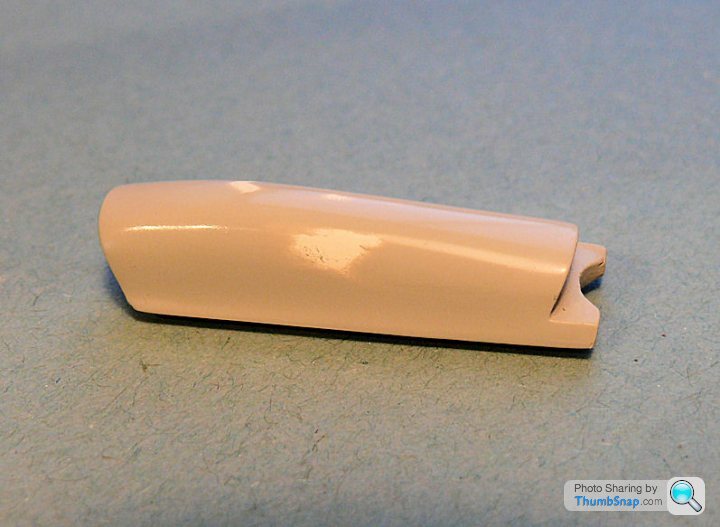
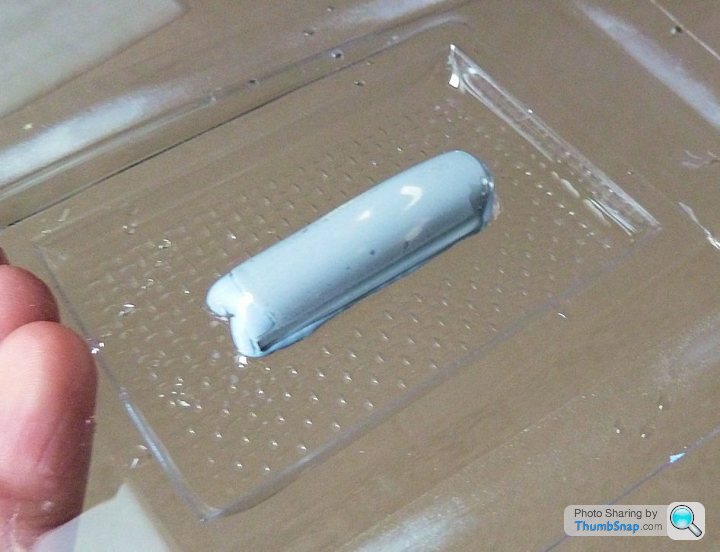
So here's the polished plug. Even though the Bayer data sheet for Vivak says it should be a matt finish, but I'll go with Fritag and Perdu's advice, since a polished mould worked fine for them:
And on the vacuum box, surrounded by Blutac as a sacrificial run out area. Blutac needs a bit more coaxing into some of the gaps, but it's not too far away now:

I'll leave it overnight for what's left of the primer to fully harden and then try a few test shots tomorrow all being well.
And on the vacuum box, surrounded by Blutac as a sacrificial run out area. Blutac needs a bit more coaxing into some of the gaps, but it's not too far away now:
I'll leave it overnight for what's left of the primer to fully harden and then try a few test shots tomorrow all being well.
Edited by dr_gn on Saturday 14th March 18:13
So here we go; I thought I'd get it over with...
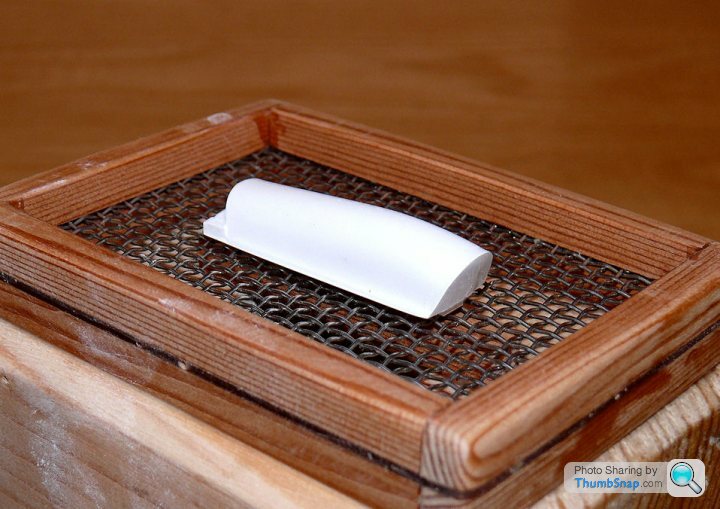
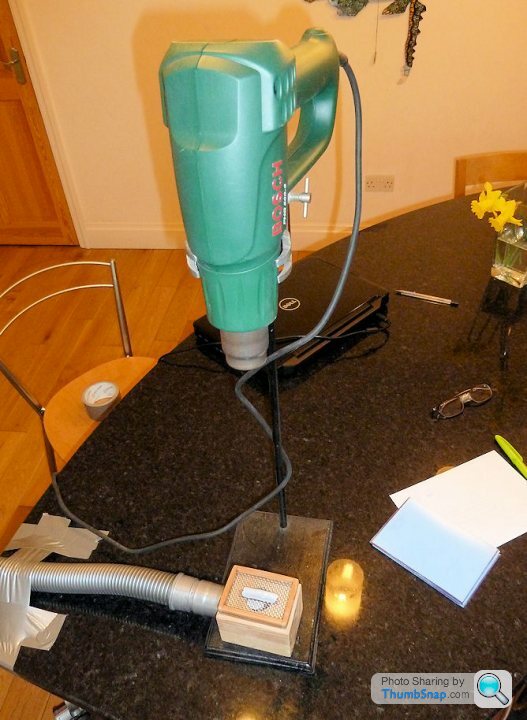
Set up a heat gun to pre-heat the plug:
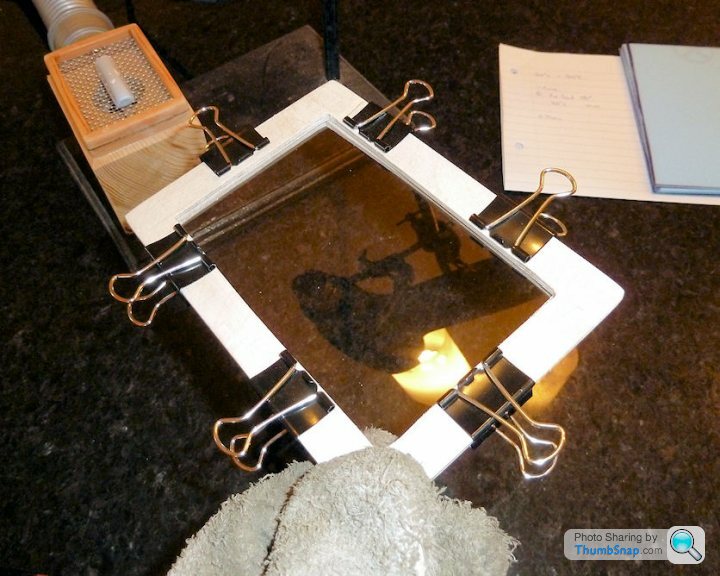
Put a sheet in the frame:
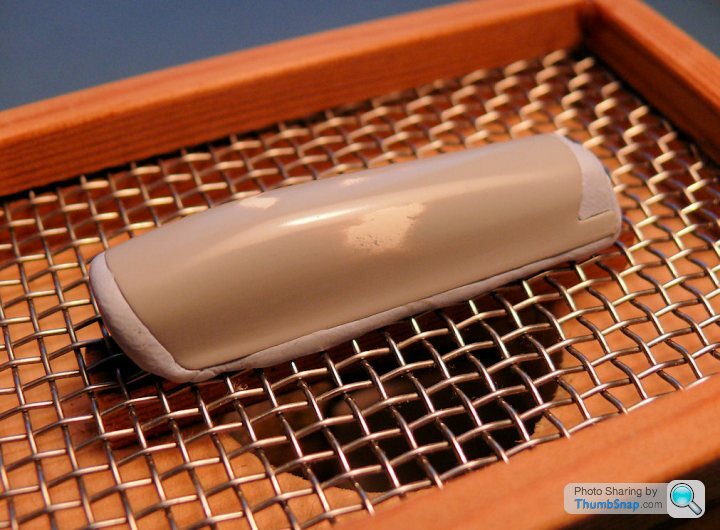
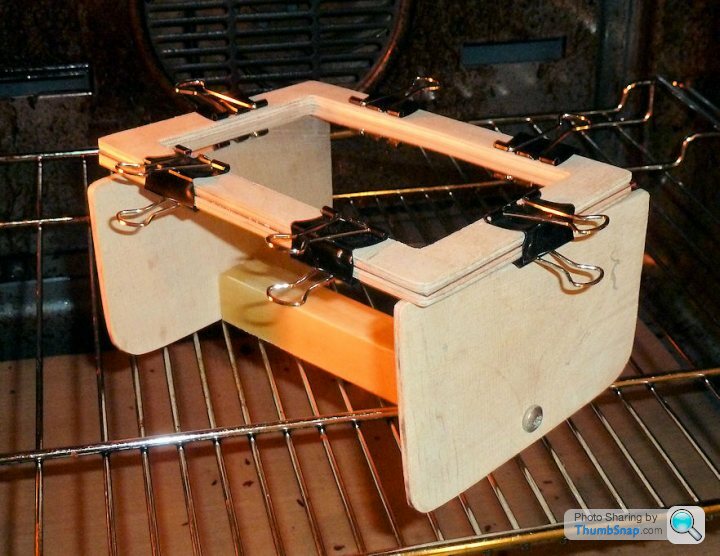
Into the oven (on a holder that allows me to see how much the sheet sags; 170DegC for 2.5 minutes seemed OK:
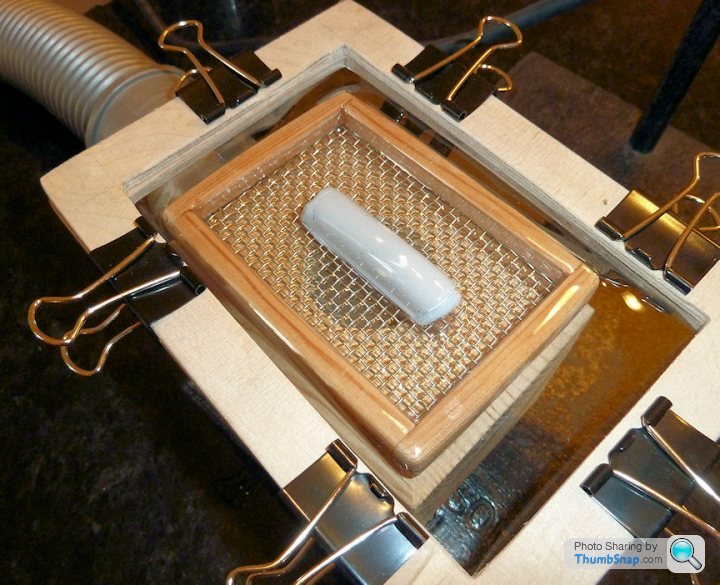
Vacuum on, quickly transfer it to the vacuum box:
Boom!
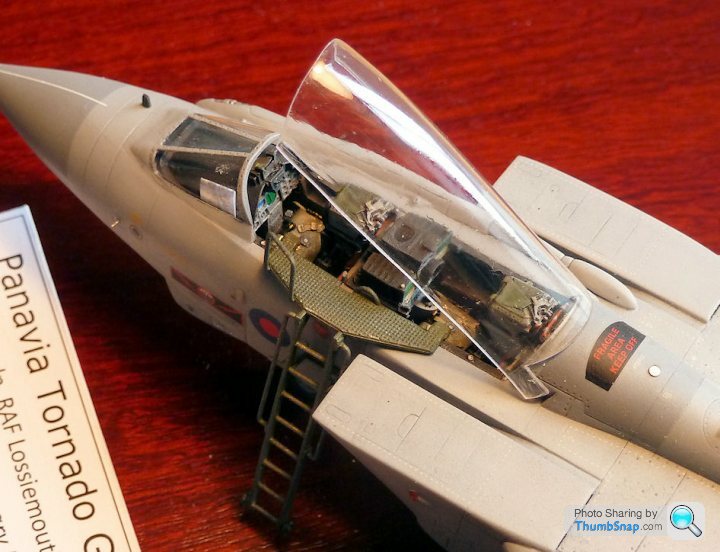
after trimming, it's pretty much a perfect fit (this is 0.5 mm sheet), and has much less distortion than the original:
 [url]
[url]
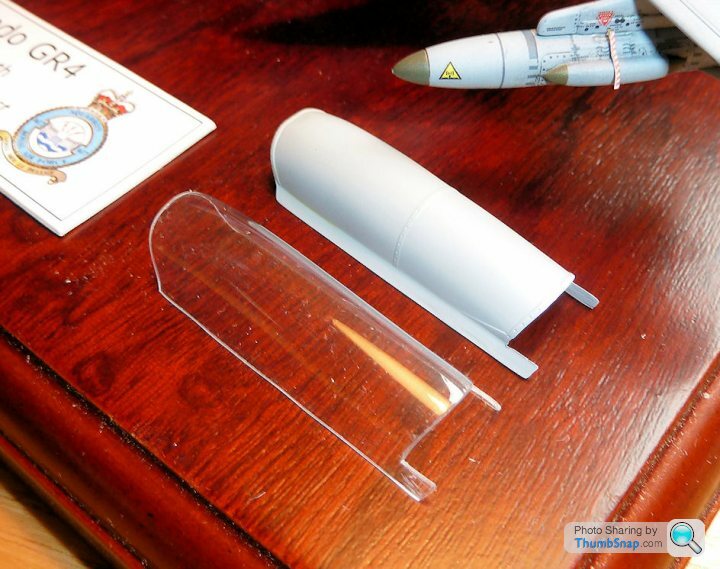
Here it is compared with the Pavla version which is way too big:
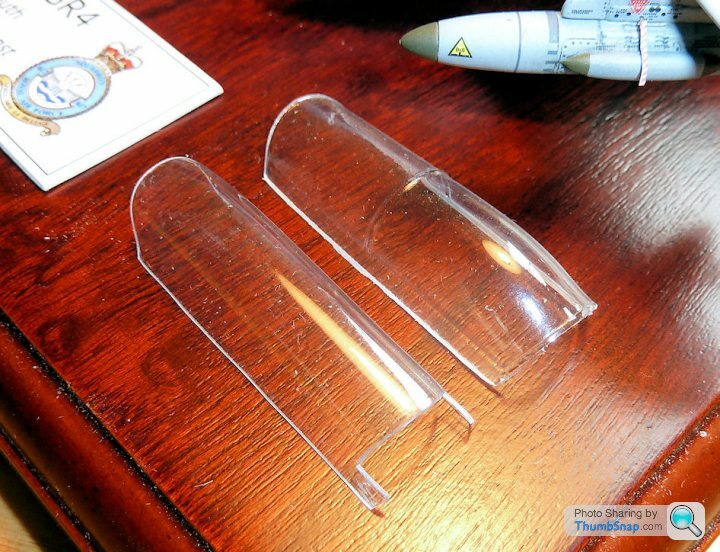
...and the original kit canopy:
So that was the first test. I must admit on close inspection it does have some of the remains of yesterday's dinner trapped inside it, so I'll clean the mould (and the oven) and try a few more later on. Hopefully I'll be able to get less distortion as well, by varying heating times etc.
Set up a heat gun to pre-heat the plug:
Put a sheet in the frame:
Into the oven (on a holder that allows me to see how much the sheet sags; 170DegC for 2.5 minutes seemed OK:
Vacuum on, quickly transfer it to the vacuum box:
Boom!
after trimming, it's pretty much a perfect fit (this is 0.5 mm sheet), and has much less distortion than the original:
[url]Here it is compared with the Pavla version which is way too big:
...and the original kit canopy:
So that was the first test. I must admit on close inspection it does have some of the remains of yesterday's dinner trapped inside it, so I'll clean the mould (and the oven) and try a few more later on. Hopefully I'll be able to get less distortion as well, by varying heating times etc.
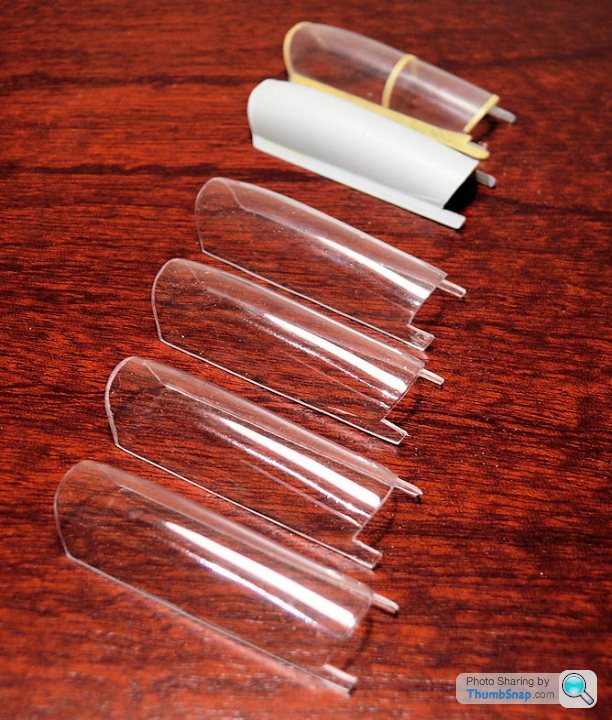
So out of approx. 12 shots, I've ended up with about 4 decent canopies, which I'll experiment with in terms of framing and further polishing:
I don't usually bother with figures to go with my models, but in this case I thought they'd give some scale and add a bit of interest. I got these resin pilots from Hannants:
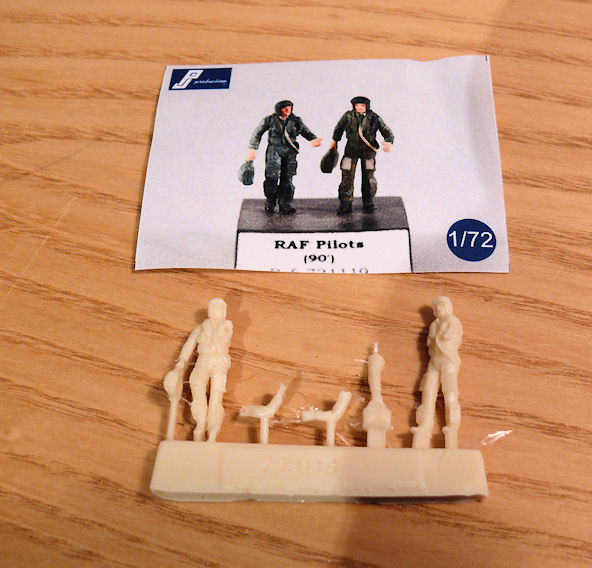
I've painted them the best I can to match some GR4 pilot pictures on the interweb. Leg pads/notes and white helmet crosses are sliced up decals from the spares box. I PVA'd them to some acetate bases (I'm fed up with the sight of the stuff believe me):


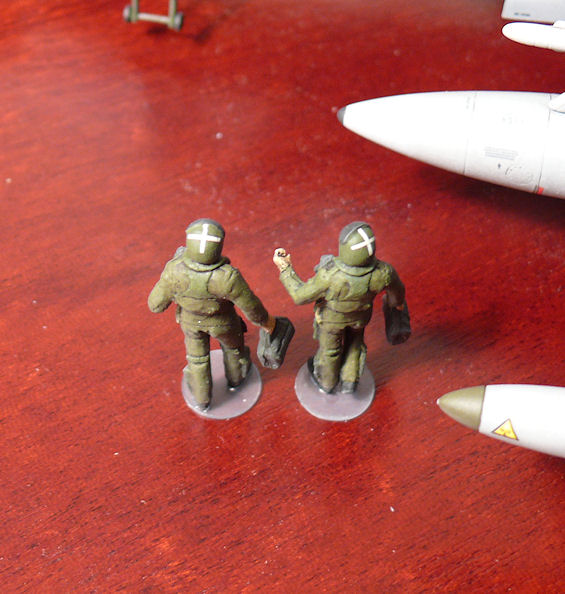
The look OK, although painting faces is a whole different kettle of ballgames, and one I'm not too bothered about perfecting at present.
I don't usually bother with figures to go with my models, but in this case I thought they'd give some scale and add a bit of interest. I got these resin pilots from Hannants:
I've painted them the best I can to match some GR4 pilot pictures on the interweb. Leg pads/notes and white helmet crosses are sliced up decals from the spares box. I PVA'd them to some acetate bases (I'm fed up with the sight of the stuff believe me):
The look OK, although painting faces is a whole different kettle of ballgames, and one I'm not too bothered about perfecting at present.
Boatbuoy said:
dr_gn said:

Or for the bloke in the back who's not really sure why he's here but there's times when he quite likes it?
good just gets better

Gassing Station | Scale Models | Top of Page | What's New | My Stuff