The modified model car thread - pics
Discussion


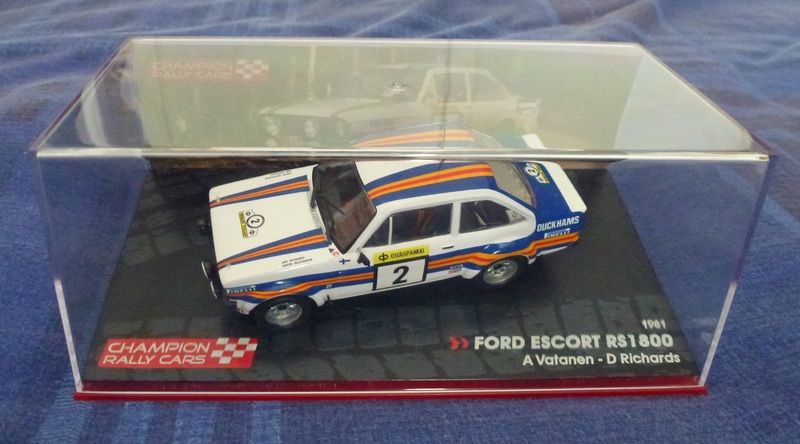
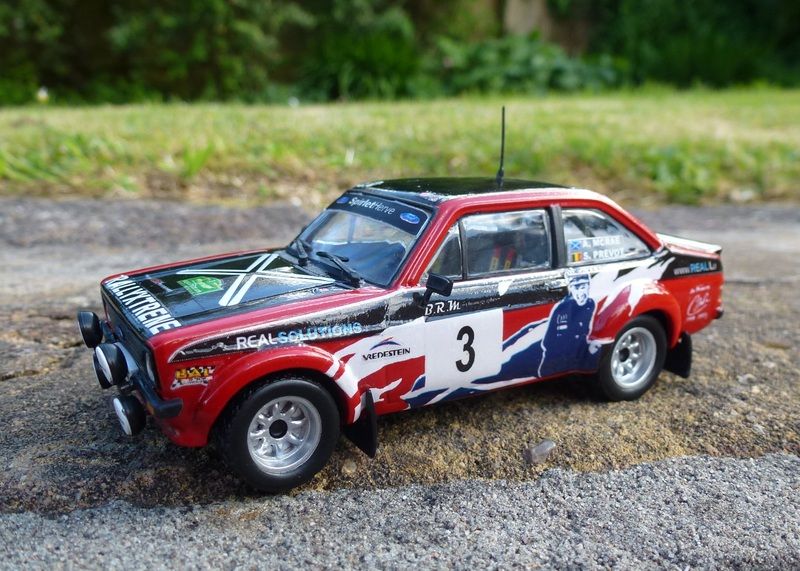
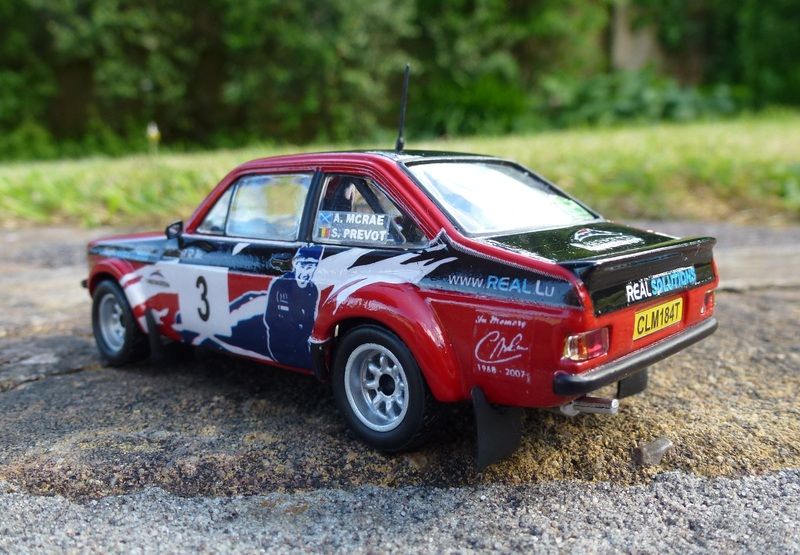
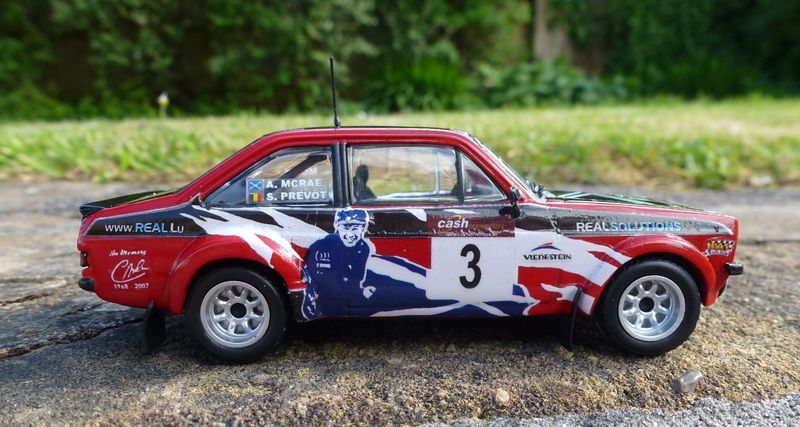
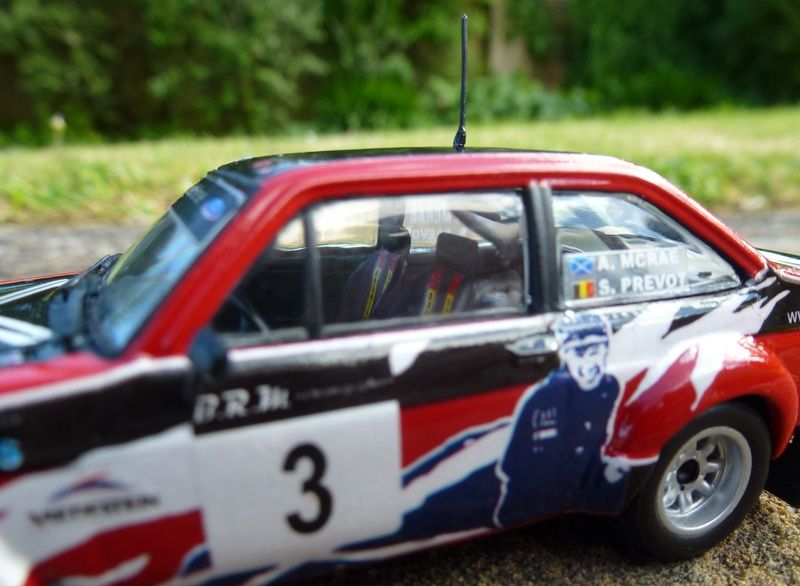
My latest build, 1/43 Escort Mk2 rally. It features the decals of Alistar McRae's Boucles de Spa 2014 car with Colin McRae on the side.
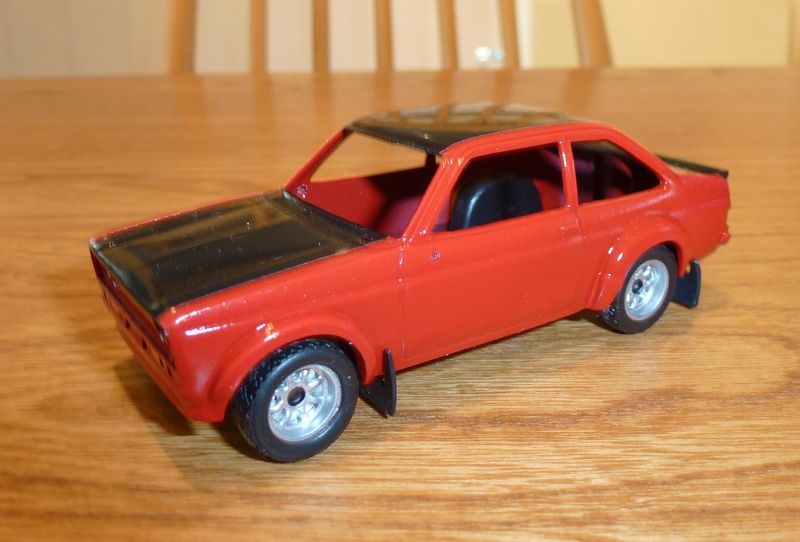
Started off with the usual magazine part work car.
Painted red & gloss black.
Added the first layer of decals.

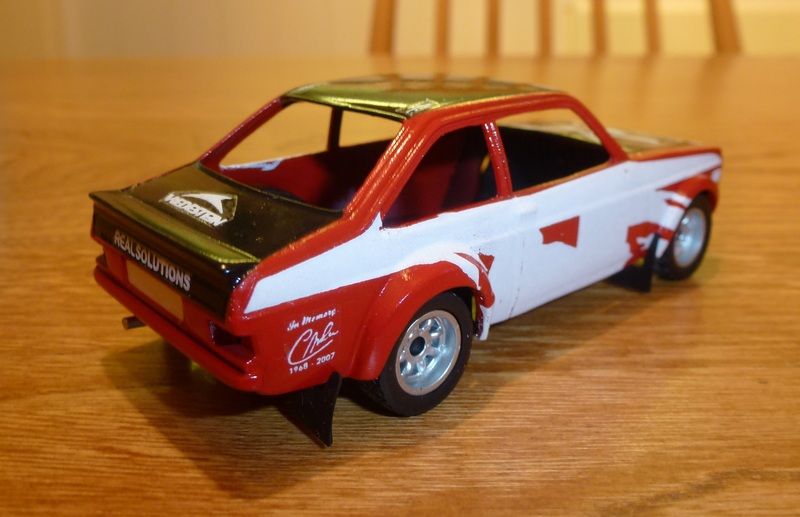
Then added the top layer of decals, lacquered to seal them on & detailed.
Started off with the usual magazine part work car.

Painted red & gloss black.

Added the first layer of decals.


Then added the top layer of decals, lacquered to seal them on & detailed.


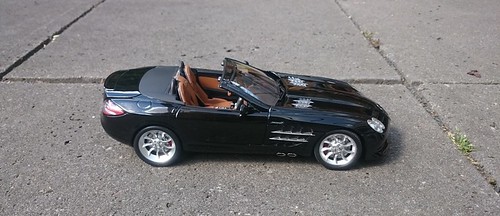
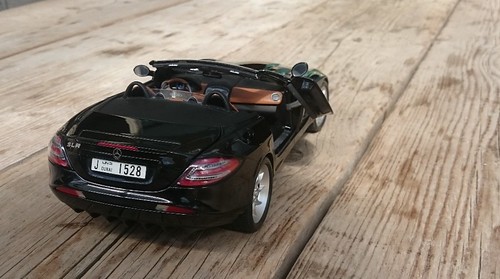
This base model by Minichamps is used to make a replica of a Galaxit Black Metallic SLR.
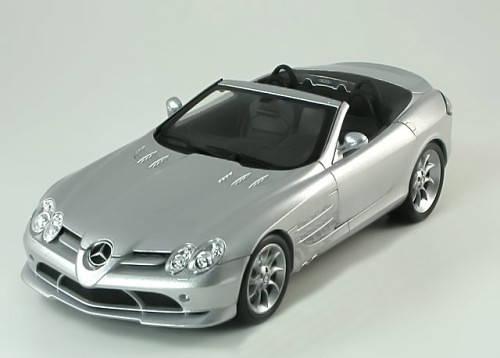
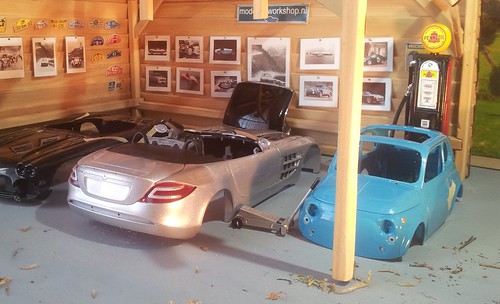
The interior got a new colour, better seats, safety belts and has carpets.
The side mirrors are from a Maisto model (slightly modified) as the original ones kept braking. Older plastics can get very brittle.
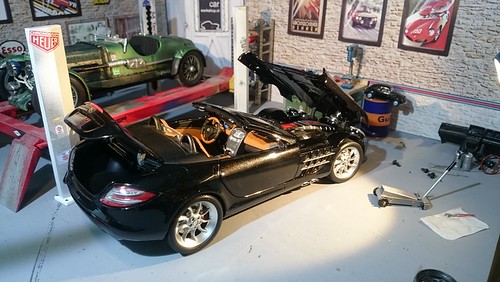
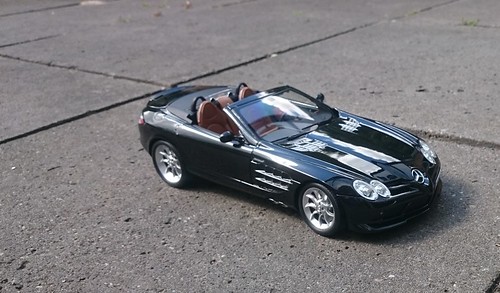
The brake callipers are painted red.
The interior got a new colour, better seats, safety belts and has carpets.
The side mirrors are from a Maisto model (slightly modified) as the original ones kept braking. Older plastics can get very brittle.
The brake callipers are painted red.

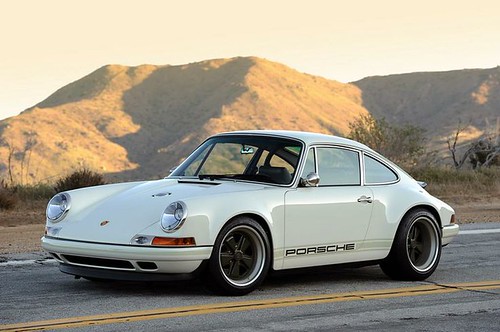
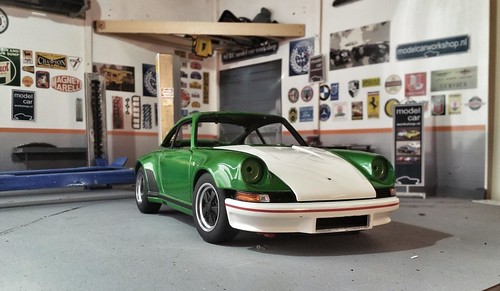
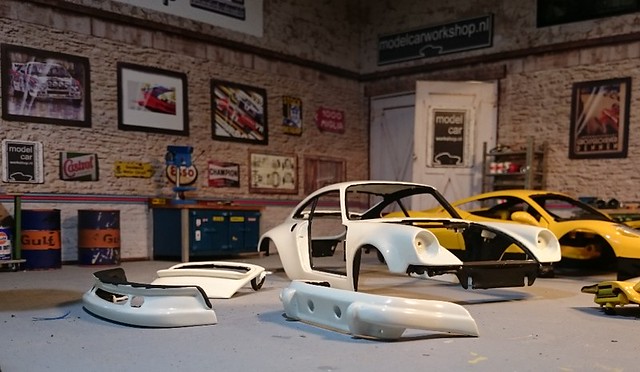
I started a year ago to replica the Porsche 911 Nebraska by Singer Design in scale 1:18.
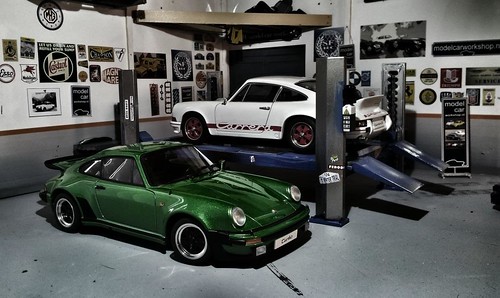
These two AUTOart models will be used to create the Singer 911.
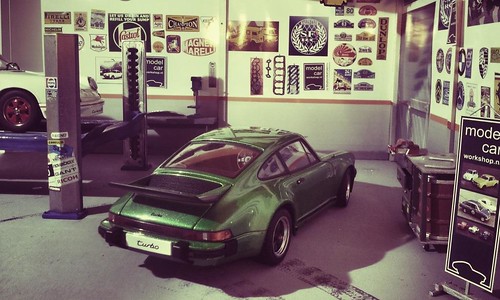
A quick fit to see in the parts are interchangeable.
First making the side smooth. All trim is removed.
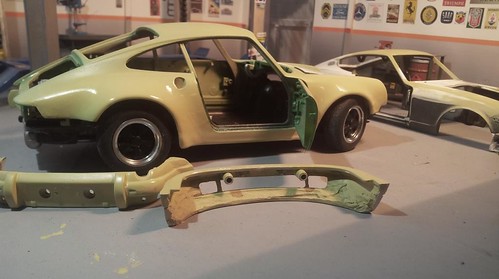
The gabs between the indicators and the wheelarches have been filled. Also the front RS bumper now has the same width as the wider Turbo body.
The side and rear (bumper) are getting the right shape.
The front and rear bumper need quite some work to get to the rights shape.
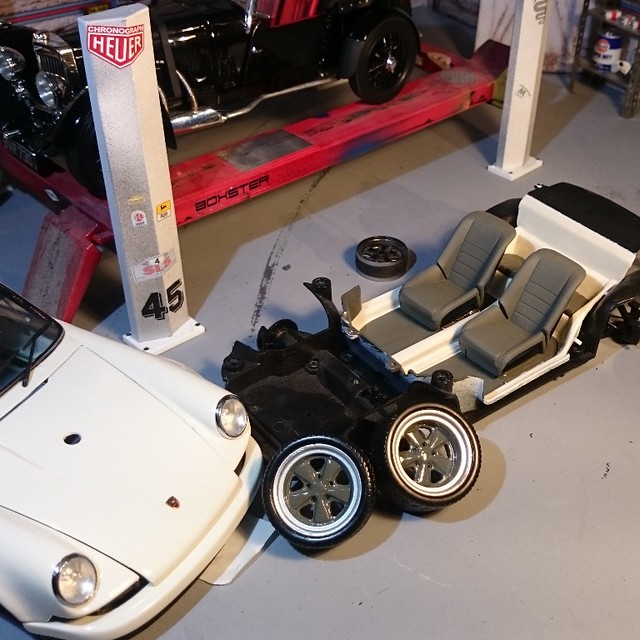
Meanwhile testing some Fuchs wheels for the right size. These are too big.

Here I've used smaller inserts while the outer rim has the same dimension. Should be 17"or 18". Also the rear spoiler looks promising.
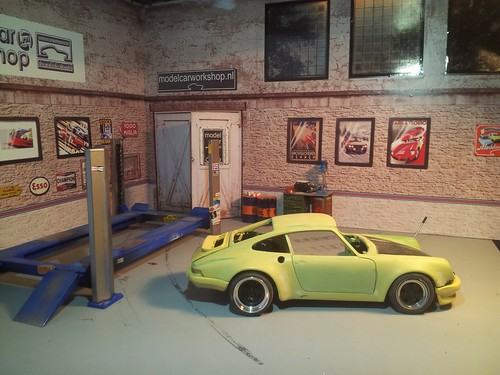
The general shape is OK. Satisfied with the new rear wing although it needs a bit of work.

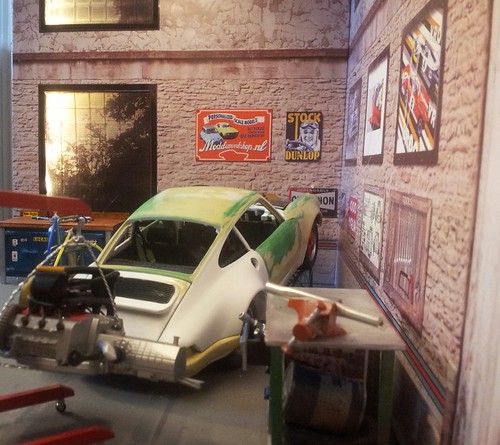
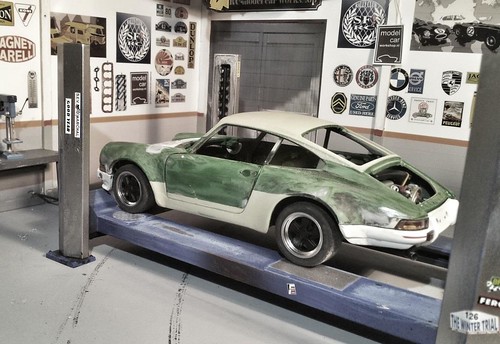
The bottom part of the wheel arch infront of the rear wheel is much thinner so again the Dremel is patient to cut away the metal. First I had to fill the inside of the wheel arch to keep the right form as the arch should still follow the lines of the rear wheel.
A picture is much clearer.

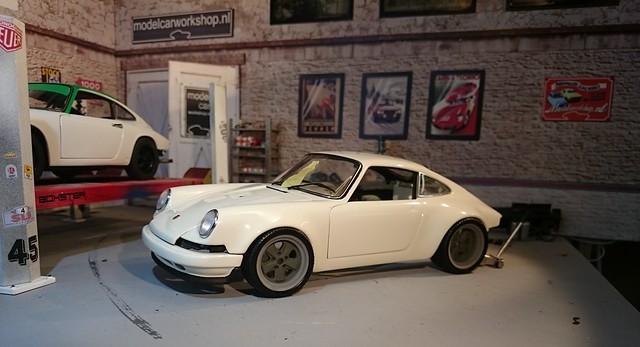
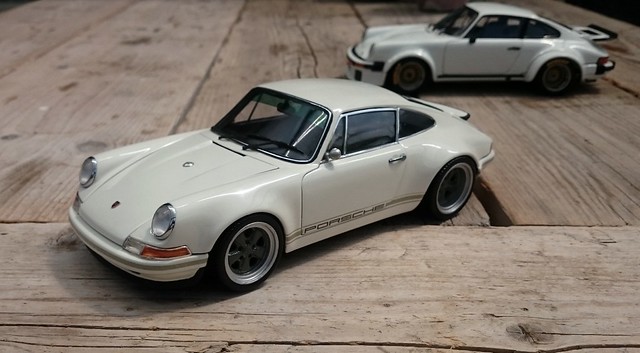
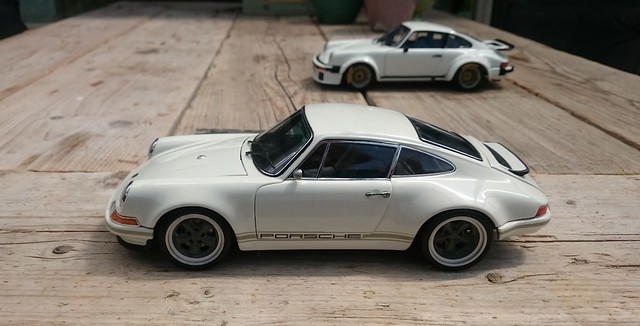
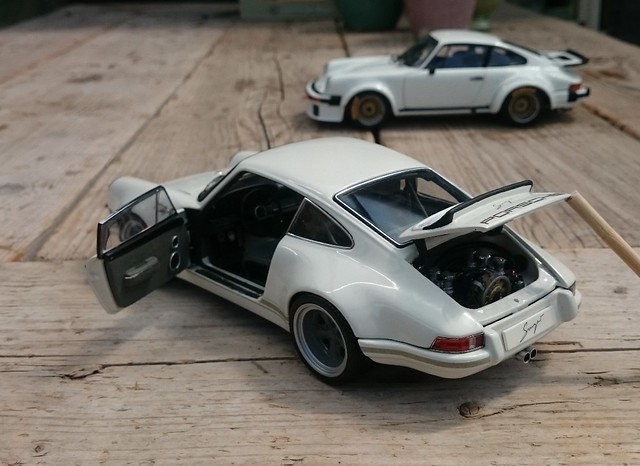
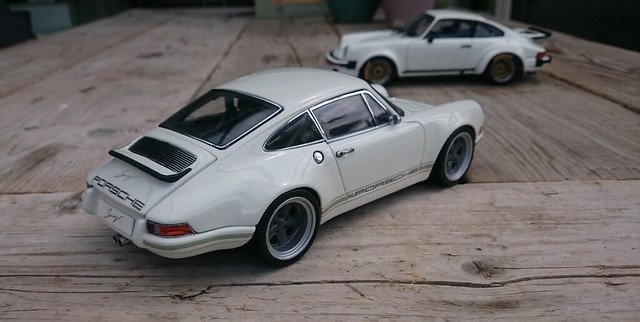
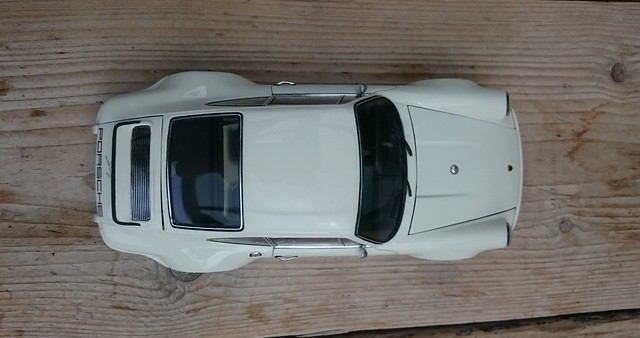
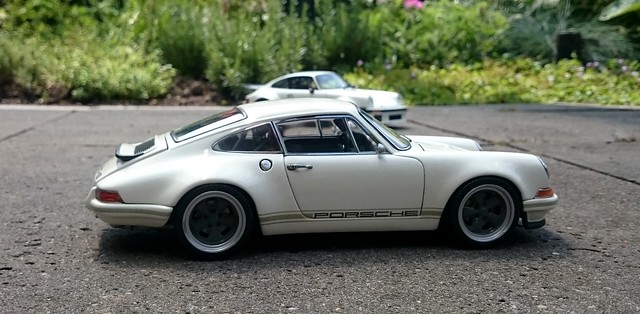
It has taken a while but finally the Singer Design Porsche 911 Nebraska is finished.
What happened in the mean time?
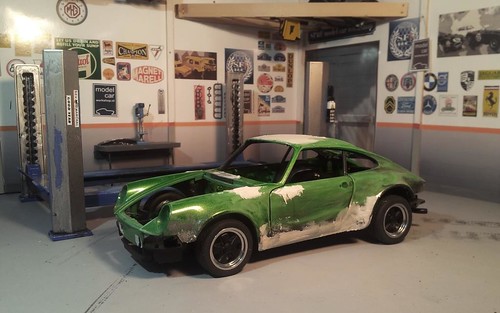
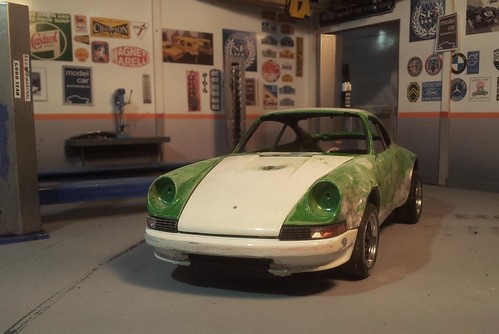
The body gets a last sanding.
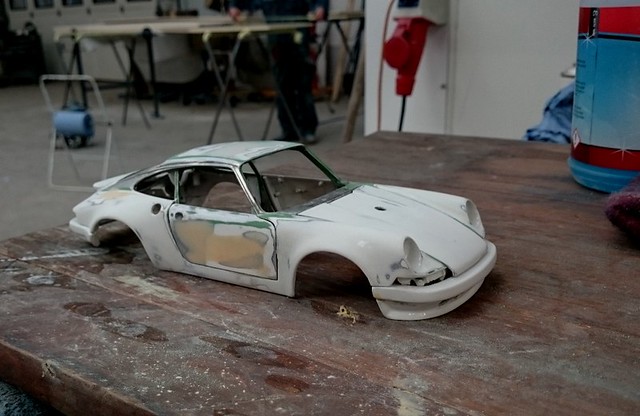
The body is sprayed in a very soft white and black details are added.
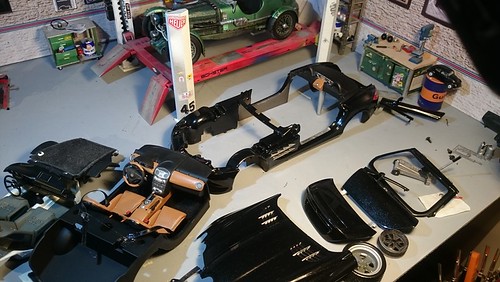
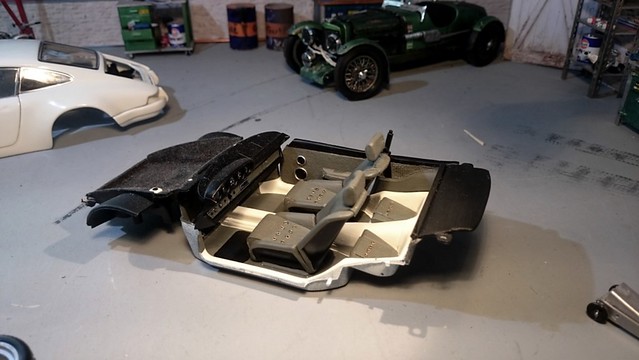
From the last step this looks fairly easy. Problem with mixing two models; nothing fits. Every little thing needs adjusting, modifying or needs to be altered in some way.
The old 'interior' is out. Now the carpet needs to go.
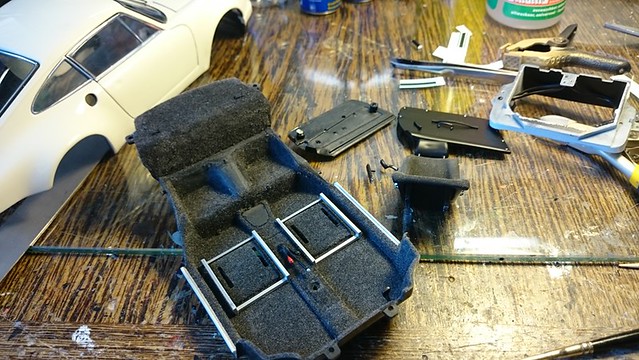
Half way making the new interior
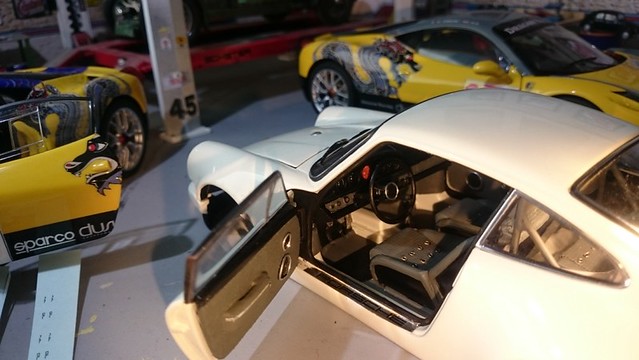
The Nebraska this afternoon
These two AUTOart models will be used to create the Singer 911.
A quick fit to see in the parts are interchangeable.
First making the side smooth. All trim is removed.
The gabs between the indicators and the wheelarches have been filled. Also the front RS bumper now has the same width as the wider Turbo body.
The side and rear (bumper) are getting the right shape.
The front and rear bumper need quite some work to get to the rights shape.
Meanwhile testing some Fuchs wheels for the right size. These are too big.
Here I've used smaller inserts while the outer rim has the same dimension. Should be 17"or 18". Also the rear spoiler looks promising.
The general shape is OK. Satisfied with the new rear wing although it needs a bit of work.
The bottom part of the wheel arch infront of the rear wheel is much thinner so again the Dremel is patient to cut away the metal. First I had to fill the inside of the wheel arch to keep the right form as the arch should still follow the lines of the rear wheel.
A picture is much clearer.
It has taken a while but finally the Singer Design Porsche 911 Nebraska is finished.
What happened in the mean time?
The body gets a last sanding.
The body is sprayed in a very soft white and black details are added.
From the last step this looks fairly easy. Problem with mixing two models; nothing fits. Every little thing needs adjusting, modifying or needs to be altered in some way.
The old 'interior' is out. Now the carpet needs to go.
Half way making the new interior
The Nebraska this afternoon
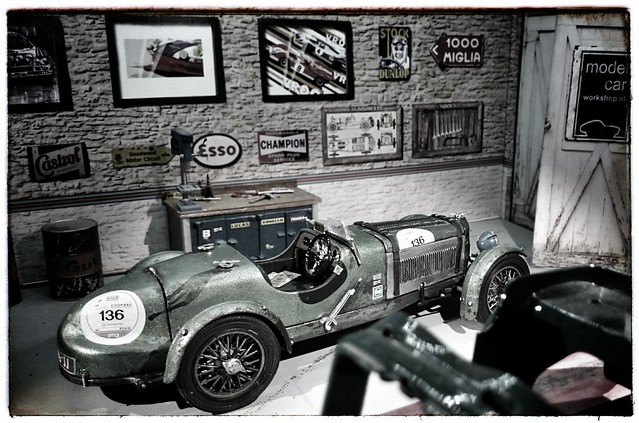
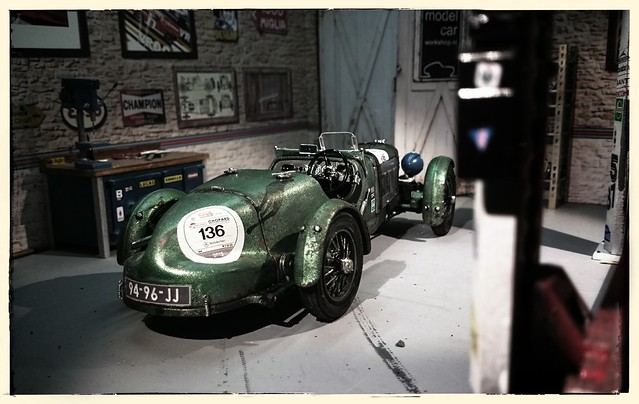
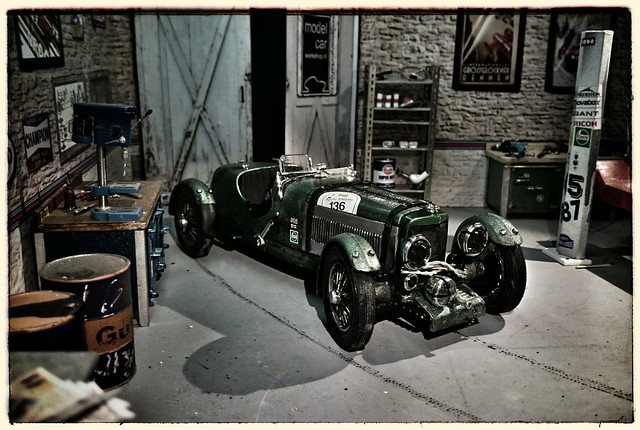
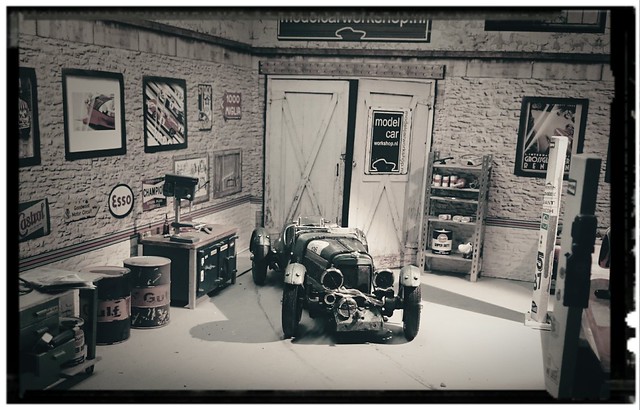
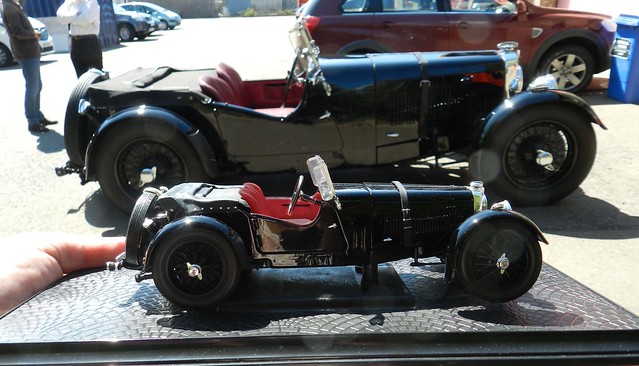
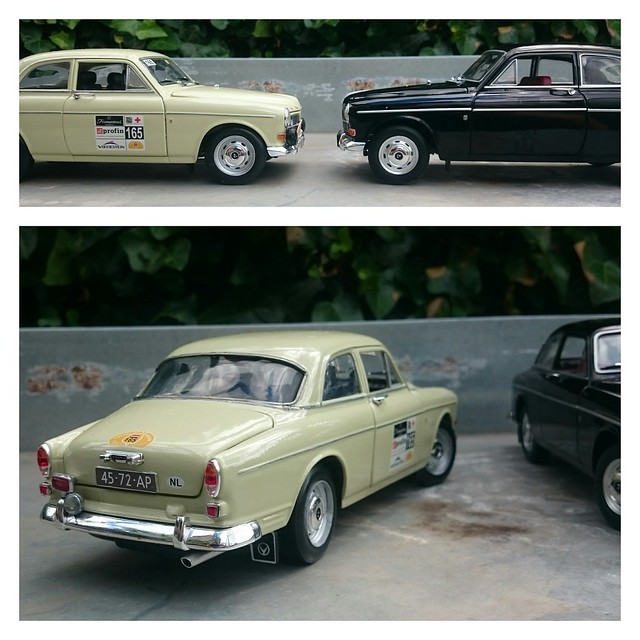
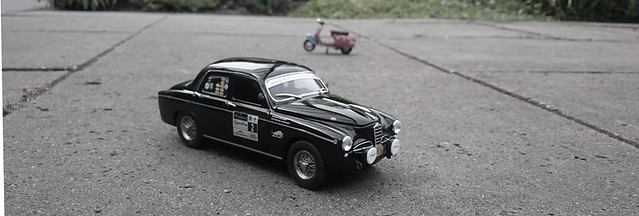
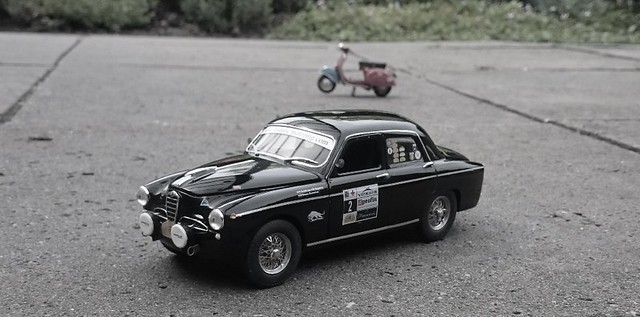
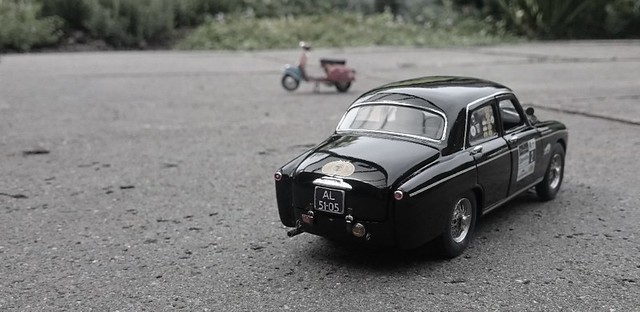
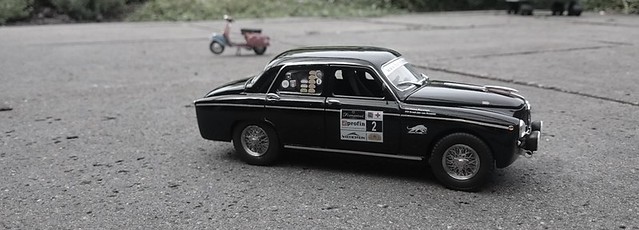
One of the most beautiful cars competing in the expert class in the Tulip Rallye, an Alfa Romeo 1900 Berlina.
This is a customized diecast miniature scale 1:24.
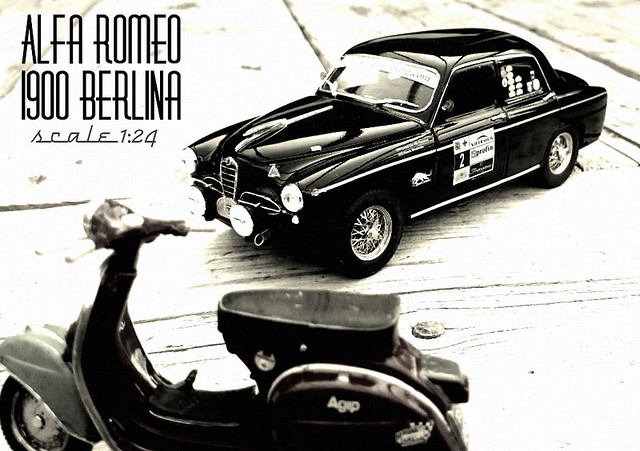
Colour is changed, bumpers are removed, wire wheels and spotlights were added. Also bucket seats, quick fasteners, towing eyes and livery are custom made.
This is a customized diecast miniature scale 1:24.
Colour is changed, bumpers are removed, wire wheels and spotlights were added. Also bucket seats, quick fasteners, towing eyes and livery are custom made.
A few of mine:
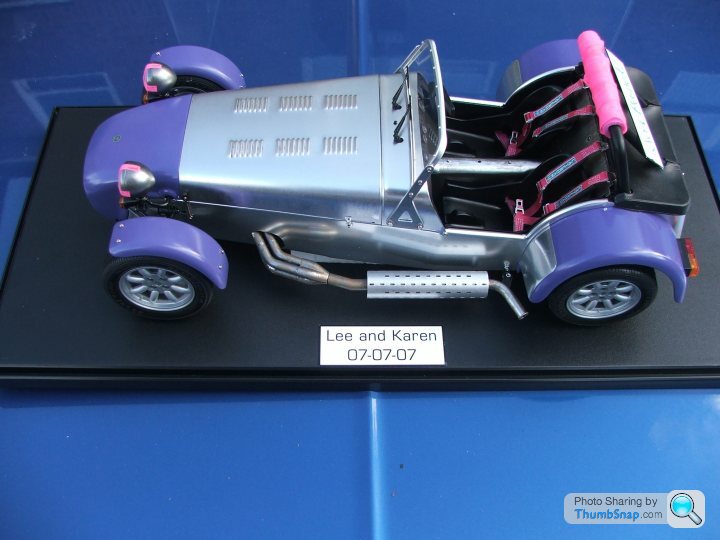
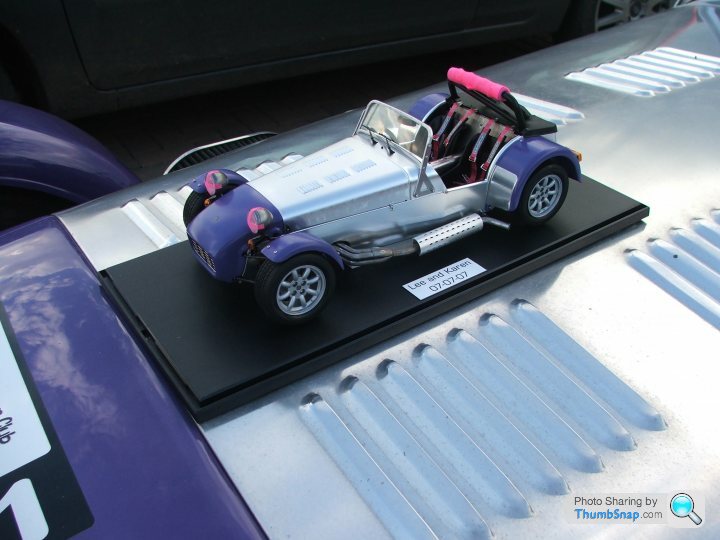
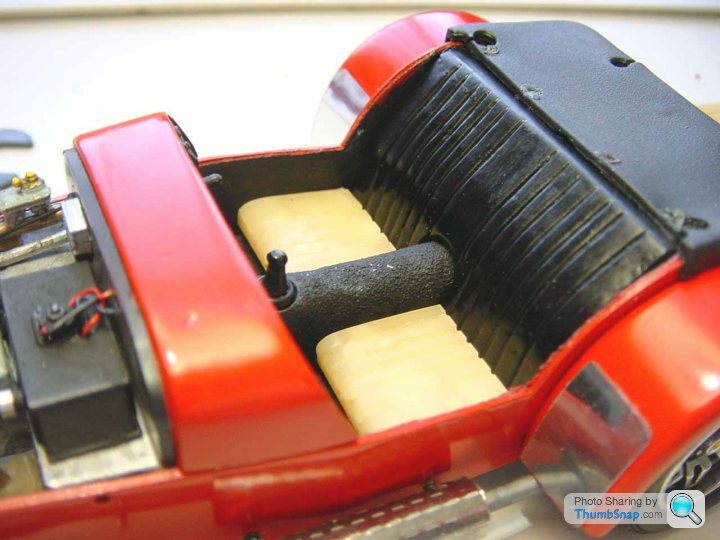
- very basic tweaks to a 1:12 Tamiya model.
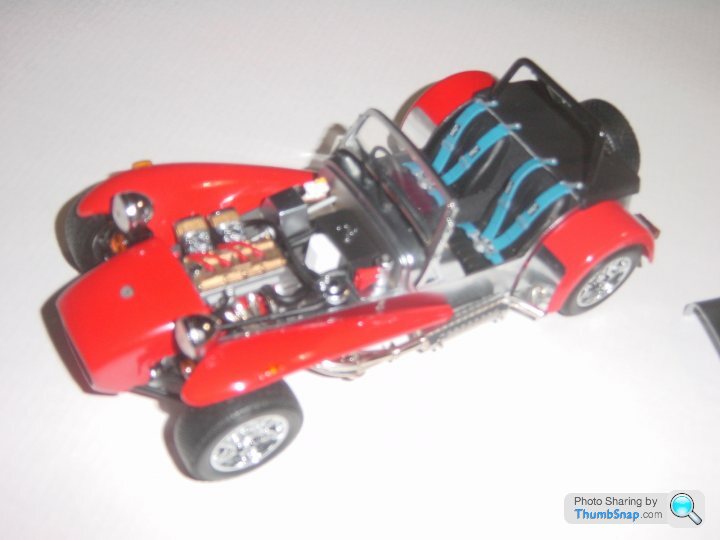
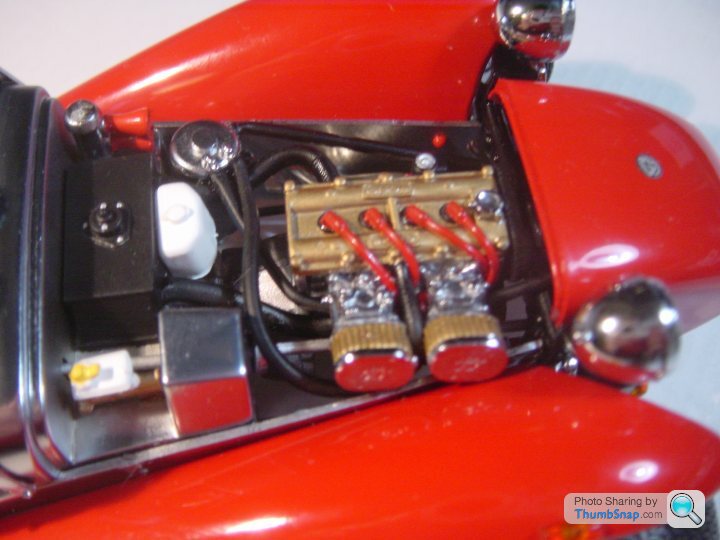
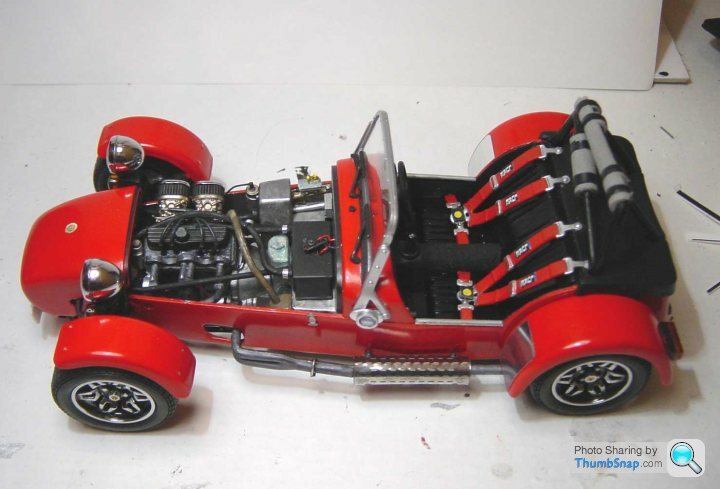
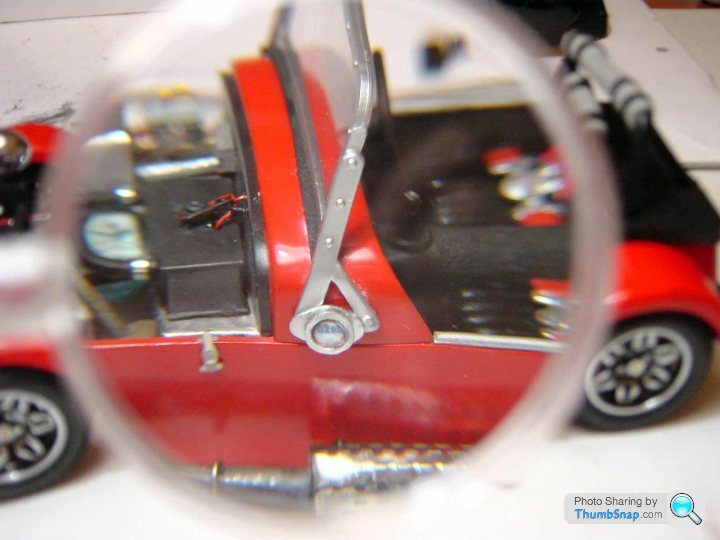
This was the first I did to a smaller 1:18 Kyosho...engine bay replicated as well....
Original source pics:
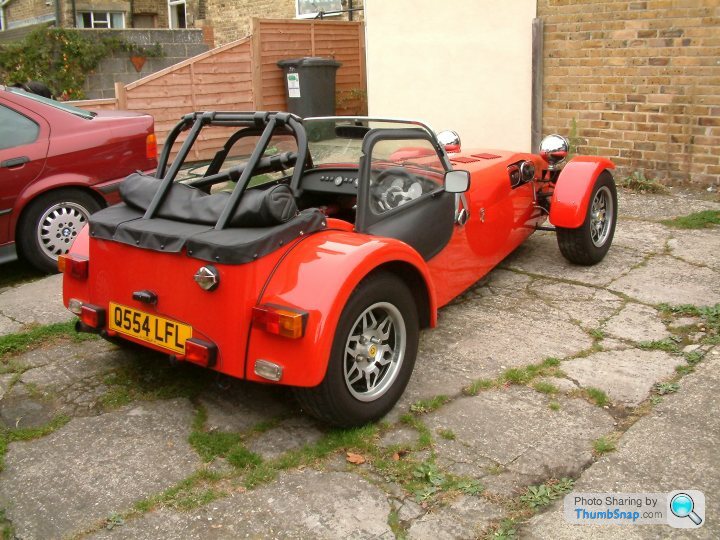
Diecast car before modification: (poor pics - these were about 10 years ago!)
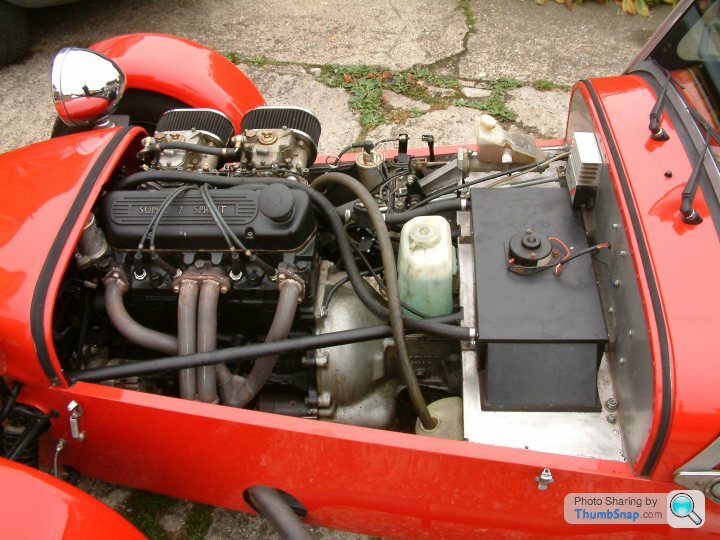
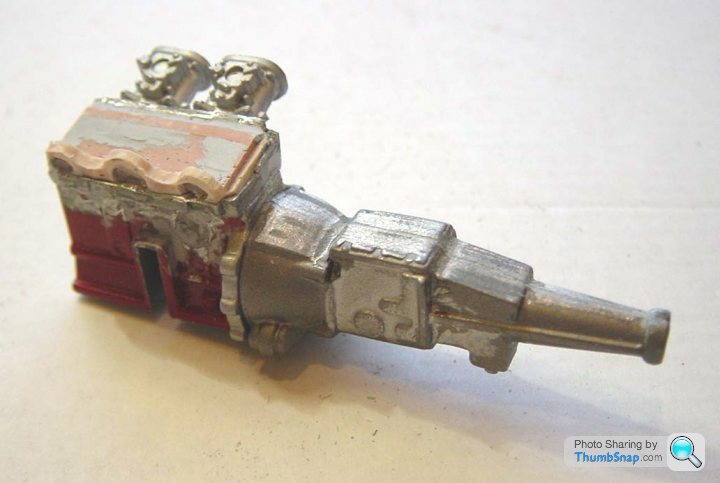
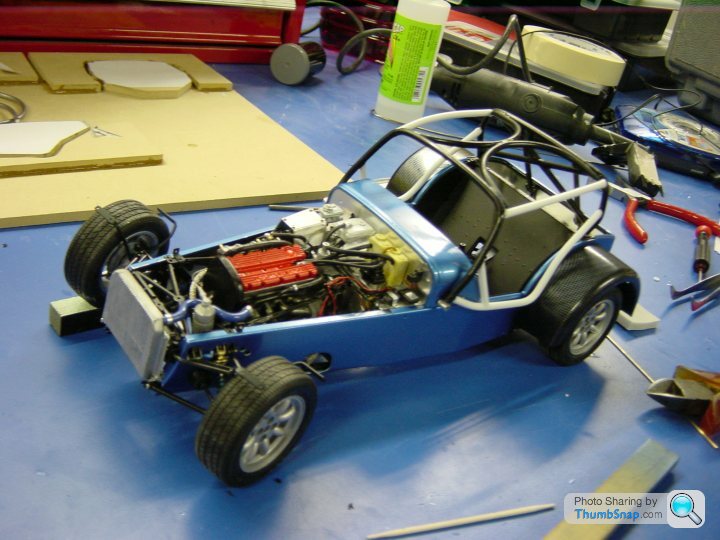
Model comes with a 'BDR' style engine - model needed a Crossflow (amongst other changes, like bench seats)
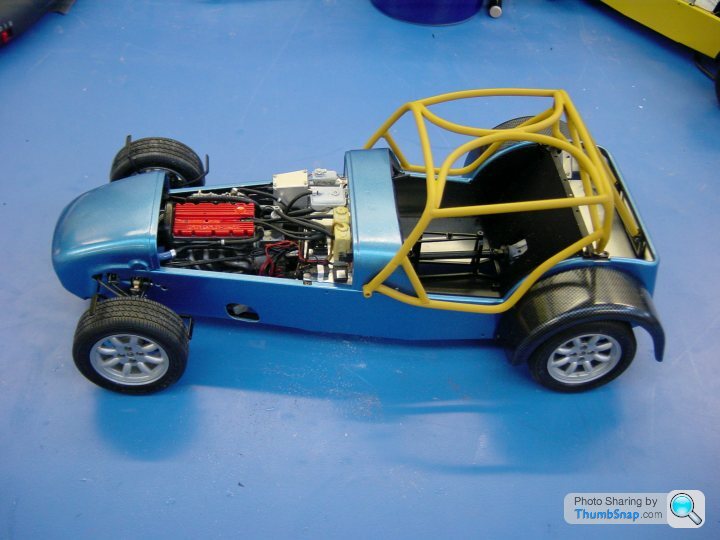
Progress:
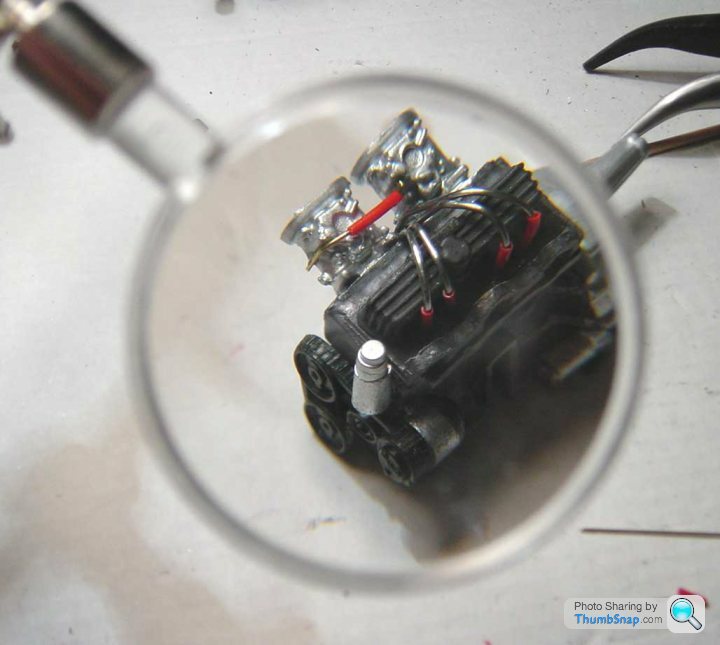
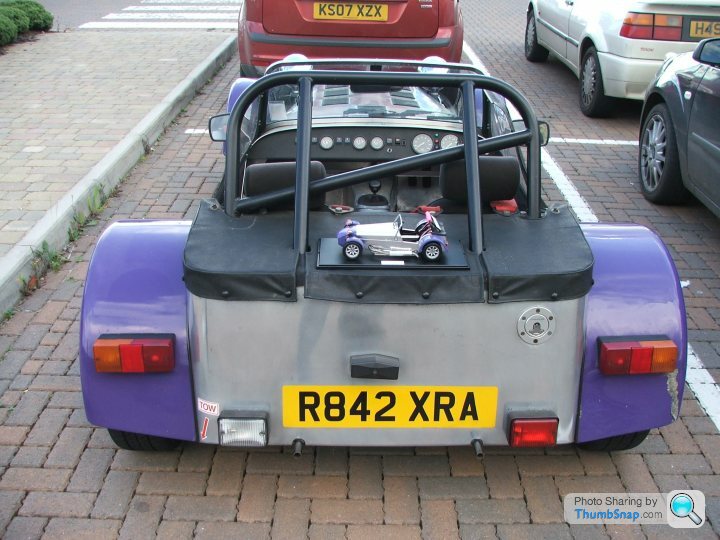
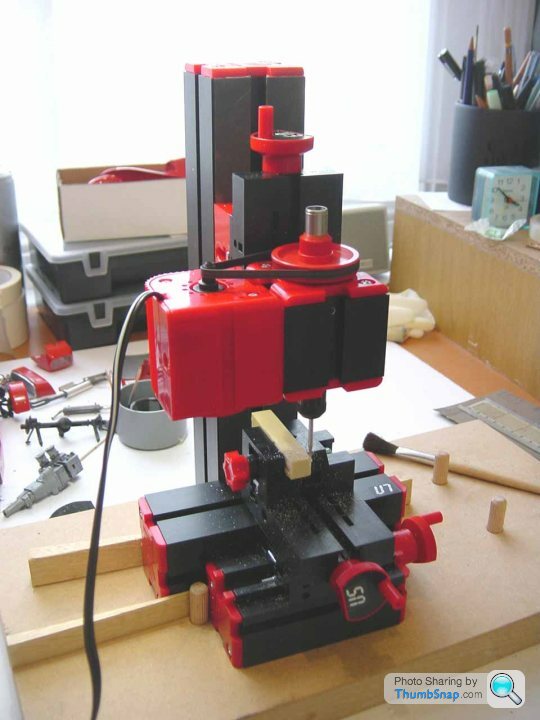
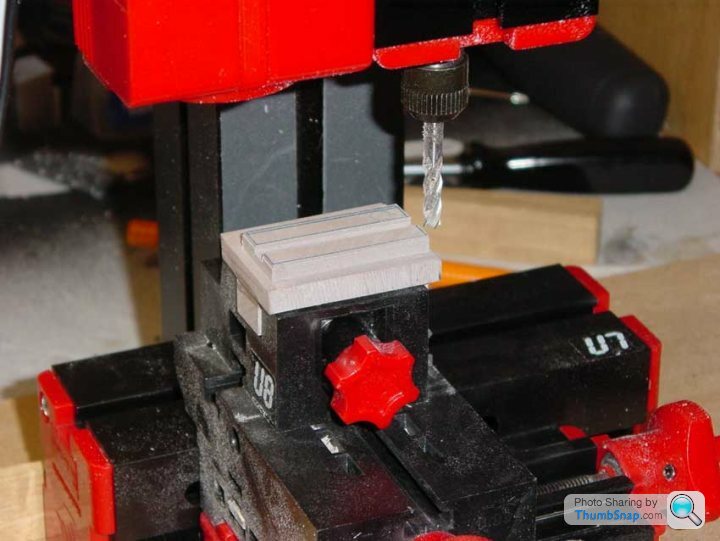
My only 'machine' - cheap n' cheerful, but did the job...

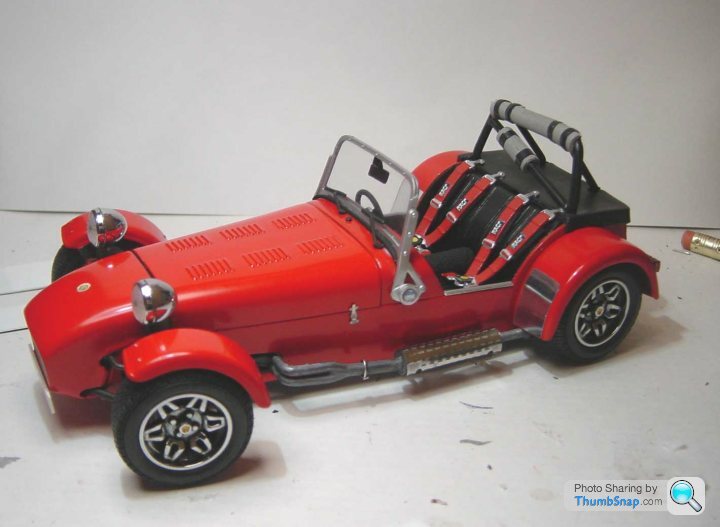
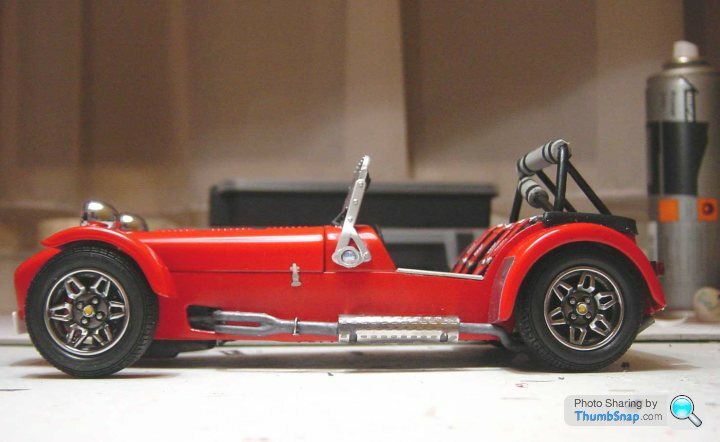
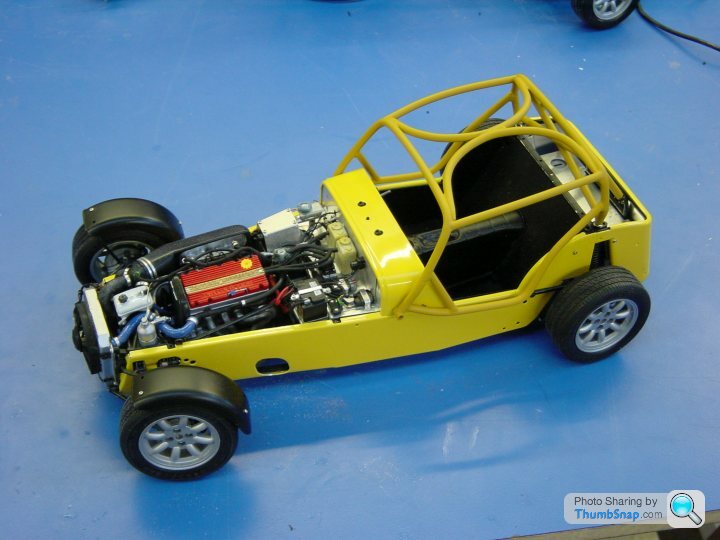
Finished result:


- very basic tweaks to a 1:12 Tamiya model.
This was the first I did to a smaller 1:18 Kyosho...engine bay replicated as well....
Original source pics:
Diecast car before modification: (poor pics - these were about 10 years ago!)
Model comes with a 'BDR' style engine - model needed a Crossflow (amongst other changes, like bench seats)
Progress:
My only 'machine' - cheap n' cheerful, but did the job...
Finished result:
That was also 10 years ago - getting back onto them now - amazing what detail stuff you can buy on the internet now as well!
Biggest pain is carbon Tillet race seats - they are only a few mm thick in 'real' scale, and pretty curvy - so trying to figure out how to do those (probably Solidworks and 3D print) and the wheels - done the hubs, need to make rims and tyres....
Biggest pain is carbon Tillet race seats - they are only a few mm thick in 'real' scale, and pretty curvy - so trying to figure out how to do those (probably Solidworks and 3D print) and the wheels - done the hubs, need to make rims and tyres....
It was a Unimat kit. Pretty cheap, and for what I needed at the time was perfect. It is in the UK somewhere (I'm in NYC) and I wish I had it here now I am starting again - really useful for basic quick stuff. It wasn't the 'tightest' of tools - flex etc - but for working on soft plastic it worked fine. I would'nt do precision stuff (or metal!)
http://westbourne-models.com/Model_Shop/Unimat_Mod...
(found with a search - I did not purchase it from there....)
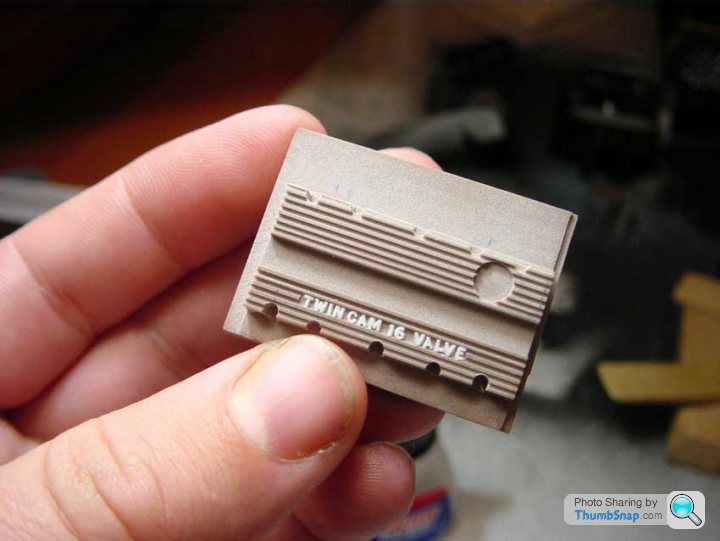
But I made this 'K-series' cam cover with it...
http://westbourne-models.com/Model_Shop/Unimat_Mod...
(found with a search - I did not purchase it from there....)
But I made this 'K-series' cam cover with it...
caterhamnut said:
It was a Unimat kit. Pretty cheap, and for what I needed at the time was perfect. It is in the UK somewhere (I'm in NYC) and I wish I had it here now I am starting again - really useful for basic quick stuff. It wasn't the 'tightest' of tools - flex etc - but for working on soft plastic it worked fine. I would'nt do precision stuff (or metal!)
http://westbourne-models.com/Model_Shop/Unimat_Mod...
(found with a search - I did not purchase it from there....)
But I made this 'K-series' cam cover with it...
That's very impressive.http://westbourne-models.com/Model_Shop/Unimat_Mod...
(found with a search - I did not purchase it from there....)
But I made this 'K-series' cam cover with it...
Gassing Station | Scale Models | Top of Page | What's New | My Stuff