The modified model car thread - pics
Discussion


For a dear friend I made a miniature replica of his MG TC.
The car itself

The base model

This bit needs some work

The body now in black

Painting & spraying the interior in red

And the engine in a darker shade of red

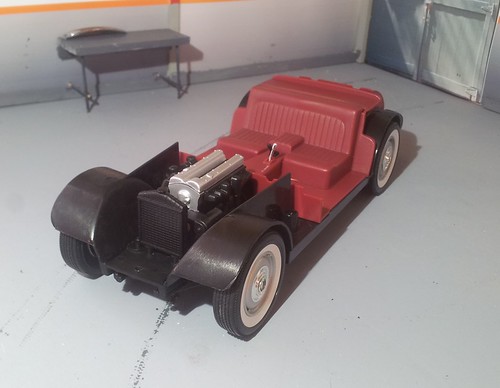
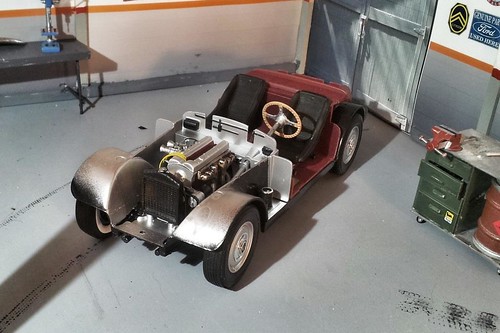
Started rebuilding again


So I changed the exhaust (3 to 1), rampipes on the carbs and wires on the other side of the engine. Also added floor mats and rubber on the tunnel.
Old versus new.

Now with throttle links and a Castrol oil catch can.


Making the tonneau cover:

Then the racing windows and the bonnet belt.

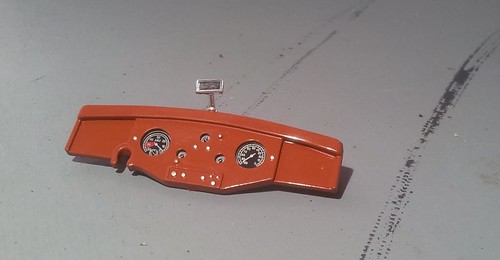
Finally the plates, badges, co-driver handle an rings around the instruments.


The car itself
The base model
This bit needs some work
The body now in black
Painting & spraying the interior in red
And the engine in a darker shade of red
Started rebuilding again
So I changed the exhaust (3 to 1), rampipes on the carbs and wires on the other side of the engine. Also added floor mats and rubber on the tunnel.
Old versus new.
Now with throttle links and a Castrol oil catch can.
Making the tonneau cover:
Then the racing windows and the bonnet belt.
Finally the plates, badges, co-driver handle an rings around the instruments.
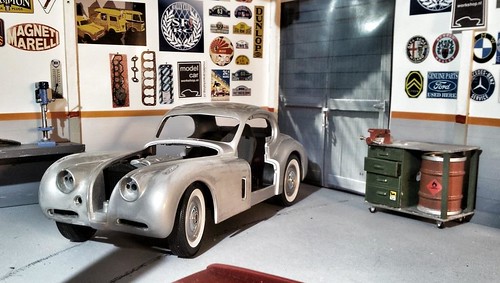
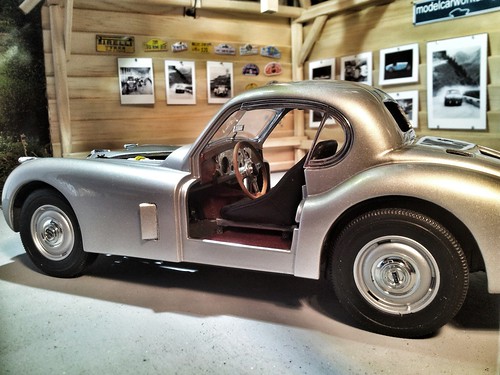
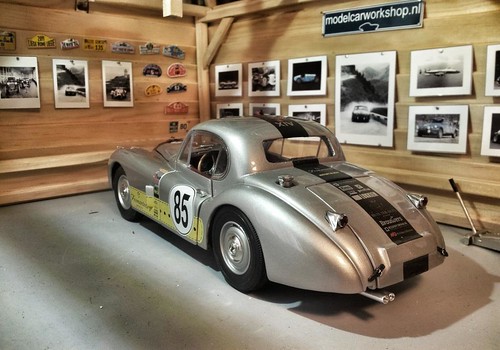
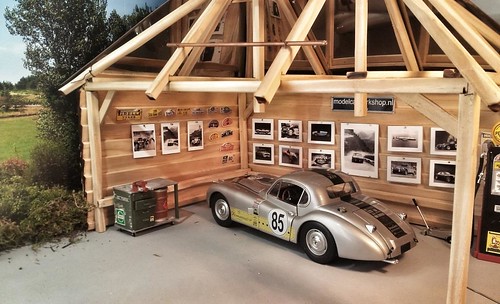
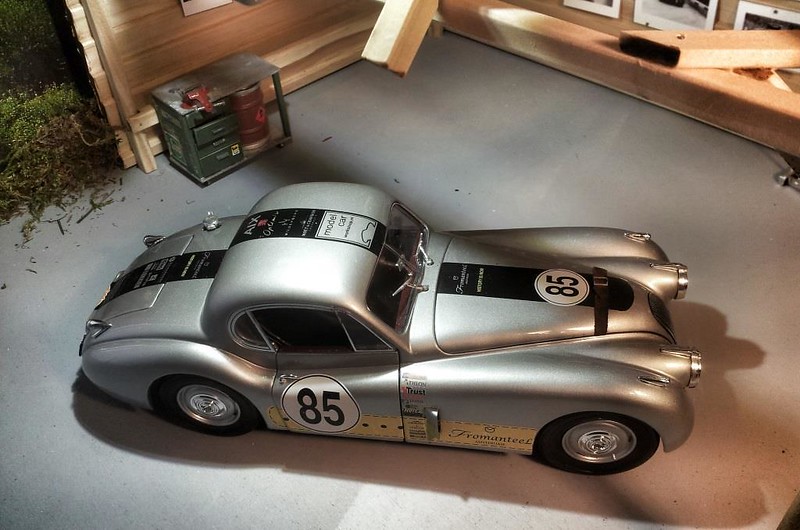
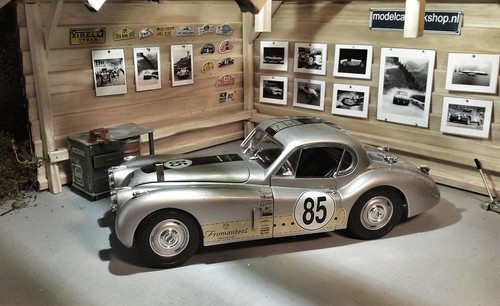
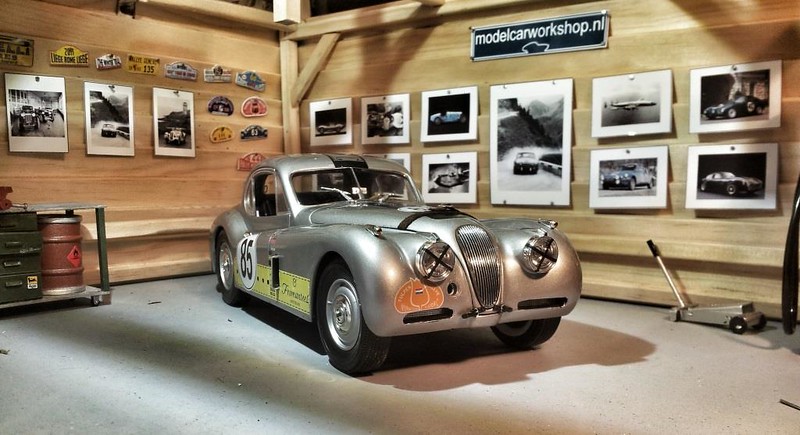
This 1:18 Jaguar XK120 FHC will get some new details. The decals are based on the "Fromanteel Rally" watch.

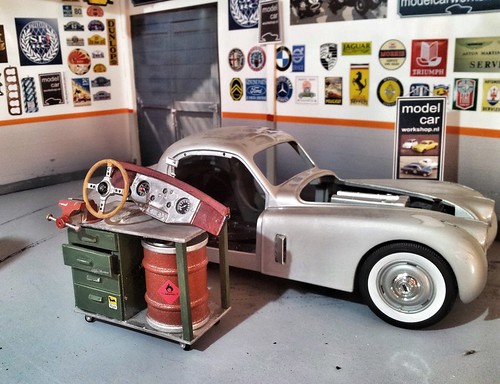
The stock interior is very plane so carpets, wood trim and bucket seats will be added. Also the engine will be more detailed.
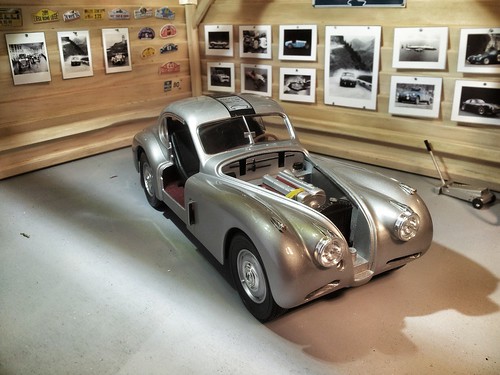
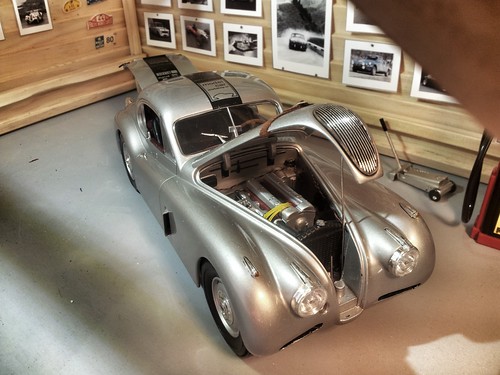
The body now shows opened up front and side air vents. Also the rear window is made a lot bigger.
The dashboards starts to look much more realistic
The stock interior is very plane so carpets, wood trim and bucket seats will be added. Also the engine will be more detailed.
The body now shows opened up front and side air vents. Also the rear window is made a lot bigger.
The dashboards starts to look much more realistic
The engine now has a big Weber carburettor, 6 spark plug cables, a fan belt and....

The body is on the chassis. The seats are touching the inside of the body so that needs to be sorted out. Also the rear of the car needs to sit lower.
Added a wiring loom
Decals on the top

And on the side of the car as well
The body is on the chassis. The seats are touching the inside of the body so that needs to be sorted out. Also the rear of the car needs to sit lower.
Added a wiring loom
Decals on the top
And on the side of the car as well


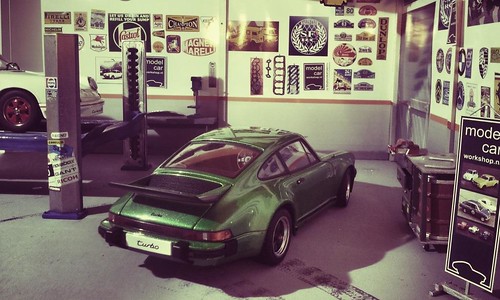
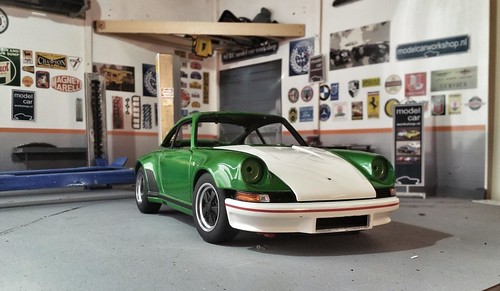
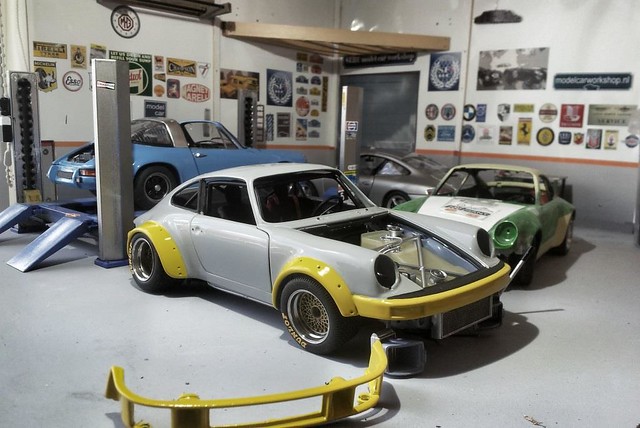
I'm going to replica the Singer 911 Nebraska in scale 1:18.
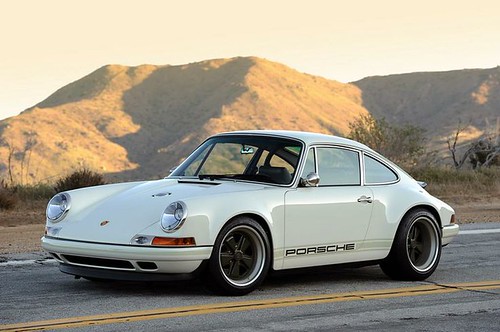
These two AUTOart models will be used to create the Singer 911.
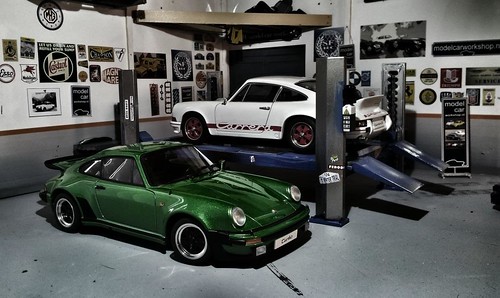
A quick fit to see in the parts are interchangeable.
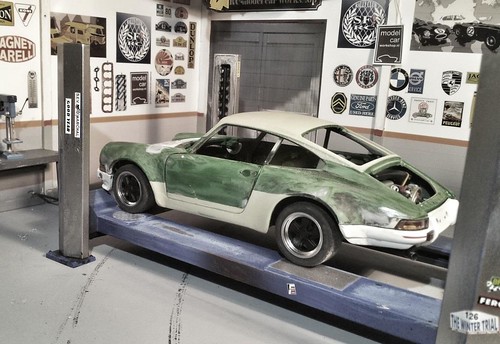
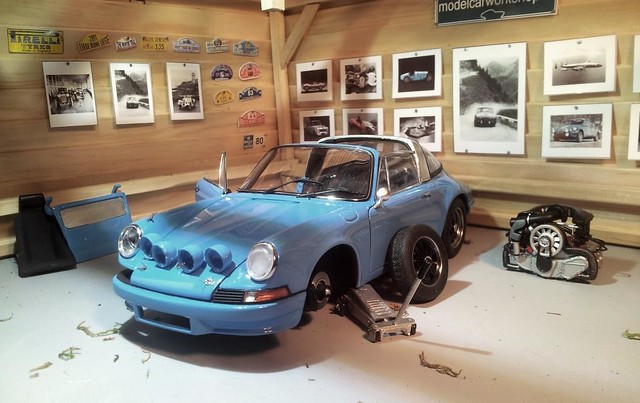
First making the side smooth. All trim is removed.
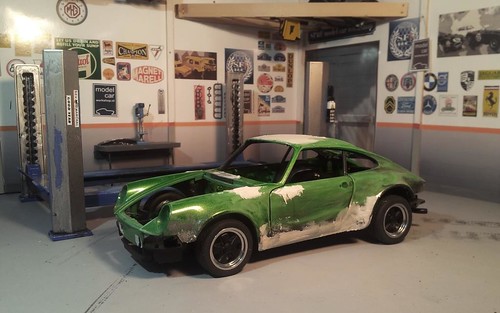
The gabs between the indicators and the wheel arches have been filled. Also the front RS bumper now has the same width as the wider Turbo body.
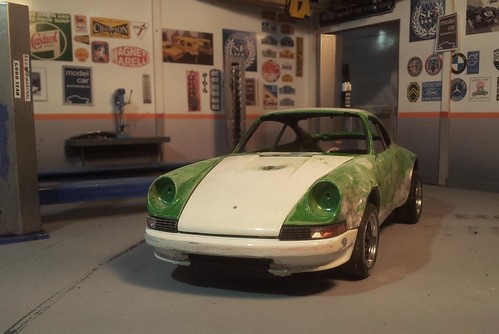
The side and rear (bumper) are getting the right shape.
These two AUTOart models will be used to create the Singer 911.
A quick fit to see in the parts are interchangeable.
First making the side smooth. All trim is removed.
The gabs between the indicators and the wheel arches have been filled. Also the front RS bumper now has the same width as the wider Turbo body.
The side and rear (bumper) are getting the right shape.
Edited by MCWS on Thursday 17th April 20:58
Edited by MCWS on Tuesday 13th January 15:45
MCWS said:
I draw them in Inkscape. Every single item. Quite time consuming. Precisionlabels.com prints them as they can do white, silver and gold on transparent waterslide paper.
Never heard of Inkscape, so I've just Googled it. Do you use filler paste and sanding to reshape body panels?I wish I had your skill and patience, your work is incredible.

Gassing Station | Scale Models | Top of Page | What's New | My Stuff