The modified model car thread - pics
Discussion


I really want this slot car:
http://www.topslotsntrains.com/topslotsntrains/fin...
It's pretty much amongst the quickest competition slot cars out there, I can't get past the detail though, is there anyone of you guys who would be willing to give it some treatment or perhaps offer some advice or info on this? I'd just like the looks to match the performance.
So it's not a car, it's a motorbike, but I though it might live in this thread.
I've been away from model building for a number of years, but was spurred on by photos and videos on the Internet of people making modifications to model motorcycles.
It seems that you can buy models of either 'normal' or police motorcycles, but not much else.
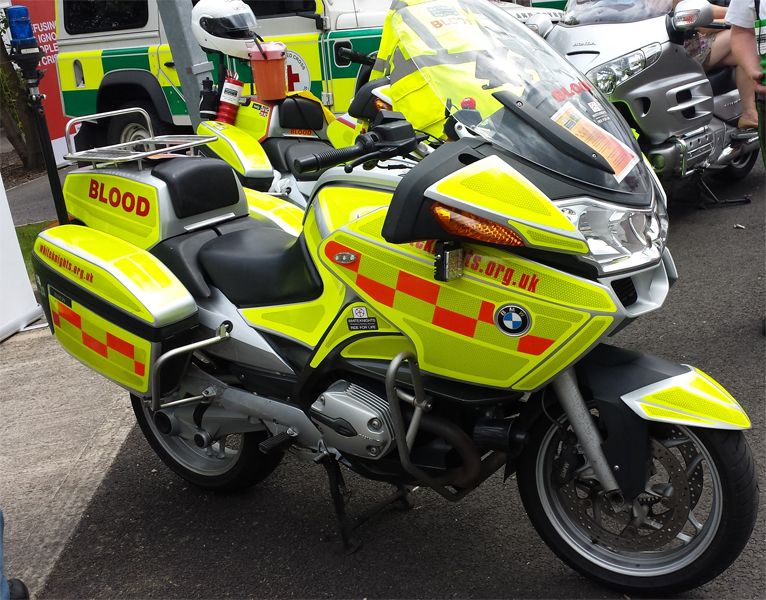
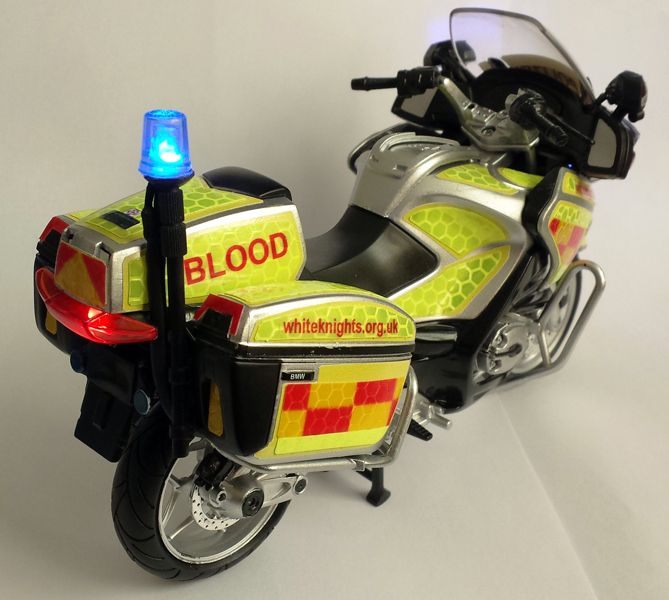
As I'm a rider with WhiteKnights Blood Bikes, I thought I'd combine my two interests and see how I get on modifying one into a Blood Bike, adding appropriate lighting for the full effect
Here's what I was using as a reference;
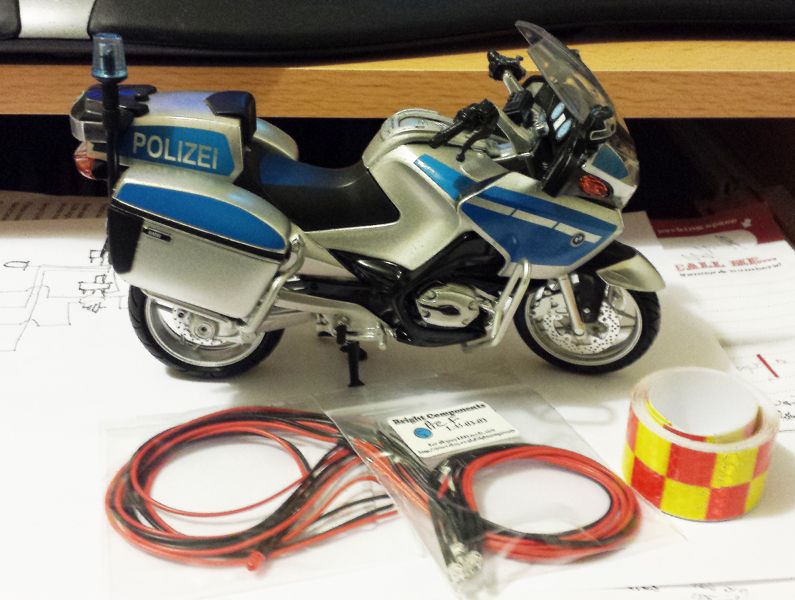
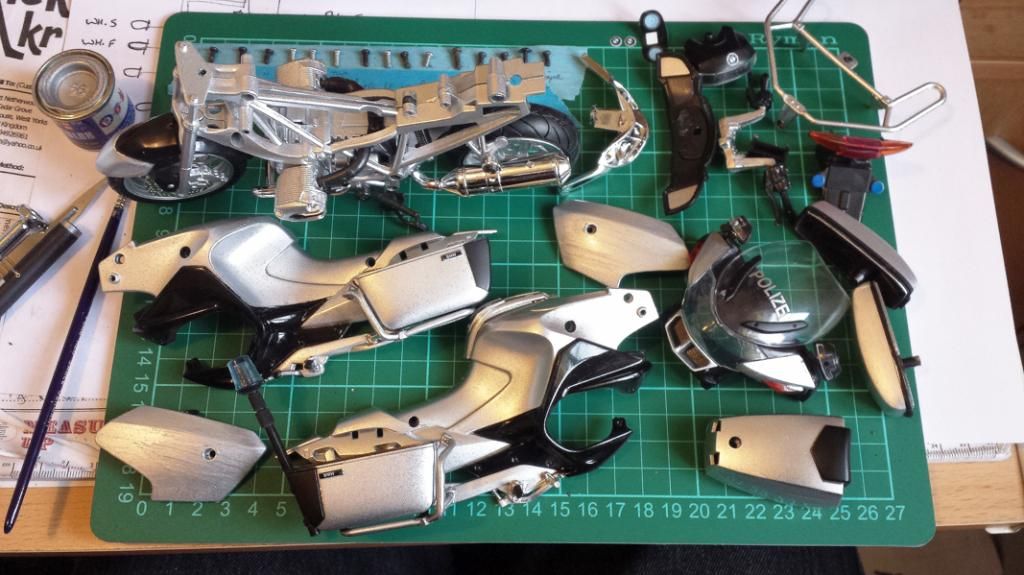
I started off with a base of a 1:12 New Ray model of a Polizei BMW R1200RT, as these came in silver (Like the actual bike) with fewer graphics than many others.
The plastic / die-cast model itself was fairly easy to strip down, lots of screws, and only the odd 'prize apart' heat welded item.
Then the graphics, which are painted rather than vinyl stickers, were painted over in Revell No.99 (or 66, depending on which way up you hold the lid) aluminium which was a pretty close match.
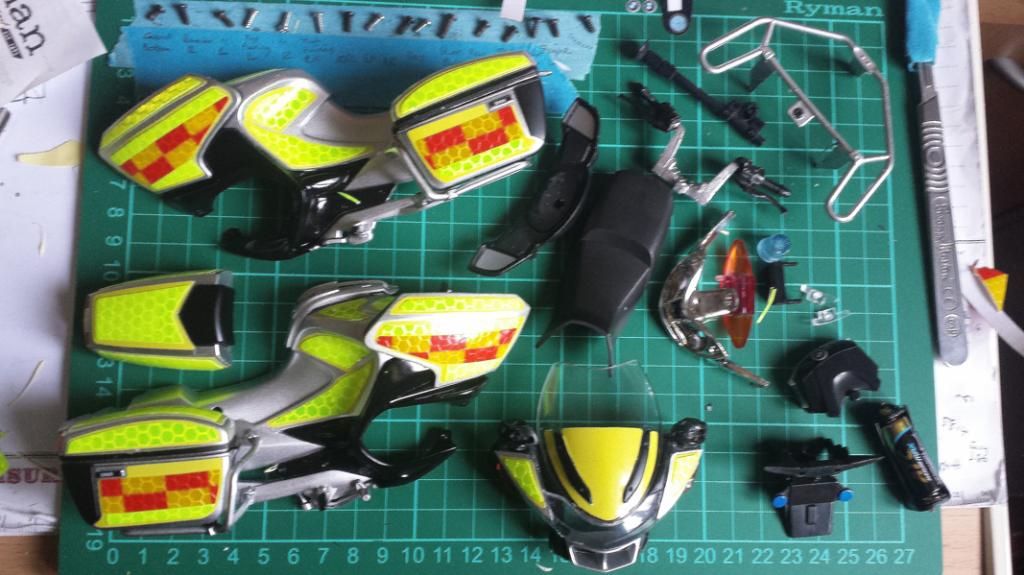
The real bike has a 2-stage livery of reflective panels over hi-viz vinyl, so I was to follow suit.
First the Hi-Viz:

Then the reflective panels (Which are made from a roll of reflective tape from Halfords!)
Time to lay out the 3mm LEDs and build a wiring loom.
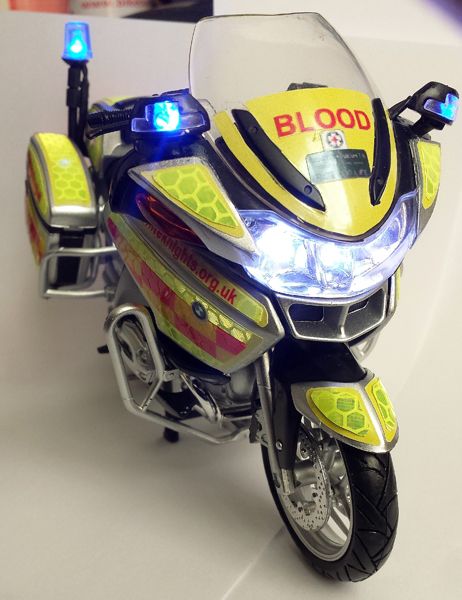
A steady red (rear light) and flashing blue (Mast beacon) at the rear, and 2 steady whites (dipped headlights), flashing white (flashing main beam) and two flashing blues (for the front blue beacons) all laid out.

I decided to go for a 2-switch approach. One for a power on / off, which turns on the dipped headlights and rear light, and a second switch to turn on/off the flashing beacons and main beam.
Once my soldering skills - which aren't that great - were tried, it was time to test-fit the loom to the bike frame. The two switches would sit between the panniers and frame, and the battery (a 12v A23) holder fits snugly under the rear sub-frame.
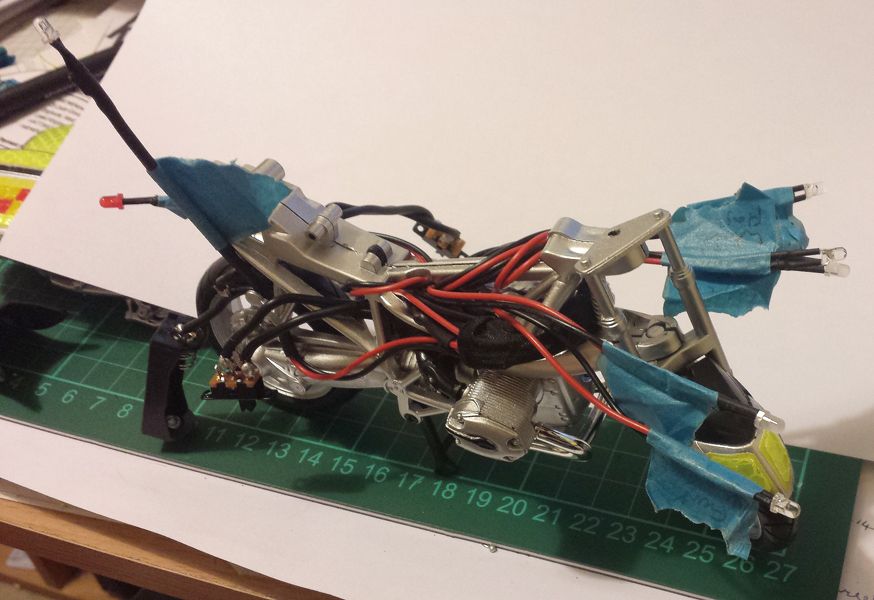
With hindsight, I think I could have got away with a bit less wire, but handily there's plenty of room in the petrol tank area when the sides are put back on.
Some bespoke decals were printed on vinyl on the inkjet printer, and the whole thing was screwed back together.
And here is the finished article, which I'm pretty chuffed with to say I haven't done this sort of thing for a number of years.
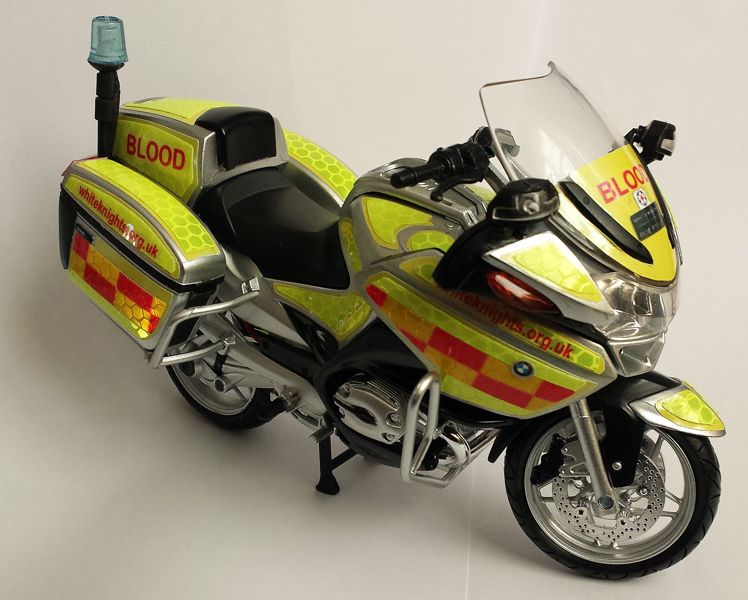
And here's a quick video of the lights in action
I've been away from model building for a number of years, but was spurred on by photos and videos on the Internet of people making modifications to model motorcycles.
It seems that you can buy models of either 'normal' or police motorcycles, but not much else.
As I'm a rider with WhiteKnights Blood Bikes, I thought I'd combine my two interests and see how I get on modifying one into a Blood Bike, adding appropriate lighting for the full effect
Here's what I was using as a reference;
I started off with a base of a 1:12 New Ray model of a Polizei BMW R1200RT, as these came in silver (Like the actual bike) with fewer graphics than many others.
The plastic / die-cast model itself was fairly easy to strip down, lots of screws, and only the odd 'prize apart' heat welded item.
Then the graphics, which are painted rather than vinyl stickers, were painted over in Revell No.99 (or 66, depending on which way up you hold the lid) aluminium which was a pretty close match.
The real bike has a 2-stage livery of reflective panels over hi-viz vinyl, so I was to follow suit.
First the Hi-Viz:
Then the reflective panels (Which are made from a roll of reflective tape from Halfords!)
Time to lay out the 3mm LEDs and build a wiring loom.
A steady red (rear light) and flashing blue (Mast beacon) at the rear, and 2 steady whites (dipped headlights), flashing white (flashing main beam) and two flashing blues (for the front blue beacons) all laid out.
I decided to go for a 2-switch approach. One for a power on / off, which turns on the dipped headlights and rear light, and a second switch to turn on/off the flashing beacons and main beam.
Once my soldering skills - which aren't that great - were tried, it was time to test-fit the loom to the bike frame. The two switches would sit between the panniers and frame, and the battery (a 12v A23) holder fits snugly under the rear sub-frame.
With hindsight, I think I could have got away with a bit less wire, but handily there's plenty of room in the petrol tank area when the sides are put back on.
Some bespoke decals were printed on vinyl on the inkjet printer, and the whole thing was screwed back together.
And here is the finished article, which I'm pretty chuffed with to say I haven't done this sort of thing for a number of years.
And here's a quick video of the lights in action
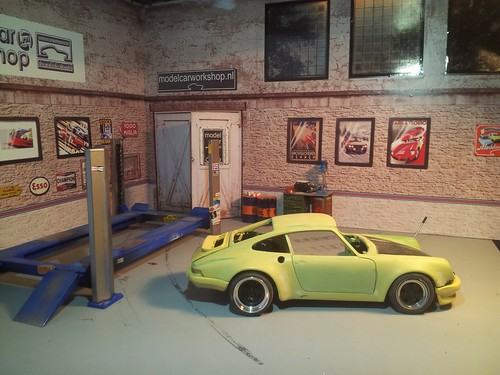
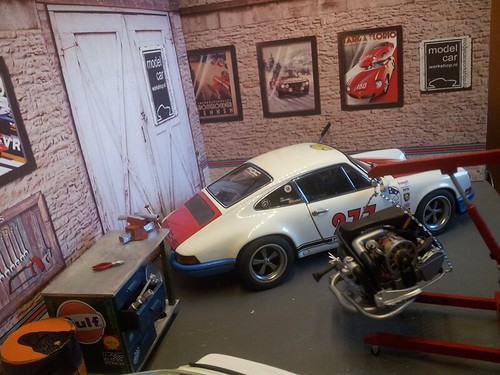
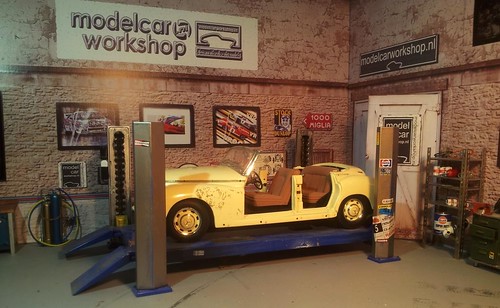
On page 2 I started with the Singer Porsche 911. Time to continue.

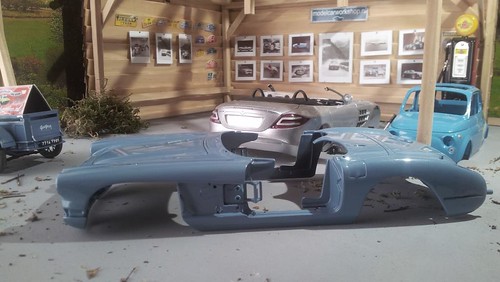
The general shape is OK. Satisfied with the new rear wing although it needs a bit of work.

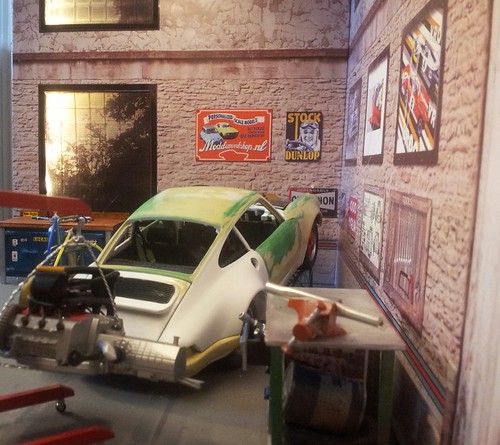
The bottom part of the wheel arch infront of the rear wheel is much thinner so again the Dremel is patient to cut away the metal. First I had to fill the inside of the wheel arch to keep the right form as the arch should still follow the lines of the rear wheel.
A picture is much clearer.

The general shape is OK. Satisfied with the new rear wing although it needs a bit of work.
The bottom part of the wheel arch infront of the rear wheel is much thinner so again the Dremel is patient to cut away the metal. First I had to fill the inside of the wheel arch to keep the right form as the arch should still follow the lines of the rear wheel.
A picture is much clearer.


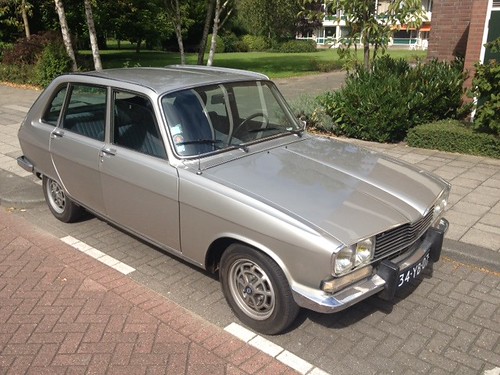
Some new models I did.
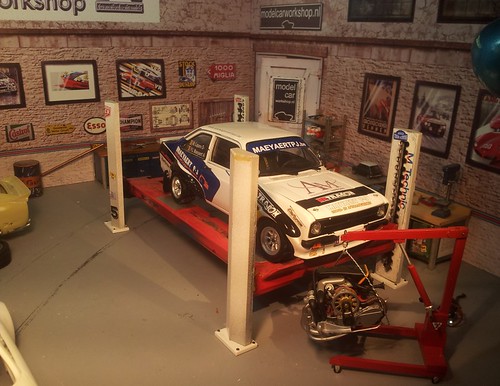
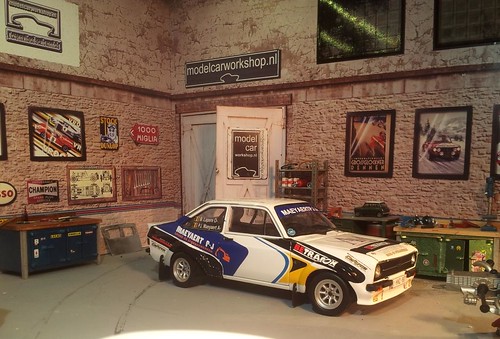
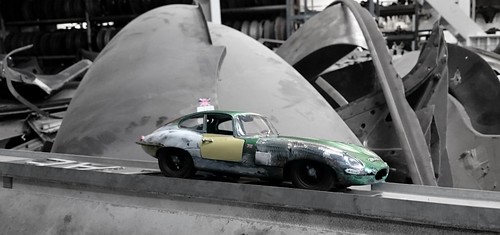
A Ford Escort MKII, presently entering the Historic Belgium Rally scene (just like the 911 RSR).
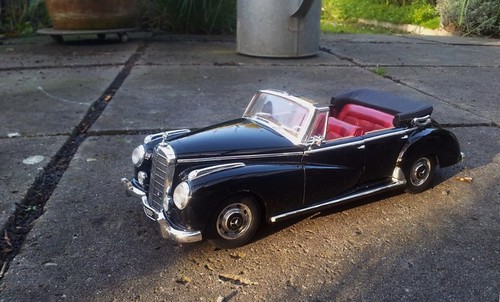
A Mercedes-Benz Typ 300C Adenauer (bespoke steering wheel)
Started of like this
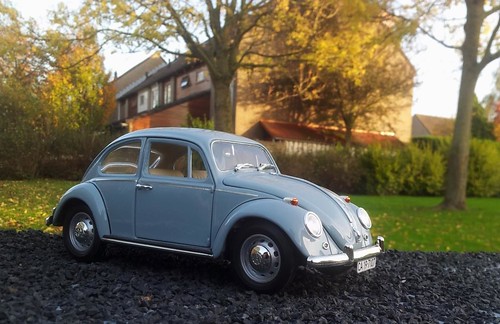
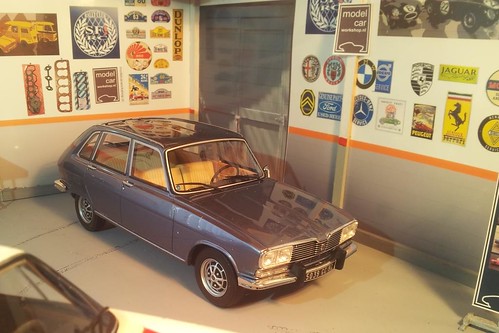
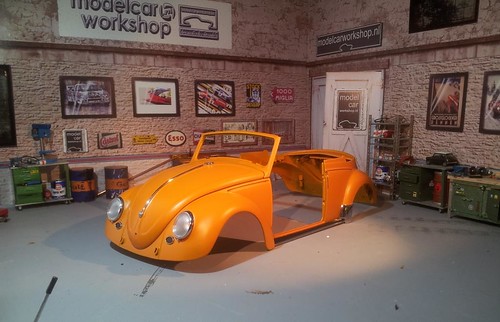
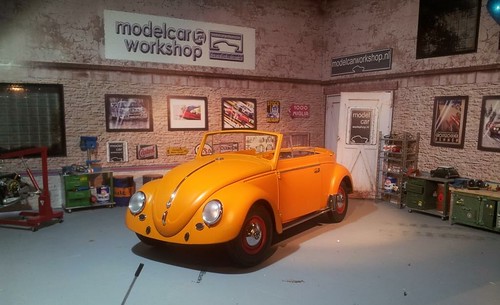
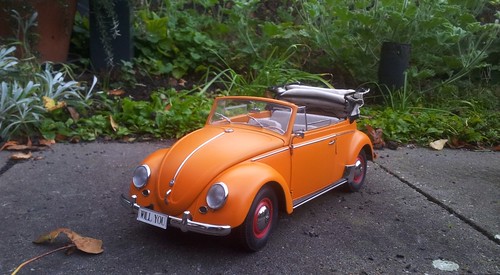
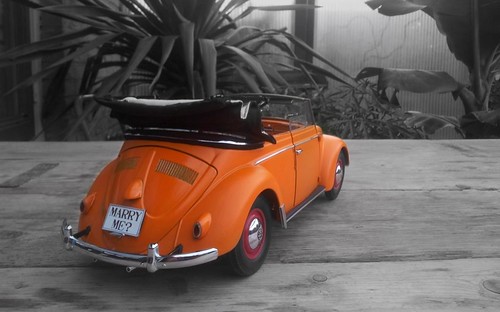
And a 1965 VW Beetle

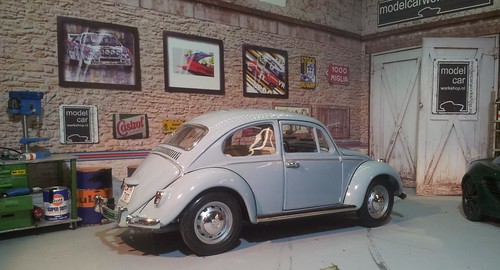
The Bug started of as a Yatming model

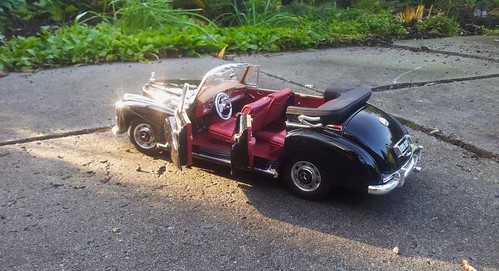
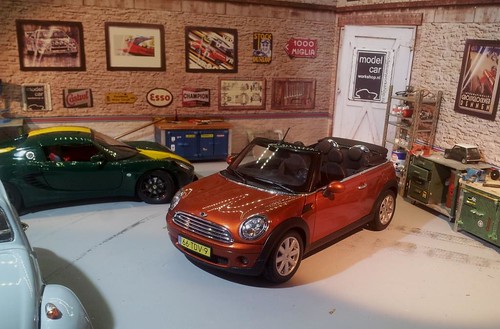
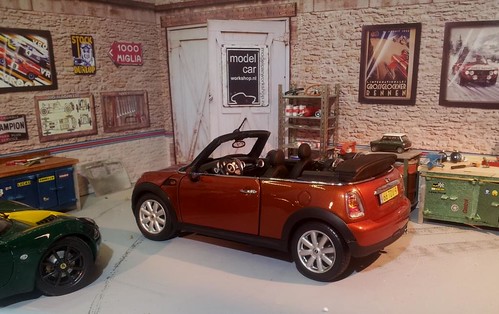
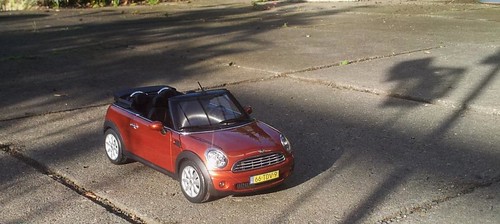
Also the Mini Cooper Cabrio, a present for a dear friend of mine.
A Ford Escort MKII, presently entering the Historic Belgium Rally scene (just like the 911 RSR).
A Mercedes-Benz Typ 300C Adenauer (bespoke steering wheel)
Started of like this
And a 1965 VW Beetle
The Bug started of as a Yatming model
Also the Mini Cooper Cabrio, a present for a dear friend of mine.
Edited by MCWS on Friday 7th November 18:44


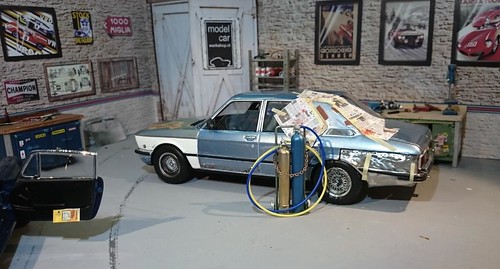
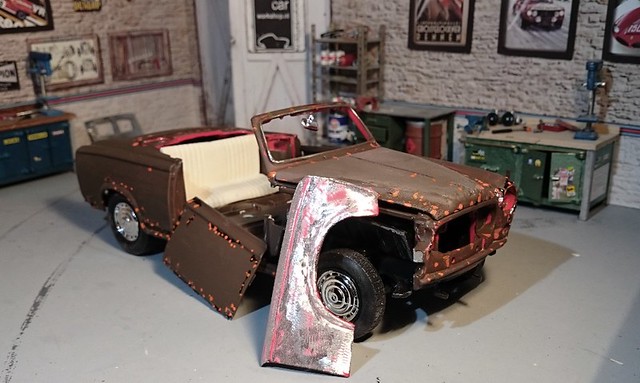
The base model by Bburago
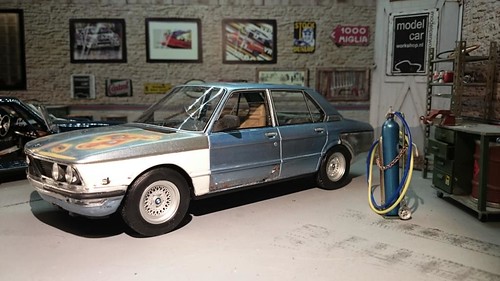
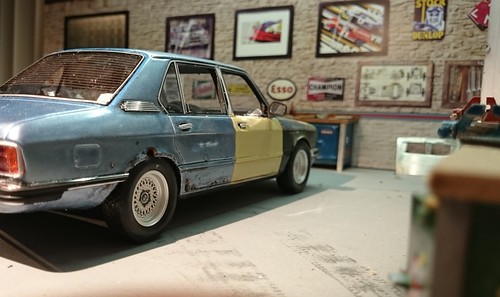
First making holes, dents and scratches. Then brown and orange paint for rust look afterwards

Different colours and the salt underneath the paint

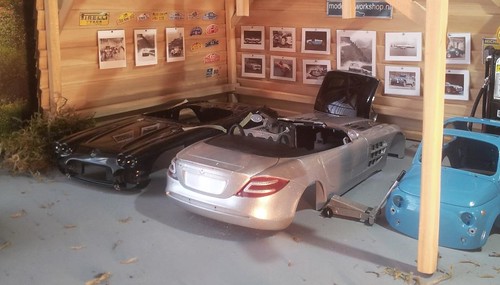
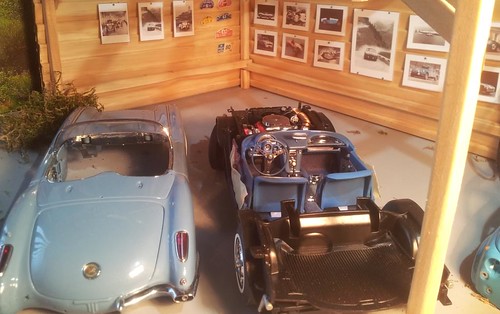
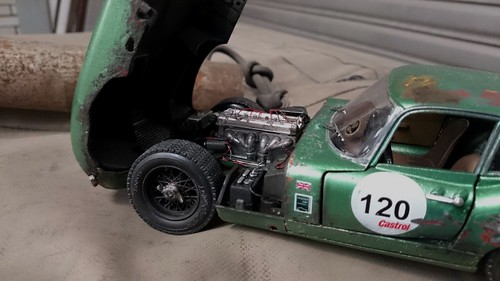
The interior in fairly good nick. Door covers in different colours and small details added to the engine bay.
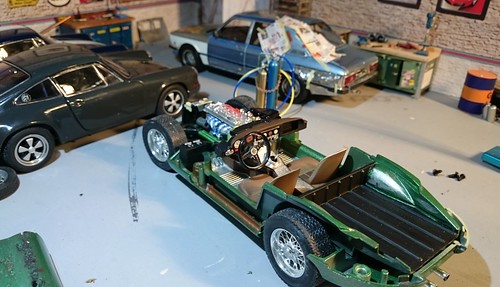
Fitting the lot
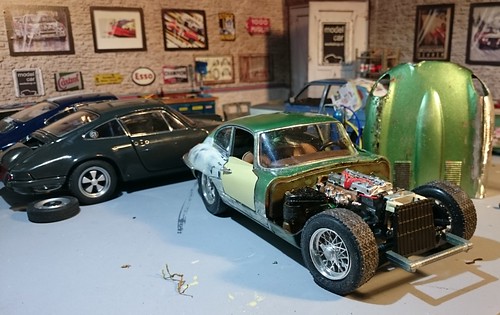
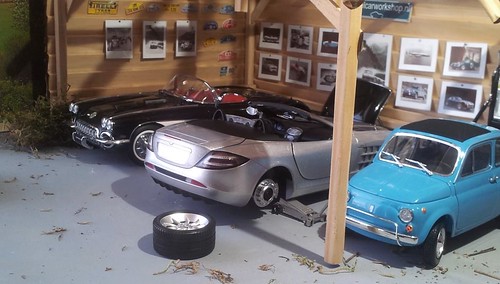
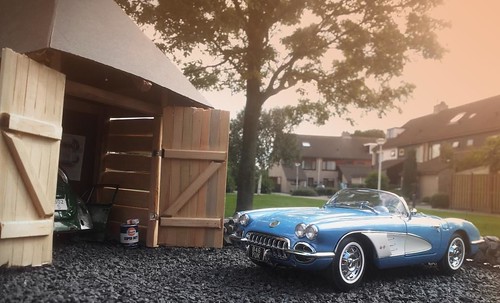
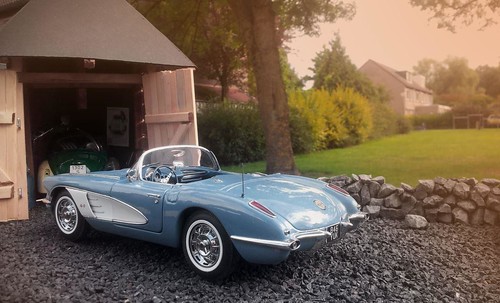
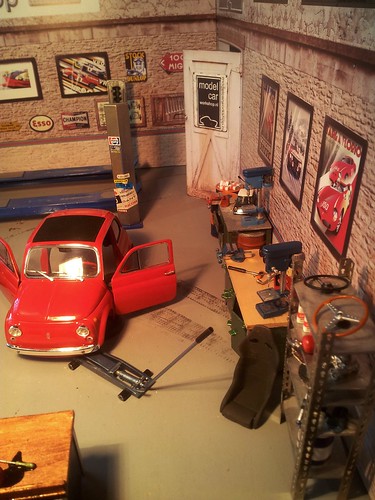
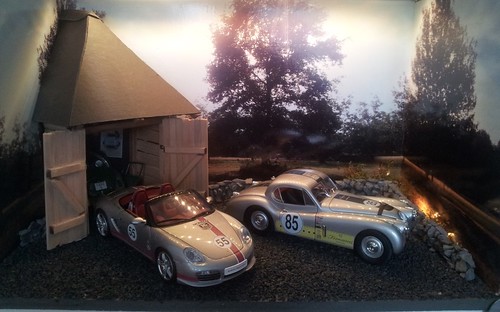
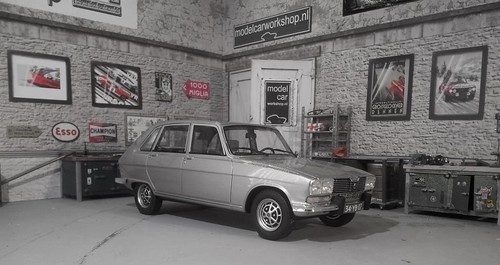
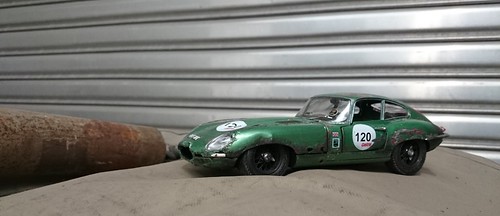
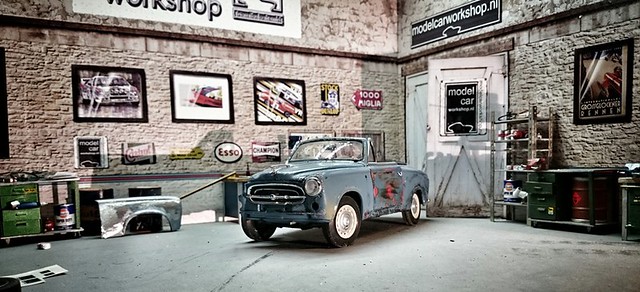
Ready in the shed
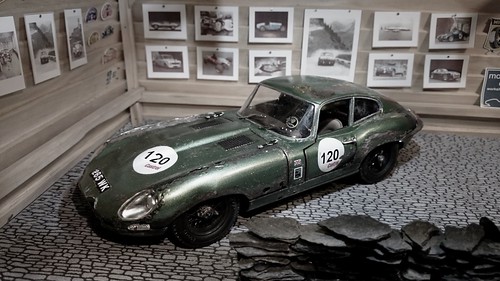
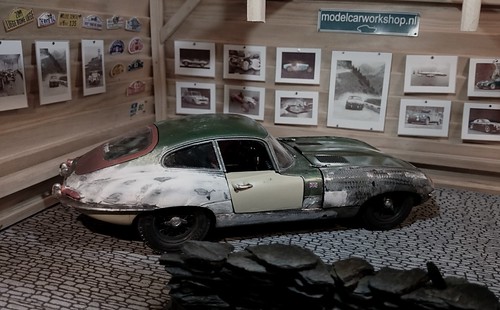
The side that is already being repaired
First making holes, dents and scratches. Then brown and orange paint for rust look afterwards
Different colours and the salt underneath the paint
The interior in fairly good nick. Door covers in different colours and small details added to the engine bay.
Fitting the lot
Ready in the shed
The side that is already being repaired


Thanks Raff!
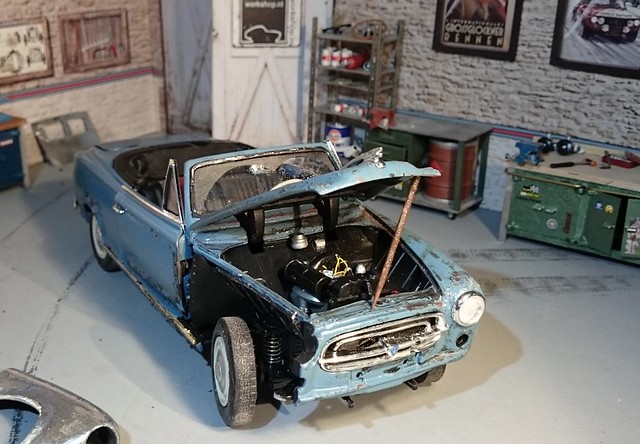
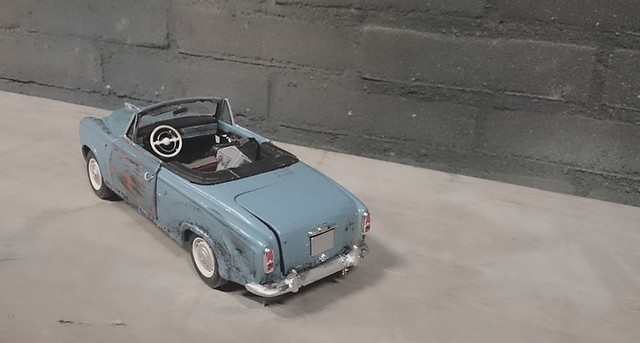
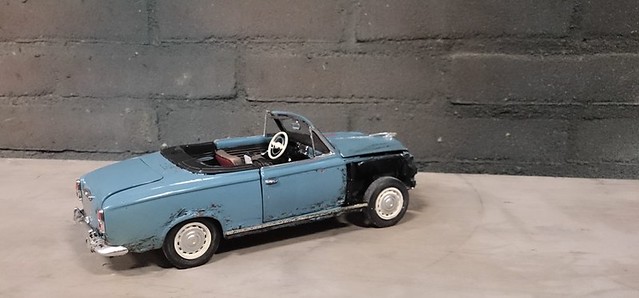
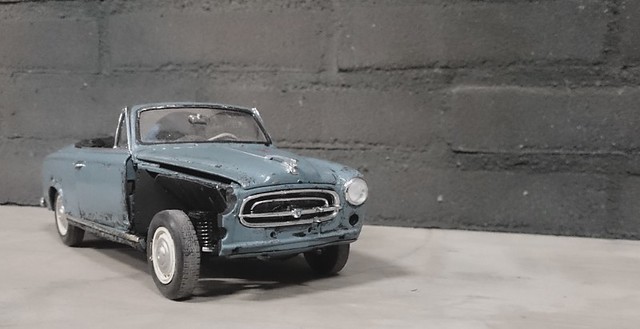
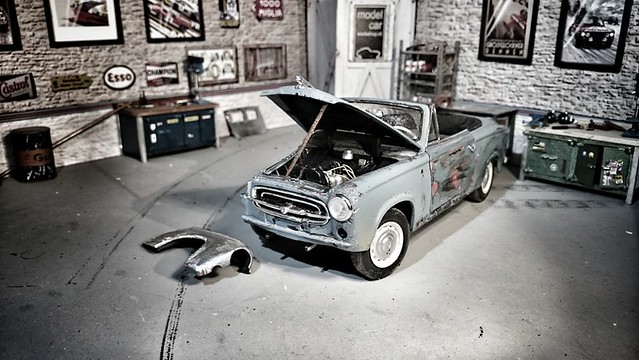
The base model of this rusted Peugeot 403 cabrio is from Welly in scale 1:18

After grinding off the front wing and making some damages the first layers of paint goes on. Brown and orange.
An old blue/grey paint for a period feel

Couple of wires are added
The wheels still require some more weathering


The front is nearly ready. Just a touch of brown and maybe a license plate and a windscreen wiper.
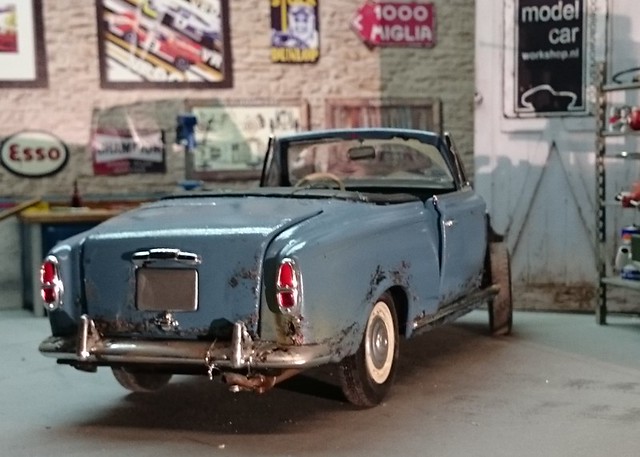
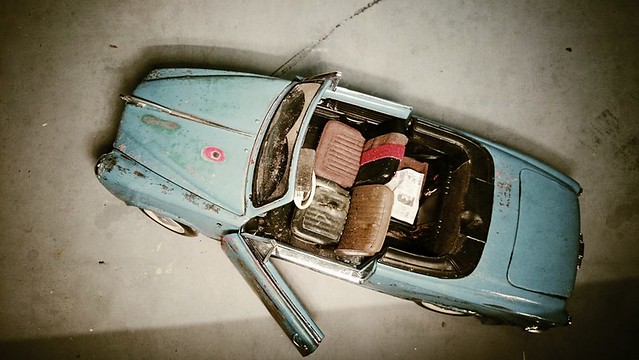
The rear


The interior is shabby as expected.
The base model of this rusted Peugeot 403 cabrio is from Welly in scale 1:18
After grinding off the front wing and making some damages the first layers of paint goes on. Brown and orange.
An old blue/grey paint for a period feel
Couple of wires are added
The wheels still require some more weathering
The front is nearly ready. Just a touch of brown and maybe a license plate and a windscreen wiper.
The rear
The interior is shabby as expected.
Gassing Station | Scale Models | Top of Page | What's New | My Stuff